
-
-
This is Sick I wanna see some of the stuff you make it looks cool.Leave a comment:
-
Wow, those fabrication pictures make me really wish I had somewhere to practice/learn welding...Leave a comment:
-
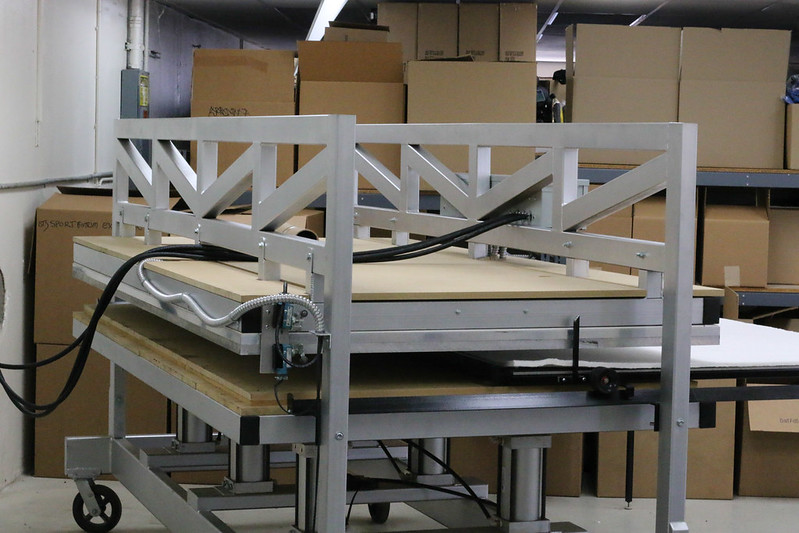
Updates. I got the press done, finally. It works! :) There are a few bugs that I still need to work out, but for the most part it's ready to go!
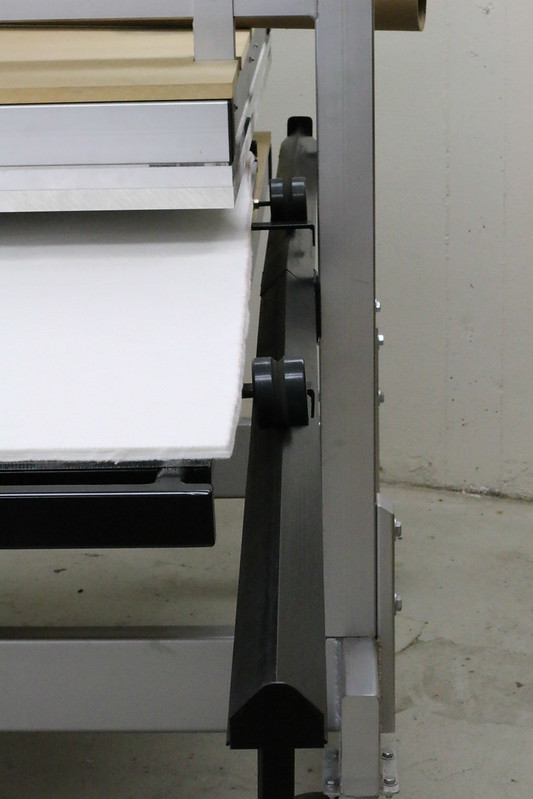
Here's the sliding table
And a video: (BTW, it shouldn't be running with that BUZZING sound, we got a faulty unit which will have to be replaced)
Leave a comment:
-
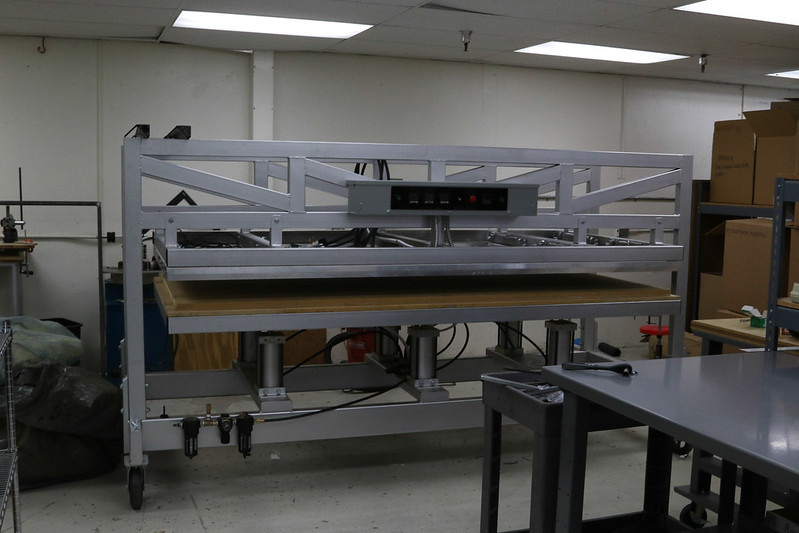
Just a couple updates. I got the press inside finally. All of the air hoses are hooked up. We got the 220 wired in closer so we don't have to run long extension cords. Electrical is hooked up. Gauges work, heating elements work, air works, etc. It's all ready to go, just gotta finish up a few things :)
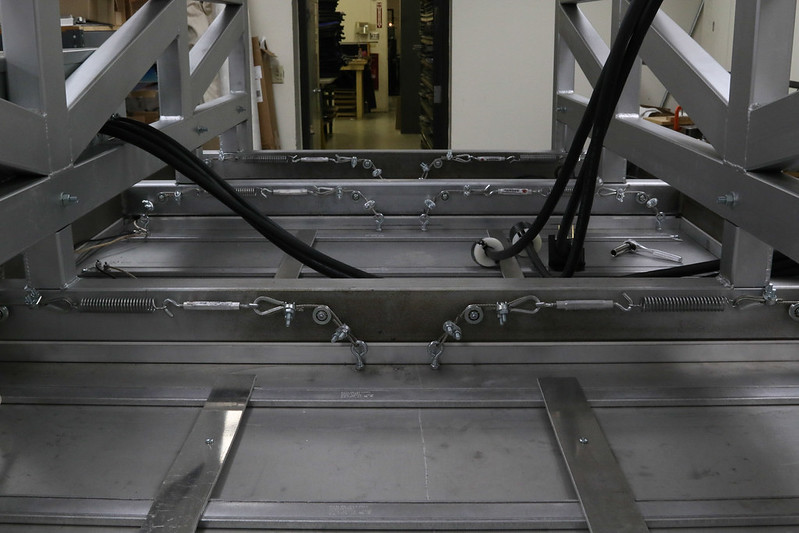
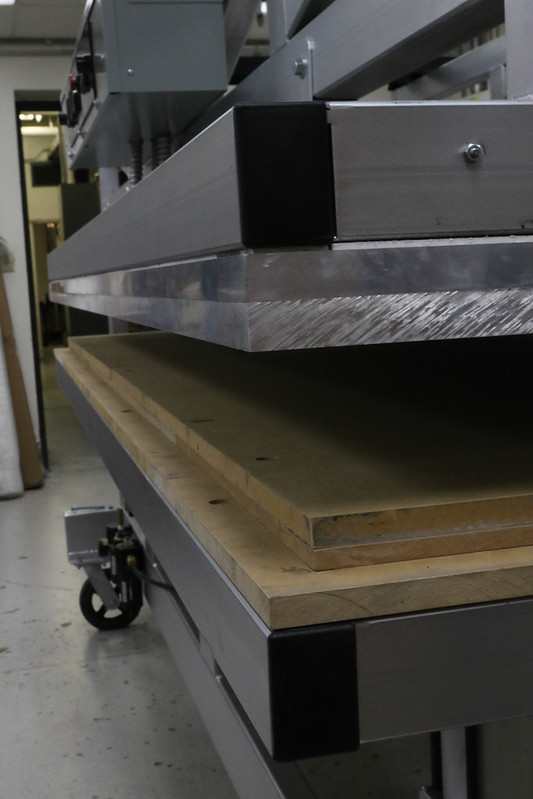
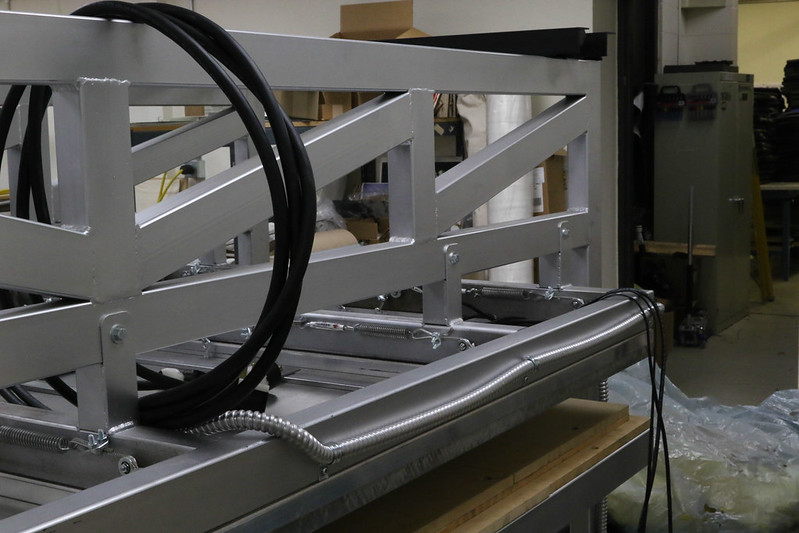
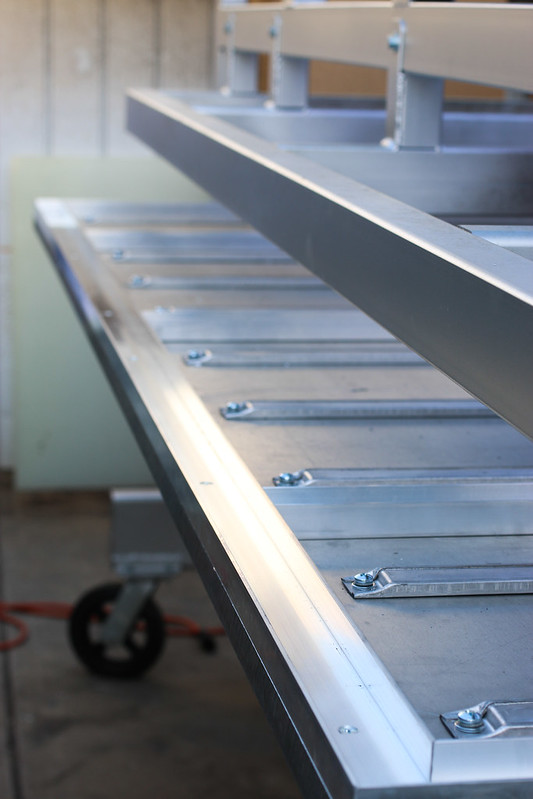
This is how the 1" aluminum heating plate is held on. It can't be just bolted because of the heat -- expansion and what not. So they are all spring loaded.
MDF on the bottom which will be pushing up the 3/8" aluminum sliding table.
Leave a comment:
-
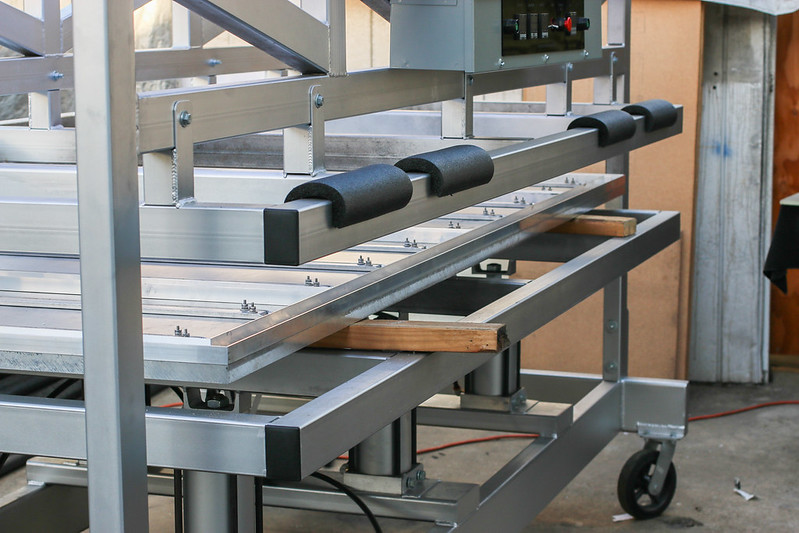
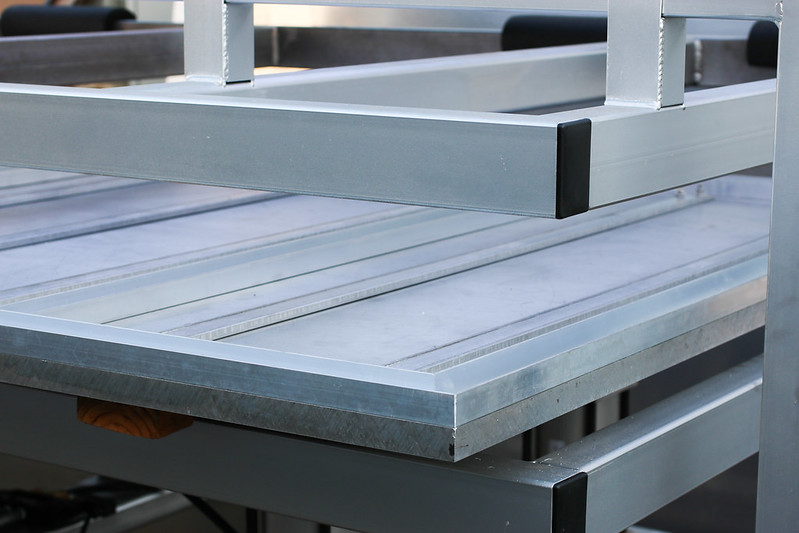
School started for me so I haven't had as much time to work on this. I do have a bit of progress however. I mounted the heating elements and the C channel aluminum that will hold the insulation.
Leave a comment:
-
Thanks GG.
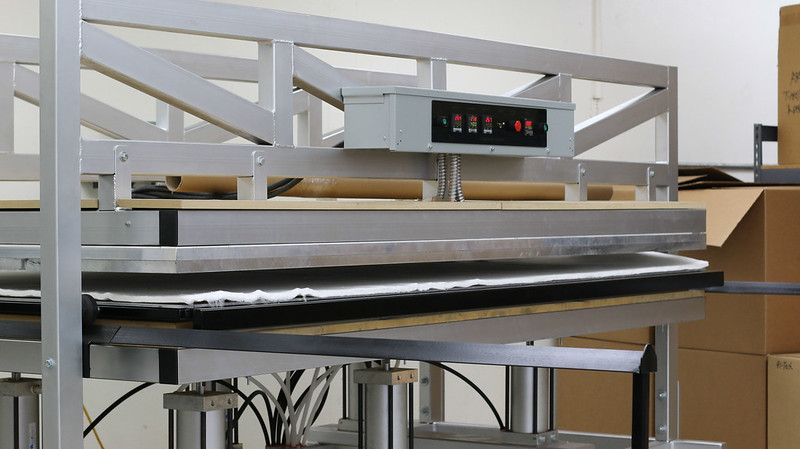
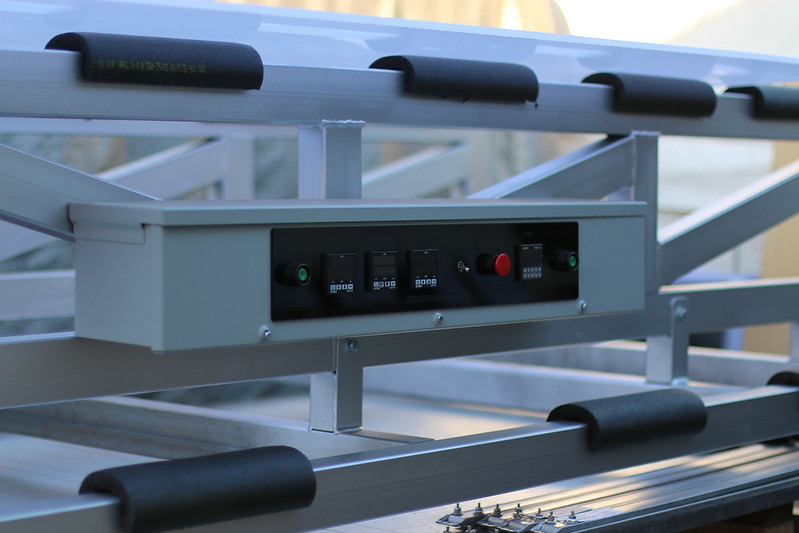
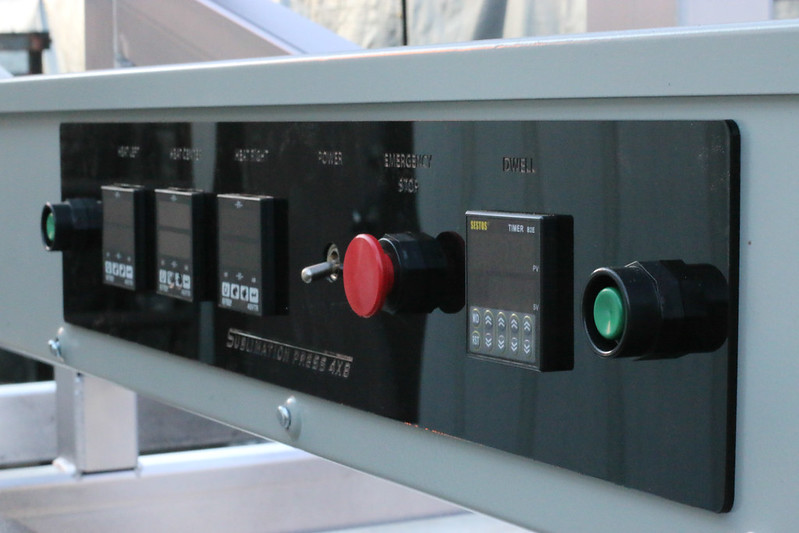
There are 3 heat controllers on there and 1 timer. The three on the left are: "left heat" "center heat and "right heat". Each controller has some cool features built into it that do basically what you're saying. But there are three because the entire aluminum plate needs to be the same temp and if you only have 1 sensor, the middle is going to end up being hotter than the ends, or vice versa depending on where you put the sensor.Leave a comment:
-
Wow - nice controllers. So I guess you go through a pre-heat, and ramp up, and a sealing heat. One for each? I love that e-stop button!Leave a comment:
-
-
Wow, this is so cool! What does it cost to get a print done like this? Would love to have a couple done!!Leave a comment:
-
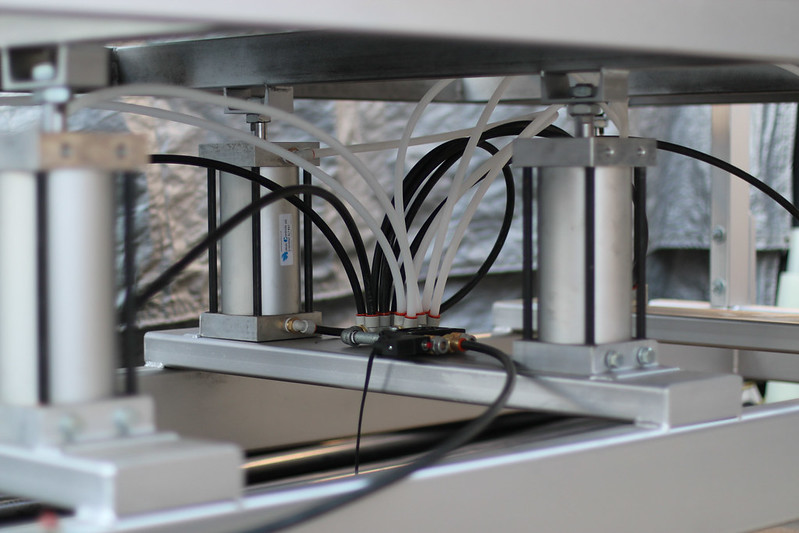
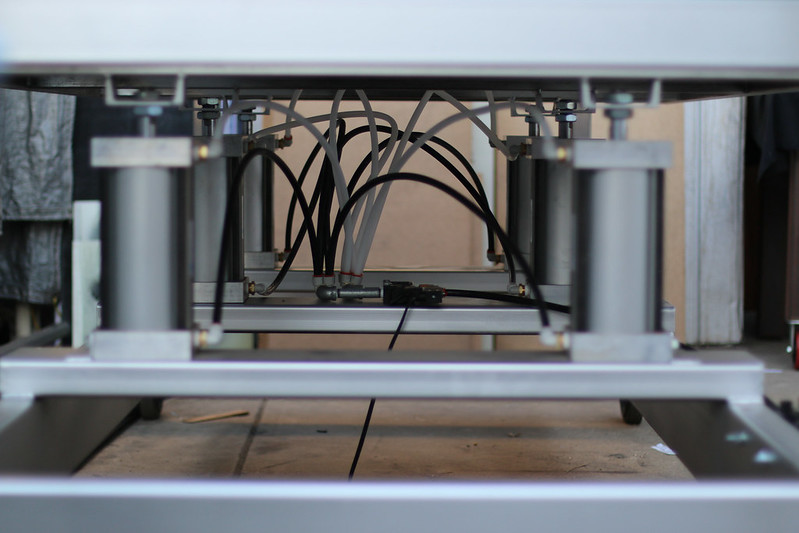
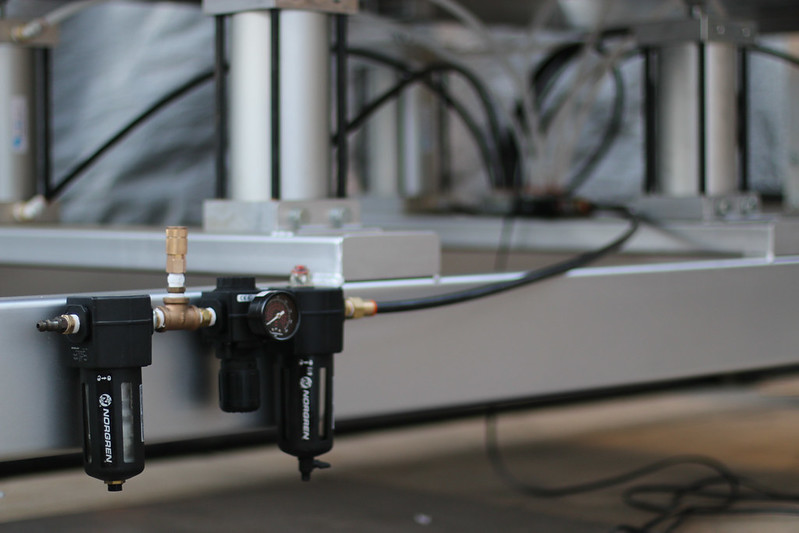
Made some progress lately. The hoses are hooked up. Pressure works. All the rams work. Made a dash for all of the switches/controllers as well. Here's some pics
Leave a comment:
-
Leave a comment:

Leave a comment: