how are you doing this? did you buy something and just rig something up? i want to have my digital camera mounted in my car between my headrests. well somehwre in that area. how is everyone doing this and where is their camera. thanks. pics would be nice if you got em.
mounting a camera in car
Collapse
X
-
Tags: None
-
-
hehe, I just bought this per your recommendation!
Can't wait to take it on trips and the track!!
Automotive camcorder mounts designed for mobile video recording Anodized, extruded aluminum rounded tubing Adjustable clamps to fit any twin post headrest Adjustable in roll, pitch and yaw directions Molded rubber guard, for passenger protection Universal mounting screw (1/4” x 20) Nylon safety tether strap No tools required to installIG: deniso_nsi Leave me feedback here
Comment
-
Most people I've seen with a in-car cam mount it on their roll bar, never seen one in a non caged car, but I'd mount it on the dash1990 Alpinweiss 325i - secret 500whp buildOriginally posted by audiquattrotbimmers b4 b*tches....remember that.
2000 Audi S4 B5 Laser Red
1990 Nissan 240sx - Drift Missile
2006 CBR600RR

Comment
-
-
-
-
-
Buy the gohero cam with it's mounting kit...Mtech1 v8 build thread - https://www.r3vlimited.com/board/sho...d.php?t=413205
OEM v8 manual chip or dme - https://www.r3vlimited.com/board/sho....php?p=4938827Comment
-
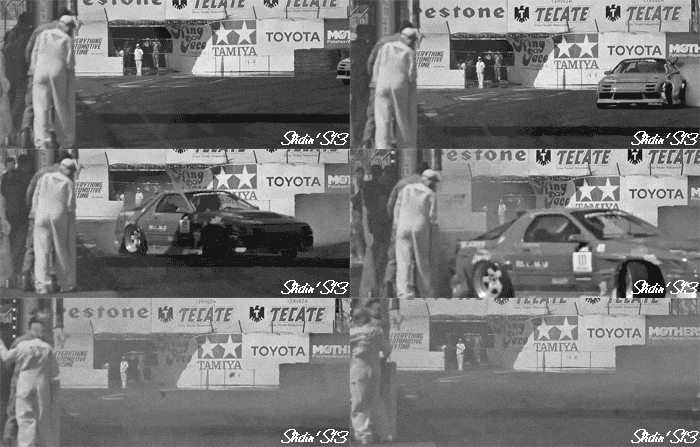
I made my own headrest mount with a $4 home depot 1/2 or 3/4" square tubing and two U-clamps... The problem was that during one drift event.. or a DE idk... i realized that thing could impale me if anything went wrong even with a helmet on. So i removed it. If you wack your had against that thing it'll be lights out. This is just a word of caution. Short of mounting it on a roll bar/cage, you can suction cup it to the rear window, mount it on the rear deck or something.No more e30s for me.
88 black BMW OBDII 332is dedicated track [sold]
88 BMW OBDII bronzit 332is [RIP 03/08]
91 BMW 325i [sold]
86 Corolla 'Ae86' HB 20v trd [sold]
http://youtube.com/watch?v=pTj7Hn9v5RsComment
-
I did a quick write-up of my DIY in-car camera mount. I wanted something to take in-car video for several reasons:
1. I wanted to show my wife what autoX was like, from my perspective
2. I wanted to be able to look over my runs to see whether time differences were due to the lines that I chose, under/over-steer, mistakes (mis-reading the cones), etc.
3. It is a cool way to brag to my non-car buddies about what I did over the weekend while they were mowing the grass.
That said, I wanted to go cheap for this attempt, in case I end up hating autoX or something (not likely). I read a few google results and decided that rather than spend ~$50, I could do it myself for under $10 (plus the cost of the camera).
Supplies:
Square tubing (Mine is actually “C” channel that is about 1.5” square, and is perforated) that is long enough to span the distance between the inner headrest posts on your vehicle.
Free, from a scrap pile at work. Similar square stock is $8-12 at Lowes
Tripod head or other camera mount. Mine was $6 at WalMart
Camera. I use a Canon S3 IS digital camera and a 4 GB SD card.
Miscellaneous washers, bolts, and nuts (I bought 2 fender washers, 2 lock washers, 4 nylon-insert nuts, and 2 bolts. $2.56 at Lowes. In the end, I re-used the parts from the tripod base.
Pictures of what I used:
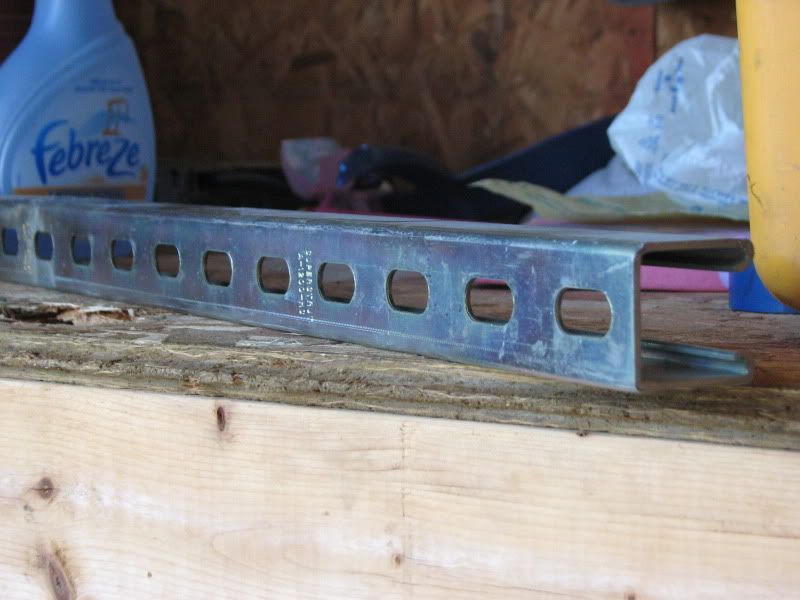
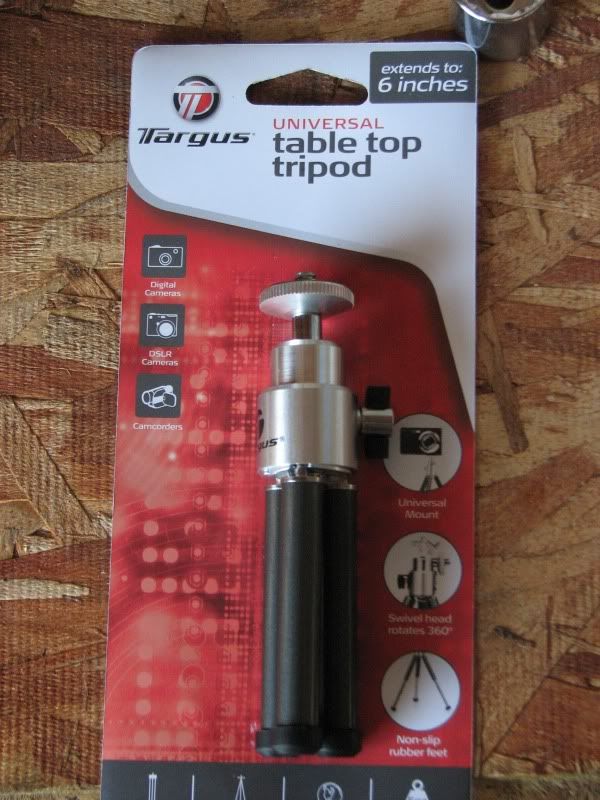
Tools needed:
Drill and drill bits
Philips screwdriver
Hack saw
Optional:
Dremel, file, or tape (or all of the above)
Process:
Determine the proper length of the main tube. I measured the distance between my headrest posts to be 22” center-to-center, so I allowed an inch or so at either end and made my cut with the hack saw.
Determine the proper hole size to allow the headrest post to go into/through the main tube. For me, it was 5/16” IIRC. Mark the center, drill a pilot hole, and then drill the larger hole. Do this through both sides of the tube.
Disassemble the tripod. Note: You may have already done this to determine the proper screw thread and length, if you need longer screws or bolts. For the tripod that I used, the proper thread was an M4. (Insert Bevis and Butthead voice) If you spread the legs, there is a screw in there.
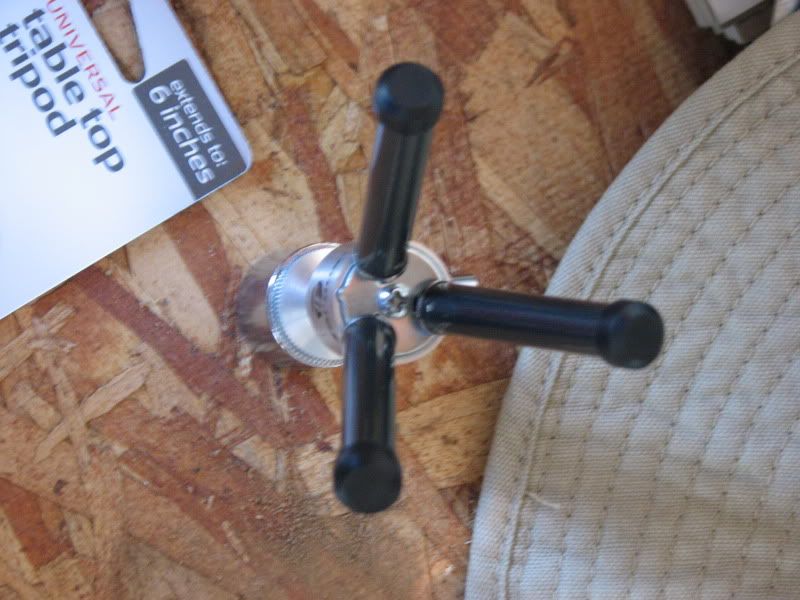
Now measure to the center of the bar and drill a hole just large enough to get the screw into. If you are using a longer screw, you will need to do this on both the top and bottom sides of the tube.
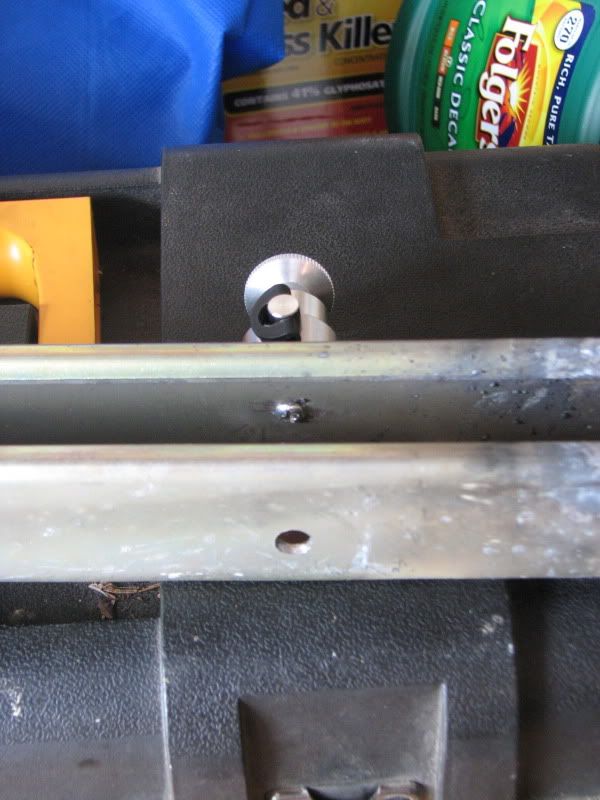
For my application, I wanted to be able to tighten the screw through the bottom, and since it was C-channel and not square stock, I could easily manipulate the screw into the head of the tripod. If this was square stock, I would have used a longer screw or bolt and tightened from the bottom, so the picture below may not apply to everyone. I drilled a ¼” hole in the bottom to allow access to the screw head with a #2 Philips screwdriver.
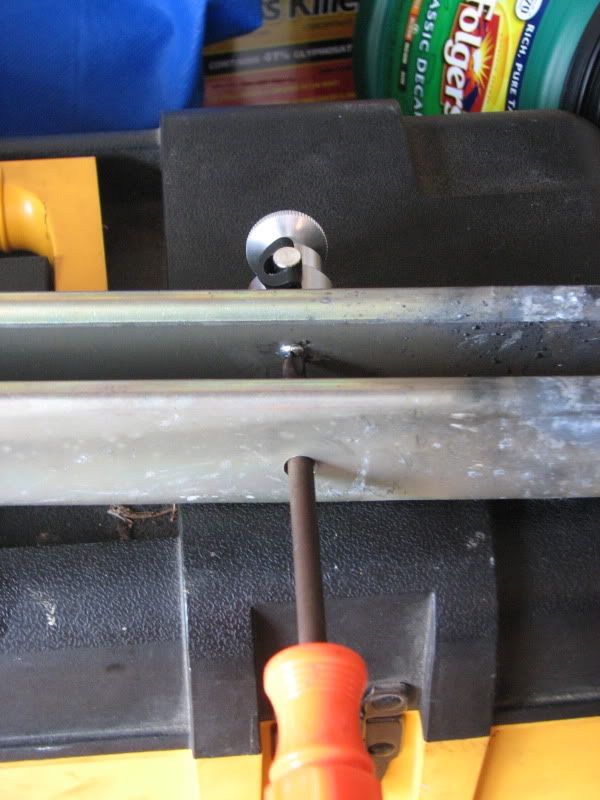
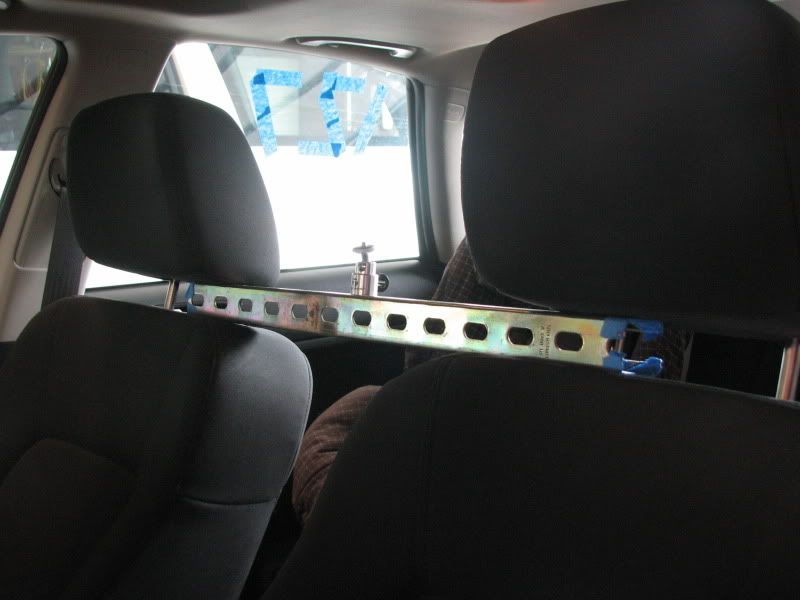
After this, I reclined the seats, put the headrest posts through the drilled holes, and reinstalled the headrests. The hardest part was to incline the seats at the same rate so as to not scratch the headrest posts. I am sure that there was a better way to do that part, but it worked fine for me. Removal was the opposite.
Installed pictures:

Video, as shot from the mount:
Lesson learned: Secure the lens cap!
I later changed the mount to be cantilever, meaning that the mount is attached to both mounting posts on the passenger seat and the headrest is then lowered to clamp the mount in place. It was just as stout as being mounted to both seats, but it was a lot easier to adjust the driver's seat with it only attached to the passenger seat. If it is attached to both, installing it requires that both seats be reclined and inclined at the same time, and that moving one seat can throw off the aim of the camera. As I like to move the seat up while on the starting line to tighten the seat belt, it could have been an issue. Also, if you drive with a passenger/instructor, that could be an issue as well.
I also painted it flat black, just to make it look a little better.Comment




Comment