Originally posted by captain awesome
View Post
Well they're yours if you need them. Just shoot me a PM

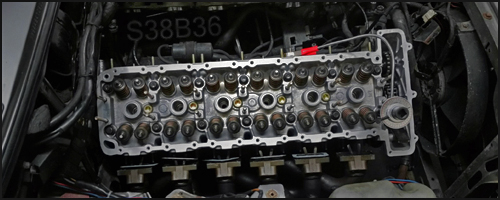
 Untitled by hatchethairy, on Flickr
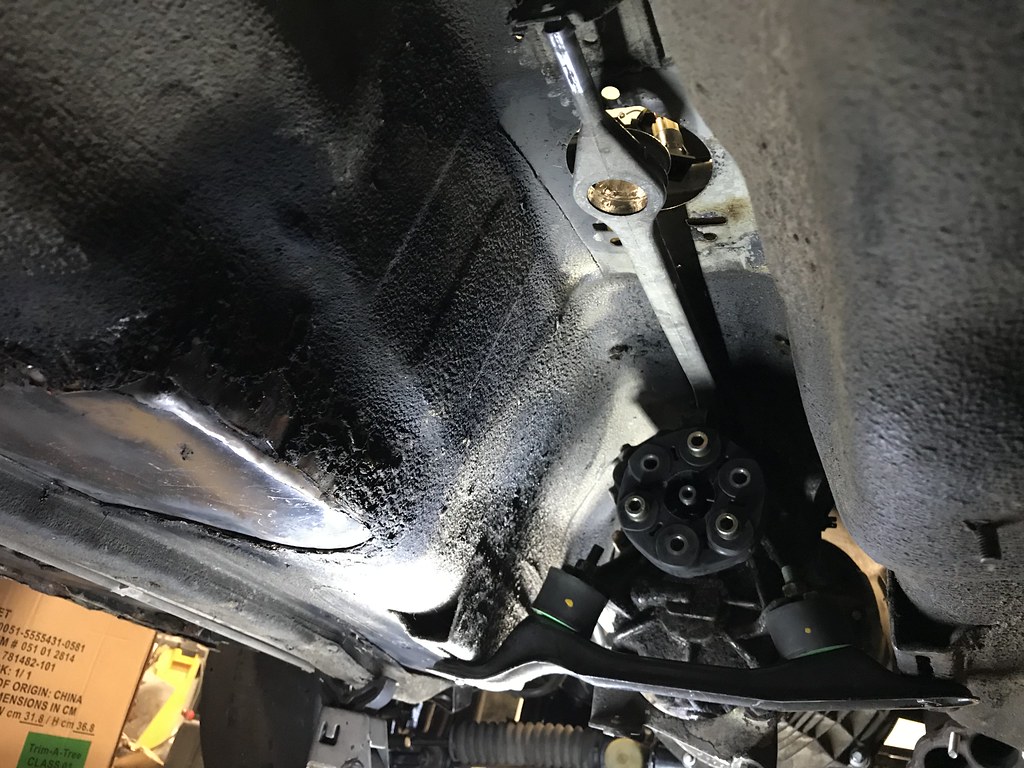 Untitled by hatchethairy, on Flickr
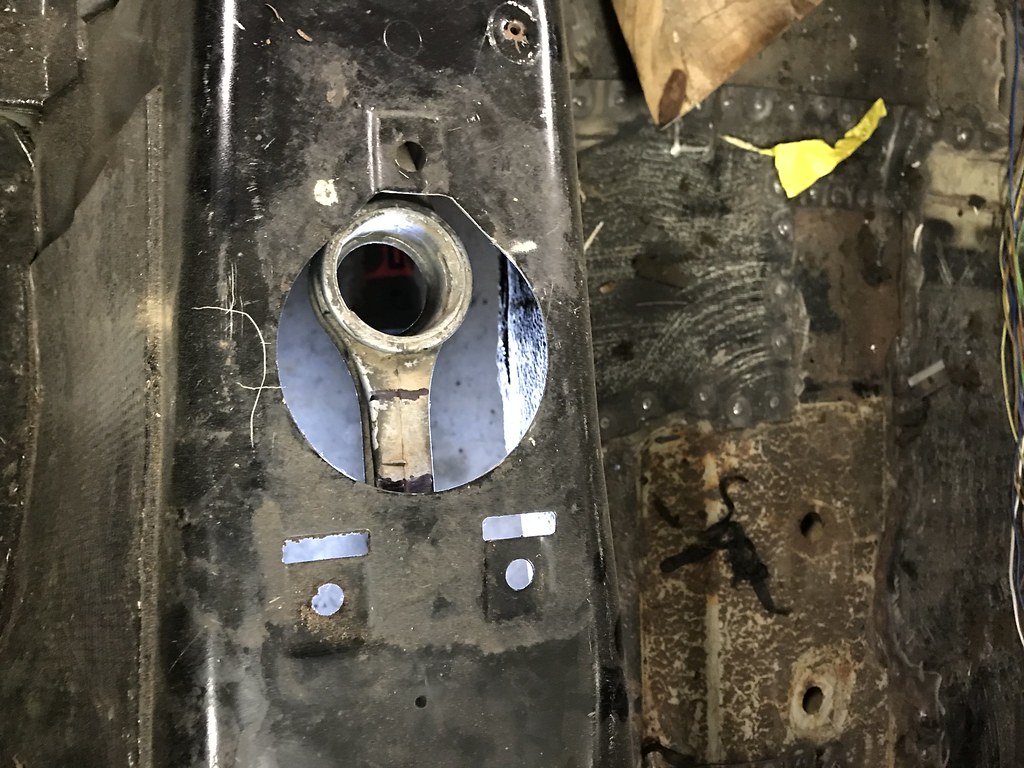 Untitled by hatchethairy, on Flickr
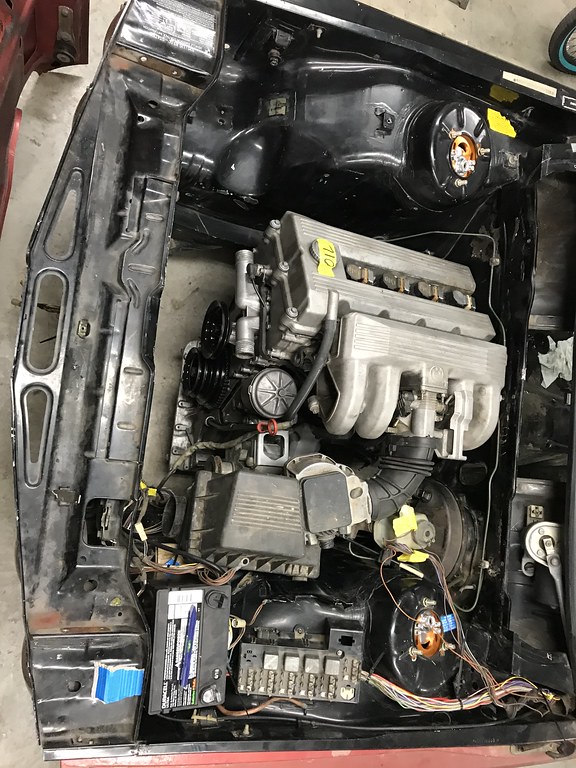 Untitled by hatchethairy, on Flickr
 Untitled by hatchethairy, on Flickr
 Untitled by hatchethairy, on Flickr
 Untitled by hatchethairy, on Flickr
 Untitled by hatchethairy, on Flickr
 Untitled by hatchethairy, on Flickr
 Untitled by hatchethairy, on Flickr
 Untitled by hatchethairy, on Flickr
 Untitled by hatchethairy, on Flickr
 Untitled by hatchethairy, on Flickr
 Untitled by hatchethairy, on Flickr
 Untitled by hatchethairy, on Flickr
 Untitled by hatchethairy, on Flickr
 Untitled by hatchethairy, on Flickr
 Untitled by hatchethairy, on Flickr
 Untitled by hatchethairy, on Flickr
 Untitled by hatchethairy, on Flickr
 Untitled by hatchethairy, on Flickr
 Untitled by hatchethairy, on Flickr
 Untitled by hatchethairy, on Flickr
 Untitled by hatchethairy, on Flickr
 Untitled by hatchethairy, on Flickr
 Untitled by hatchethairy, on Flickr
 Untitled by hatchethairy, on Flickr
 Untitled by hatchethairy, on Flickr
 Untitled by hatchethairy, on Flickr
 Untitled by hatchethairy, on Flickr
 Untitled by hatchethairy, on Flickr
 Untitled by hatchethairy, on Flickr
 Untitled by hatchethairy, on Flickr
 Untitled by hatchethairy, on Flickr
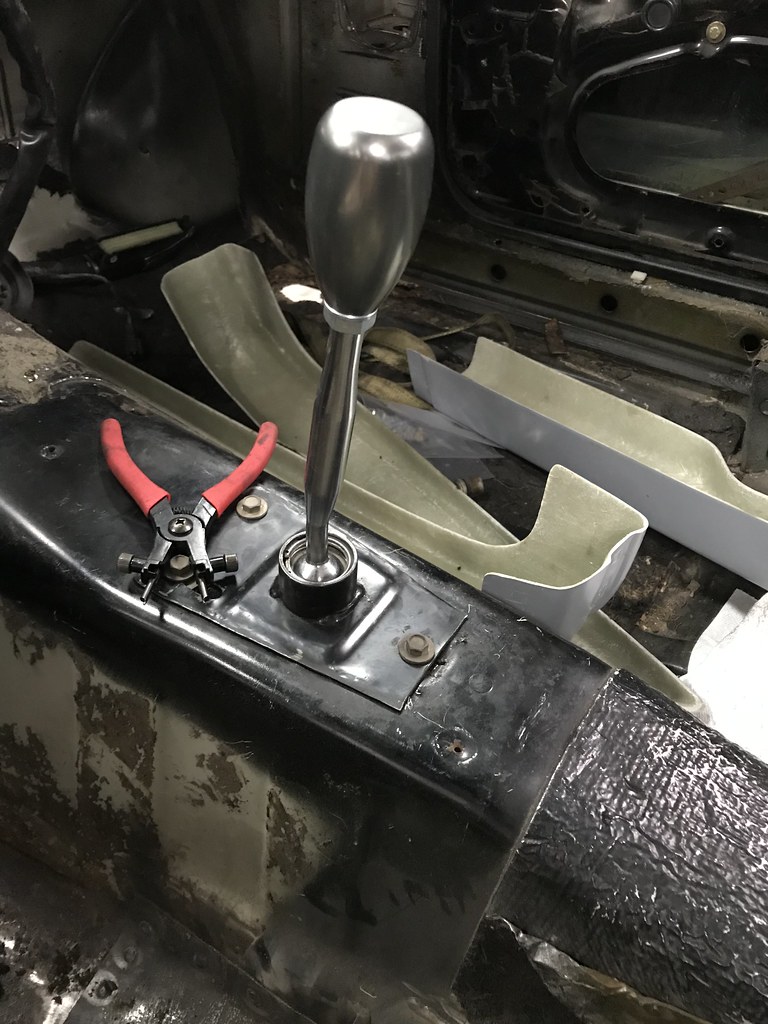 Untitled by hatchethairy, on Flickr
 Untitled by hatchethairy, on Flickr
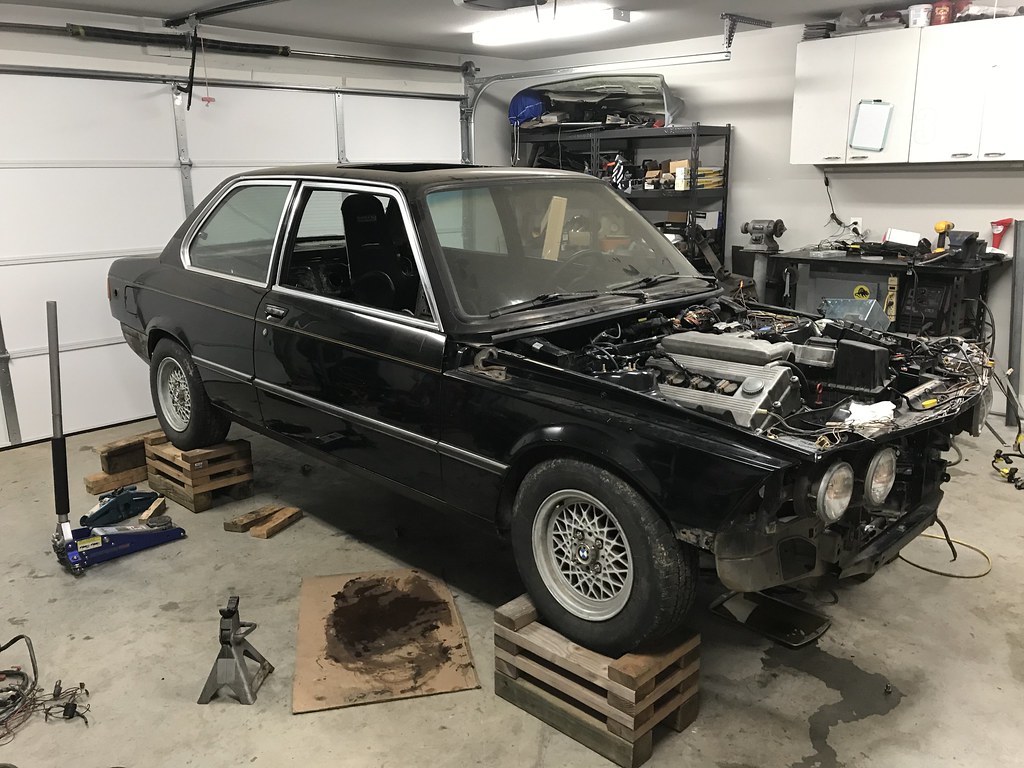 Untitled by hatchethairy, on Flickr
 Untitled by hatchethairy, on Flickr
 Untitled by hatchethairy, on Flickr
 Untitled by hatchethairy, on Flickr
 Untitled by hatchethairy, on Flickr
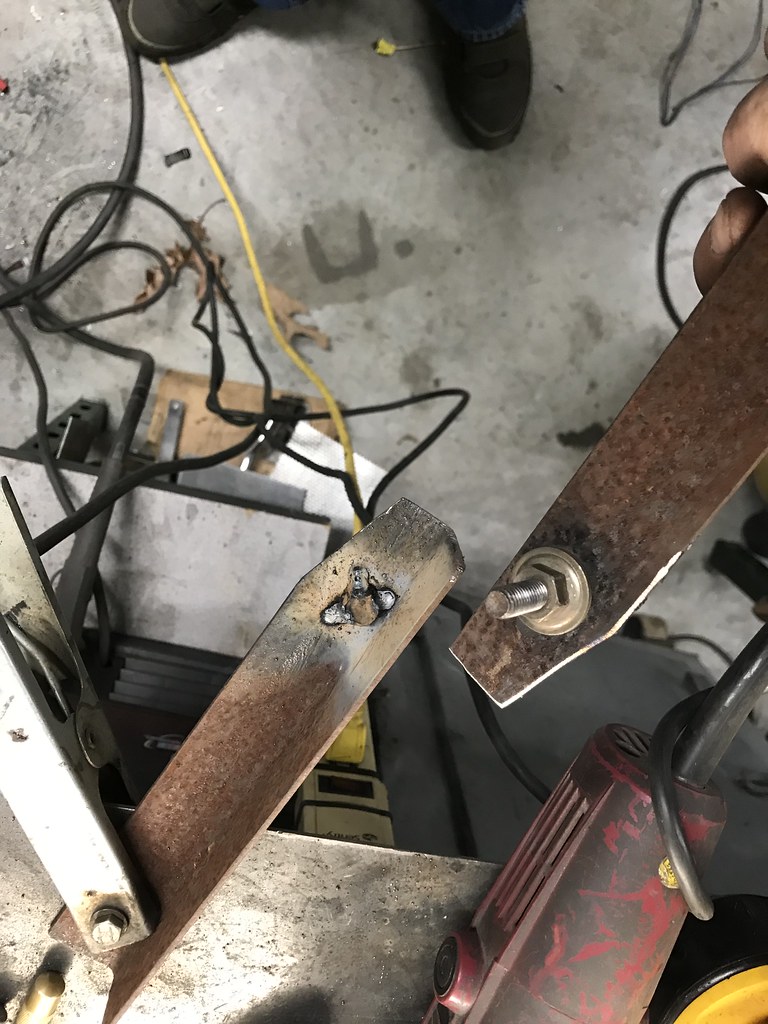 Untitled by hatchethairy, on Flickr
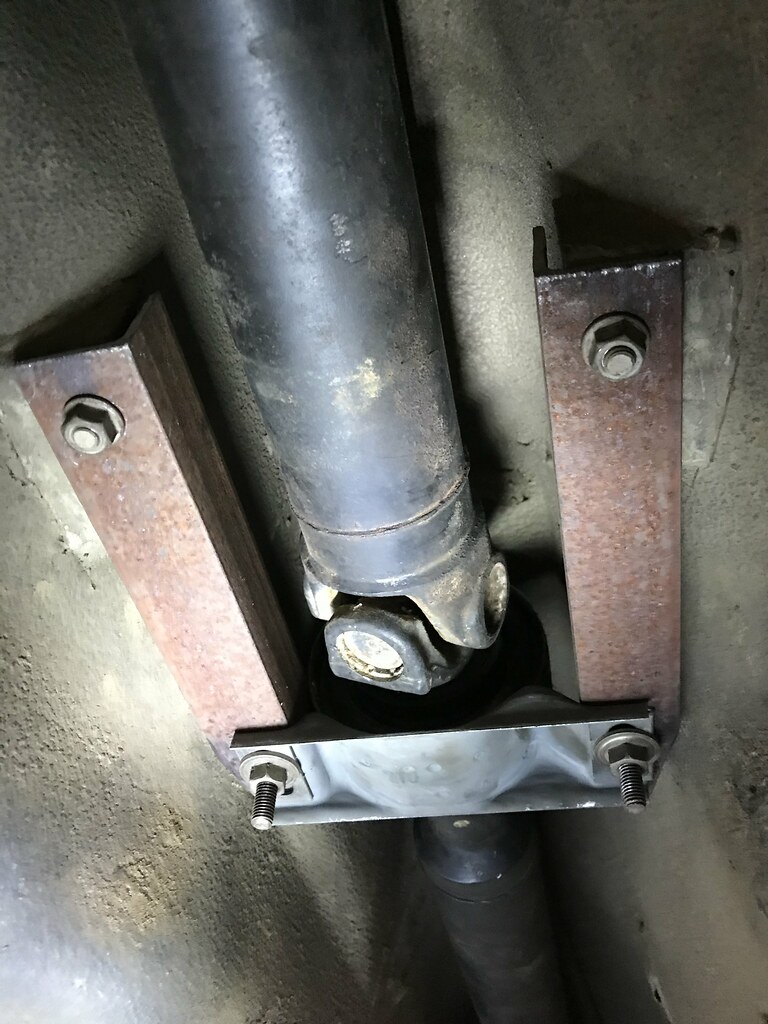 Untitled by hatchethairy, on Flickr
 Untitled by hatchethairy, on Flickr
 Untitled by hatchethairy, on Flickr
 Untitled by hatchethairy, on Flickr
 Untitled by hatchethairy, on Flickr

Comment