
Twenty years of baking in the sun & heat left me with an ugly rear deck. It was 3 shades of gray, and had non-functional speakers in it from sometime around 2001. I have overhauled my audio system extensively, and I do not use rear speakers. The only reason they were in there was to fill the holes.
Well, I finally decided to tackle the task of covering the rear deck with some nice new black cabinet carpeting so that it would match the other new upholstery I put in last year.
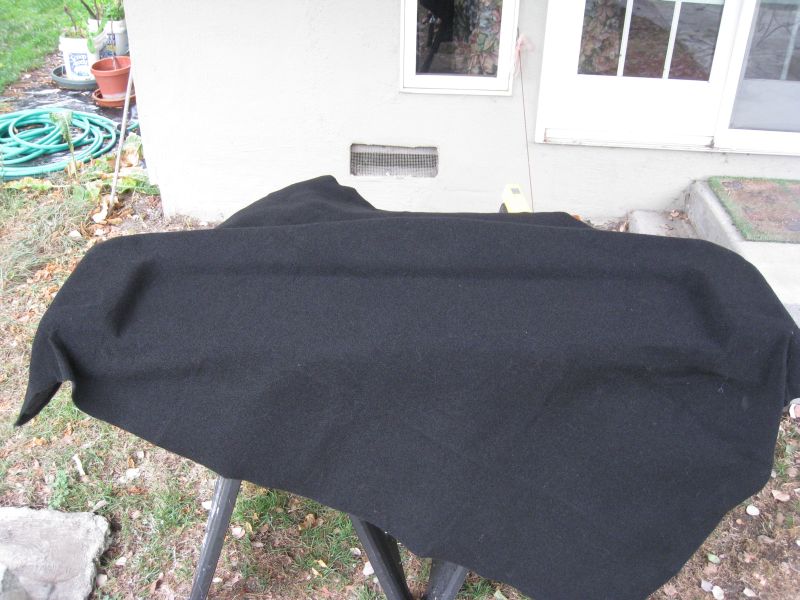
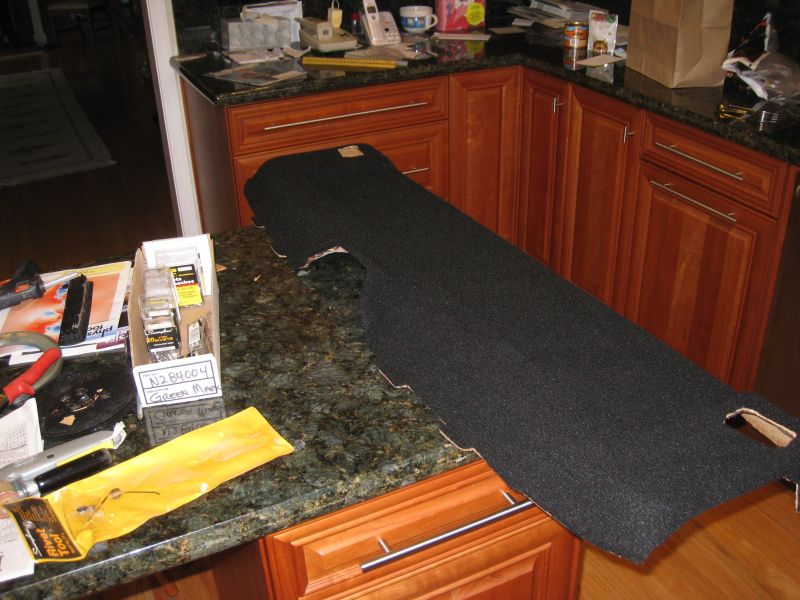
I used some black speaker carpet from Parts Express (no latex backing, that makes it too rigid to drape nicely). It was $5 for the 36"x54" piece I got. Anyway, pictures are more useful.
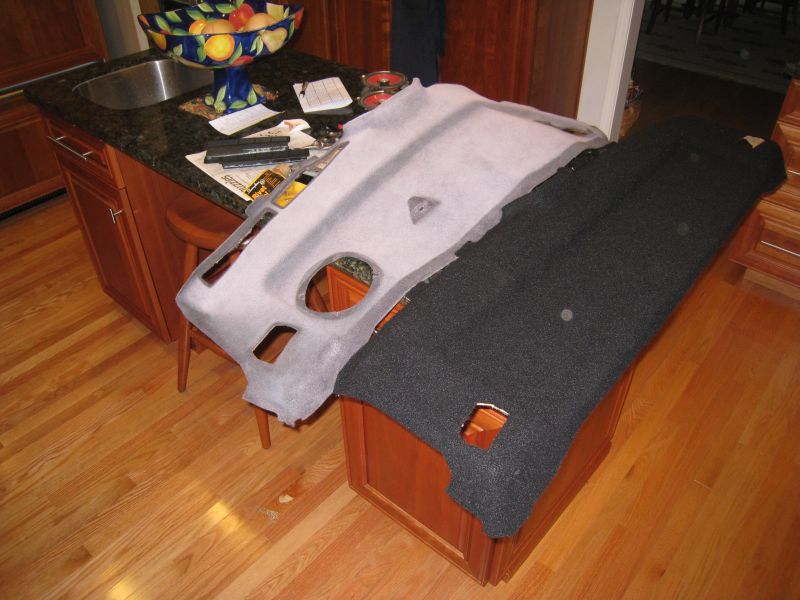
I started by skinning the deck. As with all cosmetic projects, it begins with you feeling a knot in your stomach..."man, I had better not mess this up." It won't come off cleanly, so be very careful to make sure that it isn't taking half the cardboard with it.
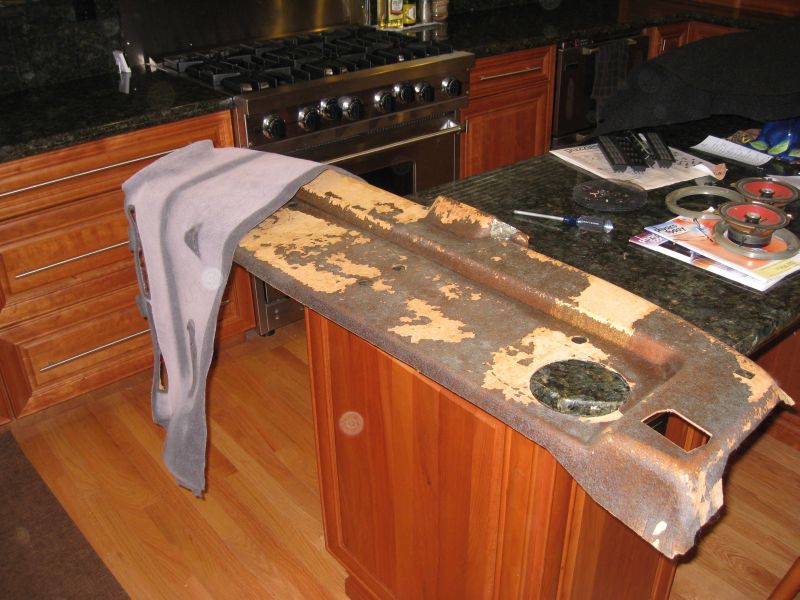
After getting all of the carpeting off, I rubbed it down with some isopropyl alcohol to get some gunk off, and then used some 2" painters tape to rip off the loose paper bits. I finished up with a shop-vac & a brush attachment.
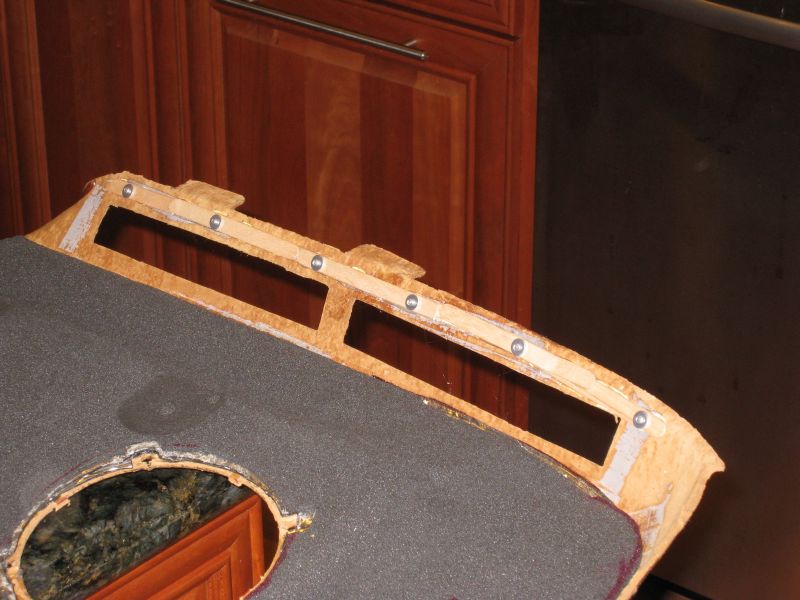
OK, I know this looks hokey. Yes, those are popsicle sticks, hot-glued & pop-riveted onto the thin cardboard sections. Those sections were totally warped from years of sun & heat, and the tabs never went into the slots in the rear bulkhead, and the plastic vents were always falling out. It turned out that popsicle sticks were the most suitable bits I found on-hand. Hokey, sure. But it works, and nobody will ever see it.
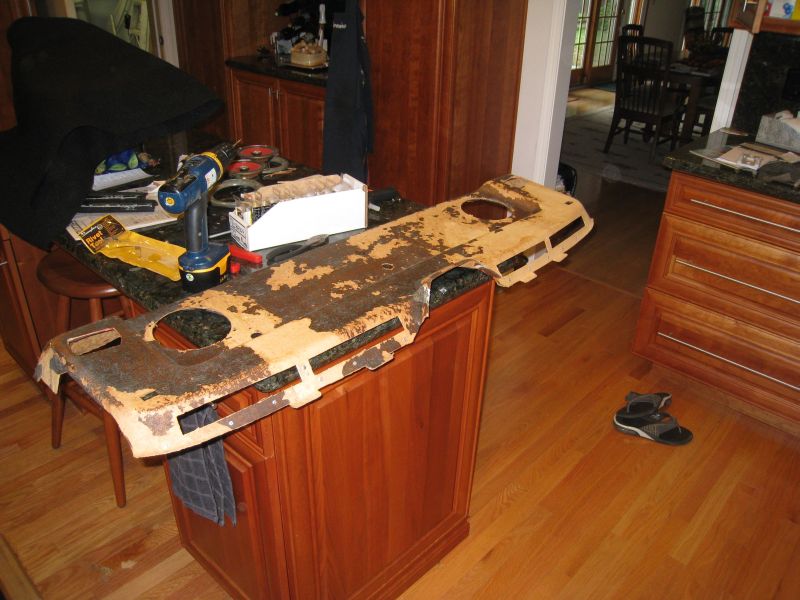
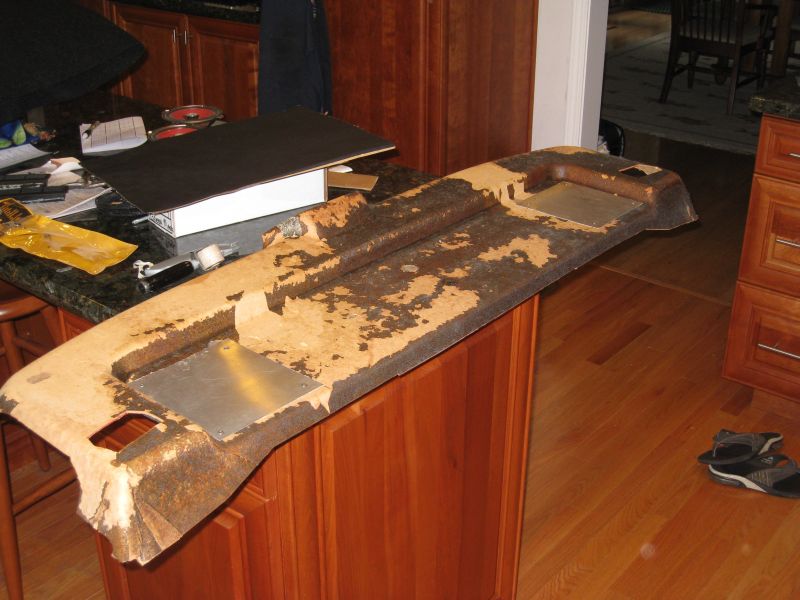
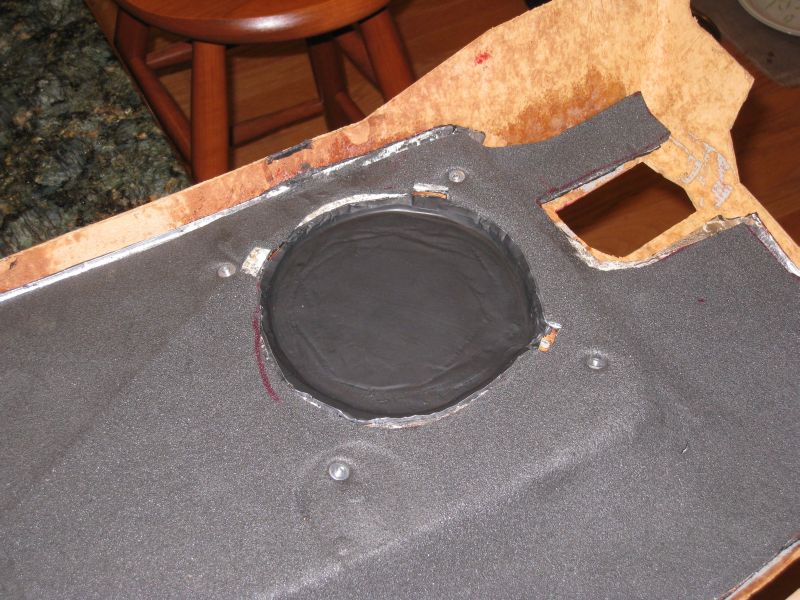
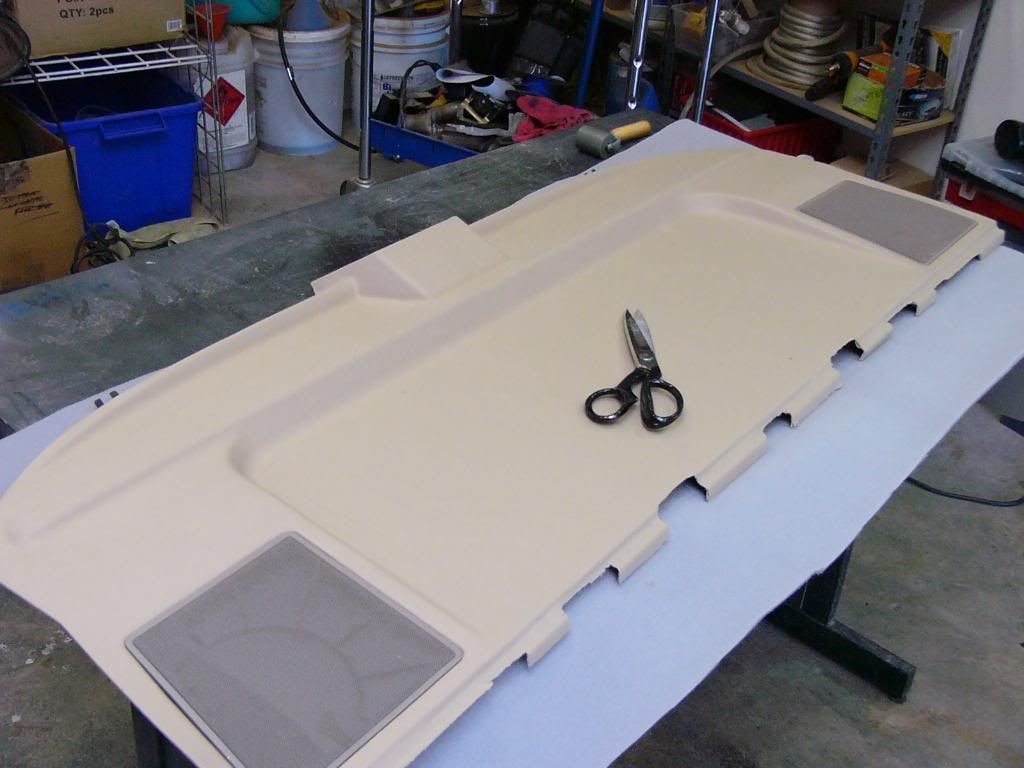
Next I needed to fill the speaker holes. I found some 18ga aluminum sheet, cut it to size, applied some spray adhesive & riveted it on.
The rear of the deck is covered with Damplifier & some 1/8" closed cell foam. I added Damplifier to the aluminum sheets to prevent unwanted noises.
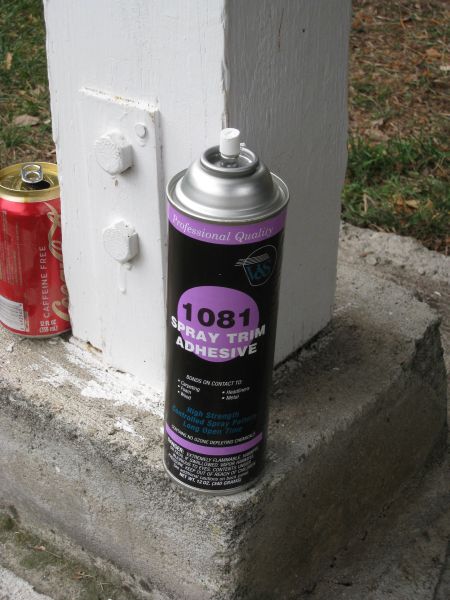
If you are ever in a position where you need to glue fabric, vinyl or other stuff that you do NOT want to have to worry about it falling off...this is the stuff for you. I have tried a variety of off-the-shelf 3M products over the years, and they all failed horribly.
The best results come when you apply this to both surfaces being joined, and let it sit for at least 30 seconds after spraying it before you mate the parts.
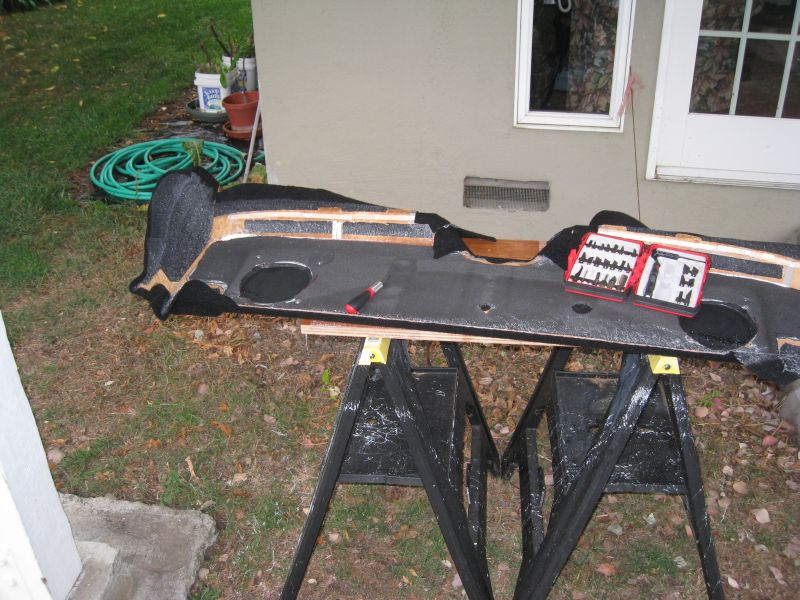
The point of no return...plan it all out in your head BEFORE you even take the cap off of the spray adhesive. This carpet draped very nicely. The only spots (2 of them) where it bunched up unavoidably are also spots that are 100% hidden behind the rear seat back. Once I trimmed everything else (at the end), I carefully cut off the bunched parts & aligned the edges. It is undetectable from 3ft away.
I applied the glue in 5 stages.
1) The big, lower flat area only, none of the vertical parts surrounding it.
2) Everything in front, left & right of the lower flat area, but none of the rear upper flat part.
3) Rear upper flat part & the vertical part coming from the lower spot.
4) The rear vent area & the brake light housing.
5) Flipped it over & got more of the brake light housing & any other spots that I missed along the edges.

After letting the glue dry for 20 minutes (the carpet is very breathable, this helps the glue to cure faster), trimming began.
An upholstery blade in an X-acto knife is suitable. Always cut when pulling INWARD. You want any forces that you put on the material you are cutting to pull it onto its substrate, not off of it!

I was mostly done...just needed to cut out the vents.
Yes, it looks a hell of a lot better than the old junk. Apparently I got some water spots on the camera lens...need to do something about that!
The vents sit in there much more nicely than they did before. I didn't trim the carpet out, only made slits, so the vents sit more tightly in there now.

So there it is. I didn't take any pictures of it in the car. It was dark out, and raining so any shots in the car would have been blown-out with the flash. You can see how much cleaner it looks now anyway!
Well, I finally decided to tackle the task of covering the rear deck with some nice new black cabinet carpeting so that it would match the other new upholstery I put in last year.
I used some black speaker carpet from Parts Express (no latex backing, that makes it too rigid to drape nicely). It was $5 for the 36"x54" piece I got. Anyway, pictures are more useful.
I started by skinning the deck. As with all cosmetic projects, it begins with you feeling a knot in your stomach..."man, I had better not mess this up." It won't come off cleanly, so be very careful to make sure that it isn't taking half the cardboard with it.
After getting all of the carpeting off, I rubbed it down with some isopropyl alcohol to get some gunk off, and then used some 2" painters tape to rip off the loose paper bits. I finished up with a shop-vac & a brush attachment.
OK, I know this looks hokey. Yes, those are popsicle sticks, hot-glued & pop-riveted onto the thin cardboard sections. Those sections were totally warped from years of sun & heat, and the tabs never went into the slots in the rear bulkhead, and the plastic vents were always falling out. It turned out that popsicle sticks were the most suitable bits I found on-hand. Hokey, sure. But it works, and nobody will ever see it.
Next I needed to fill the speaker holes. I found some 18ga aluminum sheet, cut it to size, applied some spray adhesive & riveted it on.
The rear of the deck is covered with Damplifier & some 1/8" closed cell foam. I added Damplifier to the aluminum sheets to prevent unwanted noises.
If you are ever in a position where you need to glue fabric, vinyl or other stuff that you do NOT want to have to worry about it falling off...this is the stuff for you. I have tried a variety of off-the-shelf 3M products over the years, and they all failed horribly.
The best results come when you apply this to both surfaces being joined, and let it sit for at least 30 seconds after spraying it before you mate the parts.
The point of no return...plan it all out in your head BEFORE you even take the cap off of the spray adhesive. This carpet draped very nicely. The only spots (2 of them) where it bunched up unavoidably are also spots that are 100% hidden behind the rear seat back. Once I trimmed everything else (at the end), I carefully cut off the bunched parts & aligned the edges. It is undetectable from 3ft away.
I applied the glue in 5 stages.
1) The big, lower flat area only, none of the vertical parts surrounding it.
2) Everything in front, left & right of the lower flat area, but none of the rear upper flat part.
3) Rear upper flat part & the vertical part coming from the lower spot.
4) The rear vent area & the brake light housing.
5) Flipped it over & got more of the brake light housing & any other spots that I missed along the edges.
After letting the glue dry for 20 minutes (the carpet is very breathable, this helps the glue to cure faster), trimming began.
An upholstery blade in an X-acto knife is suitable. Always cut when pulling INWARD. You want any forces that you put on the material you are cutting to pull it onto its substrate, not off of it!
I was mostly done...just needed to cut out the vents.
Yes, it looks a hell of a lot better than the old junk. Apparently I got some water spots on the camera lens...need to do something about that!
The vents sit in there much more nicely than they did before. I didn't trim the carpet out, only made slits, so the vents sit more tightly in there now.
So there it is. I didn't take any pictures of it in the car. It was dark out, and raining so any shots in the car would have been blown-out with the flash. You can see how much cleaner it looks now anyway!


Comment