Announcement

Collapse
No announcement yet.

Build Thread: 325iC Turbo - Total Restoration

Collapse
X
 
  • Filter
  • Time
  • Show
Clear All
new posts

    Build Thread: 325iC Turbo - Total Restoration

    All,

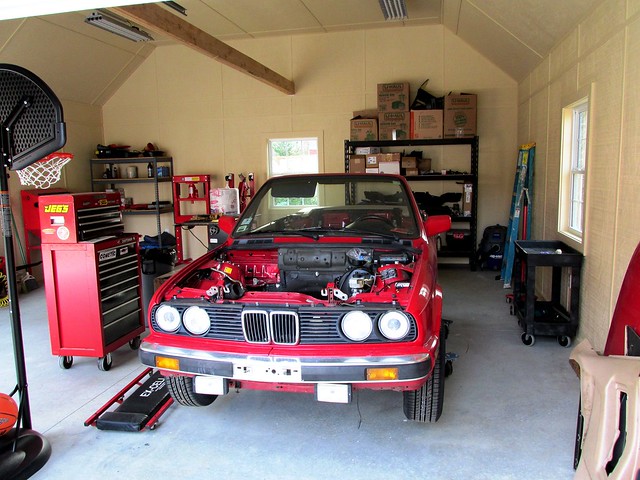
    We've been logging our E30 convertible restoration project over on Bimmerforums. We're trying to document everything as we go, so the next guy/gal can learn from us. Please feel free to browse the thread and provide replies!

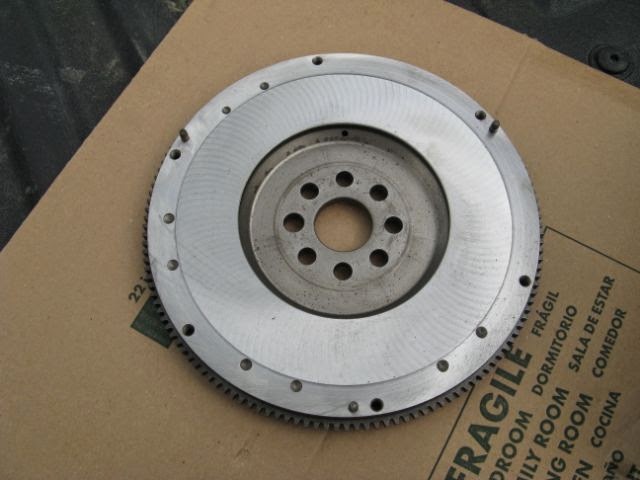
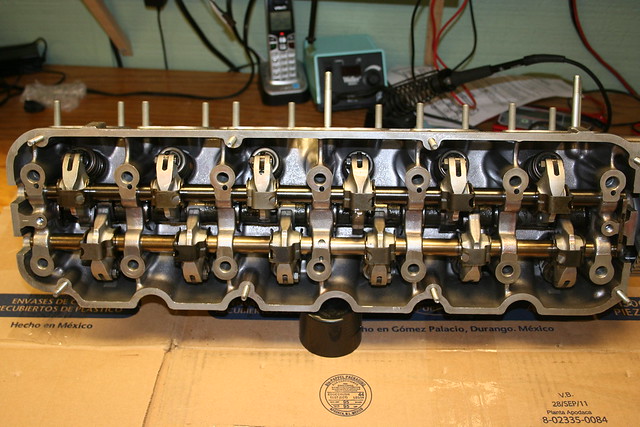
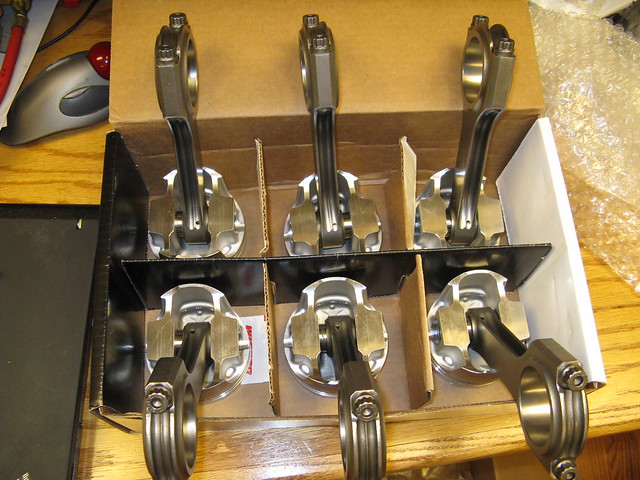
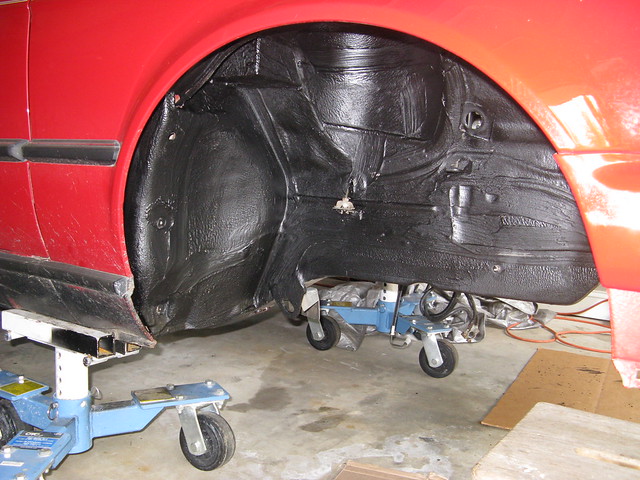
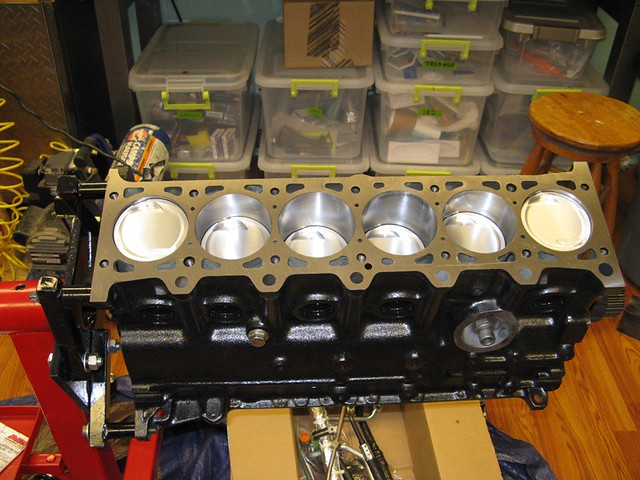
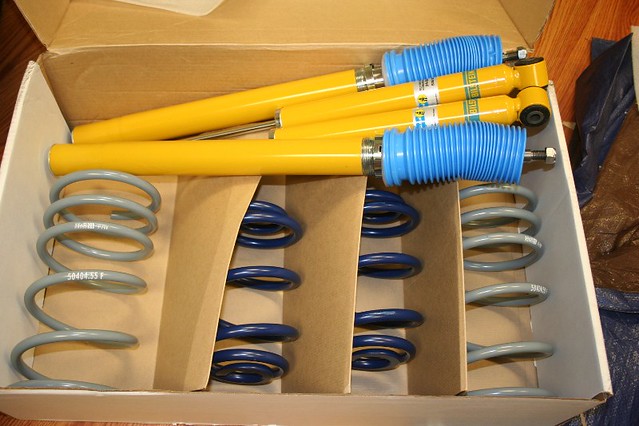
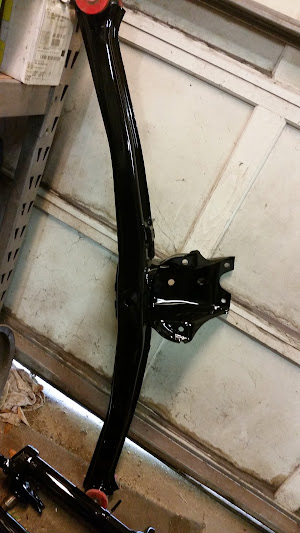
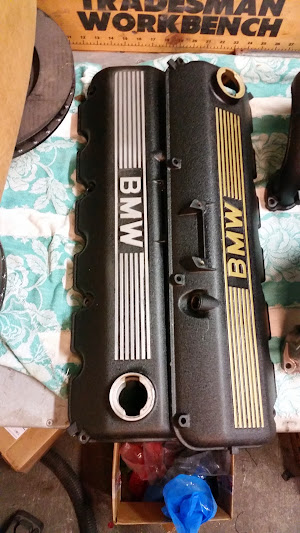
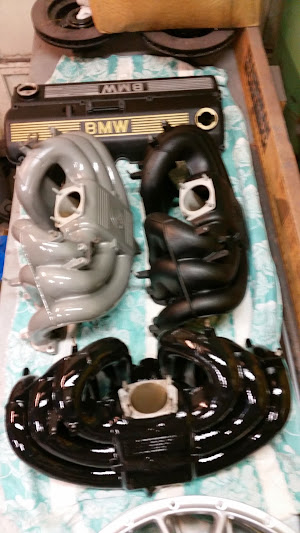
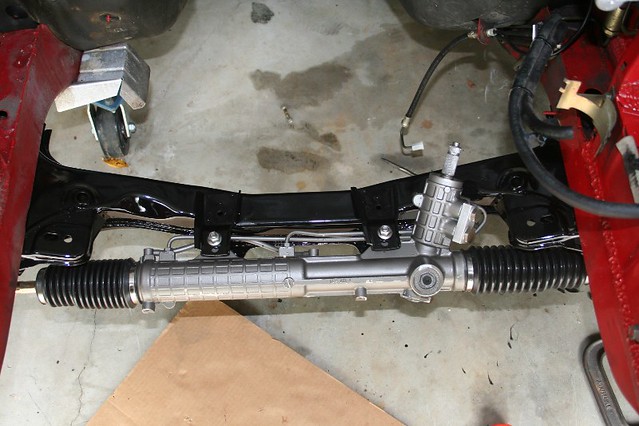
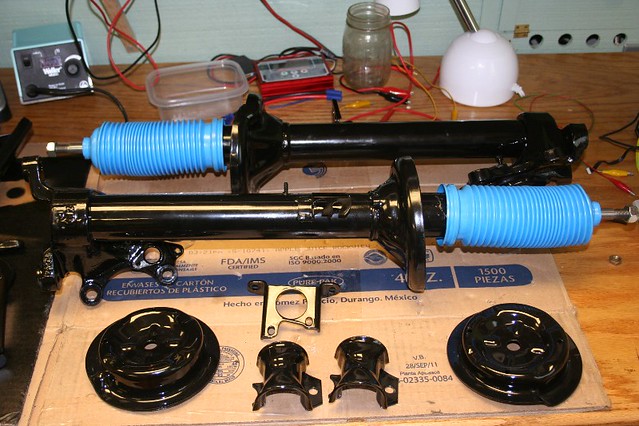
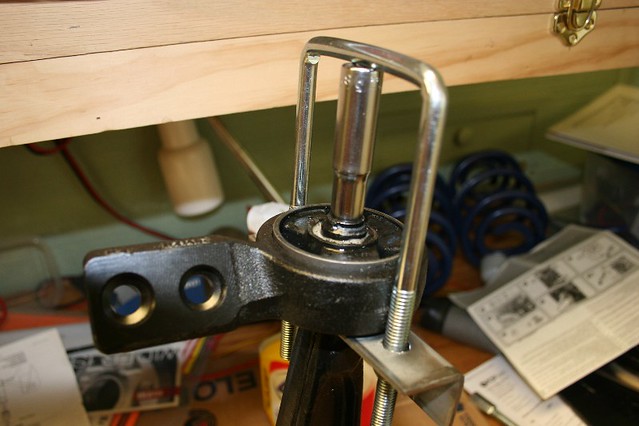
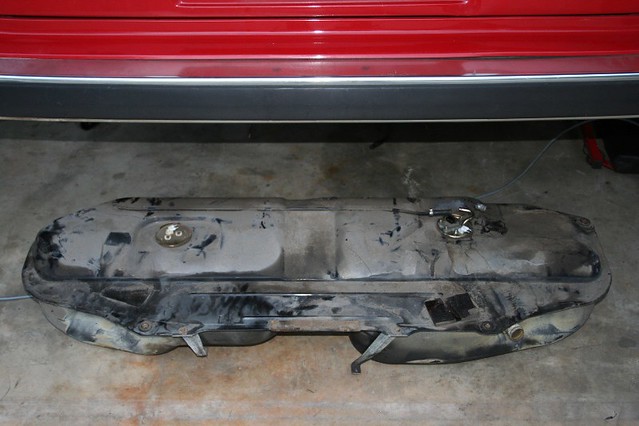
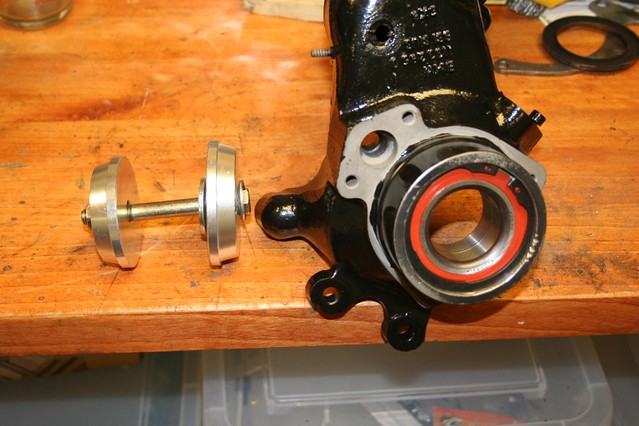
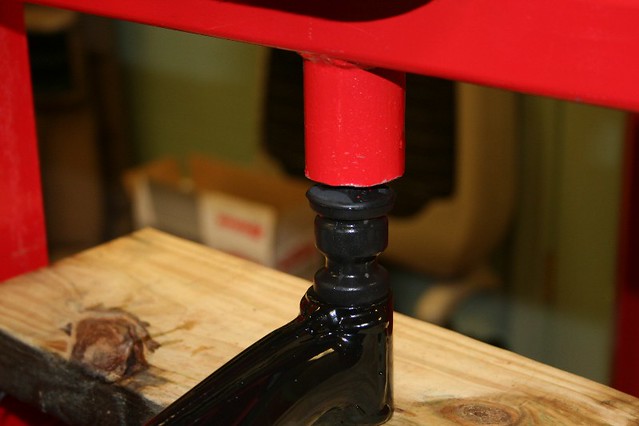
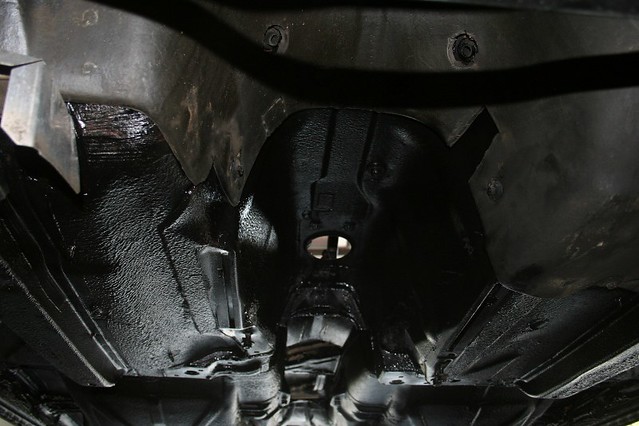
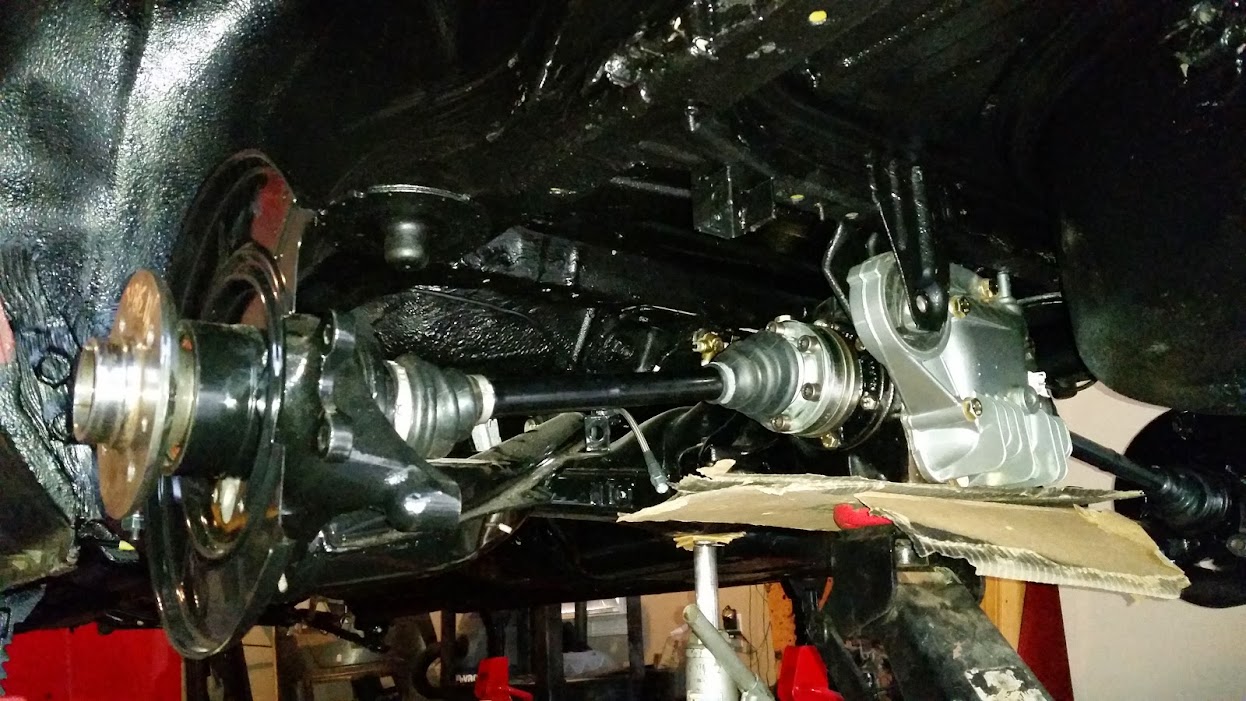
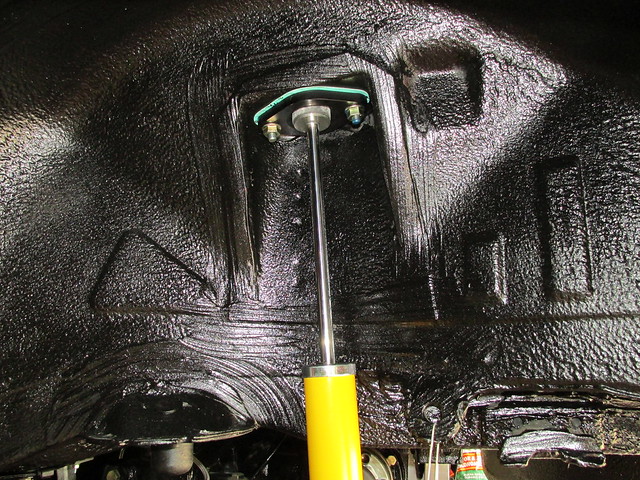
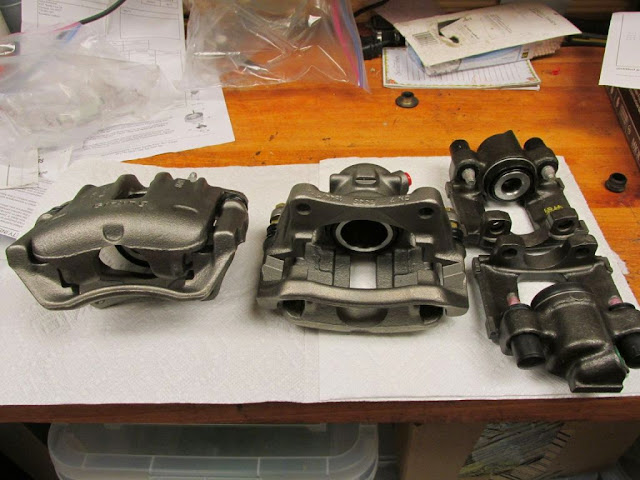
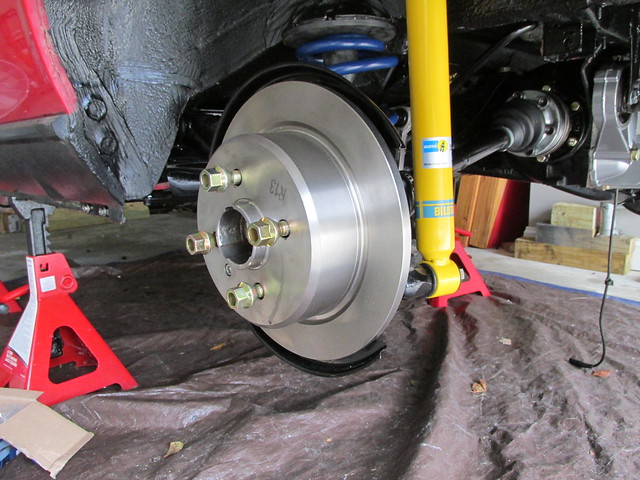
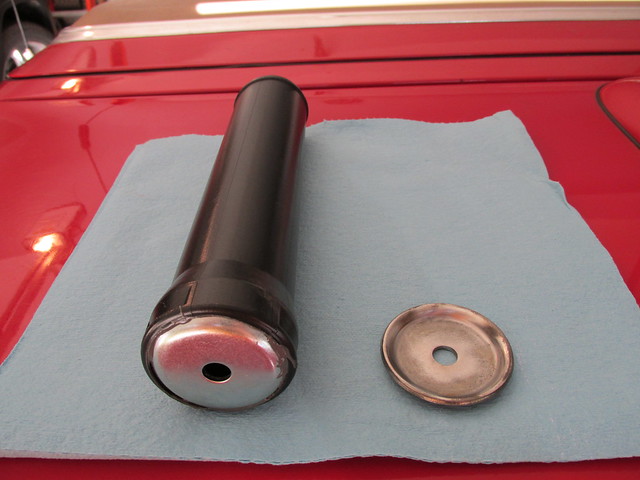
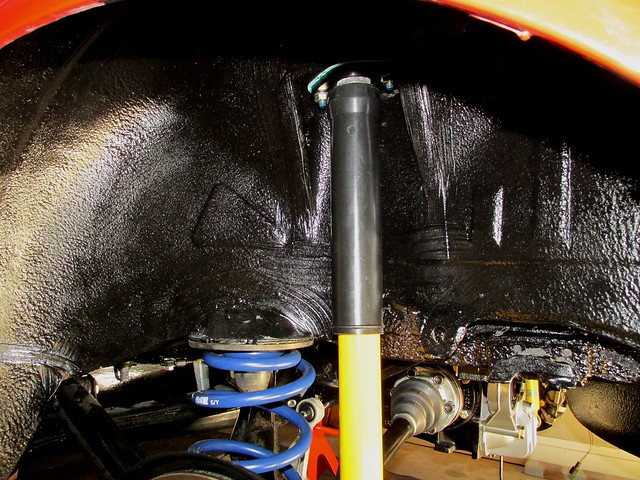
    So far we've finished rebuilding the suspension and brakes, redone the fuel system, and assembled the longblock with a Bimmerheads cylinder head and custom forged pistons. We're currently shopping for 42lb injectors and making some decisions on which turbo & manifold to go with. We're also thinking about which muffler to run - we'd like something aftermarket but with stock-like fitment.

    Thread: http://www.bimmerforums.com/forum/sh...on-engine-swap

    #2
    just started reading the thread, really impressive build!

    For an exhaust, I love my Stromung. Stock-like fitment and great build quality. It's not super loud either which works well for me in my cranky-HOA neighborhood.

    Comment


      #3
      Thanks for the tip, will check Stromung out. I'm thinking about mirroring the build thread over here, since the R3vlimited site gets a little more E30-specific traffic.

      Comment


        #4
        Today's updates:
        - Had -6AN fittings welded onto the stock fuel rail, painted in VHT Engine Gold Metallic
        - Asked someone to make me an extruded aluminum M20 rail with screw-on AN fittings. - - Ordered Aeromotive 13129 fuel pressure regulator & Marshall liquid fuel pressure gauge. - Brake calipers painted w/Eastwood red caliper kit (flash rusted after 1 month!)
        - Sent out throttle body for cosmetic polishing

        A few pics of things we've done:

        Here's the project car before we started on it - it was in great shape overall, just had a broken timing belt. But we were already building up a custom turbo M20 anyway!


        Floor was in great shape, no rust issues:


        Stock motor sold to a new owner:


        Current Appearance (11/27/14):


        Block machined:


        Flywheel surfaced:


        Finally found someone willing & able to install M20 intermediate shaft bearings (Eagle Auto Machine, Auburn GA):


        Ordered a Bimmerheads 885 M20 performance head with welded water jackets & turbo cam grind:


        Custom forged Wiseco pistons and Eagle forged rods from Modern Auto Performance!


        Donor was an auto, so obviously we had to fix that:


        A/C blower motor wasn't in the best shape...


        Neither was the motor housing, so we had to repair that:


        Overhauled the entire AC system, including a new condenser:


        And a new resistor pack:


        And new hoses:


        And a new evaporator:


        And a new dryer:


        Refreshed brake booster, new brake master cylinder & reservoir:


        Old suspension had to come out:


        Along with the old steering rack... and while we're at it, why not the crossmember:


        Oh, and maybe even the fender liners...


        We happened to have steering racks from both an '89 and a '91 325iC, both branded ZF. Just for comparison:


        Got some reman parts from Shane Morin (imwhyteyo), but quality wasn't quite what we were hoping for. At least looked clean! But eventually replaced.


        Had a bunch of stuff cleaned up & powdercoated. Before:


        Last edited by E34DIYer; 12-16-2014, 07:36 AM.

        Comment


          #5
          You're doing good work.
          ACS S3 Build / Dinan 5 E34

          Comment


            #6
            Painted the finders with Rustoleum Truck Bed Liner to prevent rusting:


            New Z3 steering rack from Rack Doctor:


            Pistons installed:


            Head installed:


            Bilstein/H&R Sport suspension pieces arrived:


            Stuff finally back from powdercoater (including stock springs, which I later sold):


            Wanted some options, so we took three intake manifolds:


            Powdercoated crossmember & Z3 rack installed:


            Front suspension almost ready to mount:


            Crank holder bar, so we could torque crank down:


            Lollipop bushings installed:


            All new!


            Starting to come together:


            Dropped the fuel tank so we could clean, paint, and have internally Red-Koted to prevent future rusting. Also needed it out of the way for fuel line replacement:


            More powdercoated stuff (stock rear springs later sold):


            Resealed, painted, & oiled 4.10LSD:


            Installed rear wheel bearings:


            Diff all done!


            We bought a bearing press so we could press in the trailing arm bushings:


            Since we had the fuel tank out anyway, we cleaned & painted the underside with more Truck Bed Liner:


            Decided to rebuild our own axles:


            Rear subframe assembly read to install:


            Old rear brake lines...


            New lines in place:


            Replaced brake & fuel hardlines too. Old:


            New (pre-bent but required a little fiddling):


            Fuel tank painted, Red-Koted, and reinstalled:


            Installing subframe... two jacks came in handy: One to hold main body, one to push up the nose of the diff and help get the angle right:


            Decided to use Rogue Engineering rear shock mounts:


            Rear suspension in place:


            Front brake kit:


            Front hubs were a bear to find!


            Reman brake calipers arrived:

            Comment


              #7
              So much good work in this thread, keep it up man!

              Comment


                #8
                Overhauled parking brake assembly while we were at it:


                Rear brakes in place...


                Rear bearings, rotors, calipers, & suspension installed:


                Front bearing going on:


                Akebono pad w/wear sensor:


                Front axle nut goes on at ~220ft-lb:


                Front brakes on:


                We bent a tab into the retaining clip:


                We didn't love how the rear suspension arm was exposed. Seemed like a magnet for dirt & grit to get pulled into the rear shock cylinder. So...


                Better!


                Wheel time. Went with 15x7 ESM 002's in Silver (not Platinum) Weren't 100% confident that the offset would work, so we double checked:


                Went with Yokohama Avid Tourings in 195/60/15:


                As we understand it, the front control arm lollipops really shouldn't be installed until the engine is in place, so the arms settle into their natural position. This lessens rotational friction inside the lollipop and leads to less bushing-chewing. So, we fabricated brackets to hold the control arms in place while we rolled the car to its new home in the detached garage:


                Before moving, we obviously wanted the brakes to work. Power-bleeding time:


                Comment


                  #9
                  Couldn't get one of the rear brakes to bleed. Turns out there was an obstruction in the BRAND NEW braided line we bought from Ireland Engineering. We (carefully) drilled out the piece of lodged metal, which appeared to be part of some tool used to hold the line open while the fitting was crimped on:


                  Brakes installed, car moved into its new home:


                  New fender liners arrived. But notice that barely a month after installation, the reman calipers are flash rusting!!


                  Obviously we can't have that, so we used an Eastwood caliper paint kit to fix things up:


                  Ordered a billet underdrive alternator pulley from Ireland Engineering. Slightly larger (5") than stock (2.5")!


                  Decided on 42lb Bosch Green Giants. No longer manufactured (?!), but fortunately Fuel Injector Connection is 30 minutes from me. Picked up a flow-matched set, brand new!


                  Checked on the bottom end to make sure nothing was flash rusting. So far so good...


                  Thinking about fuel system. Looking at using tube-to-AN adapters to get from the hardlines to/from the fuel rail:


                  For the rail itself, I'm simultaneously pursuing two options. Option 1: had a welder friend modify the stock rail with -6AN fittings:


                  If you send me your stock fuel rail and $100, I can have this done to your rail too!

                  Which I then painted in VHT Engine Metallic, Gold Flake:


                  Option 2 is to have an extruded aluminum rail fabricated. I'd like to have the fabricator create properly-fitting L-brackets, which I would then weld on.

                  Also ordered an Aeromotive 13129 fuel pressure regulator and Marshall liquid-filled fuel pressure regulator gauge:


                  I plan on attaching the regulator directly to the rail.

                  We're also going to have the throttle body cosmetically polished. Not that it doesn't look awesome as it sits today:


                  We've also ordered a 90 degree remote oil filter relocation adapter. Hope to have some pictures of that soon.
                  Meanwhile, I'm looking at turbo options. I'd like a bottom-mount cast turbo manifold, like TCD's model. Let me know if you have/know of one in good used condition.
                  We'll hopefully be painting the engine bay soon too.
                  Last edited by E34DIYer; 12-16-2014, 08:28 AM.

                  Comment


                    #10
                    I was reading this bad boy over on bf.c, fucking nice work!

                    Comment


                      #11
                      Amazing attention to detail.

                      Comment


                        #12
                        Looking down the road, we're thinking of using a coil pack for wasted spark w/Megasquirt. Let me know if you have recommendations for the following:

                        -6-tower coil pack
                        -Distributor blanking plate/cover
                        -DIY spark plug wire-making supplies

                        Comment


                          #13
                          uh, the front axle stub doesn't actually spin.

                          otherwise, nice build.

                          to blank out the distributor you can seek out a L-Jet 323i timing belt cover.
                          cars beep boop

                          Comment


                            #14
                            No, but we didn't want anything moving around and messing up our torque reading. I'll start hunting for a 323i timing cover.

                            Comment


                              #15
                              Great work! Love the attention to detail, cleaning up and paint/powder on all the parts is great!

                              Comment

                              Working...
                              X