If this is your first visit, be sure to
check out the FAQ by clicking the
link above. You may have to register
before you can post: click the register link above to proceed. To start viewing messages,
select the forum that you want to visit from the selection below.
CEP - BMW E30 Body kits MTech 1, AC Schnitzer, Zender. Price drop!
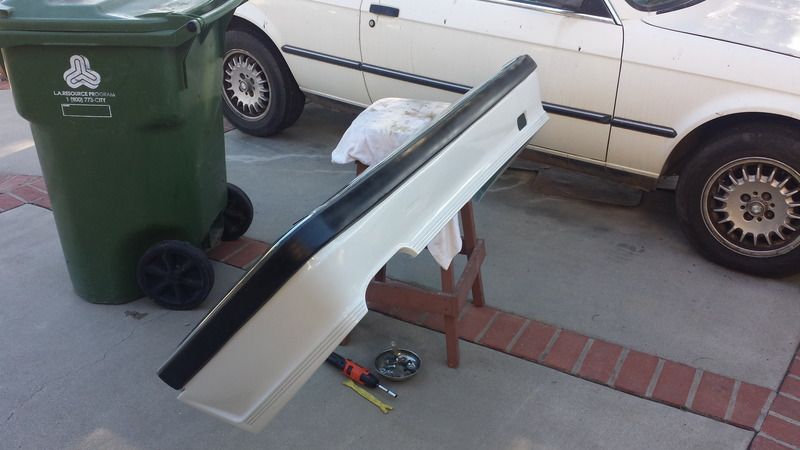
Well I took some time this weekend to try to fit the MTECH 1 side skirts that came with my kit, and in the end they are pretty much unusable without heavy fiberglass modification. As stated above they do not attach on the top by drilling holes in the rockers, so classiceuroparts tells you to glue them. The bottom is supposed to work with the stock hardware.
That is the least of your worries. These skirts are so wavy and is nearly impossible for them to lay flat against the car. You will have BIG gaps all the way down. REELIZMPRO had to use white caulk to fill in the gaps on his car. This is unacceptable to me as far as quality, but they are rep fiberglass skirts.
I guess I will sell them to someone that has more time than me and ill buy the factory "IS" side skirts for my build.
Jus an FYI for anyone looking to get these. The front and rear bumpers fit really well for me.
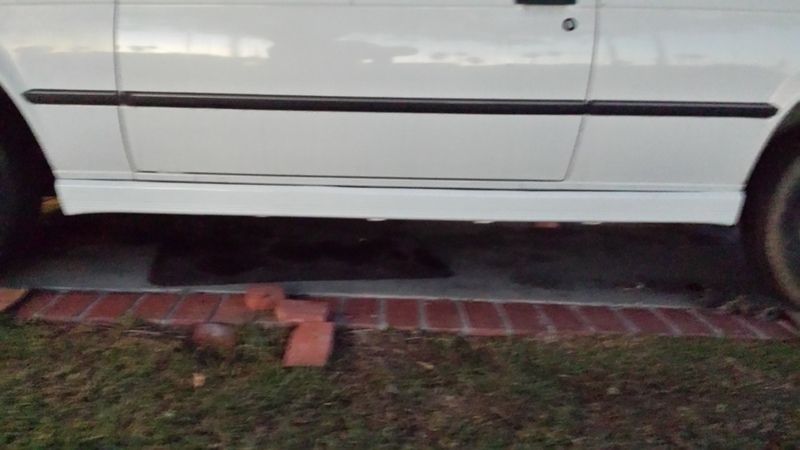
I know the disappointment you feel...believe me. It was a big let down after the excitement about the front/rear basically looking OEM. They should have made a 1:1 copy of the original skirts and let us decide how to mount it. Then the top edge would at least be consistent. Since installing the skirts, I paid more attention to cars online with M tech 1 and noticed the same type of gaps on some. Also I think if the lower sills were body color it wouldn't be as noticeable but white on black sticks out like a sore thumb so I had to do something about it.
I'm so glad i found this thread and it's current. I'm total New bee so cut me some slack if you don't I'll.
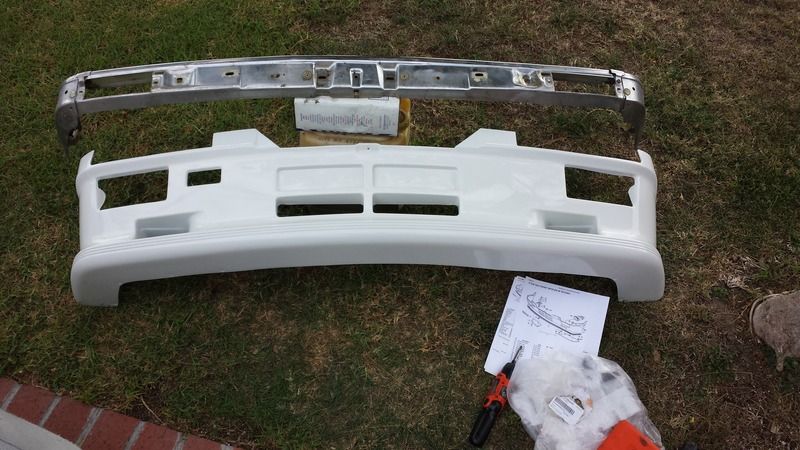
Just got my M Tech 1 front spoiler a few days ago. Mine is grey and looks like the one described by CEP as the most updated. Also got my early euro valance from CEP a month ago. All will be painted and installed once the rain subsides in SoCal. Will post photos.
I have couple questions though:
1. since PlastiFlex is still fiberglass, is there a special prep needed to keep it durable over time before it's painted and installed? Any reports on durability?
2. Does anyone have an install guide (similar to the one was posted for the rear)? I'm not sure what connects to the air ducts and how. My current front valance is the standard US diving board kind from 1987 with a rounded bottom attachment.
Thanks!
Here are the front MTech 1 spoiler install instructions:
Well I took some time this weekend to try to fit the MTECH 1 side skirts that came with my kit, and in the end they are pretty much unusable without heavy fiberglass modification. As stated above they do not attach on the top by drilling holes in the rockers, so classiceuroparts tells you to glue them. The bottom is supposed to work with the stock hardware.
That is the least of your worries. These skirts are so wavy and is nearly impossible for them to lay flat against the car. You will have BIG gaps all the way down. REELIZMPRO had to use white caulk to fill in the gaps on his car. This is unacceptable to me as far as quality, but they are rep fiberglass skirts.
I guess I will sell them to someone that has more time than me and ill buy the factory "IS" side skirts for my build.
Jus an FYI for anyone looking to get these. The front and rear bumpers fit really well for me.
I'm so glad i found this thread and it's current. I'm total New bee so cut me some slack if you don't I'll.
Just got my M Tech 1 front spoiler a few days ago. Mine is grey and looks like the one described by CEP as the most updated. Also got my early euro valance from CEP a month ago. All will be painted and installed once the rain subsides in SoCal. Will post photos.
I have couple questions though:
1. since PlastiFlex is still fiberglass, is there a special prep needed to keep it durable over time before it's painted and installed? Any reports on durability?
2. Does anyone have an install guide (similar to the one was posted for the rear)? I'm not sure what connects to the air ducts and how. My current front valance is the standard US diving board kind from 1987 with a rounded bottom attachment.
Thanks!
Originally posted by reelizmpro
Sure, not a problem.
Being in the US, few people have installed this kit. The euro bumpers complicate the issue as they are multi piece and require different hardware to mount the M tech front/rear bumpers. You will need these m tech "T" bolts instead of clips. They sandwich the front/rear aprons between the bumper and the trim. Research the M tech 1 thread on this forum and read the BMW M tech 1 installation manual to see what needs to be done. It will help.
An issue I had was that my euro bumpers were banged up and bent so the kit would not fit right. I had to spend some time straightening the bumper enough so that the spoiler would mount correctly and straight.
With the rear it takes some time to get everything lined up. You'll need 15 "T" bolts/clamps for the rear. Once torqued they will eliminate any gaps.
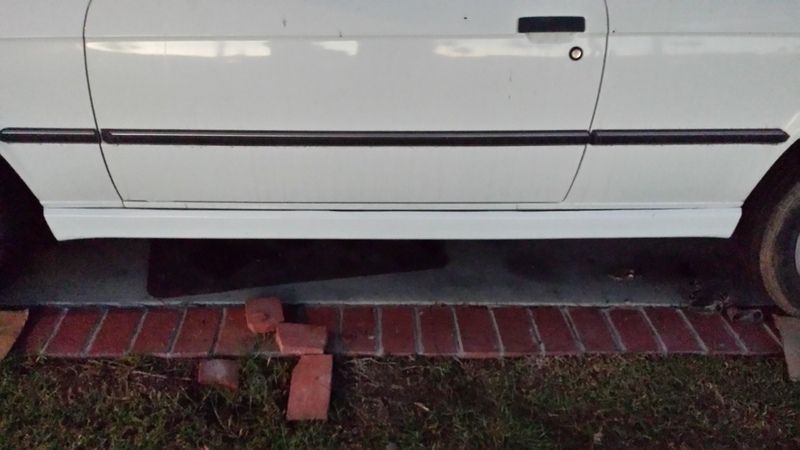
Shows the line between the body and the skirt. This was most disappointing...
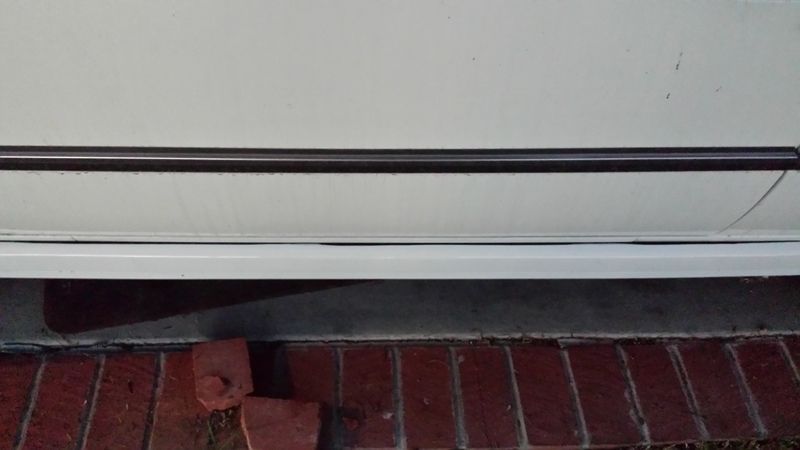
With white caulking...ahhh much better. I guess that's the price we pay for not having to drill holes in the sills.
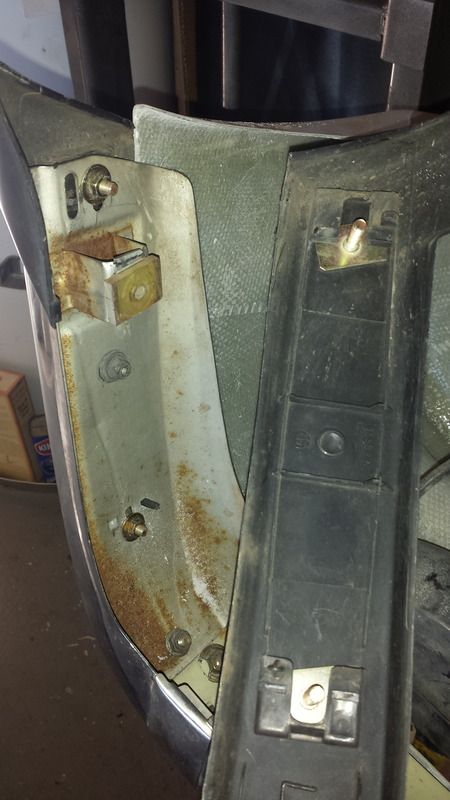
Then there's also the trimming of the front and rear bumper end caps...
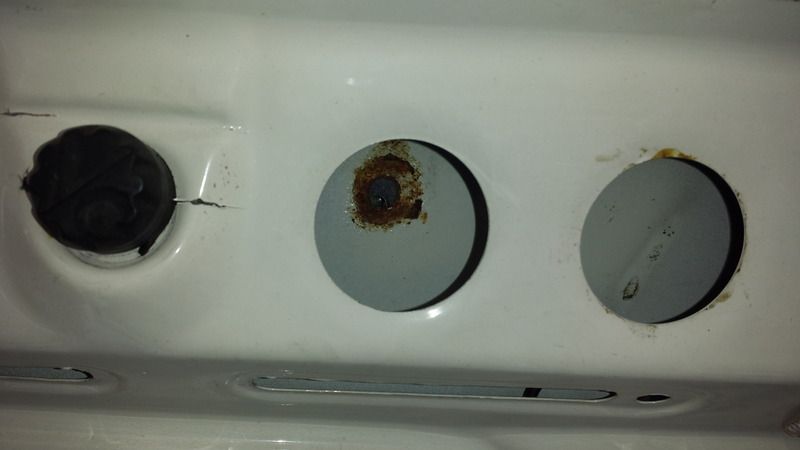
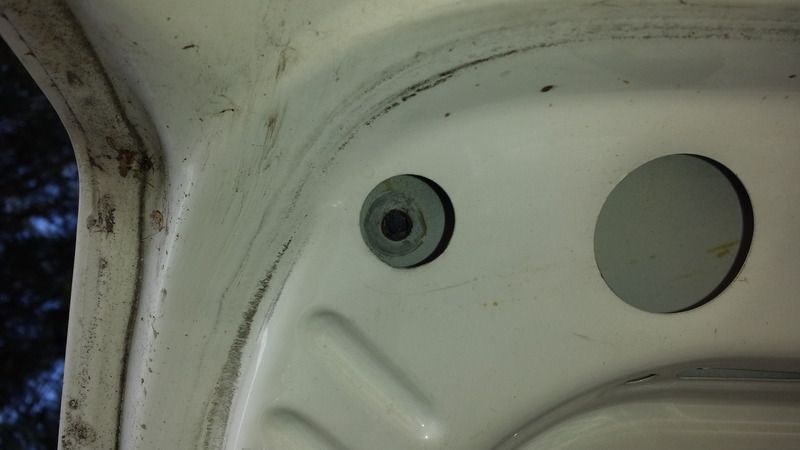
This picture shows one of the trunk spoilers holes being off. 2 of them were way off and I couldn't use them. They were on the left side of the car.
I'm loving all the discussion and images. Anyone try out the convertible mtech 1 skirts yet? Very interested in those, but nervous after seeing the wavy skirts posted above.
You have to not only trim the bottom of the rear caps but also remove material from the inside. It's all in the installation manual. Good tip about the elevator bolts. I had no idea what they were called.
for the mounting, I could not find the T bolt things in stock at FCP/ECS. I found some other websites that had them, but really didn't want to pay 3 bucks a bolt. I ended up using ELEVATOR BOLTS to install these. They can be had at lowes/home depot for like 50 cents. they worked really well actually
I knew I had to trim the bottoms of the end caps on the front, but did not know I had to trim them off on the back. This is the reason why I have a huge gap. Please see picture
I will get this trimmed up. Ill also include pictures from my kit for anyone that's interested.


Leave a comment: