-
Through and through!.. wanted them axles newer than new! Lol.
I thought the perches for the springs get lowered on coilovers? That might pose an issue for the inside tire on the fronts, unless the spring diameter gets more narrow? Ill have to look into it better.. I havent really put any thought into that part quite yet. -
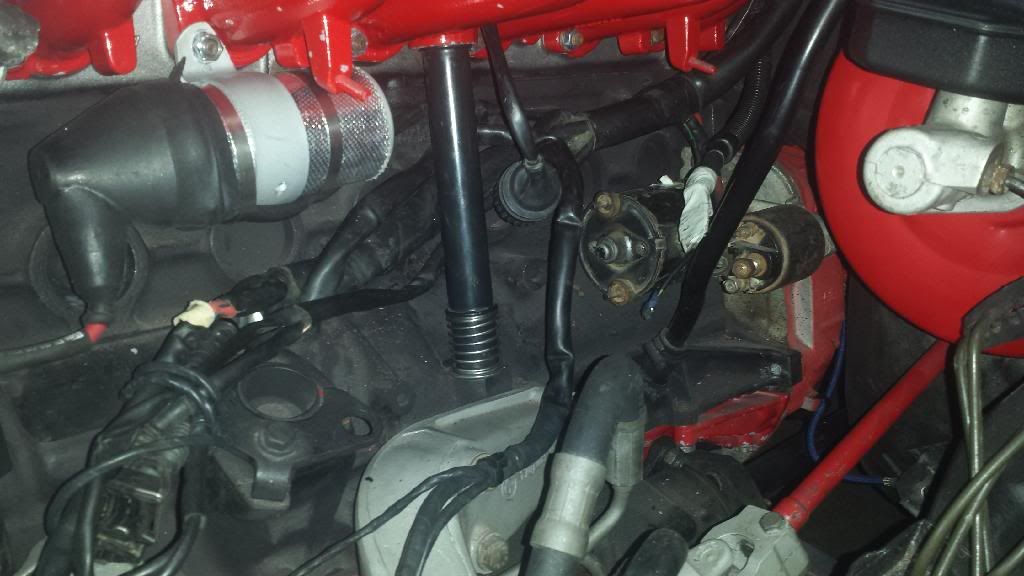
Yes! Man I was baning my head against a wall trying to figure out how that was going to work, I didnt want to tap into the ic piping again where it already seemed it would be getting plenty of vaccum from the two main hoses. Thanks for thar I didnt know. Would have saved me a few hours of planning if I did! Lol. Thanks. Coil idea seems like it should be a good spot for now. Ill be going wasted spark someday, but this setup should last the summer anyway.Leave a comment:
-
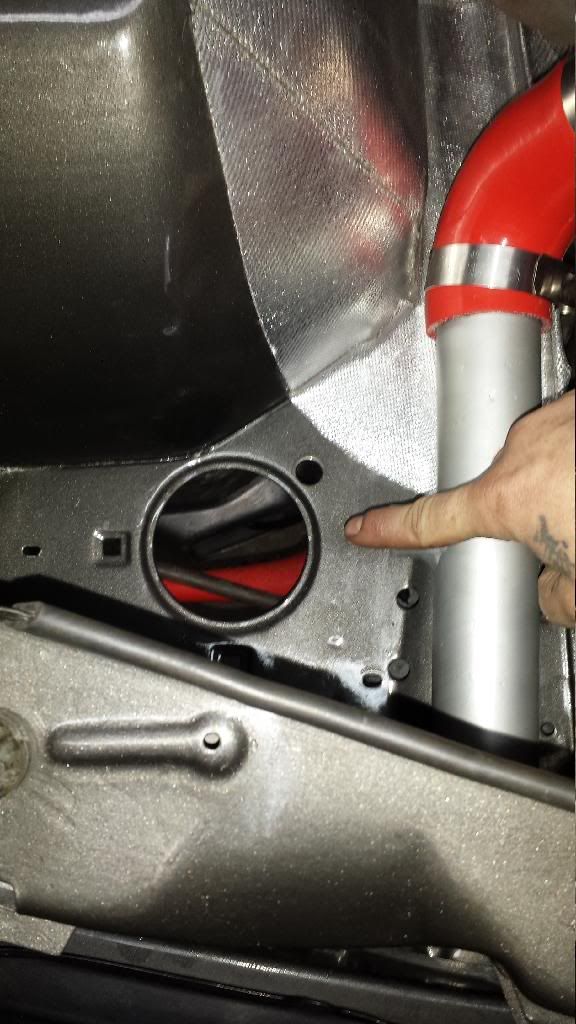
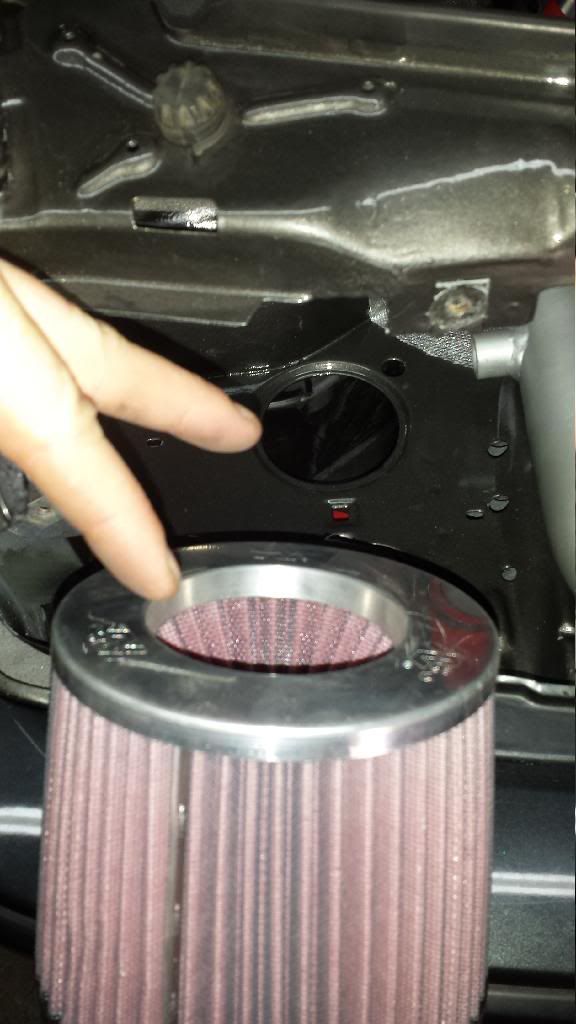
At least with this design I can have some cooler air entering the engine bay, and I will make a baffle and drain of some sort so no water or dirt/dust reaches up in there, only outside air. My plan anyway, is to have the brake duct mounted solid, and put a temperature sensor there so I can read ambient intake air temps.. and have a second sensor right before the turbo so its actually in the engine bay reading engine ambient temps. The lcd discplay I have monitors up to 4 different outputs, so I might put one on the throttle body side as well somewhere close to where the throttle butterfly is. Monitoring the teansitions of air will be a good peice of mind, but I know it wont be necessary. Also I find this design beneficial to the extent it will allow me to properly mount a diverting valve instead of an atmospheric blow off valve. Help eliminate stalls, and keep that turbo moving! (To a certain degree. ;) ) heres what Im trying to acheive anyways.. :
Plain jane boring turbo mounted intake:
Better idea:
IsLeave a comment:
-
what's modified about the brake booster? did you eliminate the "Y" thing? only some cars came with those so you should be fine.
never seen a coil mounted there before, good thinkingLeave a comment:
-
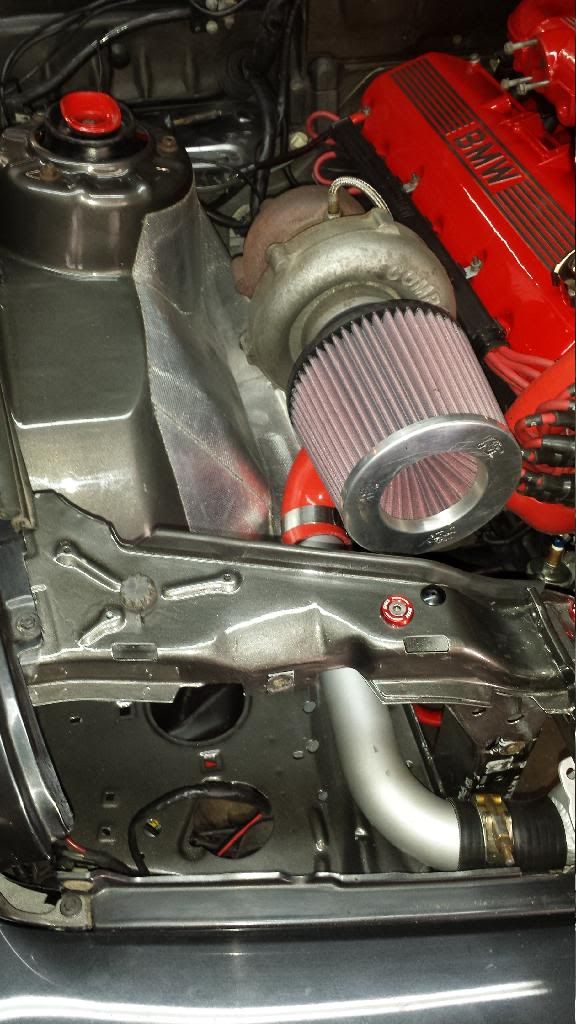
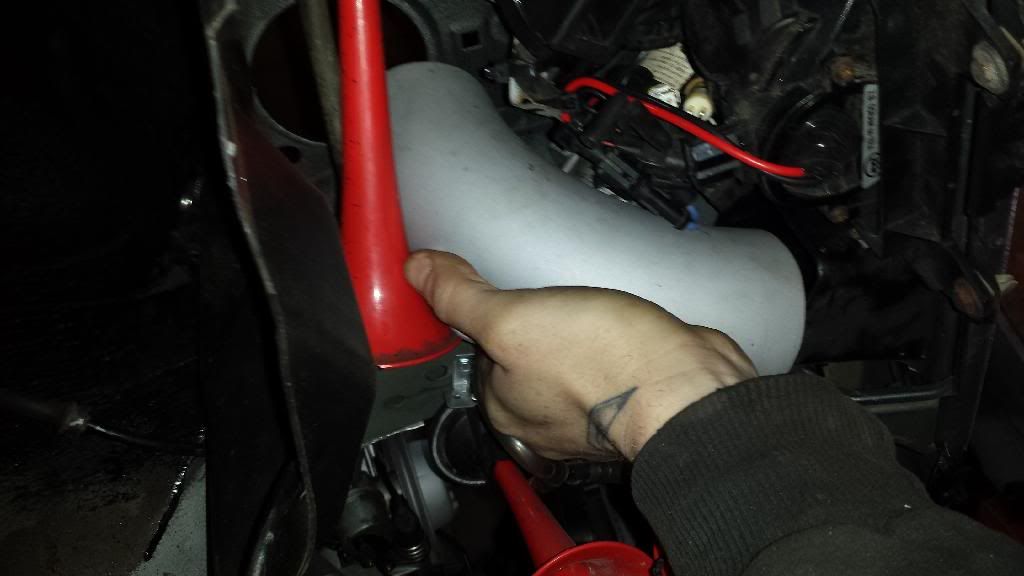
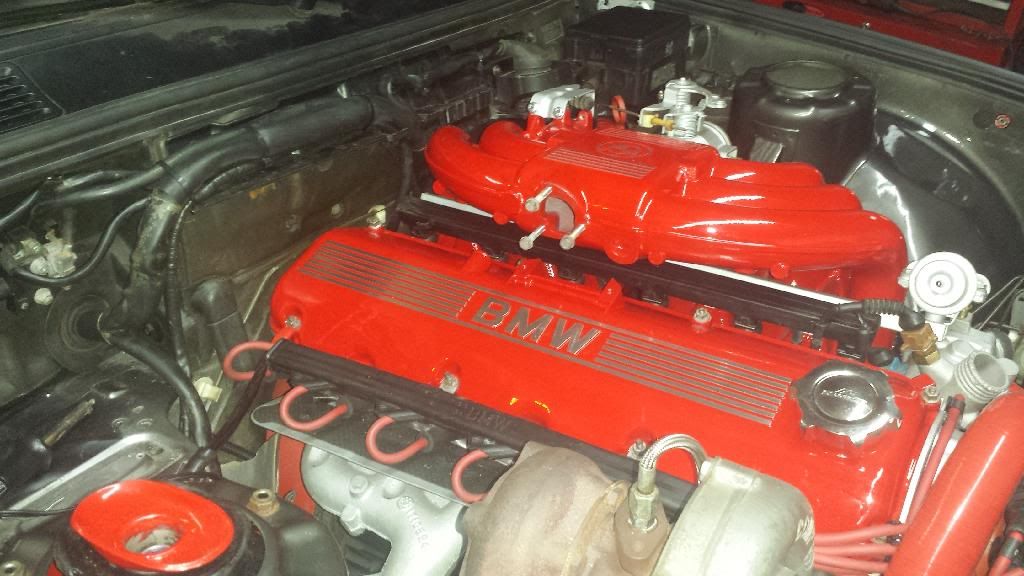
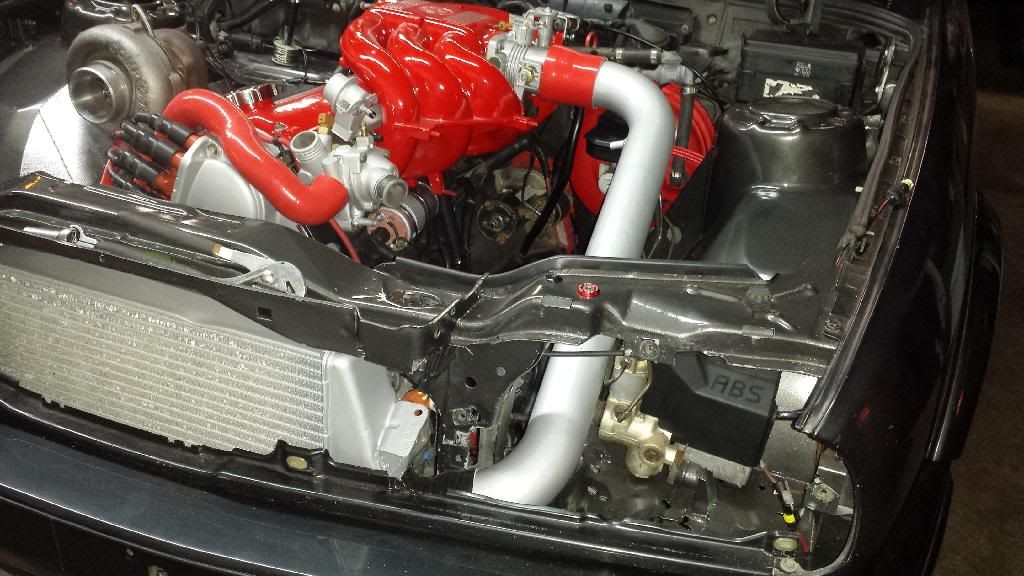
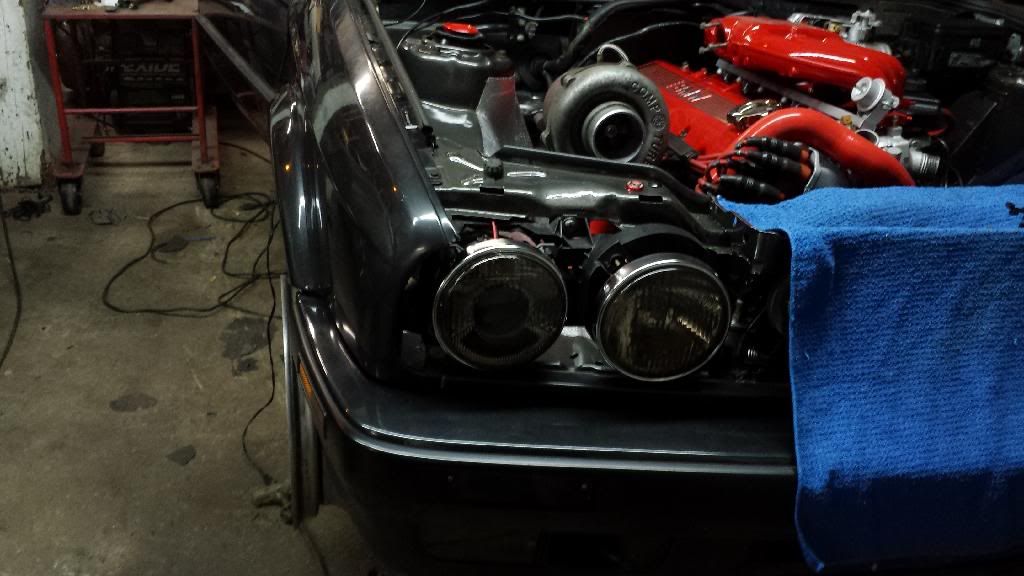
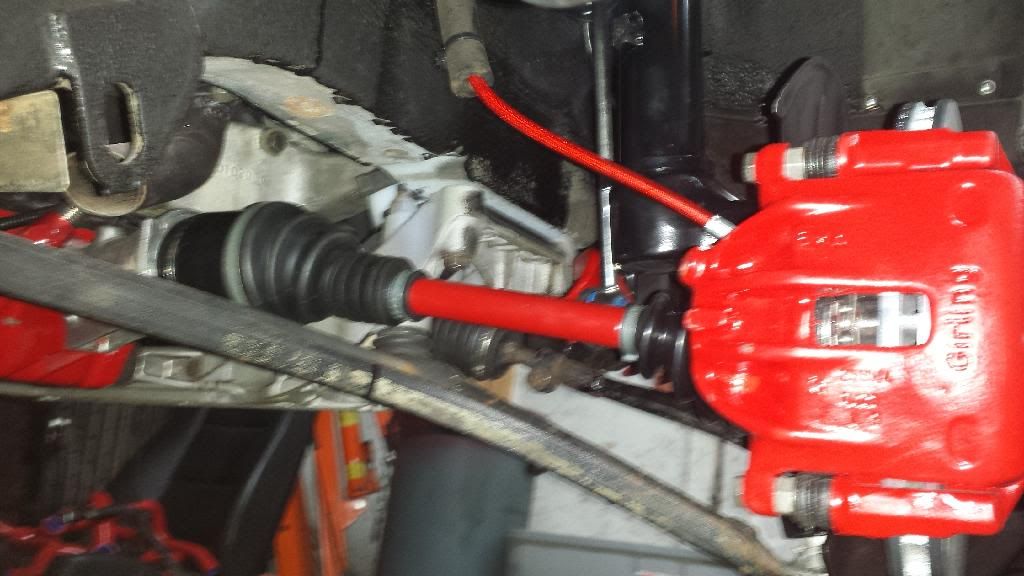
Wire assorting. Cleaning, tucking, routed modified brake vooster lines (someone verify this setup will work?) And finally finished my intercooler piping. Mocked up for the meantime until I finish the wiring, fuel lines, alternator, and power steering. Have a look! Share your thoughts!.
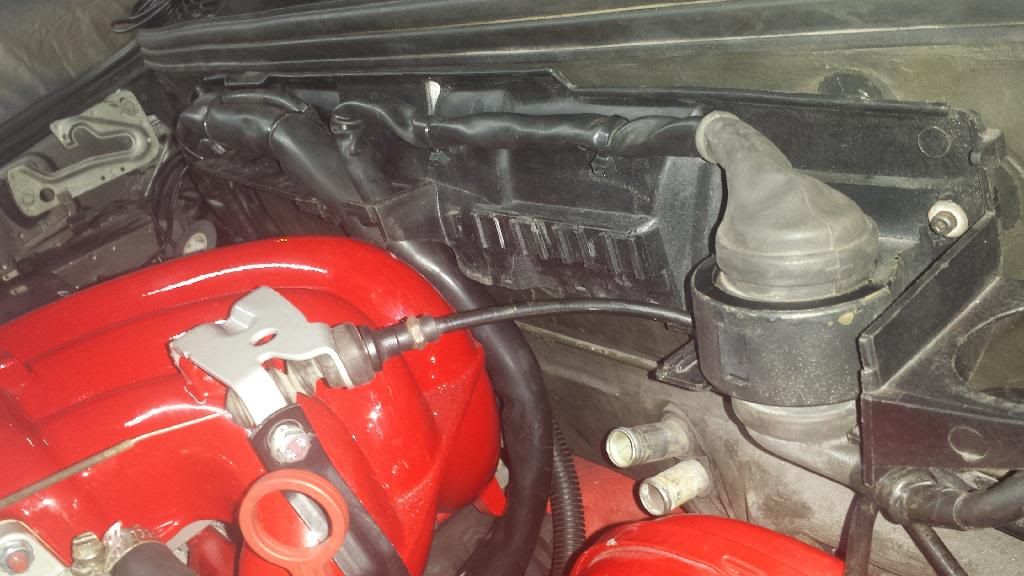
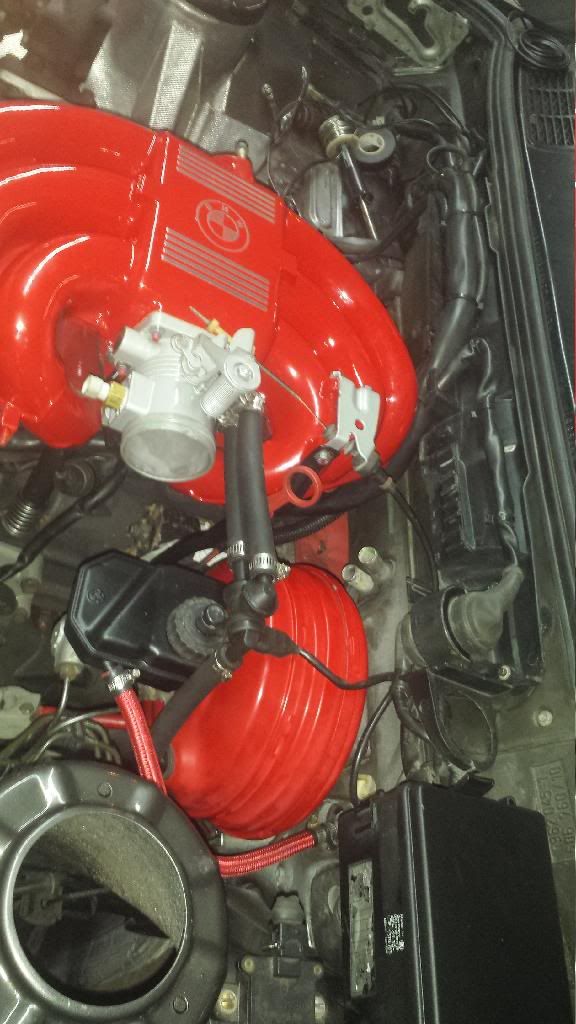
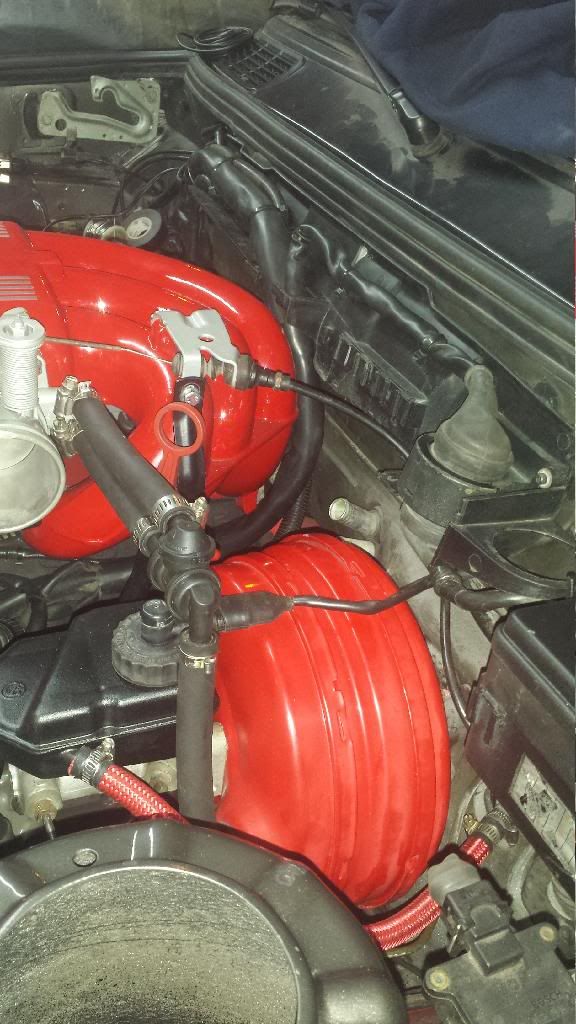
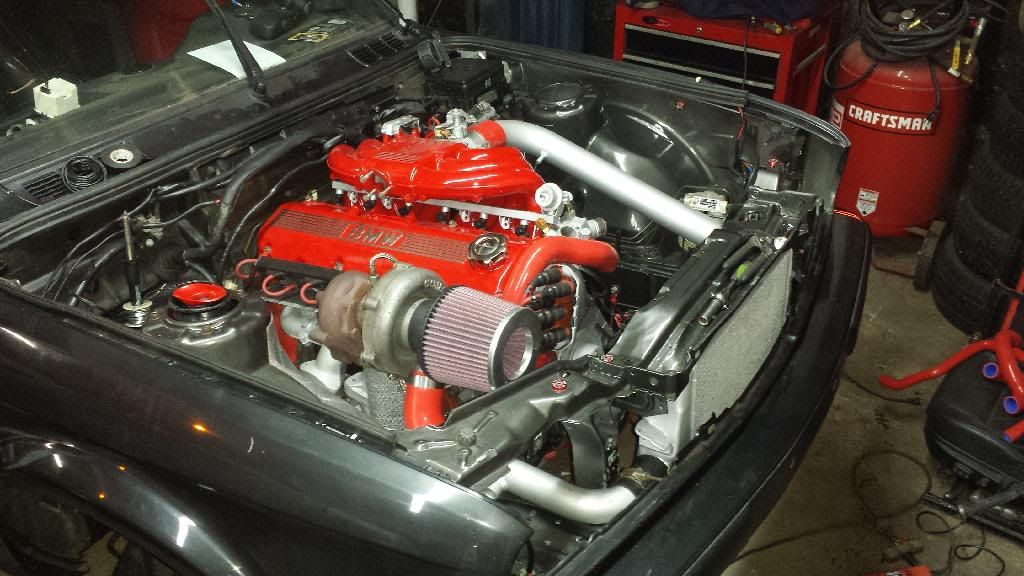
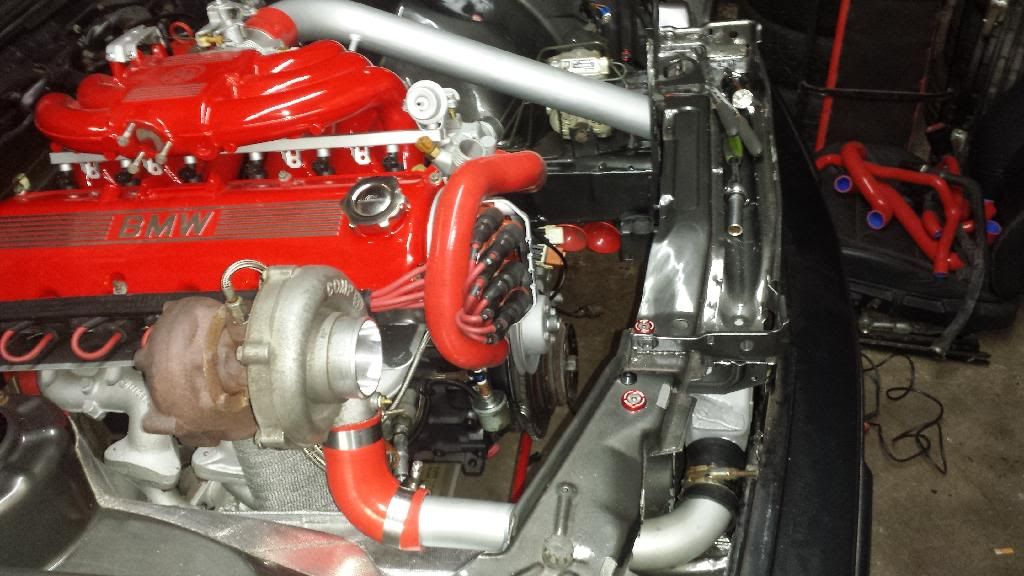
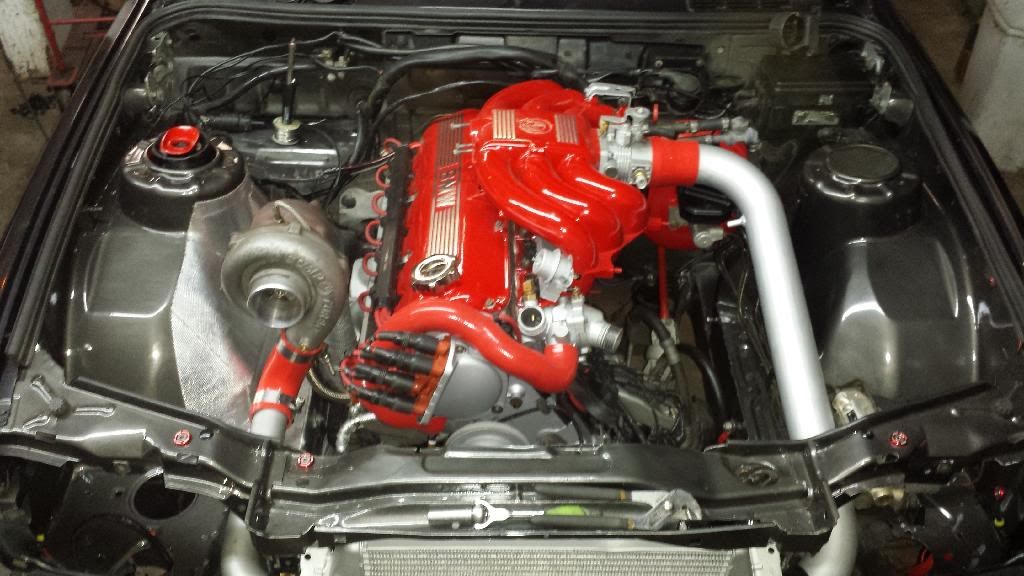
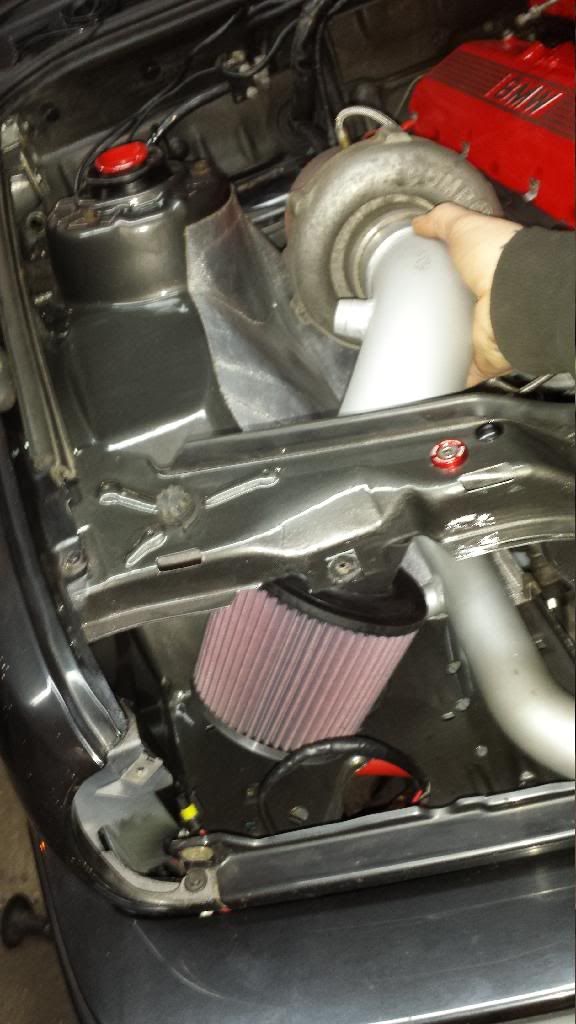
Originally intended for the intake filter to mount directly onto the turbo, but I might make a 45 bend and have it alittle further from the turbo itself. Want to keep the heat away from it, although I dont think ill make a heat sheild box, I might have the passengers side brake duct shoot some fresh air up into it from the hole in the frame rail panel, heres a quick idea of what I mean.. anybosy suggest anything else..?Leave a comment:
-
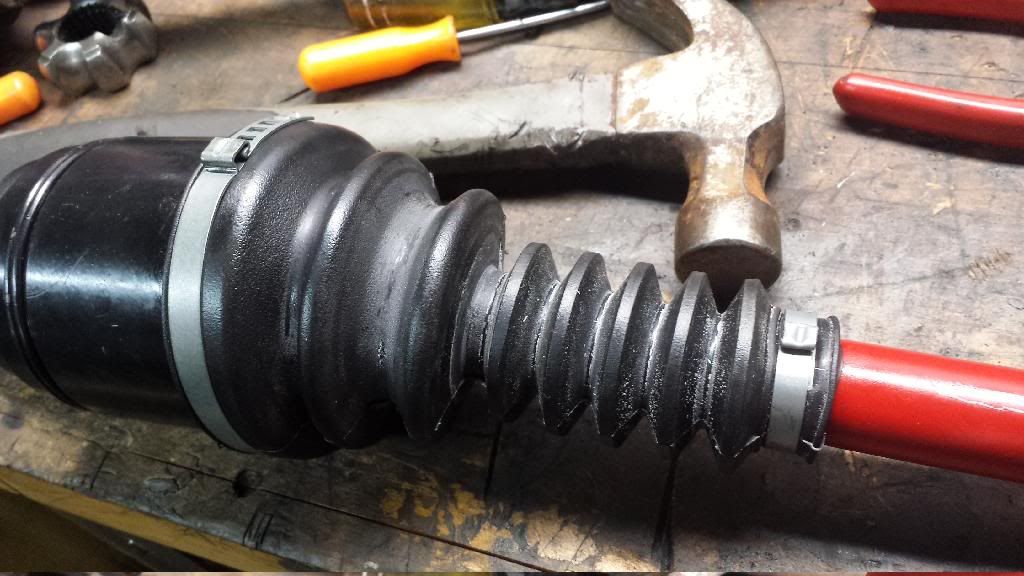
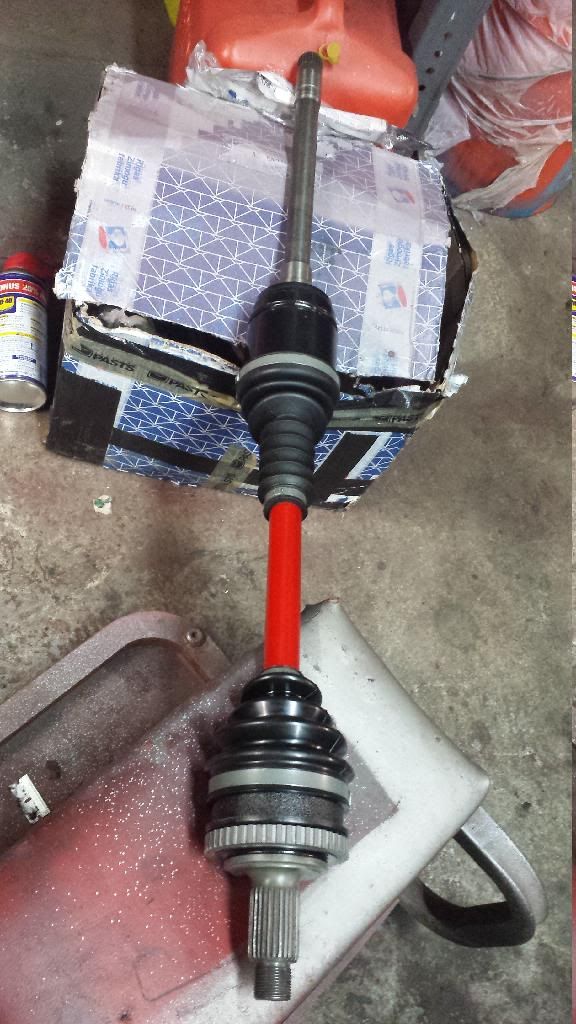
I like the "resto mod" aspect of this. I'm not sure I've ever seen anyone completely disassemble the CV shaft before - nice work!
I'm curious why you think coilovers will cause issues with your wheel setup? usually coilovers give more room to the tire, not less?Leave a comment:
-
An indus trial sized/grade blast cabinet on a custom 110gal compressor. Easily fits two full m20s. Regulated Its able to spray up to 135 psi.. though I only spray around 85.Leave a comment:
-
Wow, I just went through this whole thread. Great work! What are you using as a blast cabinet?Leave a comment:
-
More stuff today.
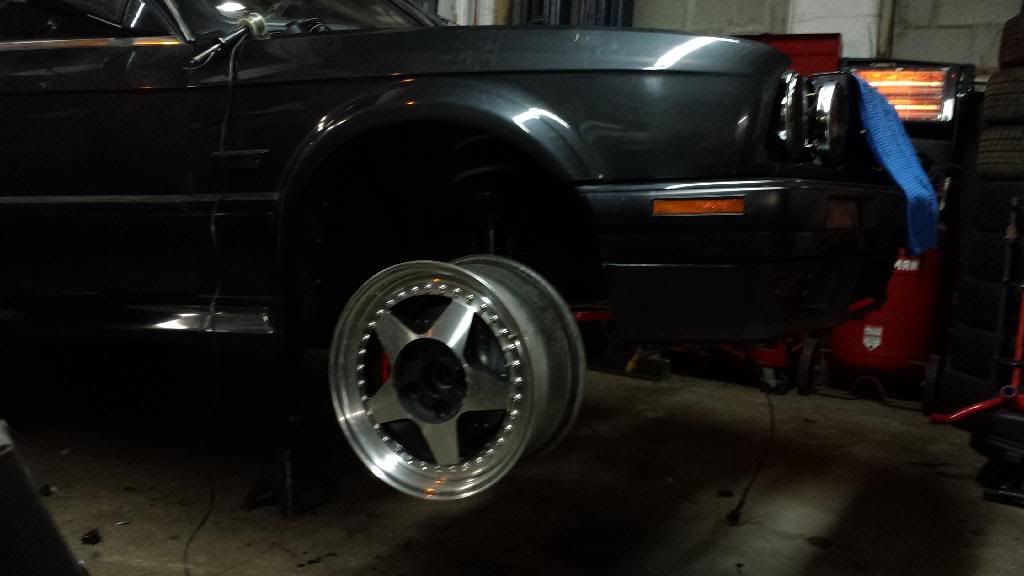
Test fitting my new wheels, though they are going to have to be filled and re-drilled. I got these for an unspeakable trade. So lucky to come across them as they were EXACTLY the wheels I was looking for. It appear ls they will fit with this setup, although I might have trouble when going to coils. I could get adapters but I am not looking to exceed the fender line.

Back to the drive train to complete the passengers side fully.
Nasty axles, but cleaned up and restored they will do the job just fine.

Had to steal an outer joint off this one as the main one I built was clicking.

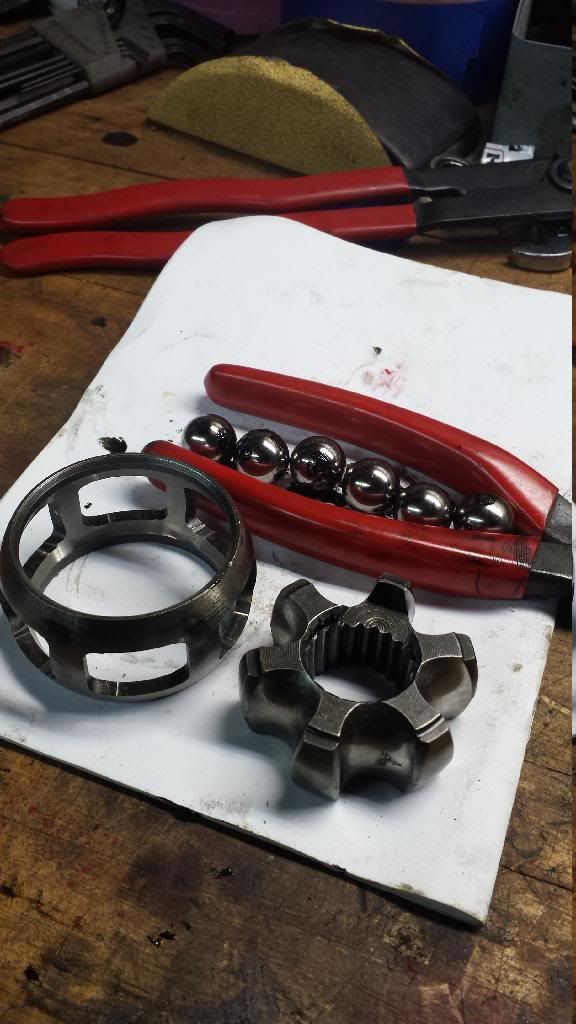
Prepping and sorting things for cleaning and blasting. It all has to go back together very particular.

Here's the damaged clicking outer joint:
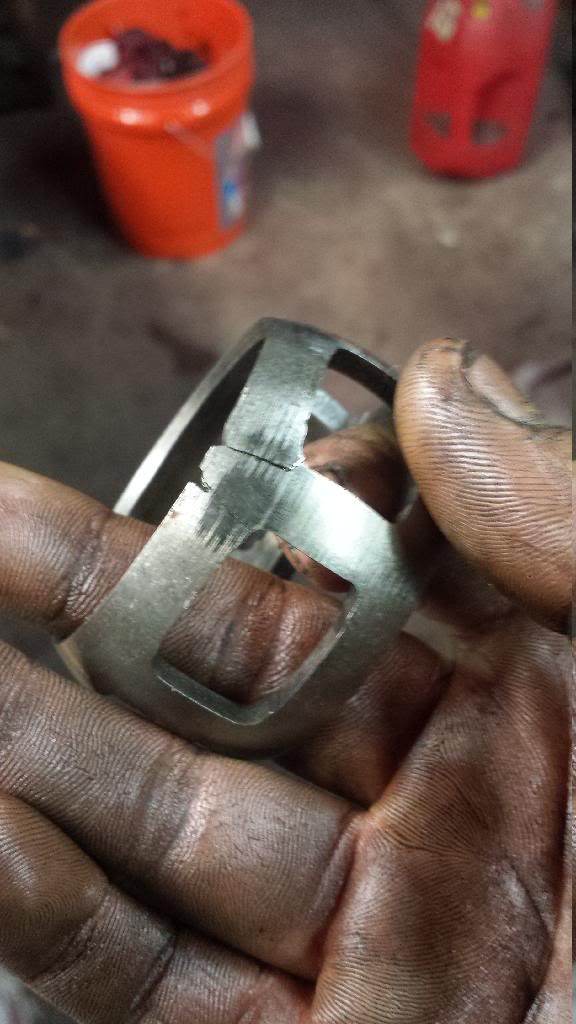
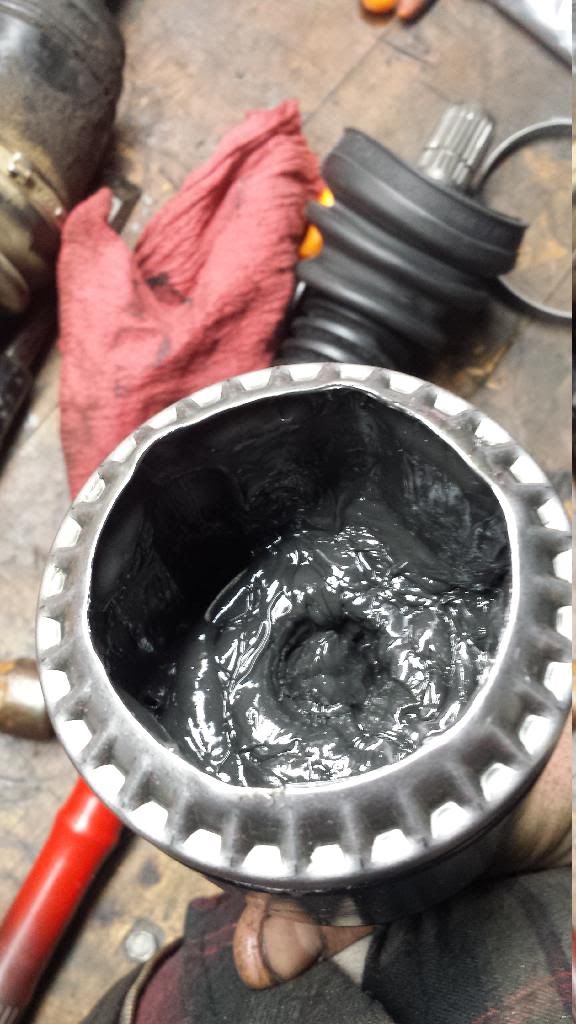
All cleaned, new parts put together.


Important to distinguish where the ball bearings go back into.
Blasted and painted
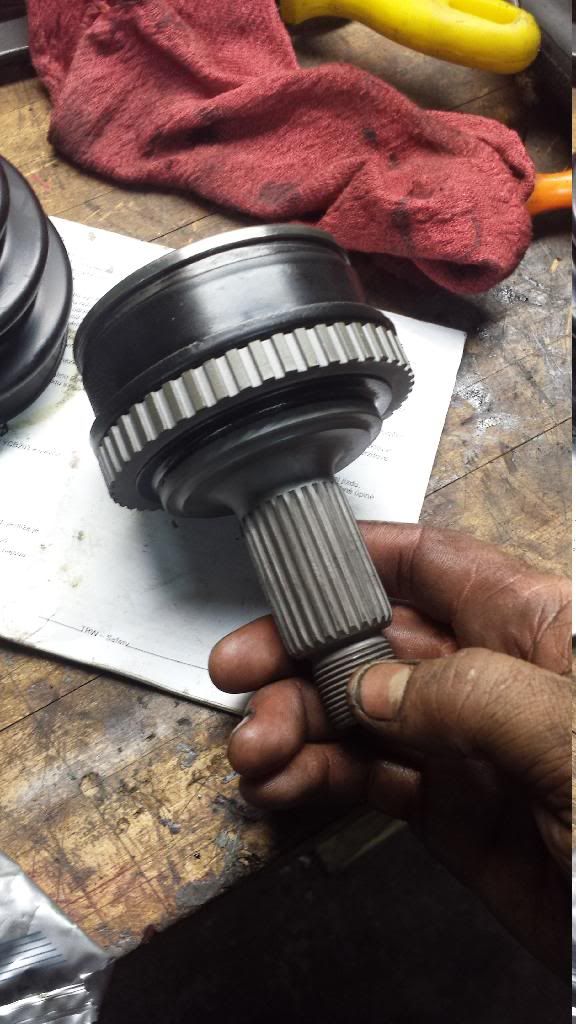
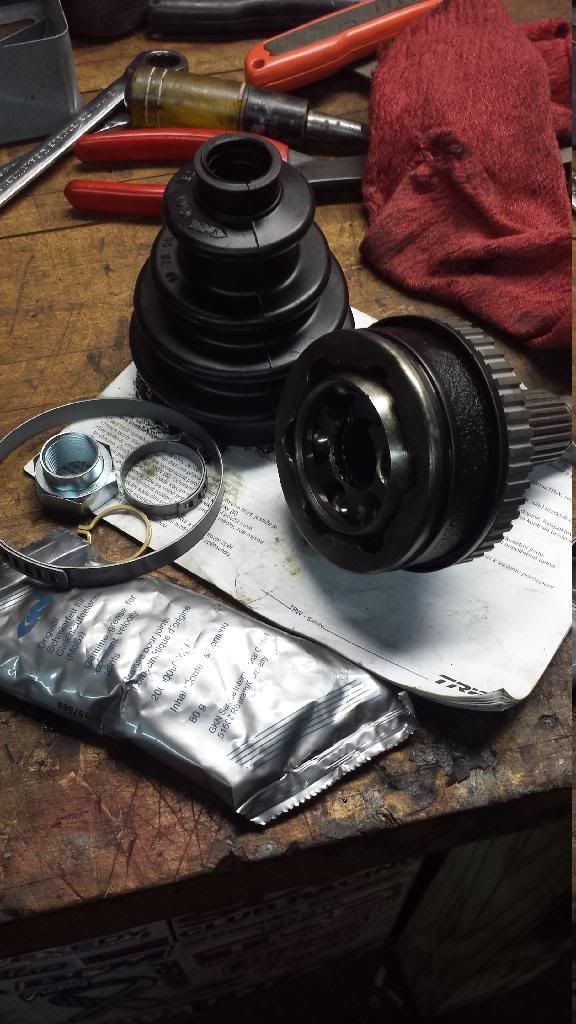
Fill up the new grease!
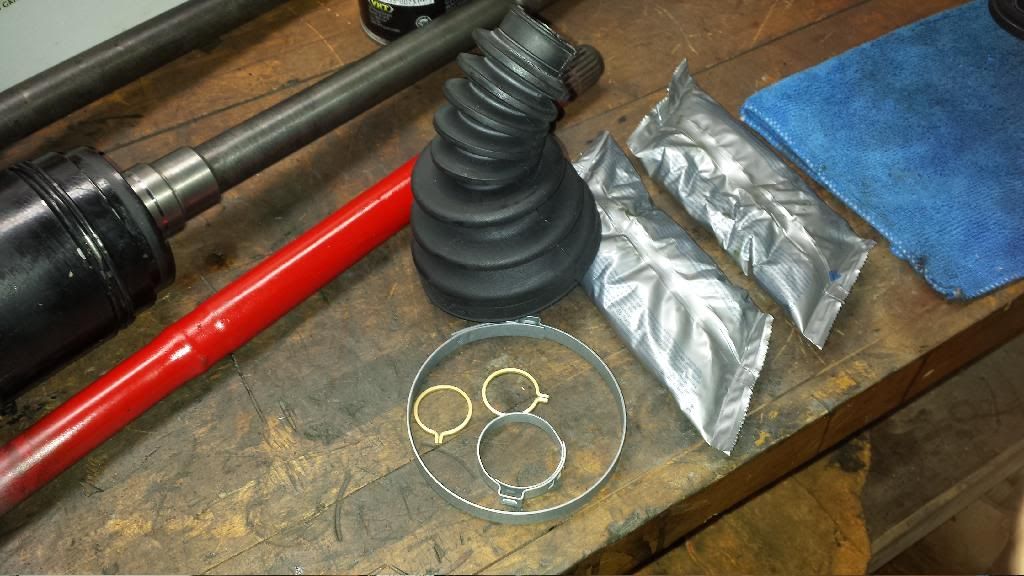
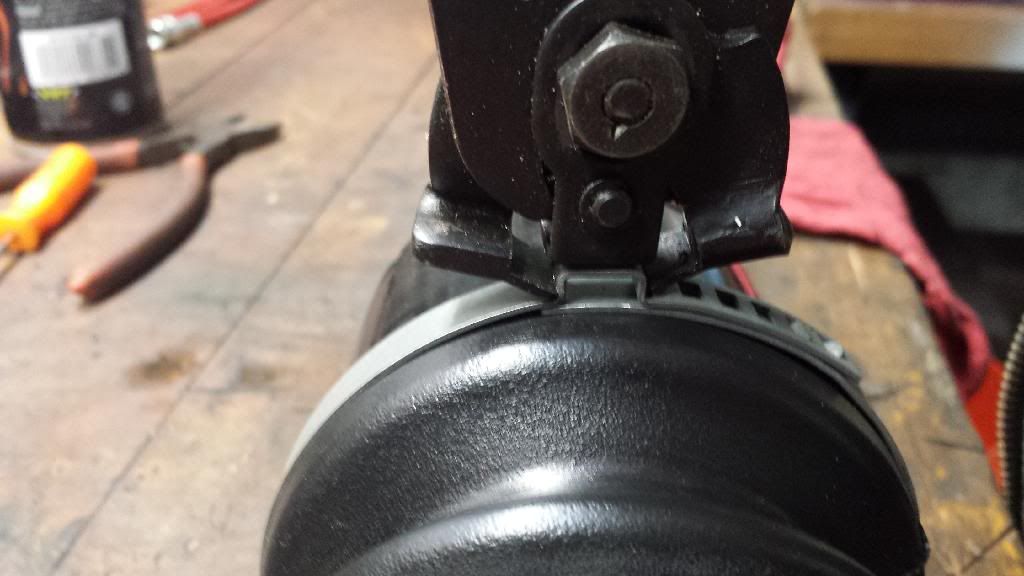
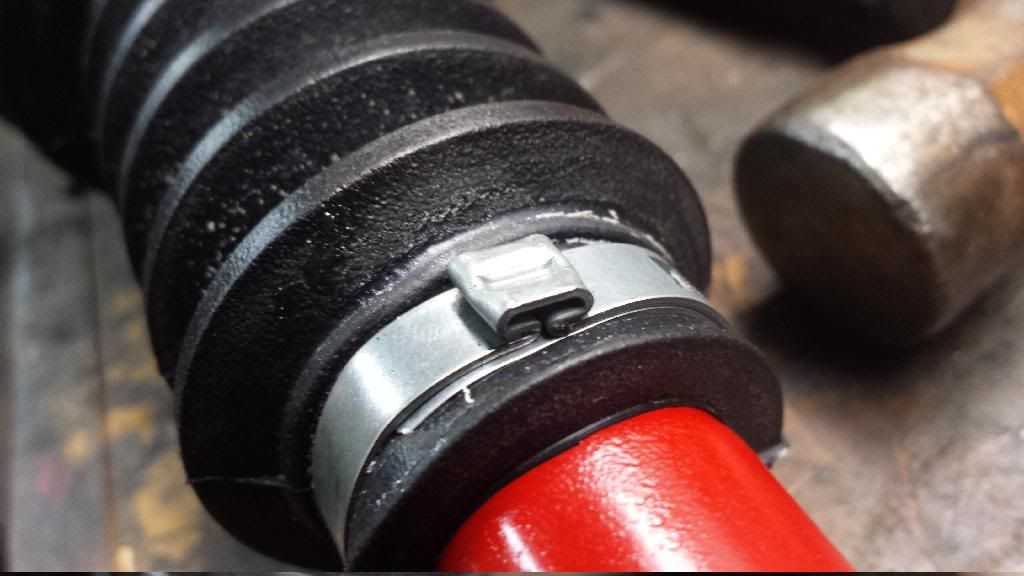
Reassemble. Crimped, make sure there's no grease in your grooves (try to avoid it)
Until tomorrow. I'll be onto the passengers side. I just want to get back into the engine!!... got an intercooler and radiator to install darn it!Leave a comment:
-
Onto the suspension stuff for a little bit. Lots of sandblasting and rebuilding things.
Before.
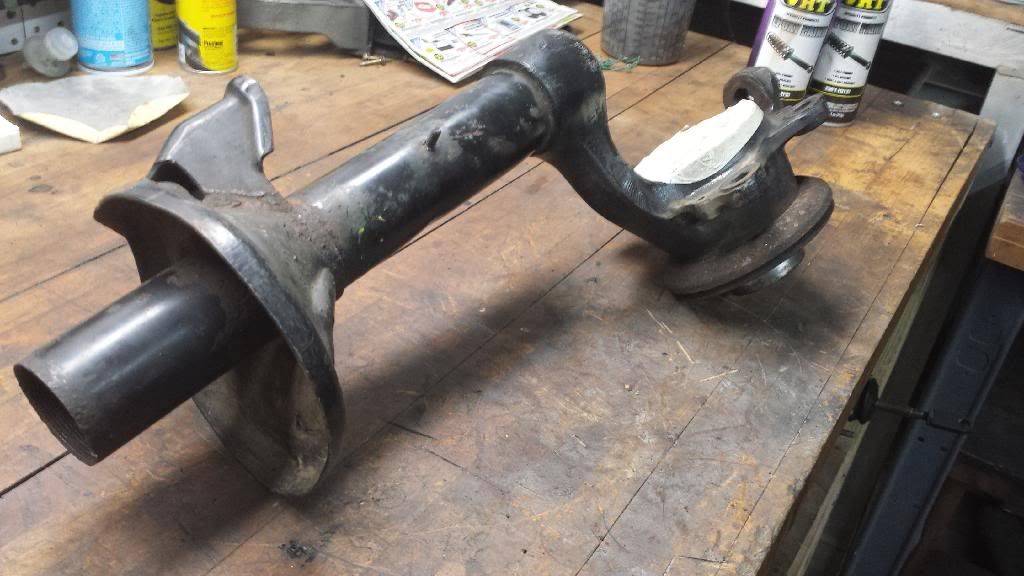
Rusty gross oldness.
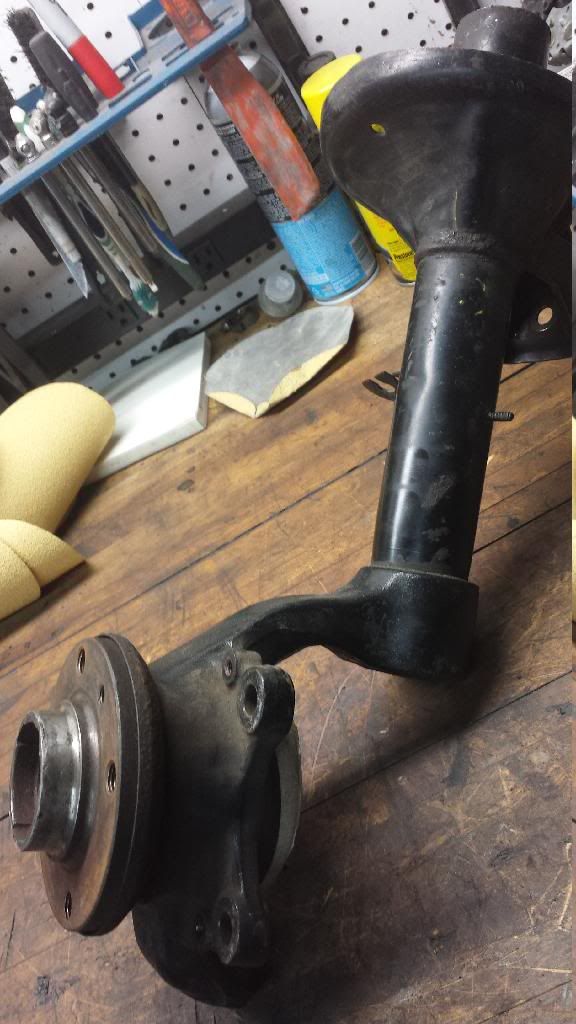
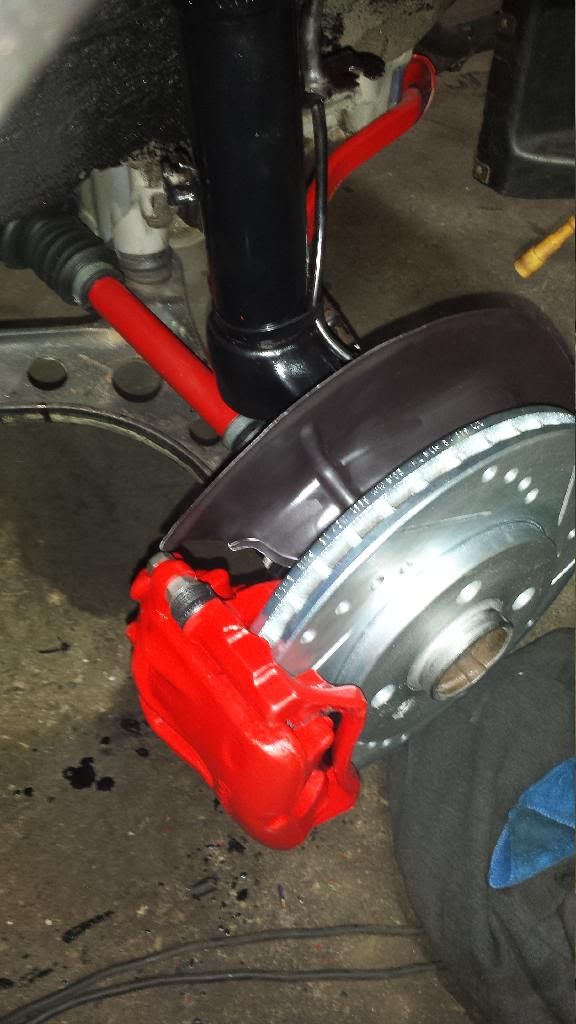
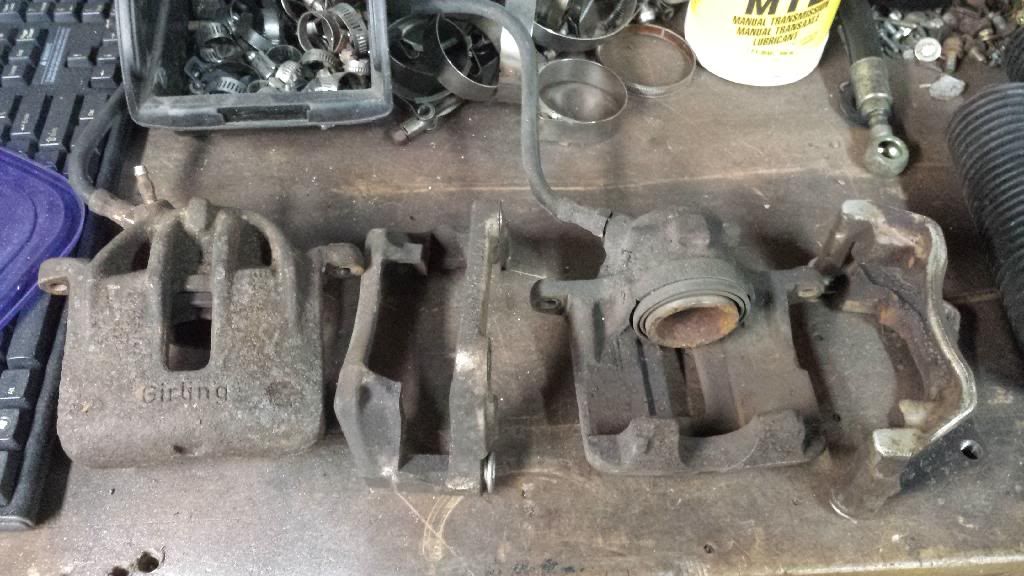
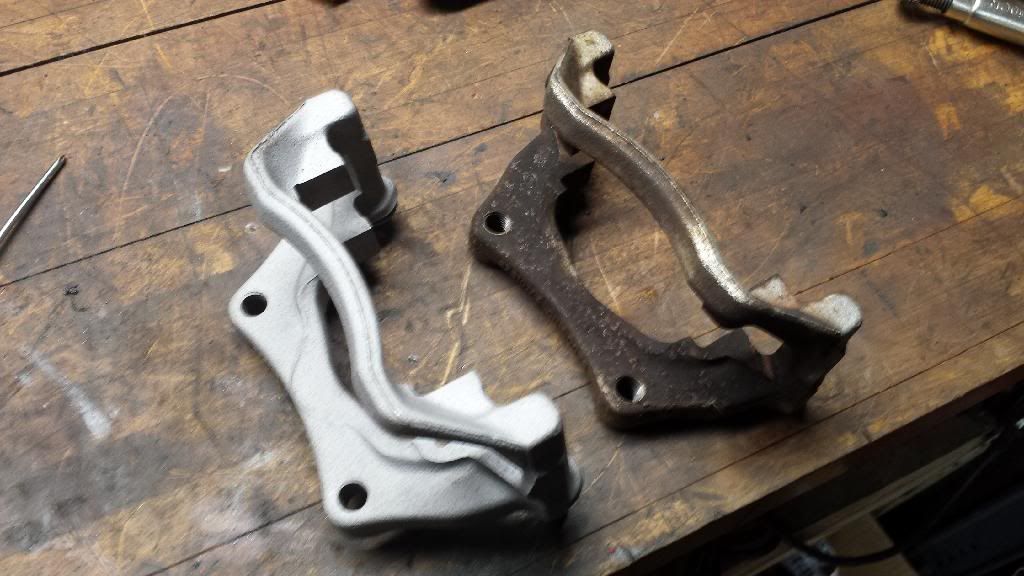
More crap. Frozen caliper, frozen slider on the other. Well fix that in a snap!
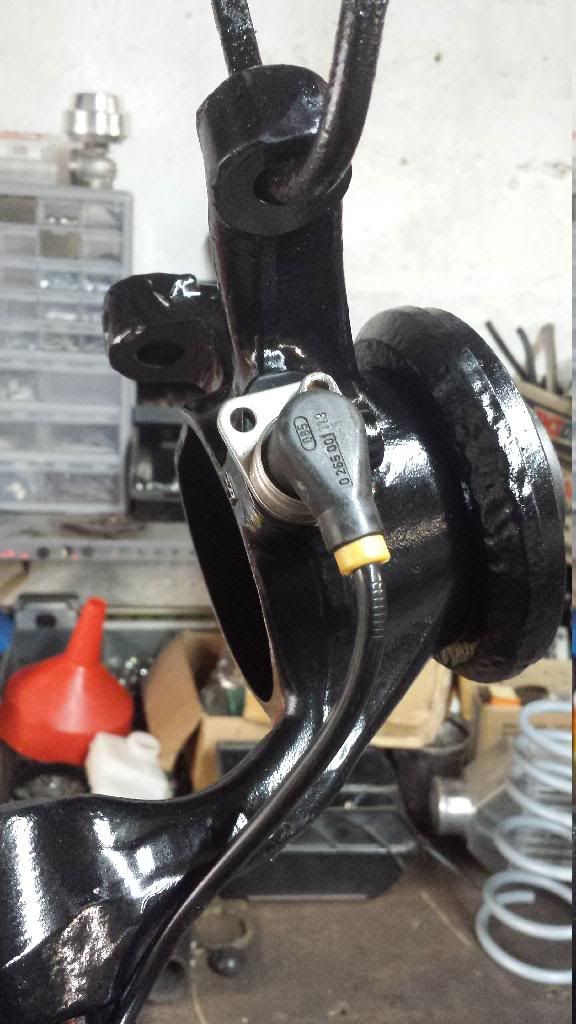
Skipped a lot of pics here but struts in, new abs sensors in, everything greased, anti seized, and new HD endlinks
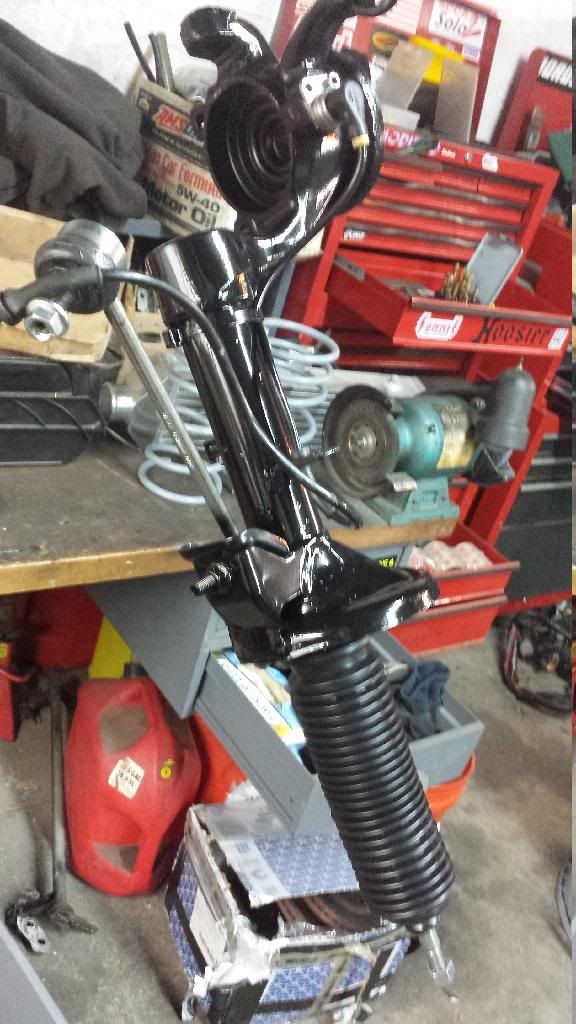
Re coated with por15
Sandblasting for powder coating.
Nasty piston guts.
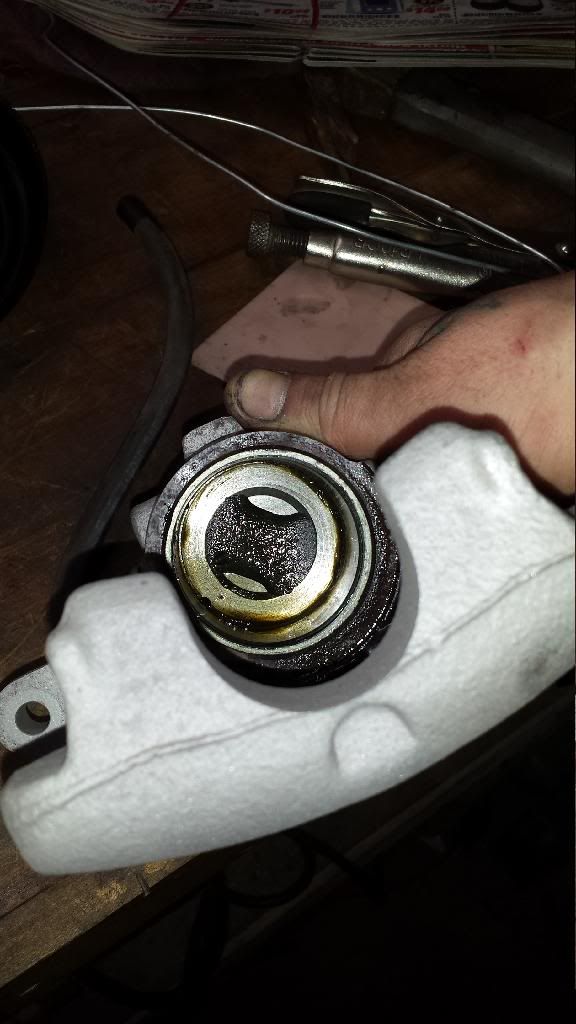
That dreadful rust!
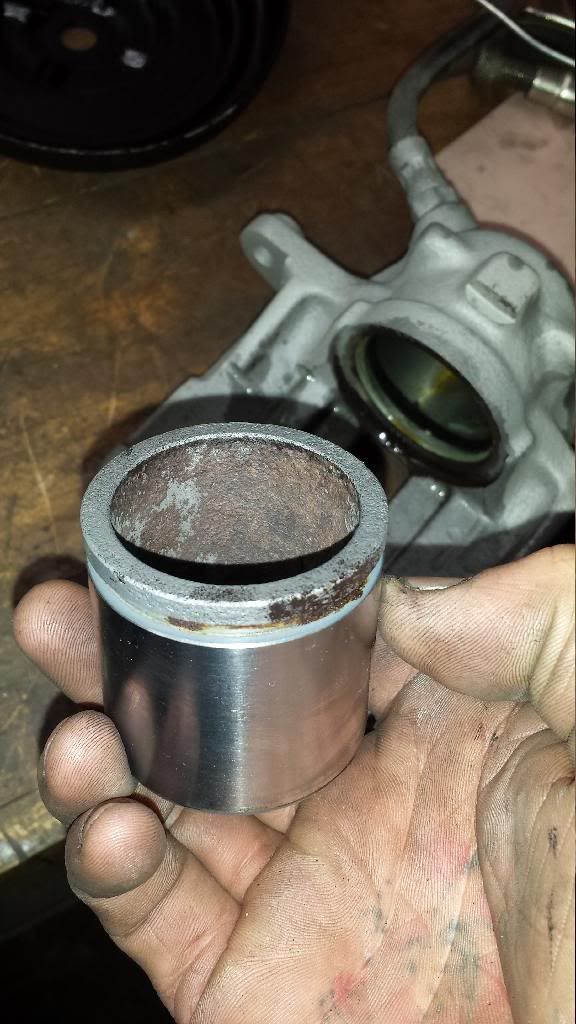
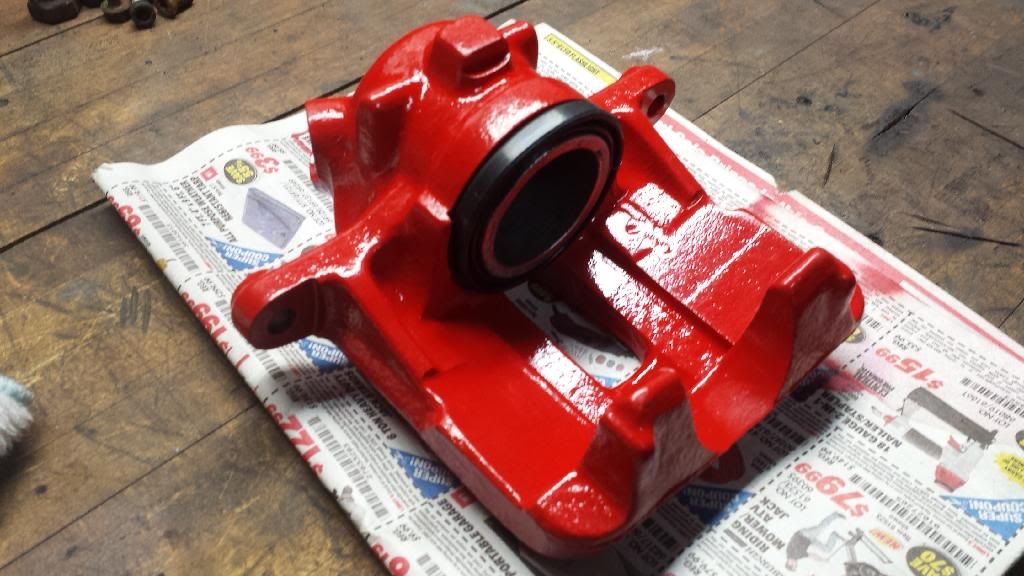
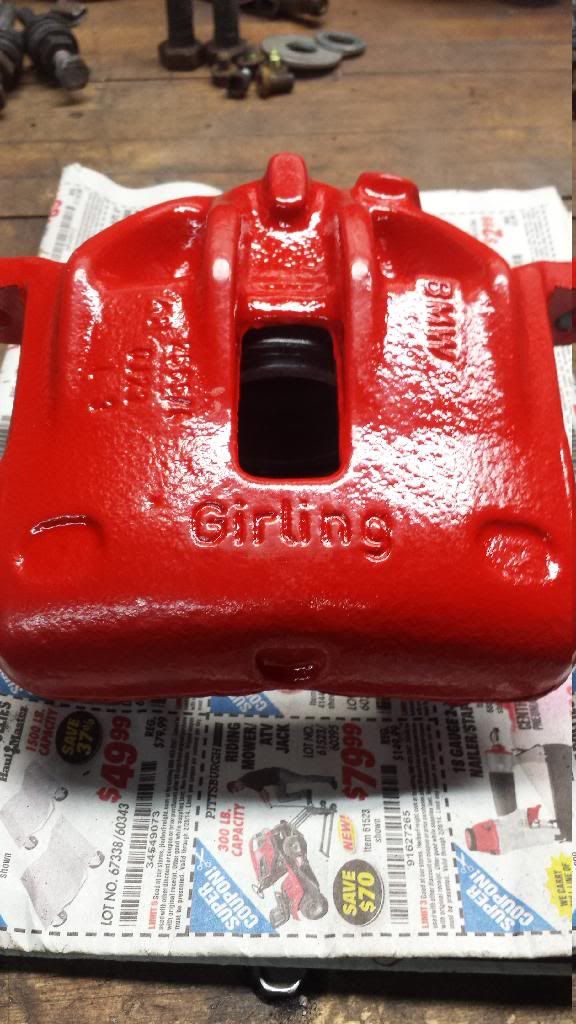
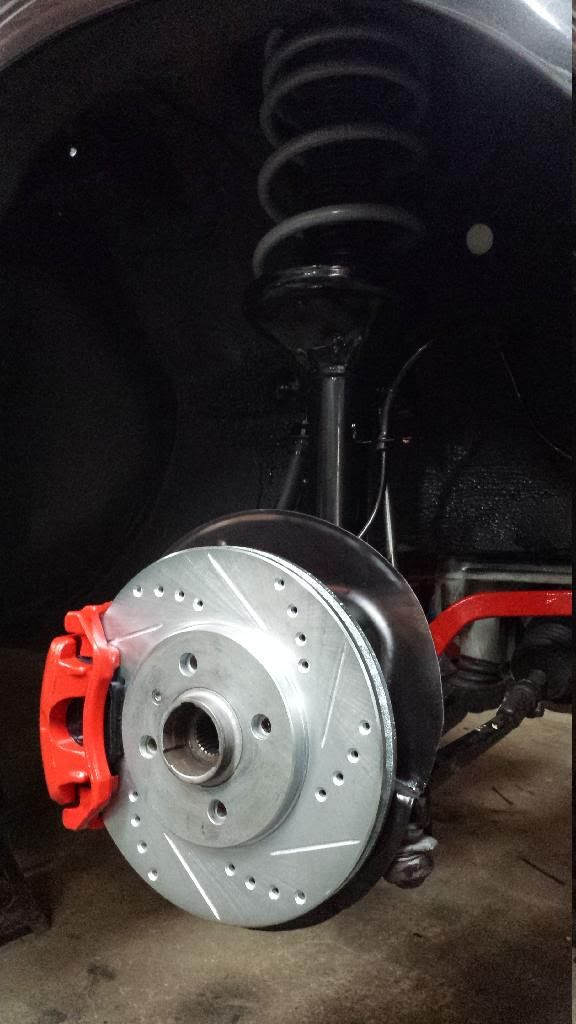
100% new rebuild on the brakes.
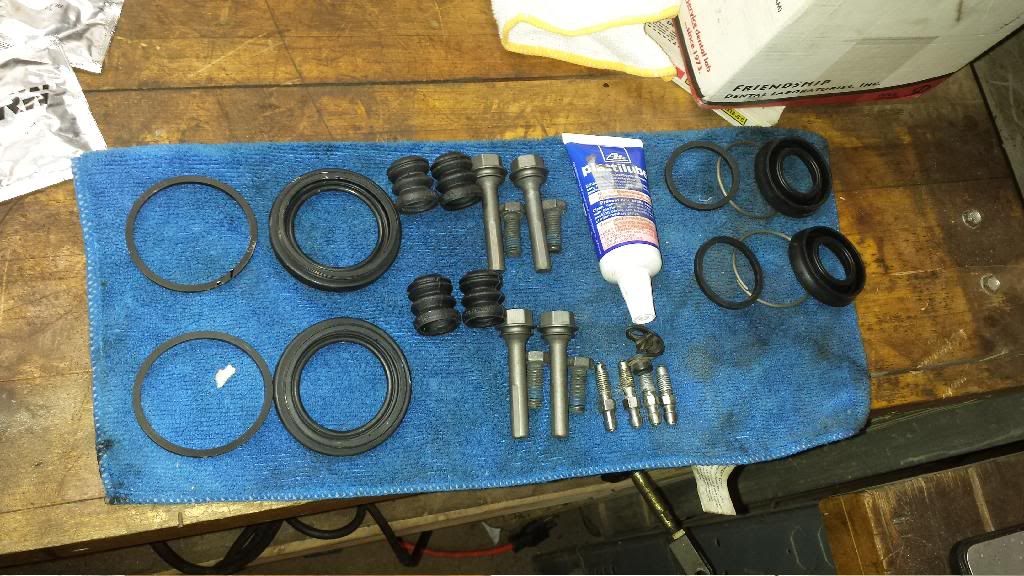
Again I missed a few pics during installs, but here we are for the night.
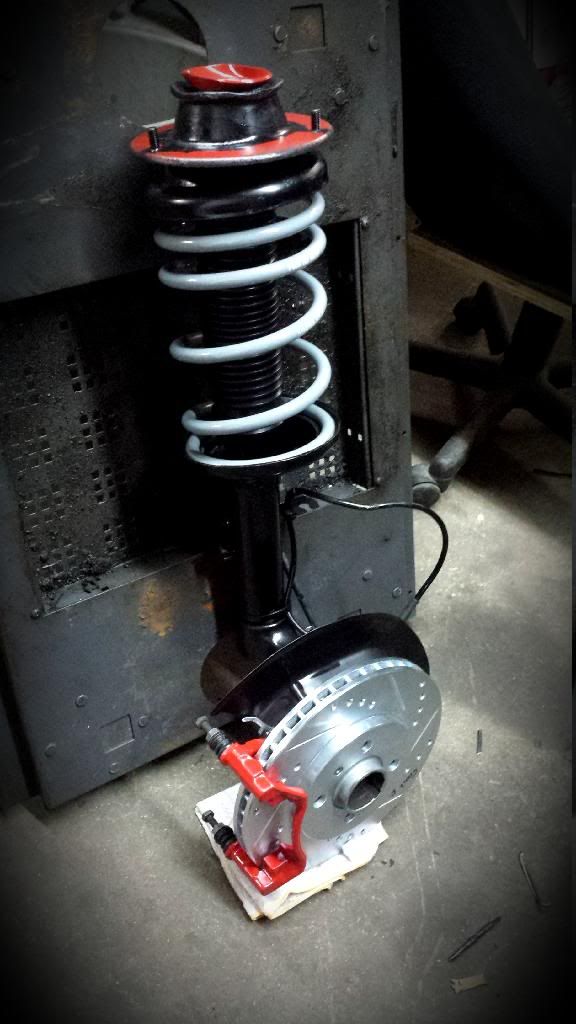
I'll get more pics on the rebuild of the brakes, bearings etc. Tomorrow. Stay tuned.Leave a comment:
-
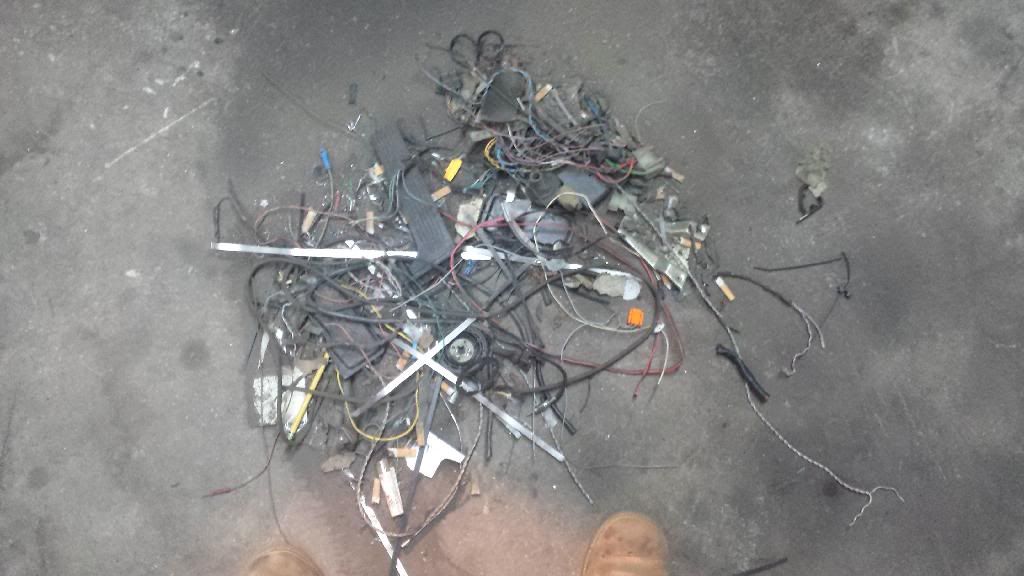
Big old mess after my wiring frenzy.. lol
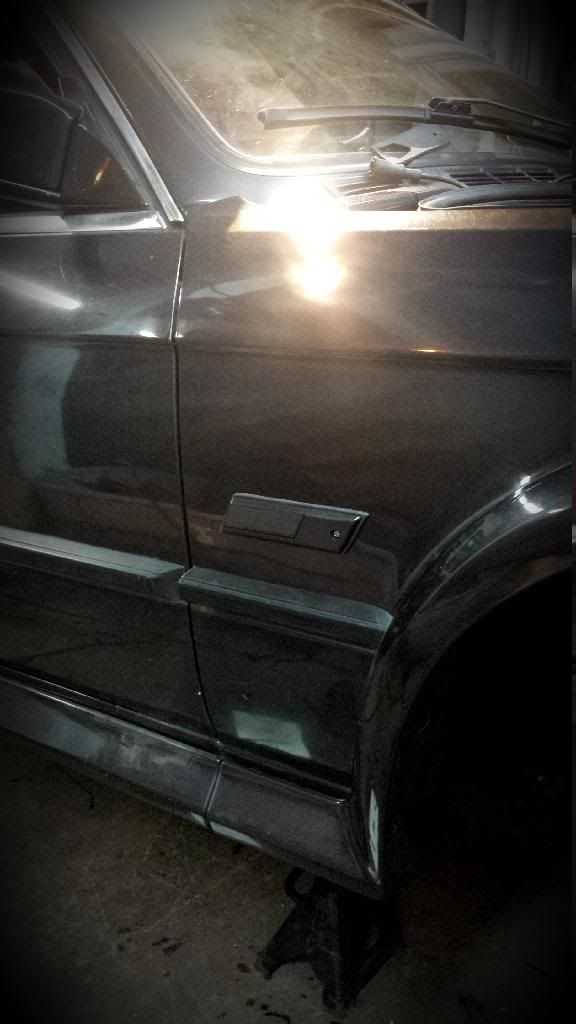
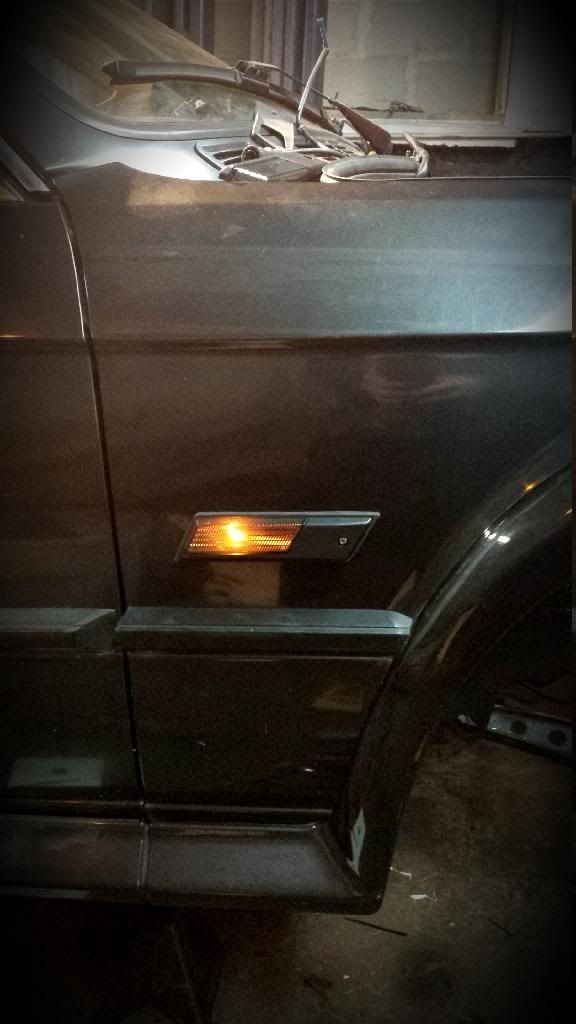
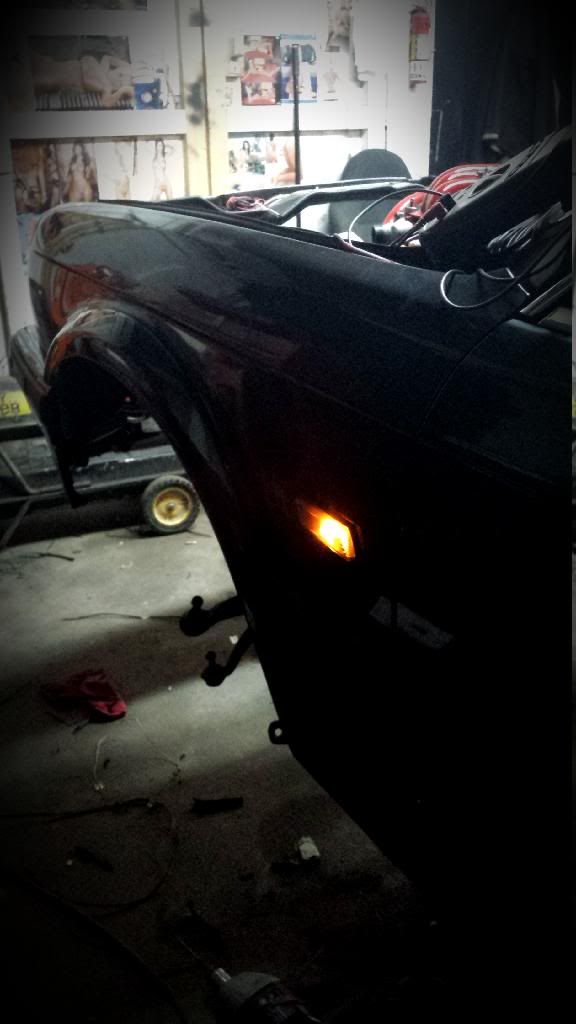
Finally put in my euro markers. Wired to stay lit during running, and switched ground so they will flash as indicators as well! Not too hard and better than solid state!
powers back on in the other half of my shop so I can finish sandblasting my strut tube and get the front suspension back together. So pumped! Will post pics tomorrow. Thanks for the support guys.. your comments and suggestions are always welcome.Leave a comment:


Leave a comment: