-
There's an easier way to do it than I did, but I didn't do the one that's in that pic, those needles were red when I got it. But they weren't the same red as I did mine in the above pic (before the Alpina stuff). So I decided to get ambitious, and I pulled the entire tachometer apart, I mean the needle, the faces, everything. I masked off the MPG needle and painted it, and swapped the needle off of my other tach.Leave a comment:
-
-
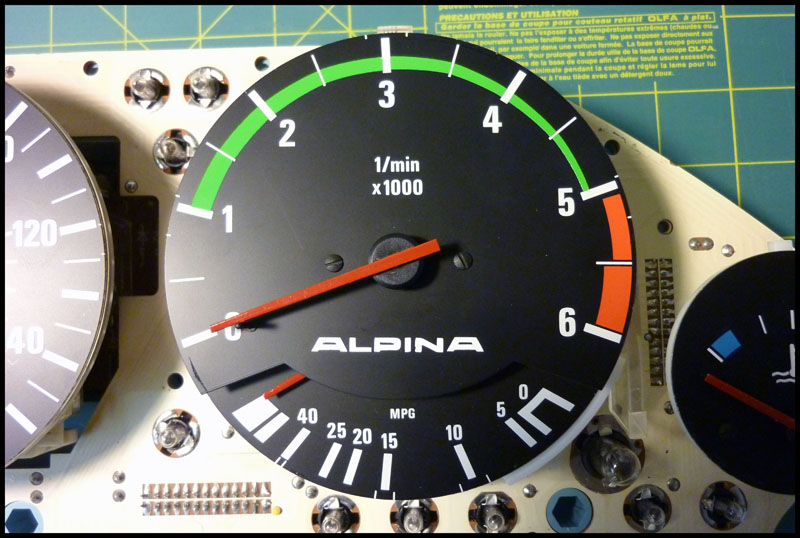
Thanks! I think it came out really good. The tach face is meant to be an Alpina rep, so I thought the text would be a nice touch.Leave a comment:
-
Another update. Since the tach shown up there decided to be a fuck and not work, I had to swap in another. So I had Andrew custom-cut me an Alpina tach strip, and a little something extra to go underneath it... :D
Leave a comment:
-
Thought I'd update this as I'm now doing my second set, and going about it a different way. I left the needles attached to the spindles this time, and masked them really well.

This is after 3 light mist coats (progressively heavier each time) of Testor's 1231 Gloss Bright Red. This color is a little brighter, and a little closer to the almost-orange-ish red that the OEM needles actually are.

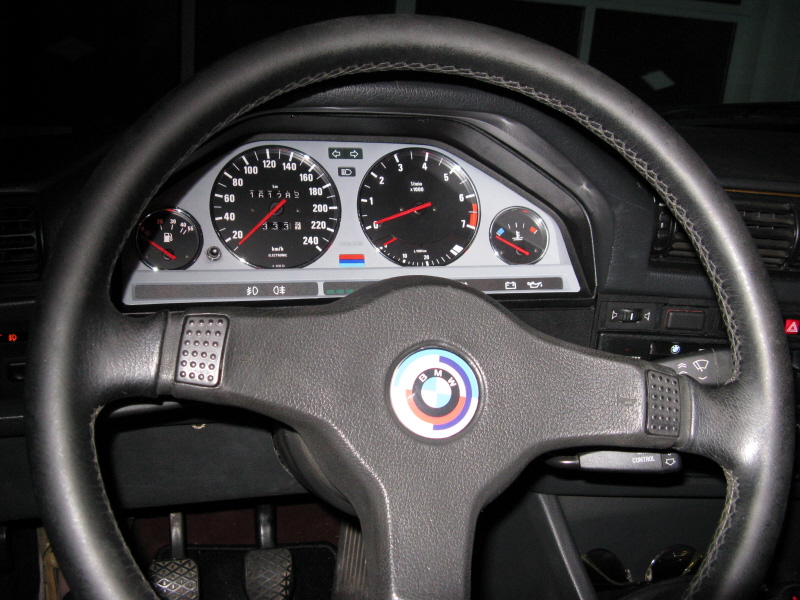
And here's the finished cluster. A better looking cluster for (a not so eta) eta than you'd probably see in a lot of M3's. The pic doesn't do justice, my camera sucks. The lens is perfectly clear, and this cluster is perfect. This is an actual M3 cluster housing, not just a stick-on ///M. I left the MPG needle alone because I'm planning at some point to do the M3 oil pressure gauge, so no sense in risking screwing it up.
 Last edited by Jand3rson; 01-14-2010, 07:50 PM.
Leave a comment:
-
-
With the lights on. The camera didn't pick up the orange glow on the gray area very well. And you can see the needles as people wanted to see earlier in the thread.

I'll see if i can"t get a better picture in the daylight tomorrow and edit this post then.
Leave a comment:


Leave a comment: