-
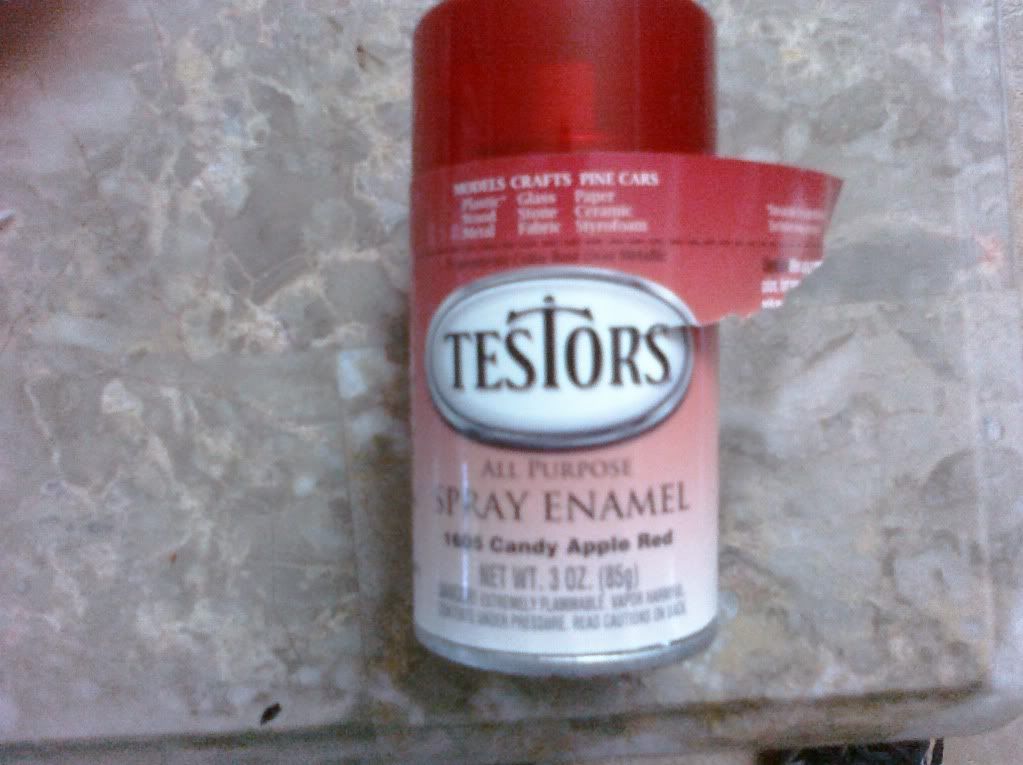
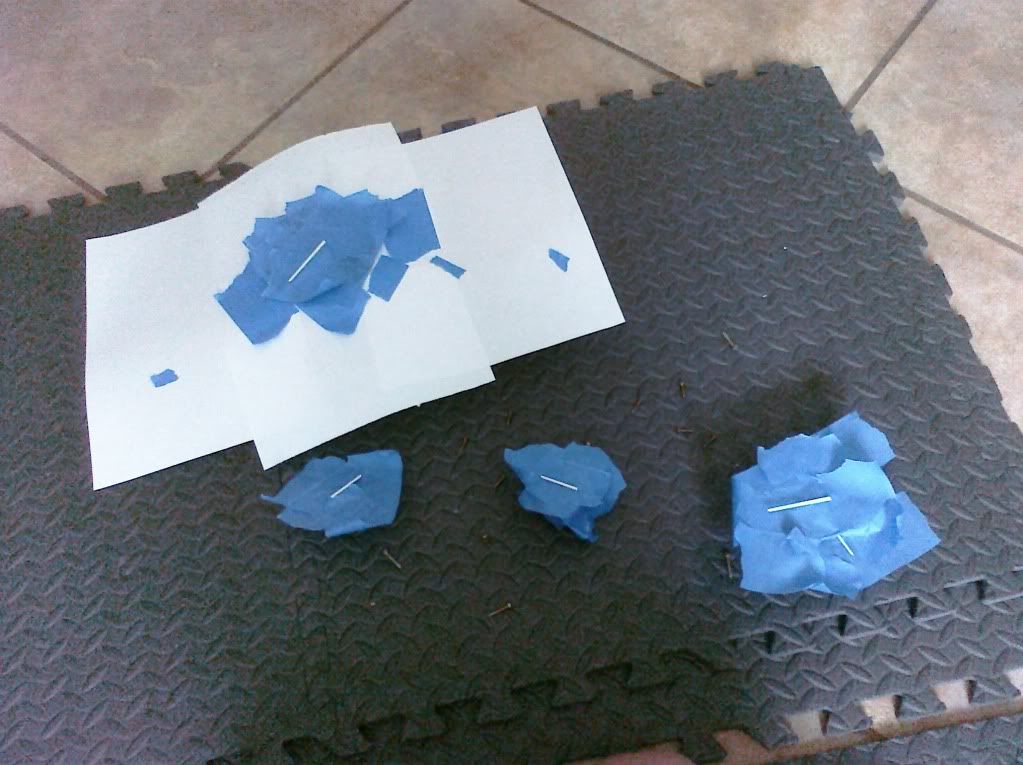
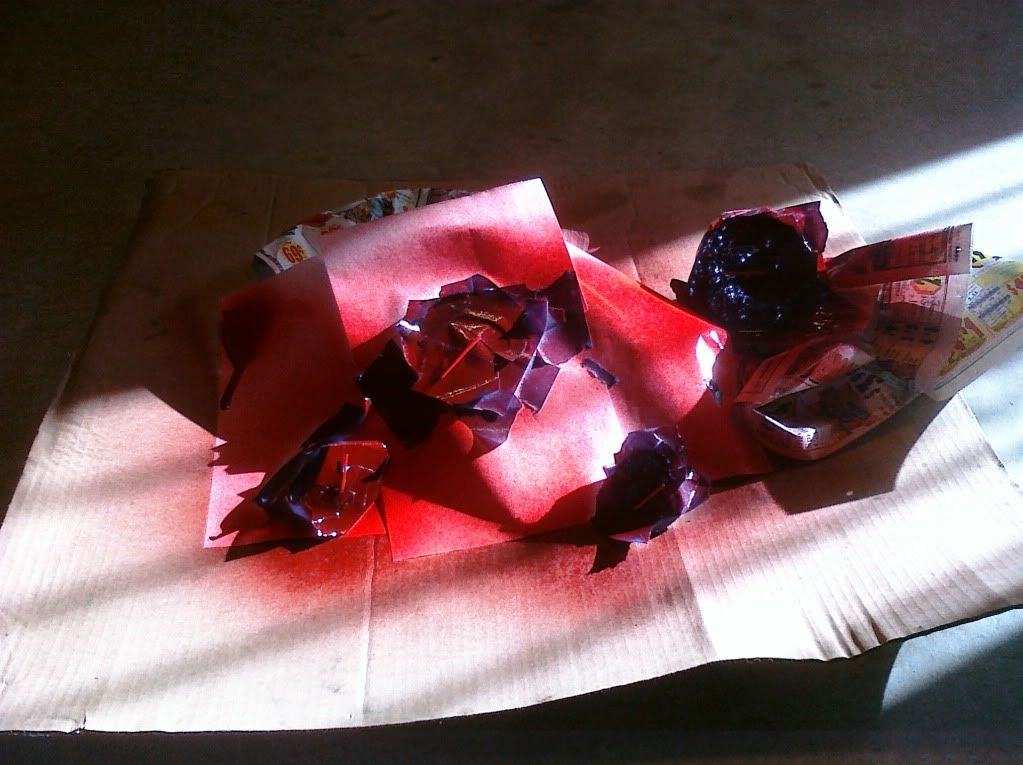
Just did my cluster. Don't use the Testors Candy Red. Don't know if its because it is supposed to be transparent or because it is usually sprayed over silver but it does not come out smooth. The first coat was fine but when I did the second coat it did not want to self level. I might have gotten a bad can but the nozzle looked fine. Next time I will get their bright red, I don't really care though cause I screwed up the tach strip too. Might redo everything sometime before summer. I tried taking everything out but I couldn't get the speedo so I just covered the cluster with paper and taped everything else off. The MPG econometer was sprayed too, I moved the needle to the middle where it will expose as much of the needle as will be seen and held it there with tape then I just sprayed everything.
Did not like this, go with their non transparent paint.
Taped off
Sprayed
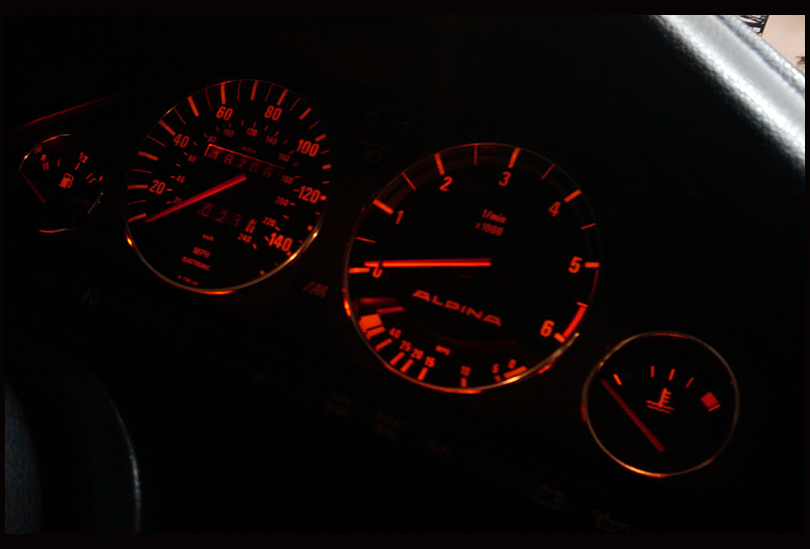
Done, tach stripe looks horrible but no one else will notice. Next time I will spend more than 45 seconds on it. It is not as textured or bright when installed and behind the glass cover.
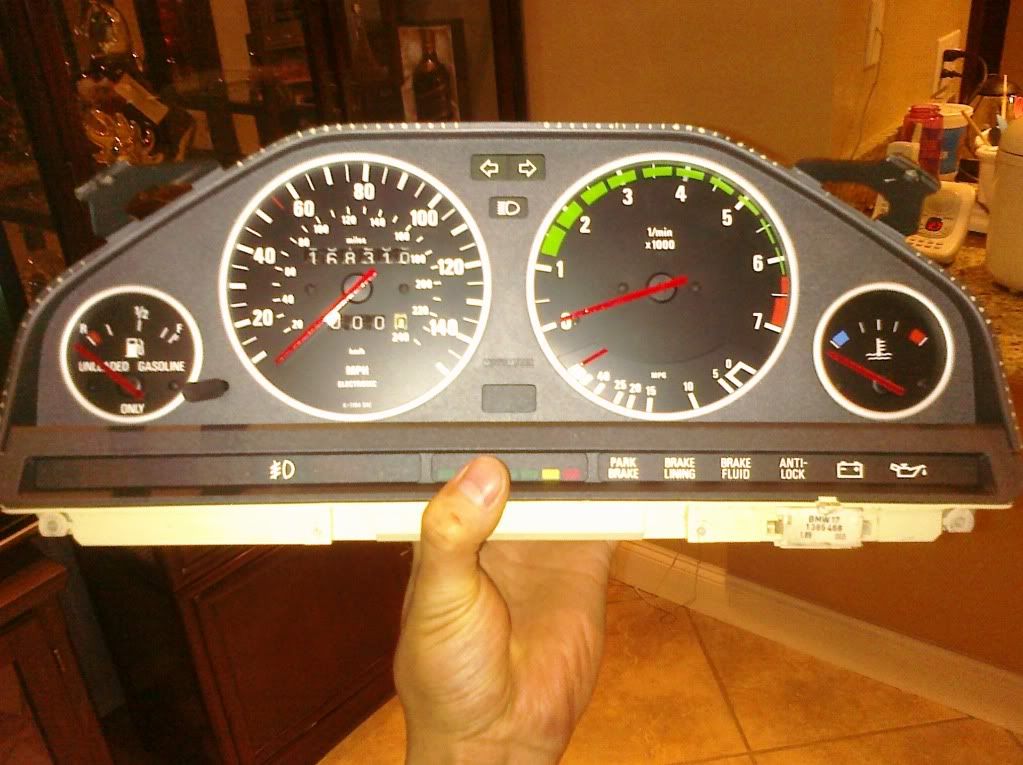
When lit up it looks like just before.
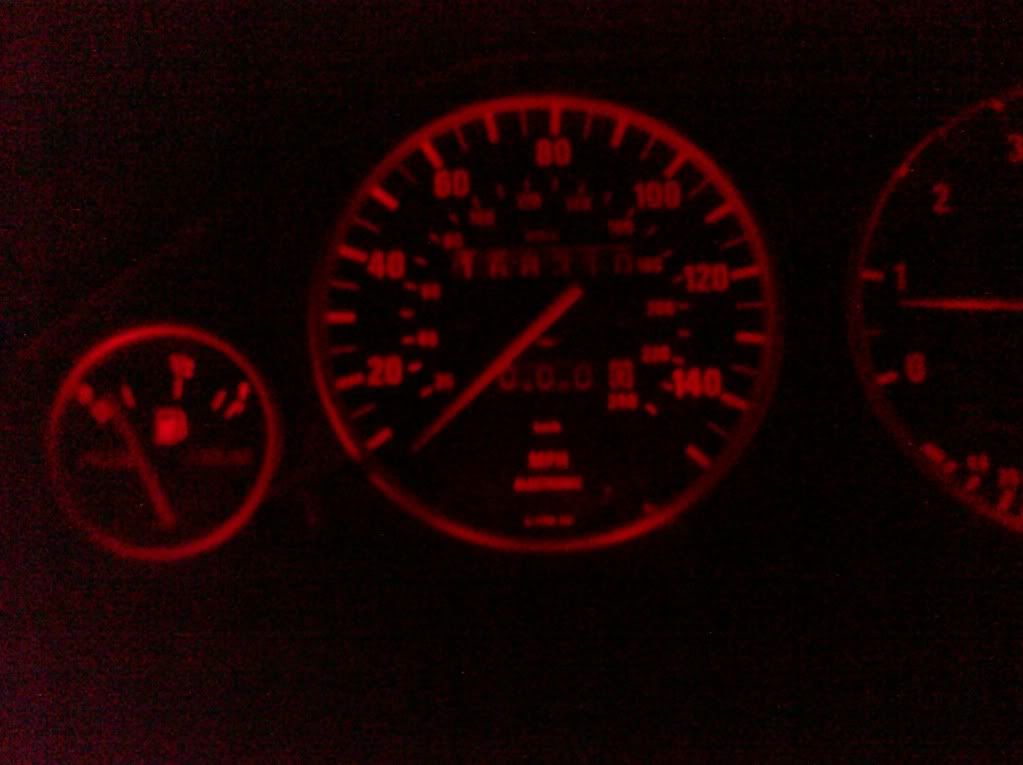
Maybe I will take a better picture tomorrow but when installed a lot of the defects are not as noticable.Leave a comment:
-
-
-
-
I guess most people have said it's easiest to get in there with a paint pen, but seeing as how I'm FAR too fucking anal for that, I took my tach apart and sprayed it like the rest of them.Leave a comment:
-
So it's been asked like 5000 times, but what's the easiest way to paint the econometer needle?
MattLeave a comment:
-
FINALLY finished. Everything is back together, everything works. I hope to never have to pull this thing out again.
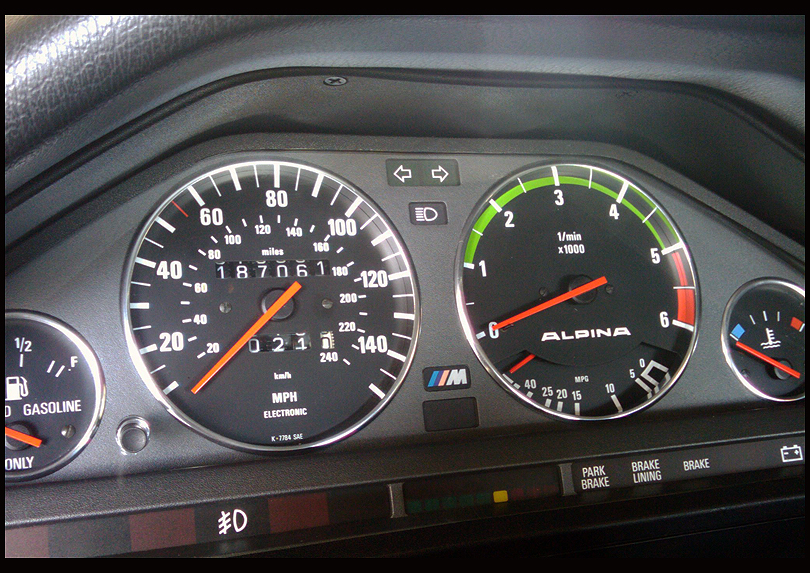
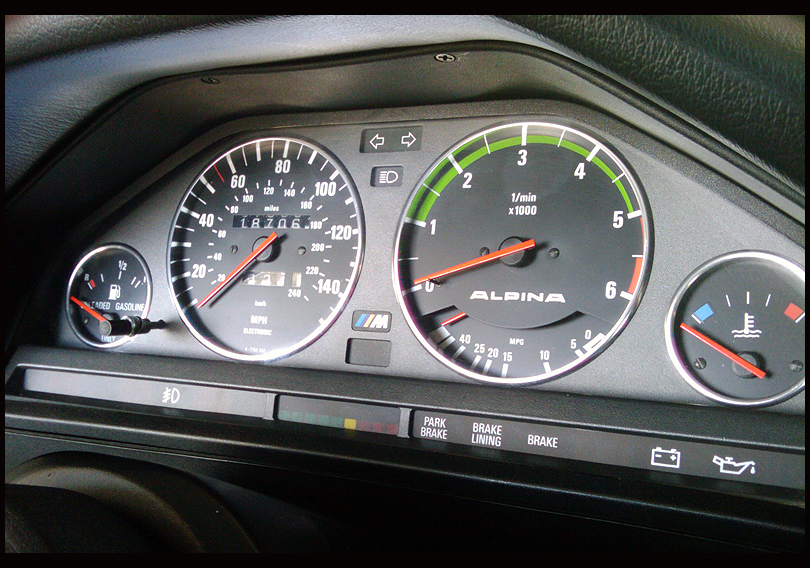
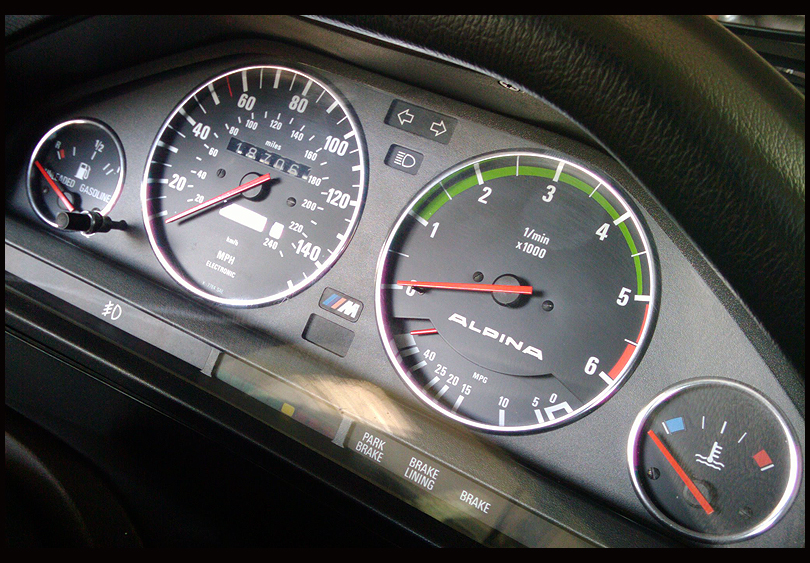
Not bad pics for a G1. :up:Leave a comment:
-
Shitty cell pic, but here it is finished. I still need to bolt everything down, this was just a test fitting to make sure all the damn gauges actually worked this time. I used the same red on the needles as I used before. It's almost orange, and matches the color of the redline area perfectly.

Leave a comment:
-
just tape off the black portion of the needle, mask off the face of the gauge and use a testors paint pen. that is what i did and it worked out great.Leave a comment:
-
There is a metal tab under the needles on the seta cluster, but moving them up or down didn't do anything for me.Leave a comment:
-
-
Talk to Andrew (NitroRustlerDriver), he made it for me.
Removing the needle on the super-eta tach is different than any other ones I've done, it attaches differently and is very difficult to remove. I tested it on the tach I have that is bad before I tried it on the good one. The tach needle, although resting upon the small tab at the bottom, doesn't move any father past that point. Just make sure you put it back to the lowest point against the tab, and you should be fine. I would get a good straight-on shot of the cluster beforehand, just to be safe.Leave a comment:
-

Leave a comment: