If this is your first visit, be sure to
check out the FAQ by clicking the
link above. You may have to register
before you can post: click the register link above to proceed. To start viewing messages,
select the forum that you want to visit from the selection below.
Hey thanks! I was wondering how to do this without putting a drill to the odo. I just replaced my gears and wanted to spin it UP to 140K (replacement is only at 40K) to match the documented mileage for the car. Awesome. I did not take the face off and it was not too difficult. Just make sure you have a small pair of needle nose or something to pull the "axle" up a little, then spin the number with a tool or finger (I used the round tip of a mini screwdriver set my wife got for a buck off meritline). It'll take a few tries to get the number to line up, but still less chance for messing up the face of the gauge. I really, really, really appreciate the tutorial post from the OP!!!!
Thanks for this write up! I was wanting to do this once my car was done since a) I don't have the original cluster so I don't have a clue the mileage on the chassis and b) everything is new except the body. My car is mileage exempt anyway
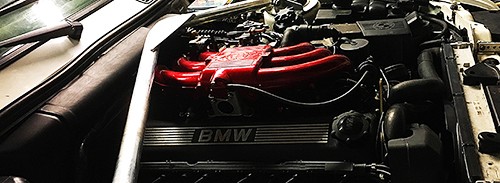
I stumbled across this thread looking at E30 cluster issues, faulty odometer and fuel gauge, etc. This is nice to know for anyone who has needed to swap a cluster (or speedo) so they can match it to their car's correct mileage. However, I don't think it's a good idea to zero it out or match the engine. I think the chassis mileage should always match the odometer. I've kept the original mileage on both of my vehicles that have received an engine conversion. I'm proud of the mileage the vehicles have travelled and I think that history should stay a part of the vehicle reflected in the odometer.
I disassembly odometer just for clean the miles number module,
I have no idea why my instrument cluster internal have many black smoked trace,
that caused the difficult to check miles clearly, also set the miles to my real own period,
in remove pointer step, I broken the pointer plastic trim, remind this step, you must pry the pointer center, instead edge, luckily adhesive fix after, not obvious.

Comment