-
1992 BMW 325iC
1978 Chevrolet Monte Carlo1965 Chevrolet Corvair Monza 140hp -
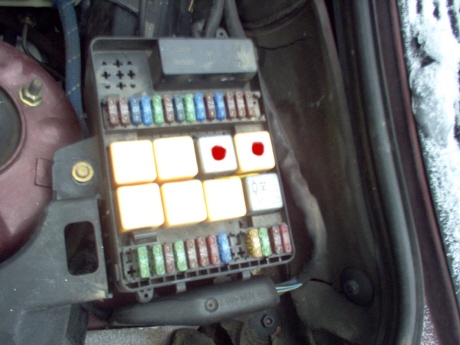
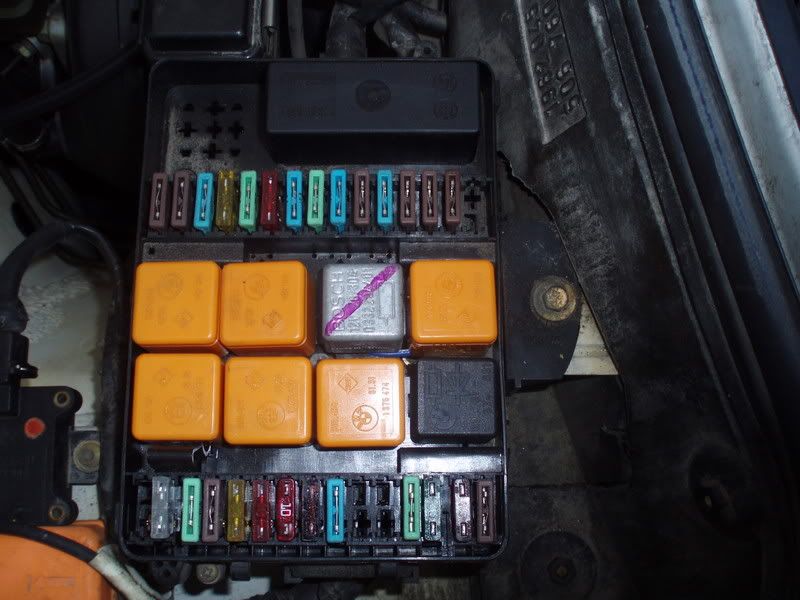
it is the two with the red dot's and you will see the #30 on the bottom of the relays.
1992 BMW 325iC
1978 Chevrolet Monte Carlo1965 Chevrolet Corvair Monza 140hpComment
-
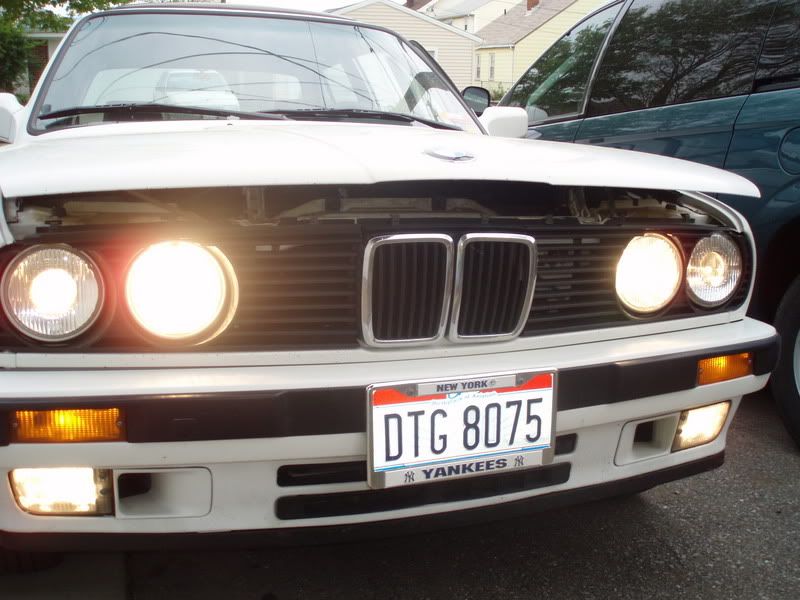
Thanks, BTW installing the sealed beams on the 89 was actually simple, I bridged the extra white (one of the dual filament wires to the white on the low beam connection) therefore resolving the "all four lights on while the high beam on situation" I didn't bother taking pics or whatever cause I don't imagine anyone doing/having too, that... Thanks again for you help.
Comment
-
successful install
so i bought some euro smiley's and installed them with the help of this thread. thanks
also decided i'd do the relay low-high beam thing, and that was very easy as well.
yay for me!Comment
-
sticky-icky.Comment
-
guys I did my lights as well a little ghetto I hope I dont burn anything will see

I've always been proud of being a Marine.
I won't hesitate to defend the Corps
"Supersquad"
"Prostitutes are a sub-category of Amusement Parks"-Comment
-
here goes pics 2 and 3
I've always been proud of being a Marine.
I won't hesitate to defend the Corps
"Supersquad"
"Prostitutes are a sub-category of Amusement Parks"-Comment
-
does any one think I am going to burn anythingLast edited by franco90; 05-10-2007, 03:15 PM.
I've always been proud of being a Marine.
I won't hesitate to defend the Corps
"Supersquad"
"Prostitutes are a sub-category of Amusement Parks"-Comment
-
I just converted my sealed beams to US ellips and did the 30 to 30 jumper wire for low beams with high beams. After finishing and tested it also gives me fog lights with the high/low beams. I assume this is normal ??? As a post from above had as well....Comment
-
now the question I pose is, can you switch from ellipsoids to sealed beams?'89 325i track sloot
'01 530i daily
-EnginerdComment
-
why cant everthing be this easy
just finished swapping my sealed beams for euro smileys, thanks to Euro3!
i used this thread, and this write-up too. http://bmw.e30tuner.com/articles_eurolight.php
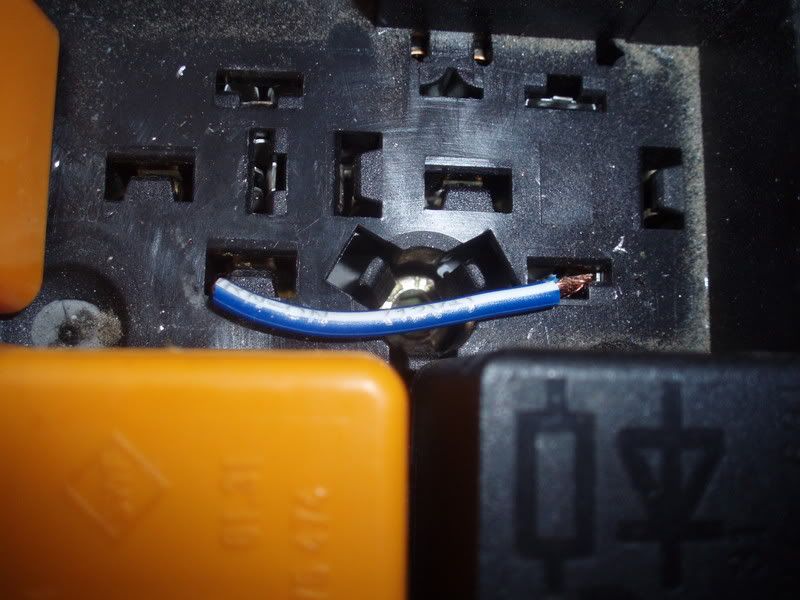
ran out of time (cold december rain) before i got the city lights done, but I popped out one of the side markers before I quit for the day, and it didnt look as self explantory as i hoped. anything i need to know? also, do i have to solder a jump on the relays, or have some of you just wrapped it? thanks, again, r3vlimited FTW.Comment
-
Installed my Euro Smileys today. It was real easy, just took a little bit of time. Just wanted to add to James Crivellone's original DIY post w/ some pics.
Here's my mini writeup:
I ordered my connectors from BMA.
Low Beam Cap: 63-12-1-378-333 (x2)
High Beam Cap: 63-12-1-381-190 (x2)
Low Beam Connector: 61-13-1-378-419 (x2)
High Beam Connector: 61-13-1-378-417 (x2)
City Light Connector: 61-13-1-378-418 (x2)
Wires: 61-13-0-007-445 (x2 per Beam)

Remove the grills and seald beams. Check the bentley manual to take these off. Its easy about 8 or so clips and about 10 screws including the 2 for the front grills . This is the easy part.

Look at the rear of your headlight assembly. You should have 3 sets of connectors
2 wires for the City Lights (top of the elip)
2 wires for the low beam
2 wires for the high beam.
Next lets look at your bmw stock wiring.
For my high beam i had 2 wires (1 brown, 2 white/purple) wires, I spliced into the ground and into one of the white/purple wires (both wires were connected to the same terminal) for the high beam.


For the low beam connectors I had 3 wires as well (1 brown, 1 yellow and 1 white/purple). The sealed beams are dual filament. I used a 12V test light check where the 12V was coming from and it was the yellow wire. Just connect the brown and yellow to the new connectors.


Heres a pic of my weak ass Soldering:

For the city lights, I spliced into the sidemarkers (2 wires + white/purple and - brown)


Always check your fuses and make sure the key is in the ON position when testing to see if the lights work.
That was pretty much it. Just had to tie up all the wires and put back all the panels.


Hope this helps someone. Peace.Last edited by One21Two; 12-24-2007, 06:17 AM.
Comment


Comment