Announcement

Collapse
No announcement yet.

The 5 Year Restoration - E30 M3 Reborn

Collapse
X
 
  • Filter
  • Time
  • Show
Clear All
new posts

  • CurrusDei
    replied
    time to unwrap another present...


    Rear guides back on


    Reused the old FG bumper cover support, got all the old overspray off.


    Old foam core was still intact too.


    Foam in


    FG support has to be worked in, under the plastic lips with the grommet holes on them


    Grommets in


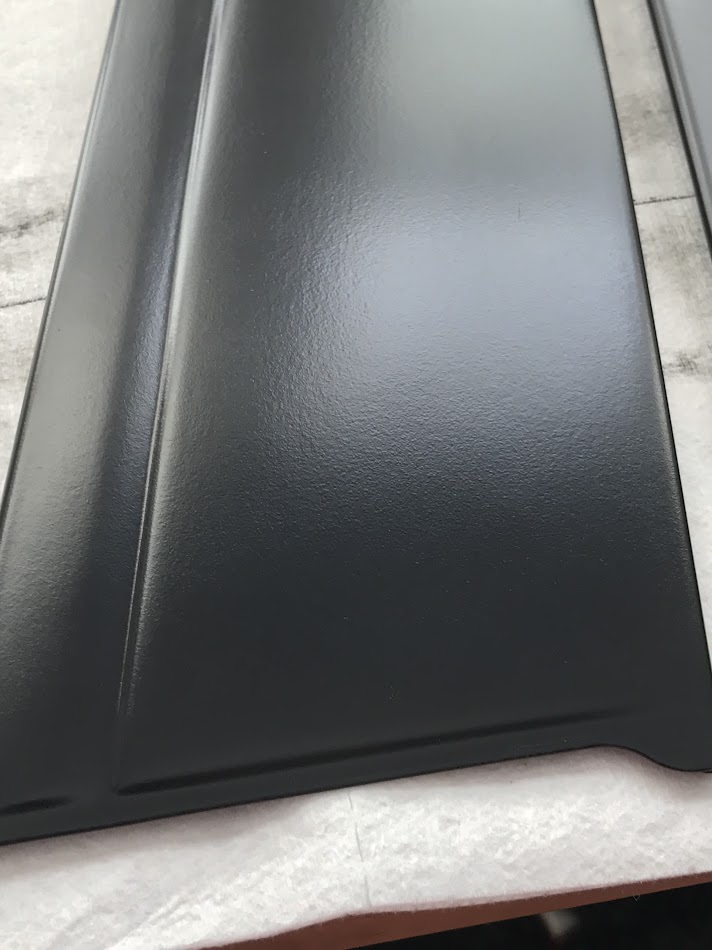
    This guy got painted


    Remove and replace


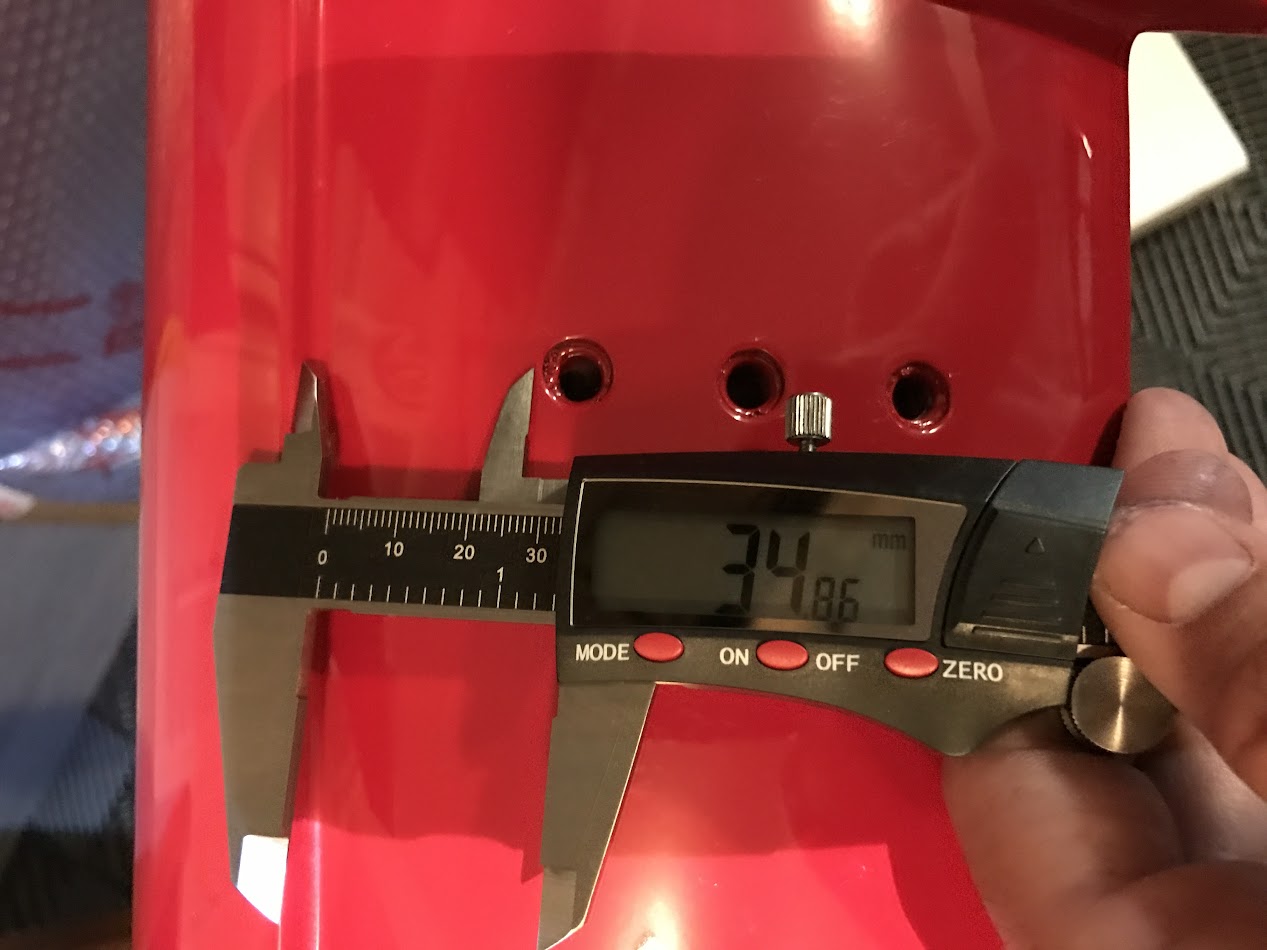
    This hole is for the rear side reflector light. Since i'm going with the Euro look on this, i wont be using them. Crazy thing about paint... even with it sanded down, sometimes rubber that has been sitting there for years, even with the old rubber removed, still will bleed up through new paint.


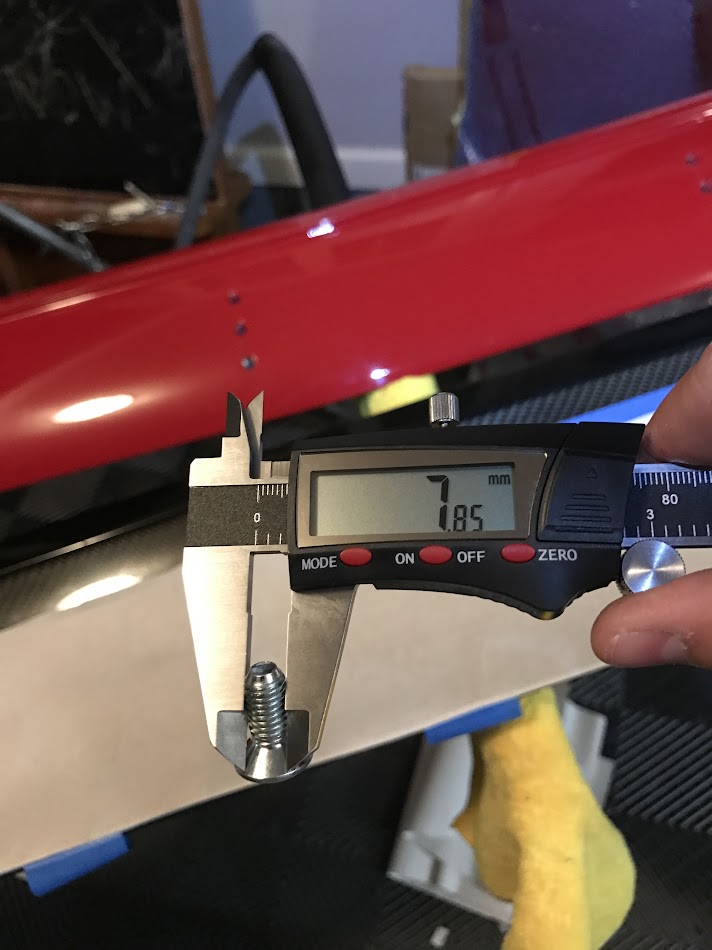
    Plugged on both sides


    On.


    Leave a comment:


  • CurrusDei
    replied
    Too long since my last update. Parts are going steadily back on the car, noticing fewer boxes and more walking around room in the garage.

    Rear weather strips in


    All side trim is on. I was surprised by how poor the paint job was on the parts from BMW - every trim piece that came had to be repainted or returned.

    BMW's paint had rippling, pits, and other imperfections:


    My repaint (Wurth Trim Black):


    Reminder from disassembly


    New clips, new adhesives. Used a heavy duty 3m doublestick adhesive and JB WaterWeld (the putty - it smells awful at first when you mix it together, but is very effective)


    Rear windows have yet to be adjusted in the pic above. The front goes on as is, and then you adjust the rear to align.

    Top trim on driver door


    Lower trim on


    After doing one side, my observation was that the lower trim piece was really hard to get on over the rear trim on the door B pillar. On the passenger side i did things slightly differently.

    First, I aligned and installed the lower trim piece, fully pushing down the rear section, but not the front. This let me then install the B pillar trim piece (which goes behind the lower trim piece and under the top trim. Lastly, i installed the top trim piece - which is aligned in the rear. I clipped on the back of it, then left the rest unattached so that i could flex the front part of the top trim (the part that goes down in front of the side view mirror). With all this aligned I pressed in the fop trim, then pressed down on the bottom trim piece


    Little spoiler alert in that one :)

    Leave a comment:


  • 0-60Motorsports
    replied
    Beautifully executed on the wing.

    Leave a comment:


  • ClassicE30
    replied
    May I ask where you found your spoiler?

    Leave a comment:


  • IceWhite
    replied
    That was brilliant.

    Actually, not sure which was brilliant, the idea or the execution.

    Nah.... As always, both!!

    Leave a comment:


  • CurrusDei
    replied
    3 Years in... Rebuilding an E30 M3.

    Installed the spoiler.


    I decided measuring and marking wasn't going to be accurate enough, since there is a small gap between the sides of the flap and the rest of the wing. Here's the solution i devised...


    First, a paper template...


    ​​​​​​​


    Then covered in painters tape, Used crayon (thanks kids) to locate holes


    The barrel of this pen happened to have the exact diameter of the thread wells in the spoiler. Perfect stencil


    Rubbings traced with permanent marker


    Used xacto knife to cut out holes - used cardboard backing to keep from cutting the spoiler


    Out


    Alignment check


    Folded over tape to make double-sided adhesive locations...


    This let me properly align the CF flap so that the gaps were even on either side. This would have been very hard to do with measuring, and the surfaces are all curved, so i'm sure i would have been off - not an option when drilling something this pricey


    Stencil transferred


    Checking distances. it was a fraction of a mm off, but thats ok because i wanted some space between the bottom of the wing and the paint on the spoiler to avoid rubbing.


    Drilling begins. This stuff isnt hard to drill, just use sharp (preferably new) bits, slow speed, and gradually step up in bit size


    That said, a drill going through CF is now on my list of least favorite sounds. Someone had mentioned that these were 6mm bits.. they're closer to 8 with the threads.


    This last bit was the worst because it was one i had instead of buying new, it wanted to walk on me, but i didnt let it. holes came out great


    The reveal


    And thank goodness, they all align.


    Ohhh yes.


    Last edited by CurrusDei; 04-08-2017, 09:24 PM.

    Leave a comment:


  • JGood
    replied
    Originally posted by ZekeTheSneak View Post
    Looking killer. Can you test that hair dye product and black lighting on the coolant bottles? I'm really curious if they are save able lol.
    Exactly what I'm thinking. I have a NLA brake fluid reservoir that is yellowed, I think I'm going to try this.

    Leave a comment:


  • ZekeTheSneak
    replied
    Looking killer. Can you test that hair dye product and black lighting on the coolant bottles? I'm really curious if they are save able lol.

    Leave a comment:


  • CurrusDei
    replied
    3 Years in... Rebuilding an E30 M3.

    Happy third anniversary


    Yeh I know the trunk alignment is slightly off. CF wing coming soon. Maybe tonight. Need another digital caliper first to get the measurements dead on. Might get some security bolts as well as an anti-theft measure.


    Sent from my iPhone using Tapatalk

    Leave a comment:


  • CurrusDei
    replied
    2.5 Years In... M3 Build Thread...PAINT COMPLETE!

    Sticker time.


    Painted, paper and tape coming off. The tape is critical. Clean lines here. Zero overspray


    Glass cleaned


    Old sticker is rough. Enter - the kids washable marker. Traced the outline on the opposite side of the glass from the sticker.


    The sticker flaked off in pieces when I touched it with a plastic pry tool. It's amazing it held on as long as it did. Residue removed as well.


    The goods.


    Bam.


    Test mount.


    Very happy with the result!


    Sent from my iPhone using Tapatalk
    Last edited by CurrusDei; 03-28-2017, 08:20 PM.

    Leave a comment:


  • ClassicE30
    replied
    Do you have a PN for the roadside assistance sticker or could you pint me in the direction where you forbid it? Thanks in advance! And biblical build BTW!

    Leave a comment:


  • CurrusDei
    replied
    Door work!

    Some rubber bits that keep the metal mechanisms from contacting each other or the painted interior of the door...

    These little guys had to come from Germany and were $6 each. They're the size of a pencil eraser.


    Replaced these spacers as well.


    New weather stripping (installed the rear lower tracks as well, not pictured)


    Window gears back in place. This thing is like a contortionist. It can get into so many positions it took a minute to figure out the right one again.


    Passenger door also has its handle on now and both door strikers are well aligned so they open smoothly.

    Fuel tank access covers back on. Large one got a new gasket as it was only in good shape. Small one gasket was in great shape, put back.


    Sent from my iPhone using Tapatalk

    Leave a comment:


  • bradnic
    replied
    :popcorn:
    sticker envy. bad.

    Leave a comment:


  • CurrusDei
    replied
    Tool kit in!


    Careful cleaning before mounting.


    Haven't installed the sound deadening yet because it's tan. Need to find grey, like the original one that came on the car. Put it in there loose for now..


    And roadside assist label


    Sent from my iPhone using Tapatalk

    Leave a comment:


  • bradnic
    replied
    Wise. very wise.

    Leave a comment:

Working...
X