-
-
3 Years in... Rebuilding an E30 M3.
Big boxes in the mail today. New foam for the front seats


Sent from my iPhone using TapatalkLeave a comment:
-
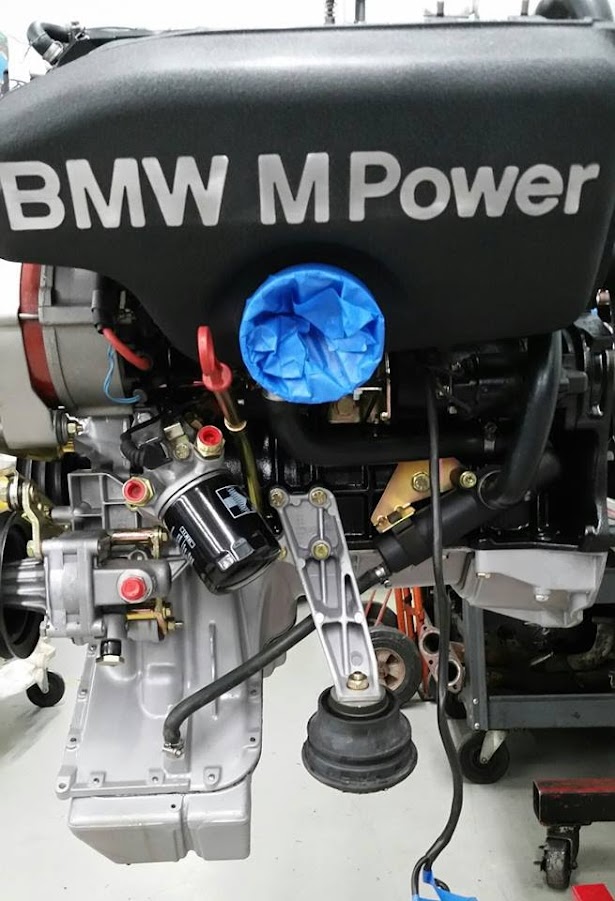
Update from Korman...trans, diff done
Then...

Now...


Sent from my iPhone using TapatalkLeave a comment:
-
My friend will swap a 24v engine into an e30 in his sleep, but he refuses to touch sunroofs.
Looks like you did a good job though. :)Leave a comment:
-
Sunroof. Or, why i wish i had a slicktop.
Here are the screws that hold down the trim/surround that holds down the headliner, and on the sides serves as a guide for the upholstery component of the sunroof. I looked all over for new versions, but wasnt able to find exact replacements for the small self tapping ones. So i started by sanding them off lightly
Then spraying with a ceramic black paint (duplicolor brake caliper paint)
I let it dry then baked it at 200 deg for 1 hour to cure
I also restored all the surrounds
Old pic here obviously
Ok now i did everything all out of order and had to disassemble a couple more times than i needed to. If i were doing it again i would get all the hardware and trim set, then
1) install the sunroof upholstery carrier. This sits on the track free from the rest of the mechanism. the sunroof upholstery connects to it via the two arms and snaps. The carrier basically keeps the upholstery straight and on the track. When the upholstery is connected to the sunroof panel in the front, the entire thing moves as one piece.
#12 in the image below:
Here's the underside with the clips where the upholstery links snap in
2) install new sunroof panel carriers
3) Install front and rear trim. This was at the upholstery shop, so the screws are marred (didnt have the ceramic on at this point, they're perfect now after ceramic and some brush touch up). I also go the upholstery all lined up so that random black piece in the bottom left isnt like that anymore.
4) Then install the side surrounds. The thing i missed, that once i figured out everything went smoothly, is that this little black square thing is the key.
The black square thing runs under the trim, until it his the segment shown below, at that point it goes through the opening and pops up. This is what allows for the up (vent) mid (flush) and low (retracting) positions of the sunroof.
5) Then I would install the upholstery panel. NOT the main panel. The sides go under the surrounds and the rear arms snap into the piece installed in step 1.
The upholstery panel can then be pushed back into the roof once it is snapped into its track carrier.
6) Panel goes in last once the gasket is on (I went with the one piece gasket)
Then put in the three screws on each side from underneath.
7) Upholstery piece can then be pulled forward. I left mine unattached at to the metal panel until i get the sunroof motor in and can more easily move back the metal panel. Once this is in though, its just a case of moving the metal piece back and snapping in the upholstery cover. Wrinkles in headliner will come out with steam.
Leave a comment:


Leave a comment: