
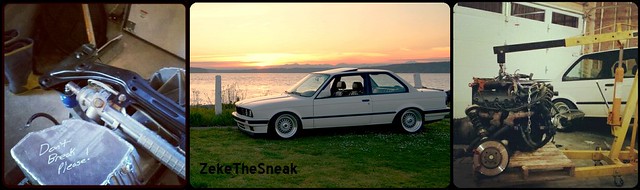
2.5 Years In... M3 Build Thread...PAINT COMPLETE!
Sticker time.
Painted, paper and tape coming off. The tape is critical. Clean lines here. Zero overspray

Glass cleaned

Old sticker is rough. Enter - the kids washable marker. Traced the outline on the opposite side of the glass from the sticker.

The sticker flaked off in pieces when I touched it with a plastic pry tool. It's amazing it held on as long as it did. Residue removed as well.

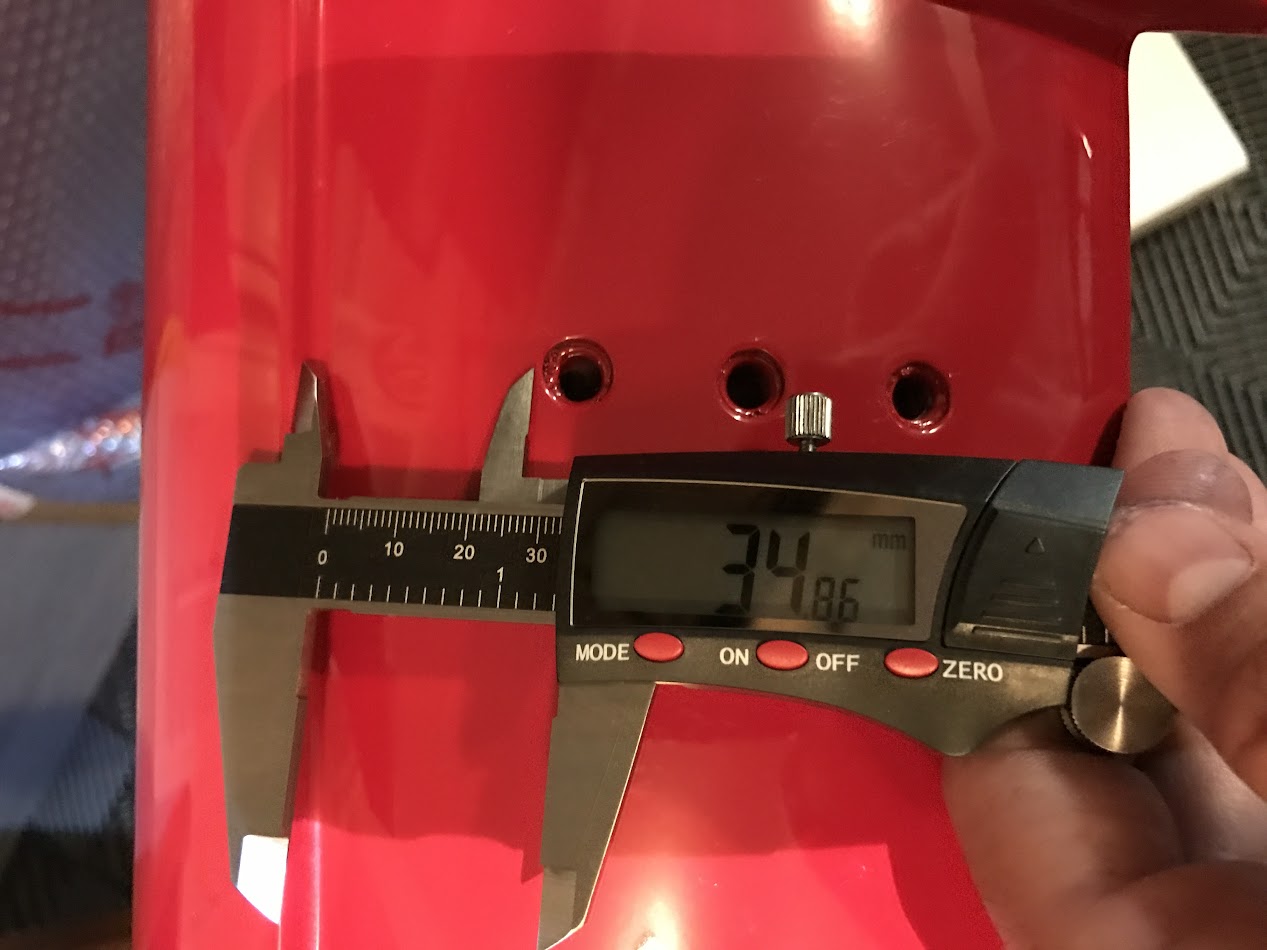
The goods.

Bam.


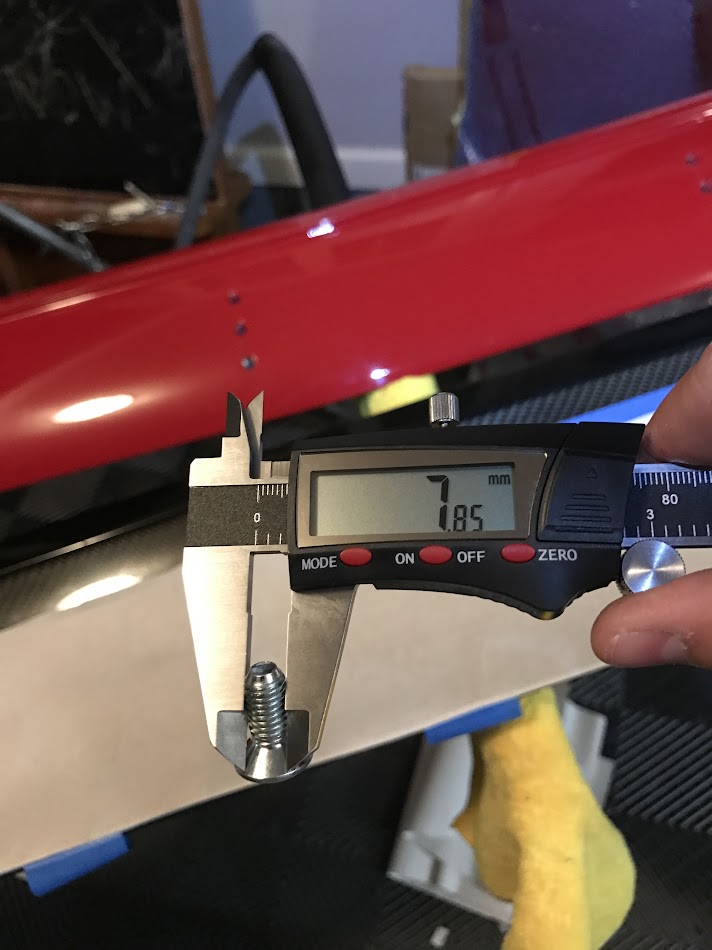
Test mount.


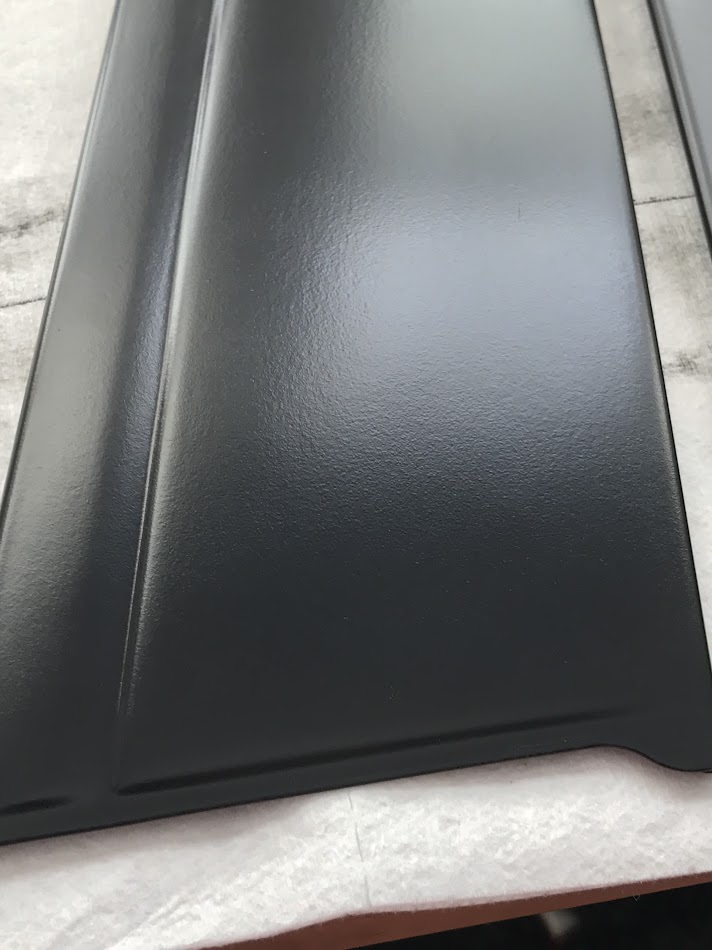
Very happy with the result!
Sent from my iPhone using Tapatalk
Sticker time.
Painted, paper and tape coming off. The tape is critical. Clean lines here. Zero overspray
Glass cleaned
Old sticker is rough. Enter - the kids washable marker. Traced the outline on the opposite side of the glass from the sticker.
The sticker flaked off in pieces when I touched it with a plastic pry tool. It's amazing it held on as long as it did. Residue removed as well.
The goods.
Bam.
Test mount.
Very happy with the result!
Sent from my iPhone using Tapatalk


Comment