
New M3 Owner... The Build Thread
Will do! They won't be as exciting as the big new parts above for a couple months since my son is being born in March and my 335 needs new turbos - bad waste gate rattle for past 6 months or so (going with RBs for those of you who are familiar with that side of the BMW world).
But, I'm thinking its time to start disassembling for paint. My wife wants to do something nice for my 30th birthday in the spring and it's looking like paint is it! I'll be pulling the motor and all that other fun stuff in preparation.
In a less flashy area of the project-the heater/AC box is mostly done. I don't have a great before pic of the whole unit, but these capture its dirty essence


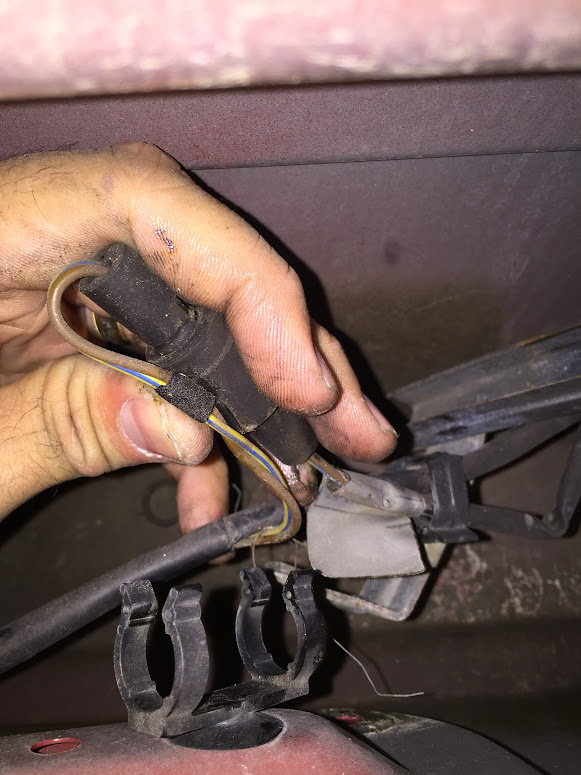
So I pulled it out, leaving the wires attached as I mentioned above.

Cleaned out the nooks and crannies (there are lots), I'm sure I missed a couple.

Removed all the old blend door insulation, which after 25 years was more like a thin film of adhesive with some foam particles still clinging to it. Nice how you can see through the one on the right. The one on the left is one I traced out of the foam I got from Grainger (pictured earlier)

Made new foam fittings for all the blend doors, including a bit of an aggressive one for the recirc blend doors on the top, left some foam in the middle for reinforcement because it's a big curved contact surface.


I also replaced the bead gasket that goes between the upper and lower sections of the box. The old one was dried out and brittle. Also it was gray, cmon guys, black clearly matches this part (that you won't ever see because it's inside another part you won't ever see) better. Still, I know it's there. I just bought some good rubber cordage from Amazon-2mm diameter solid rubber.


I added some foam padding to make my evaporator fit nice and tight, then put it in before rejoining to two halves so the foam didn't get pushed out of place.


Now, before I rejoined the two halves, there was one more thing that had to go.

Gross dirty wire tape. Again, you'll never see it, but I know it's there. One short order of smaller width tesa tape from some dude in Bulgaria later and... (I obviously had the tape already here, think of it like a cooking show)


Nice and clean.
Then put the two halves back together (I don't show how I took some of the doors off here, but there's a great thread at s14.net I'll link to later).
Edit: here's the link. He shows a lot I don't and I show a lot of where he left off:

Also if you look closely you'll see I left some of the old wire tape where the cables enter the area behind the blower motor. I had already put the top foam gasket on and didn't feel like ordering another one so I could separate the right and left sides of the top.


Reinstall the recirc door motors and get all that wire routing back in place

Just needs a heater core and she's ready to go! It'll be a while though with paint coming up. Not that I mind, after all that work it will be nice to look at this on the shelf for a while.
Sent from my iPhone using Tapatalk
Will do! They won't be as exciting as the big new parts above for a couple months since my son is being born in March and my 335 needs new turbos - bad waste gate rattle for past 6 months or so (going with RBs for those of you who are familiar with that side of the BMW world).
But, I'm thinking its time to start disassembling for paint. My wife wants to do something nice for my 30th birthday in the spring and it's looking like paint is it! I'll be pulling the motor and all that other fun stuff in preparation.
In a less flashy area of the project-the heater/AC box is mostly done. I don't have a great before pic of the whole unit, but these capture its dirty essence
So I pulled it out, leaving the wires attached as I mentioned above.
Cleaned out the nooks and crannies (there are lots), I'm sure I missed a couple.
Removed all the old blend door insulation, which after 25 years was more like a thin film of adhesive with some foam particles still clinging to it. Nice how you can see through the one on the right. The one on the left is one I traced out of the foam I got from Grainger (pictured earlier)
Made new foam fittings for all the blend doors, including a bit of an aggressive one for the recirc blend doors on the top, left some foam in the middle for reinforcement because it's a big curved contact surface.
I also replaced the bead gasket that goes between the upper and lower sections of the box. The old one was dried out and brittle. Also it was gray, cmon guys, black clearly matches this part (that you won't ever see because it's inside another part you won't ever see) better. Still, I know it's there. I just bought some good rubber cordage from Amazon-2mm diameter solid rubber.
I added some foam padding to make my evaporator fit nice and tight, then put it in before rejoining to two halves so the foam didn't get pushed out of place.
Now, before I rejoined the two halves, there was one more thing that had to go.
Gross dirty wire tape. Again, you'll never see it, but I know it's there. One short order of smaller width tesa tape from some dude in Bulgaria later and... (I obviously had the tape already here, think of it like a cooking show)
Nice and clean.
Then put the two halves back together (I don't show how I took some of the doors off here, but there's a great thread at s14.net I'll link to later).
Edit: here's the link. He shows a lot I don't and I show a lot of where he left off:
Also if you look closely you'll see I left some of the old wire tape where the cables enter the area behind the blower motor. I had already put the top foam gasket on and didn't feel like ordering another one so I could separate the right and left sides of the top.
Reinstall the recirc door motors and get all that wire routing back in place
Just needs a heater core and she's ready to go! It'll be a while though with paint coming up. Not that I mind, after all that work it will be nice to look at this on the shelf for a while.
Sent from my iPhone using Tapatalk


Comment