-
SOOOOOOO..
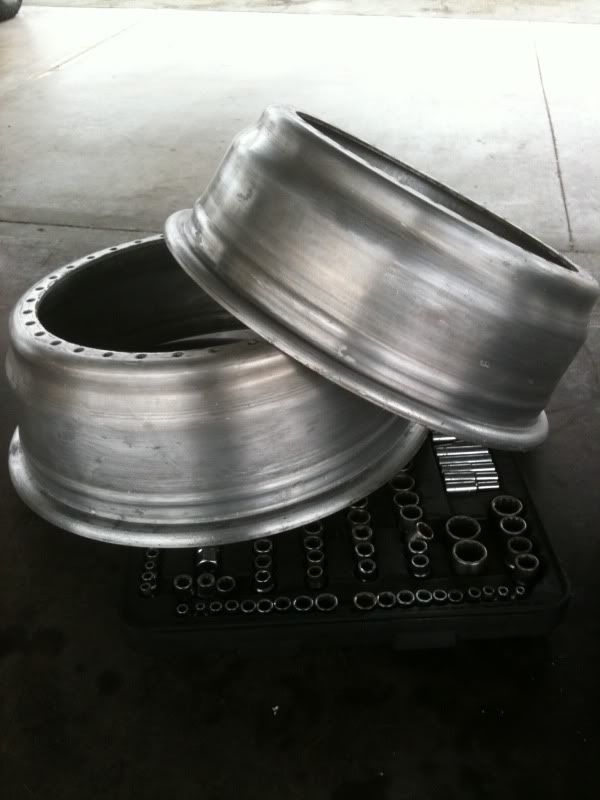
Finally recieved my 12pt 8mm sockets to rebuild the RS. Thats what was holding up the progress. Installed the Ground Control setup in the rear :) in the process of doing the front suspension I'm replacing the control arms, sway bar end links, and tierods. Parts should be delivered today, install tomorrow! Pics up soon!Leave a comment:
-
Thanks for the heads up.
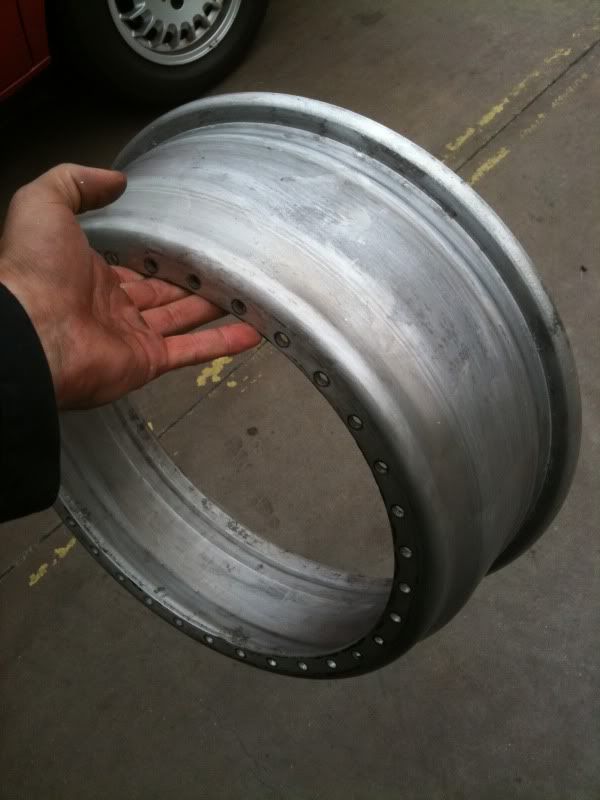
The inner barrels shouldnt be a problem. If i wanted to add "+" to my offset, i would have to buy smaller outer lips.
Inner barrels are cured and ready to bolt up. Im going to bolt up a front and rear wheel, do a test fit, then get the fenders worked.
Work on the BBS hit a standstill this weekend, My team, Team Praxis, hosted a Japan Relief meet up in Garden Grove. Was working on getting my other ride ready for the meet and getting extremely sunburnt in the process.. -___-
Great turn out at the meet, raised over $3000 in cash and canned goods for Japan. You can see coverage here:

Work will continue this weekend, get ready for a test fit on non pulled or rolled fenders, this should be good.. And yes, i know these are going to POKE super far past the fenders.Leave a comment:
-
nice work on these wheels, though i fear like some others you may hit strife in the rear. That said, if you want big lip, do big lip. This is the Japanese VIP way, make the car fit the wheels.
if you end up too wide but dont want to do widebody or overfenders, your next option is to buy narrower barrels for the wheels. This will let you keep your 4" lip but gain you some inner clearance and lower your offset and width. Sure you won't have 10" wide rims but you'll have like 4" dish on a 9.5" wheel or so hahaLeave a comment:
-
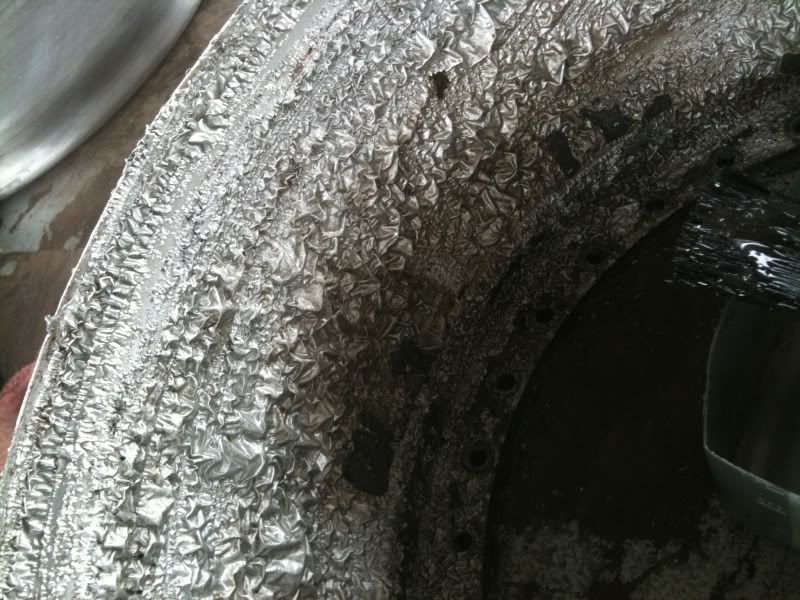
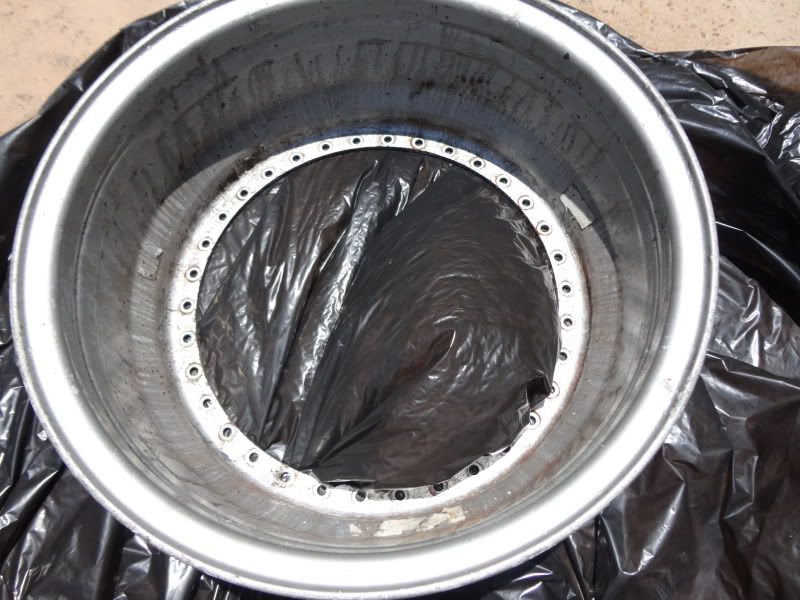
Is the backside of the center powdercoated where the face of the rotor meets the face of the of the wheel? If so, you should take a orbital sander, and sand off that powdercoat. It should be a metal to metal contact at that union since it is the load bearing surface.Leave a comment:
-
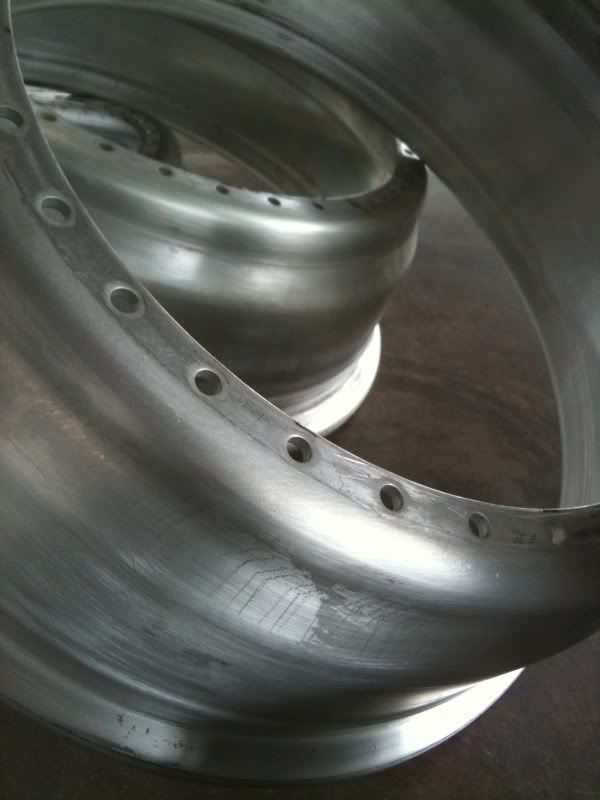
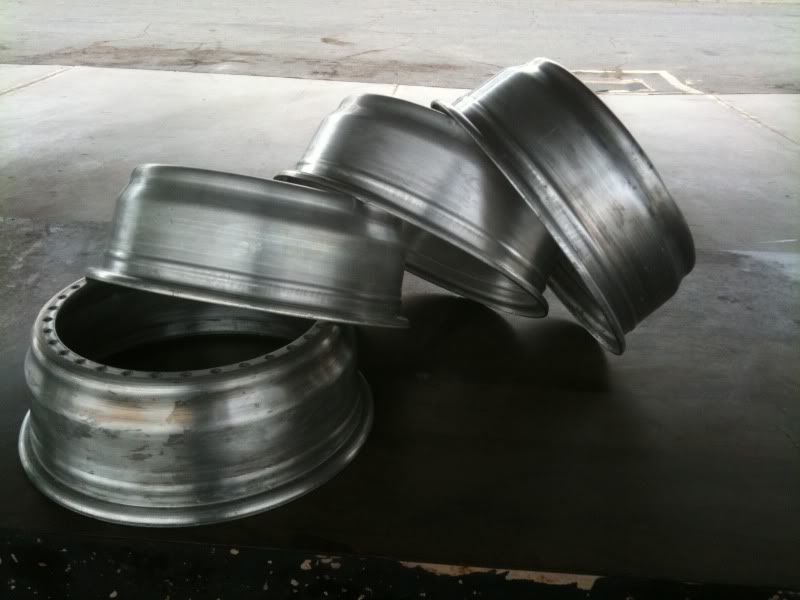
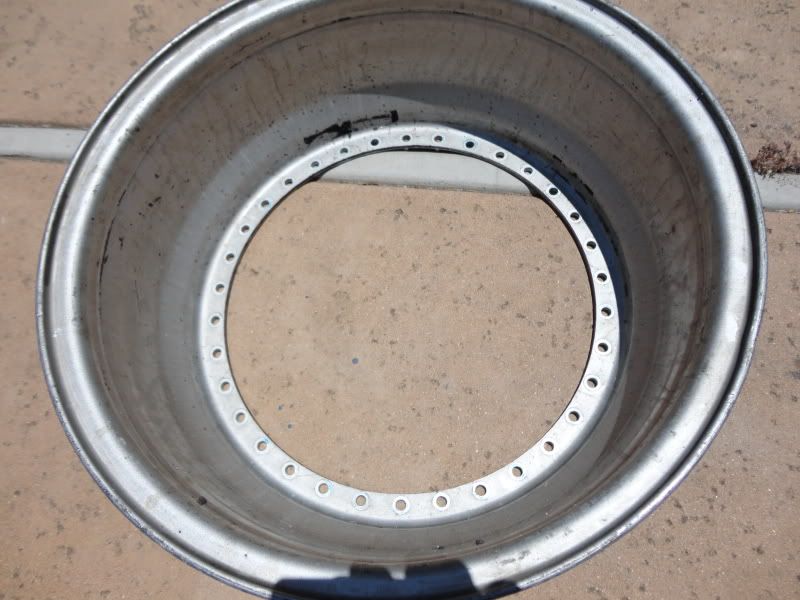
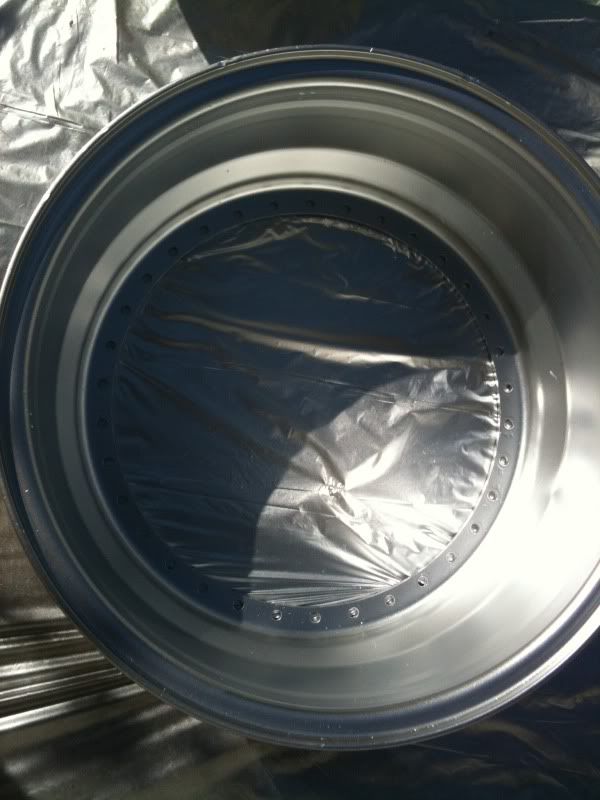
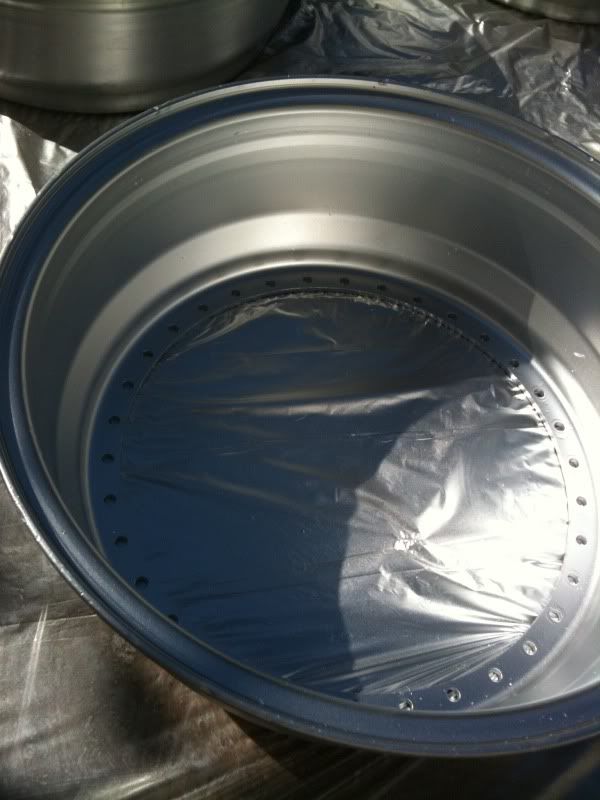
Inner barrels stripped and painted:

Aircraft remover doing its thing...
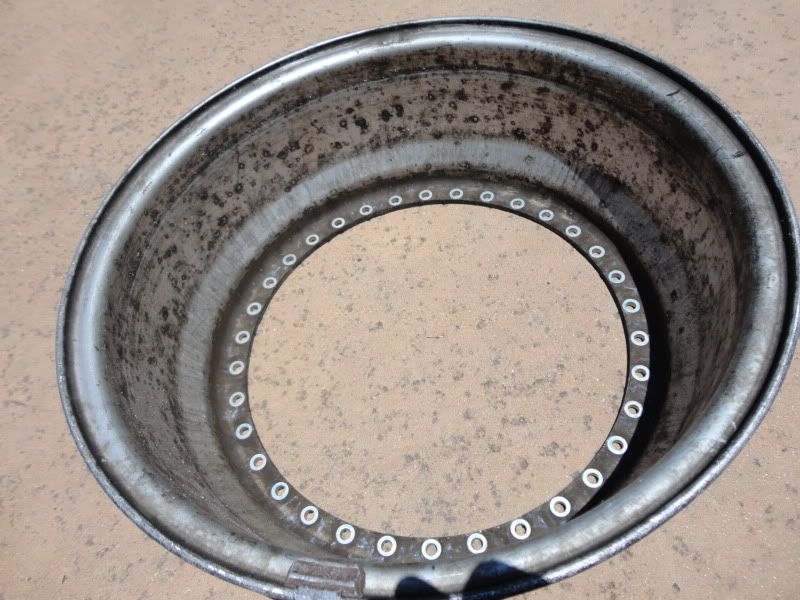
Had to apply 2-3 coats each side of the barrel. The first coat will remove the majority of the paint, second should do the rest. Lastly I hit the stubborn spots with dabs of it. I used a scraper, rags and several 3M scuff pads to remove the bubbled paint. after 2 barrels i had the technique down quite well.
First 2 done.
Close up.
4.5 hours later... All 4 barrels DONE.
Once i was done there was a light film on the barrels from the aircraft remover, so i coated them with simple green then hit them with a pressure washer. After that, dried them up and it was onto paint.
It was difficult to find a legit color for the barrels but in the end i shose some rattle can rusto, the color code is 7715 ALUMINUM. Bought 5 cans, used 2, that gave me 6 coats on the inner of the barrel.
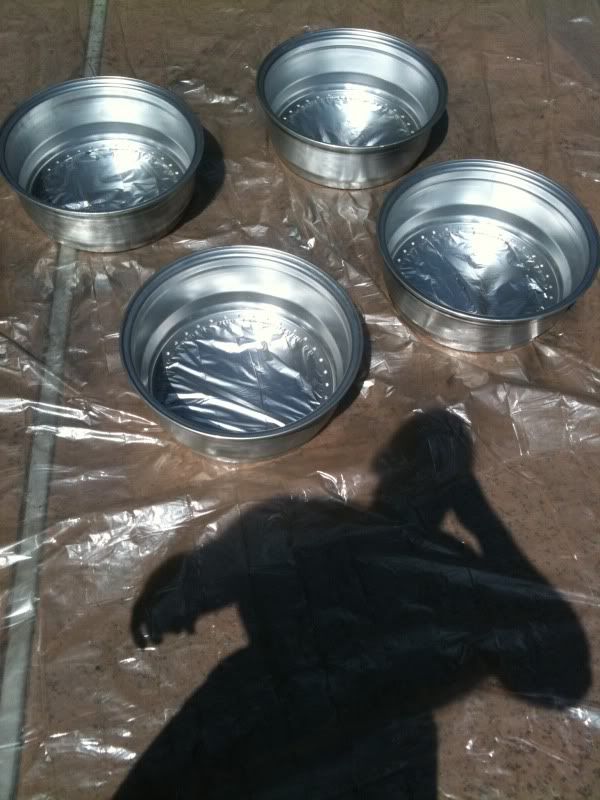
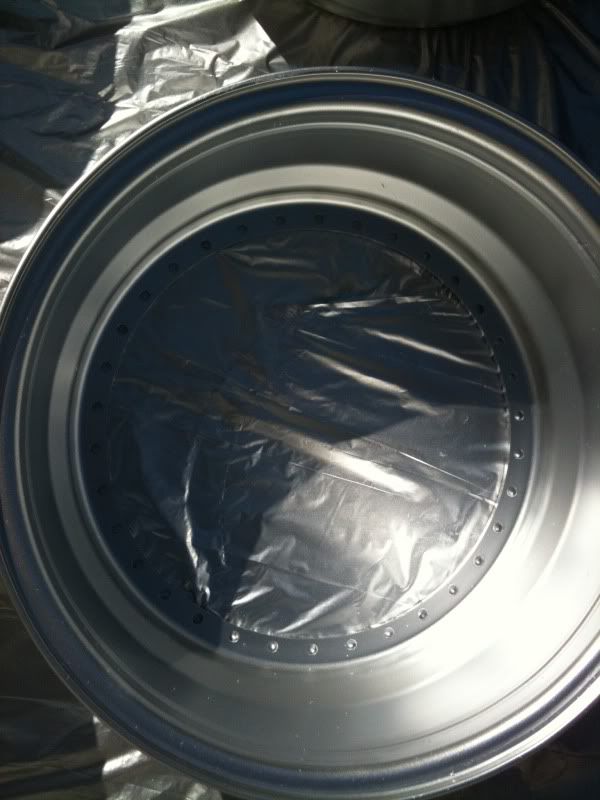
First coat of paint. At first it looked way too shiny.. but after it was all dried and cured, the finish dulled down and it looks great. Heres some more progress pics taken while painting, excuse the brightness of the finish.
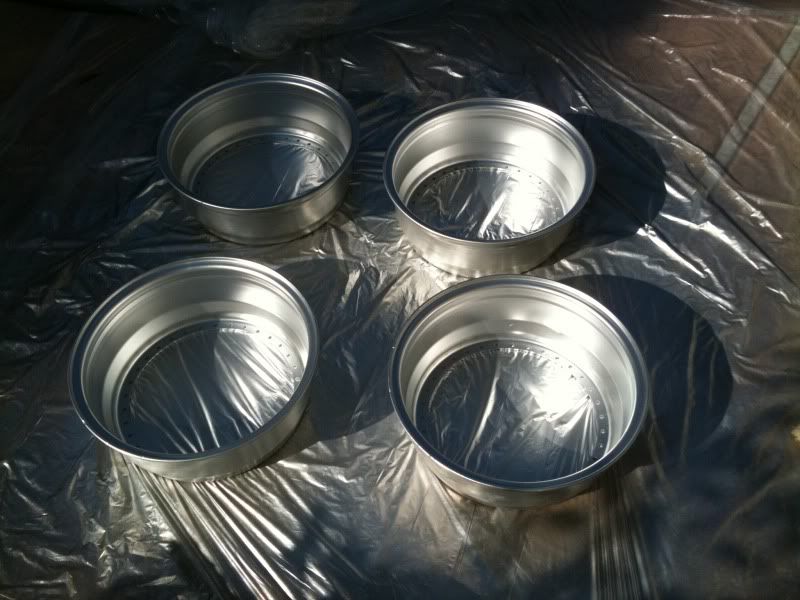
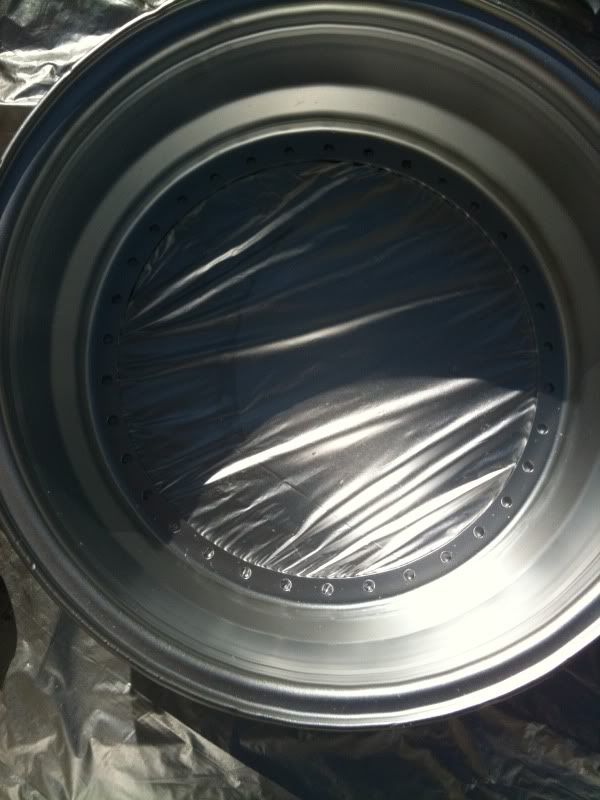
Heres all 4 barrels close up, HUGE difference from the before pics...
BEFORE:

AFTER:
Wheels are ready to bolt up and seal. Waiting on my 12pt 8mm socket from amazon, once that arrives I'll do a test fit and get the fenders rolled. Stay tuned for pics of the bolted up wheels and test fit.Leave a comment:
-
Yes, im "improvising" this entire build. ha.
I actually have "improvise" inked on my right arm! :)
If i was "scared of fitting wheels" I'd be running some 16x7.5's. Im building these wide and deep for a reason, thats how i want them.
Back on topic...
Finished painting the inner barrels today. pics up toight!Leave a comment:
-
I don't understand how people just jump into stuff without knowing what they're doing. Like Jim said, the rear is going to poke like crazy. My 16x10 et16 stuck outside of the fender about 4mm; yours are going to stick out 38mm, or about 1.5". Not impossible, but not easy. You're going to need all the help Tony can give.
Wheels look great though lol.Leave a comment:
-
-
-
-
Leave a comment:
-


Leave a comment: