-
-
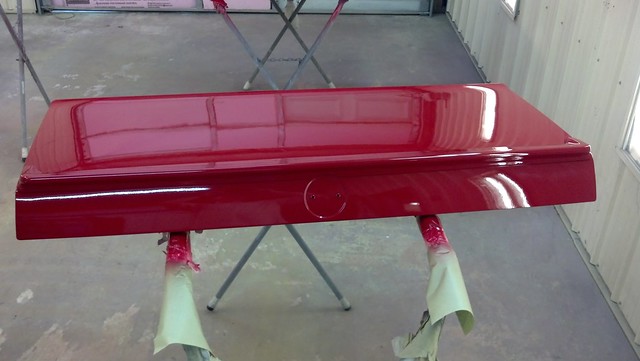
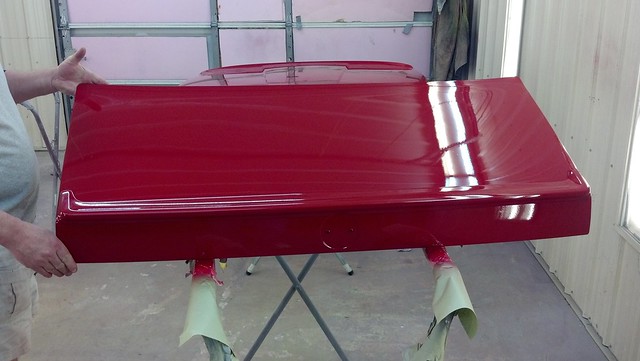
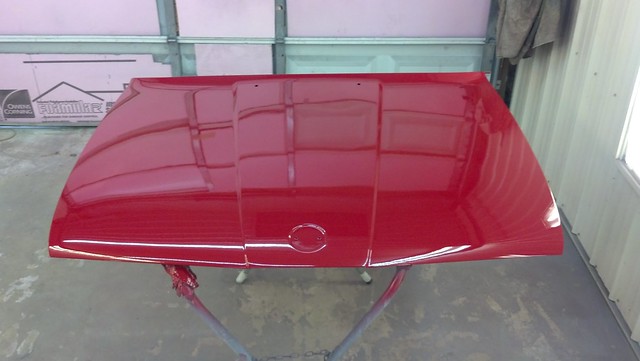
Thanks! The trunk spoiler was painted separately and hit first with adhesion promoter, as were all of the flexible parts. We only dropped it into place for a moment to take those pics of it on the deck lid.
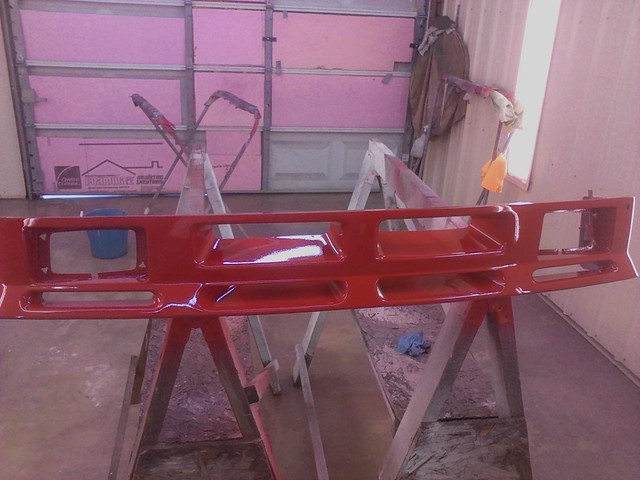
They are indeed NLA; these are a slightly different design (with the "spring" added).
Leave a comment:
-
Well done sir. A red car is the sun is defiantly a thing of beauty.
As it is curing check around the is spoiler, its rubber and the paint might crack around it. (unless you painted it separately)
Where did you get the plastic brackets for the es/is valence i thought they were nla?Leave a comment:
-
Speaking of side skirts, while I was typing the last couple of posts Arnie sent these...


Leave a comment:
-
Some pictures from yesterday when I went by to drop off the mounting screws to hold the mirrors in place for painting...
Leave a comment:
-
For installing the side skirts, we basically followed bernzpeed's install guide, though we ran a strip of wide masking tape down the rocker panel instead of using white out on the tips of the white pieces. You can see this tape in post #9. The first two pictures are the passenger side, the next two are the driver side (with the tape flipped as described below) and the last one is the passenger side test fit just before lining up the rear fender well holes and pop rivets.
We attached the white pieces to the skirts (the ones pictured from 0:30-0:40 in the new video), then held the skirt up to the car and applied pressure to it, pushing inward and upward at the same time in the general direction of the center console.
We repeated this process a couple more times, then drilled through the masking tape at what was more or less a triangulation of the indentations in the tape made by the white pieces. Once the passenger side was complete, we used the same piece of tape for the driver side, though we flipped it over and used it sticky side out by securing it with some smaller pieces of tape. That way we used the top of the tape for both sides so that the holes were drilled the same distance from the bottom lip. Hopefully that makes sense - it's difficult to articulate. Test fitting of both sides (without the green anchor grommets) lined up as closely to perfect as I could have hoped for without a template being supplied.
I agree with her recommendation of not using the clamping bolt, as the existing screw in the lower lip of the rocker panel looks like it's going to work just fine for attaching the small fender piece. Big thanks to her for the installation info.Leave a comment:
-
Leave a comment:
-
Great Progress! Love the RD wheels. Any engine plans? Your
going to have to keep up with some quick E30s at the rally...Leave a comment:
-
Those are most (if not all) of the pics I took, though I'll be happy to post a more detailed description of what we did as soon as I have time to sit down and type it out.Leave a comment:
-
looks awesome!!
do you have more pictures how you installed sideskirts? thanks!Leave a comment:


Leave a comment: