

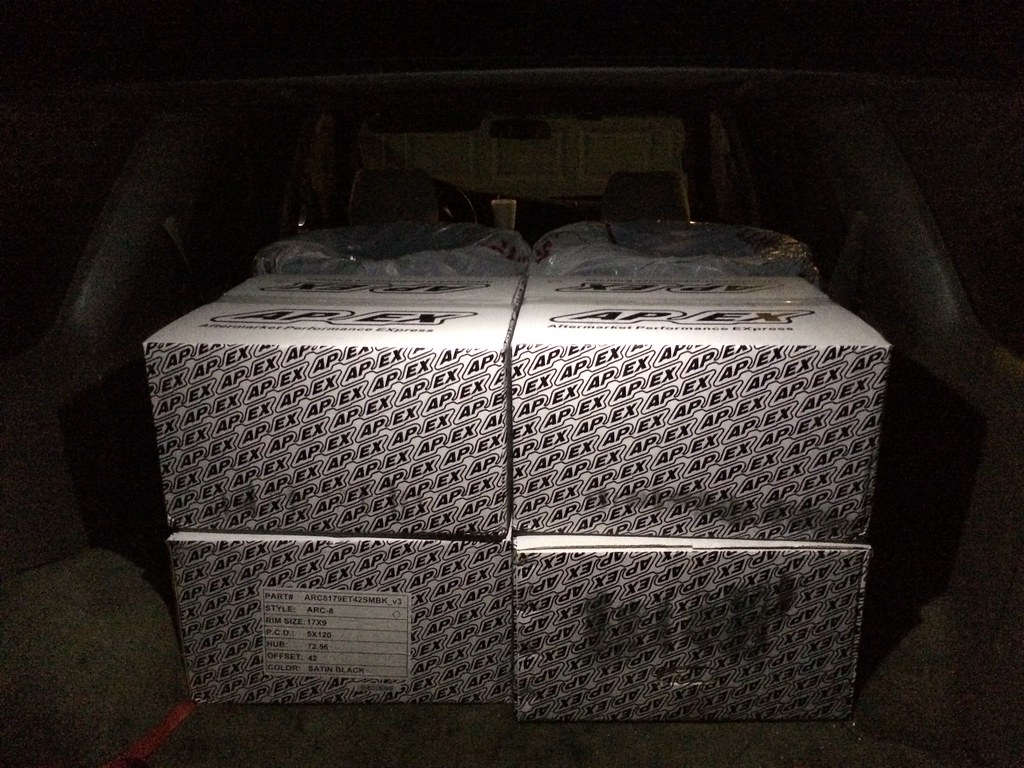
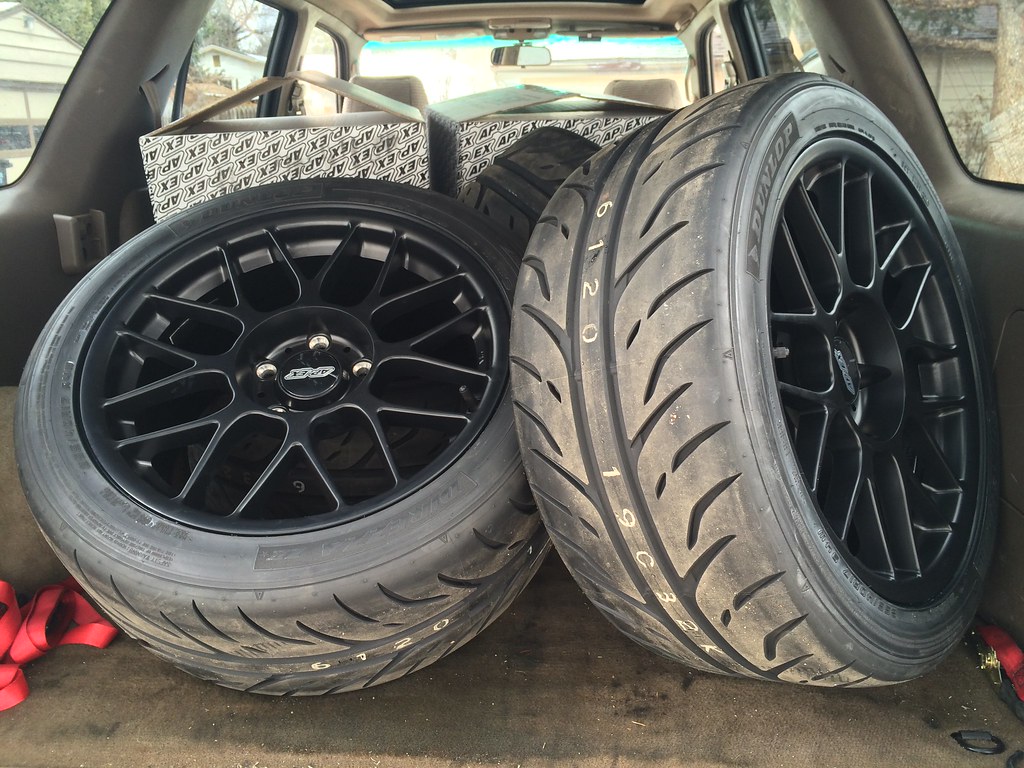
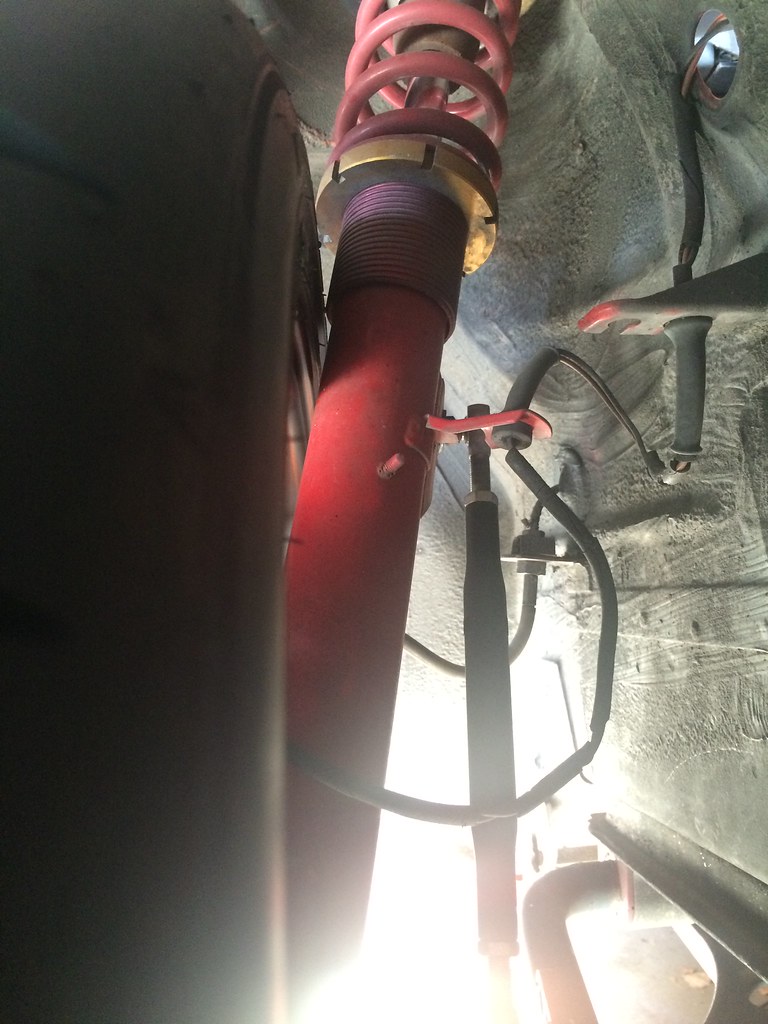
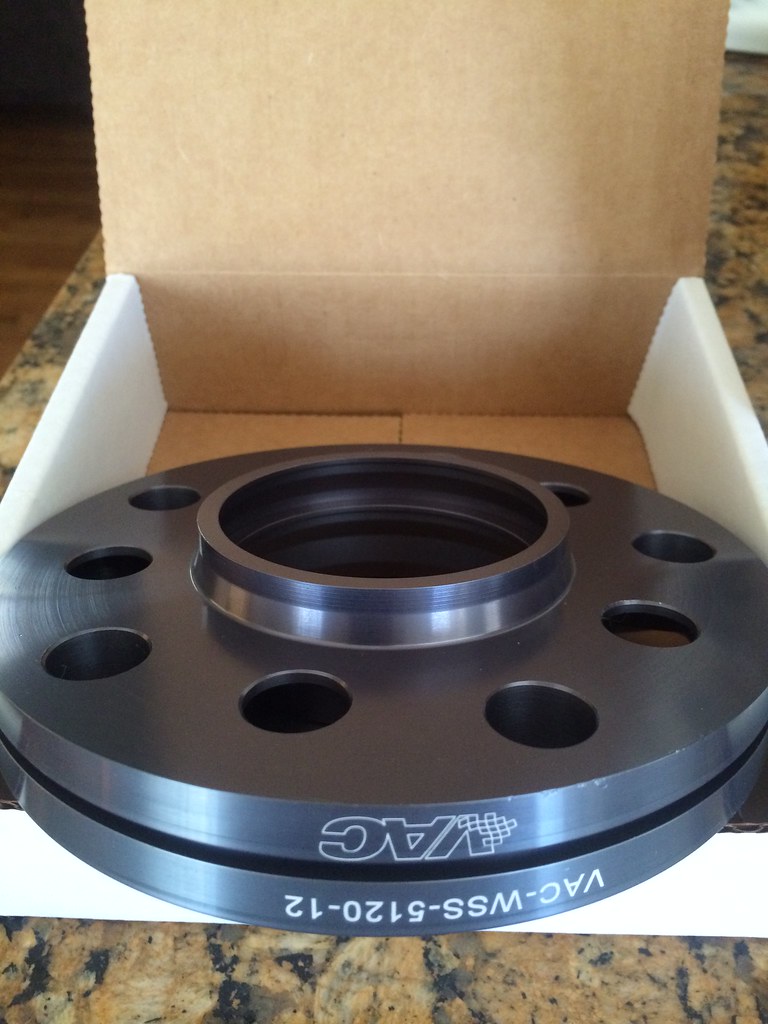
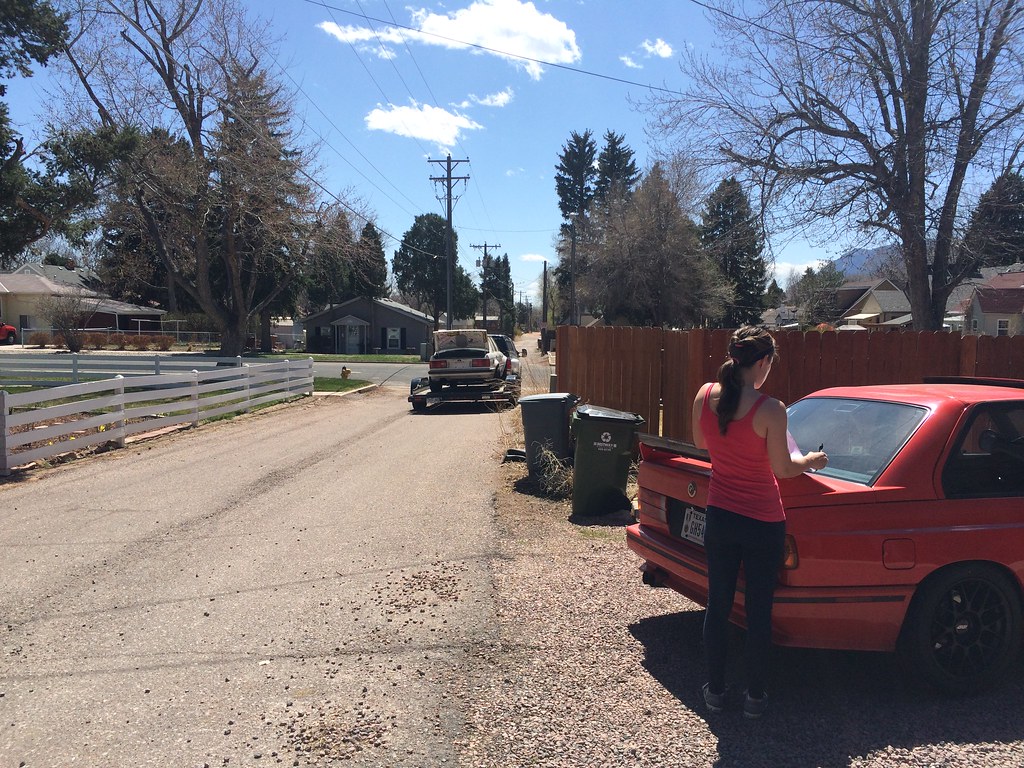
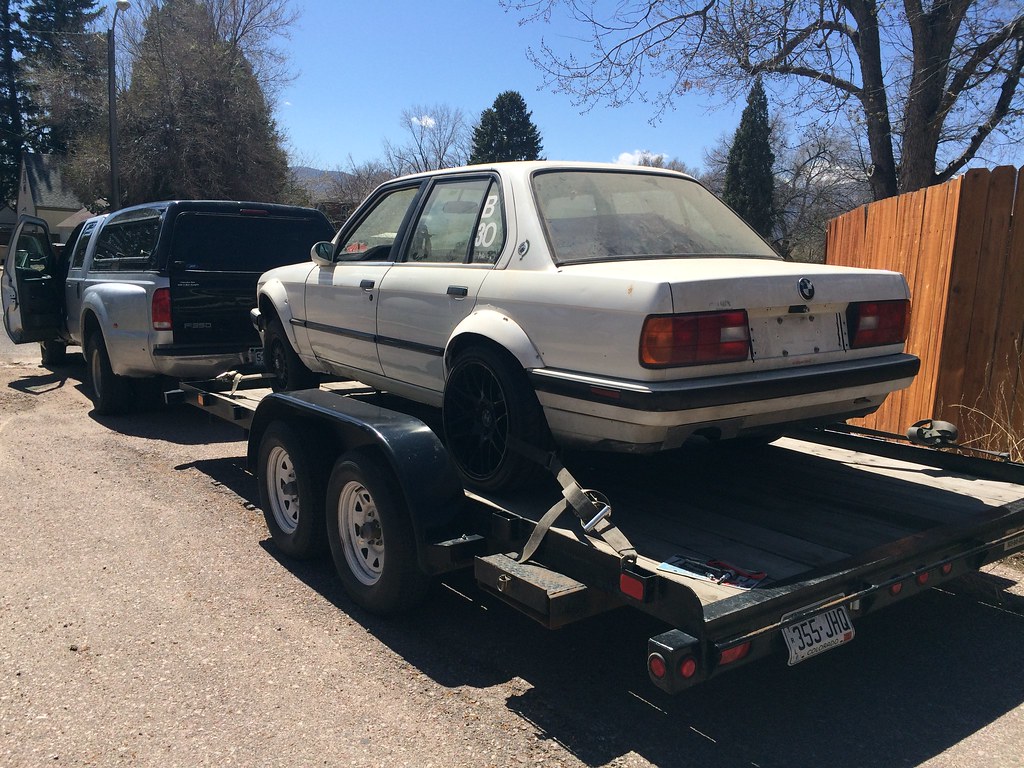
My E30 v2.0
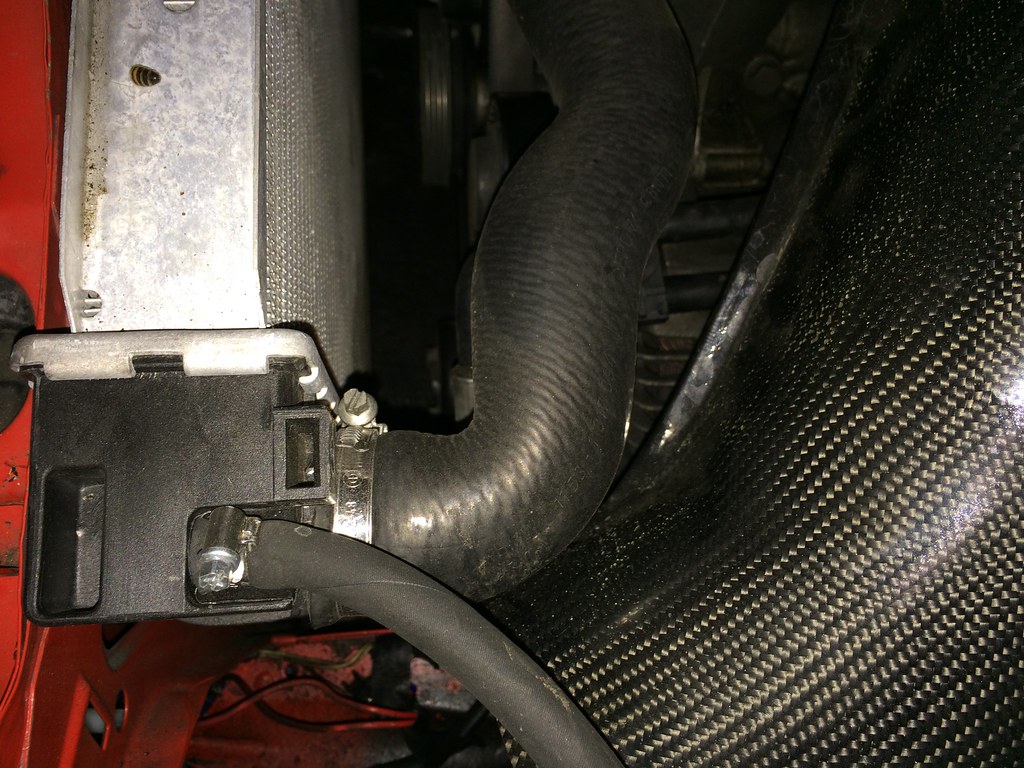
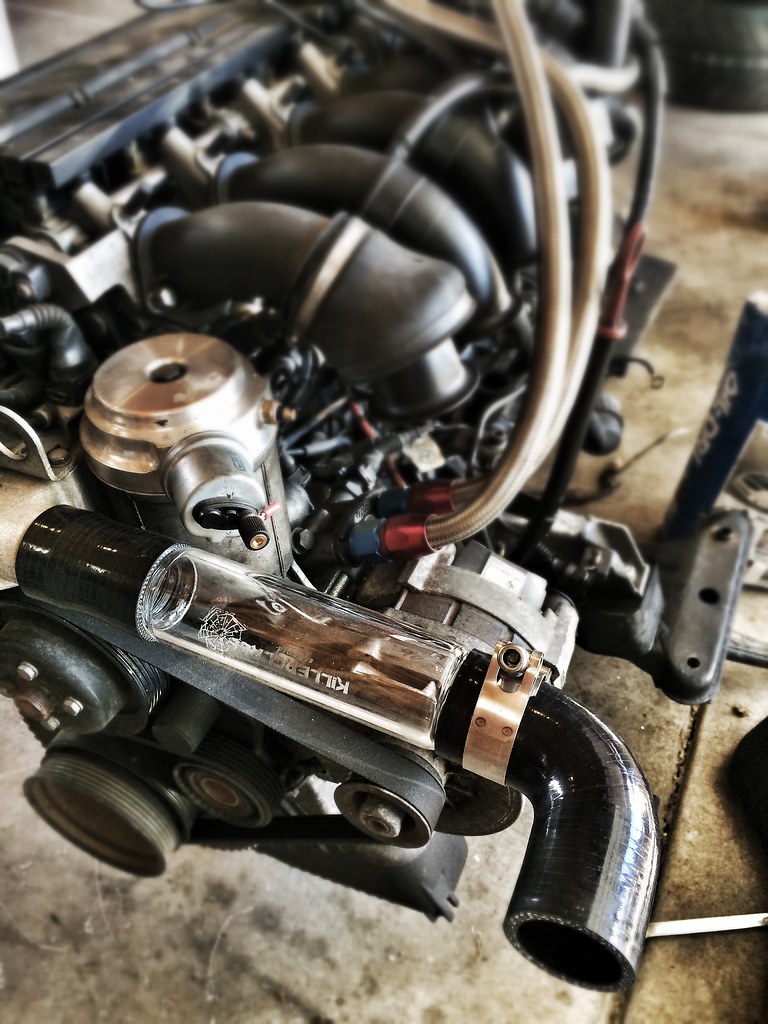
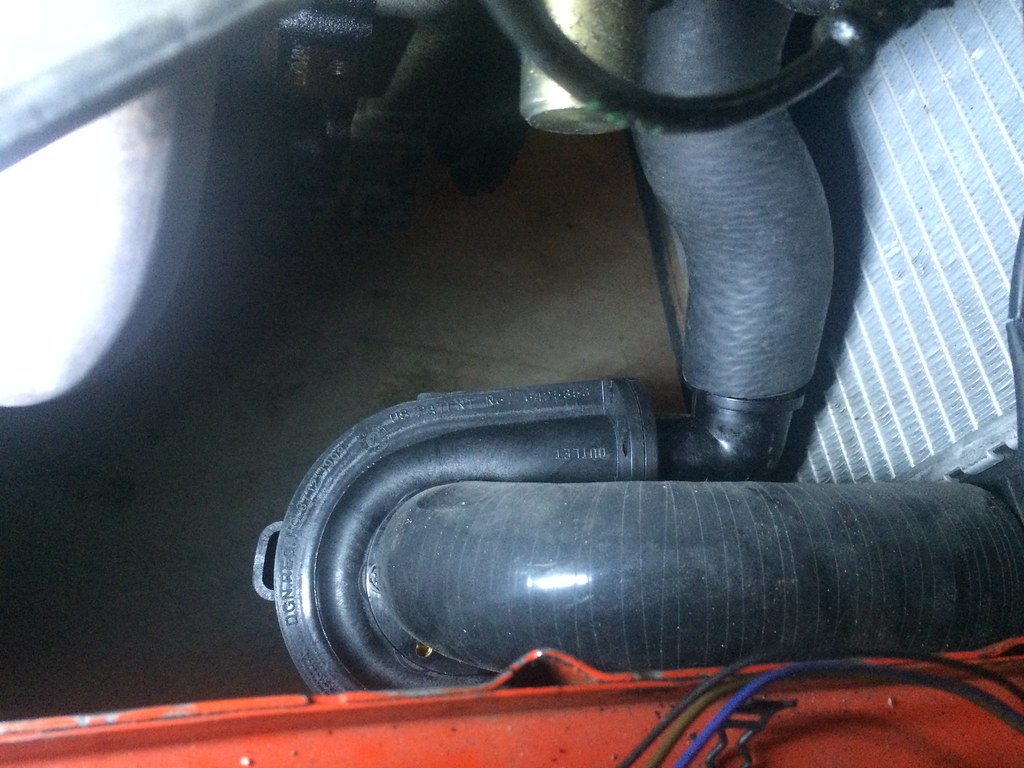
Yup! Those things never really work right, better off used for a bracket!
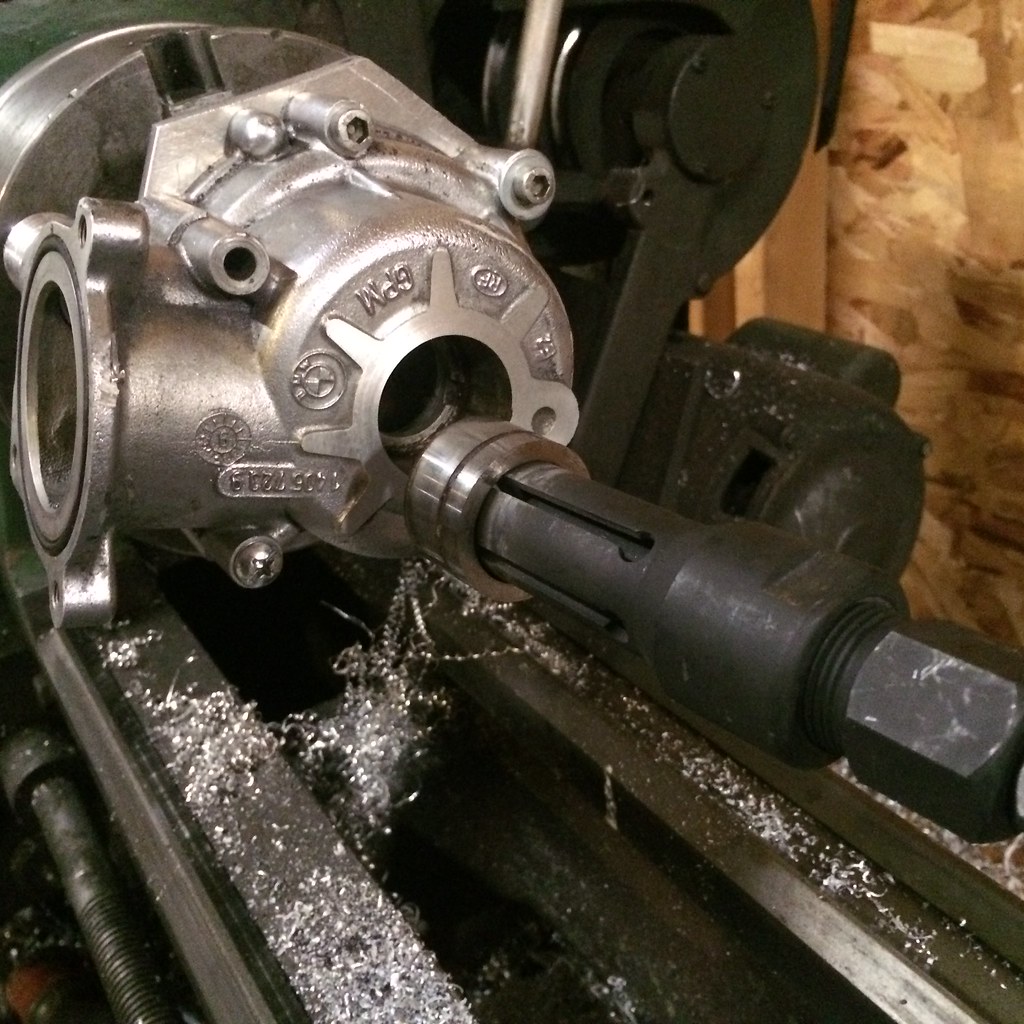
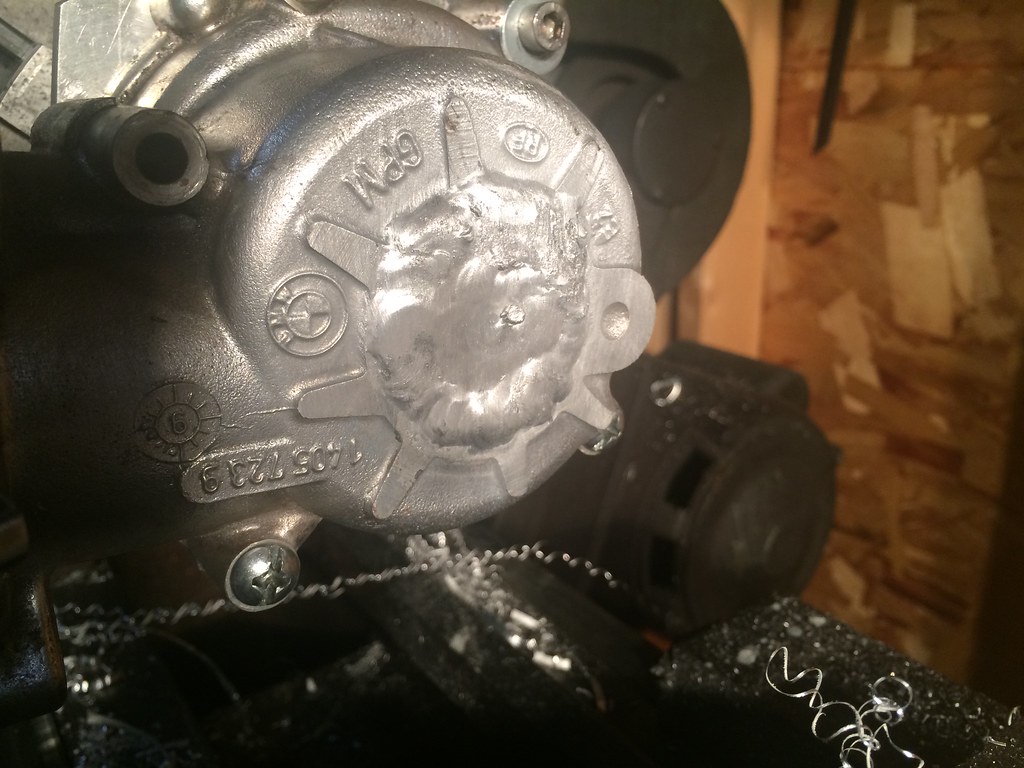
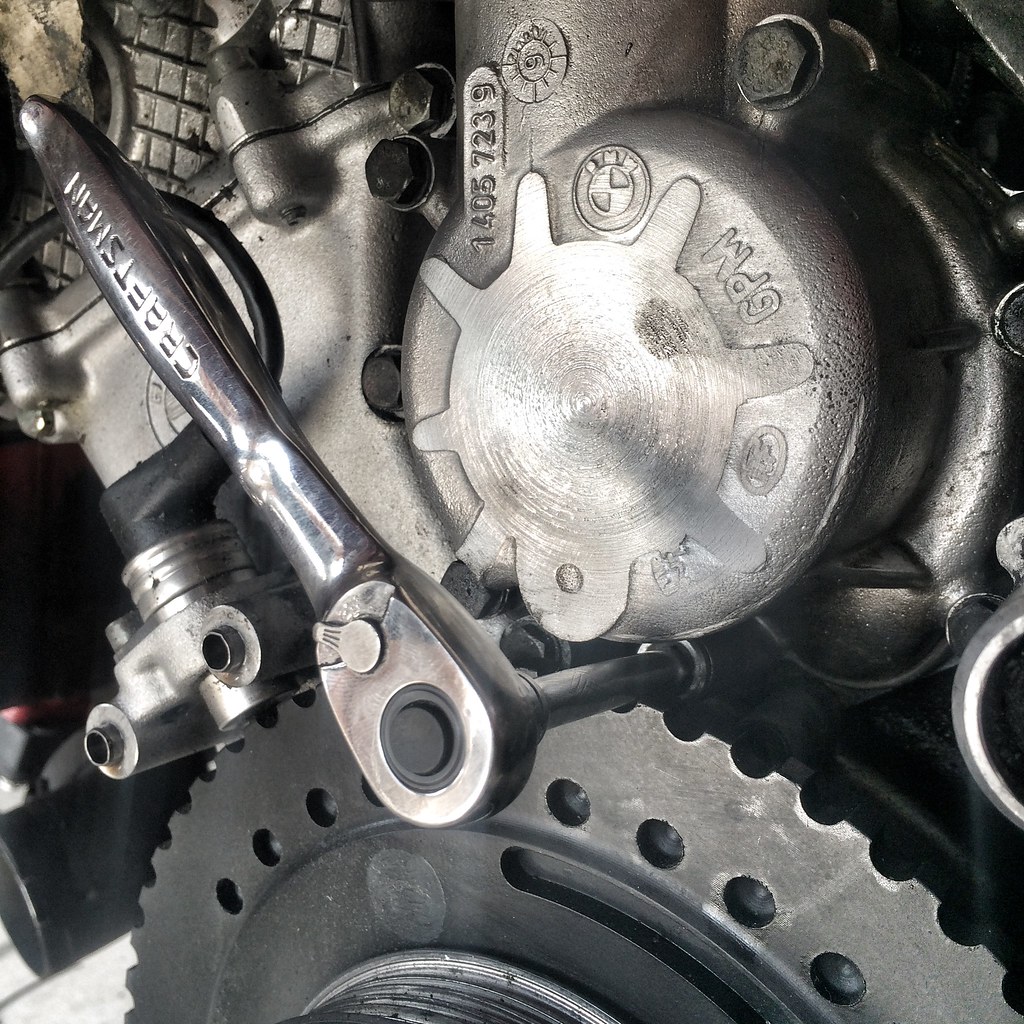
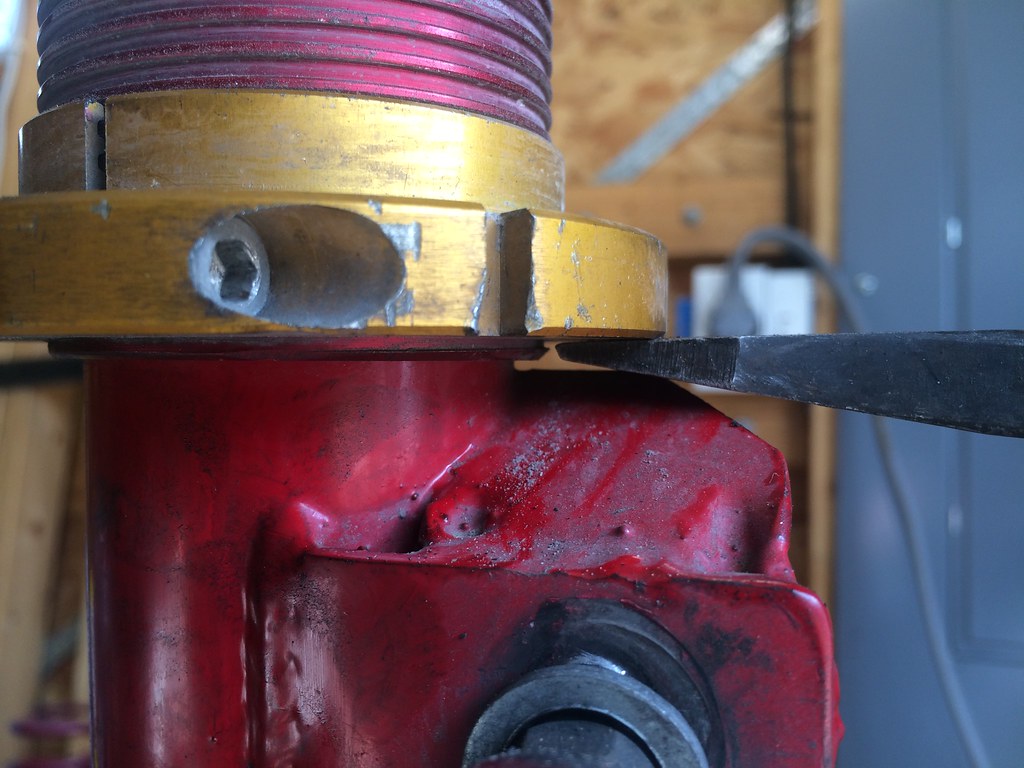
In case anybody was wondering, the euro S50 water pump is very well built and extremely difficult to disassemble!!!
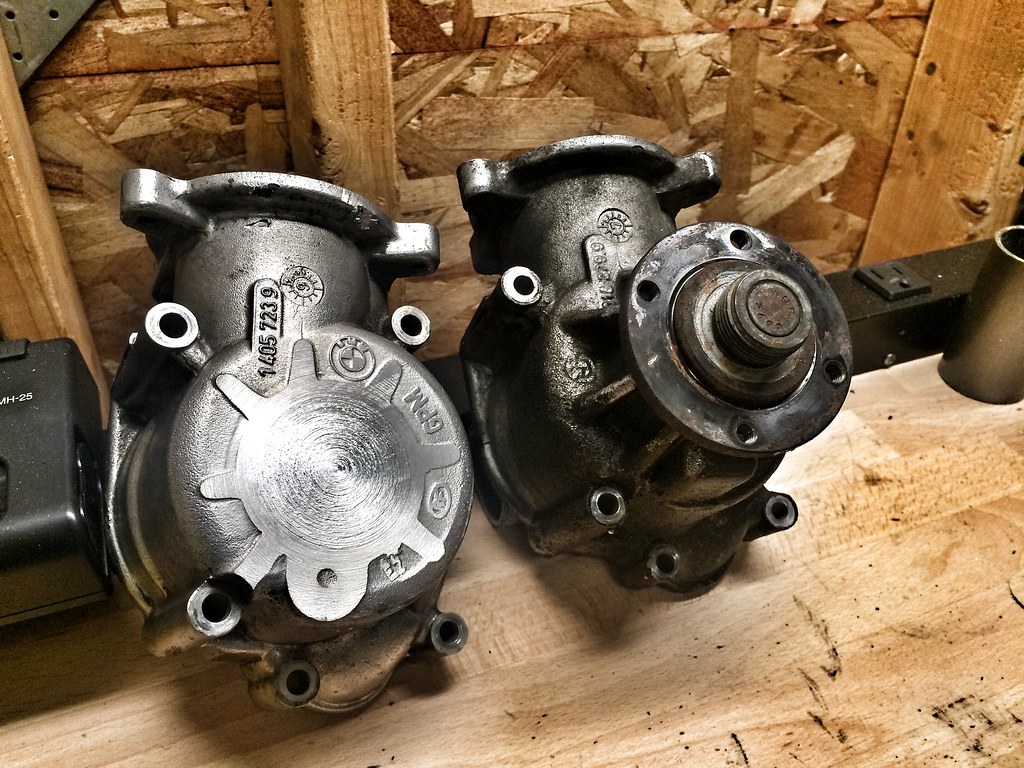
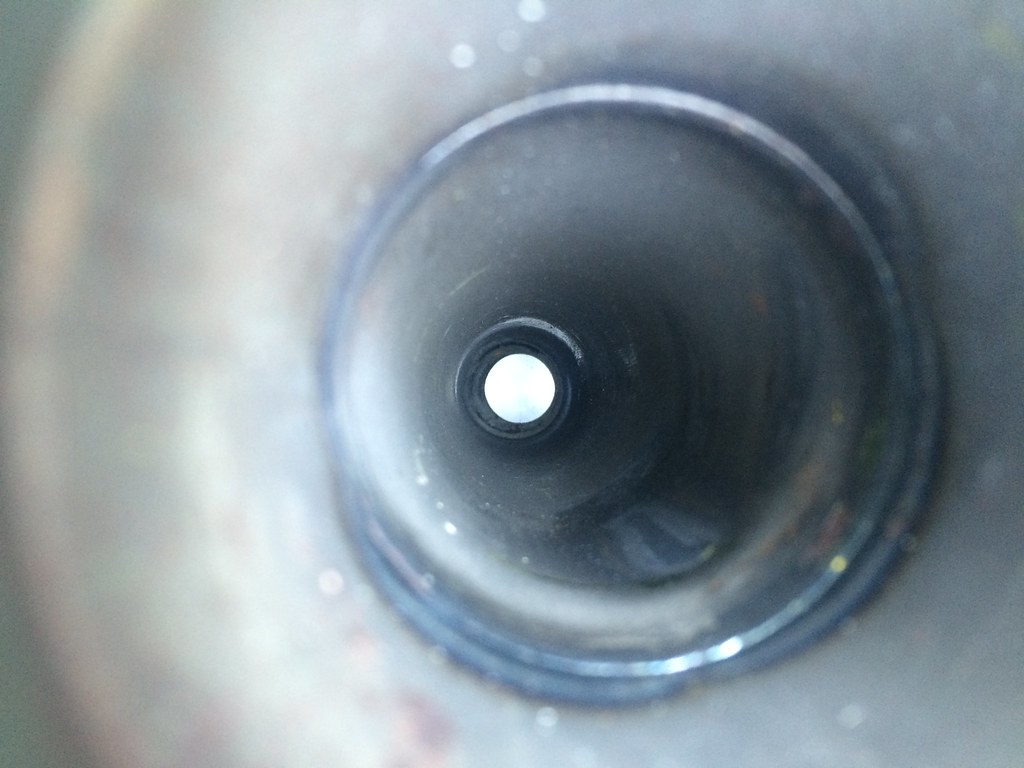
It has a metal impeller:
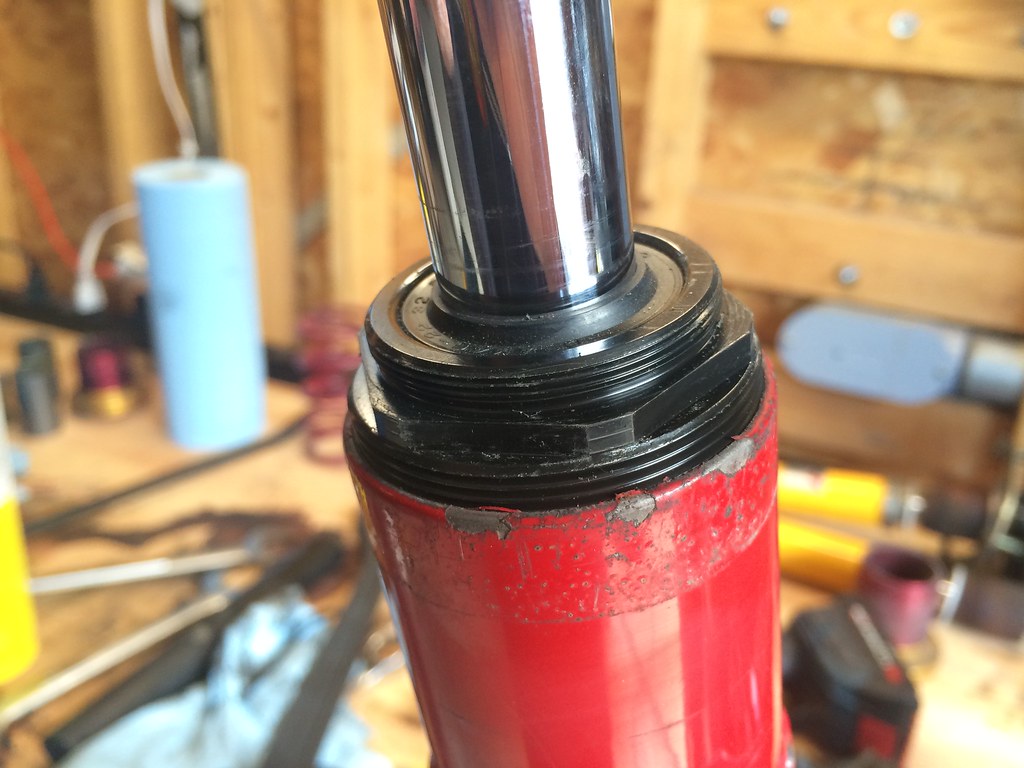
Roller bearings on the fan belt side:

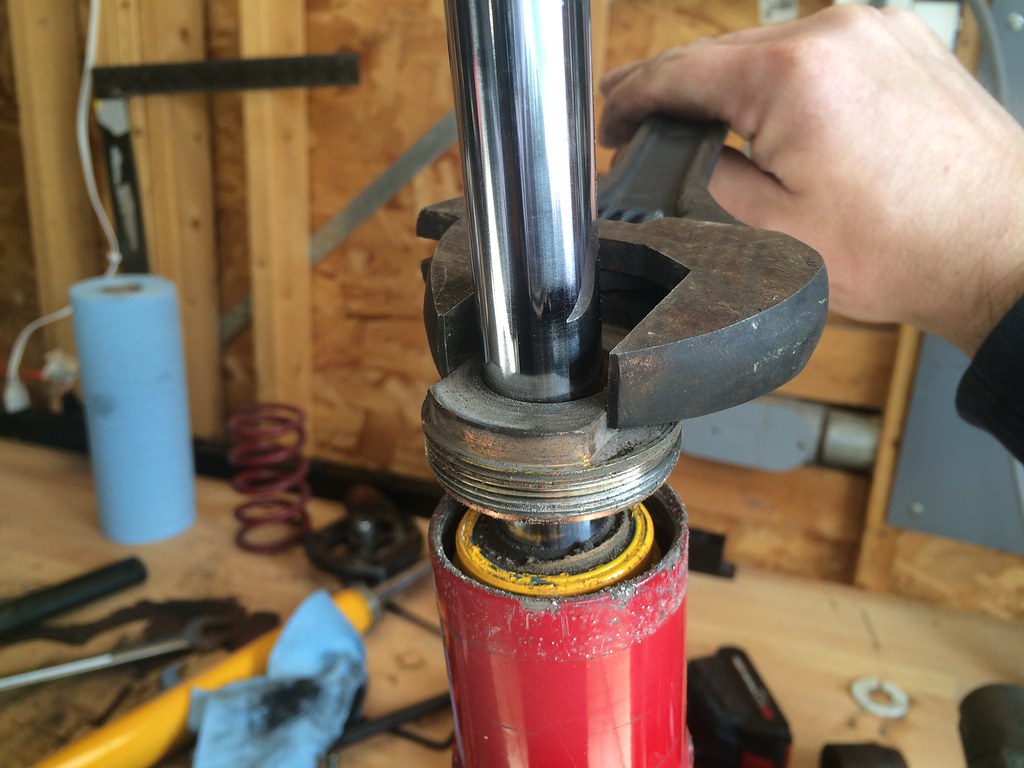
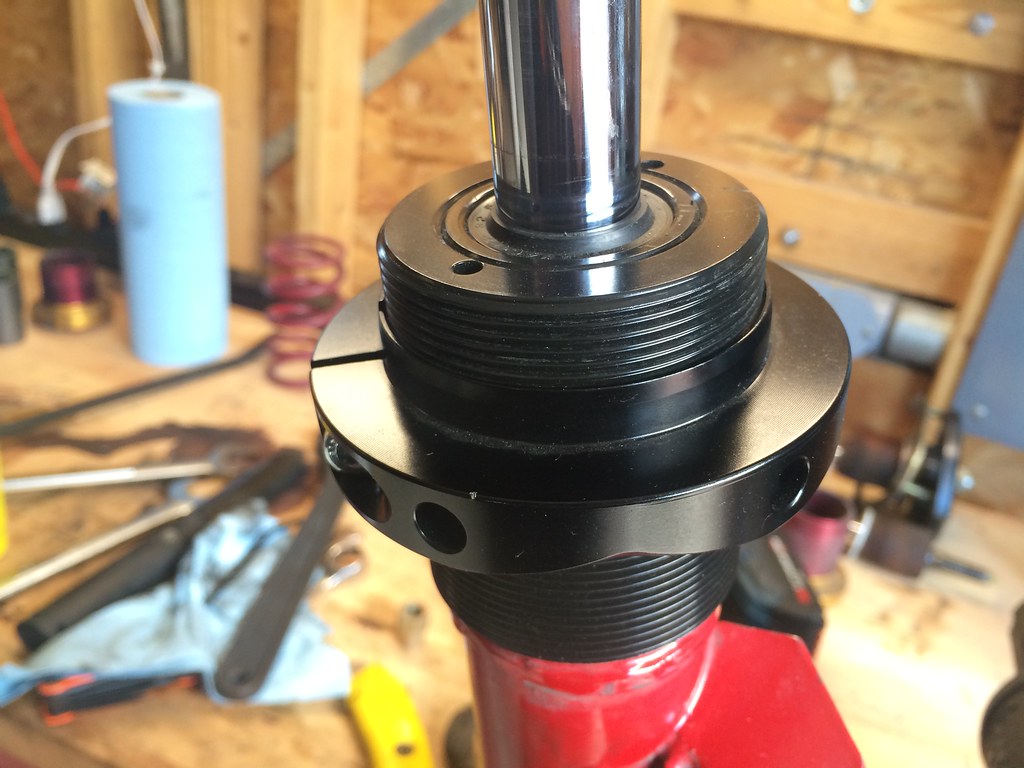
And ball bearings on the impeller side:
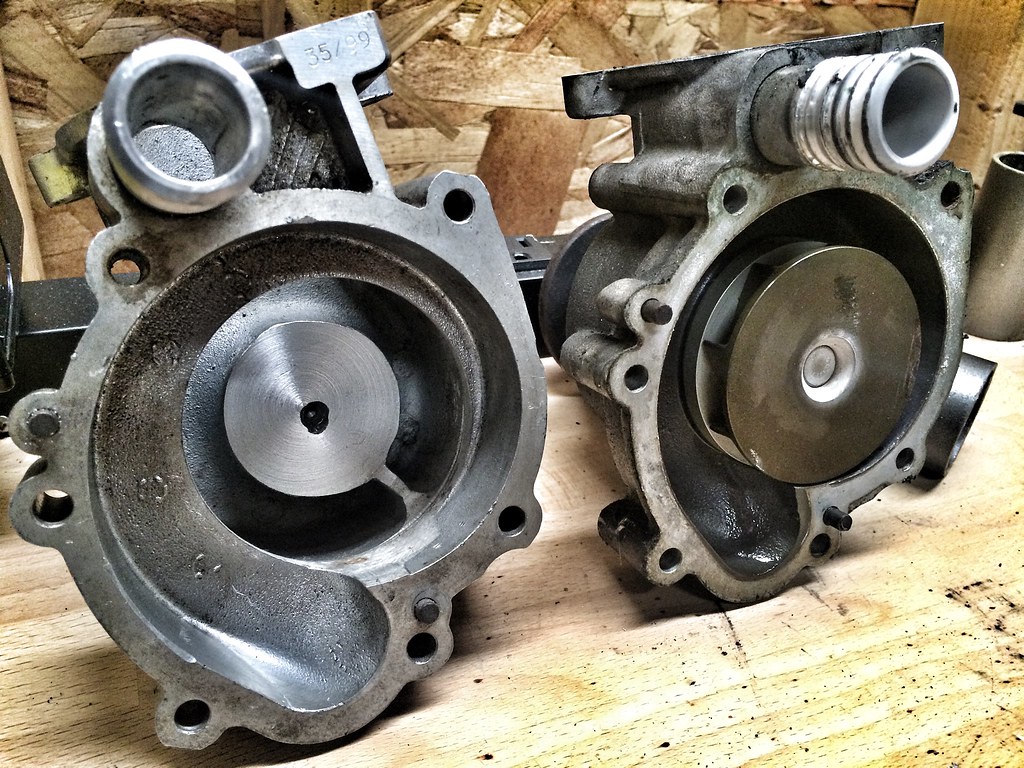
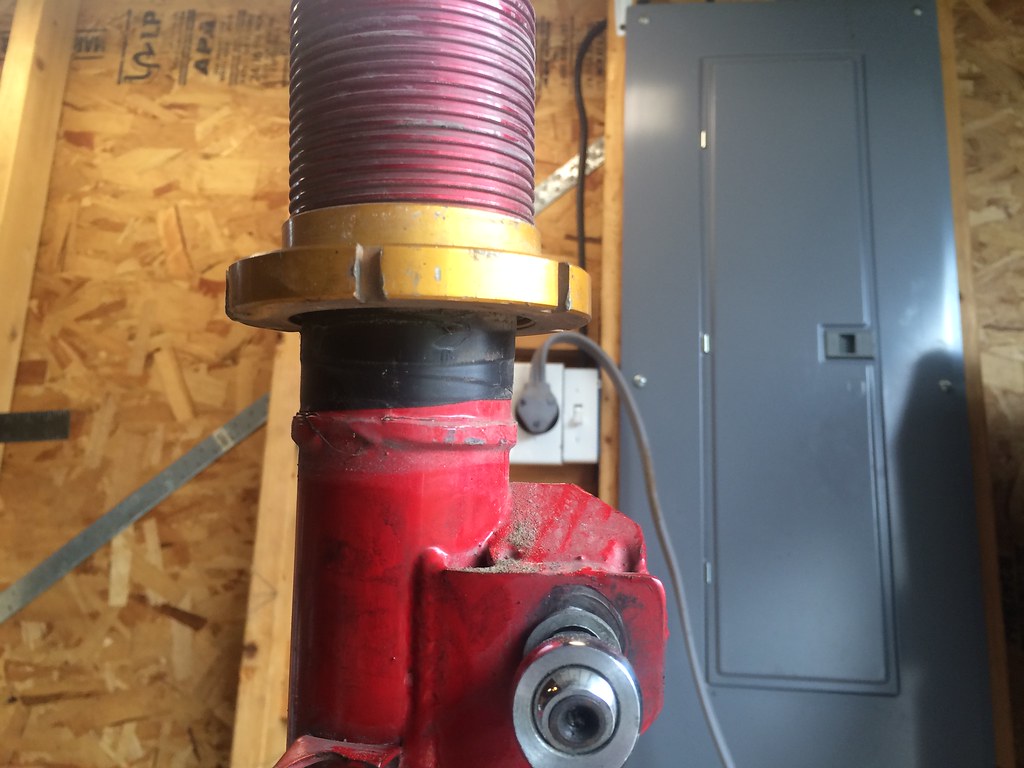
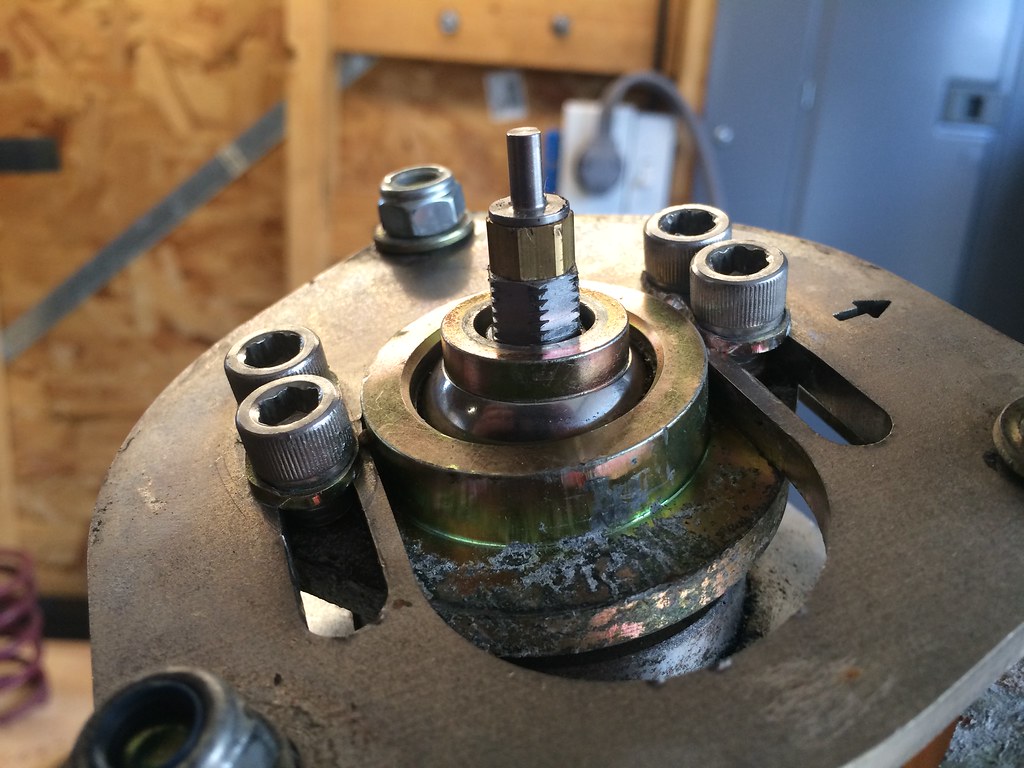
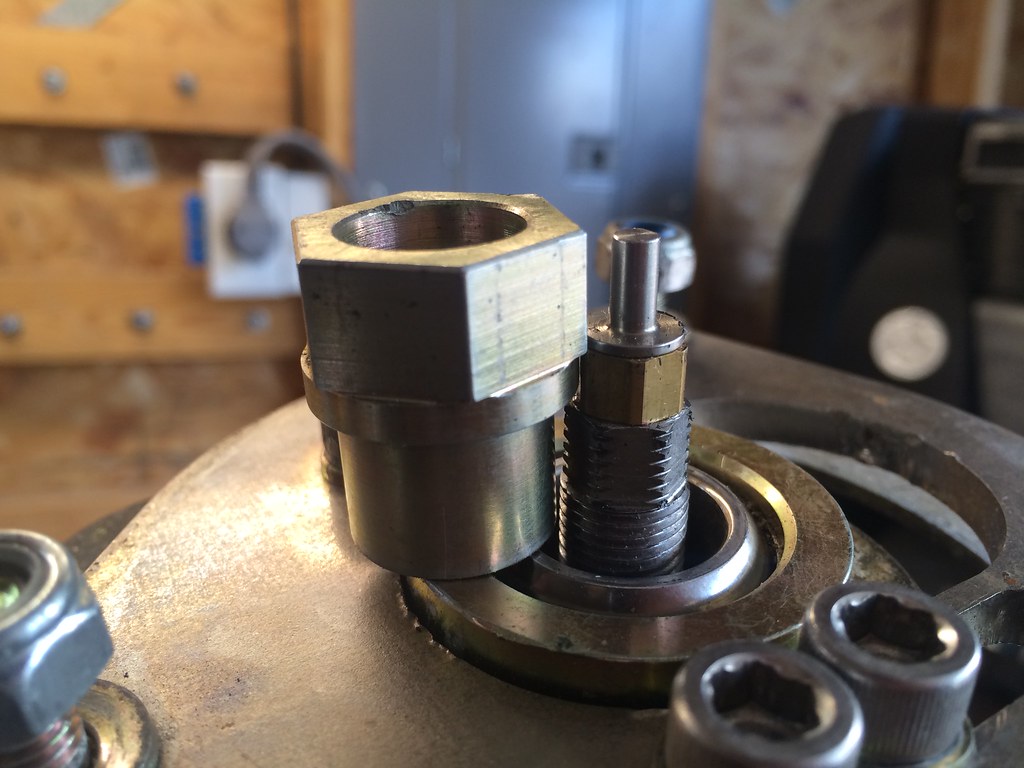
This is what the insides look like:

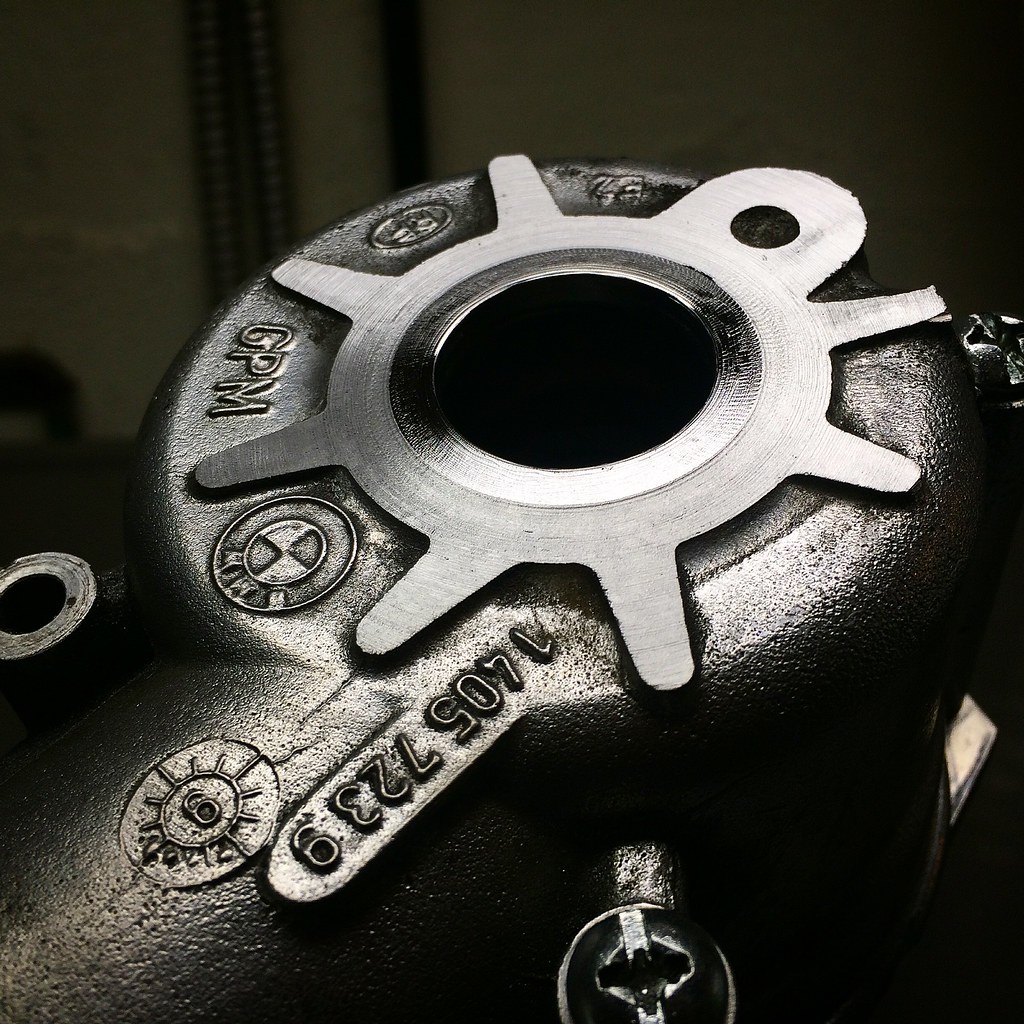
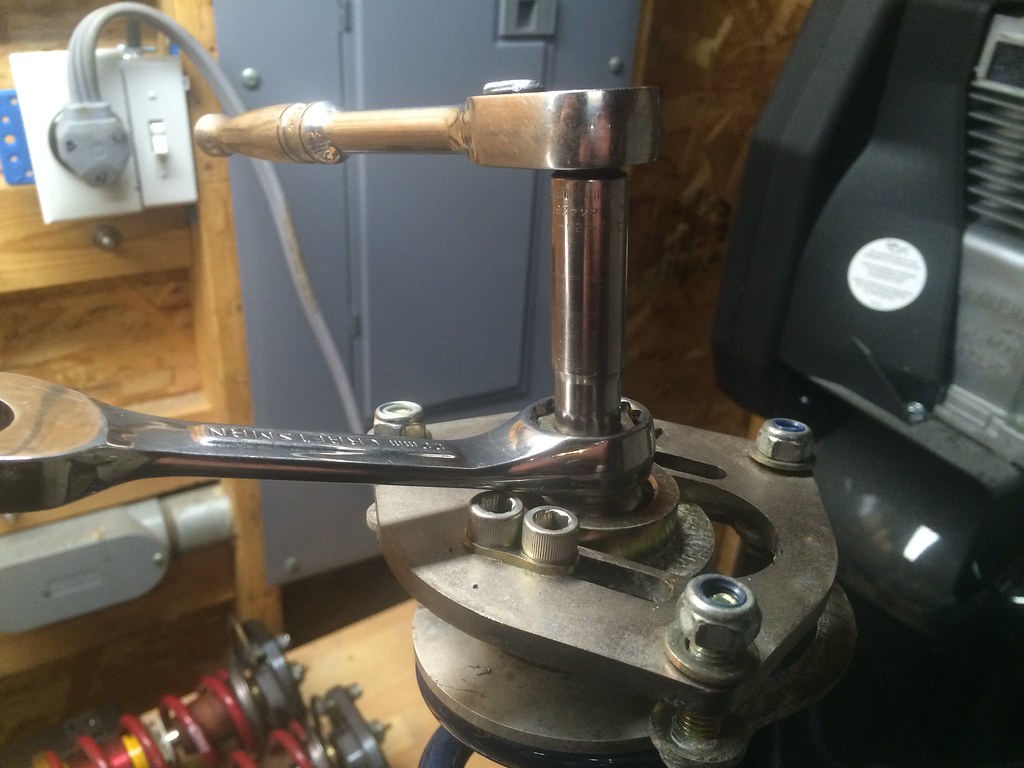
The surface was clean and nik free but yours truly made a mess of things trying to get pieces out. A press would have been super helpful here.

Sent from my iPhone using Tapatalk
Yup! Those things never really work right, better off used for a bracket!
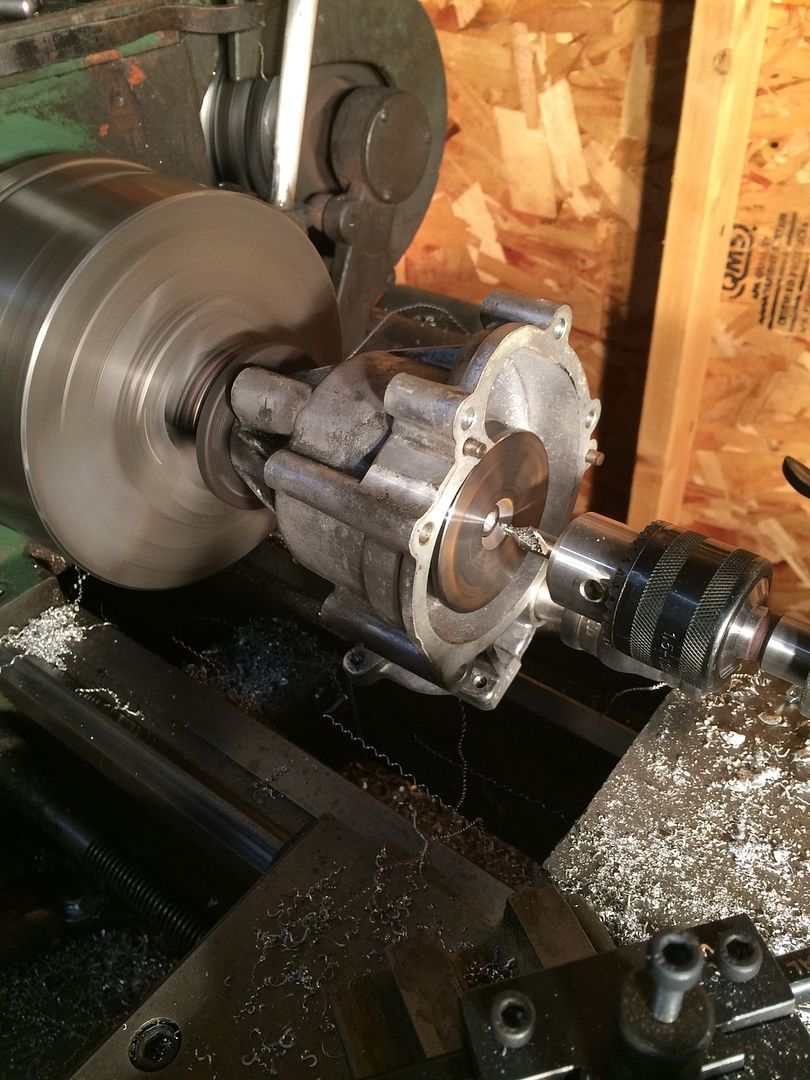
In case anybody was wondering, the euro S50 water pump is very well built and extremely difficult to disassemble!!!
It has a metal impeller:

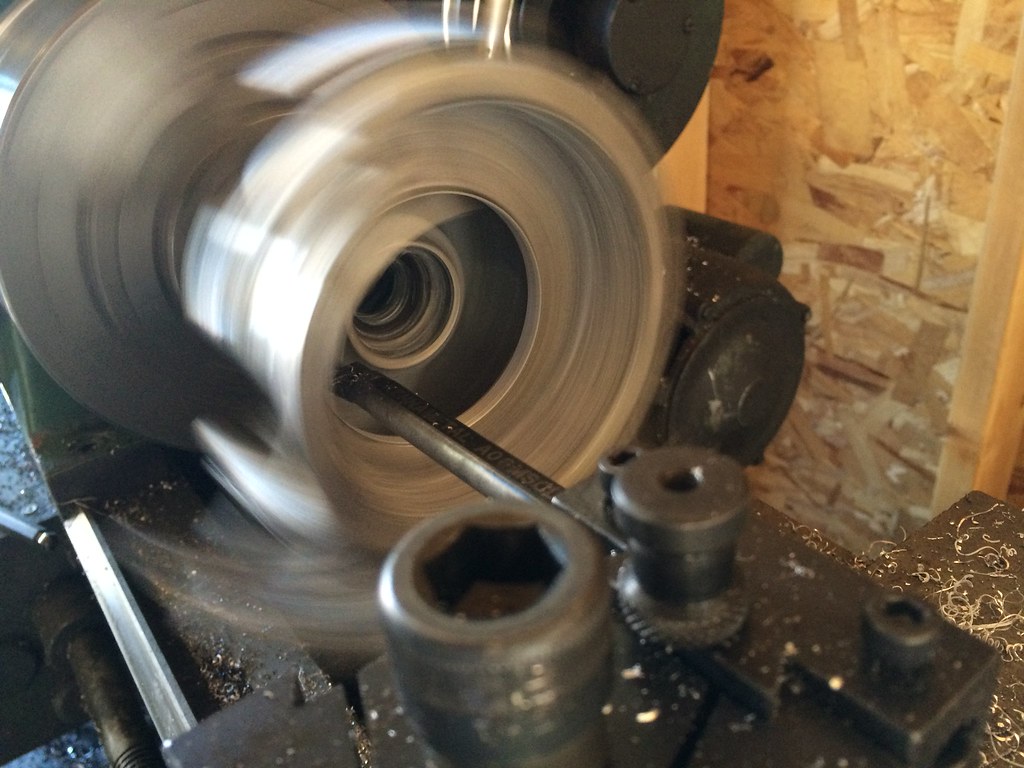
Roller bearings on the fan belt side:

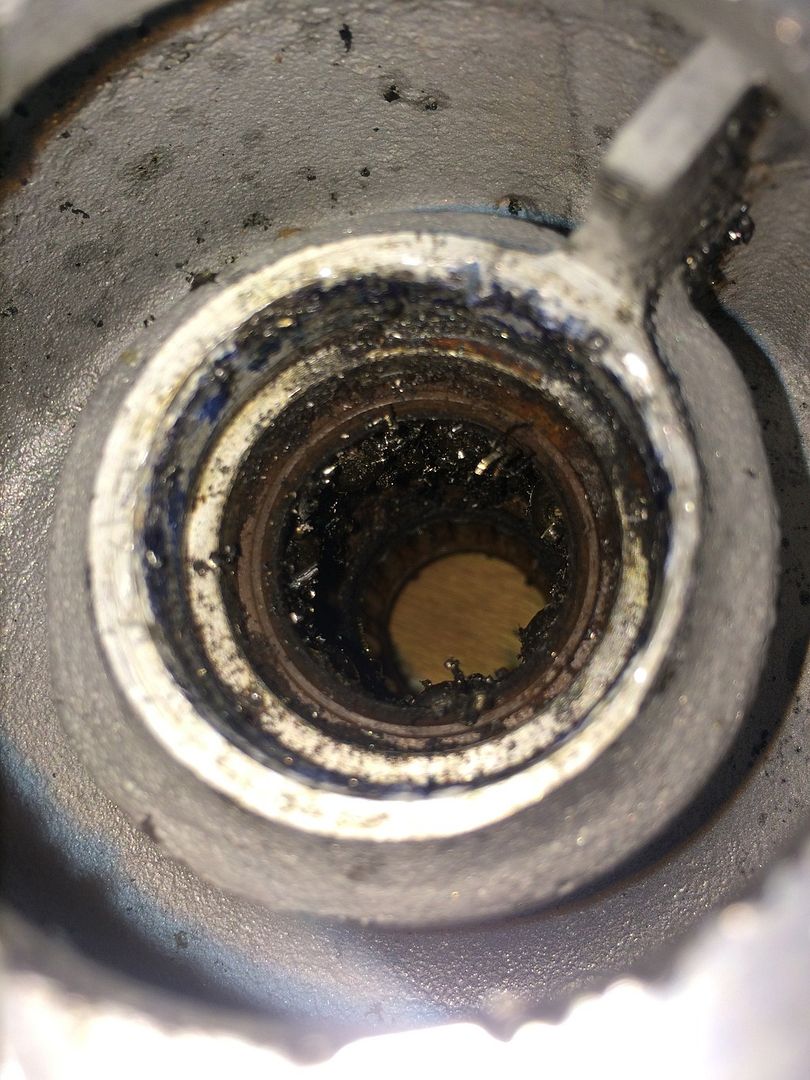
And ball bearings on the impeller side:

This is what the insides look like:

The surface was clean and nik free but yours truly made a mess of things trying to get pieces out. A press would have been super helpful here.

Sent from my iPhone using Tapatalk


Comment