-
-
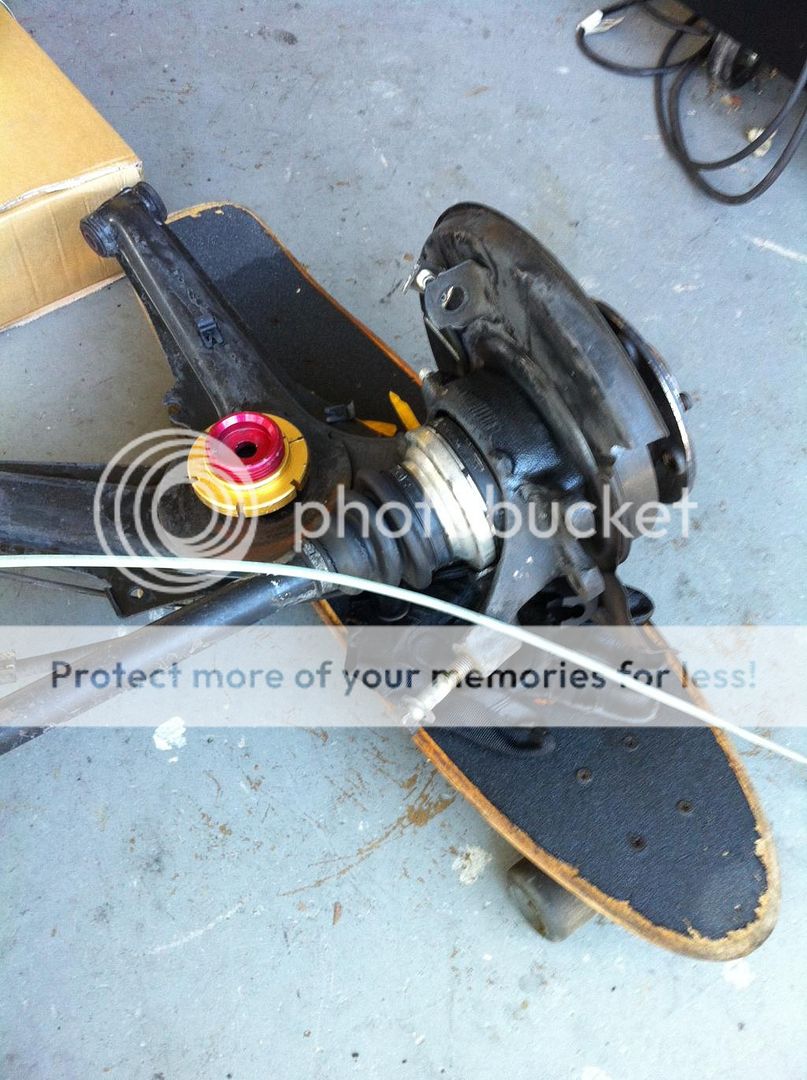
Good luck doing the rear subframe bushings and rear trailing arm bushings (RTABS). Once you have the RTABs pressed in, you're going to have a tough time getting the trailing arms to line up with the subframe in order to put the bolts through. I used this craftsman magnetic driver I found to help line up the bushings to the trailing arms/ subframe RTAB mounts and the bolts slid in no prob.

Comment
-
im going to contact them and see what they say. maybe i can get credited???
thanks for the recommendation, I run the same oil in my e46 M3
it is very expensive, $100 oil changes are steep.
thanks for the tip, i have the same driver. I looked at an DIY and its pretty straight forward. I have a lot of tools so I can rig something up if need be.Comment
-
I've been using Brad Penn oil for years in all my performance cars and it's never let me down. i use 15-50 in my s14.Comment
-
Comment
-
I got the next set of parts from Abrahams Motorsport, really good company to deal with. I received my package within two days from Florida to California!
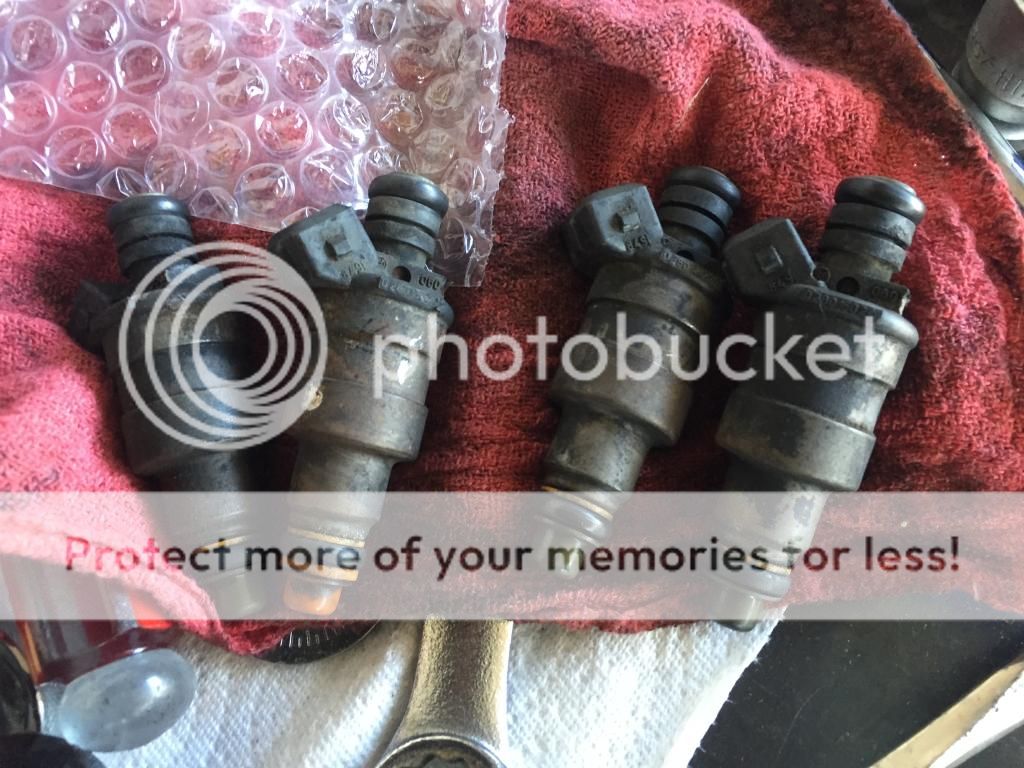
Fuel injectors were sent off to Mepeh for refurbishing/bench flowing.
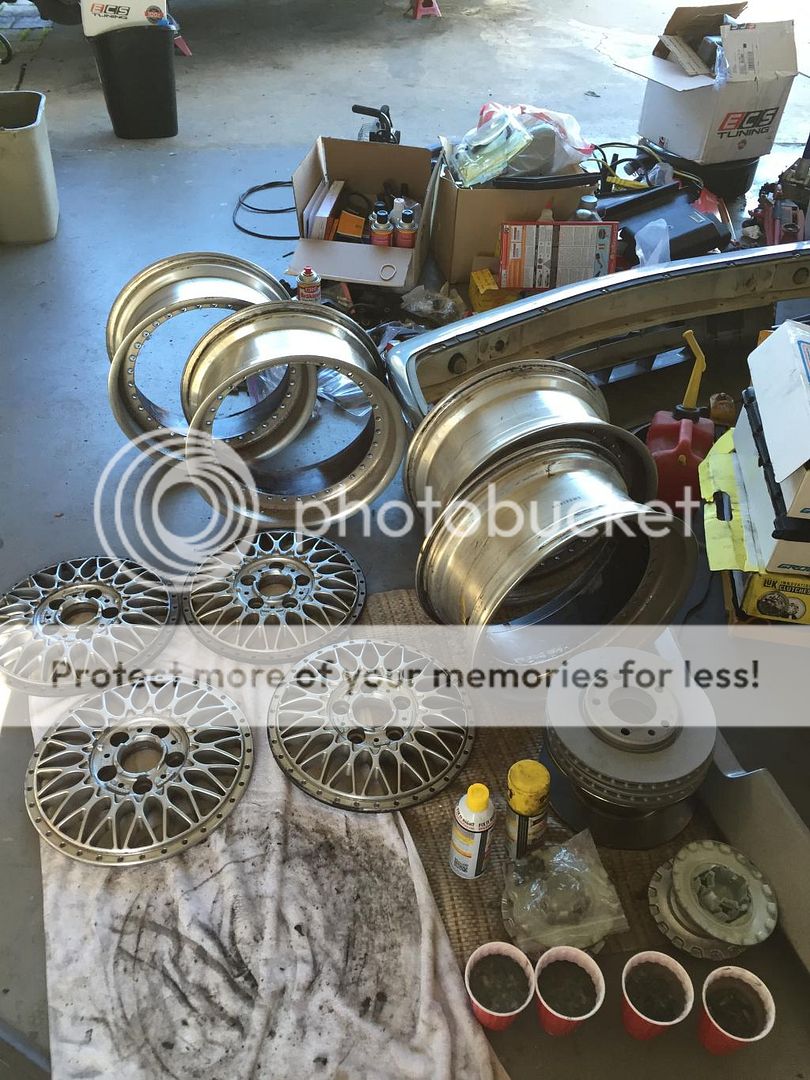
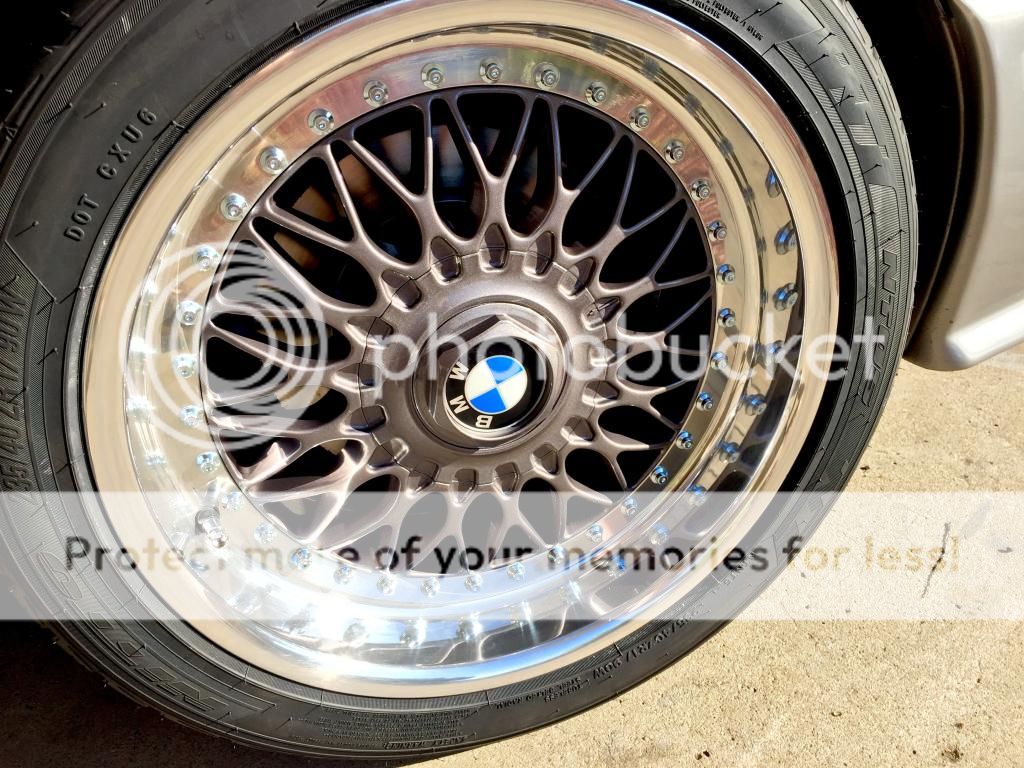
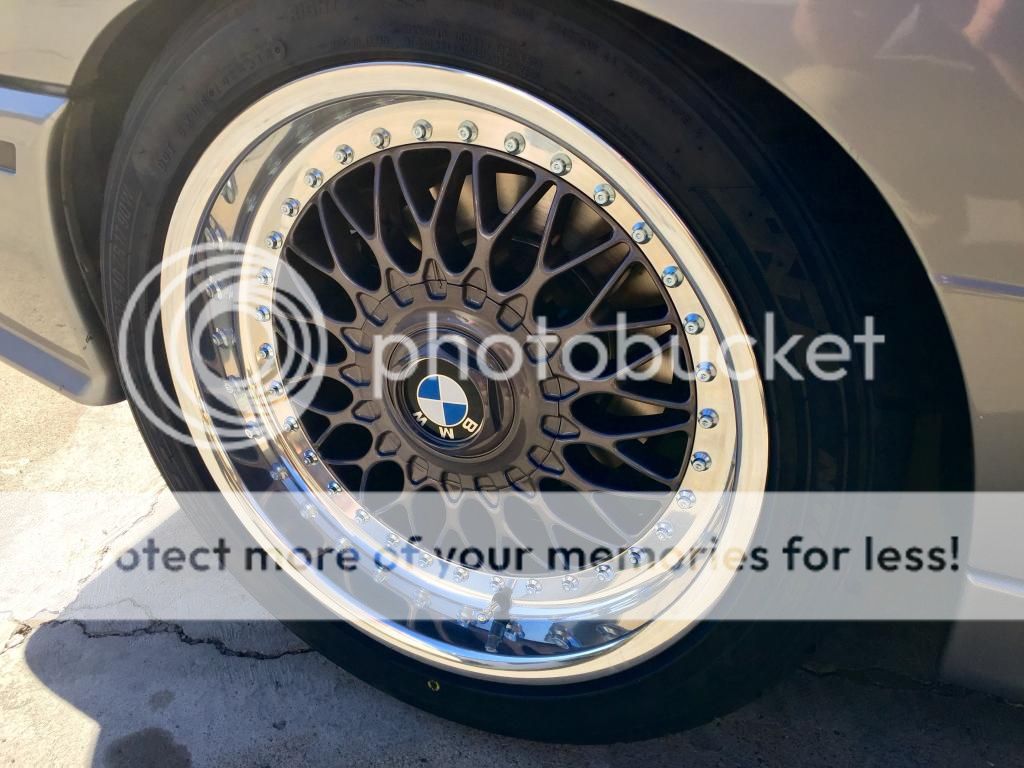
Style 5's were disassembled and brought to a local company called US Wheel Remanufacturing. Was quoted $500 to have all faces painted Noagaro Silver, lips mirror polished, and bolts zinc plated silver. When they are done, I have some Nitto NT05's ready to be mounted.
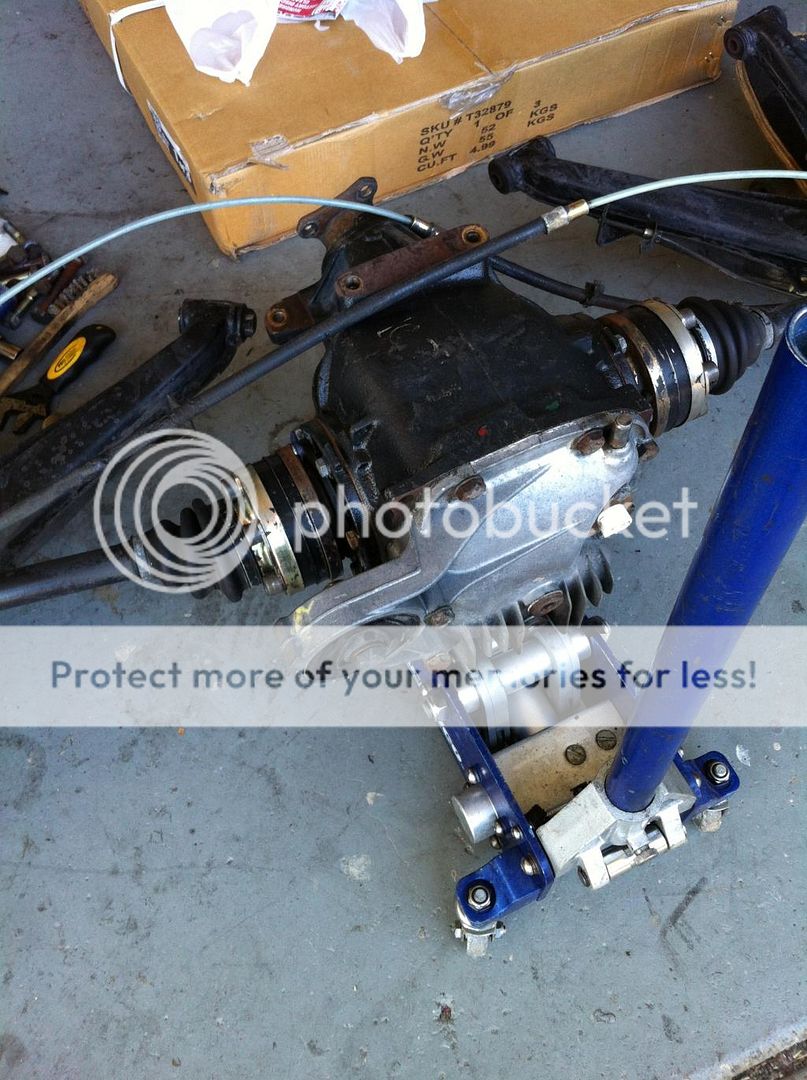
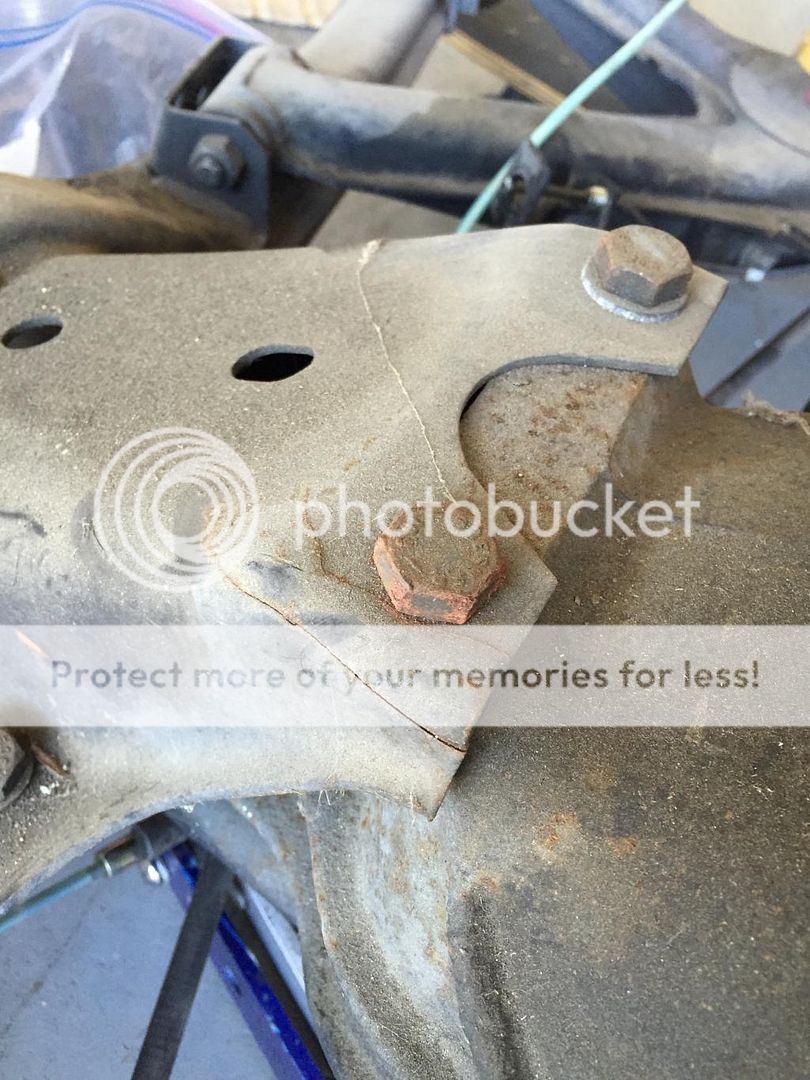
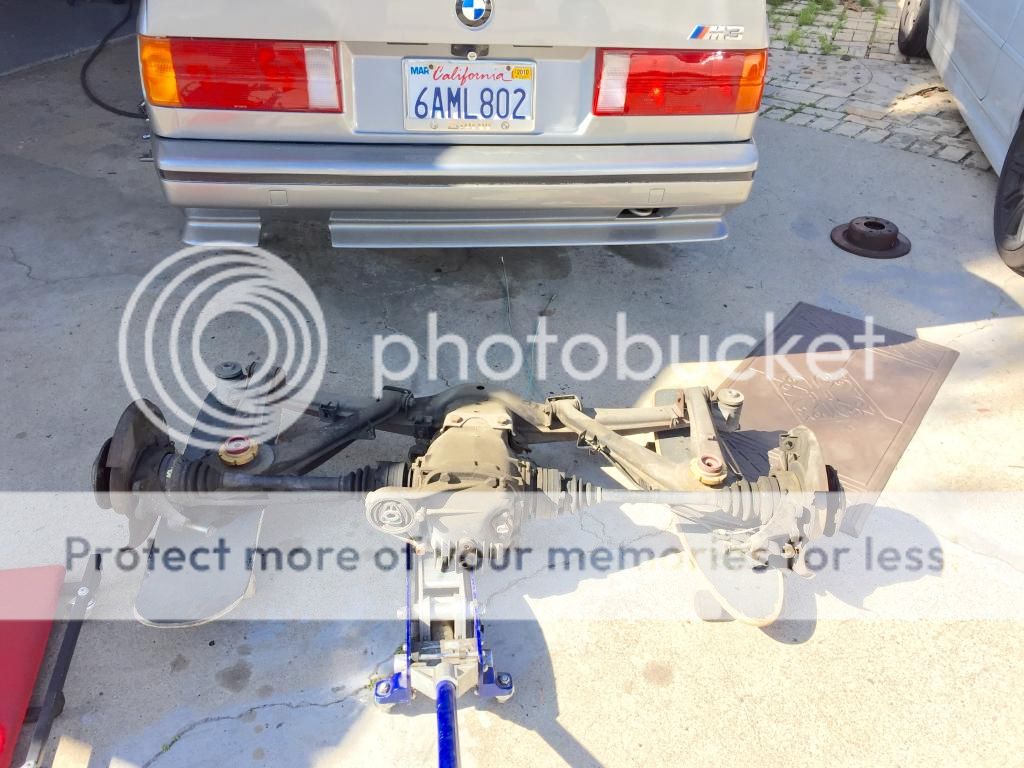
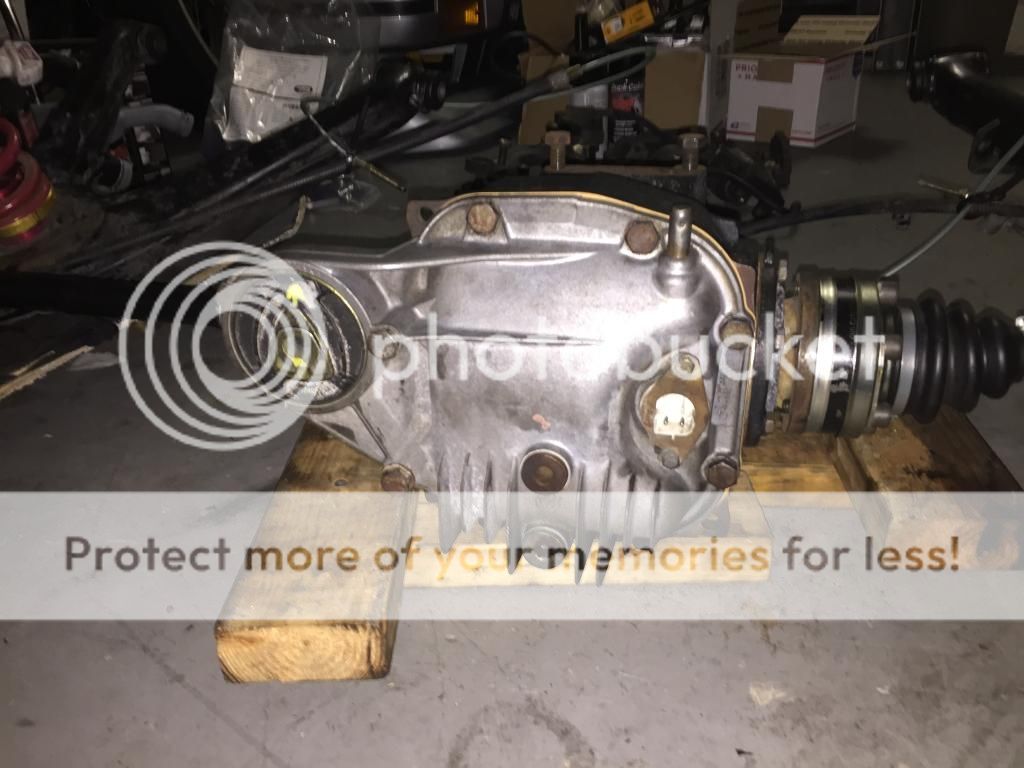
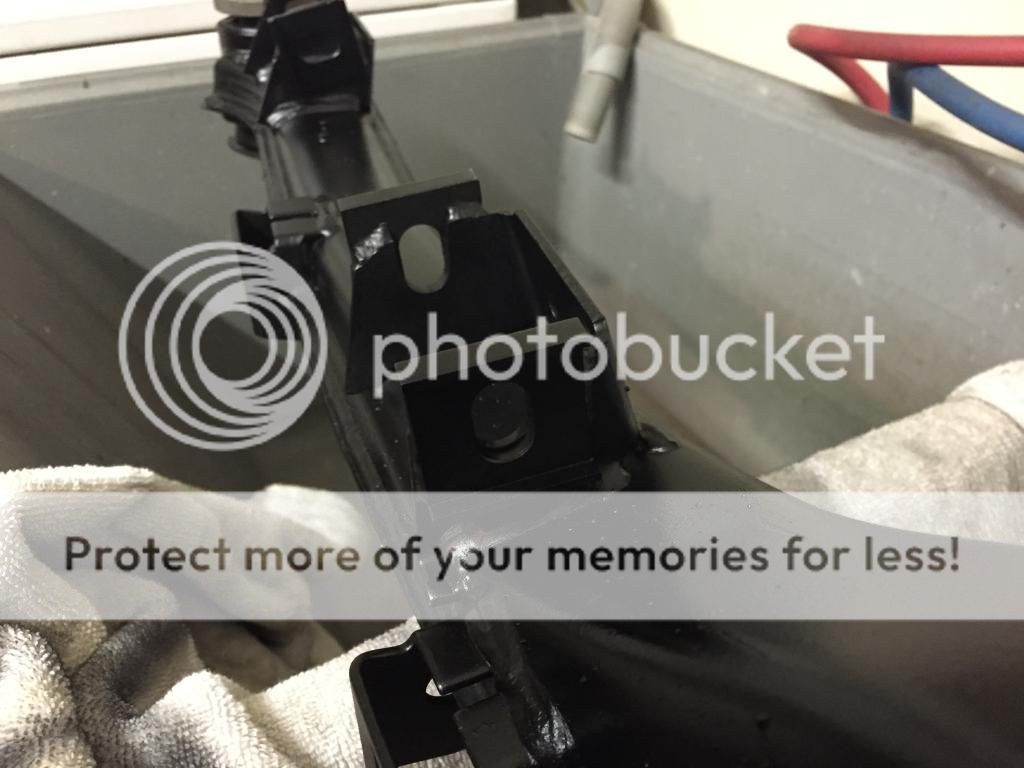
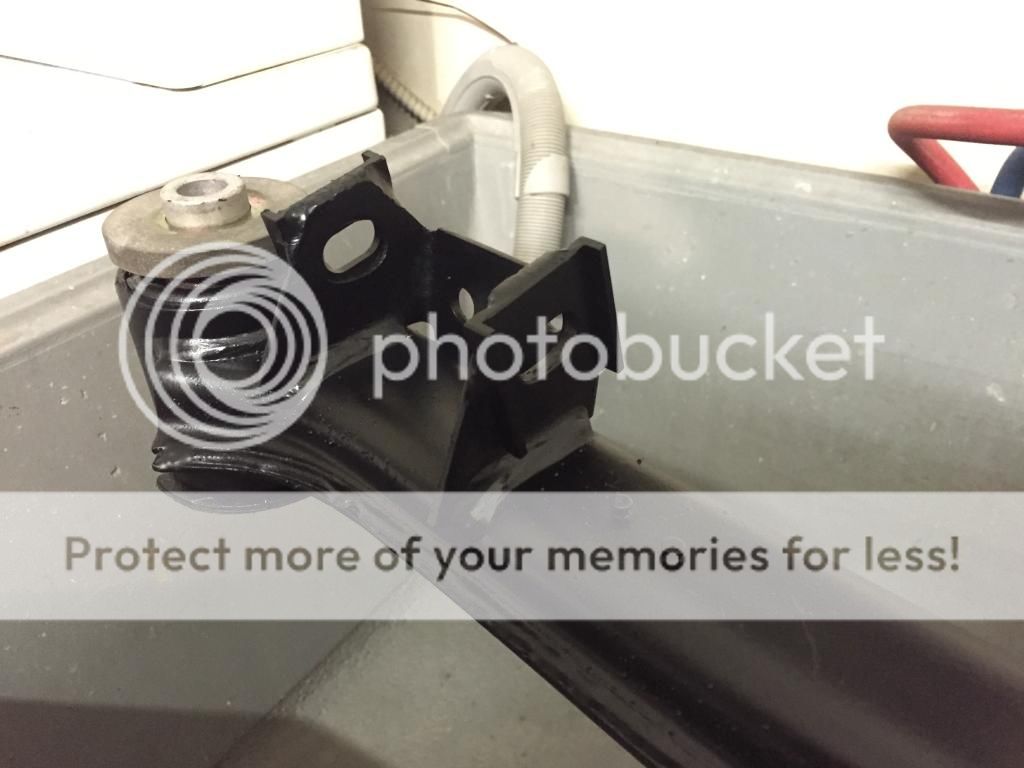
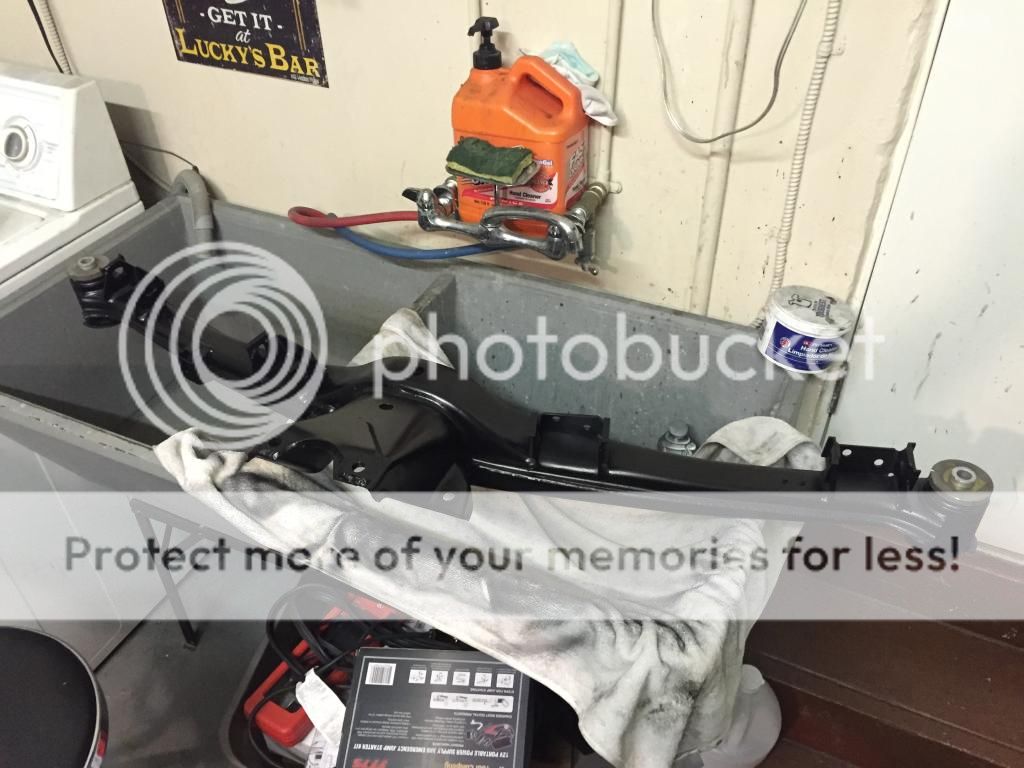
Removed the rear subframe and cleaned it up some. It looks a lot better. When I removed it, I noticed there were a couple cracks near the top bolt holes where it mounts to the top of the diff. I am going to weld it up and paint it before reassembly.
I ended up buying some more parts for the underside while I have the subframe out. Will be replacing the cv boots, diff mount, rear trans seals, guibo, csb, rebuilding shifter linkage etc.
Comment
-
Damn Bro - you get busy...back from China, and straight back to work.
I suggest you drill a small hole at the end of the crack to eliminate the micro stress concentration and stop any further growth before you weld back up.. Let me know if you need any help.Comment
-
Comment
-
Looks like a very nice start. Congratulations on getting an M3. I responded to your PM this morning and will be watching your progress here.
Cheers,
JimsigpicComment
-
Comment
-
Small/big update!
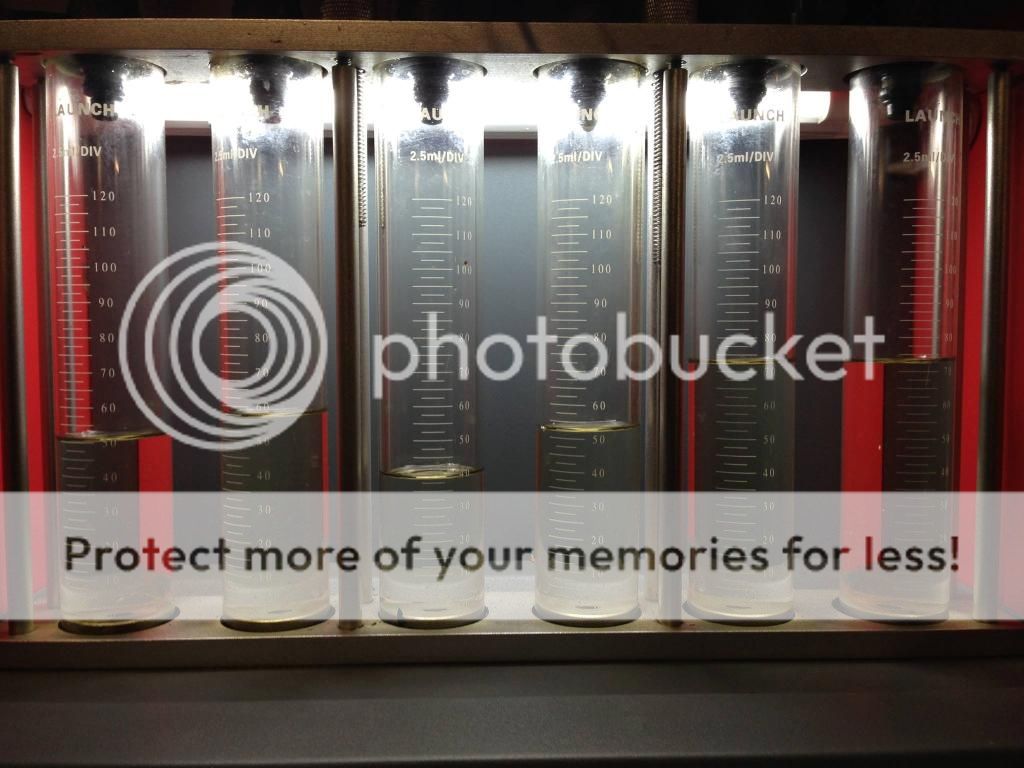
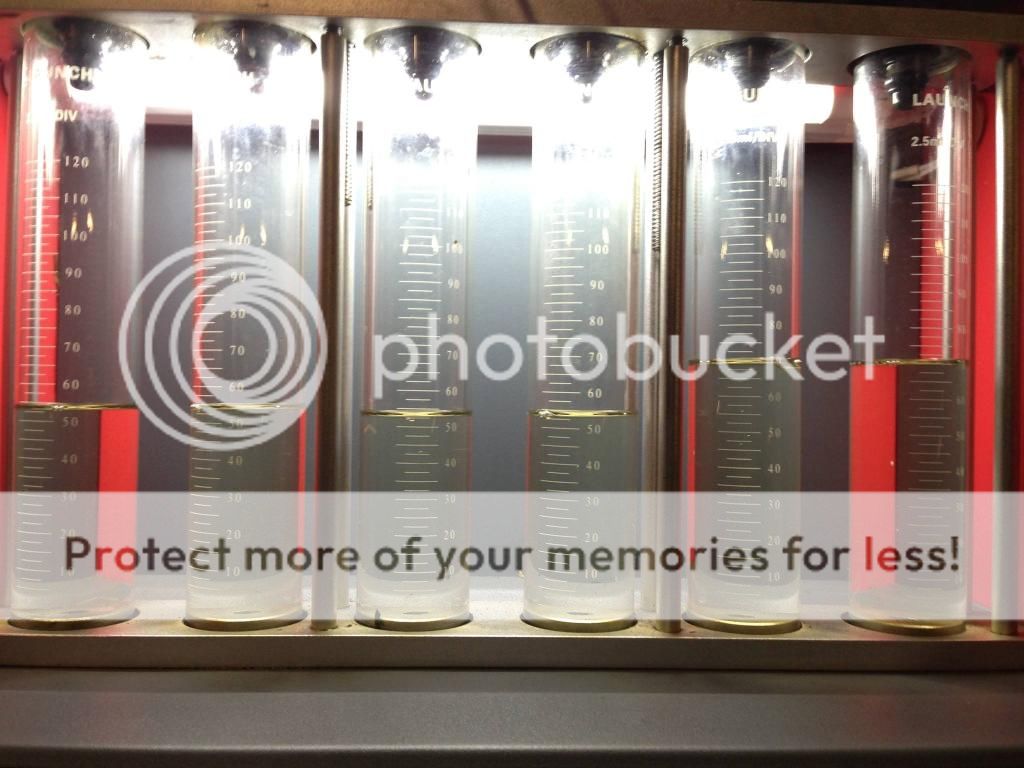
I got the fuel injectors back from MEPEH and here are the flow comparisons before and after he refurbished them. Pay attention to only the left 4 graduated cylinders.
Pressed a new diff mount in, replaced the cover gasket, new CV boots and rebuilt the CV joints with new grease.
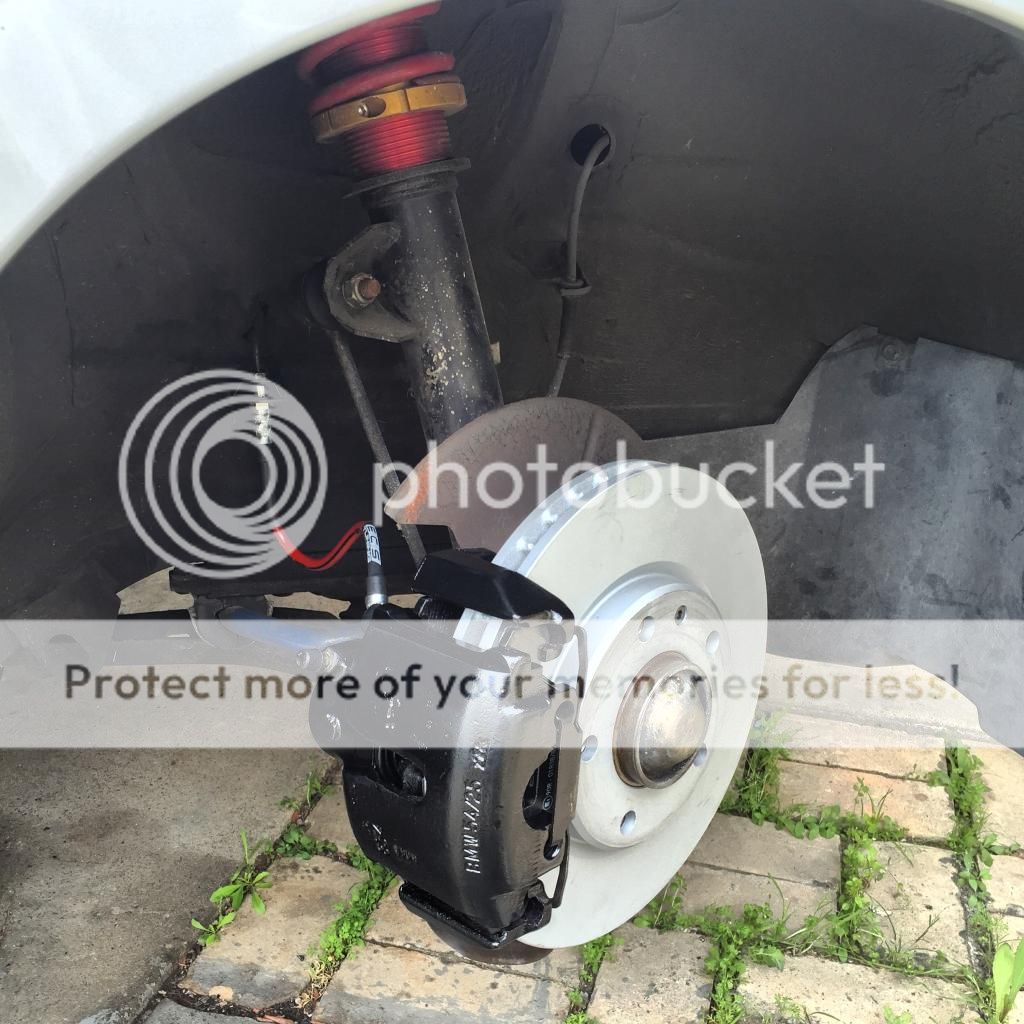
Rebuilt all four calipers (seals and guide pin sleeves) and painted them with ceramic caliper paint. New stainless steel brake lines and rotors as well.

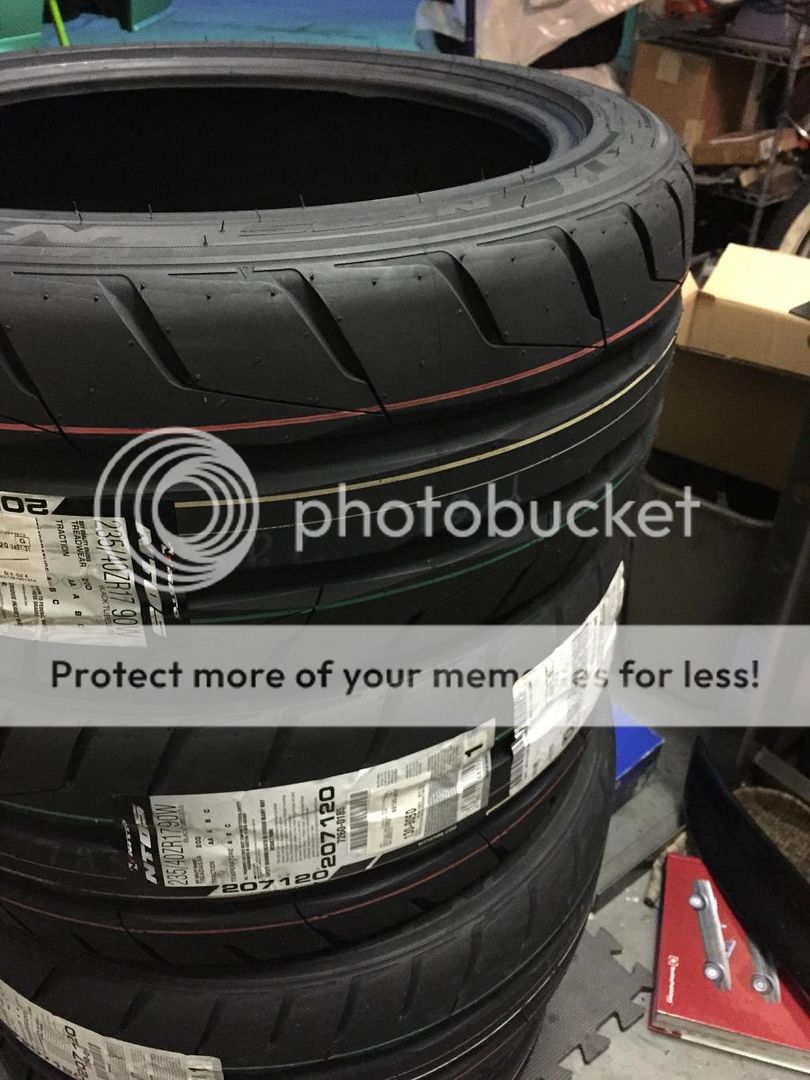
Style 5's were suppose to be done today (barrels are being polished, hardware silver zinc plated, and faces painted nagaro silver), but the shop called and said they ordered the wrong type of paint (single stage instead of two stage). So these tires are going to have to wait until Tuesday to be mounted. They are 235/40/17 Nitto NT05's.
Subframe is back in with new RTAB's, subframe bushings, and camber/toe adjustment kit from Dungeon Motorsports. I had oceanside motorsports do the repair and kit install. Great work and wouldnt hesitate to use them again.

So I mentioned the subframe was in, yet I screwed up. The camber/toe adjustment kit uses eccentric bolts and washers. The inner bolts, closest to the diff, can only go in one way, so I got those right. The problem is the way I installed the outer RTAB bolts. I put the nut towards the outside of the car instead of towards the inside of the car. The way I did it makes it very difficult, if not impossible, to adjust and torque the bolt without screwing up the adjust when tightening. I am going to try to drop one side at a time tonight to re-orient the outer bolts. Hopefully I can do one side at a time, instead of dropping the whole subframe again.Last edited by bootlegskate; 03-04-2015, 08:09 PM.Comment
-
-
Thanks! I'm sure most people here know how much work it is. Lots of time on the creeper with jack stands.
Bled the brakes/clutch today and checked new brake lines for leaks. Reinstalled front bumper, ordered new lip hardware, and put on bumper tape that was in the car when I bought it. Radio/climate controls were a mess so I had to decipher the cluster.
I should be getting the wheels back on Tuesday. Then I can finally drive it for the first time. It should be good!Comment
-
The time has come! I got to drive the car last night. Brakes/clutch master cylinder were bled Saturday and when i drove it last night, the pedals were really spongy. When I would bleed the clutch master, the fluid never rushed out constantly and depressing the clutch would make a squeaky noise in the bell housing. Im going to order a new slave since I think the seals might be bad and the noise. Car drives fine though so it'll last to the smog shop. I still have not transferred the car into my name so doing all that tomorrow.
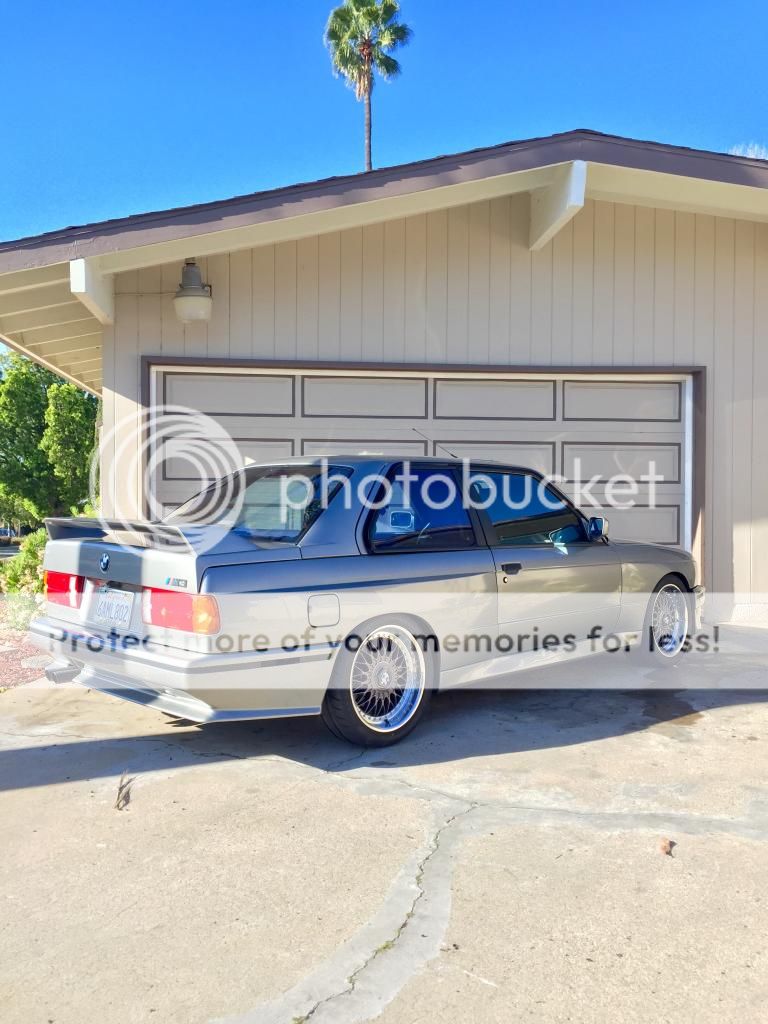
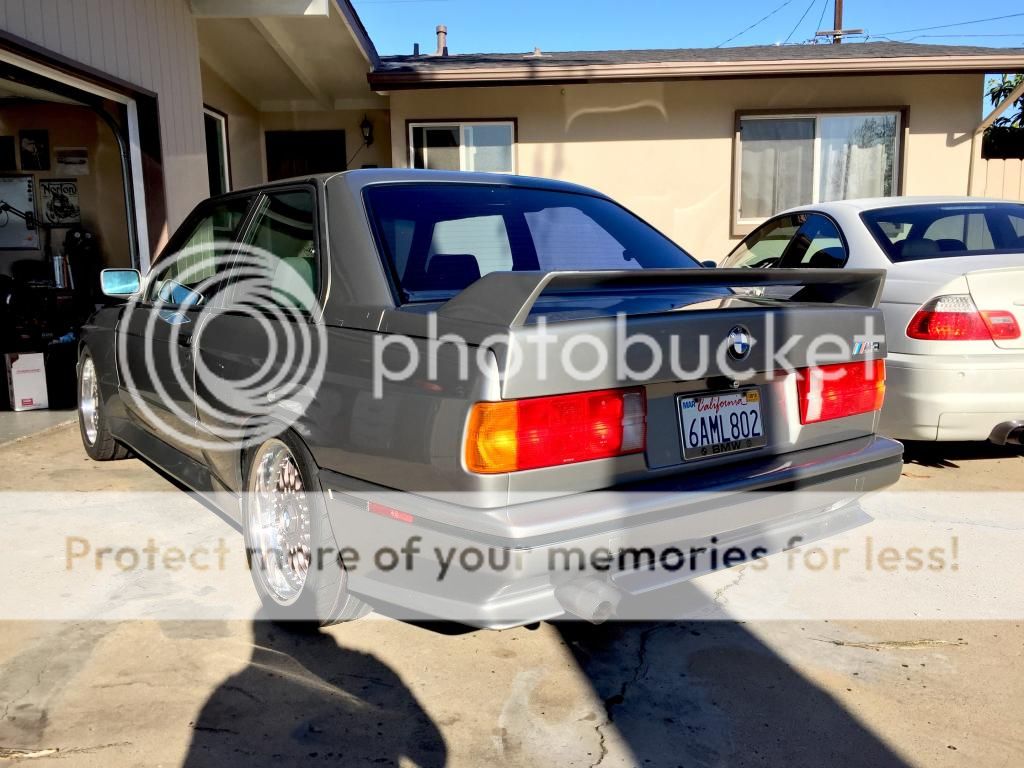
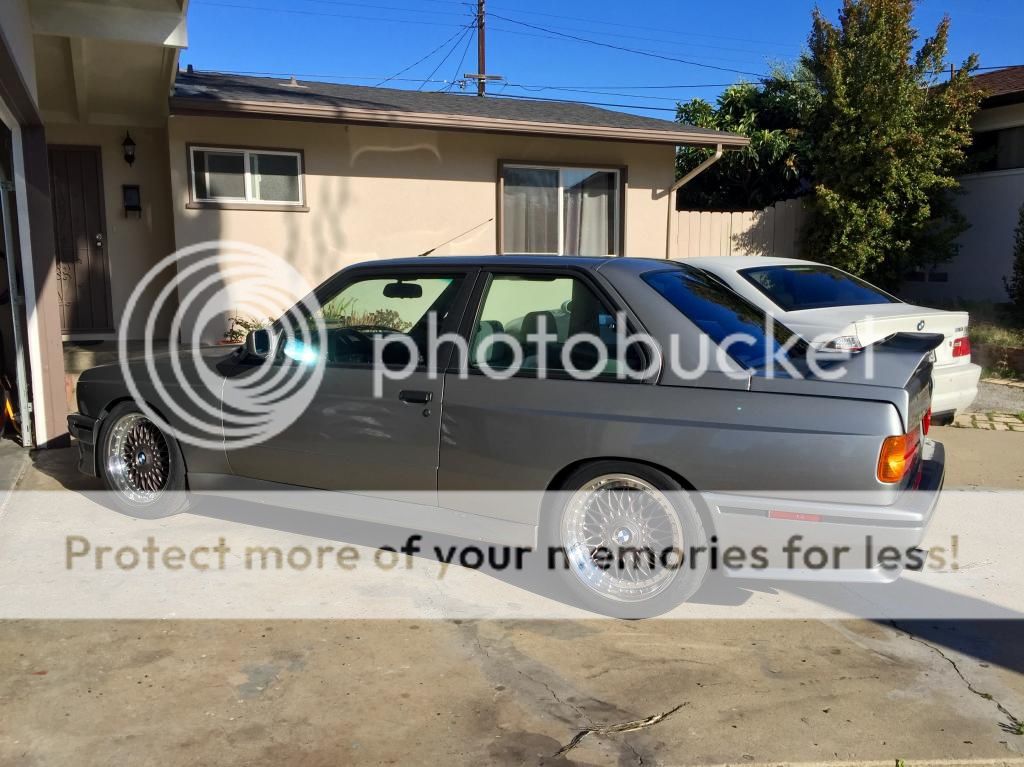
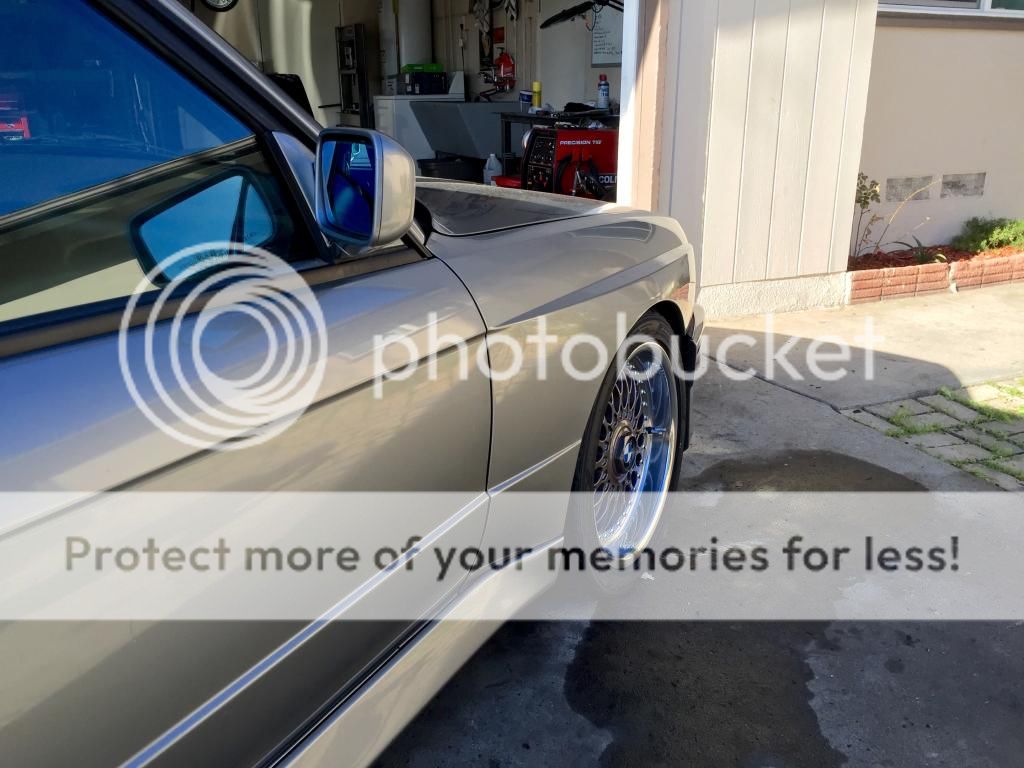
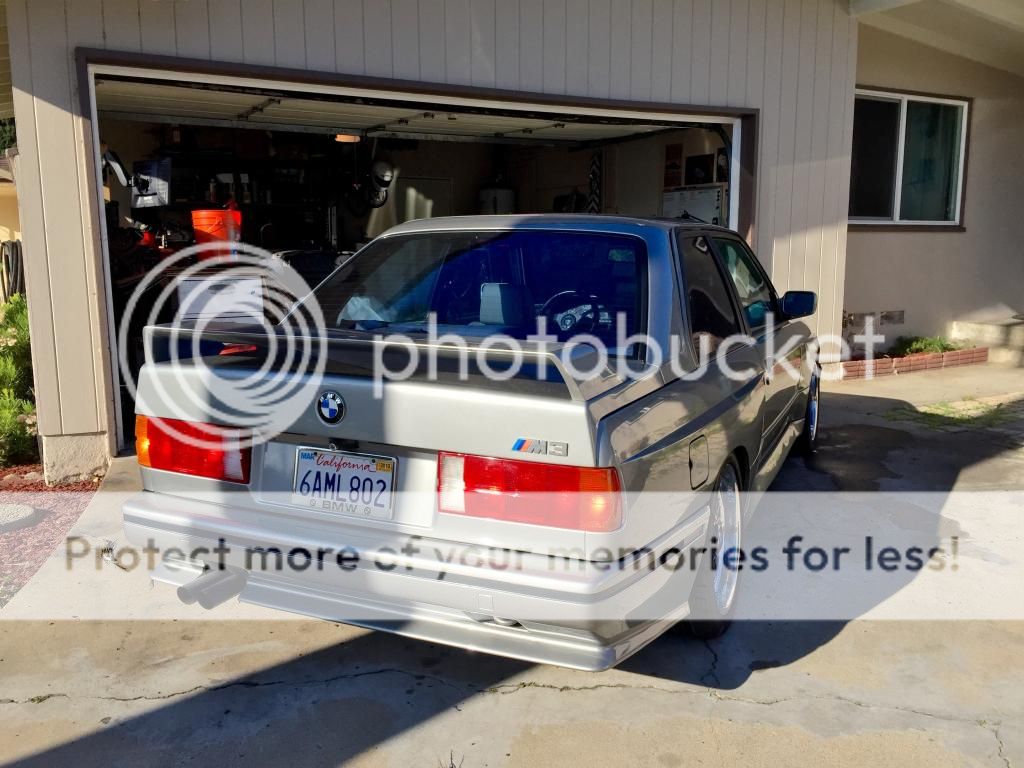
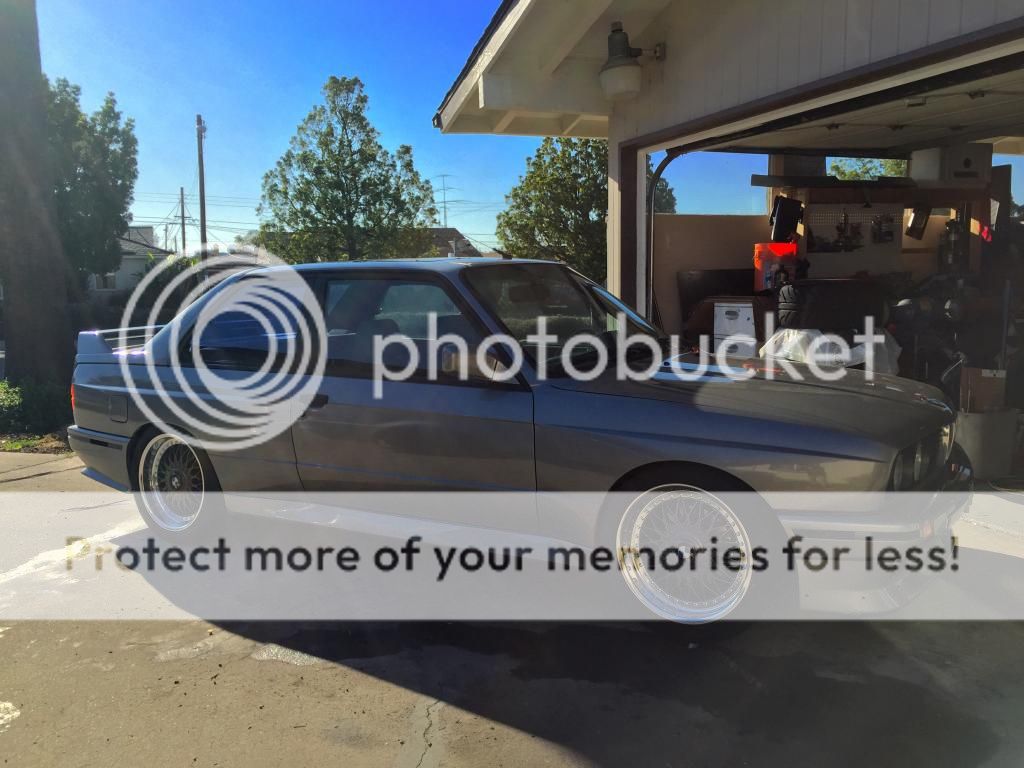
The wheels came out nice. The shop owner took a little longer than promised so he is giving me a 5th style 5 refinished in nagaro for free. In the pics you can see the color difference in light compared to shadows. Pretty cool color and just the contrast I was looking for on the Salmon Silver.


Comment


Comment