-
Exactly. Less cutting, More stock appearance, a lot cleaner. I got mine special order from Pelican for about the same cost as ECS....
https://www.ecstuning.com/ES23838/Leave a comment:
-
Gotcha, instead of cutting the stock mount yeah? I hadn't seen this before, looks like it would make the swap super clean.Leave a comment:
-
-
-
Finally got my E30 back from a Buddy's dad. He's been driving it, because his car got jacked......for the last 4 months, It was only suppose to be "a week or so."
He fucked up some things also, it was damn near out of oil, really low on coolant, somewhere along the line he caught the front lip on something, and bent the shit out of the front valance, the steering rack leaks 100% worse than it did before I let him use it, and it also has a nasty exhaust leak now.
The Seta ended up being ok, and it runs good still, but that's trivial, because of the swap. Now that I have it back, I've started kicking things into a higher gear. I hope to get the rear Camber/caster adjusters, and subframe reinforcements welded on the new rear subframe sooner than later, then work on getting the car in the garage....Leave a comment:
-
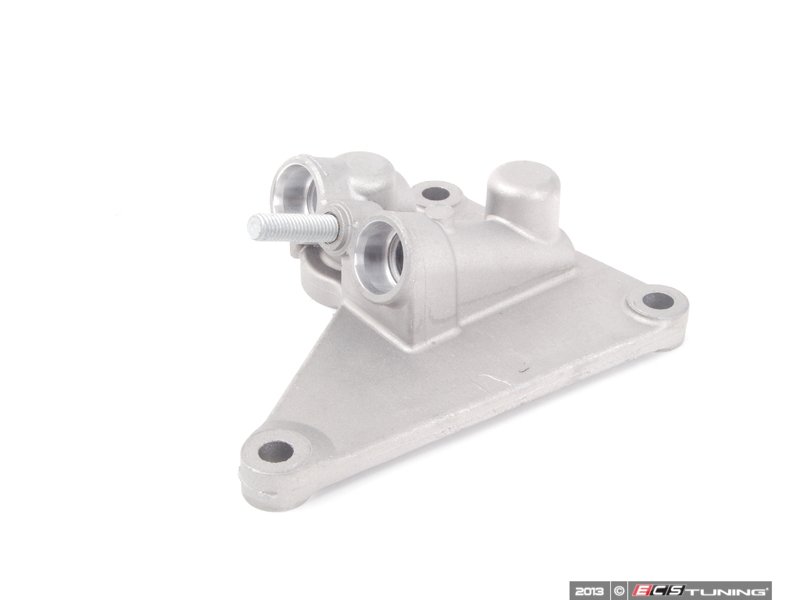
My understanding is that is a custom built part. I will be building something very similar to that for my swap. It seems like the most simple option for the booster swap, because I think you can get away without having to cut and weld on the brake pedal = Less headache!
Two of my knock sensors are also broken..Leave a comment:
-
I'm finishing up with the final preperation, and parts collection for the major componants of my M60 swap. I ran across this picture, in this thread:
Can anyone tell me what car the part that is circled is, and what car it came from? or is it a custom part? I had an idea to basicly build the same thing, but if it's available off the shelf, or from a junkyard somewhere, I'd rather go with that.Attached FilesLeave a comment:
-
-
Rock Auto sent me the 2 wire sensors, I need the 3 wire sensor. Which makes no sense. The manufacture date on the donor was 8/1994, which I think makes it a 1995, and it should have the 2 wire knock sensors? I dunno, I sent the sensors back for a refund, then I will have to order the proper ones from somewhere else, Probably Pelican.
I won't be using Rock Auto again....Leave a comment:
-
I ordered my replacement knock sensors last night, from Rock Auto, Bosch parts. I paid about $40 each. I didn't want to have to fight with them later.Leave a comment:
-
They're on the block just below the intake ports. With no air circulation, they get pretty damn hot, I think that's why the plastic always cracks. I've yet to find any confirmation that the cracks in the plastic impact sensor operation. Almost every 540i on the road has old cracked sensors, not many have knock sensor fault codes.
For $45/each x 4, I replaced mine. Not something I wanted to do later in the car. Of course, I've had my intake manifold off probably 5 times now anyway, go figure.
Leave a comment:
-
Seems like a lot of guys swapping in m60s are finding the knock sensors destroyed, I wonder if it's a common problem. Where are they located on the engine?Leave a comment:
-
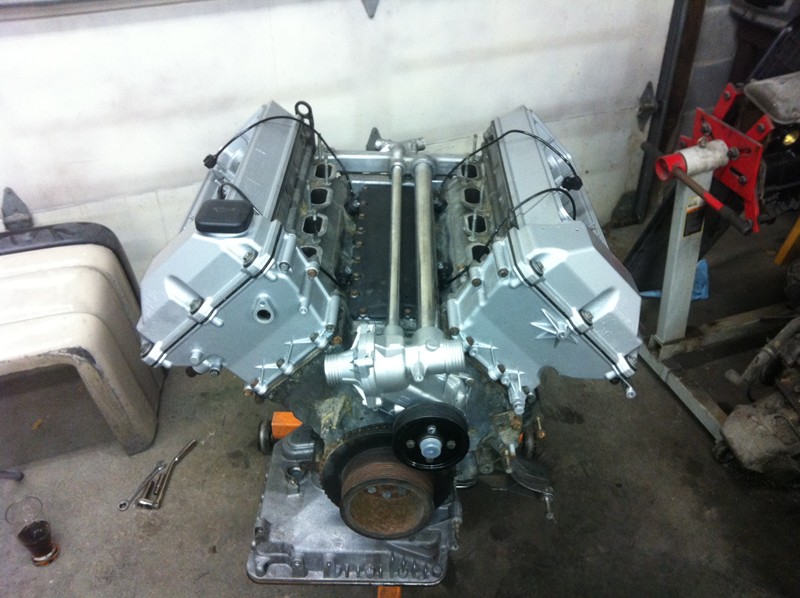
More cleaning, and more assembly over the last few days. New water pump is on, Valley tray is back on, New Exhaust Manifolds, engine mount arms, and X5 oil block are on. Also took care of the carbon build up in the intake runners, and intake manifold. I gotta clean up the oil filter housing, and the alternator for reassembly. then at that point I am pretty much at a stop until I can afford new knock sensors. The ones I have are beyond toasted. The plastic housing on all 4 units are cracked and falling apart.
Also, does anyone know where to find a diagram of the engine harness for an automatic harness M60? I gotta remove all the auto shit from this thing. Alternately, If someone has a M60B40 manual harness they want to part with for a decent deal, PM me....Leave a comment:


Leave a comment: