-
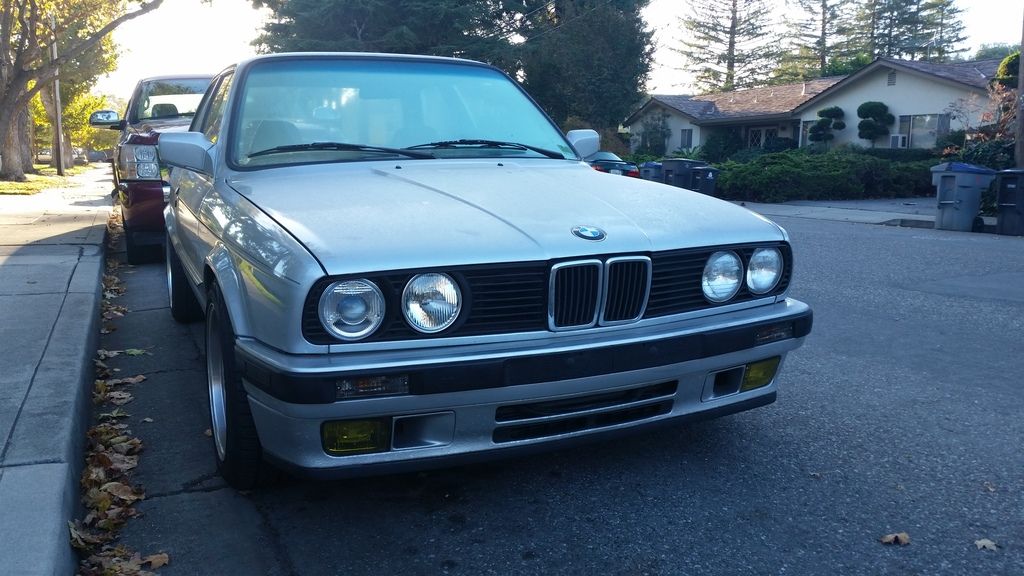
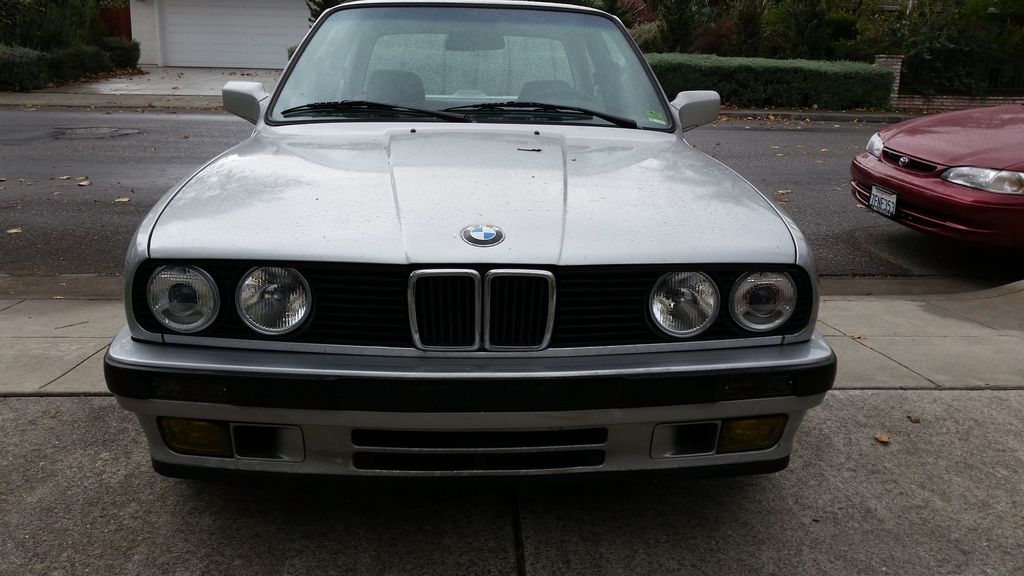
Ordered a set of Laminex headlight covers to protect the new headlights and decided to go ahead and get a clear set for the fogs as well. Ever since replacing the turn signals, the yellow covers on the fog lights have seemed out of place. Removed one side first just to see what it would look like...
Yeah I think that's gonna work
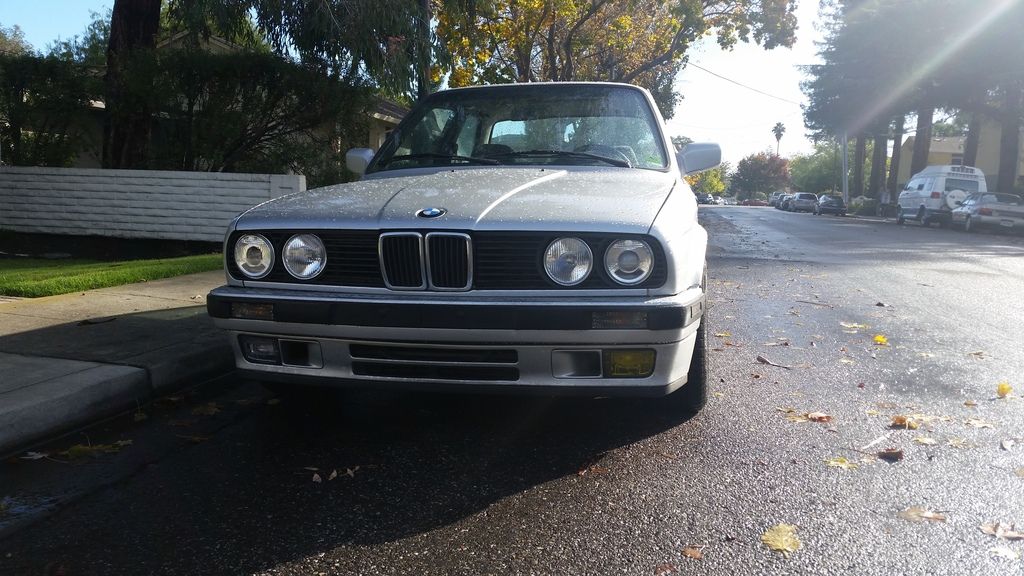
Definitely the better look
Leave a comment:
-
The quote he initially gave me based on the pictures was $185. When he actually saw the car in person he realized he wouldn't be able to get it all the way out and lowered it to $145. But after hanging out and him realizing I'm a car guy he ended up charging me $125. Not particularly cheap, but after running errands all day and walking up from behind her its totally unnoticeable and I love it!Leave a comment:
-
That looks pretty good, how much did he charge to do that? I think if you remove the pinstripe it will help hide it, but overall it looks pretty damn good.
Ive had a ding in my quarterpanel since I bought the car and it drives me crazy when I see it, luckily its on the pass sideLeave a comment:
-
Ok and I'm back!
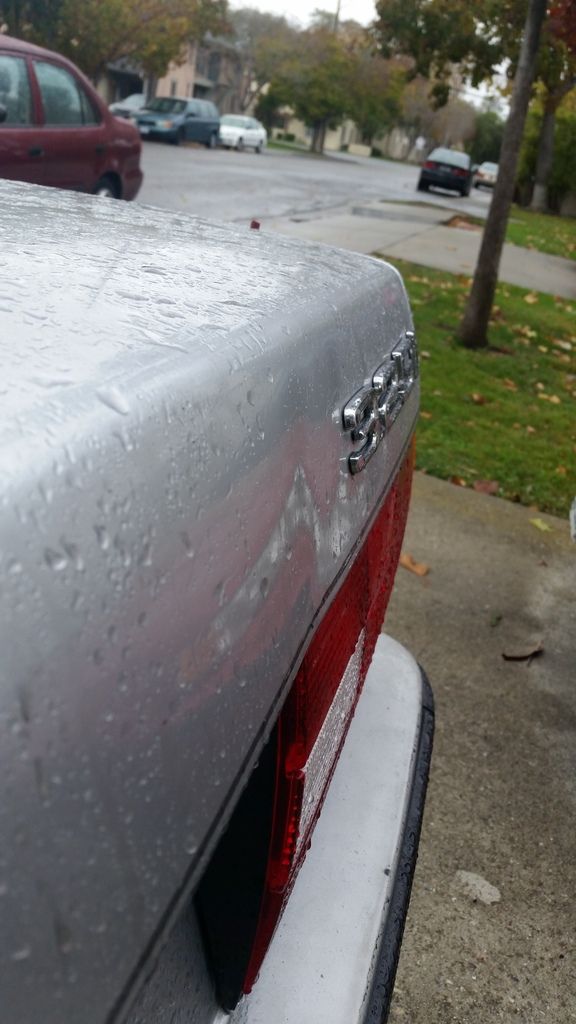
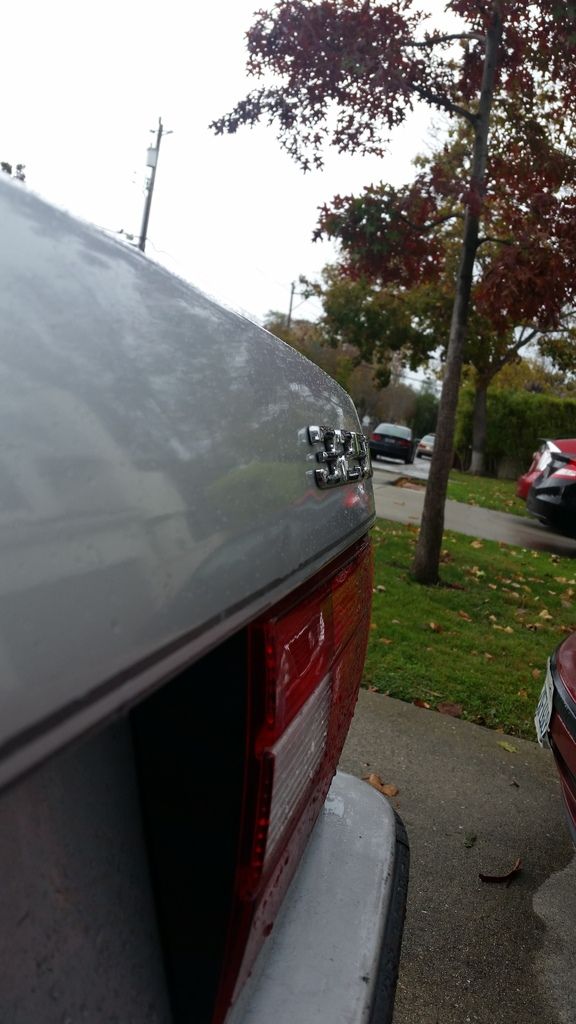
So one of if not the biggest eyesore on this car was a dent on the trunk lid. It's been there since I got the car, and its not painfully obvious, but it does sit there and bring down the whole look of the car. Eventual plans are to repaint the whole car, as it needs it, but in the interim I'd rather not have to see that stupid thing every time I approach her from behind.
As a result, got a paintless dent puller to come have a hand at it today. Because of the placement and access he couldn't get it all out, but it certainly looks better and I think will help my sanity remain in tact.
Before:
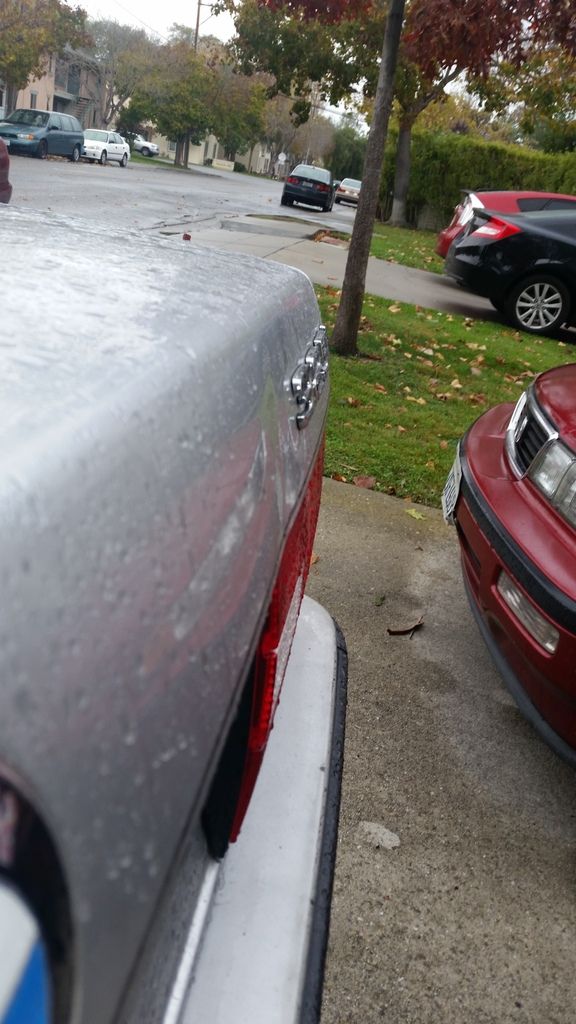
After:
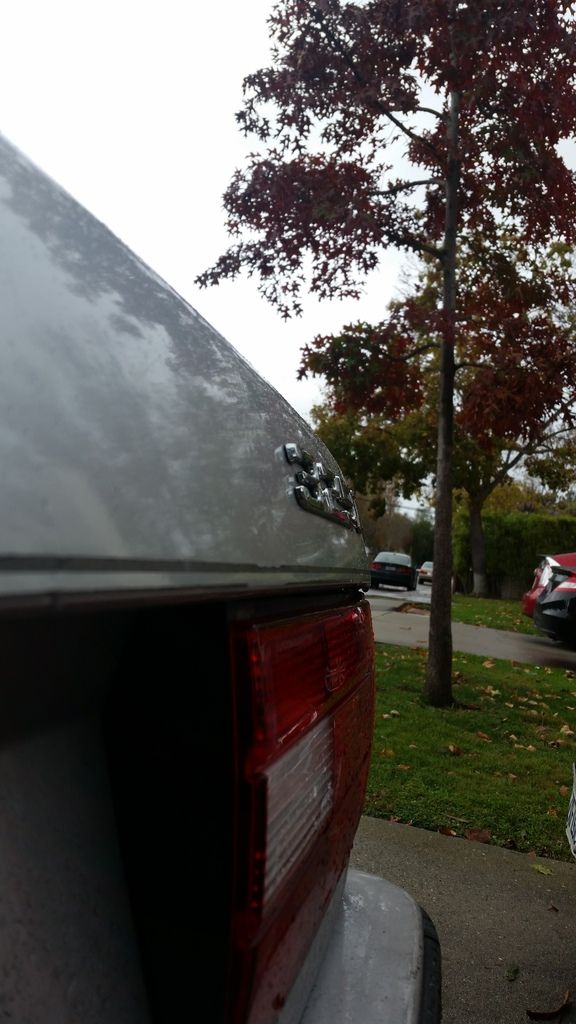
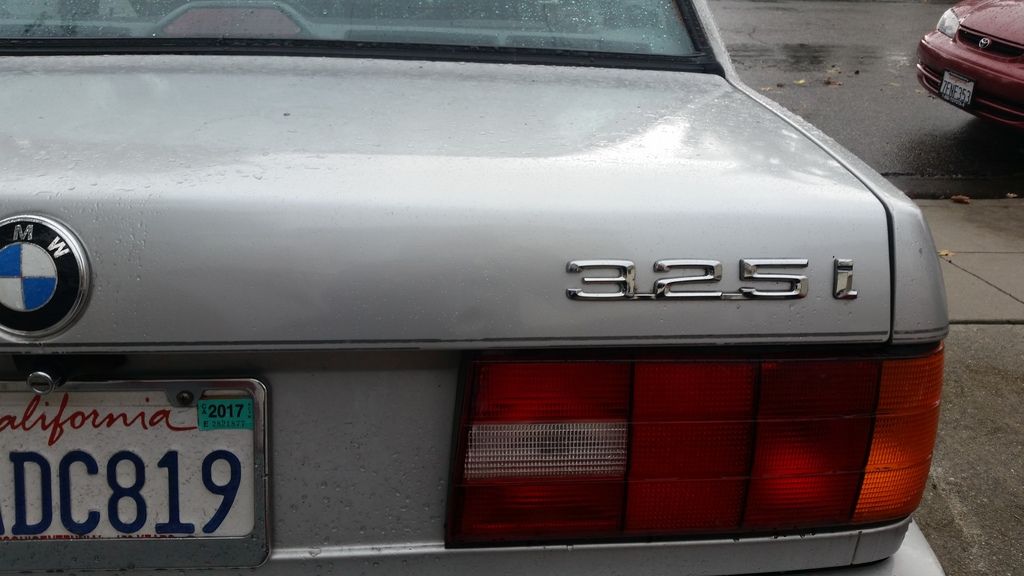
In the end he did a pretty decent job. Unfortunately the part right at the lip couldn't be pushed out because there was no access, and its all exacerbated by the fact that the pinstripe in that area is worn down as well. I'll have to give it a few days to really see how satisfied I am with it, but I figured it was worth a shot.
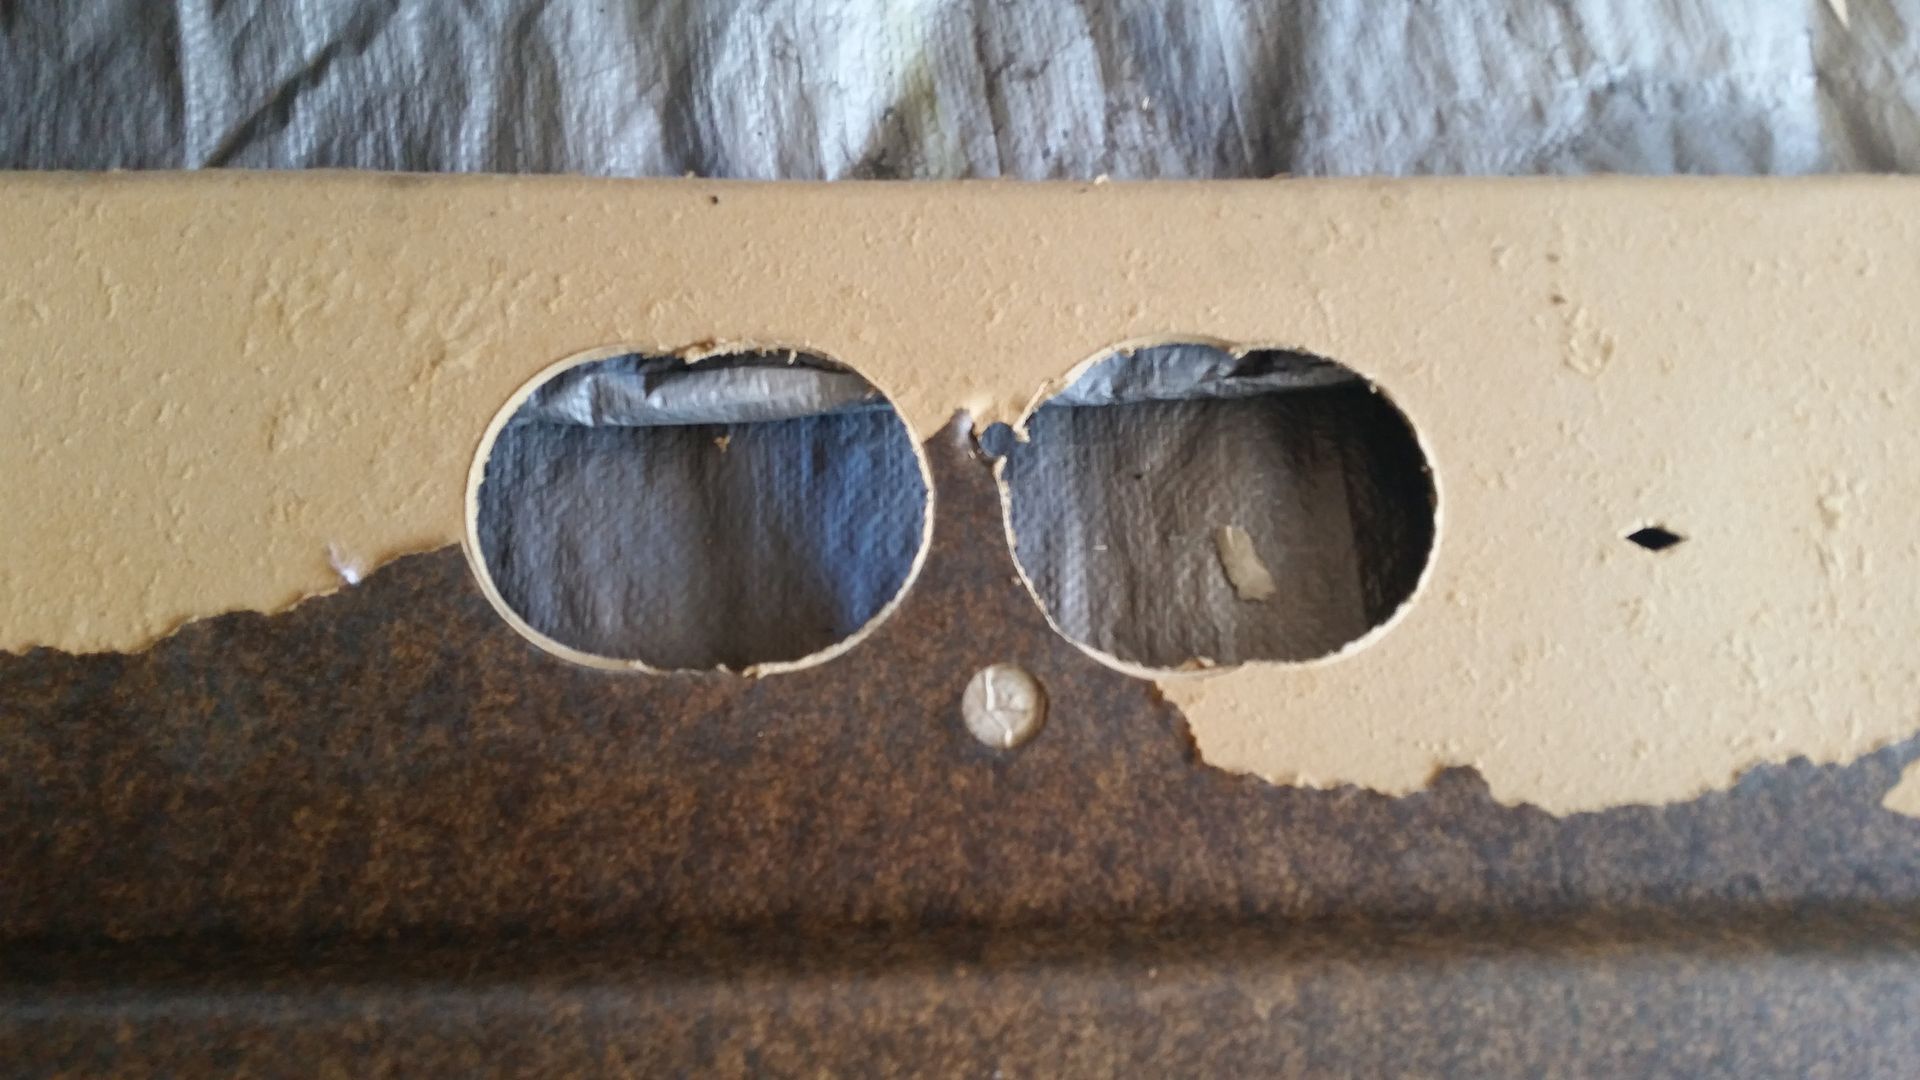
Next on the list. Alternator replacement with higher output e34 325i alternator to fix my failing stocker, provide enough amperage to my stereo, and fix the god awful whine. Also going to get some more small interior stuff done including replacing the "wood grain" shift knob with a black stocker that fits the interior, replacing the torn shift boot, and getting some silver pedal covers (sans anything M related). Oh and hopefully a cover for the front license plate holes! Oh and motor mounts! Haha it never ends!Leave a comment:
-
Another little update today...
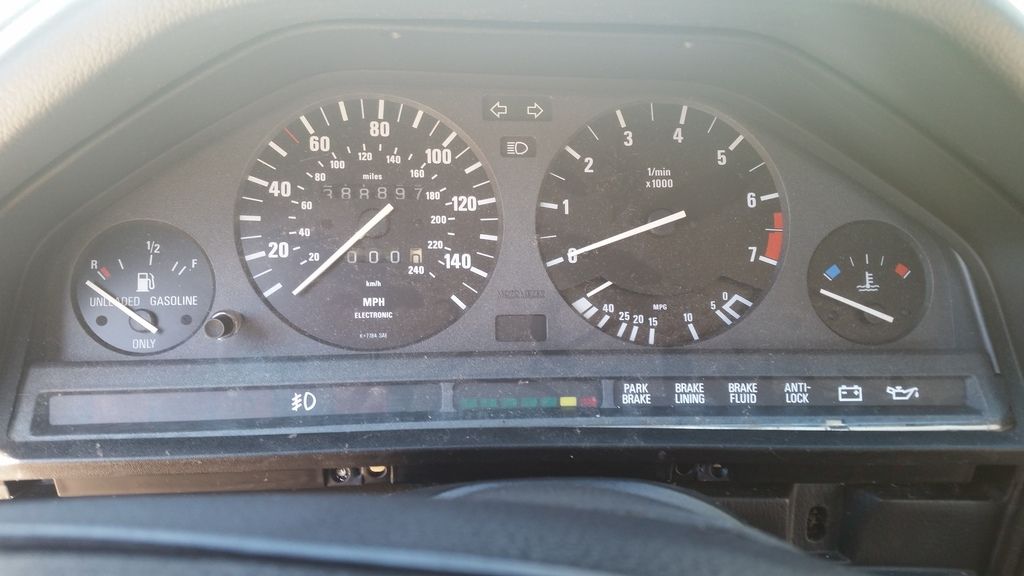
As tends to happen, my odometer gears went a few months ago. I finally finished replacing them about a week ago. Had a number of problems with the project, basically all related to superglue (for the gauge rings which wouldn't stay in place without some sort of adhesive). Superglue was what I happened to have on hand in the middle of this project, but if I had to do it all over again I would have purchased a specific adhesive to accomplish this.
Basically the superglue inadvertently got on my fingers and then transferred to the gauge faces, but remained invisible until I went to reinstall everything at which point it dried to reveal white fingerprints! UGH. Anyway, got it all fixed up and installed and am 85% happy with the results.
One day I'll do it all over again but honestly I'd seriously consider send them off to get done by a vendor just to not have to deal with it... its actually very detail oriented work that I don't quite have the patience for. For this iteration of the car it's fine, but in the future when I take her down for a full high quality rebuild, I'm gonna have to splurge.
Pretty terrible before picture (I think we all know what stock gauges look like)
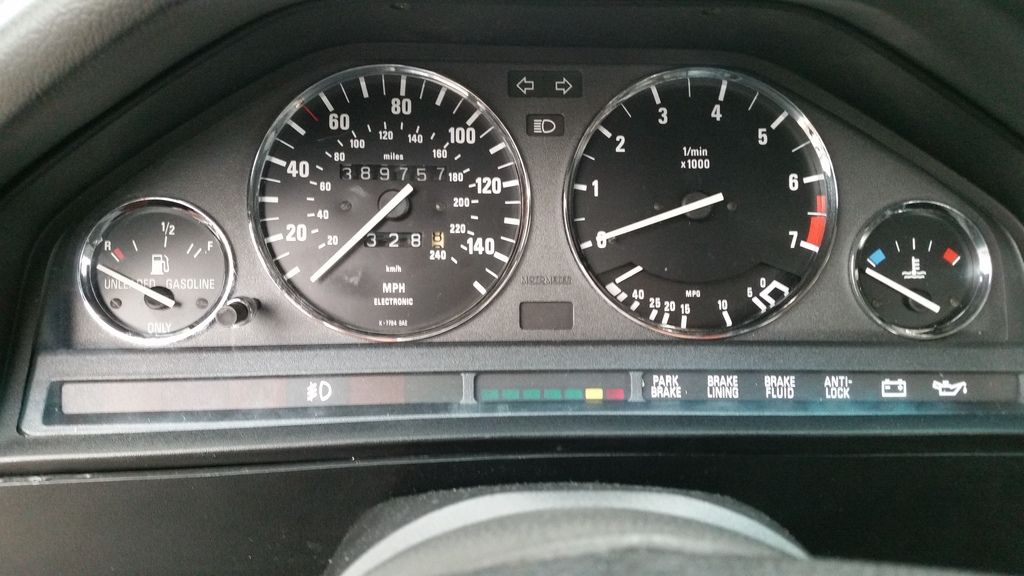
And after. Only changes were to replace odometer gears and add chrome gauge trim rings. Really shooting for an OEM+ look with a high emphasis on keeping things "old school" in terms of looks by emphasizing the chrome accents.
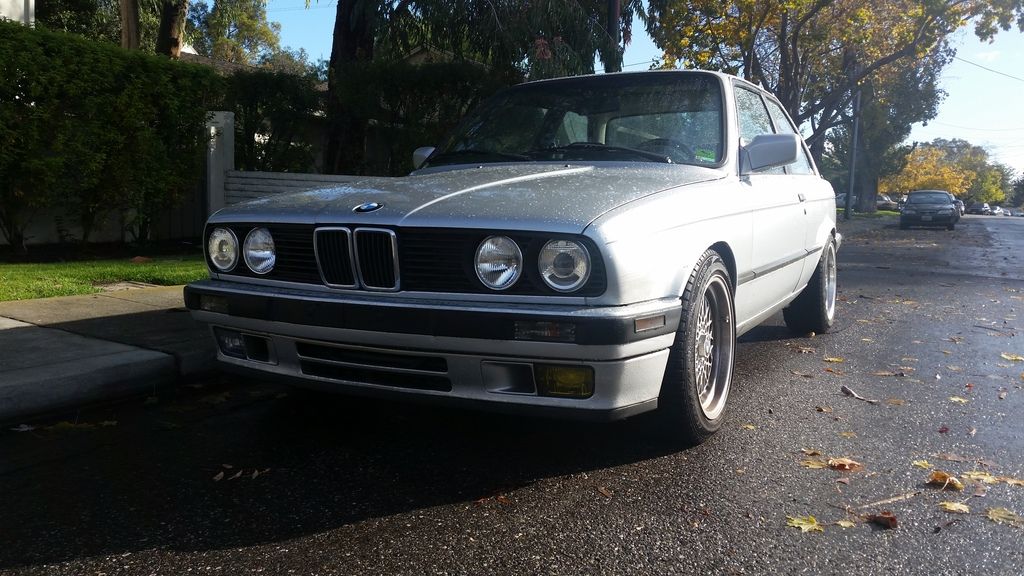
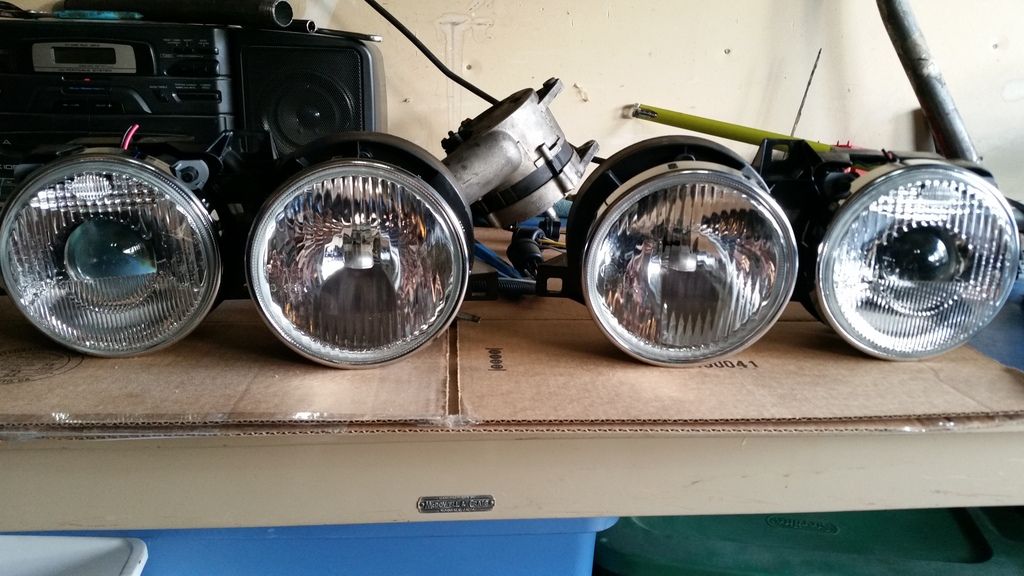
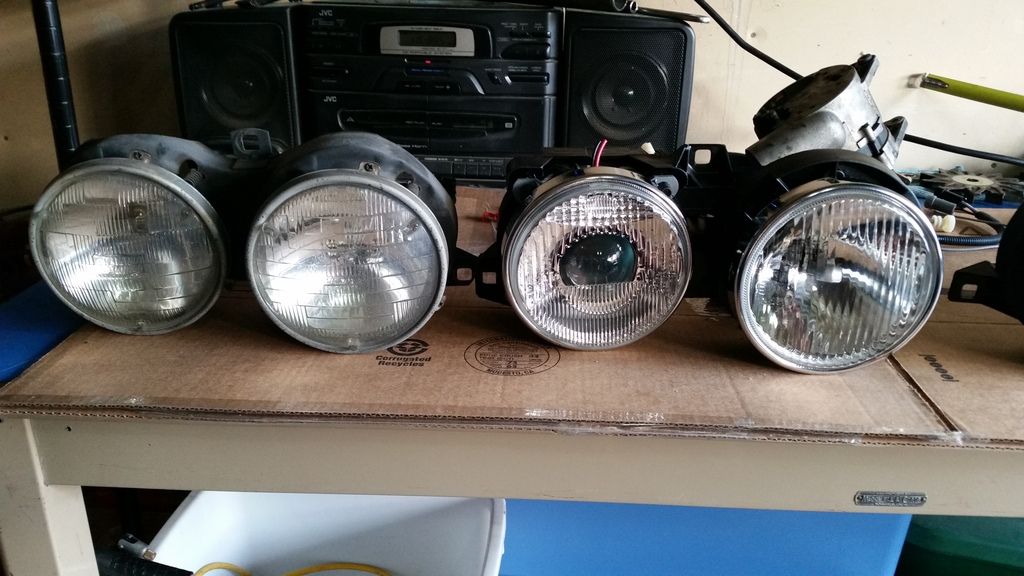
The other project I finished today was moving to Depo Smilie headlights. This car has had stock sealed beams it's entire life and they're just dirty and have horrible light output. I have no desire to spend 400-500 for Hellas or any other used set of lights, and love the chrome trim rings around the Depo's. Got my girlfriend to buy them for me for my birthday.
While the install wasn't completely plug and play, it wasn't all that difficult to install with a bit of trial and error. Honestly I was a bit surprised that a tutorial doesn't exist on how to do this, but took enough pictures to make one if anyone is interested.
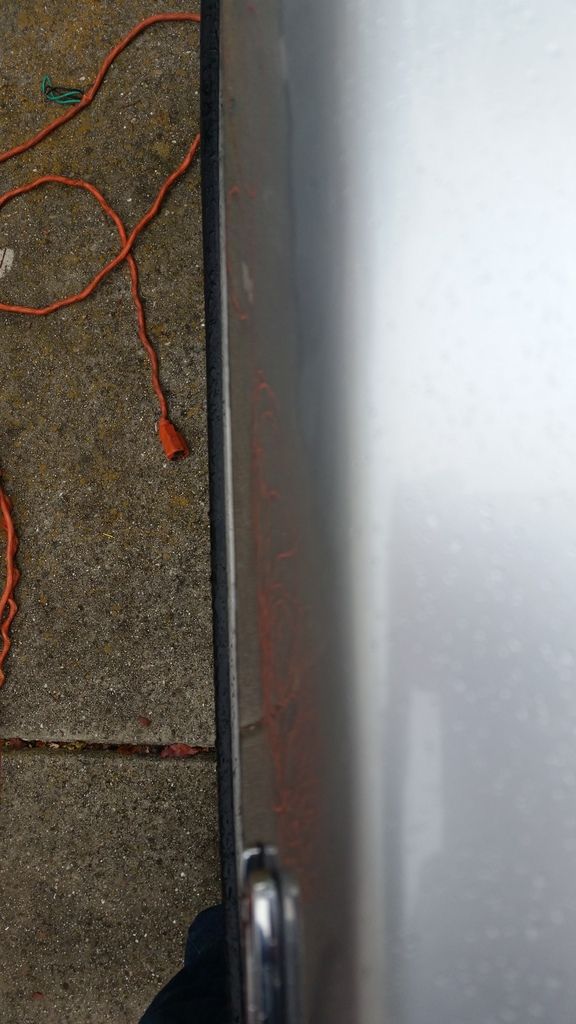
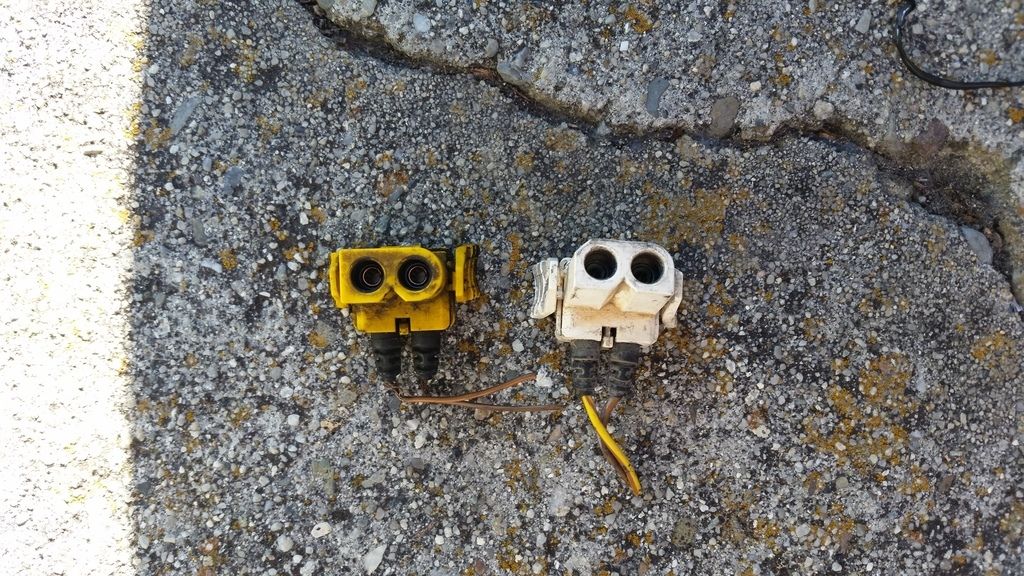
First step was to tackle the wiring issue. When I installed my knockoff foglights a couple years ago I wasn't particularly happy with how I ended up improvising the wiring. This time I wanted to see if I could find the correct connectors and make it a cleaner install.
Went to the JY and scoured the BMW section and came away with some connectors that would fit. Unfortunately I completely forget what they came off of, as I pulled off a bunch of cars... mainly e36's and e34's. Here's what I ended up with that fit:
The new Depos
New vs old
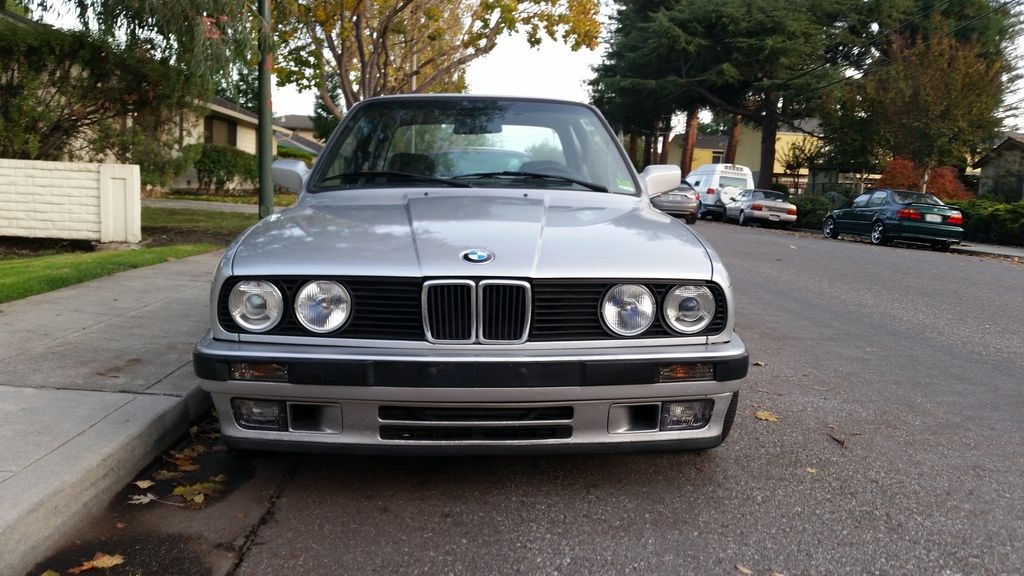
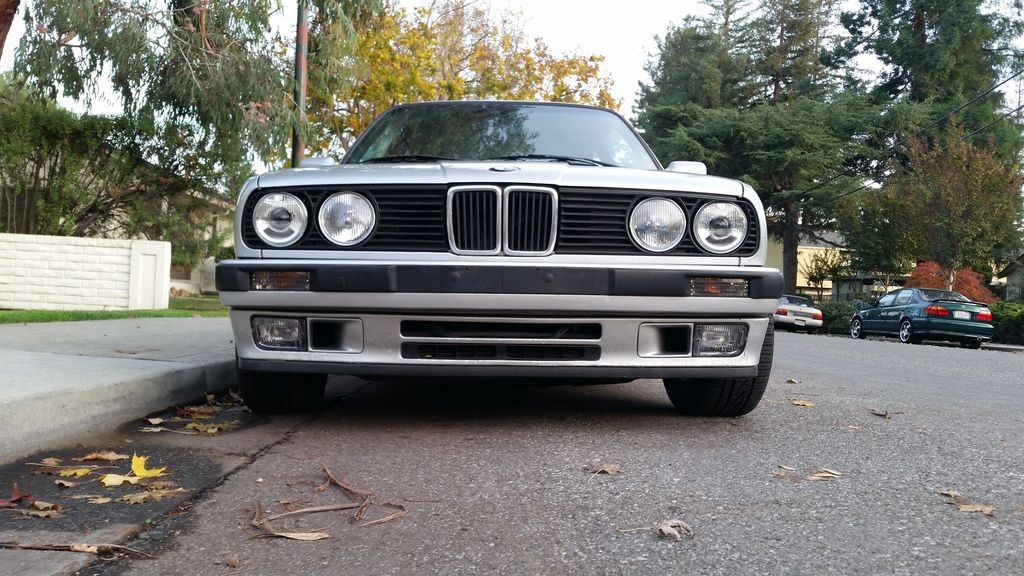
Passenger side done
And all complete
I'll have to take some better pictures later after a quick wash. But at the moment someone's coming over to help me with another project to be finished today that's been a long time coming! Stay tuned!Leave a comment:
-
Sorry I didn't see this sooner. I'm using the color matched spray paint from scratch wizard... matches really well. Don't know if you could get away with painting an entire panel, but for the things I've done so far like the lower valences, its basically unnoticeable. I'd definitely recommend it.Leave a comment:
-
-
Love my 12" Lukebox. Its going to be hard to part with it here soon...Leave a comment:
-
Finally got around to fixing the rear parcel shelf...
Started by pulling the carpet off the shelf
Trimmed the deadening matt off the underside
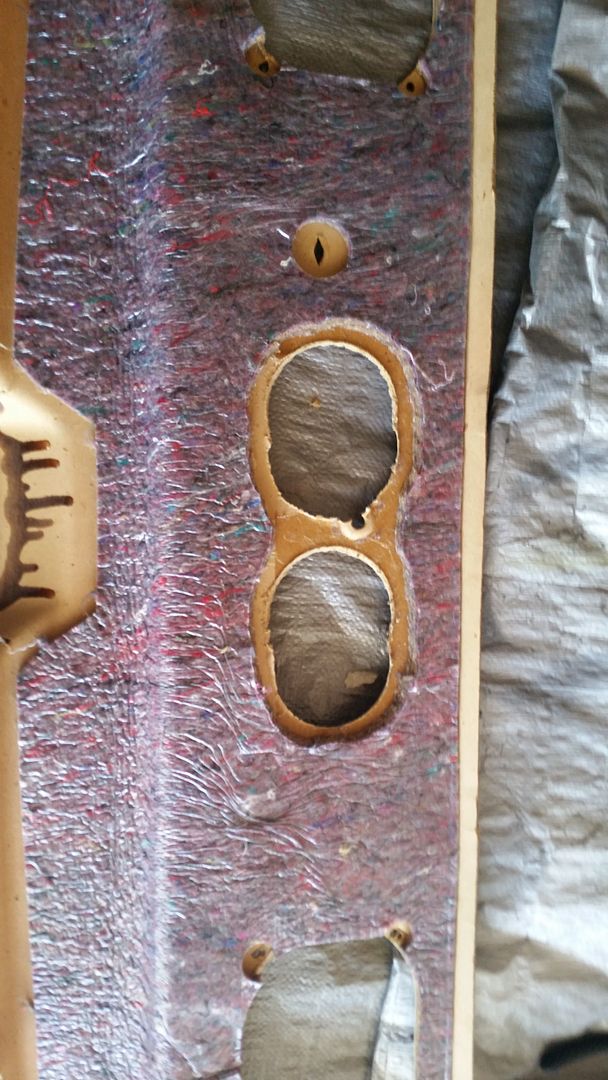
Taped off the top and laid some fiberglass cloth on the underside.
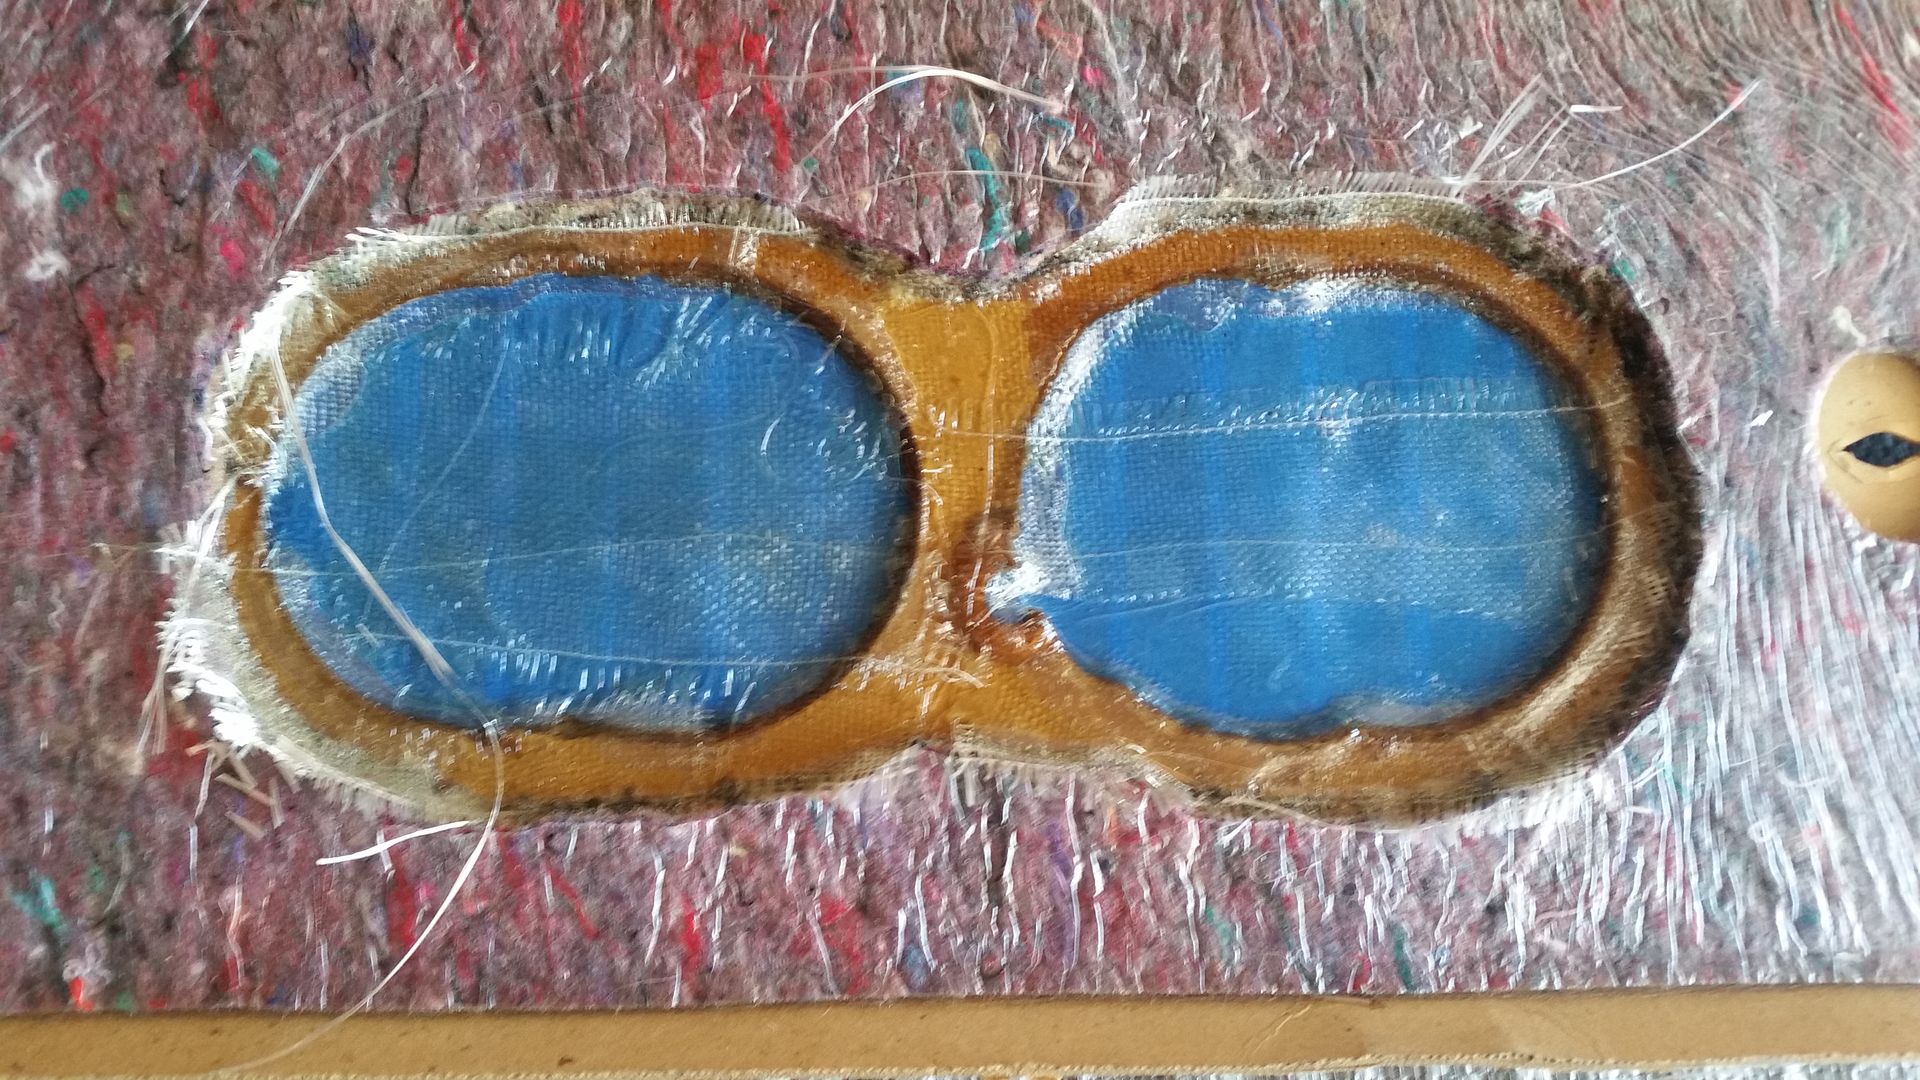
Next I pulled the Lukebox back out, temporarily installed the parcel shelf, turned the incorrectly marked template upside down and redrilled the pilot holes, and finally cut out the 3.5" port holes. Unfortunately and obviously no pictures of this process.
Then I covered it with some fleece-ish fabric and reinstalled the hardware

And reinstalled it along with the rear seats
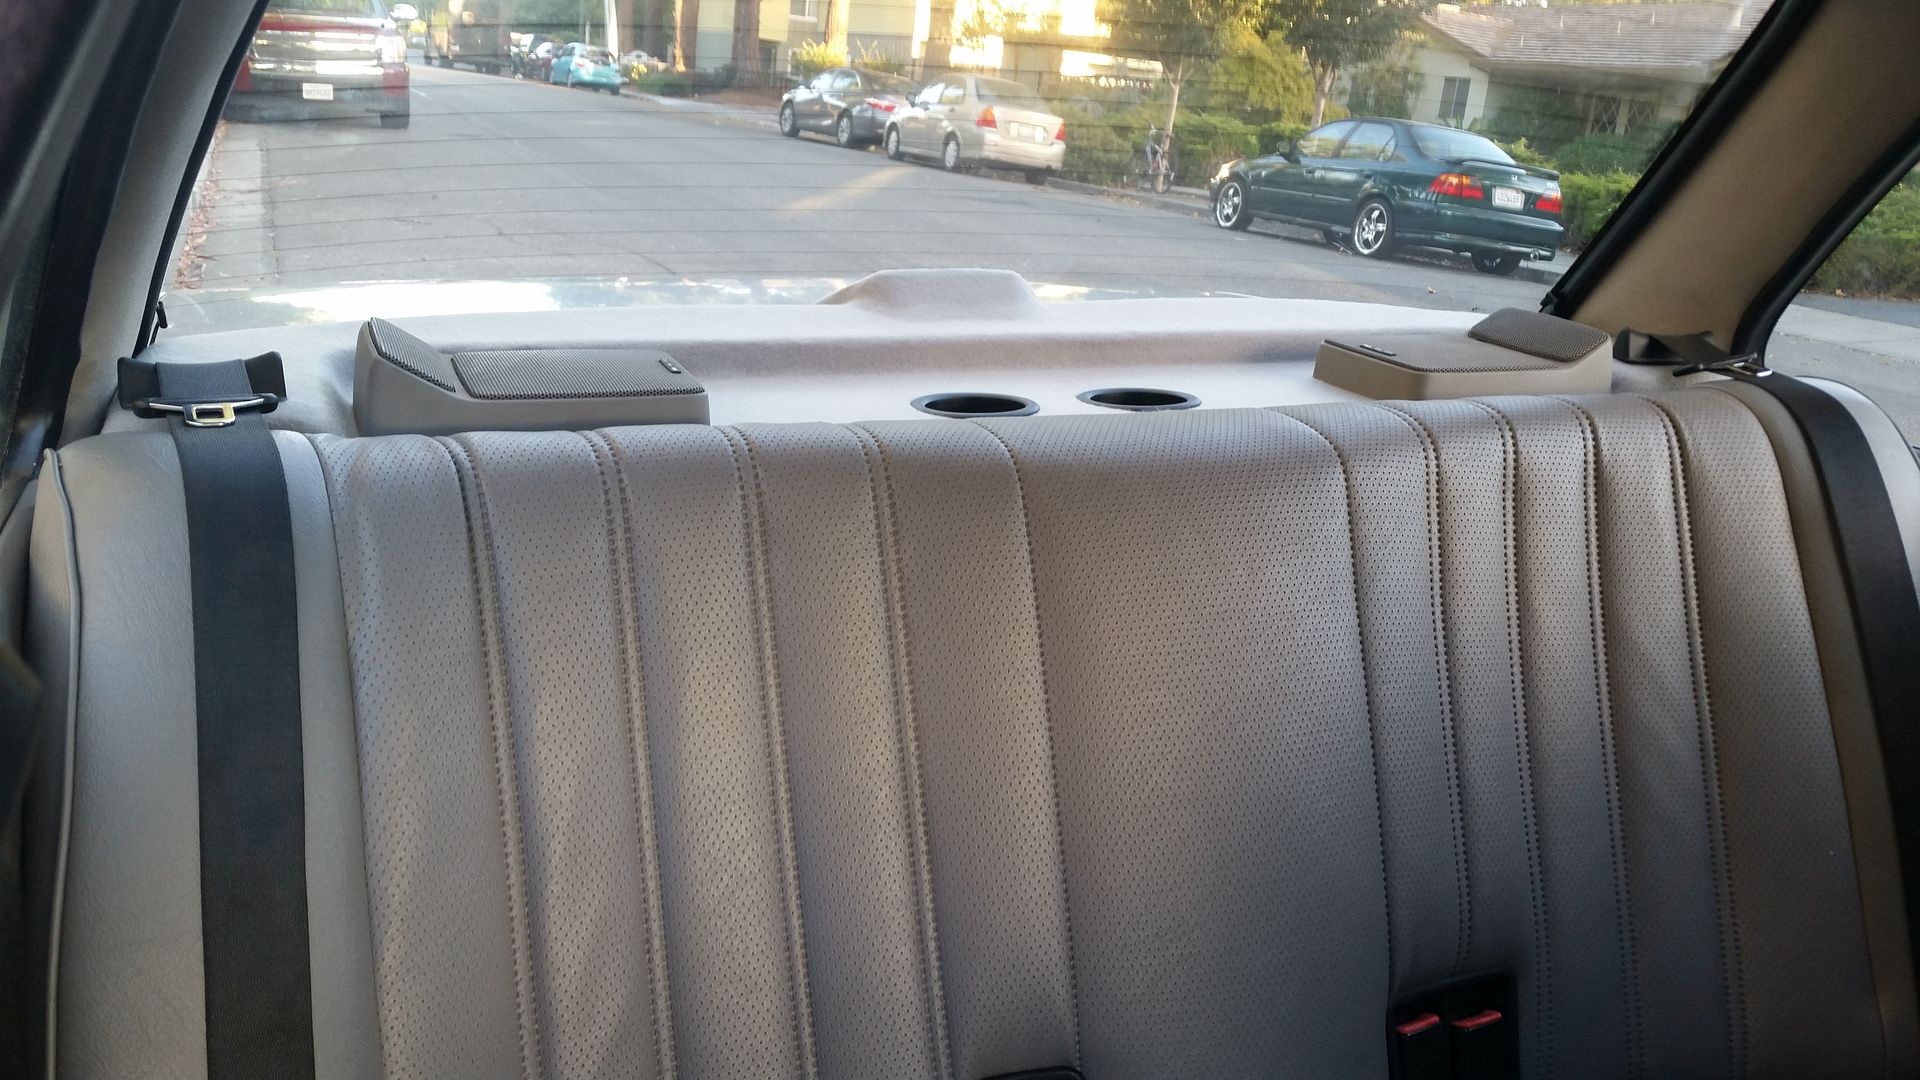
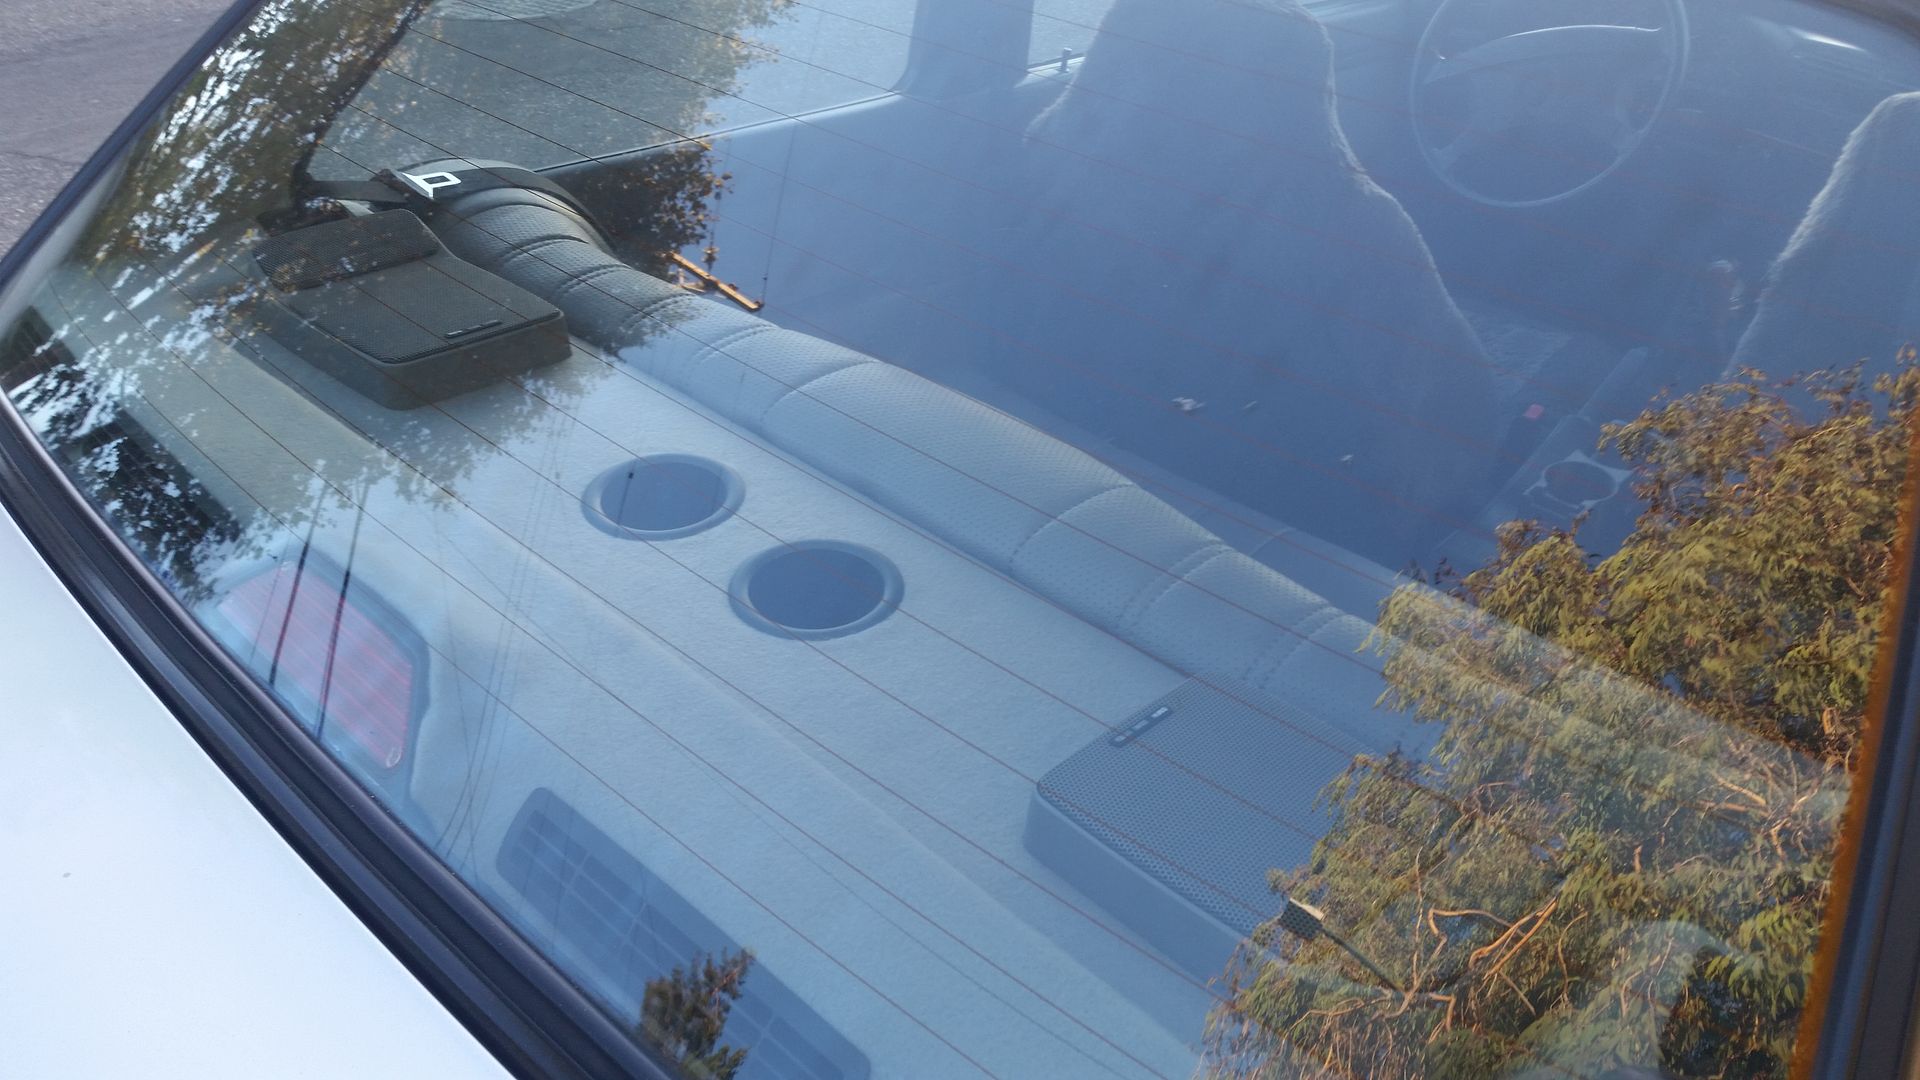
Not too shabby. It's nice to no longer have all the road noise coming from the back and although the bass is quieter, it also sounds a bit tighter. Next on the list is to fix the odometer gears and install chrome gauge rings. May consider going for the rear pop out and chrome trim conversion, but we'll see about that.Leave a comment:
-
Dude I just found what wheels I'll be putting on my sedan! Love the look of your car. Keep posting!Leave a comment:
-
It was garage kept for the first half of it's life, got a repaint roughly 15 years ago due to being in an accident with 2 deer at 80mph, and was kept outdoors for the past 8 years or so. The paint looks very good from 10 feet out, but has a good number of blemishes up close, especially on the roof. Definitely going to repaint it Sterling Silver in the future.
KLZE is definitely a great way to go if you want to take the v6 route!Leave a comment:


Leave a comment: