-
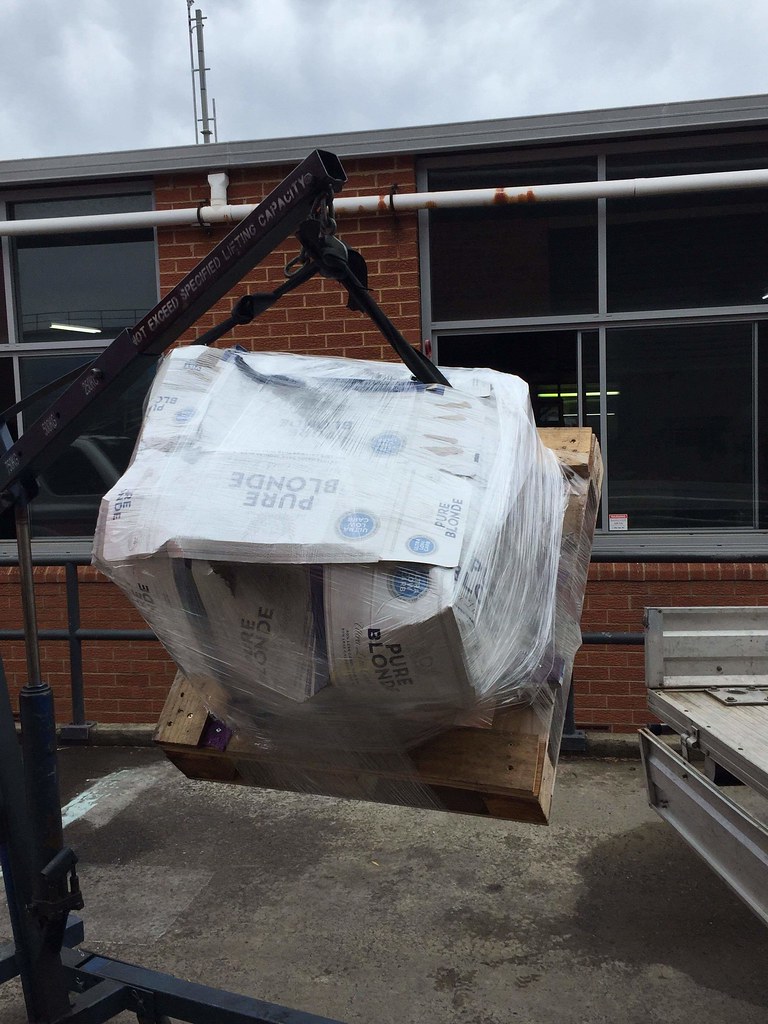
Something exciting on the way... S52B32.
Given these are US market only, pretty rare down here. We did get the proper E36 M3 motors, but those fetch upwards of $6k - $8k as a long block, this was quite a bit cheaper than that. Added benefit to this is I already have the car setup for a 24v, so swapping it in will take minimal effort.Last edited by jsta1109; 03-26-2019, 09:18 PM.Leave a comment:
-
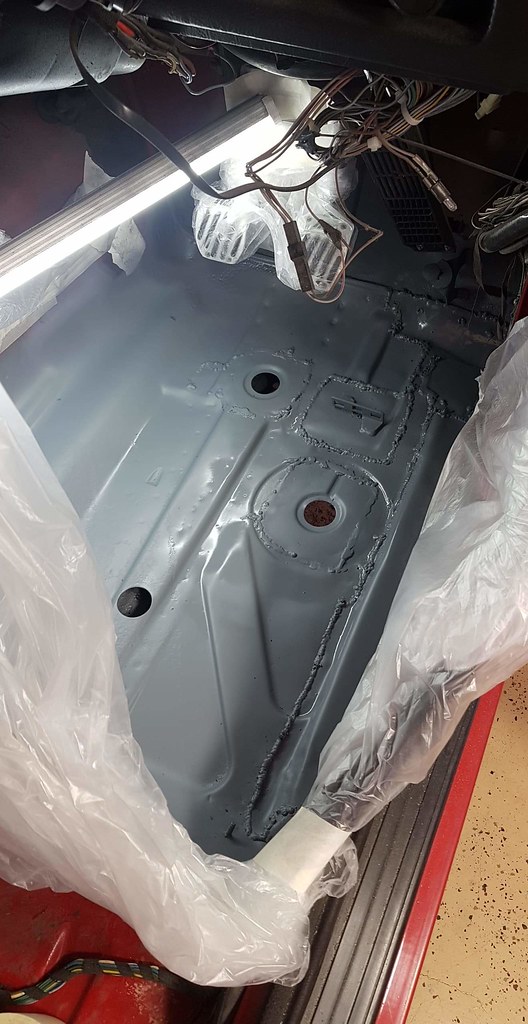


Made the most of the long weekend and got this just about completed. Will be ordering some sound insulation to go over the whole floor pan shortly, but very happy with the result.
I still need to address the bottom side, not sure what the best approach for this is. My air compressor is pretty crap, don't think it could service any schutz gun.Leave a comment:
-
Looking good and the plans for the engine sound great. I'm sure the ITBs will be worth it in sound, feeling and looks.Leave a comment:
-
-
As always updates are few and far between.
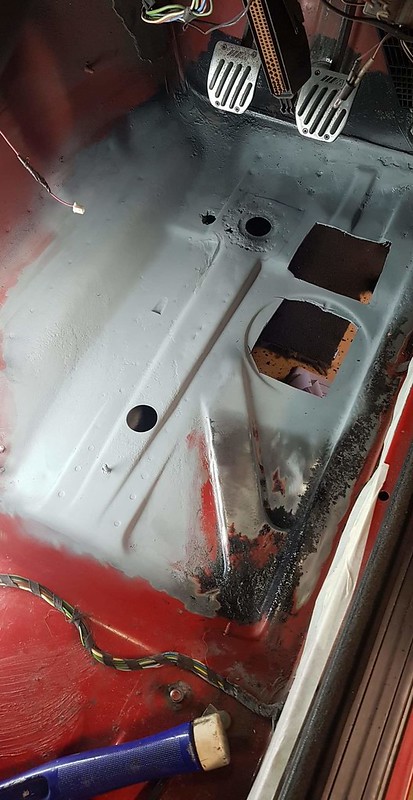
I mentioned prior that I had some rust that I "took care" of, and by taking care of I mean ignoring it and pouring por-15 all over it.
I decided to lift the carpet and have a look at it, to my surprise it hadn't really spread any further, but the most notable area of rust was the accelerator pedal.
I decided to buy a welder and cutting/grinding gear and give it a go.
Strip the carpet, managed to retrieve the old chunk of carpet I cut around from out under the hvac box.
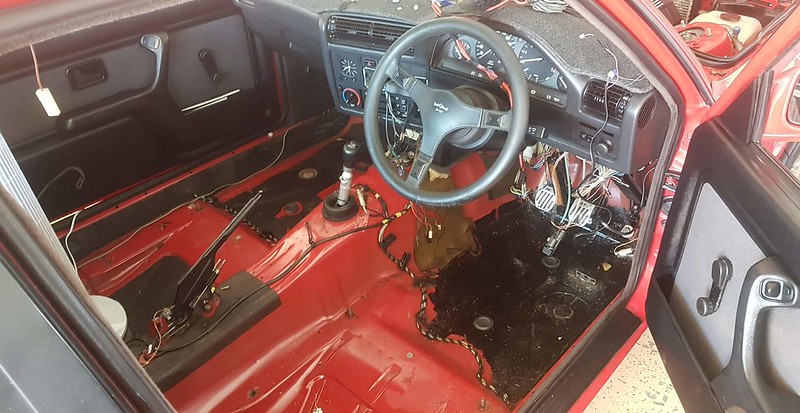
Queue the ugly
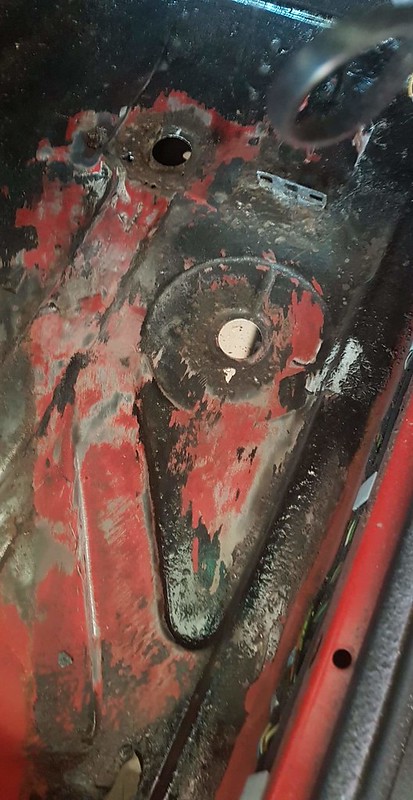
Must admit, a little daunting hacking your car up
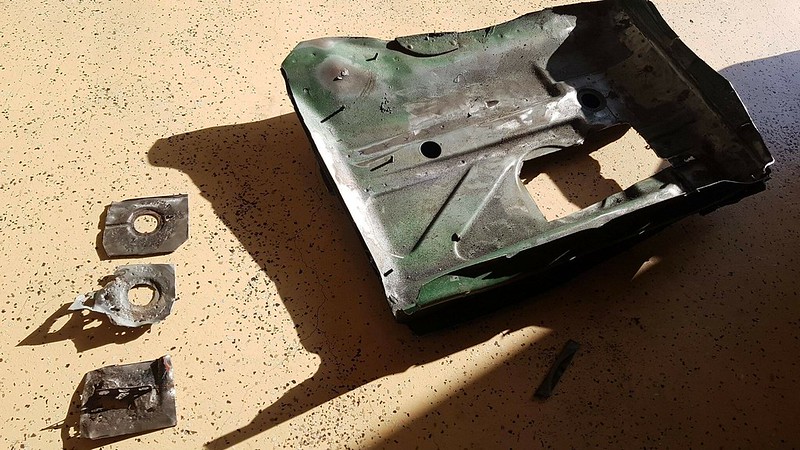
RIP donor car
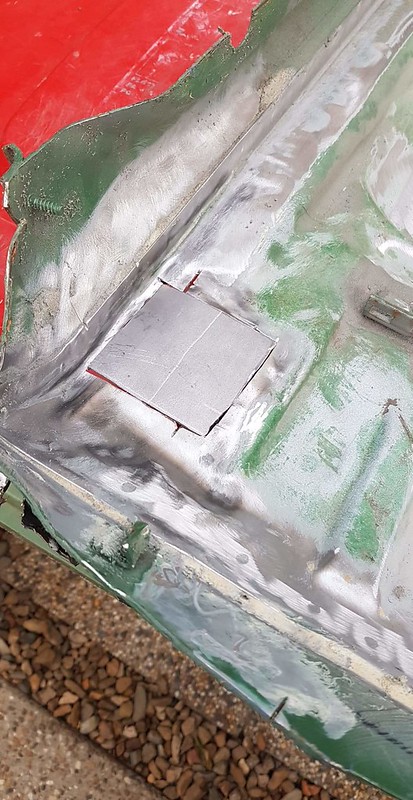
Small patch on donor section
Purchased some better carpet from a 325e, this will be carpet #2, as my last carpet was certainly not as advertised "rip free"

The second time picking up a welder, not great but it works and penetration looks good

Grinding isn't as fun as welding, queue the second patch
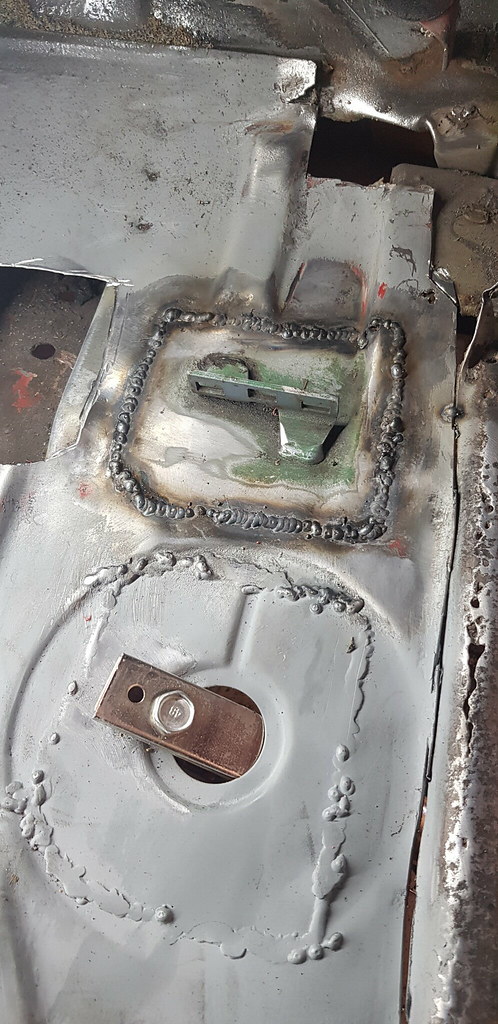
And this is where I ended, one days effort is all I had time for, but it's starting to look a bit nicer.
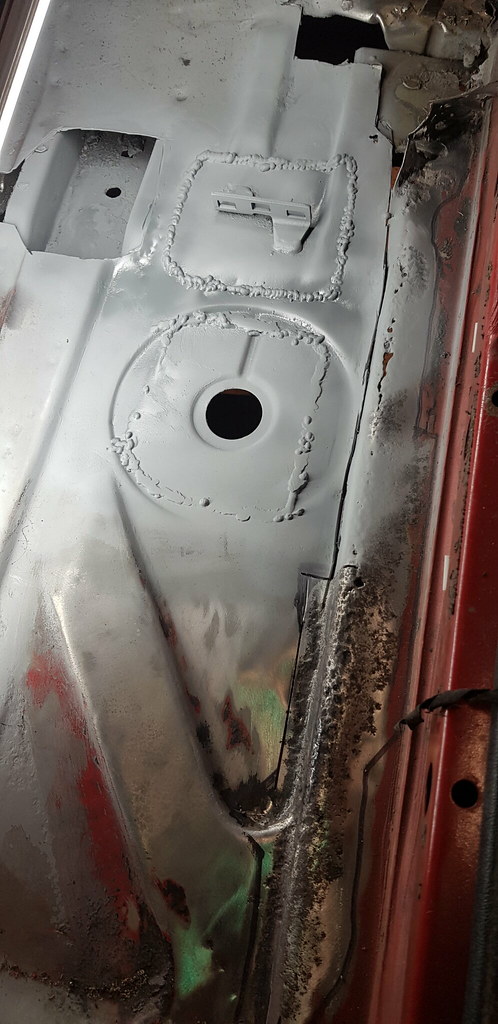
I am pretty fortunate that the rust has only hit the floor pan layer, my firewall, sill and jack pad are perfect, bar some very very minor surface rust. I've cut away all the unnecessary sections from my donor section, so the sill piece to firewall should be really straight forward. That will come next weekend hopefully.
Either way, some progress is good progress. I haven't been very active in fixing/driving this thing as of recent. I am hoping that changes a bit, I have a whole lot of parts waiting to be fitted.Leave a comment:
-
It has been a while since I last updated here, new job has really taken off in full swing and time has been quite limited (that and I've generally been pretty lazy with using the car. It has sat in the garage for the past 3 - 4 months, probably driven it a handful of times). Here's the run down since the last update.
Track day happened. Managed a much faster time, brakes are feeling better since swapping booster setup. I still should of upgraded rear pads, kind of just left them standard, by the end of track day they were completely gone (Replaced them after the last track day, I learnt that you really shouldn't mix two totally different pad compounds). Fronts were QFM A1RM (semi competent track pad), rears were just OEM replacements. Since then I've swapped out to DBA T3/T2 rotors and QFM HPX pads all round. They are rated for the 550c range, which I don't think I'll get to with maybe 2 or 3 hot laps. http://qfm.com.au/page/6/Performance_Range
The old front A1RM's still have plenty of meat, contemplating taking them with me to track just in case I do roast the fronts.
Full album from the track day is here
Video of my quickest lap, still heaps in it.
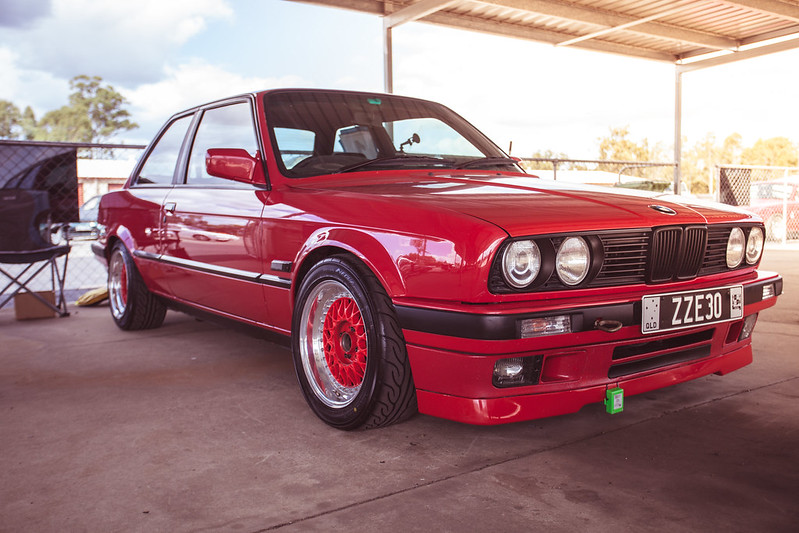
That's where it stops for a bit. In this space I swapped some engine mounts as I had a bit of steering linkage bind on left turns. I went from rubber mounts to Revshift 95a. This involved dropping the subframe for the third time as the studs on the old engine mounts were so long I was unable to raise the engine enough to pull them. I've done this enough for it not to be a big deal, and I have an engine support beam which has turned out to be pretty useful.
I believe the engine mounts also accelerated the aircon issue I then had. One of the lines that I was 'supposed' to put a clamp on had vibrated itself loose enough to start leaking, eventually leading to the aircon no longer working. Thankfully this was a simple fix, the AC guy then threw a tad more gas in and it's blowing colder than ever. He also didn't let me leave until I clamped that line down.
All in all, the engine mounts really aren't too bad. I raised the idle a tad bit to help with vibration, but around 850-900 it really isn't that noticeable.
I had also realised why my aircon idle bumper never worked, anyone that has worked with the MS41 ecus know that the control bits can dictate certain functions. My ECU was from an E39 and as it turns out, the aircon bump on those is handled differently to an E36. I changed those control bits over and got the idle bump working.
To add to this, my amateur attempt at the initial wiring on this engine is pretty average. I've purchased another harness that I will be cleaning up and sorting properly to swap in.
Not sure if this is a common problem in the US, but cracked bumpers suck. I finally addressed mine. What I ended up doing is heating up an iron plate and melting the plastic together. I then also melted a metal grid (not pictured) into the joint to hopefully stop it from cracking again. I then filled this in with a glass filler, got it reasonably flat and crack free. It's not perfect, I thought I would keep the trim on as it is in perfect condition and I don't want to risk breaking clips. Keeping the trim on meant getting the edge exact was pretty tedious.
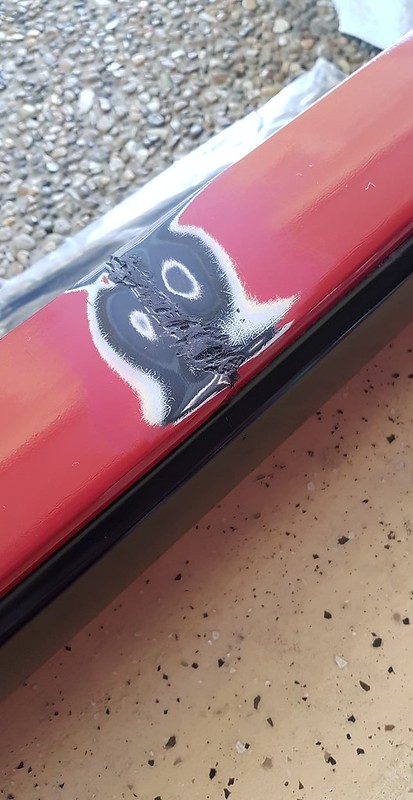
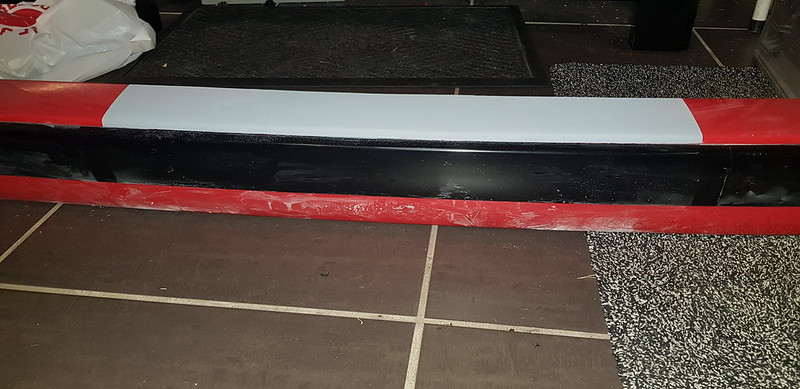
I went at this job specifically because I went overseas, and while I was overseas my dad backed the car into a pole, damaging the paint drivers side guard pretty bad, he's paying to fix it so that's nice.
Now we are up to speed, I have another track day coming up on the 8th of August. In preparation for that, I've decided to tackle camshafts. Another reason that prompted me to do this is I still have issues with the valve cover leaking. Yes, I've RTV'd the half moons and case joins, torqued following the pattern, and yet it still leaks. I've purchased another new valve cover gasket in a different brand, so I will see how that goes.
A nice bay picture before I pulled it all to pieces
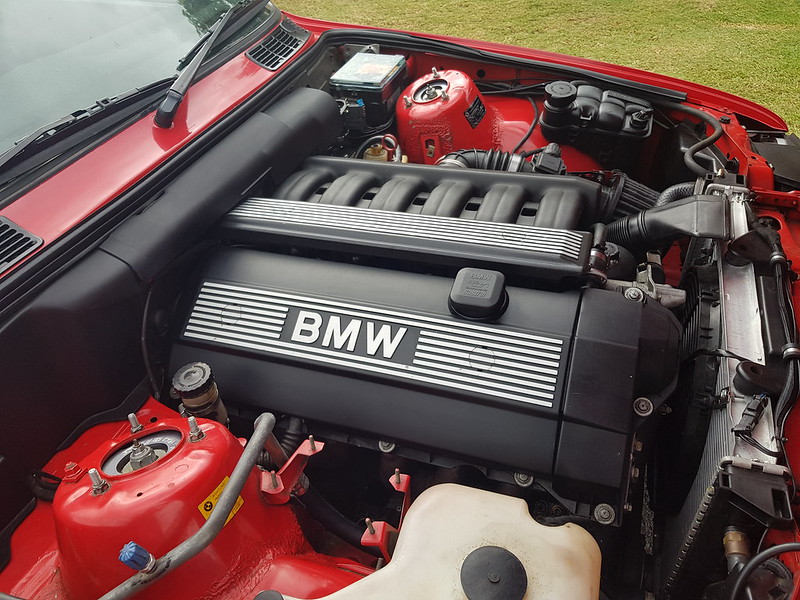
Getting to this point was easy
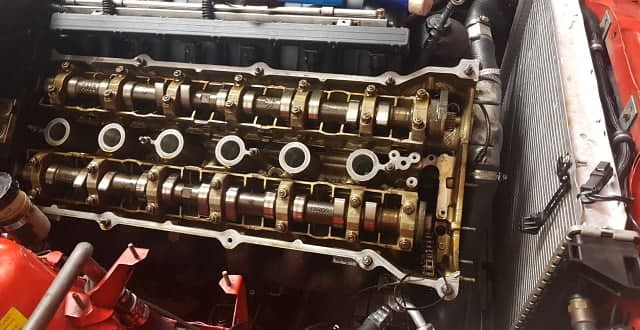
Turns out the tool I hired that specifically states it was to suit 113260/270 tools that hold down the cam journals was obviously wrong. I just went at it with the quarter turn method, left the cams at TDC and nothing broke, was no where near as bad as I thought it was going to be.

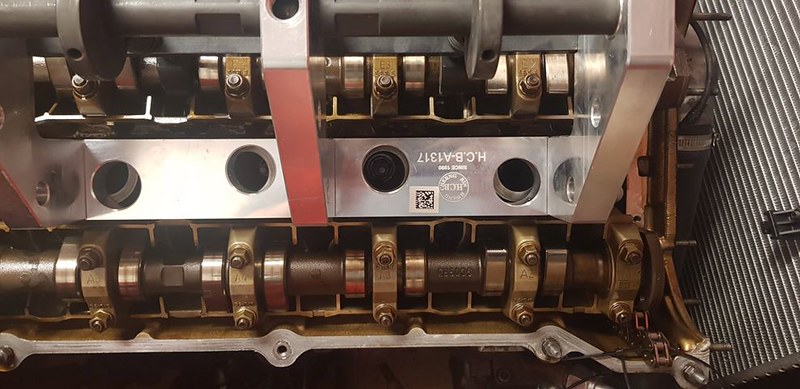
Had to be sure the cams I pulled out were M52B28 ones, by the looks of it they are pretty weak compared to S50us cams.
Also, someone had been there before, the cam journal nuts were very inconsistent with tightening torque, I could spin one off by hand and struggled undoing one with a 3/8's socket.
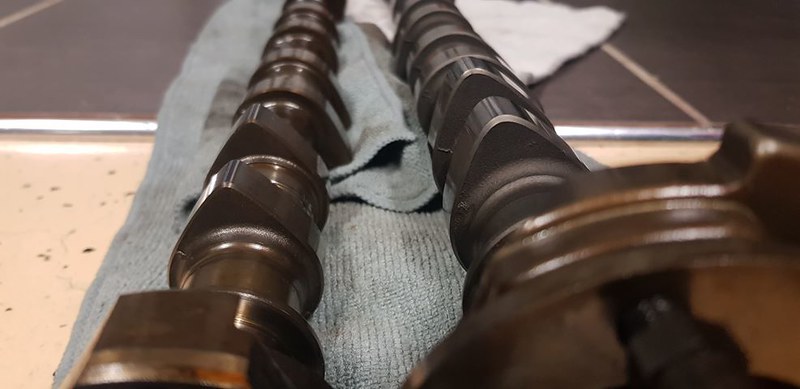
So I'm waiting on some parts / gaskets to reassemble it, currently just put the exhaust cam back in and the intake just sitting there.
I'm picking up some RHD ITB's this weekend, I don't know why I am bothering, I am pretty sure they won't have any gains, if anything it is for the sounds and looks. I picked this up quite cheap, almost $1k off new, with maybe 5kms of use on it.
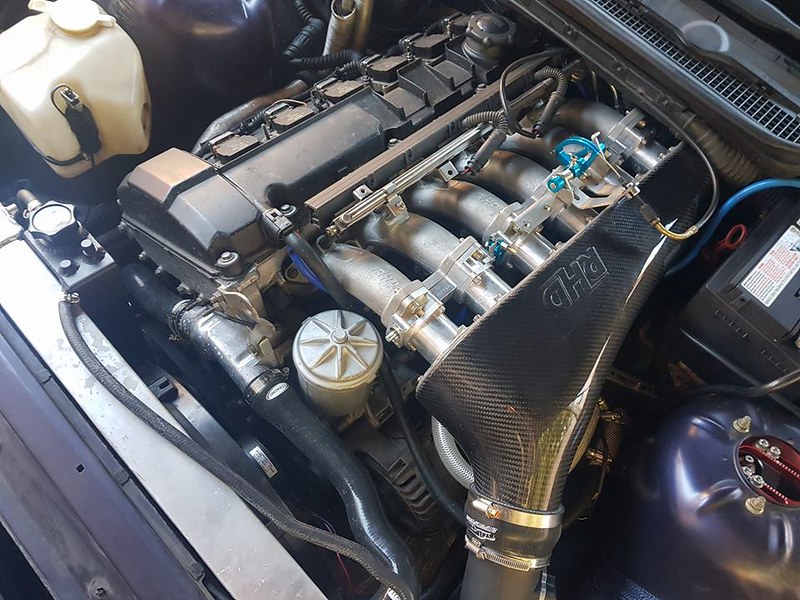
So that is it for now. I got track day in a fortnight, I've got to lay down some paint on the rear bumper, new front bar and guard and I'm still yet to fit the ZF320 and 4 clutch lsd. That is planned to be the next addition to the car.Leave a comment:
-
Well it's been a while.
I've been spending a fair bit of time focusing on a new job so my time has been limited as far as doing any work on the E30.
First of all, new job is now in the city, so I can catch this god awful thing we call public transport here. In doing so, I wasn't leaving the E30 out in the weather at a train station so I got a new daily. $350 with registration for 4 months (that's worth $200 as is).
Nothing flash, 1994 Lancer GLI with a 1.5ltr Carby. The shift knob and wheel were gross, I threw in what I had laying around in it.
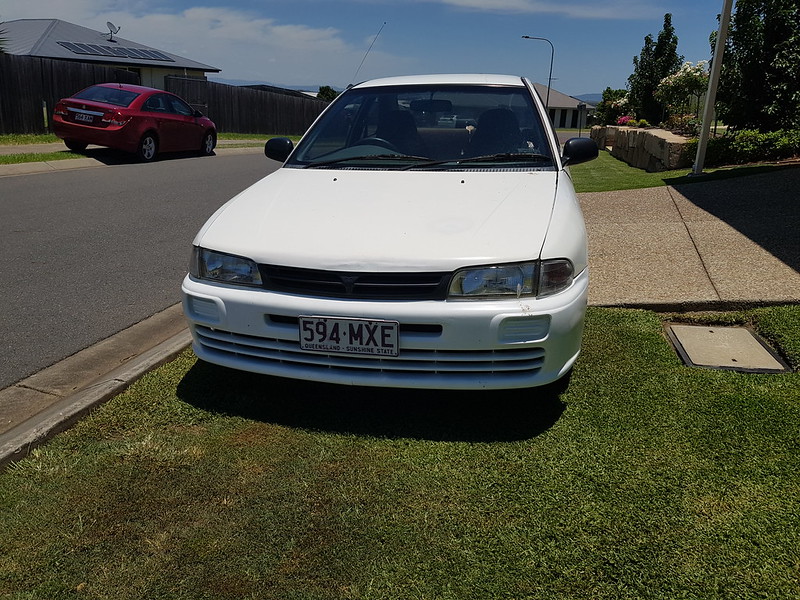

E30 has been going good, aircon has been working a charm with no issues at all. Decided to clean up loose ends in the bay and this is where I am at.
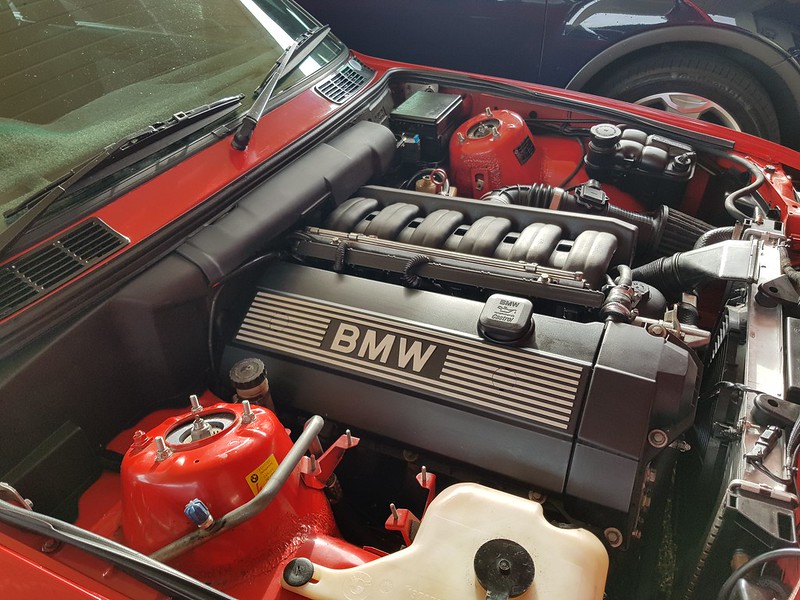
I do need to fix up the fuel rail cover, it was poorly painted and looked awful.
The aircon lines if anyone is curious. The thought process behind doing the standard fittings to E36 was in case I do decide to swap engines again, they can be adapted easily enough. Super happy with the workmanship here, the price was very good as well.
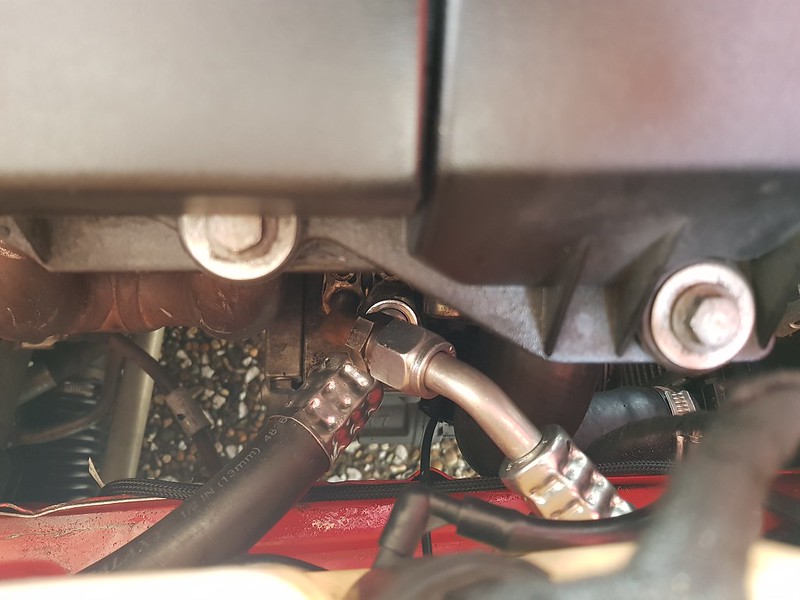
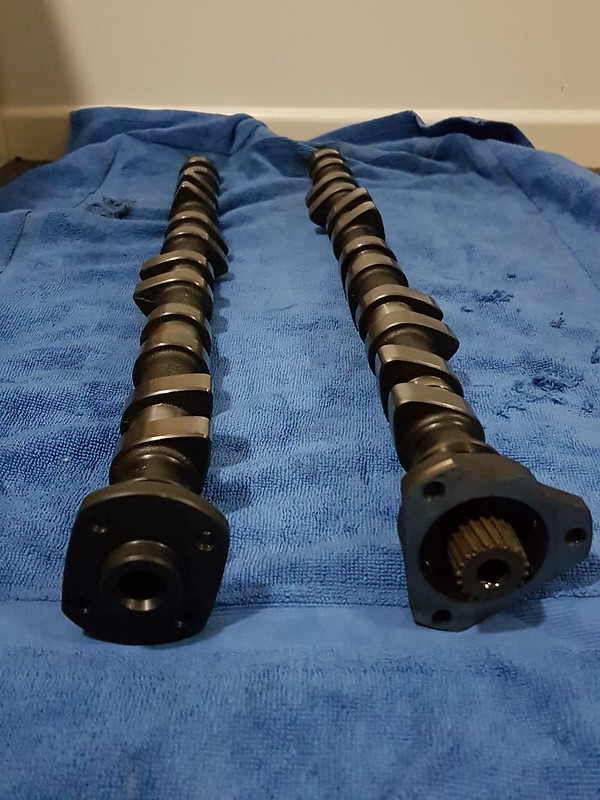
I picked up a set of US S50 cams, a rare treat here. I had been eyeing off this particular set for a VERY long time, finally, the owner decided to sell them off to me.
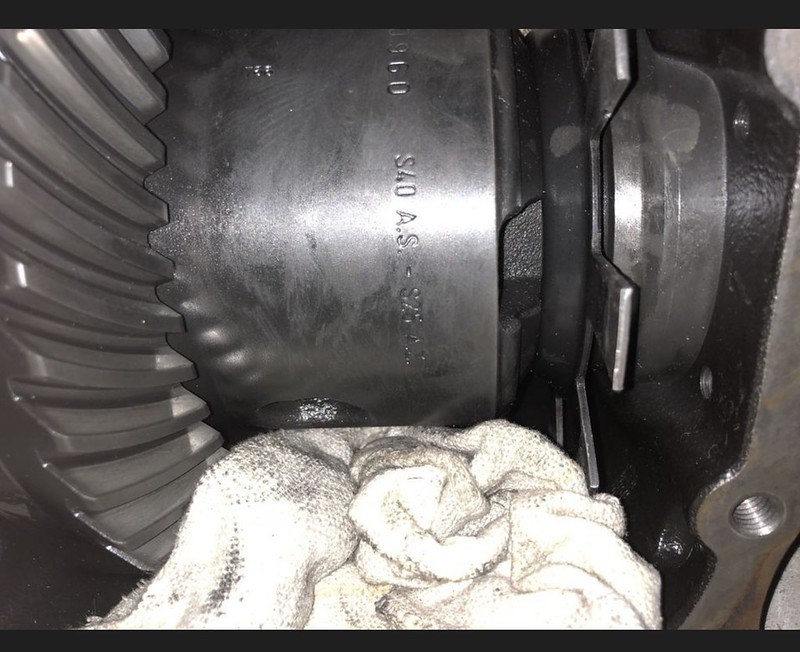
Finally, I picked up a new diff. This one was too good to pass up on, came with a brand new rear cover and turns out it is a rare 1.5way 4 clutch unsprung lsd. Need to swap the speed ring out to an E36 (I believe) one to work with the E30 cover, currently the ring is too large and fouls the cover.
I have a few cosmetic fixes in the works, but no photos as of yet. I haven't really driven the car this year, probably taken it out 4/5 times tops. I hope to spend a bit more time over the next few months getting back into the swing of things.
I have another track day on the 11th of April, I got myself a set of Yokohama AD08R's in 205/50 and I will be putting the BBS RS back on.
[EDIT] Forgot to mention, I had an E46 "Purple Tag" steering rack in the car. It felt horrible, really quite bad. The steering was very heavy, it wouldn't return to center at all, if I steered on the highway it would continue to pull in that direction. It also gave no feedback at all. Decided to give it the flick, I put an E36 steering rack in. Miles better. It actually steers like a normal car now, never realized just how bad the other rack felt. Should of swapped this one sooner.
More updates to come shortly, stay tuned. (Hopefully those will include some decent photos of the car as it currently sits)Last edited by jsta1109; 03-19-2018, 03:16 PM.Leave a comment:
-
To be honest, it gets a bit of a wandering idle, but it hasn't affected driveability as such. So I wouldn't say it's 100% necessary, would just be a lot nicer to have it hooked up.
My setup personally uses a 3.7kg flywheel, when the AC loads up and I have the clutch out I get super mad rattles, so I would like the bump to work for that to quiet down a bit.Leave a comment:
-
-
-
Great work on getting the AC working!
I've been almost 6 years now with no AC on my swap. Pretty sick of the really hot days though (41C here today - I'm getting too old for this!)Leave a comment:
-
Quick update, I have functioning Aircon! Had the lines made up at a local shop, the system was filled and away I went. The aircon isn't bad, certainly not the coldest I've felt, but the car runs great and doesn't overheat. Once the high speed and Spal kick on it goes right back to thermostat temp. We saw 12.5c vent temps at best, the bloke at the shop reckons If I replace the expansion valve and Evaporator I should see a lower temp reading, but only marginally so it's probably not worth it.
I will update this post later with photos, the lines are really quite something, the work they did was pretty good.Leave a comment:


Leave a comment: