
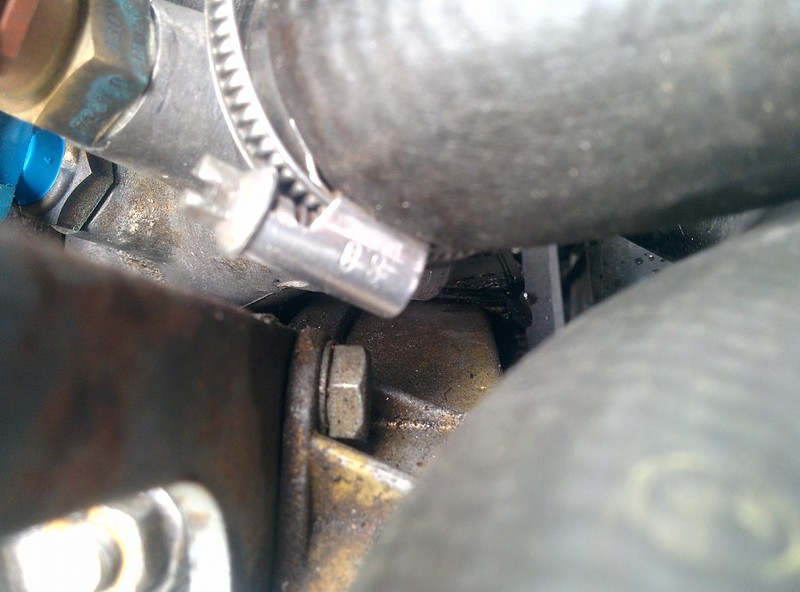
In Germany it is/was very common on these cars, it's part of the kaltlaufregler.
It has something to do with emissions, it's supposed to let the car reach operating temperature faster.
Yeah, some heat resistance paint does them good :)
-
What is that hex thing hose clamped into a coolant line on the top left of your photo?
Nice manifolds, btw. That is a substantial improvement.Leave a comment:
-
Yesterday I finally got the 2 studs I've ordered for the exhaust manifold. I also got a new heatshield and some screws.
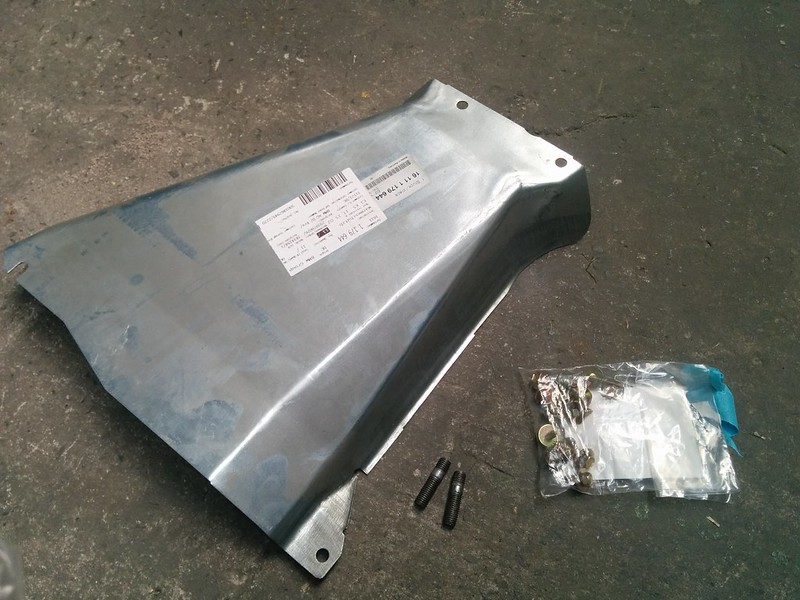
After fitting everything back on to the E30, it fired right up. I let it idle for a while to get it up to temp so I could start bleeding the coolant system. I decided to drive it out of the workshop and let it sit outside for a bit. Meanwhile I drove the Golf mk1 back into the workshop as I've been using it as my daily this week.
When heading back outside, I notice a very big puddle under my engine, I shut the car of, pushed it backwards and smelled the fluid.... fuel..
I looked under my car and fuel was still dripping out rather rapidly.
I looked in the engine compartment and saw there was a leak coming form under the brake servo/cylinder. I was able to read the part number from it and googled it. That's how I knew it was the charcoal canister. Some more googling let to a post about it leaking and it turns out the guy had switch the return line and evap line. After jacking up the car again, I had them switched around too..
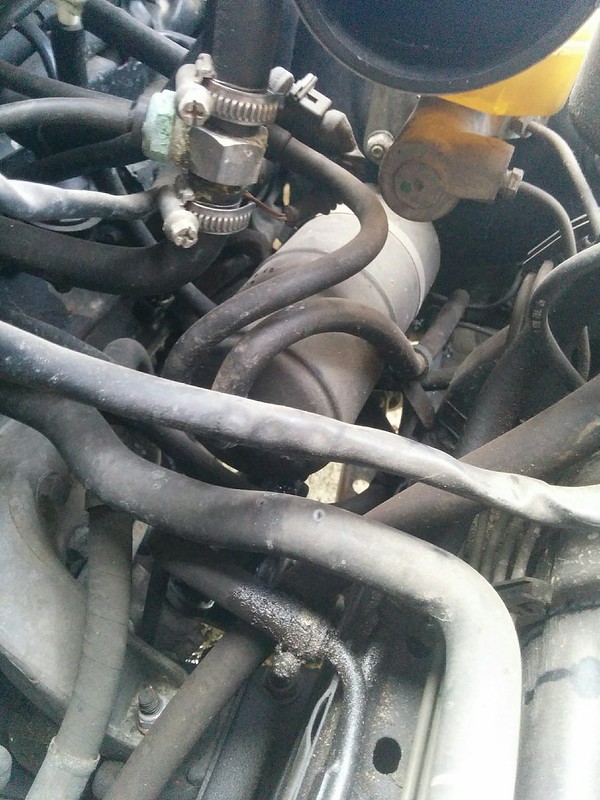
After letting the fuel drip out a bit more, I started right back up and did not leak anymore.
I decided to drive to home and let it sit some more so the fuel can evaporate.Leave a comment:
-
-
I just noticed, where is your battery? I thought all tourings had them in the engine bay.Leave a comment:
-
Thanks Mike! I don't mind spending time on it, enjoy cleaning things no one wll ever see + I'm hoping to keep this one for a long time so I want to do things right. Some day I want to have a respray done though as the paint could be better. There are quite a few scratches on the roof because one of the previous owners definitely went to the car wash.
All in all replacing the tank it's not a terrible job, it only gets terrible when you can't get the exhaust down pipe off or break one of the studs lol. Removal and fitting the gas tank is a 2 man job though.Leave a comment:
-
Love the updates! Love the photos! Love the time and dedication you put into your car!
I may replace my gas tank at some point as there's a massive dent from a previous owner. I'll have to do something similar to you with the paint/epoxy.Leave a comment:
-
Yesterday as it was Friday I was able to order the exhaust gaskets (manifold and downpipe) + the coolant hose. First thing I did today was picking up the ordered parts.
I also got some new copper nuts for the exhaust.
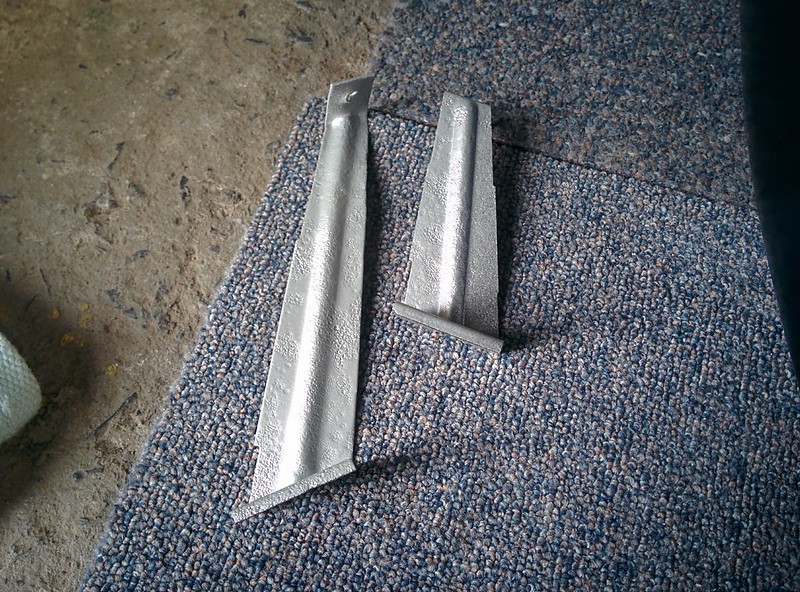
When I was back at the workshop I sandblasted the little metal brackets for the heat shields, the heat shields themselves and the two panels that sit in front of the fuel tank.
I then sprayed some Brunox on them and finally some grey paint. Also the side of the fuel tank that I yesterday couldn't reach got a coat of 2k black paint.
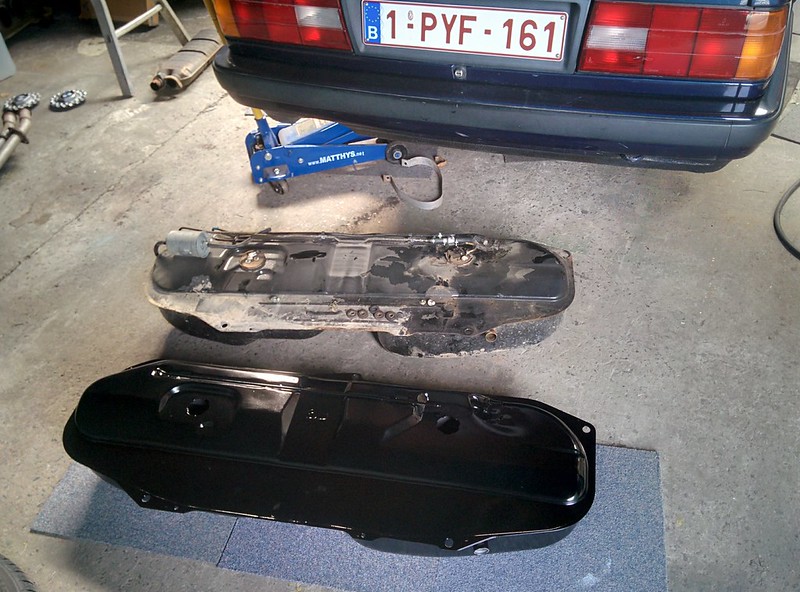
New versus old. Quite the difference, this will be the last time it'll ever be as clean as now
Painted brackets
Fuel senders and pump swapped over to the new fuel tank. While it was still out of the car I also replaced the short fuel lines
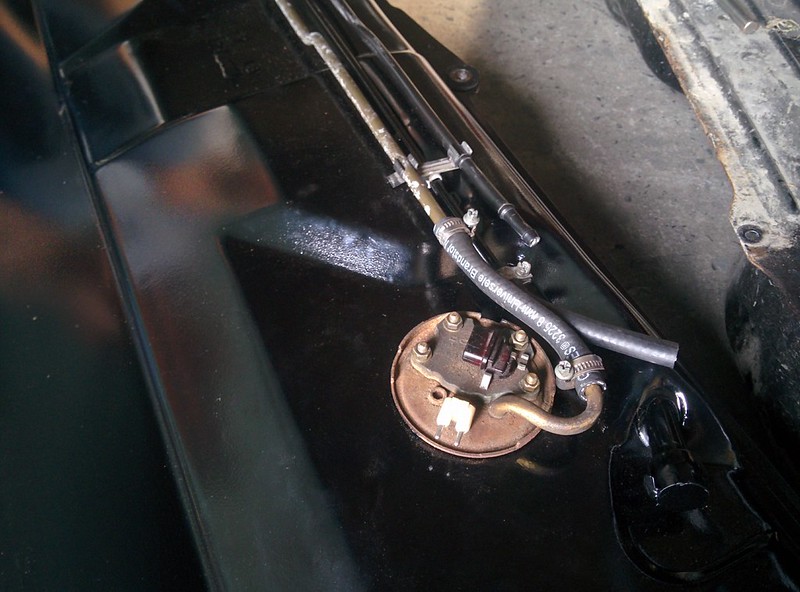
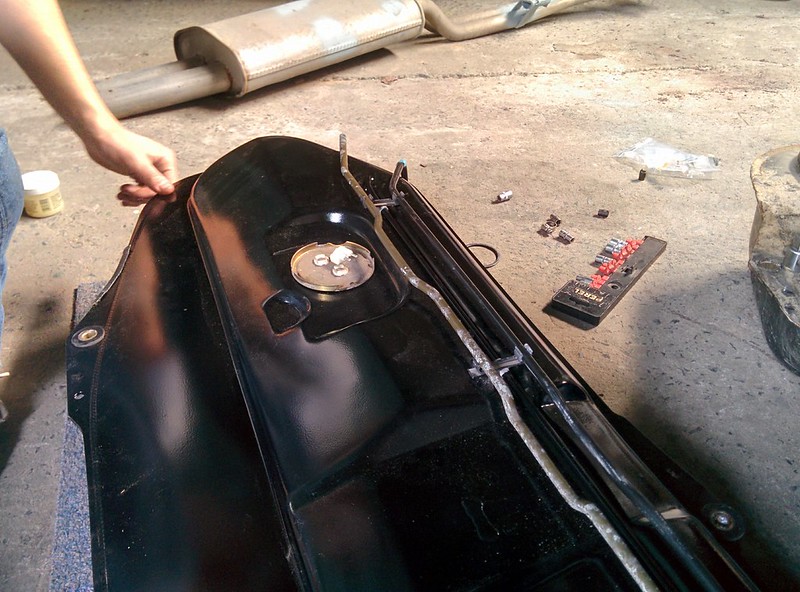
And fitted in to the car, we had some struggle to get all the bolt holes to line up but in the ended we managed to get them all in.
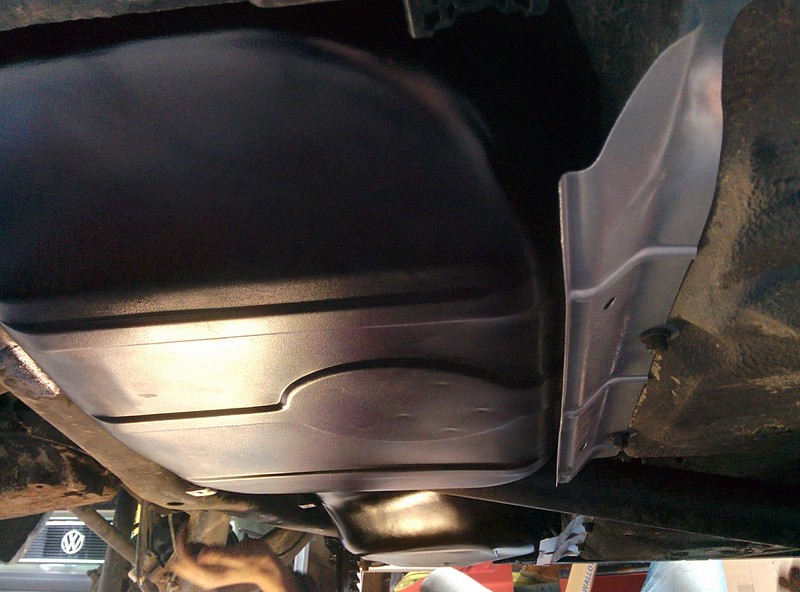
I also drained the coolant and replace the leaking coolant hose, turns out there was a tear where the hose clamp is. As far as I can tell this is still the original hose because it was still covered in some cosmoline.

I also had to weld a couple of nuts on the the broken studs of the manifolds before they cam out, while they were out of the E30, I decided to sandblast and paint them grey.
Turned out very nice if I say so myself
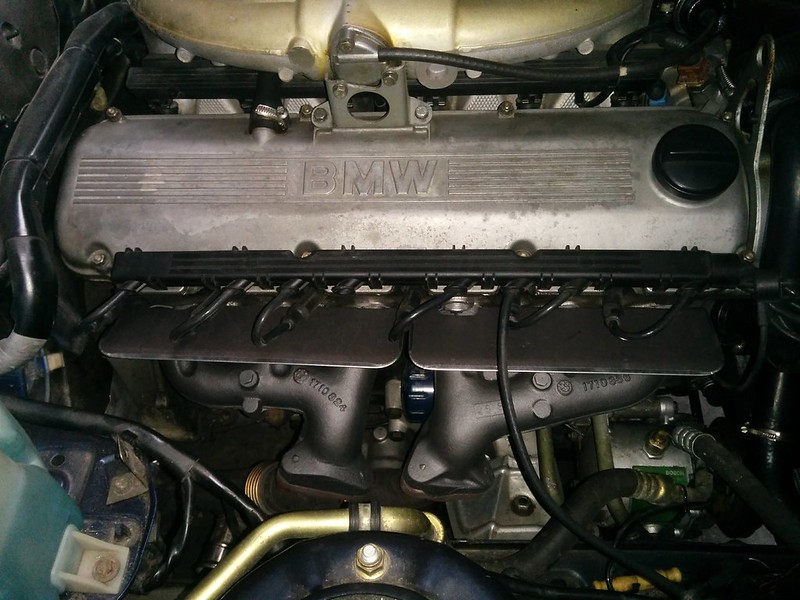
Unfortunately I don't have those special studs laying around so I tried to cut the head off of some bolts I had laying around. But when I tried to tighten them they kept spinning further in to the manifold so I couldn't get the nuts tight.
I decided to remove them again and just order some at the local dealer.
I much prefer to do it right the first time than having trouble getting them loose next time I have to remove the exhaust..
I'll just use our Golf mk1 to got to work next week ;DLeave a comment:
-
While driving home from work this noon, I noticed the coolant level light came on.
When I got home, I gave the engine bay a quick glance and noticed a small drip on of the belts. After further looking into it and squeezing the coolant hoses I noticed the upper coolant hose that connects to the thermostat housing and waterpump had a pinhole leak where it sprayed out of.
Got started with removing my old fuel tank. I first jacked up the car and removed the back section of the exhaust. You also have to remove the cat to get to the driveshaft. The first 4 nuts were no problem, the other two... One just snapped and the other got stripped but still got off. After getting the manifolds off of the cylinder head, the other one also snapped when I tried to remove it with 2 nuts tightened against each other.
After removing the exhaust I removed the heat shields and finally the driveshaft, as the touring has a 6 bolts driveshaft with a CV coupling on the end that sits inside of the diff flange I had to hammer and chisel it of since it was (just a bit) rust welded.
I then sprayed some 2k epoxy paint on the fuel tank, sprays very nice and dries pretty quick. I give it two coats but still need to to the underside where I couldn't get because of the stands.
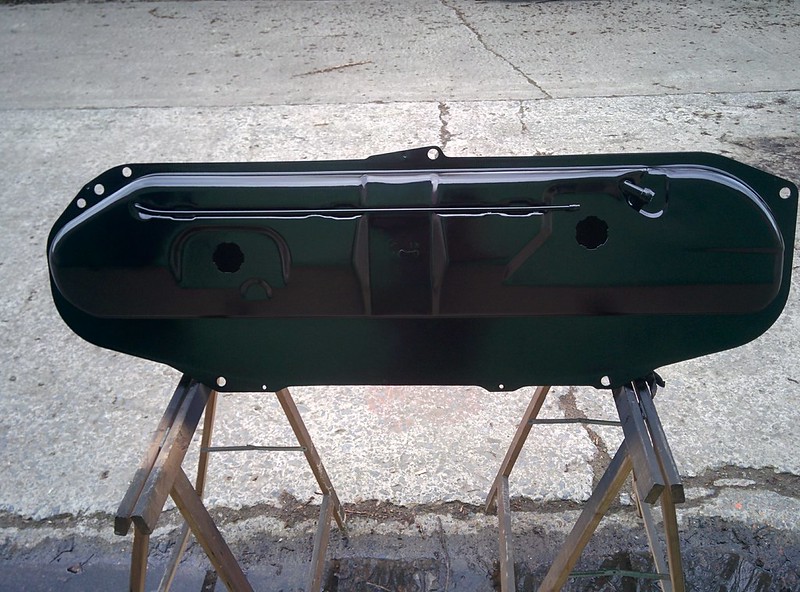
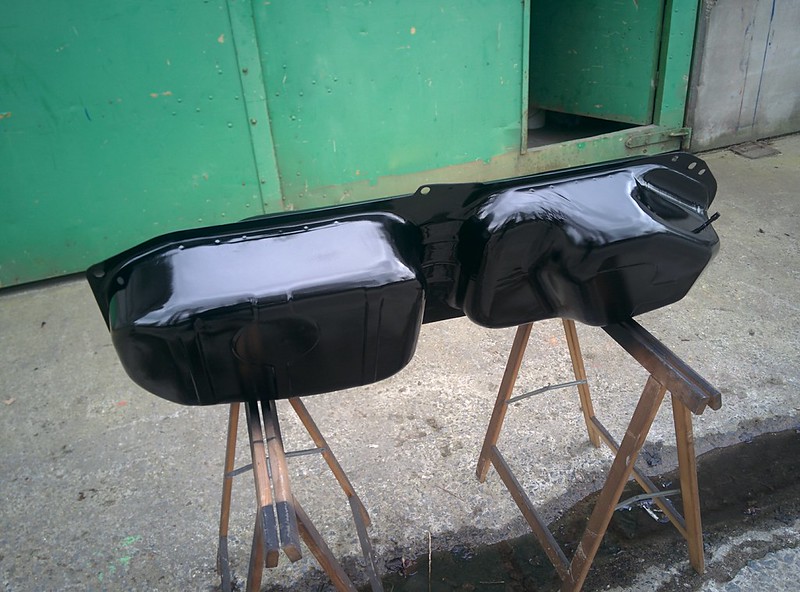
With the help of my brother I got the fuel tank out.
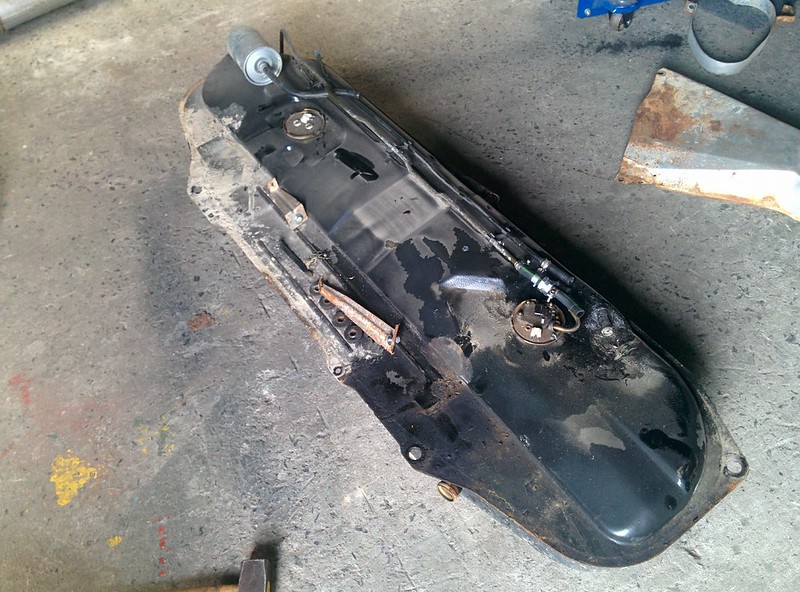
And here is where it leaked
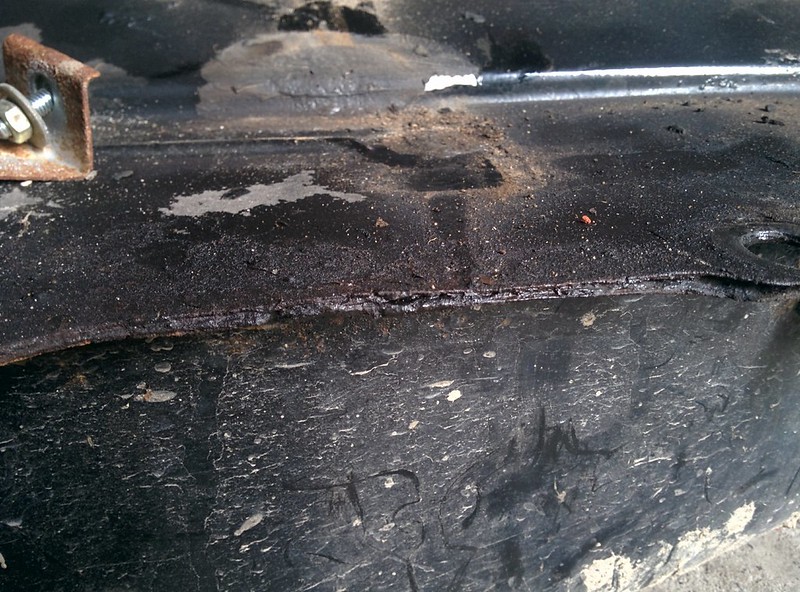
Leave a comment:
-
Got some more work on the Touring. After filling it full with fuel, I noticed the day after that it was leaking some fuel on to the driveway. Quick check under the car and I'm pretty sure it's the fuel tank. When I had it out of the car the flanges were already quite rusty and I had a pinhole at the top where the breather hose connects to the tank. I tried sealing it with some Tec-7 but it looks like if finally gave up.
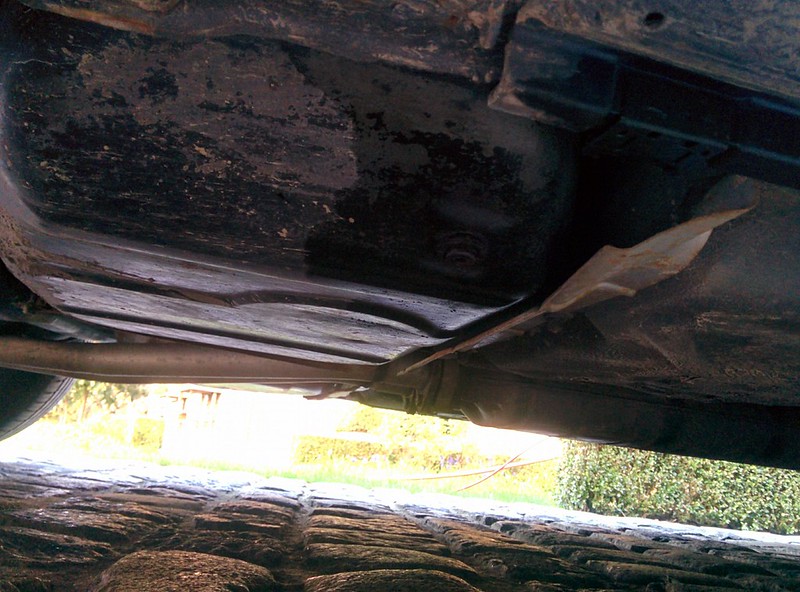
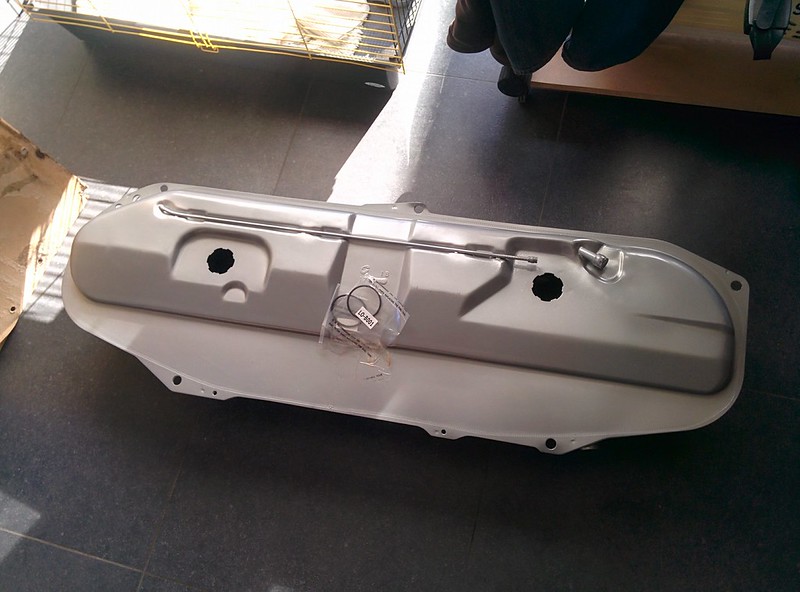
I already ordered a new tank at the beginning of this week and received it yesterday. Every aftermarket fuel tank looks the same, they are all grey and have no drain plug. (There's no way I'm paying 1000€ for a new genuine tank lol)
I also got some satin black epoxy paint which I'll spray on when I get back home tomorrow after work. I'll try and get started with removing it this weekend.
I also bought a new actuator for my drivers side door as I think that's the part that is causing my central locking to act up. (hopefully that fixes it)Leave a comment:
-
Thanks for the reply.
Microswitch works perfectly, I've checked & cleaned the pins at the door hinge so that should be good also. I'm not sure what a rebuild of the lock would to the central locking itself? Can't think that would change anything.
I did remove the cylinder itself and it looked still good.
edit: I just thought about it and replacing/rebuilding the door lock could help if the little tab that pushes the microswitch in is worn down. But after getting everything back together I listened (with the door open) if I could hear the microswitch clicking and I did.Last edited by D.Martijn; 04-06-2018, 06:14 AM.Leave a comment:
-
1) Grab a multimeter and make sure the micro switch near the lock works properly. It probably does, and since your central locking works from the trunk, and you’ve replaced the door harness, the problem is either the connection at the door hinge has corrosion or you need to rebuild the door lock
2) rebuild the door lock anyway. Next to go will be the ignition lock, and that can only be bought coded.
Check out my “E30 OEM Key OCD thread” for more info - link in sigLeave a comment:
-
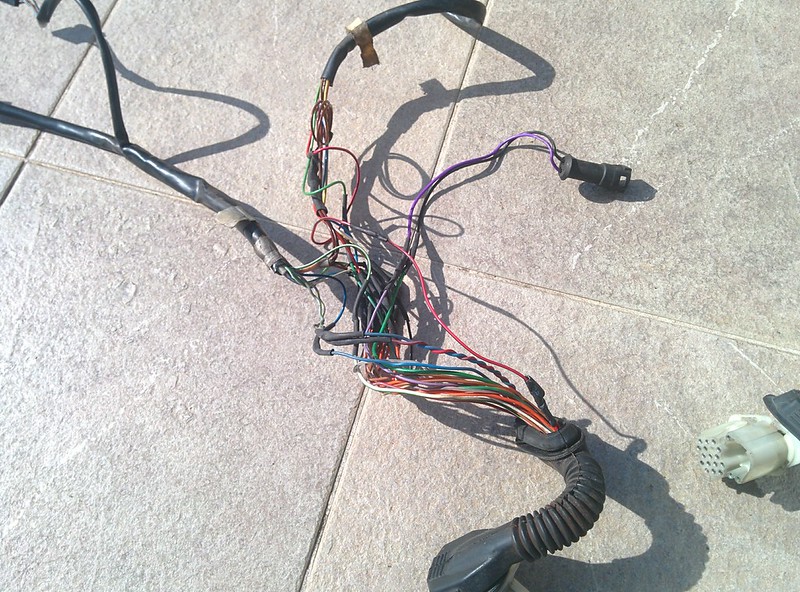
I (finally) got my new drivers side door harness that I got a while back swapped over into the touring. The previous owner spliced and soldered almost all of the wires (still have no clue why..) I thought this would be the last fix to get my central locking fully working again.
Well, turns out it's still exactly the same as before. I can lock and unlock everything from the trunk but only lock from the drivers side. Haven't tested the passenger side as the lock seems to be blocked. I did buy a rebuild kit but haven't started on removing the old one yet. That'll be for some other time lol.
Old and new harness side by side, There are no rips or cuts in the new one, all the connectors are still good too.
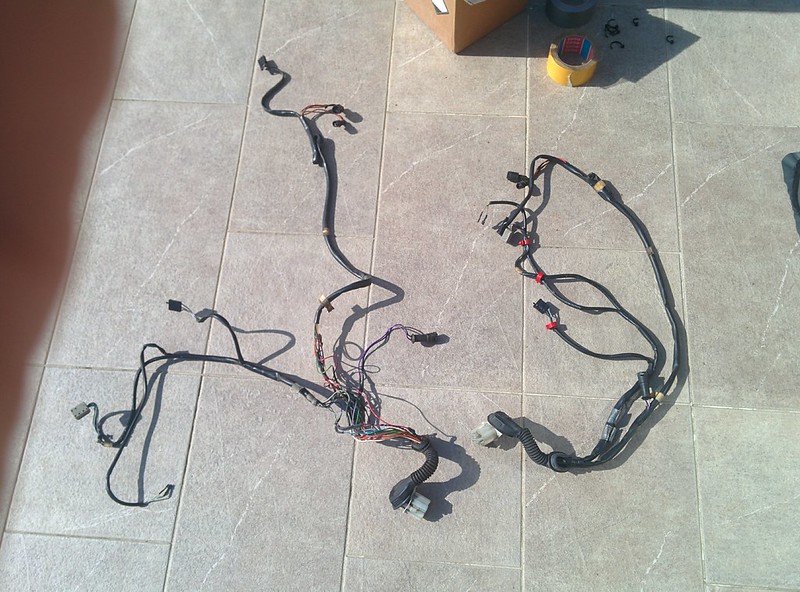
The wiring mess fro the previous owner..
I also got a new microswitch as the old one has frayed wires on the housing
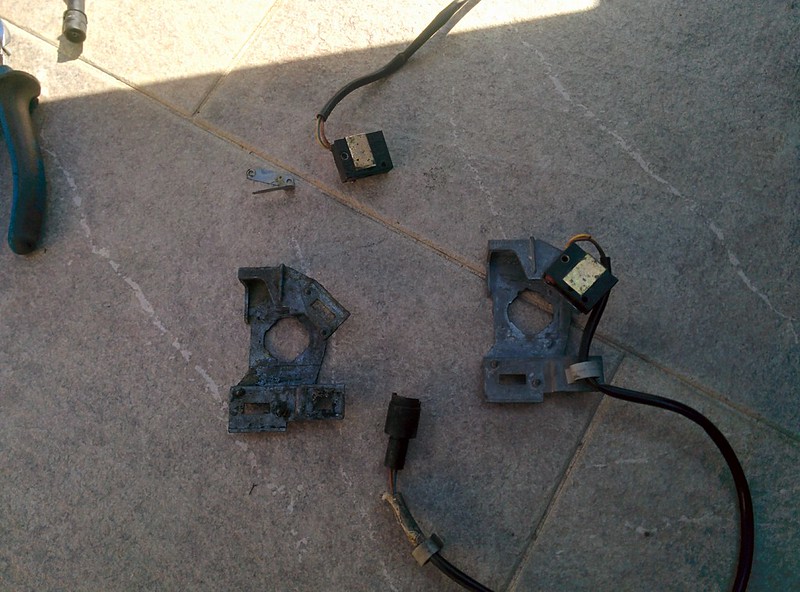
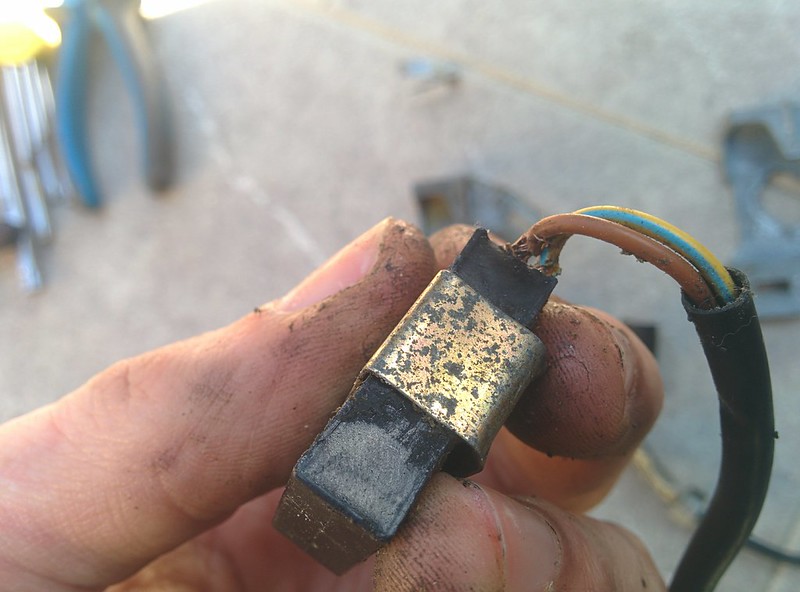
Now to figure out what could be the problem that I can't unlock my doors from the drivers side door.. Any ideas?Leave a comment:
-
Part no is 51311947248, the old seal pulls right out and the new one pushes in fairly easy. No real need to use any lubrication. When installing, make sure it's tucked all the way under the vertical seals on the side. No need to trim it.
Thank you! It's very doable if you have some welding experience on thin sheetmetal and are able to form some panels. (Still trying to get better myself)
So far so good, no rust has come back over almost a year now and I'm using it as my daily (this winter included).Leave a comment:
-
Great thread. Looking through the rust repair work for inspiration/fear abatement.Leave a comment:
Leave a comment: