-
I still needed to install the rear CV shafts but when trying to get them inside of the hubs, I couldn't slide them in by hand. I do remember I had to use a punch and hammer them out of the hub.
After some googling, I found that there is a special tool to pull the CVs inside of the hubs. I took some quick measurements and went to my work to make a little tool.
A few minutes on the lathe, a bit of tapping and it was done!
Works great!


I also re painted the exhaust manifolds after quickly sandblasting them again. Used a new copper nuts and an Elring gasket although the old one still looked pretty good..

Leave a comment:
-
Another update from today.
Got some help from my brother with assembling the transfer case. New bearings and seals + fresh cad plated hardware to go along with it.
Front output shaft is from another transfercase I had as a spare, this one has good splines.

Other side of the TC, glad that I bought that seal/bearing driver kit as it came in very handy!


And fully assembled! Only thing that's left is to press in the new bushing. Still needs to arrive though :(


Finally we also mounted the front sway bar, bled the brakes and started bleeding the slave cylinder for the clutch. We're having some trouble with getting the air out though. The pedal still feels pretty "springy".?

Leave a comment:
-
Got the sections where I had to weld seamsealed and sealed with some anti gravel spray.
Turned out pretty good. The surfaes in the engine bay got some black paint for now. I think I have some Lazur paint left over from a touch up I did a while back.
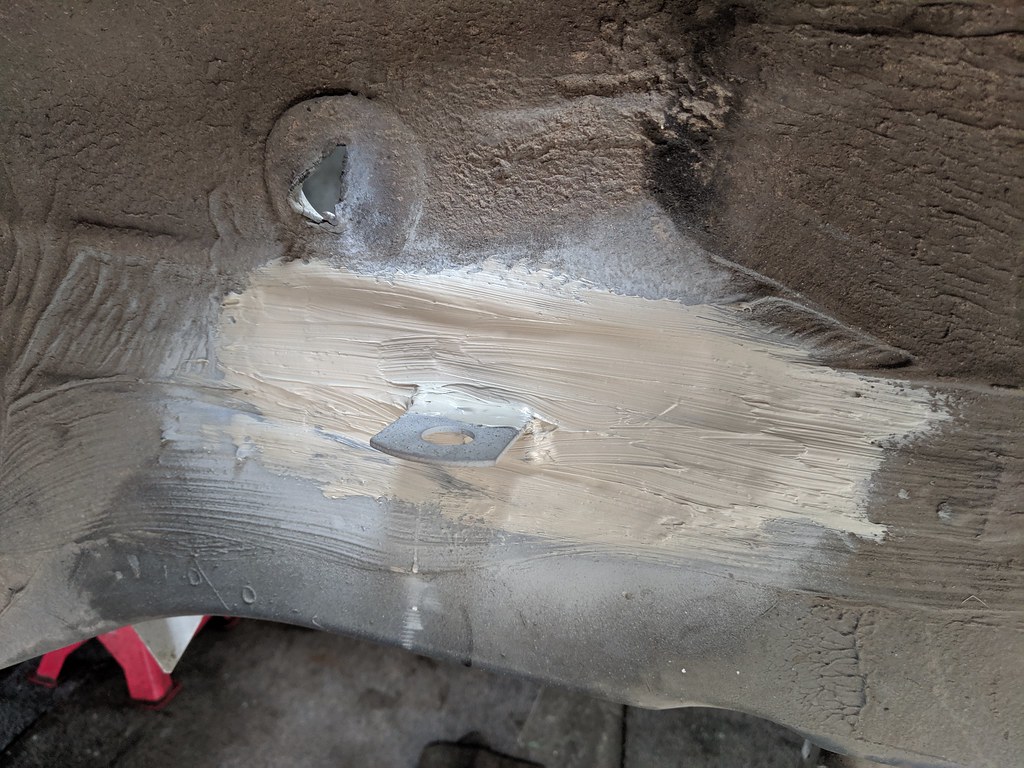


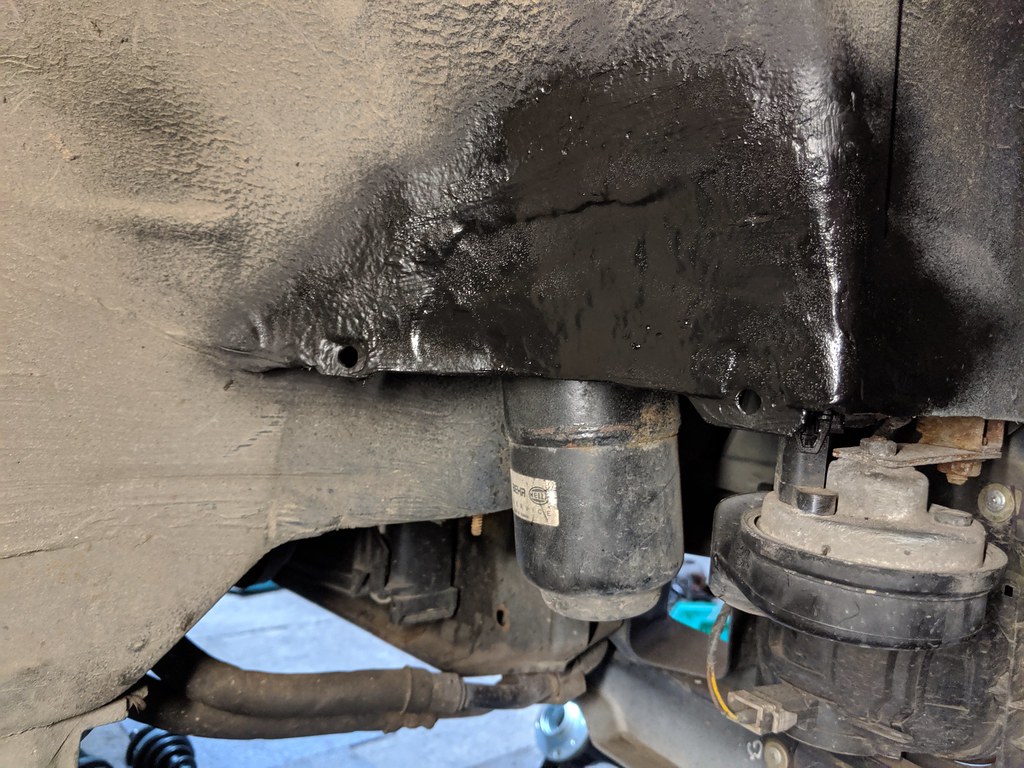
I then got started with assembling the front suspension/driveline
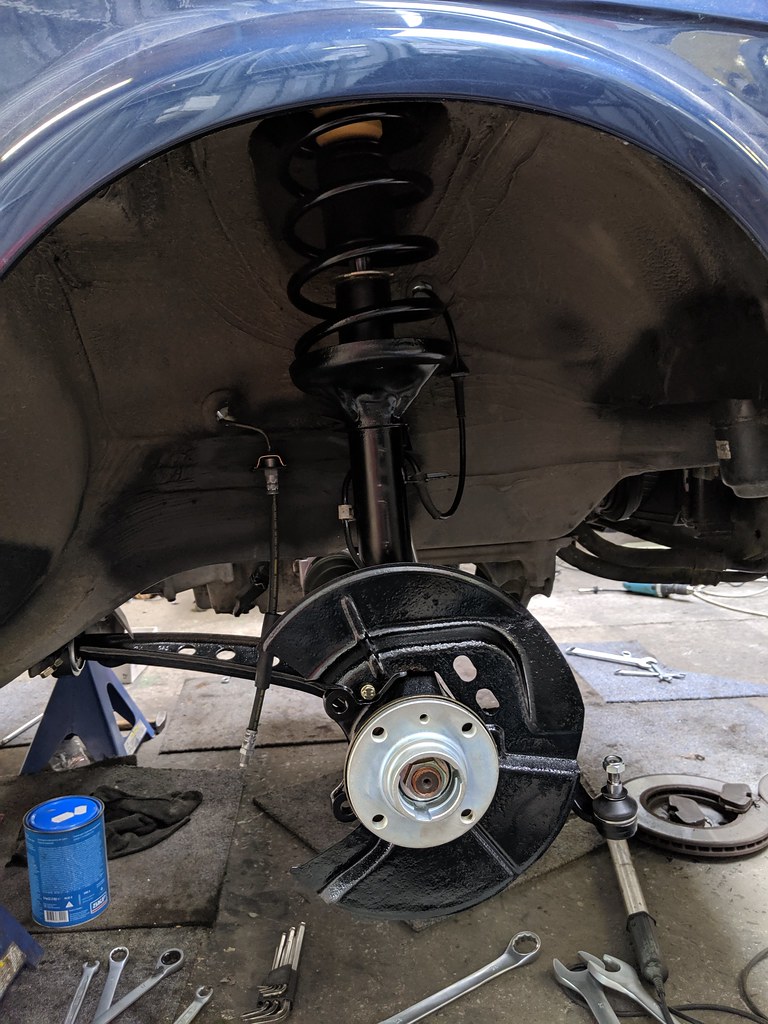
Had to grind some material off from the studs of swaybar end links (Moog brand) as they were way to long for them to fit onto the struts..

Also got the brakes installed, rotor is still good, no bur so I reused it. Pads got replaced though


And the zinc plated shields for the tank got installed as well. There was some minor rust to be removed from around the studs the hold these onto the underside.


Leave a comment:
-
Yeah, there is some more surface rust at the front valance but it's not easy to get rid of. IF I ever get it resprayed I might have to replace is, jsut to be 100% sure there is no rust :p
Thanks man! It takes quite a bit of time but it definitely will be worth it.Leave a comment:
-
Wow my iX needs an undercarriage restoration like this. Looks amazing!Leave a comment:
-
dang. rust is no fun. I'm pretty sure I have a handful of spot that are hiding from obvious sight as well. Probably in the same spots as you.Leave a comment:
-
Got my front struts assembled, new BMW top hat bearing, Sachs shock damper + plenty of antiseize on the nut :)

Front and rear CV shafts, used GNK boots. Except on the rear outer side where I used Meyle's since I coudln't find GNKs for the outers..

I also painted the OCAP tie rod assemblies as they arrived without any. Again plenty of copper grease on the threads.

And finally the rear driveshaft which is iX Touring specific, luckily for me the boot is still good.

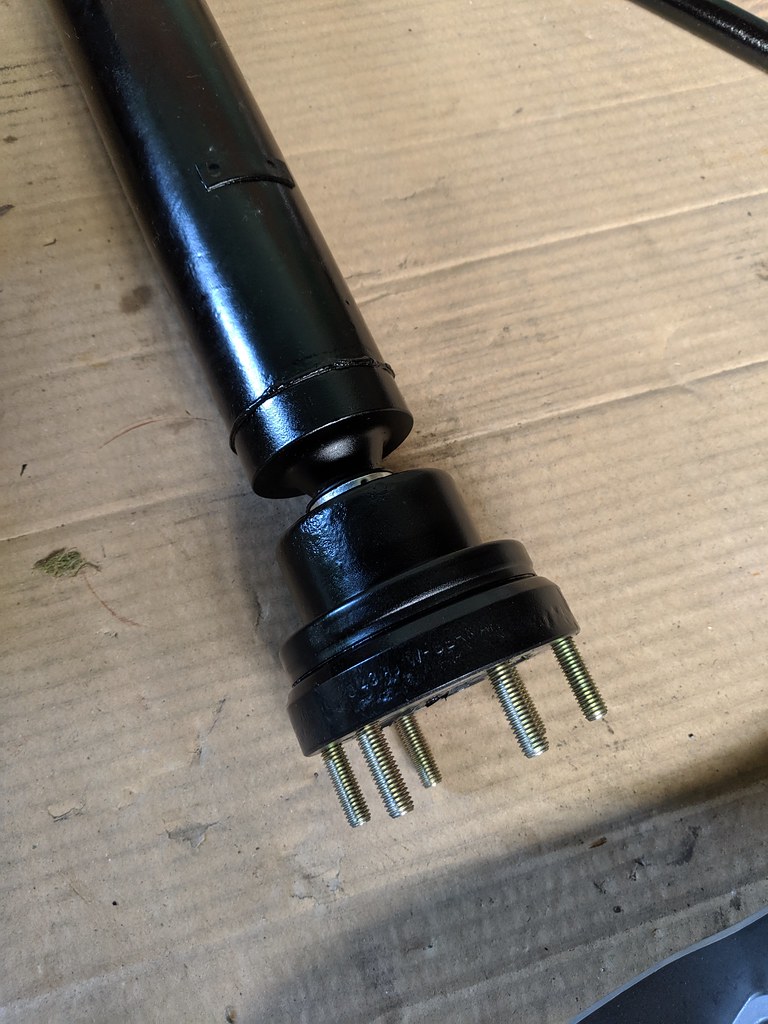
This wouldn't be an E30 rebuild thread without some more rust repairs right.?
Front right brake pipe mounting point. I've previously treated this spot but it was already pretty rusty. Now with everything removed I had enough place to finally sort this.

While letting the paint dry, I pried some more with a screwdriver and found some more rust at the front of the wheel well. Pretty common spot as well. Had to remake the flange as it also disentigrated while hitting it with a wirewheel.

Already got the new patch welded in and treated further with Brunox but didn't take a picture yet.

Leave a comment:
-
Thanks man! I appreciate your kind comments If you need info about other Touring related stuff, ask! :)
But, I'm certainly not a Touring guru by all means as I had to use google to figure out how to remove those rear seats. :mrgreen:
You need to tilt the seats forward a little and pull on them, it took my several tries to remove them though..
Here's a how to; https://bmweba.com/eba-01-29-9-781-847/amp/Leave a comment:
-
insane workmanship quality and detail - factory level - respect!
you clearly have the most touring knowledge here so i thought i would bug you with a simple question... im inspecting floors for rust and it's not looking good. i have the all the interior and carpet out but can't figure out how to detach the rear seat backs?
learning a lot from your thread, thank you.Leave a comment:
-
Photo dump of my suspension bits. :)
This Sunday morning my brother and I went back to my work to press in all the bearings and bushings.
Front struts, Fag bearings, new dust shields & zinc plated hubs installed.

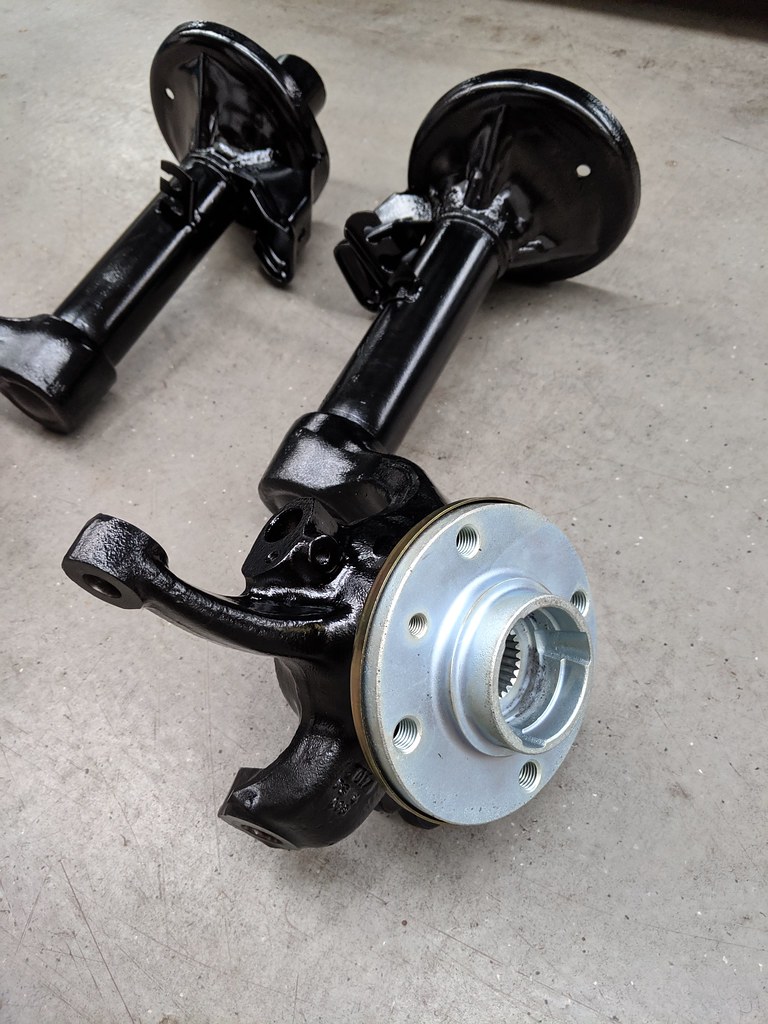
Rear trailing arms, Also FAG bearings, new Metzger dust shields and Lemforder bushings.

OEM BMW iX rear subframe bushings

And the LCA's, New Lemforder inner and outer balljoints, Lemforder M3 bushings. (I had already installed these some time ago but they were still great. However I also decided to get them plated as they started rusting a little bit already)


Then we went back to the workshop and got started with assembling the rear suspension. I also had the hardware for the fuel tank plated + we added some more foam between the fuel tank and body. Hopefully this will quiet down the humming noise fromt the fuel pump.


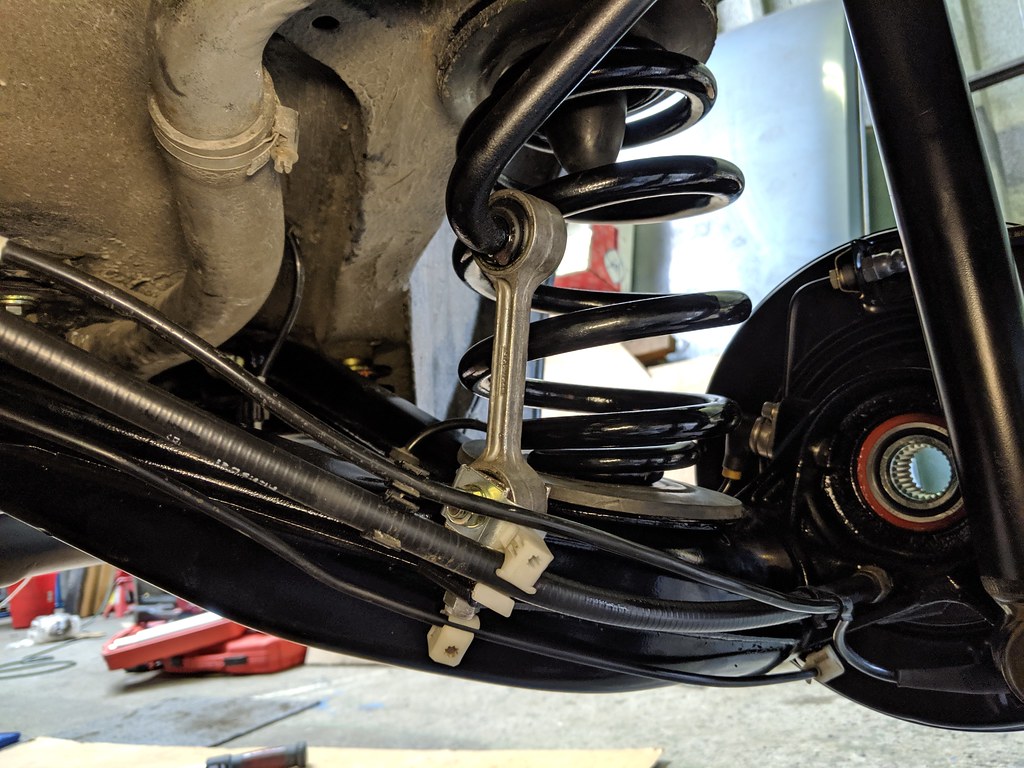
Also got the brakes installed

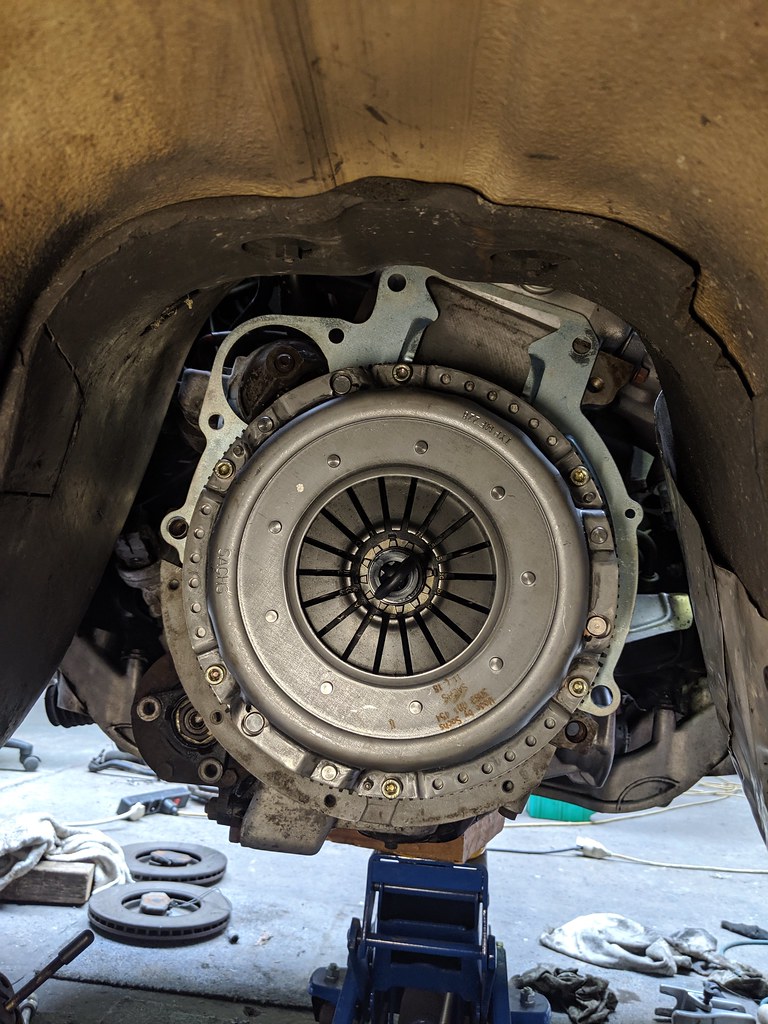
Last but not least, we got the flywheel, clutch and transmission in.
Got the Z3 1.9 short shifter also installed together with the CondorSpeedShop gearlink bushings.
What a difference! Probably halved the throw :)

Leave a comment:
-
The new cover arrived this week including a new gasket. Great service from Hardeman.
Although two fins are broken, nothing serious.

I had also ordered some copper nuts for the exhaust from my local hardware store, both M8 and M10.

And some new parts, I somehow forgot to order the gasket for the RMS carrier when I placed the two orders at Autodoc so I went ahead and got one from my local BMWdealer since that was the fastest way. I also got the dust caps for the front struts as mine were to far gone + fine thread nuts for the inner ball joints.

On Friday I evening I went back to my work so I could paint the parts black. Previously I was able to only do half of the parts and already ran out of piant. I'm guessing there was something off with my gun as I now used roughly 1.5L of the 5L black 2K I bought.

As my spray gun acted up again, I decided to use the one from my work. Pretty happy with the results. After I was done I went over everything with a light to see if I didn't miss a spot.


Today I cleaned up a couple of spots that showed some rust coming trough the underseal. I stripped the spots back down to bare metal and treated them with 2 layers of Brunox. When I did the whole rust repair on my Touring, I wasn't able to get to these spots as the transmission and transfer case were still in the car.

While the Brunox was drying, I got started on cleaning up the back of the engine block and removing the RMS carrier to replace the RMS itself.
I also used the method with hammering in a bolt and bread to remove the old crankshaft bearing, worked great!

Again my seal driver kit came in handy to hammer the RMS into place. Definitly it's money worth.
All torqued down to spec.
 Last edited by D.Martijn; 05-18-2019, 10:52 AM.
Leave a comment:
-
I've contacted the company that rebuilt by diff and they've sent me a new one today :)
I wouldn't want it to crack further after welding though..
Thanks man!
____
On Monday I went and got my yellow plated nuts & bolts + some other parts.
I've also ordered a new Tranfser case bushing as my local dealer told me these are back ordered. They'll be available again at the end of August..

Leave a comment:
-
bummer about the diff cover. it looked so pretty. It can't just be welded along the crack or something?Leave a comment:


Leave a comment: