
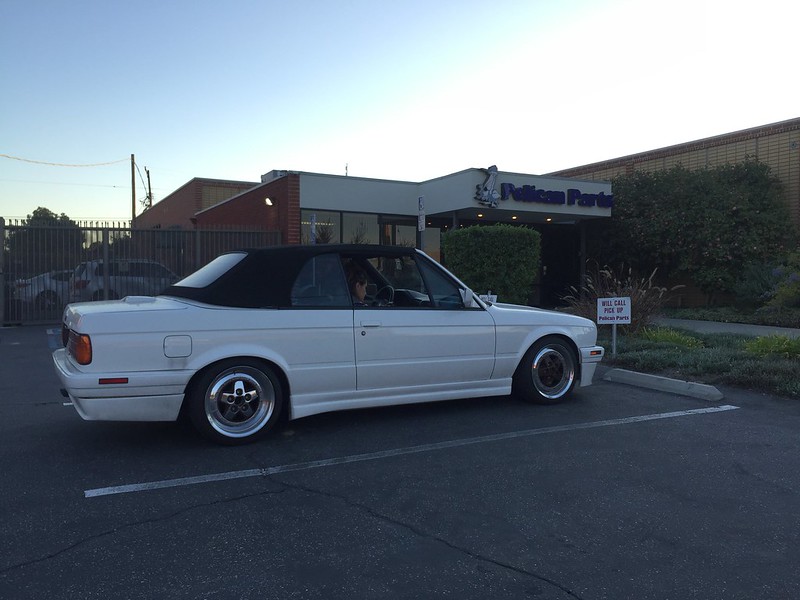
Really liking your build! It definitely has an 80's/90's look to it with the Gotti wheels. What color are you planning for them?
I suggest a 195/45 up front and a 205/45 rear. It'd fill the fenders out better but still stretch.
Nice to see some Miami Horror love, it's a shame they never seem to tour the US.
Keep the updates coming
I suggest a 195/45 up front and a 205/45 rear. It'd fill the fenders out better but still stretch.
Nice to see some Miami Horror love, it's a shame they never seem to tour the US.
Keep the updates coming


Comment