Originally posted by zwill23
View Post
Thanks for sharing the info btw!

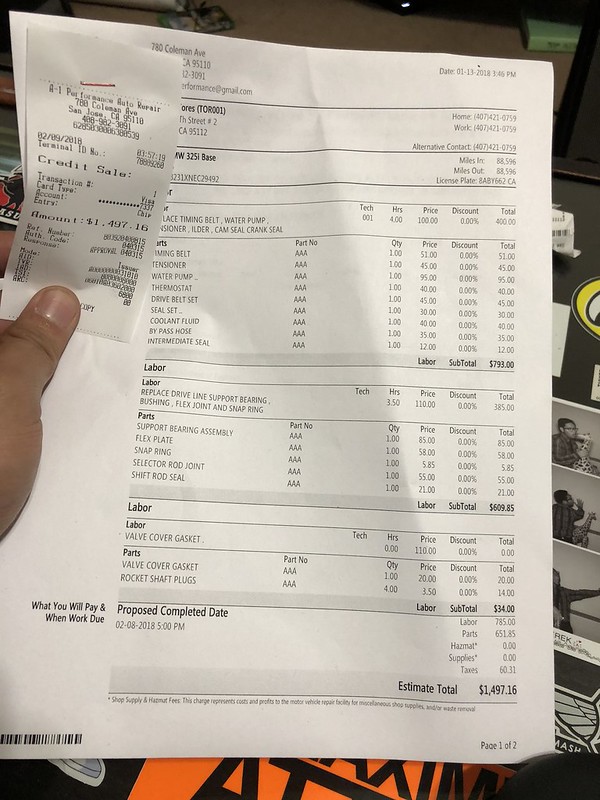
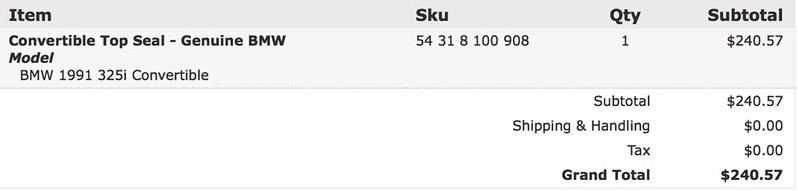 Screen Shot 2018-01-12 at 5.27.28 PM by lorenze torres, on Flickr

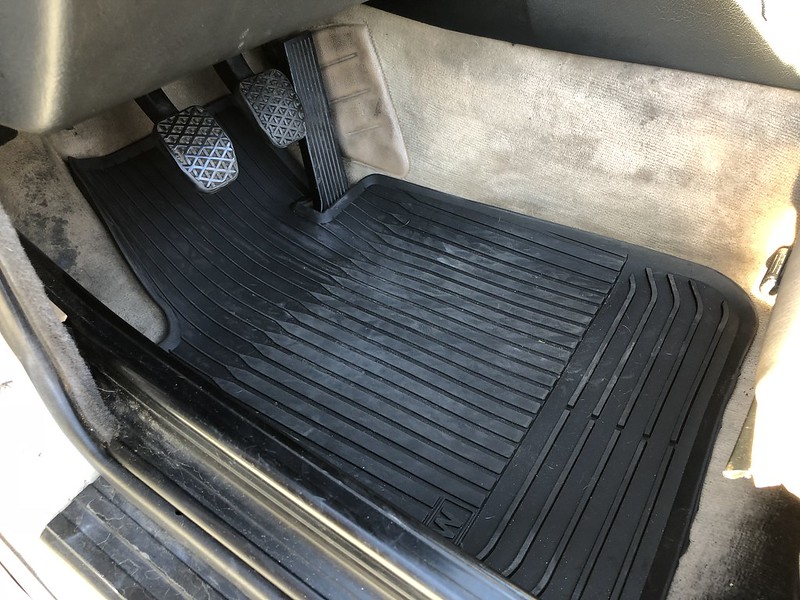 IMG_3845 by lorenze torres, on Flickr
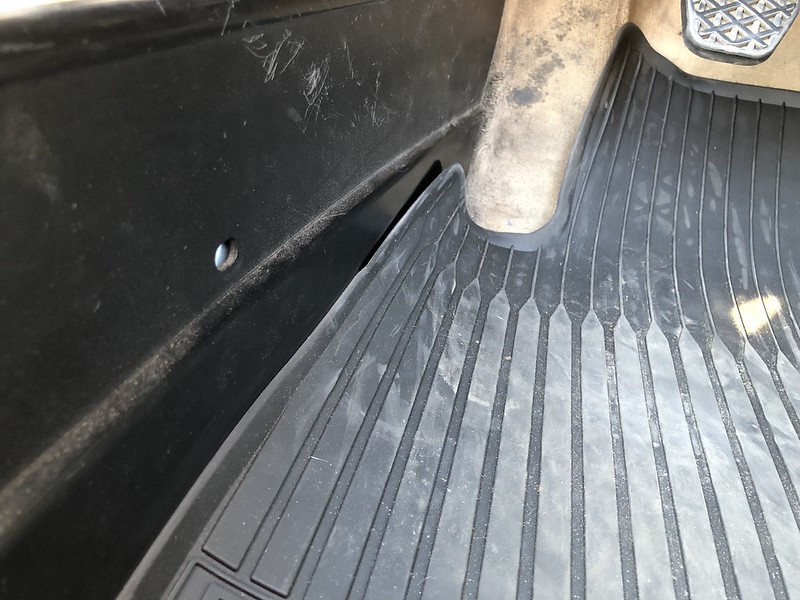 IMG_3847 by lorenze torres, on Flickr
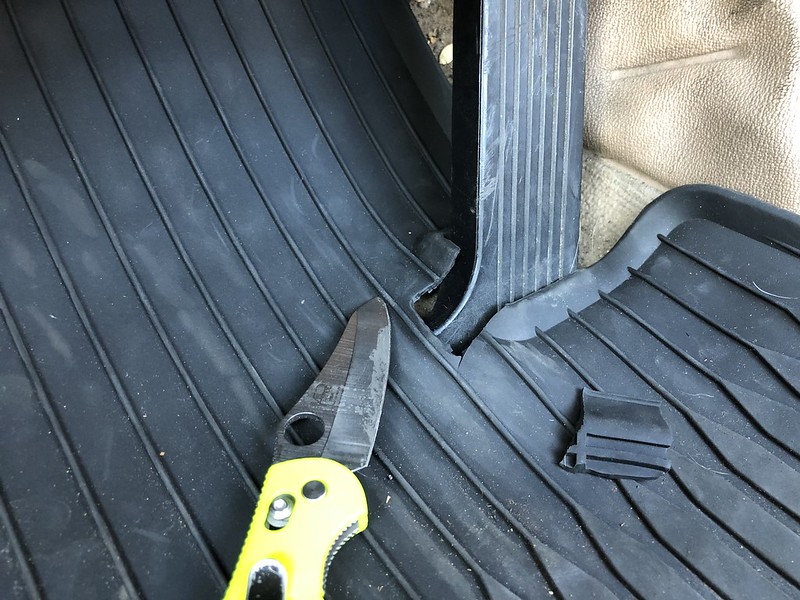 IMG_3848 by lorenze torres, on Flickr
 IMG_3849 by lorenze torres, on Flickr
 IMG_3850 by lorenze torres, on Flickr
 [/url]
 IMG_3869 by lorenze torres, on Flickr
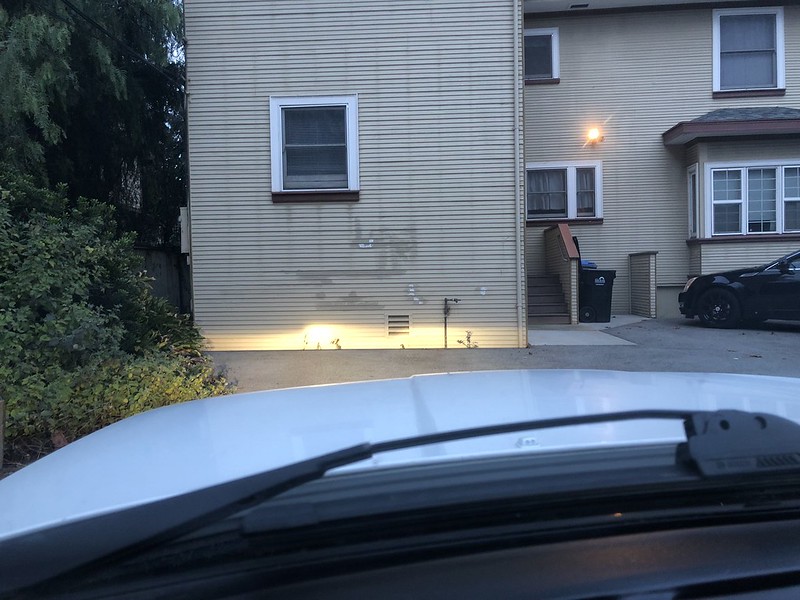 IMG_3856 by lorenze torres, on Flickr
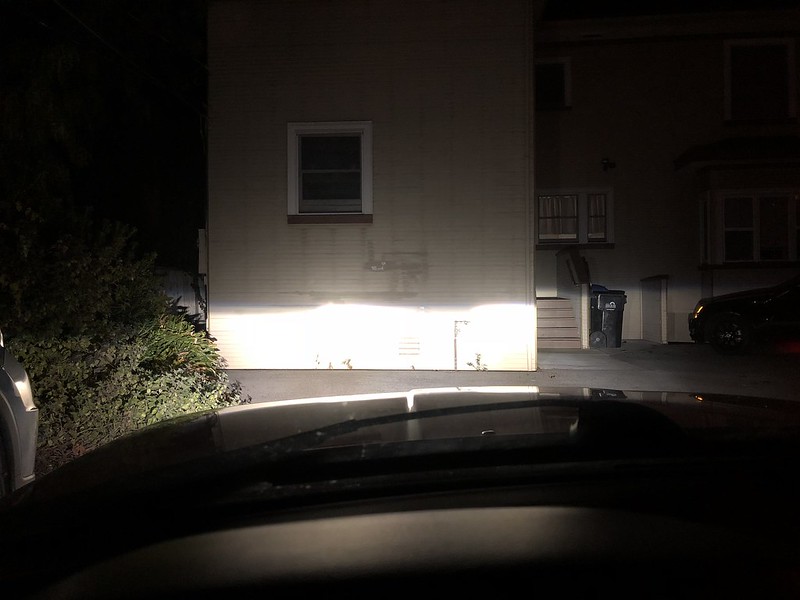 IMG_3858 by lorenze torres, on Flickr
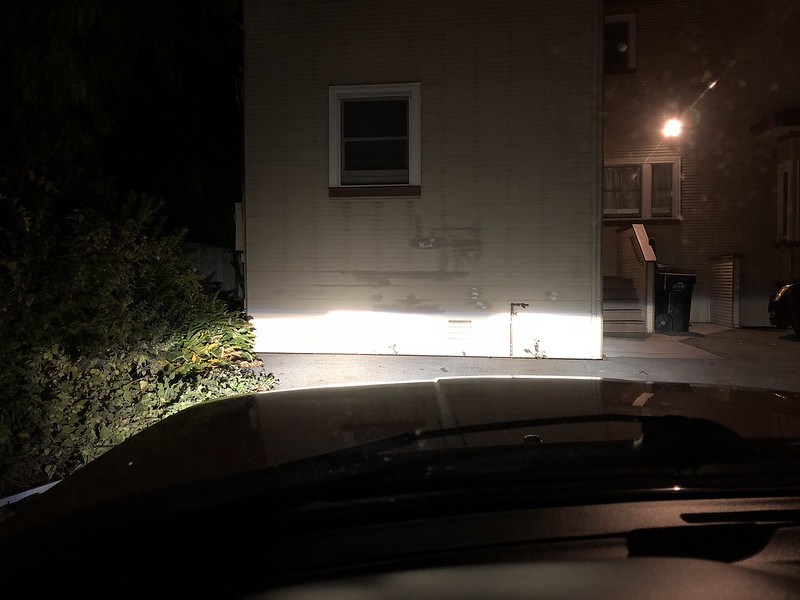 IMG_3872 by lorenze torres, on Flickr
 IMG_3868 by lorenze torres, on Flickr
 IMG_3866 by lorenze torres, on Flickr
 IMG_3911 by lorenze torres, on Flickr
 IMG_3912 by lorenze torres, on Flickr
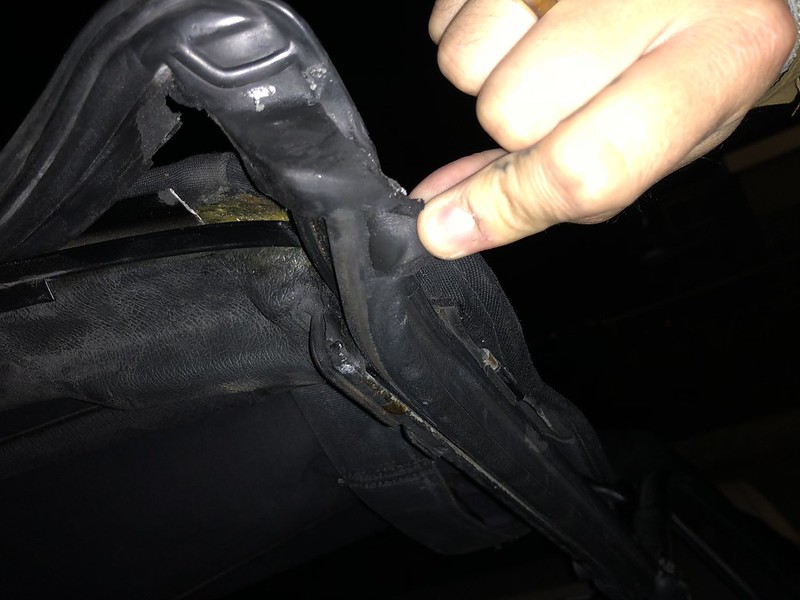 IMG_3913 by lorenze torres, on Flickr
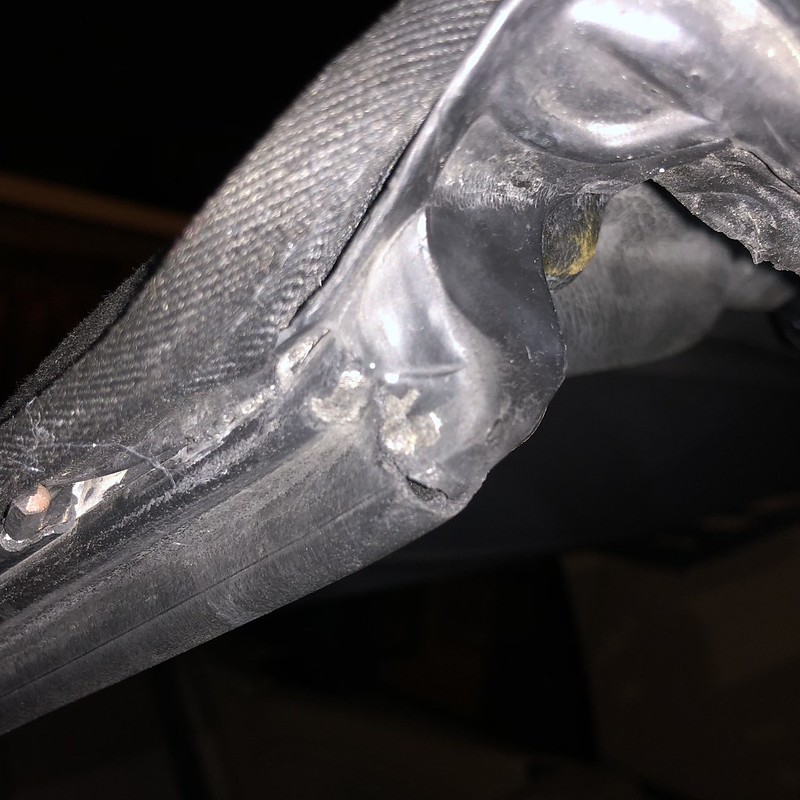 IMG_3916 by lorenze torres, on Flickr
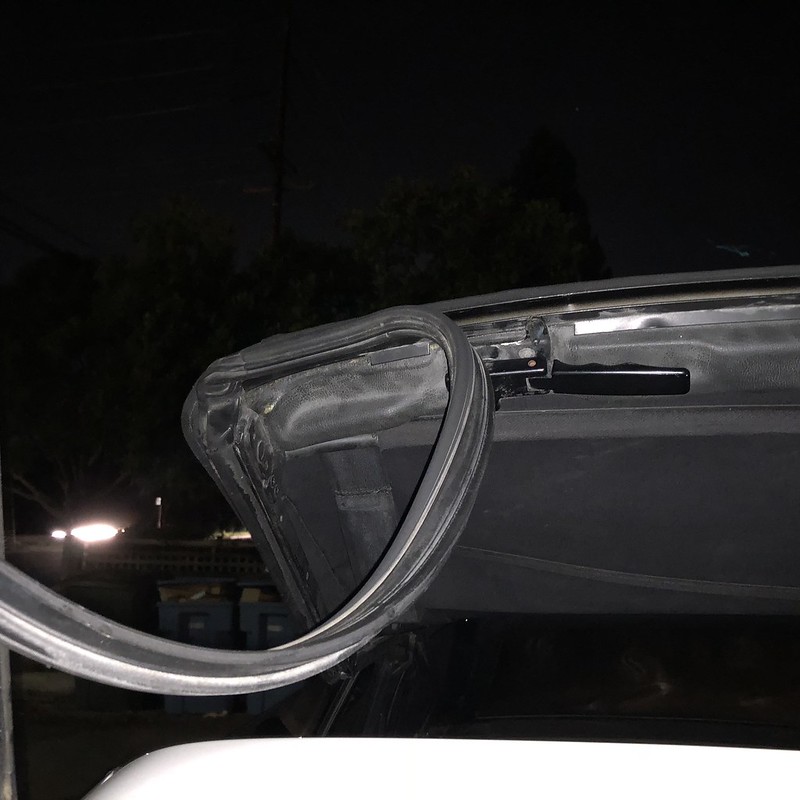 IMG_3914 by lorenze torres, on Flickr
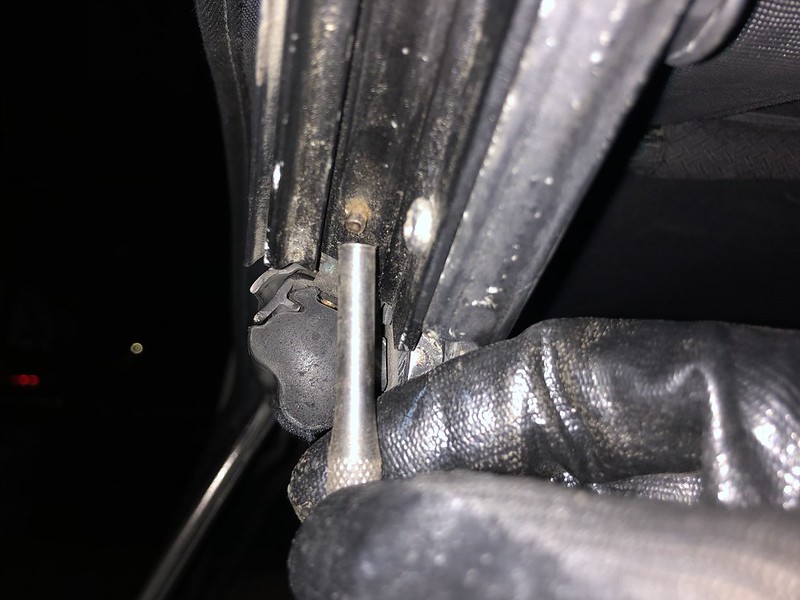 IMG_3917 by lorenze torres, on Flickr
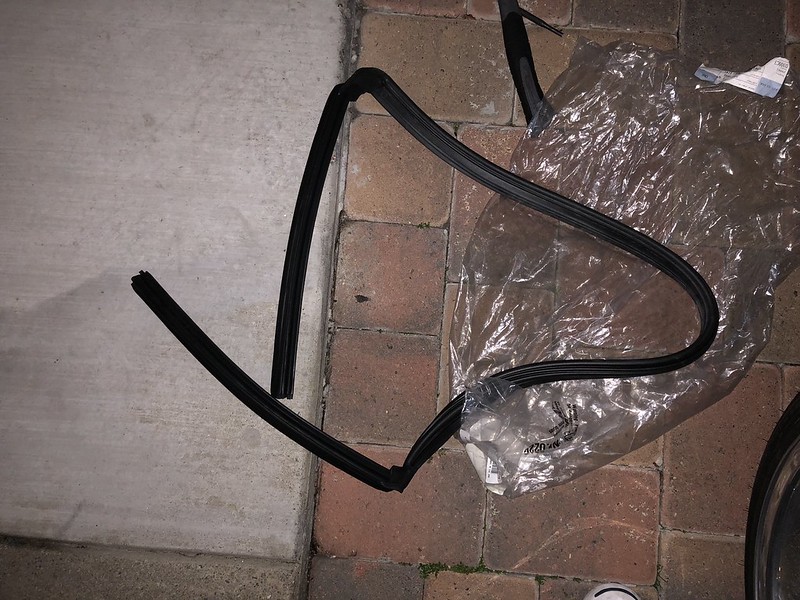 IMG_3918 by lorenze torres, on Flickr
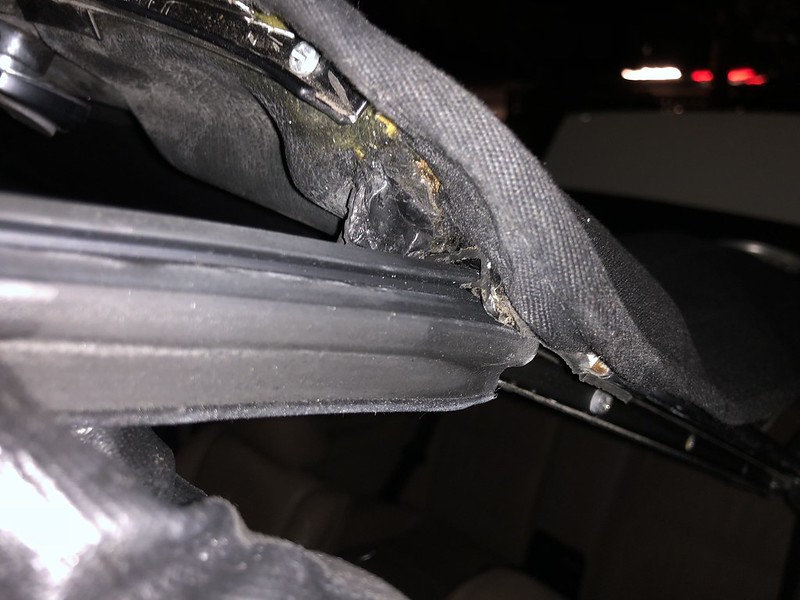 IMG_3919 by lorenze torres, on Flickr
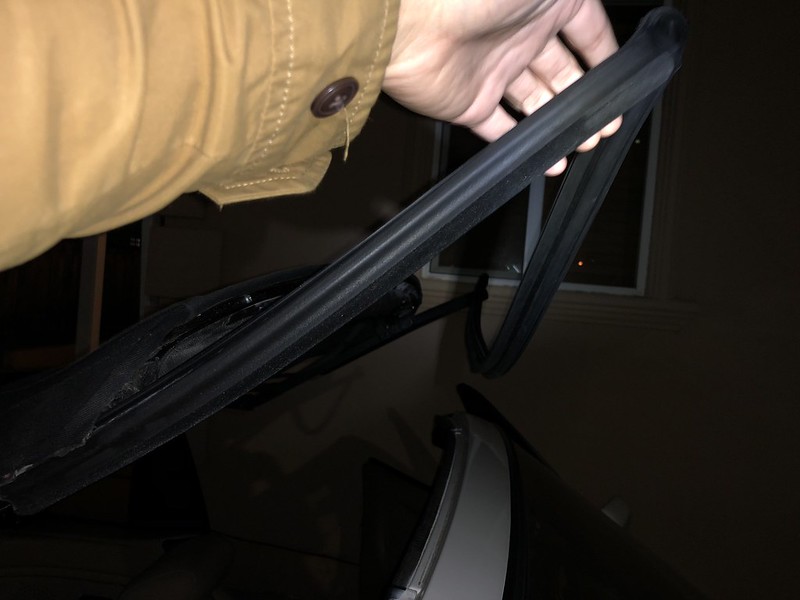 IMG_3920 by lorenze torres, on Flickr
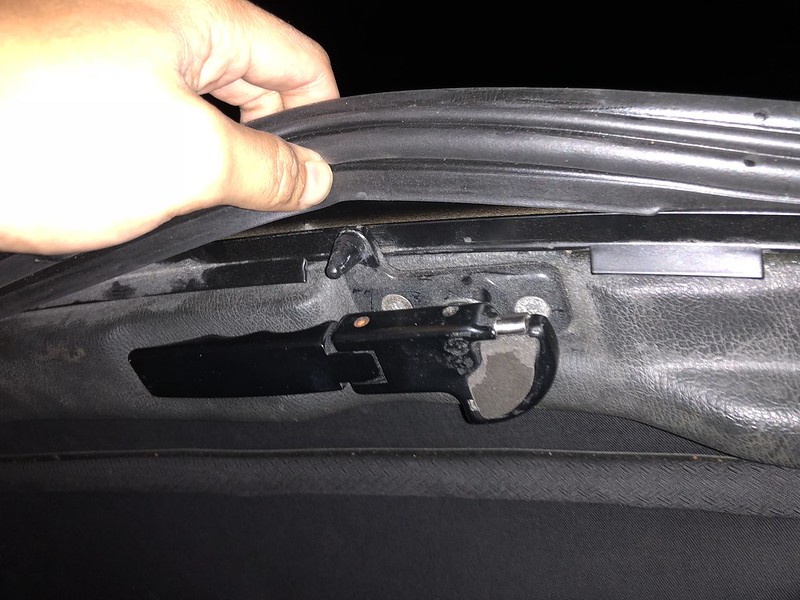 IMG_3923 by lorenze torres, on Flickr
 IMG_3924 by lorenze torres, on Flickr
 IMG_3931 by lorenze torres, on Flickr
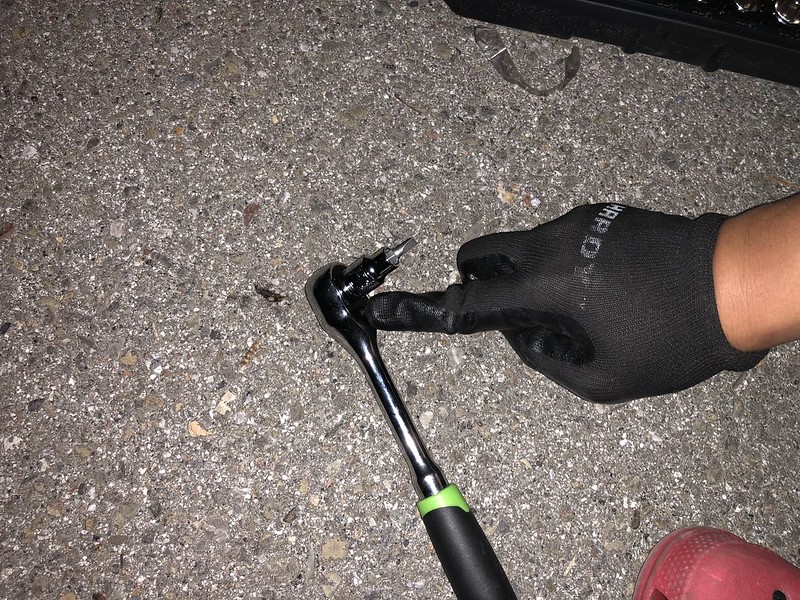
 IMG_4027 by lorenze torres, on Flickr
 IMG_4050 by lorenze torres, on Flickr
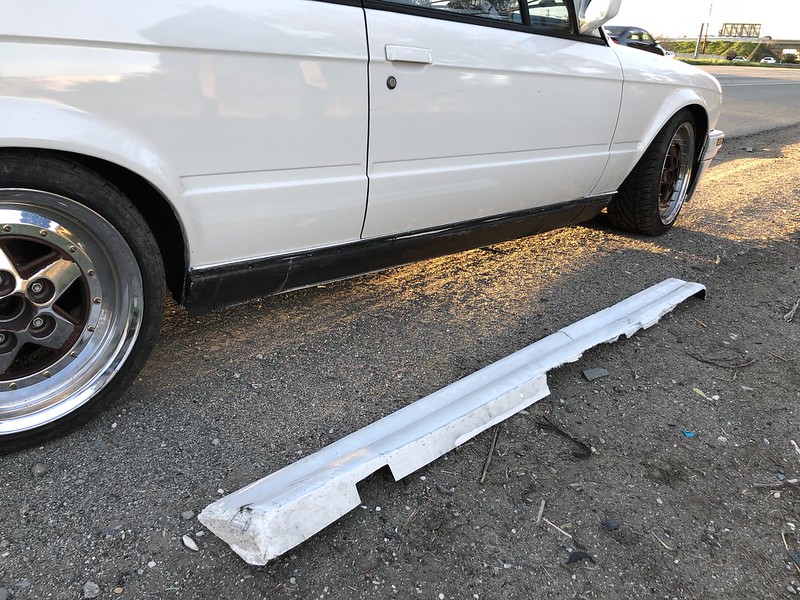
 IMG_4047 by lorenze torres, on Flickr
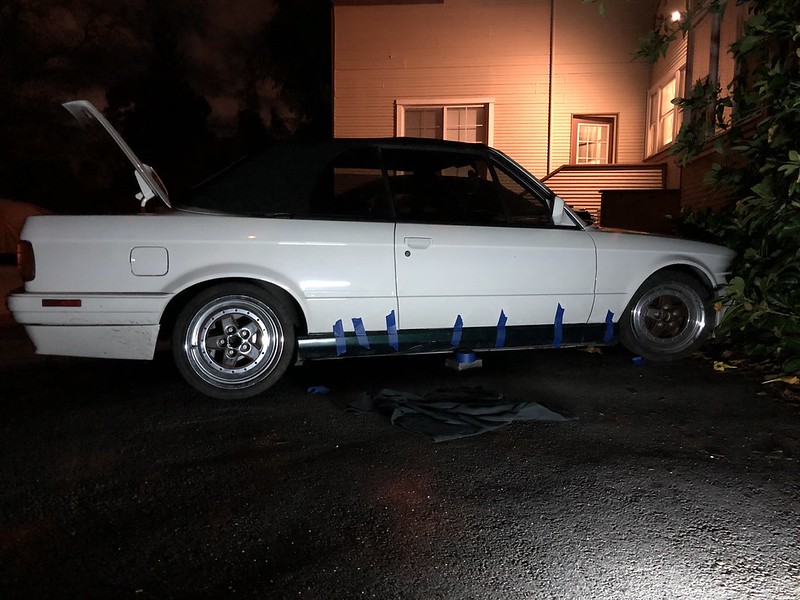 IMG_4048 by lorenze torres, on Flickr
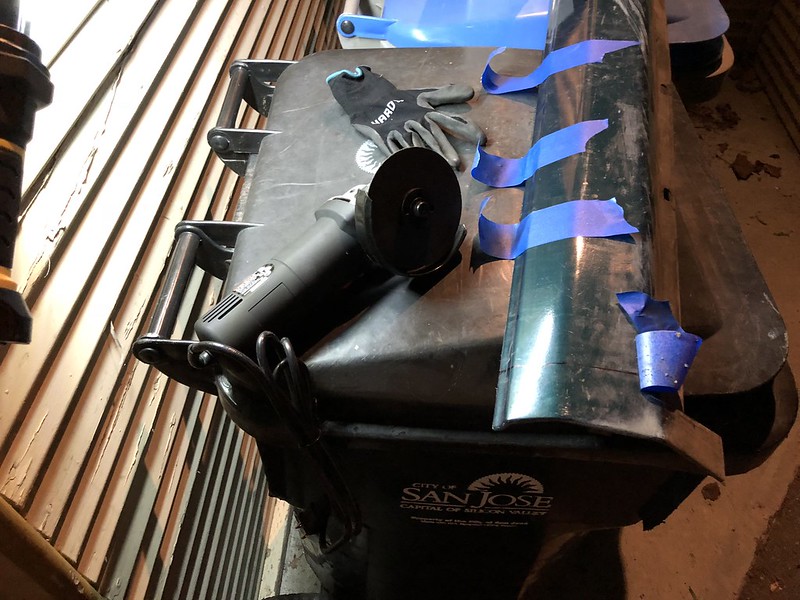 IMG_4049 by lorenze torres, on Flickr
 IMG_4046 by lorenze torres, on Flickr
 IMG_4141 by lorenze torres, on Flickr
 IMG_4144 by lorenze torres, on Flickr
 IMG_4145 by lorenze torres, on Flickr
 IMG_4148 by lorenze torres, on Flickr
 IMG_4149 by lorenze torres, on Flickr
 IMG_4152 by lorenze torres, on Flickr


Comment