

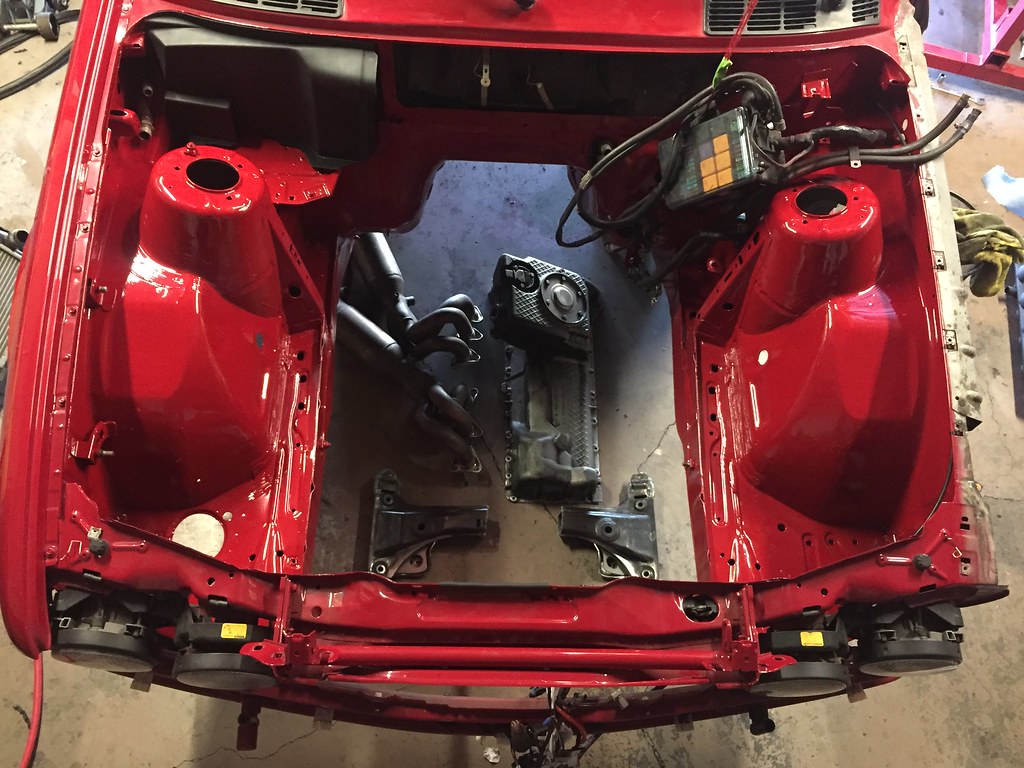
Got a very well made wiring harness and CAN controller from Andrew325is, thanks for the sweet product and headaches saved! Although, I need to figure out exactly how to use the CAN controller as Im not sure how to wire the stock E30 fan to fluctuate with the S54 A/C. If anyone has any knowledge Id love to hear it, otherwise Ill ask again when I get closer to wiring the motor and plumbing the A/C.
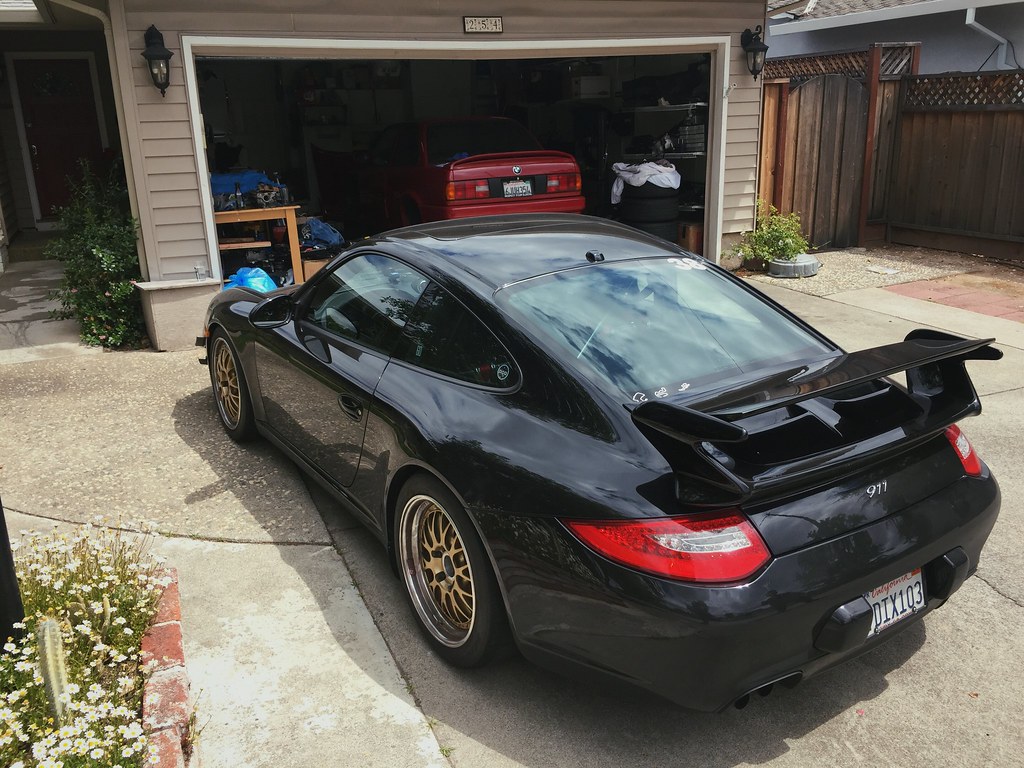
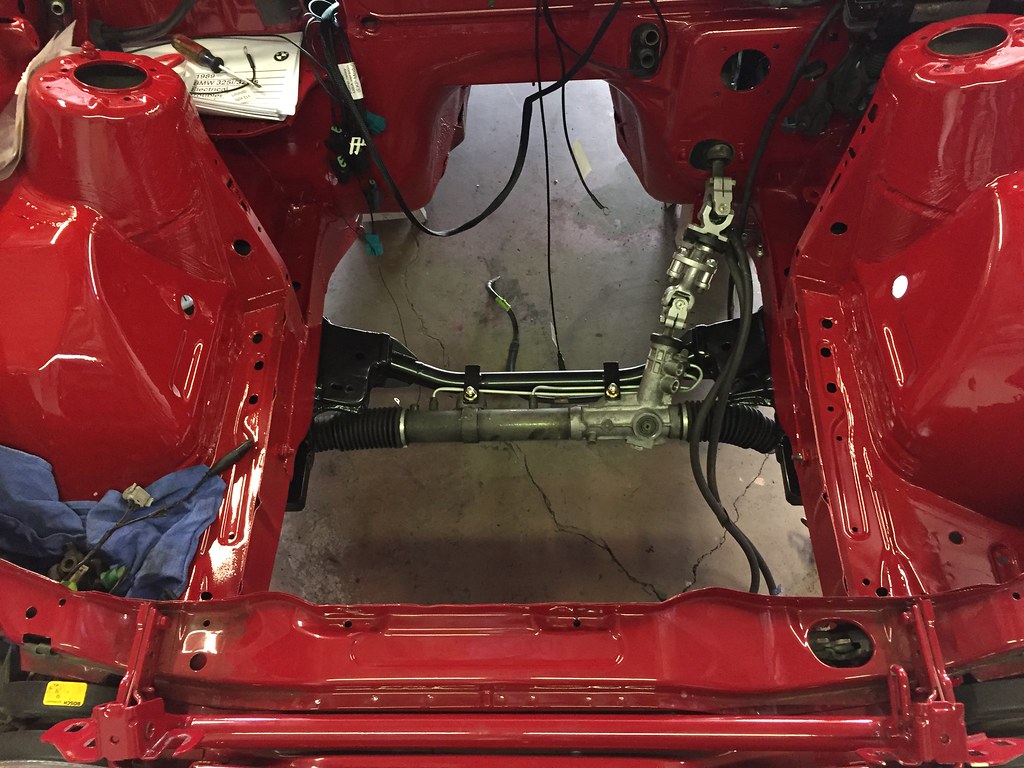
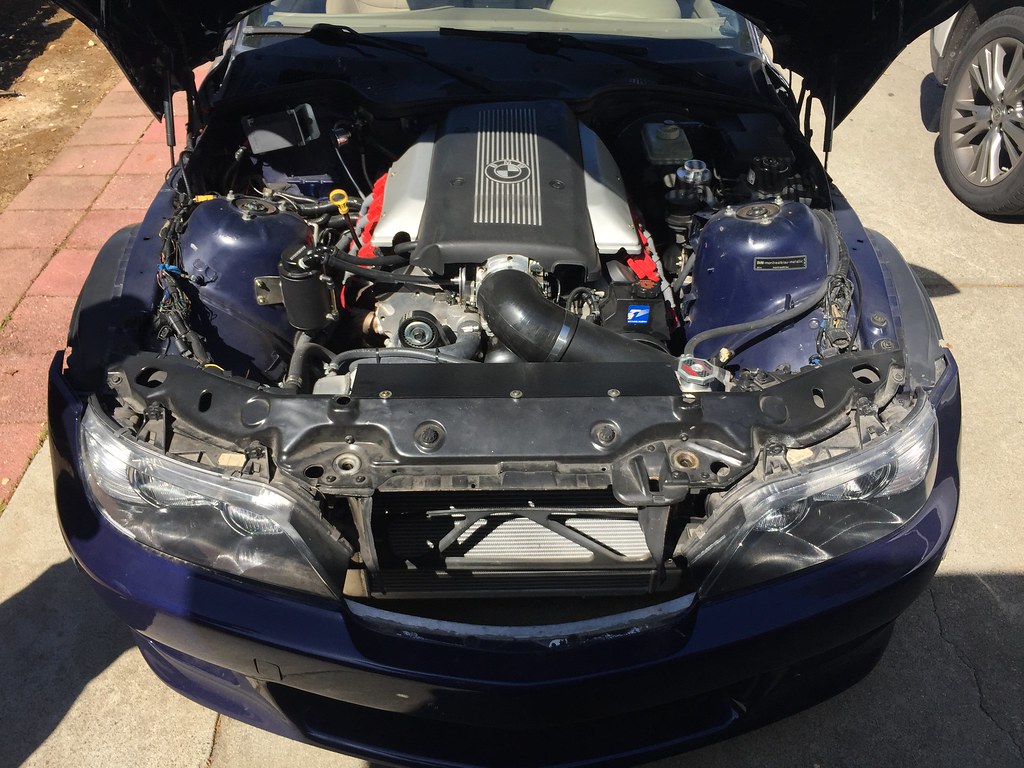
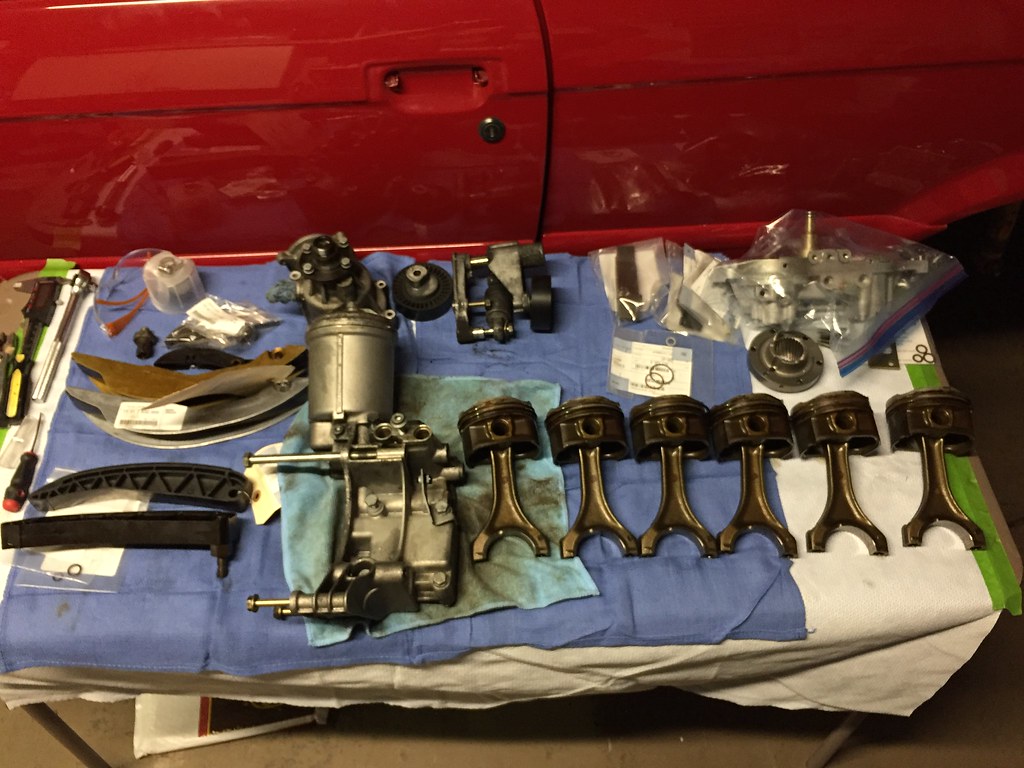
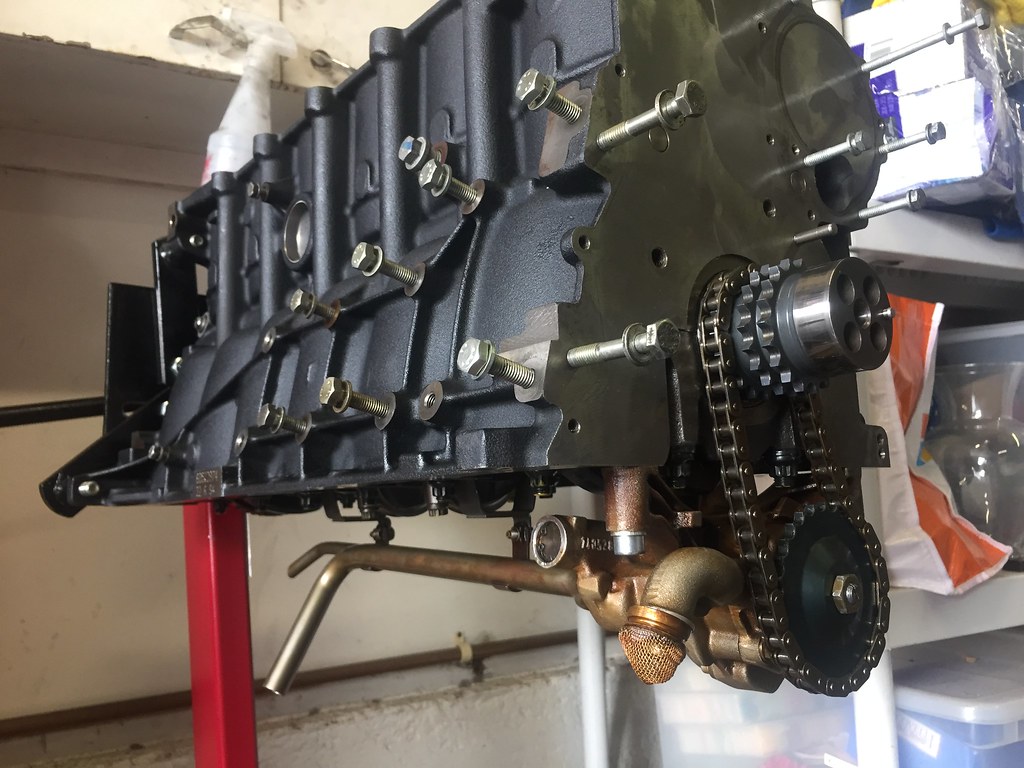
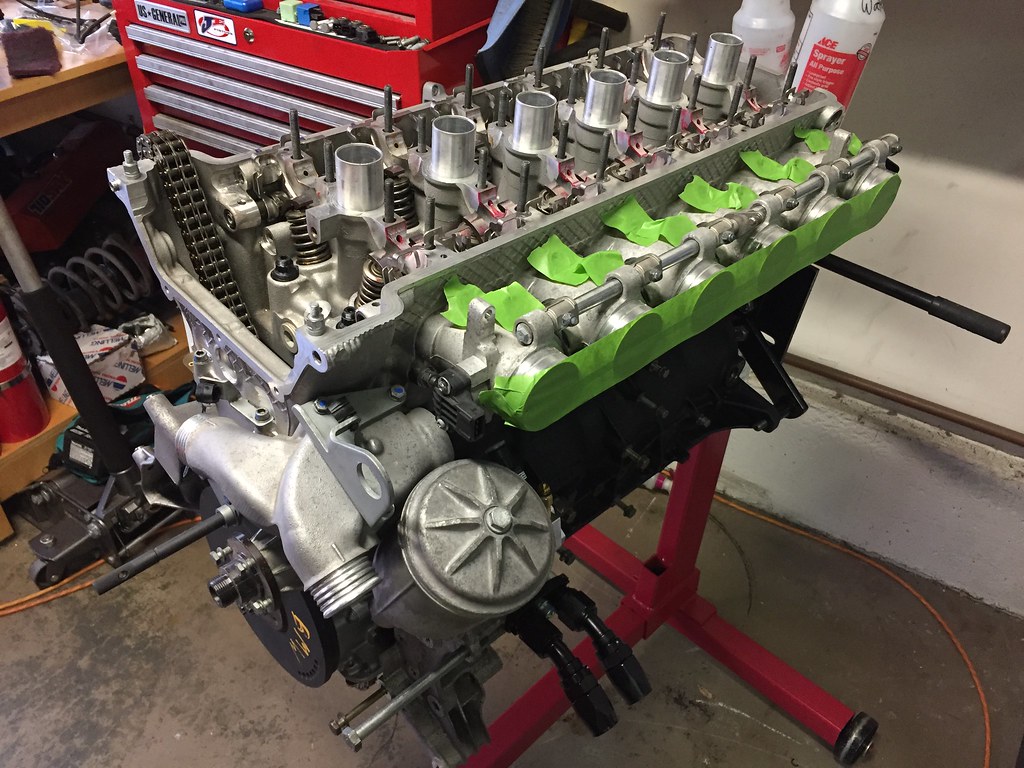
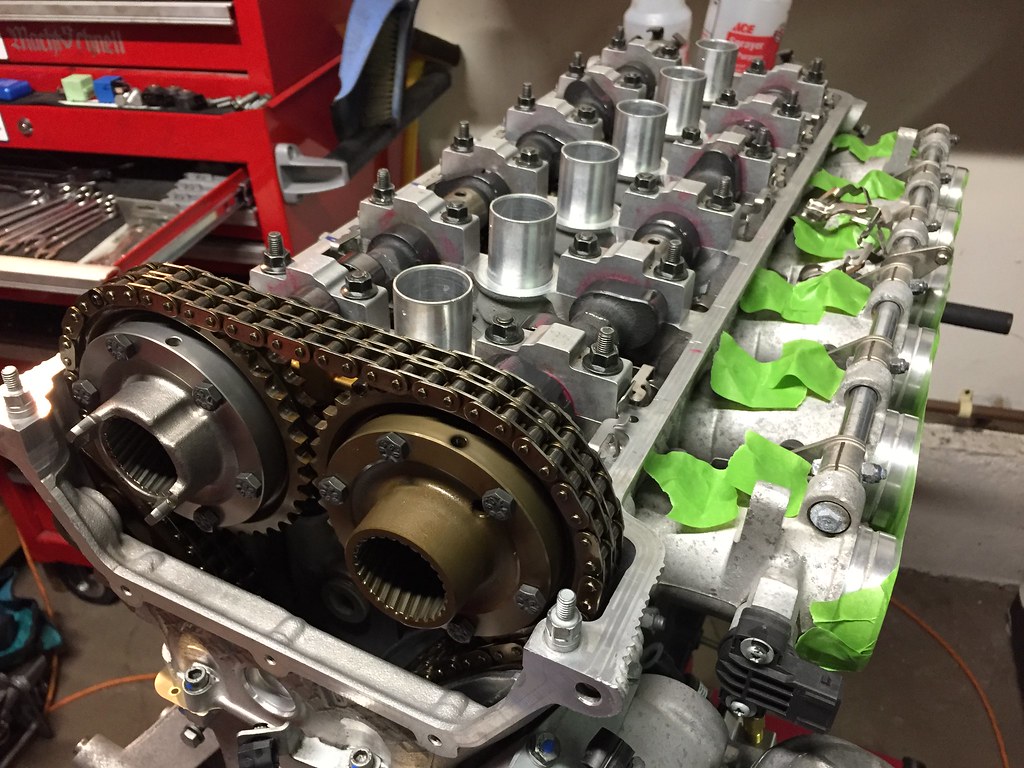
 The Build by Evan Nessim, on Flickr
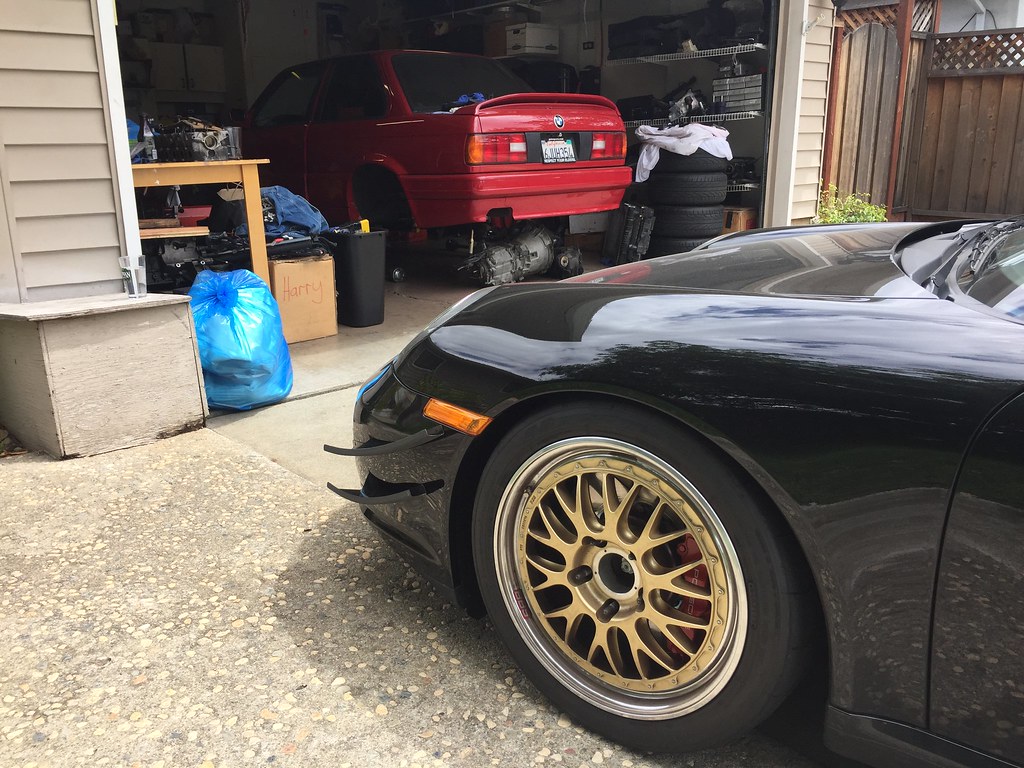
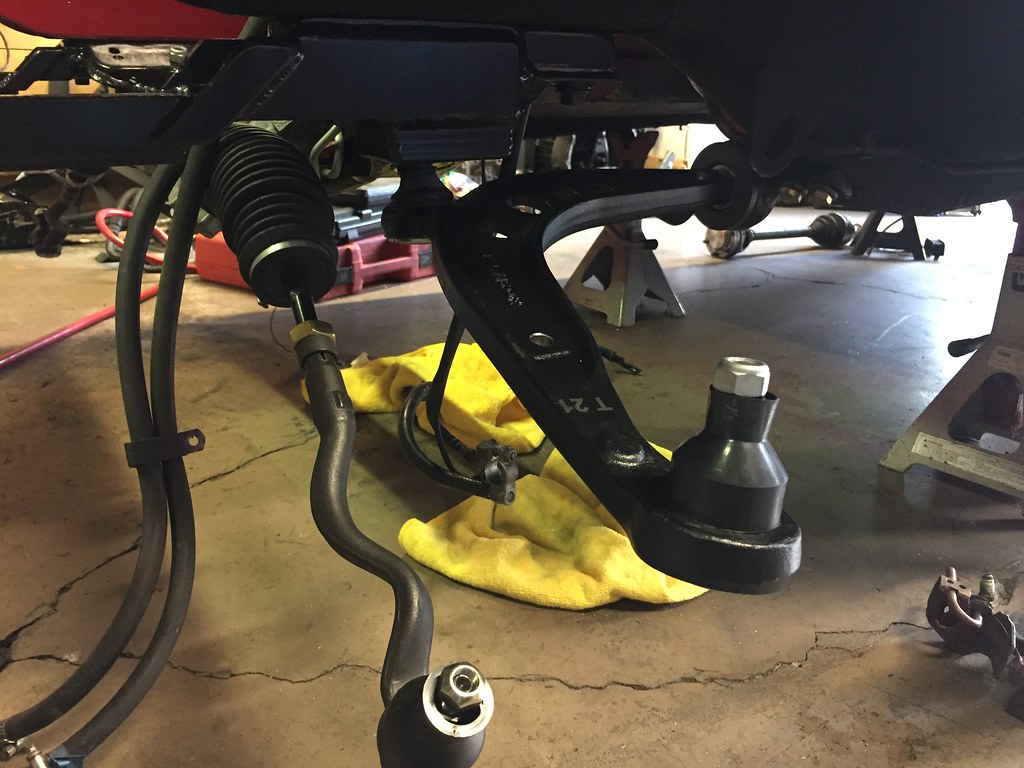
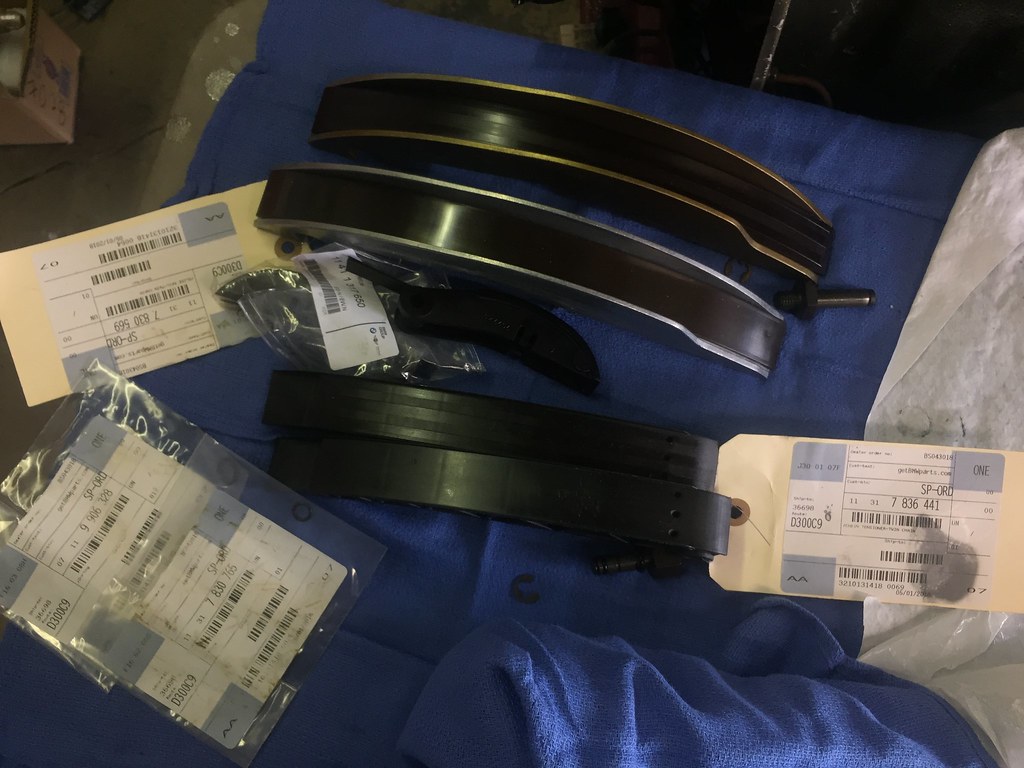
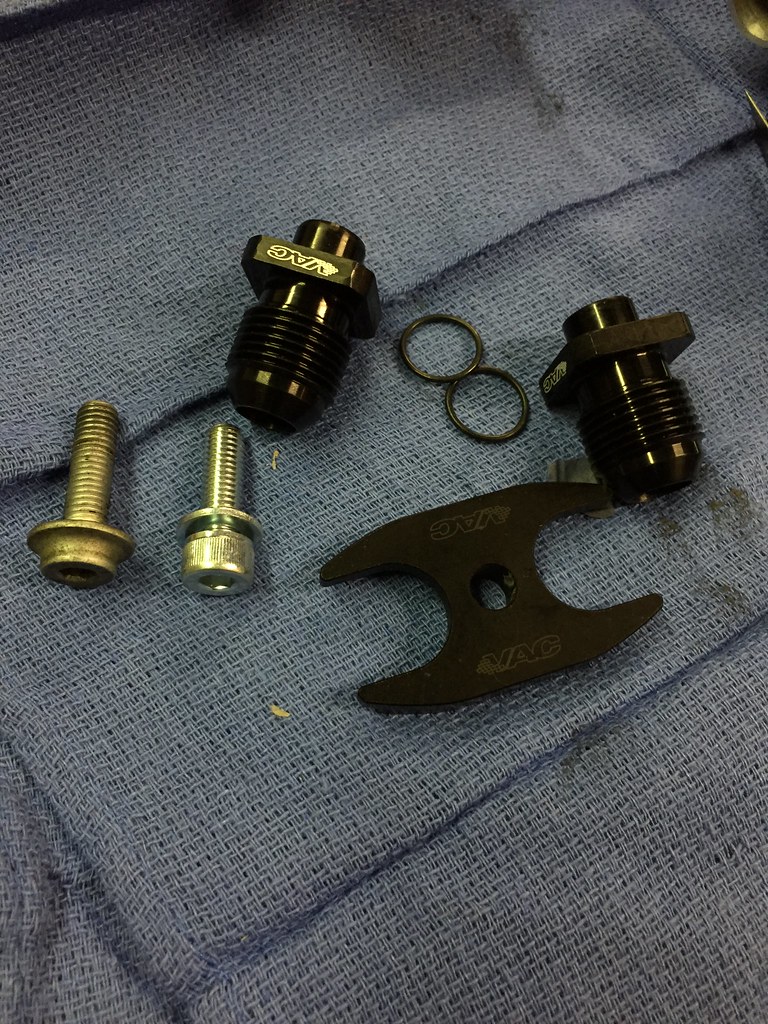
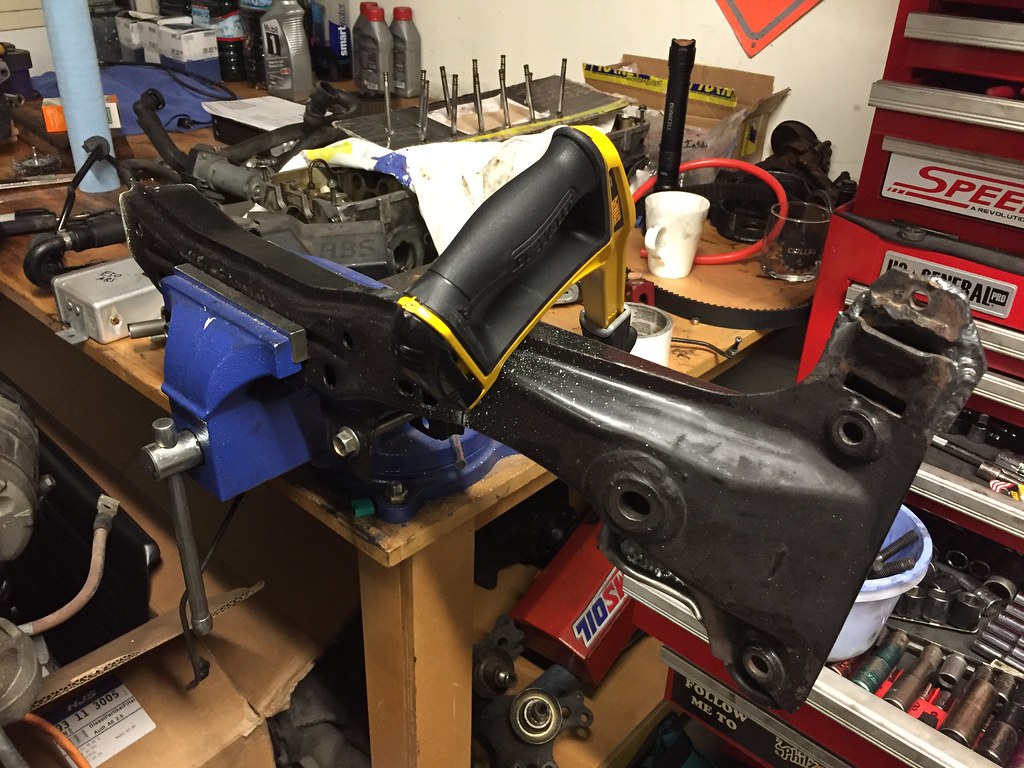
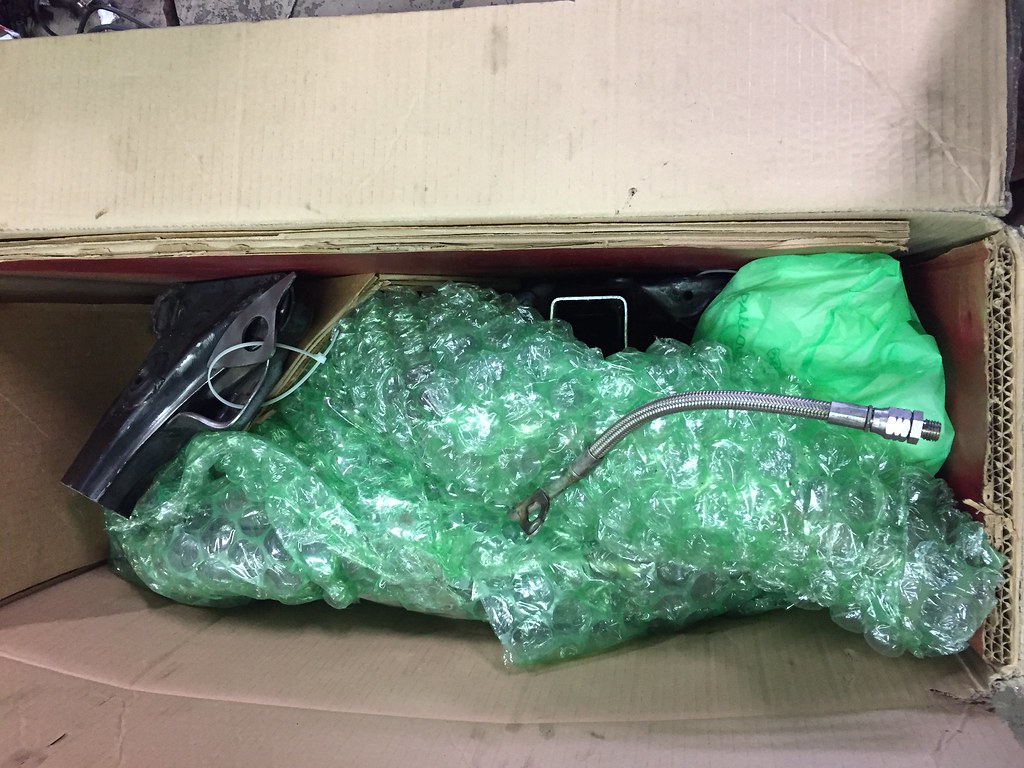
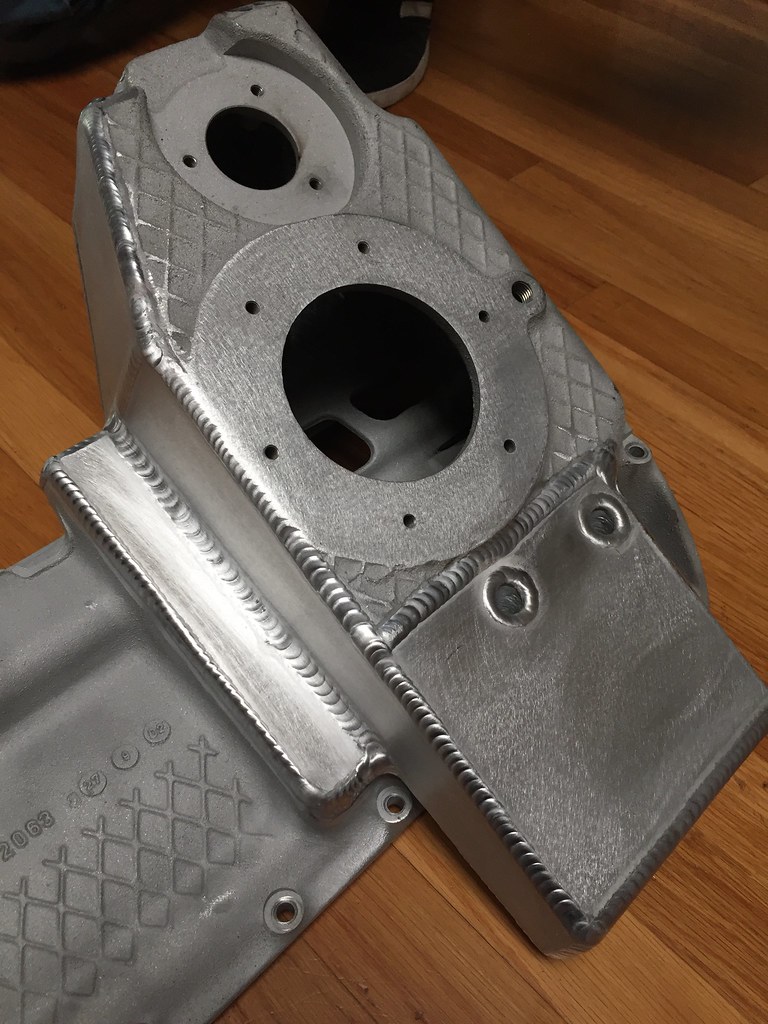
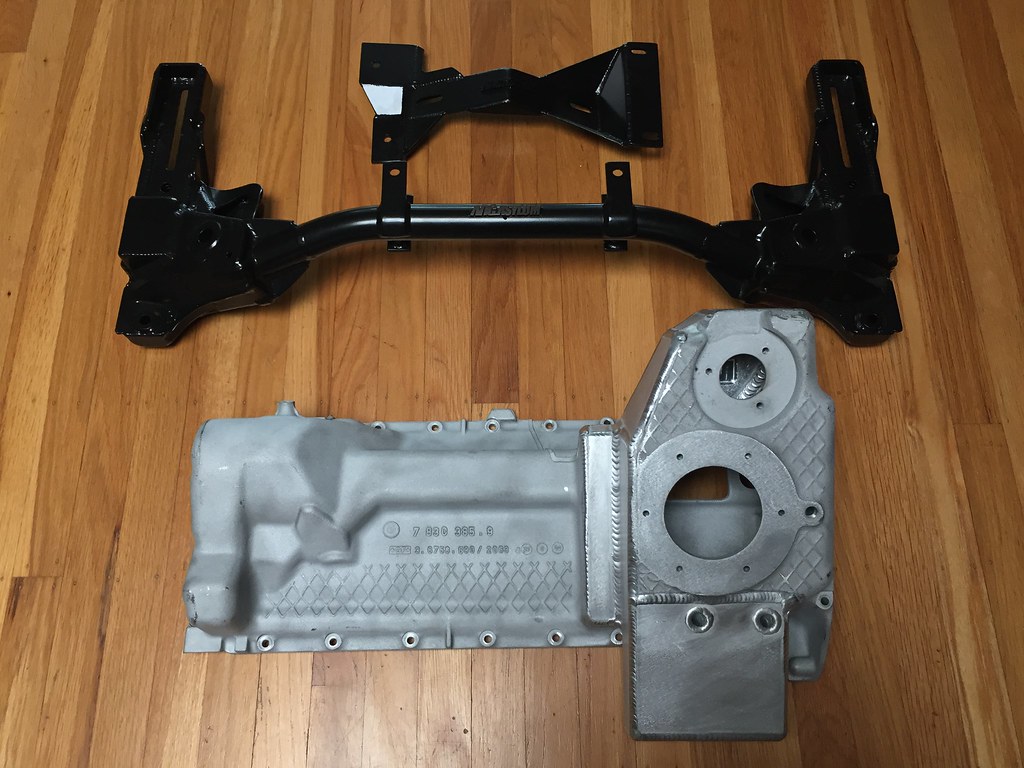
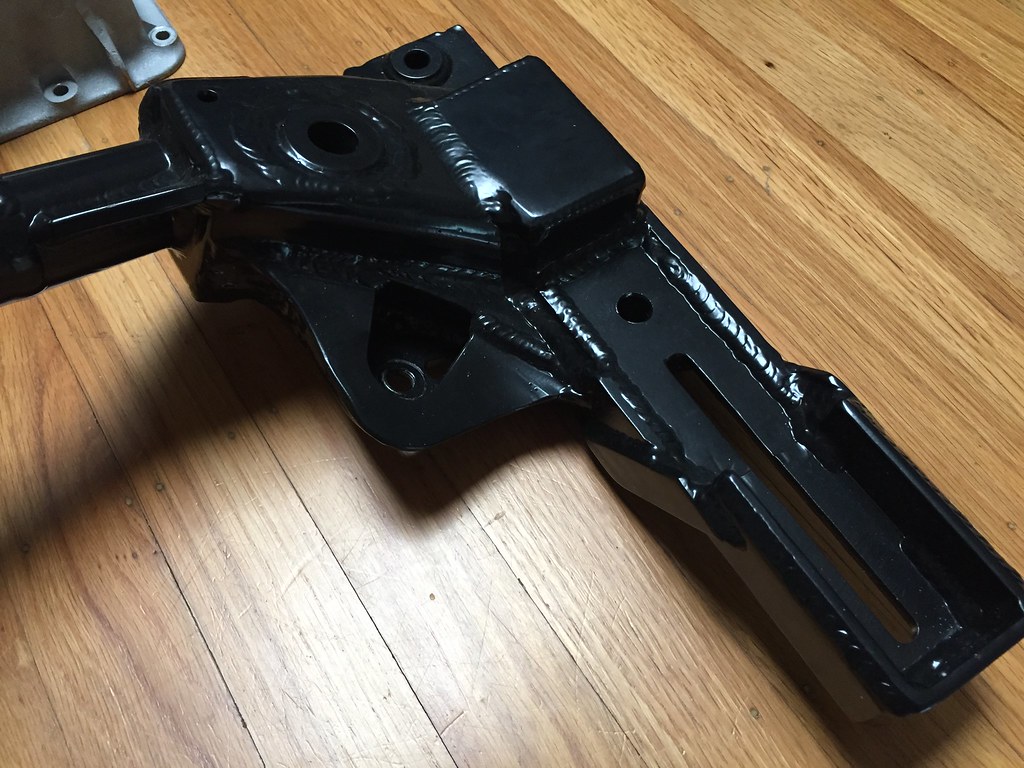
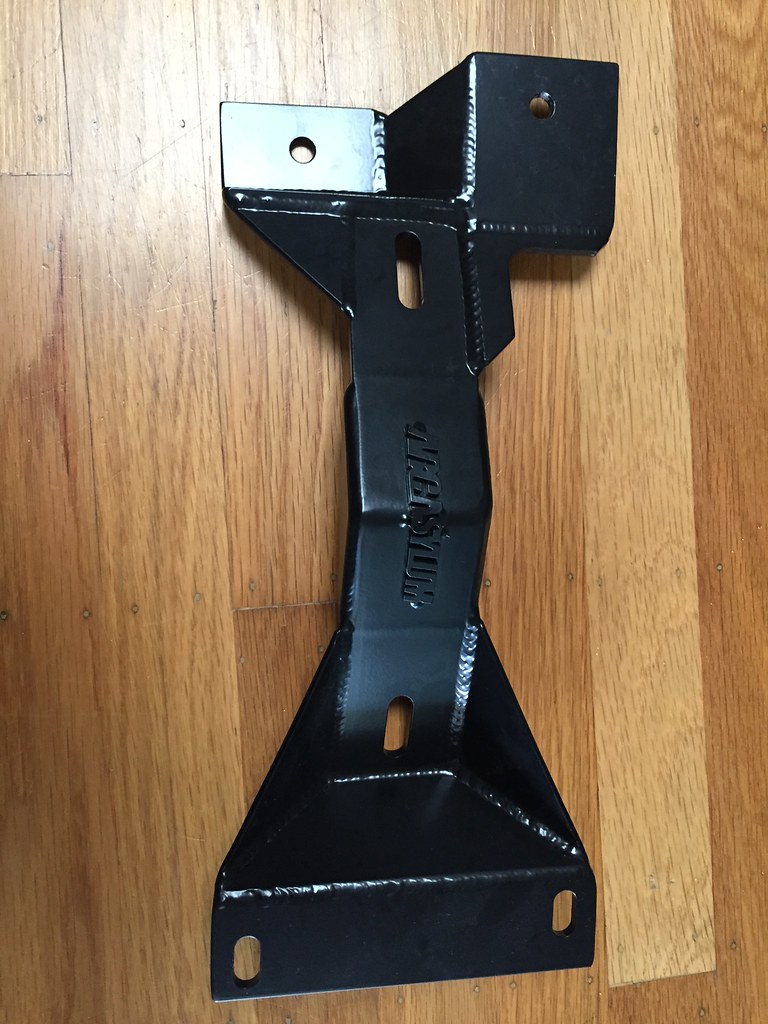
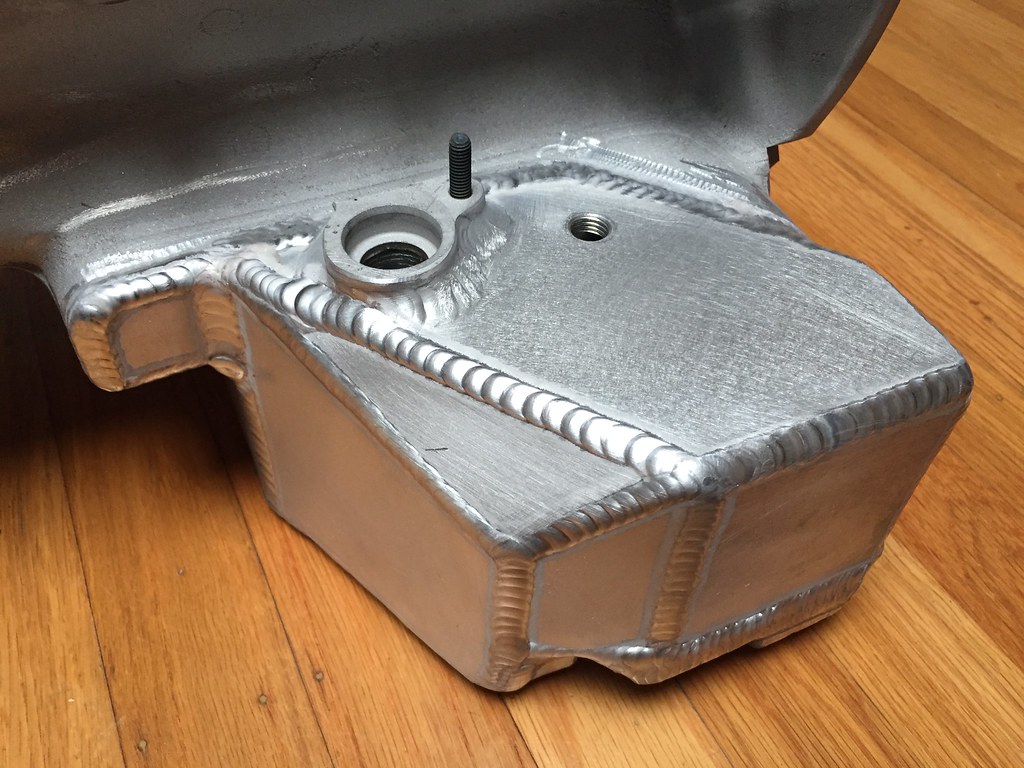
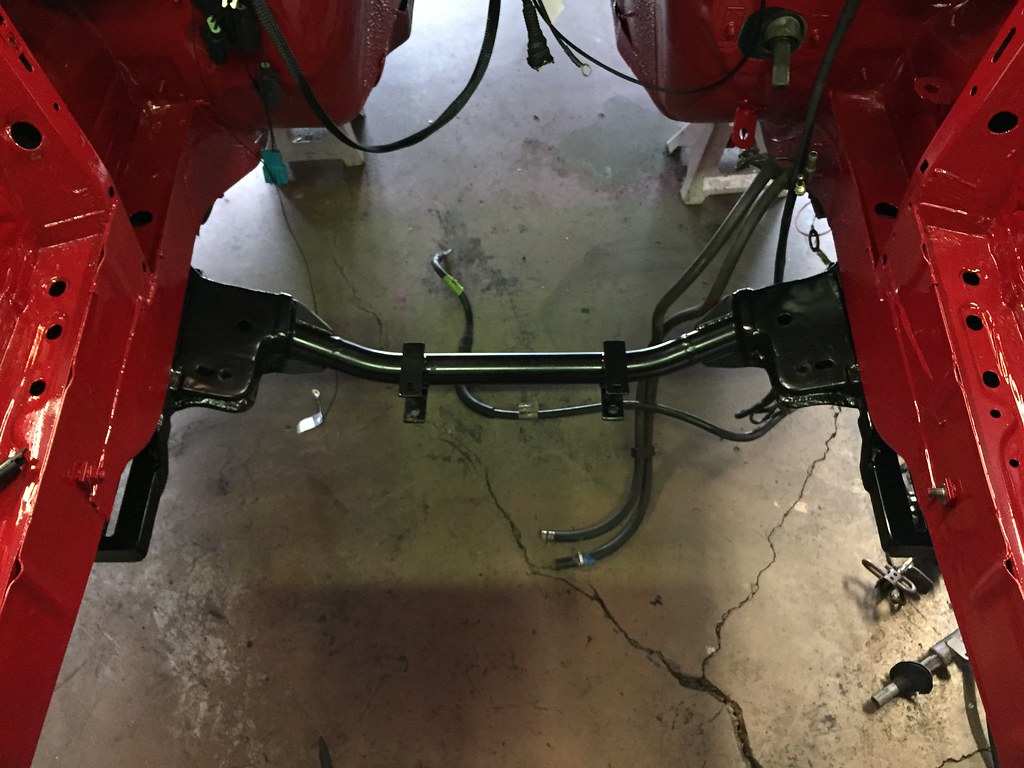
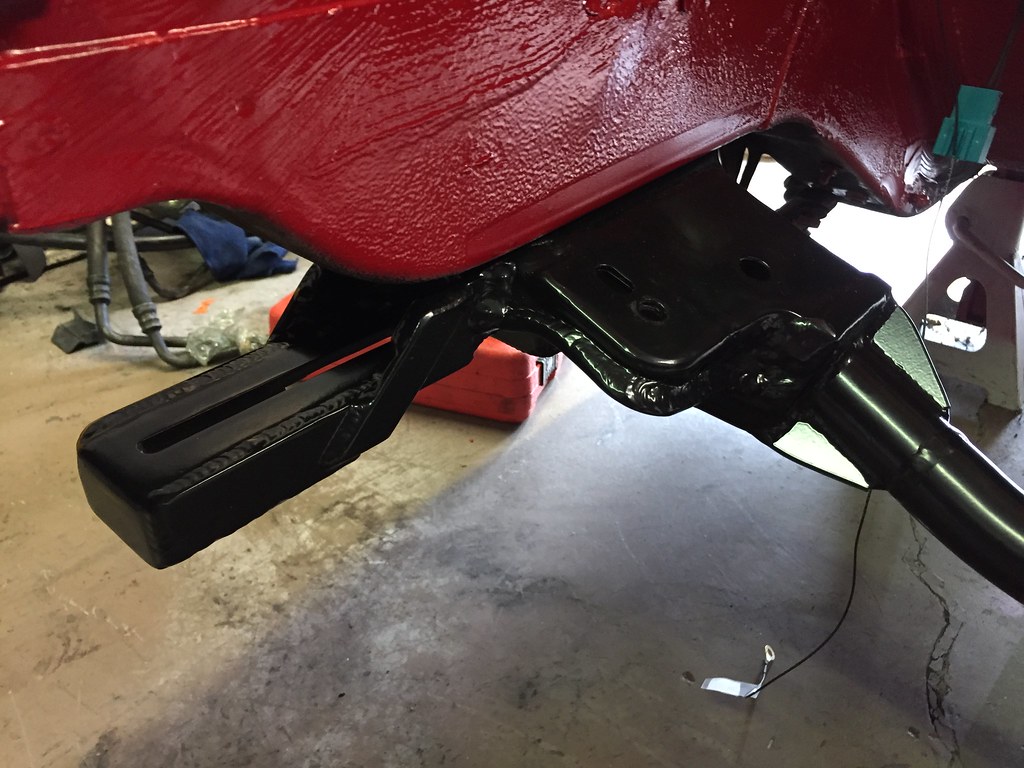
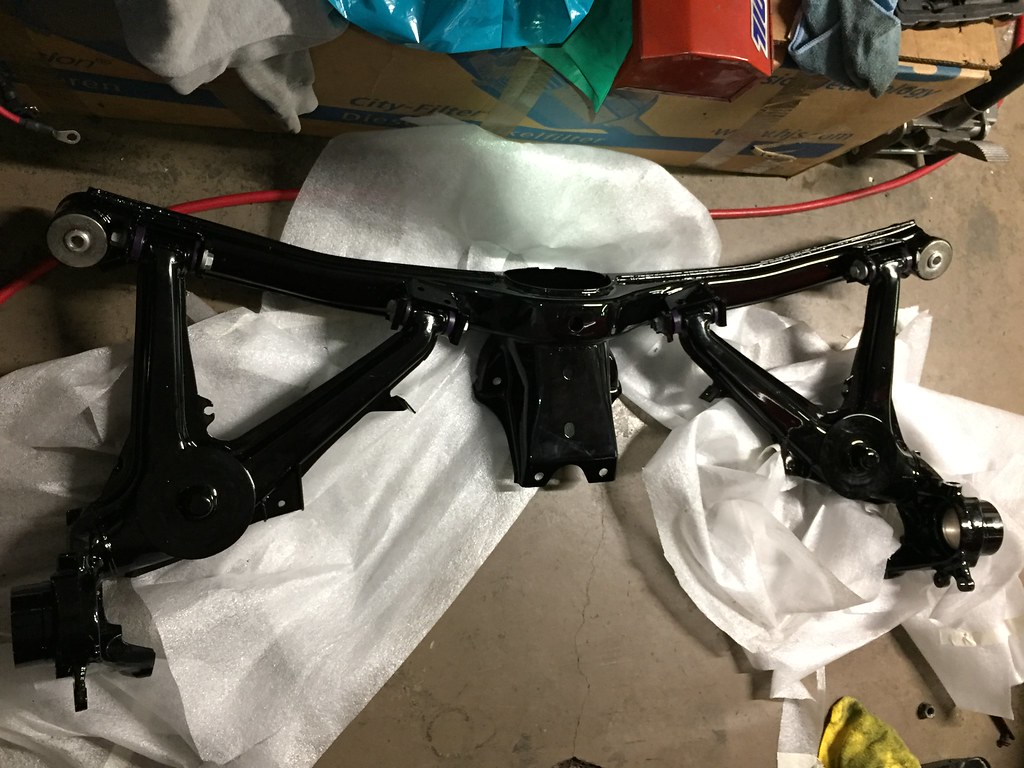
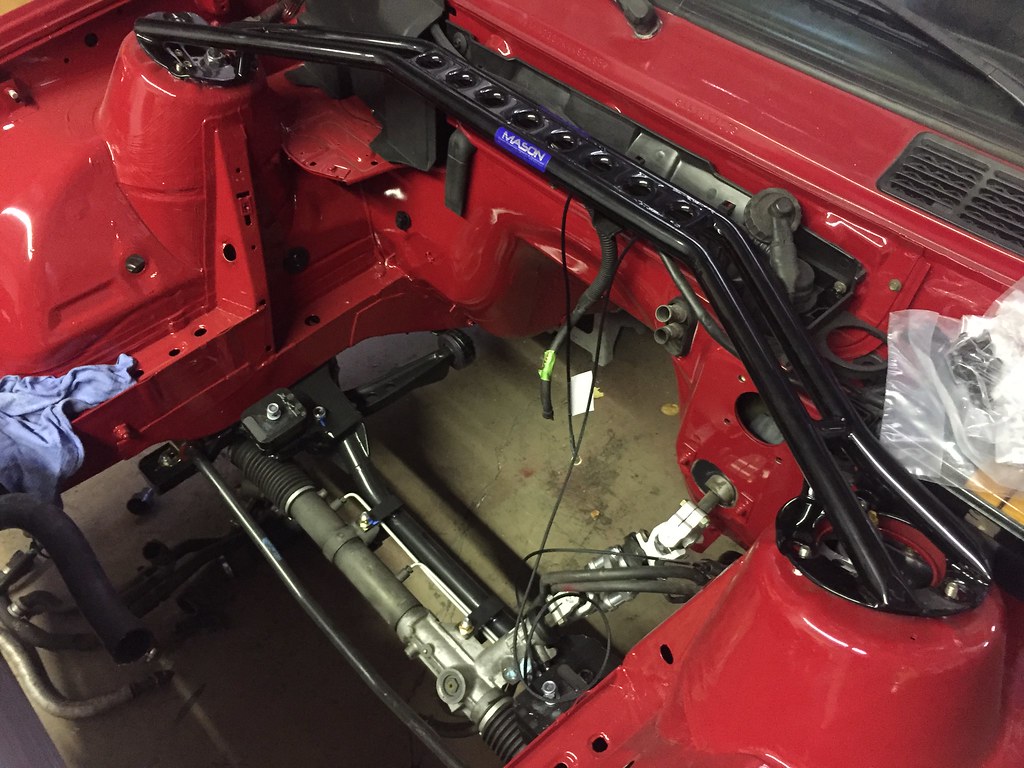
Decided to chop up my front subframe and ship it out to Tyler at the ArcAsylum along with my oil pan and headers despite reading about how difficult it is to contact him. I got the subframe and oil pan back and it is damn beautiful. However, Tyler still has my headers and it has been over six months since he said the completed exhaust system would originally ship out. I see that he has taken great time to create a much improved ArcAsylum website and explain that he is swamped so hopefully this means Ill be seeing a completed exhaust with my headers by the time I have the engine running. Tyler is indeed hard to contact, but his work is unquestionably well done.
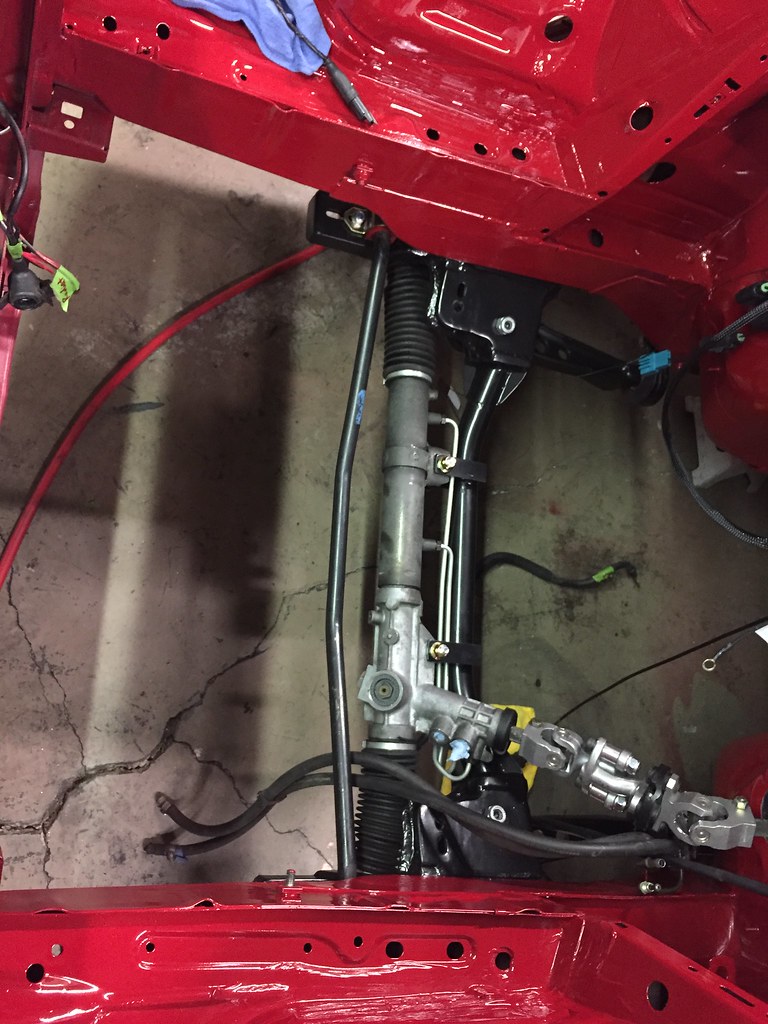
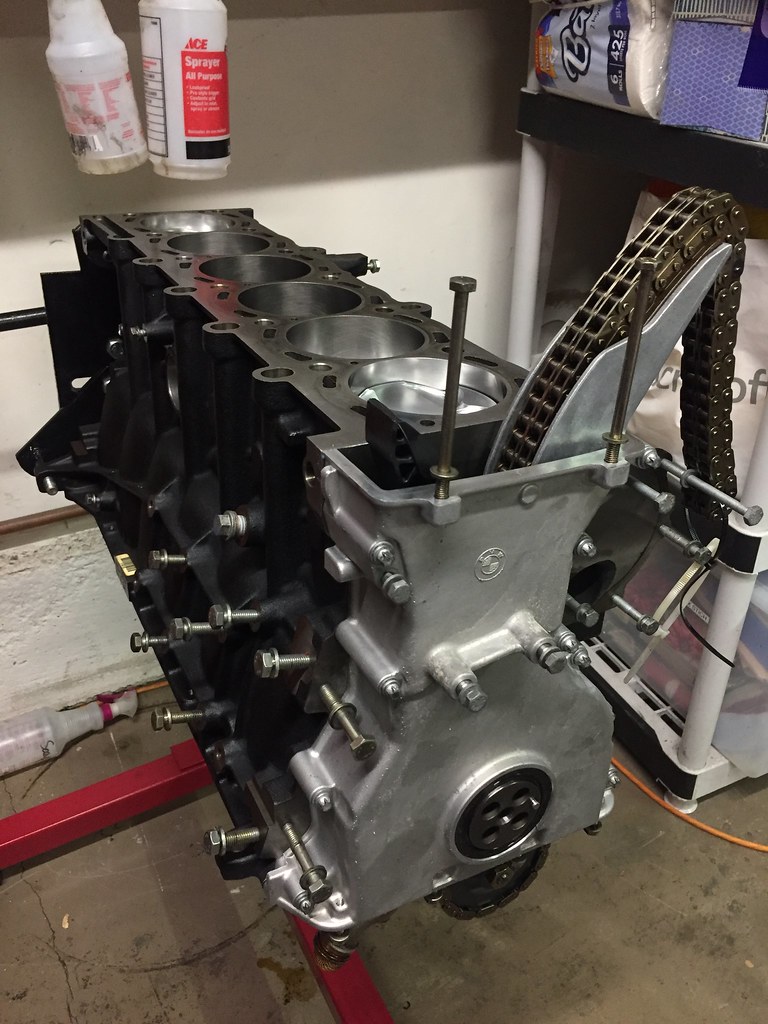
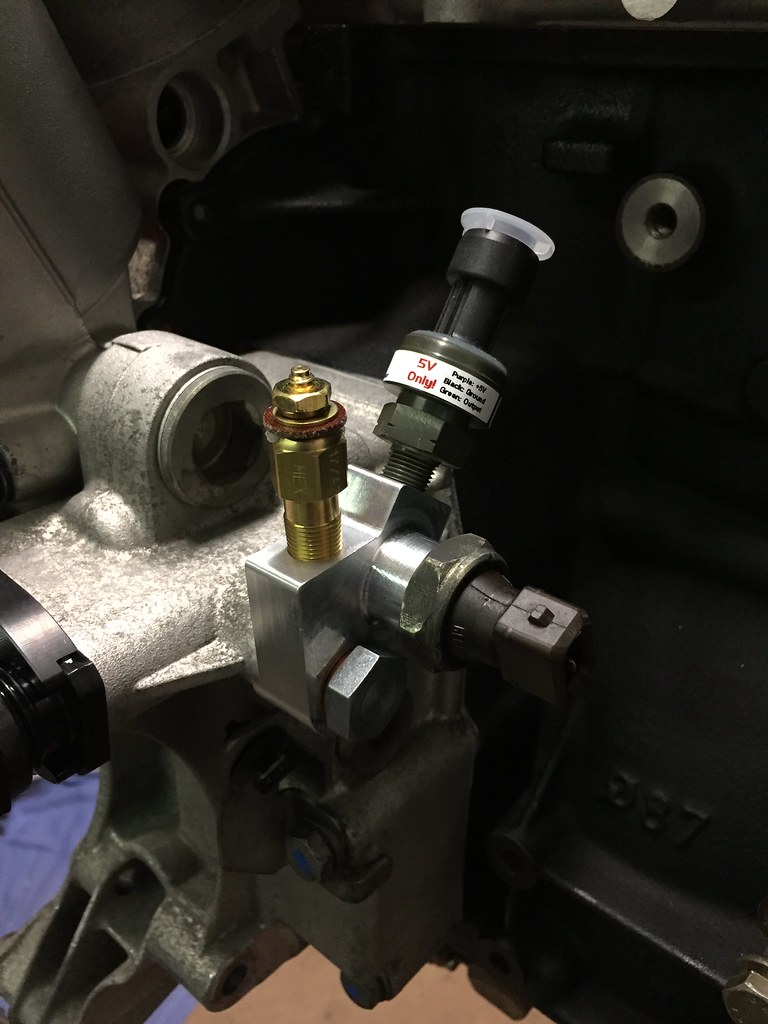
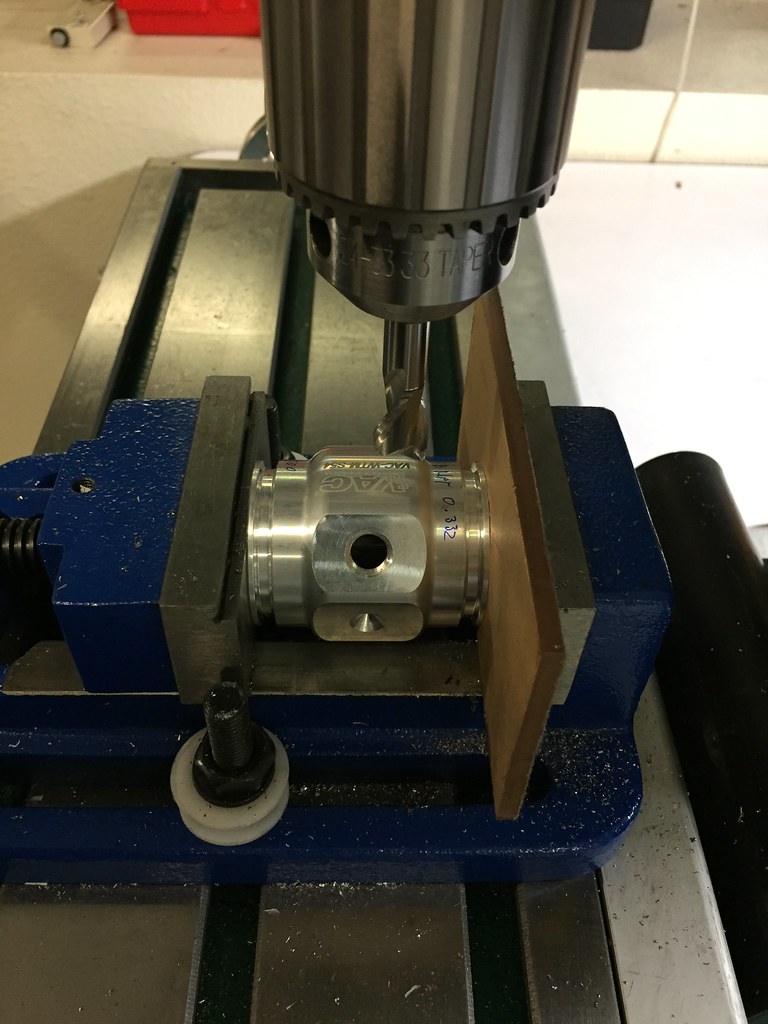
 The Build by Evan Nessim, on Flickr
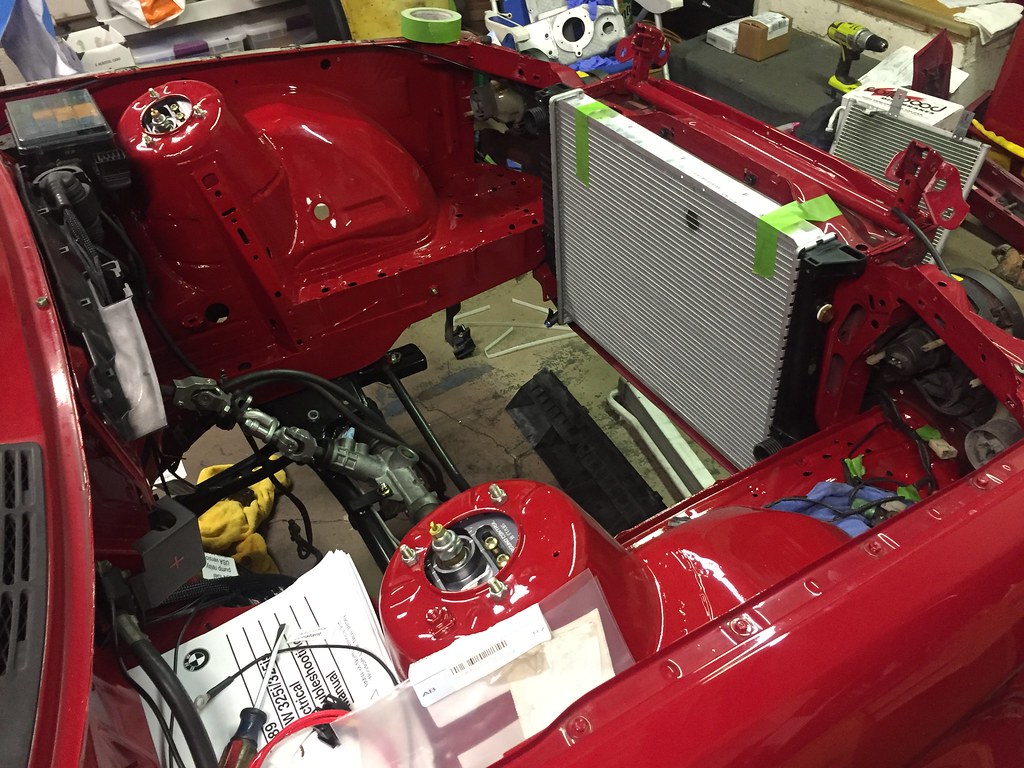
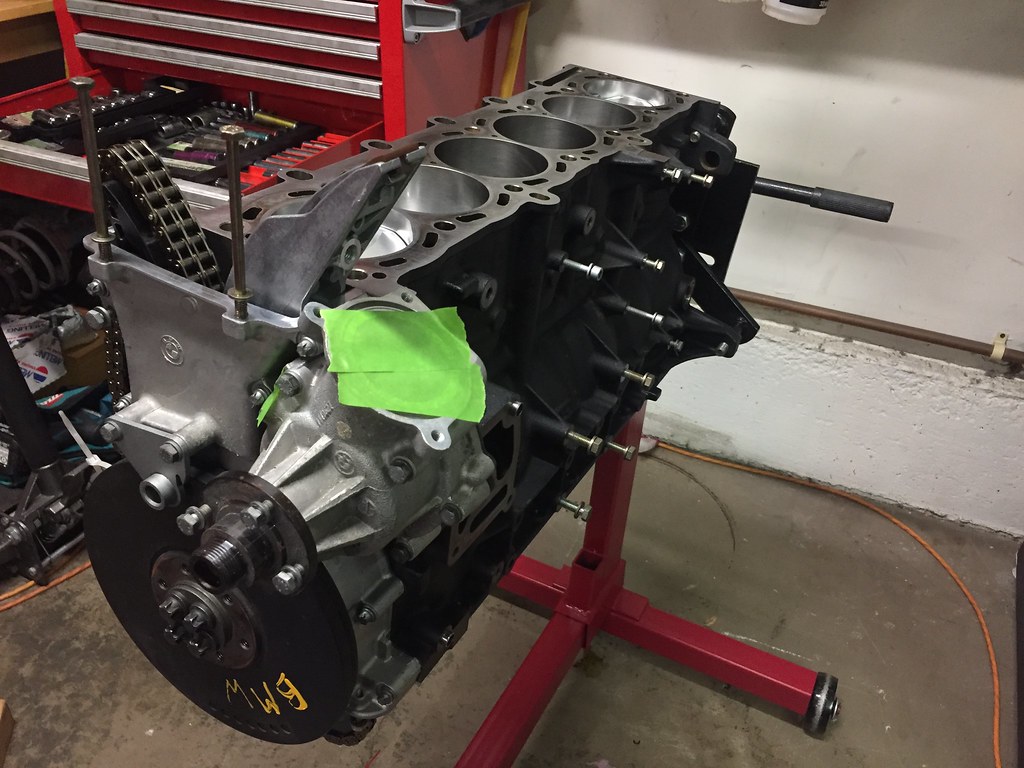
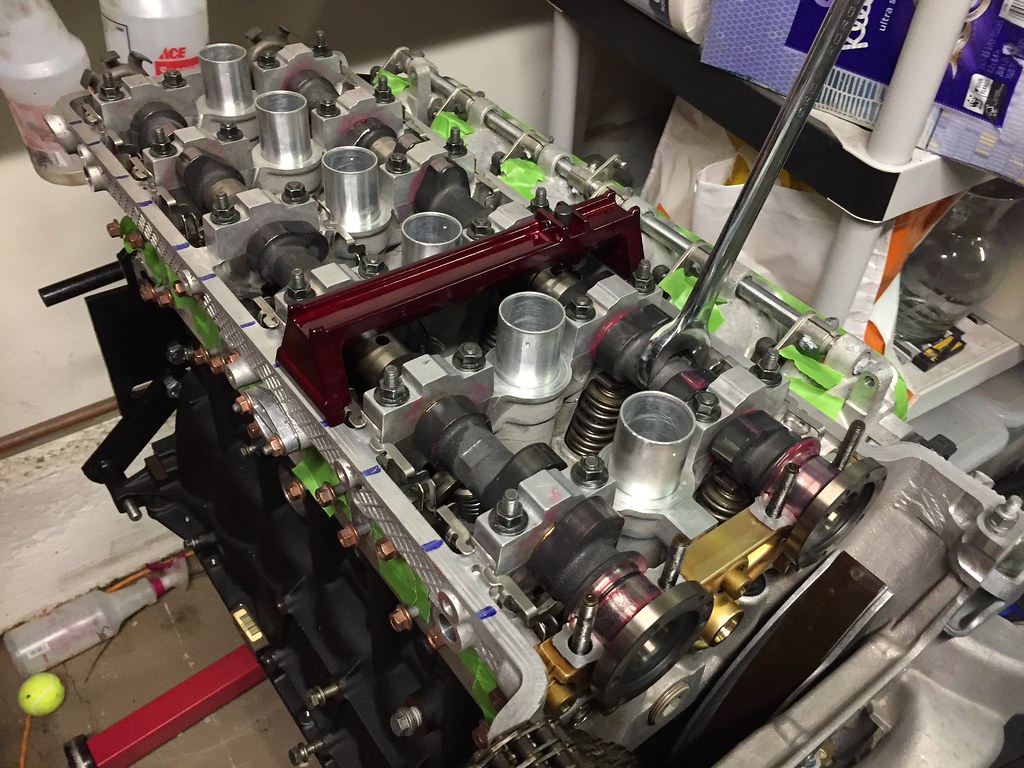
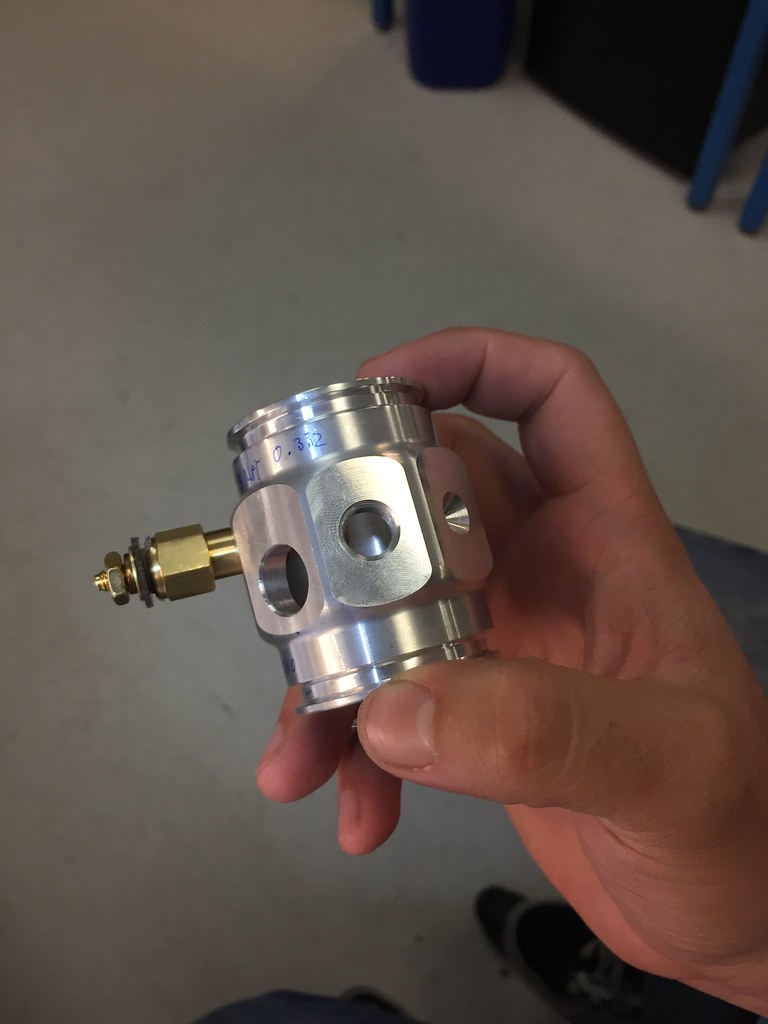
 The Build by Evan Nessim, on Flickr
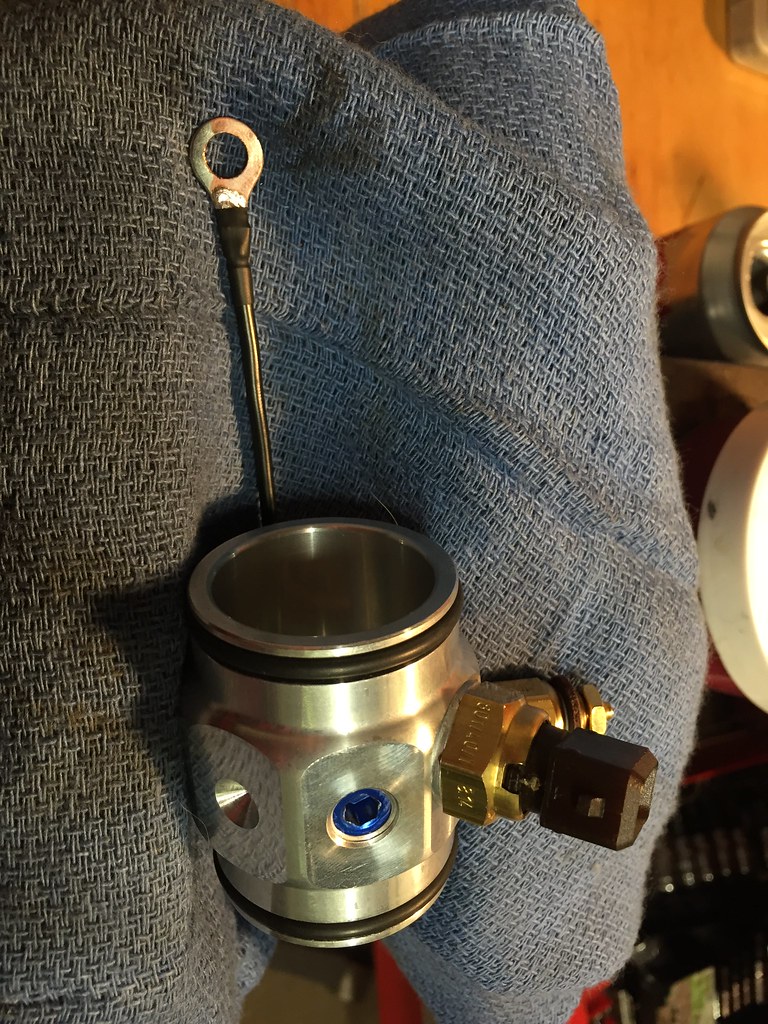
 The Build by Evan Nessim, on Flickr
 The Build by Evan Nessim, on Flickr
 The Build by Evan Nessim, on Flickr
 The Build by Evan Nessim, on Flickr
 The Build by Evan Nessim, on Flickr
 The Build by Evan Nessim, on Flickr
The Build by Evan Nessim, on FlickrDecided to chop up my front subframe and ship it out to Tyler at the ArcAsylum along with my oil pan and headers despite reading about how difficult it is to contact him. I got the subframe and oil pan back and it is damn beautiful. However, Tyler still has my headers and it has been over six months since he said the completed exhaust system would originally ship out. I see that he has taken great time to create a much improved ArcAsylum website and explain that he is swamped so hopefully this means Ill be seeing a completed exhaust with my headers by the time I have the engine running. Tyler is indeed hard to contact, but his work is unquestionably well done.
The Build by Evan Nessim, on FlickrThe Build by Evan Nessim, on FlickrThe Build by Evan Nessim, on FlickrThe Build by Evan Nessim, on FlickrThe Build by Evan Nessim, on FlickrThe Build by Evan Nessim, on FlickrThe Build by Evan Nessim, on FlickrThe Build by Evan Nessim, on Flickr


Comment