

was doing this previous:
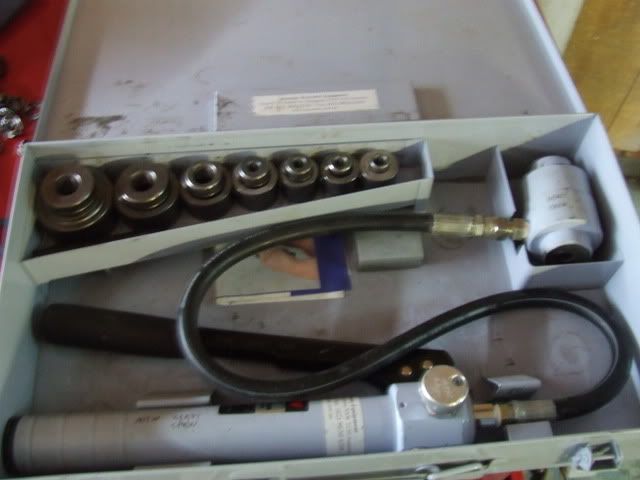
anyway, it was worth it because after having done that for dad he was happy to help tinker for the afternoon. We managed to borrow a hydraulic punch for the weekend and as such needed to work out what gussets and plates we were going to punch for the rollcage and other associated stuff.
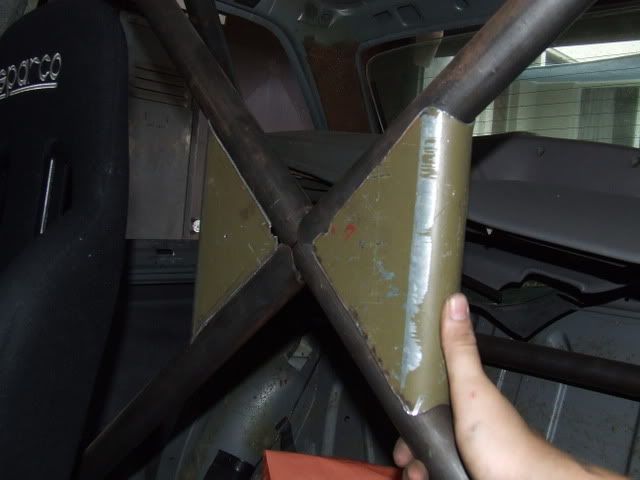
With that we came to the conclusion we need to build several "taco" gussets, for the main hoop, dash bar and roof bar reinforcements. These will be punched with the 2" punch.
To make the taco we built a mandrel and die to push the 1.6 steel into using the hydraulic press. My absent mind has forgotten to take picture off all of this.
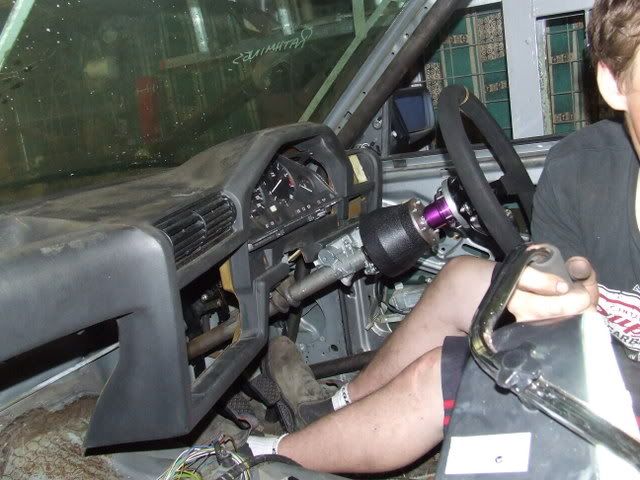
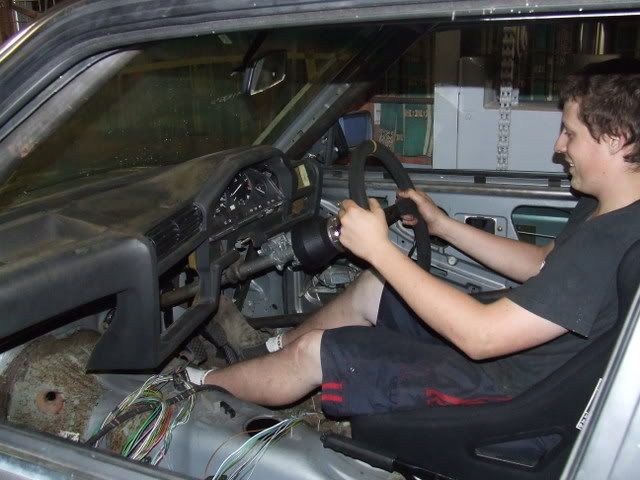
I was focusing on the steering column and steering wheel mods.
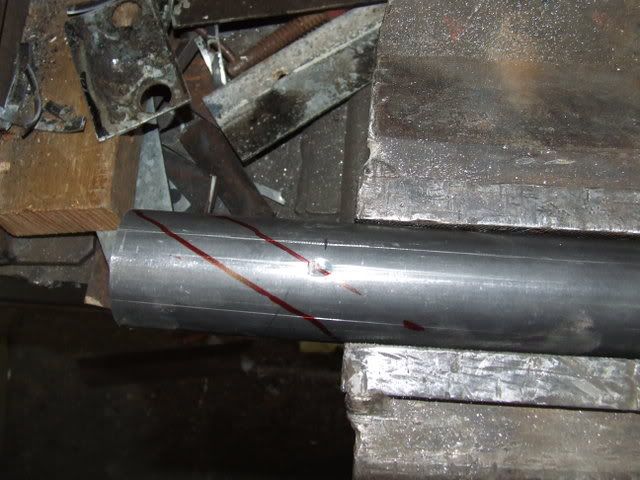
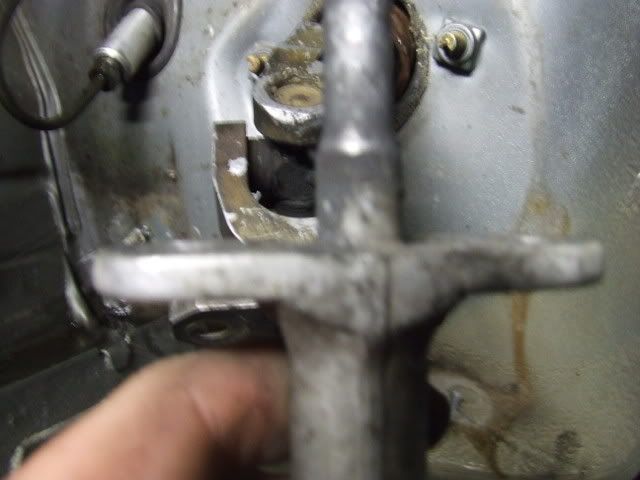
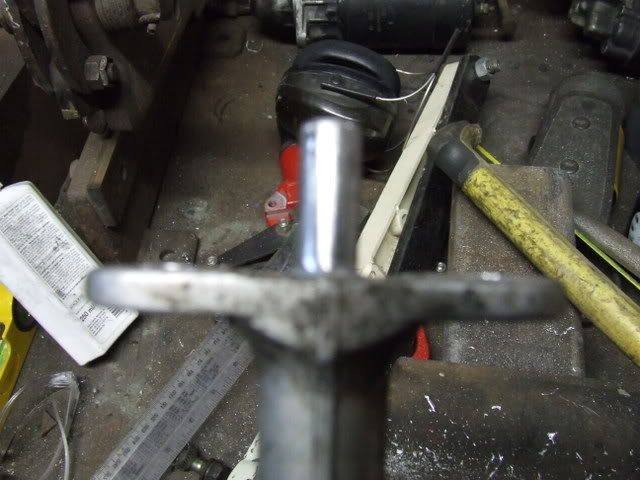
Column on the removal...cut the horizontal anti-tamper bolts.
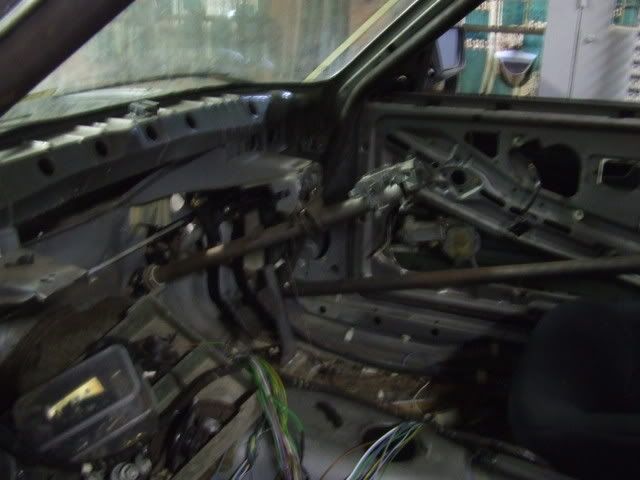
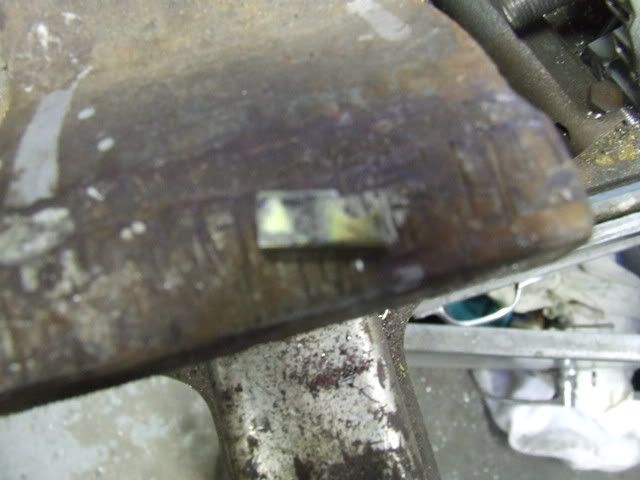
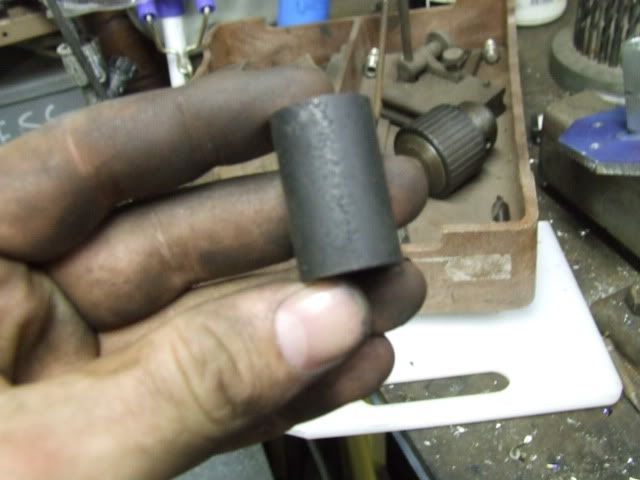
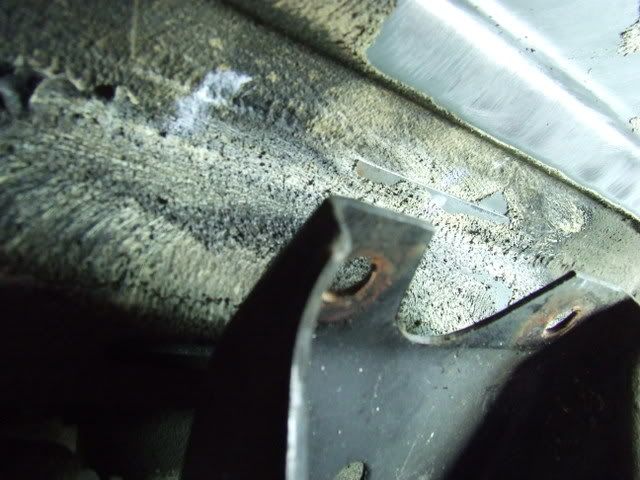
Then chiseled the other ones out. Then i had to work out how to get the steering lock out. See this roll pin:
remove it:
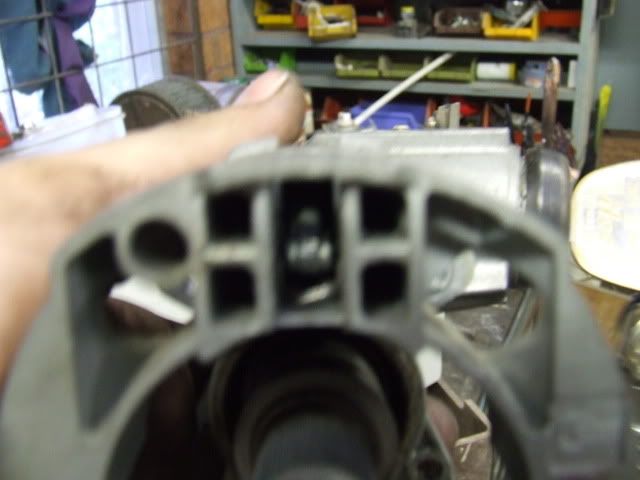
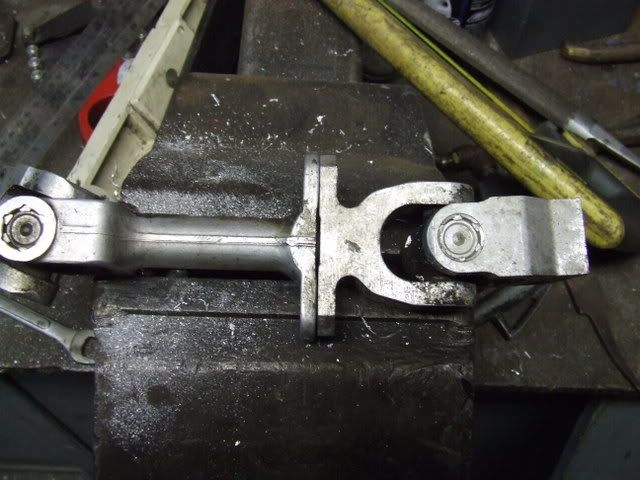
Then i hit on top of the lock with a punch and it popped out (broke the actuator).
This is what is left:
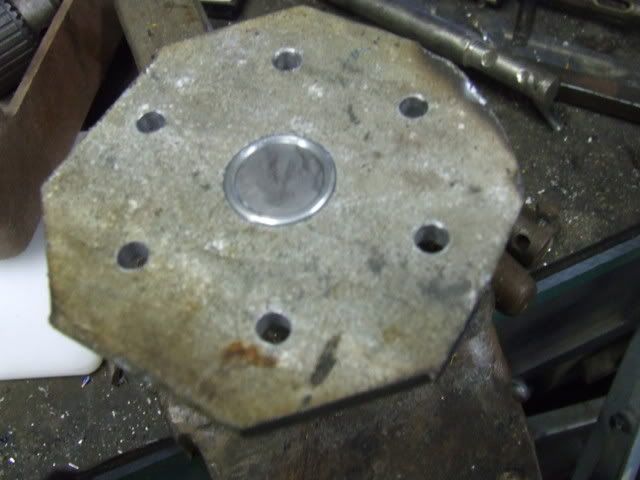
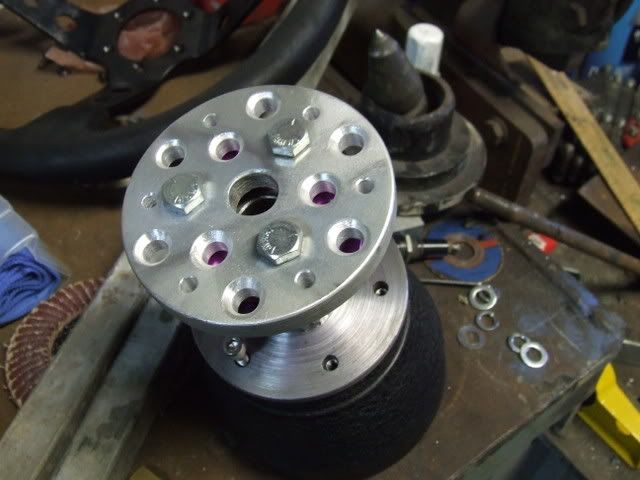
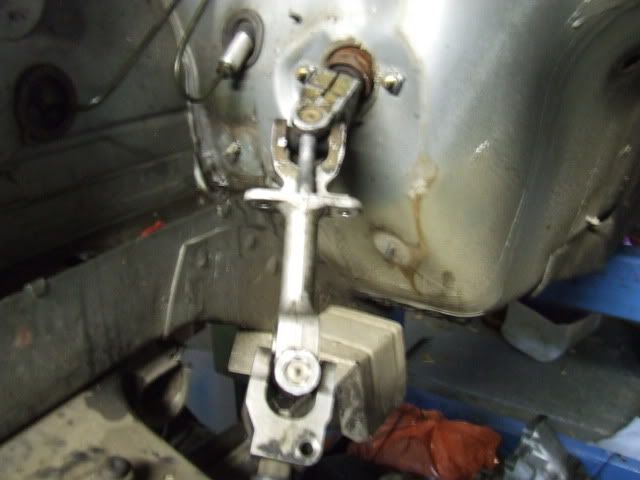
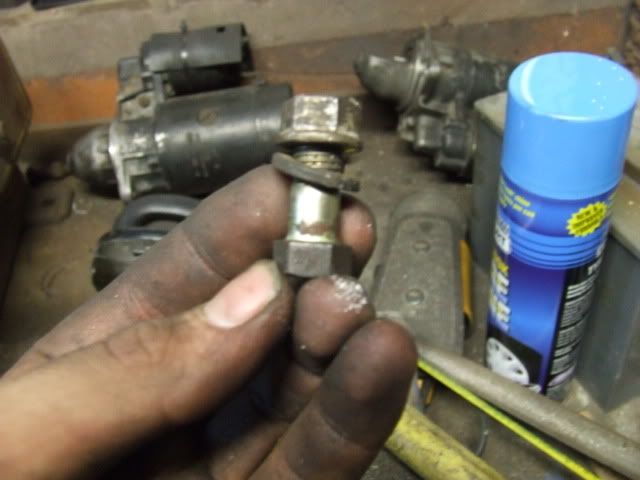
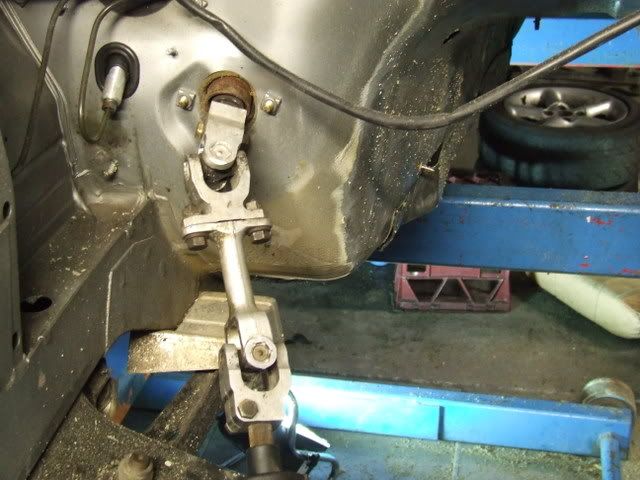
Then i remounted the column with some make shift, adjustable spacers:
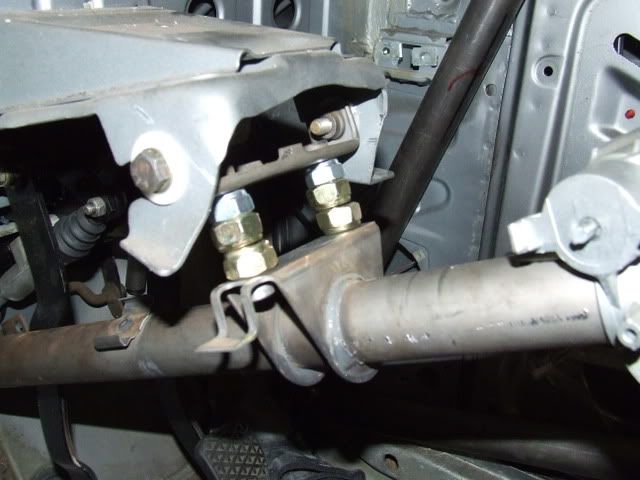
Three nuts worked out to be pretty right. I will remake these out of some aluminium stock or what ever i find, that seems light :D
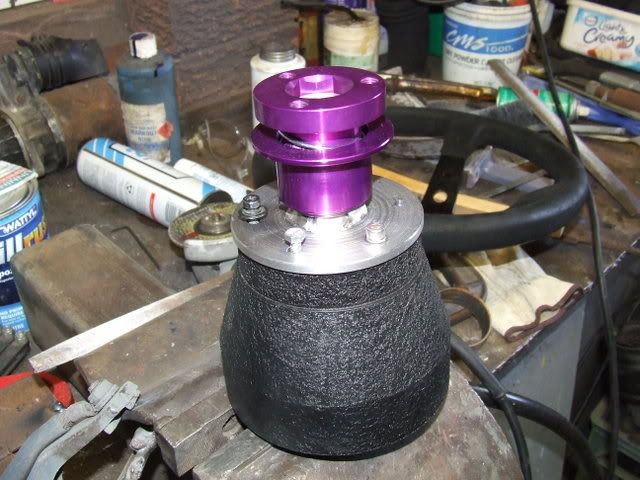
Some pics:
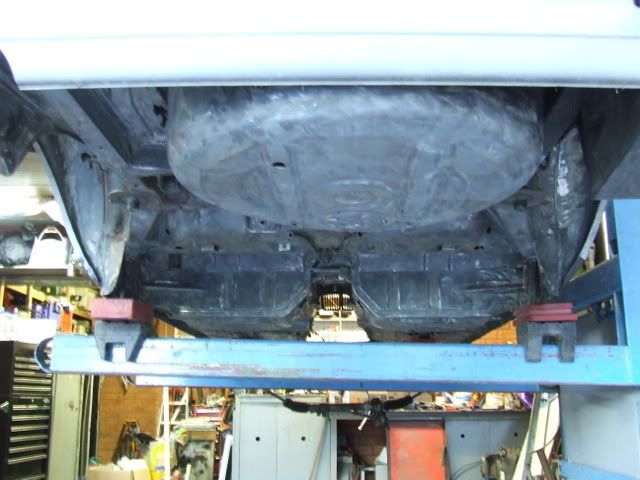
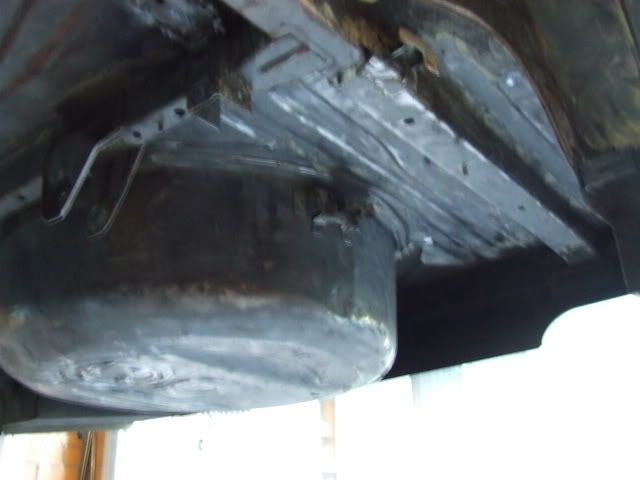
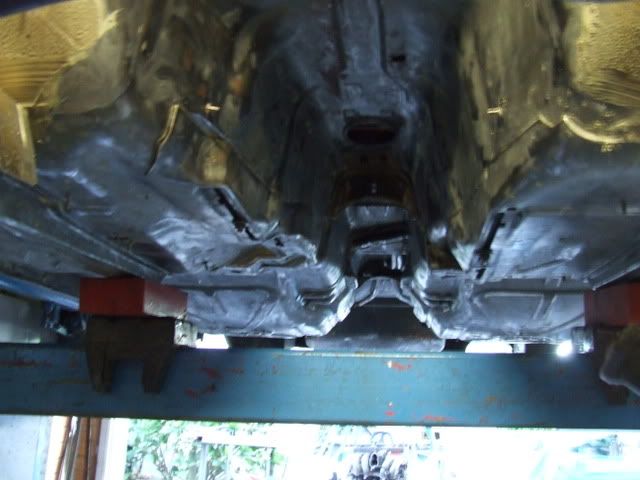
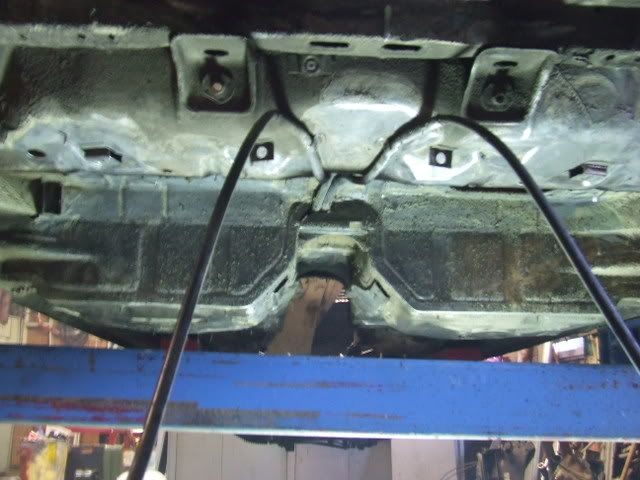
I also removed the 318iS fuel tank which has a few benefits. One smaller capacity (65 litres is unneeded. And also has a balance line across between the two tanks, reducing the issues with surge.
Thats about all I did today
Alright...so guess what the plans have changed again!
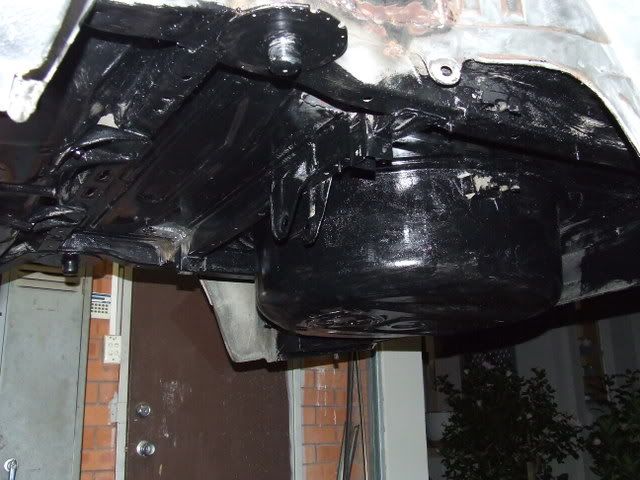
Yesterday was a day for thought. Basicallly we were looking and thinking about the cage construction again. and came to the conclusion that throwing the fuel tank in right where we are planning to weld the main hoop to is a bad idea!
because we aren't throwing the tank in we can't throw the subframe in etc etc.
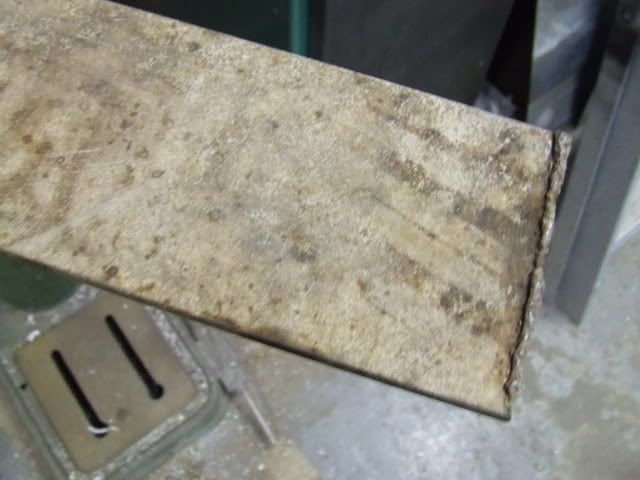
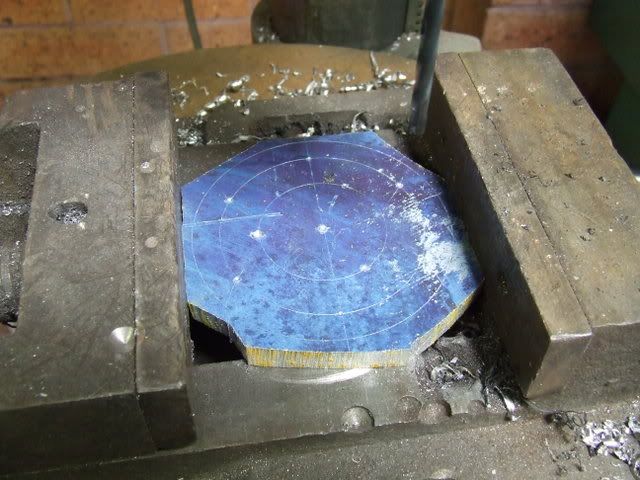
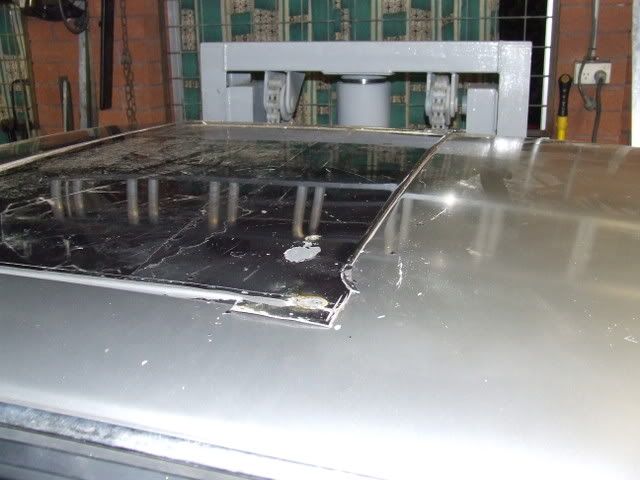
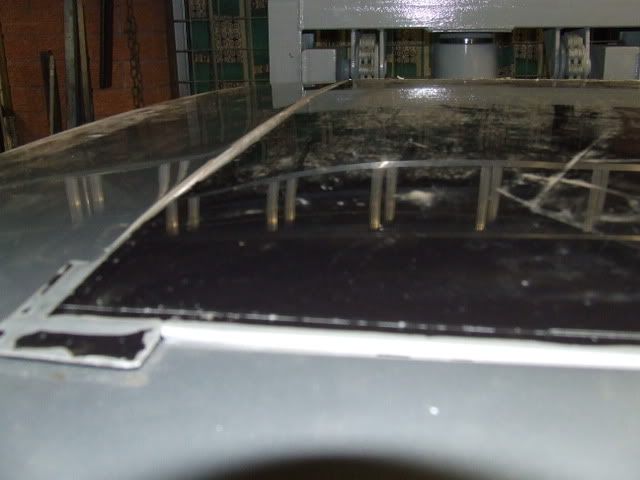
so yer yesterday i focused on the taco construction and tag plates. so as to use the punch while we had it:
the punch, good bit of kit this, but it would want to be for $4000!!!!
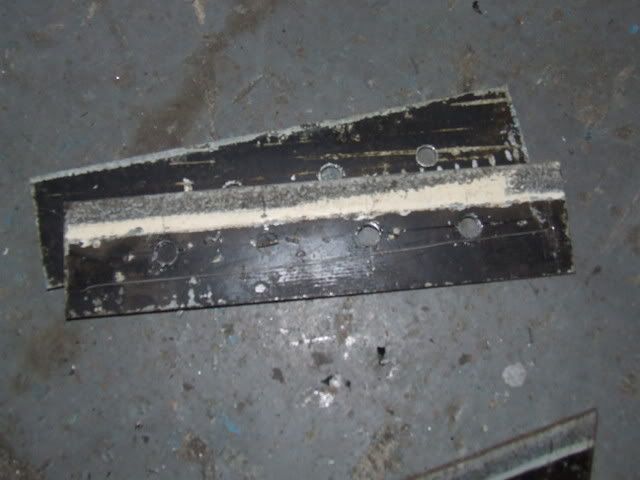
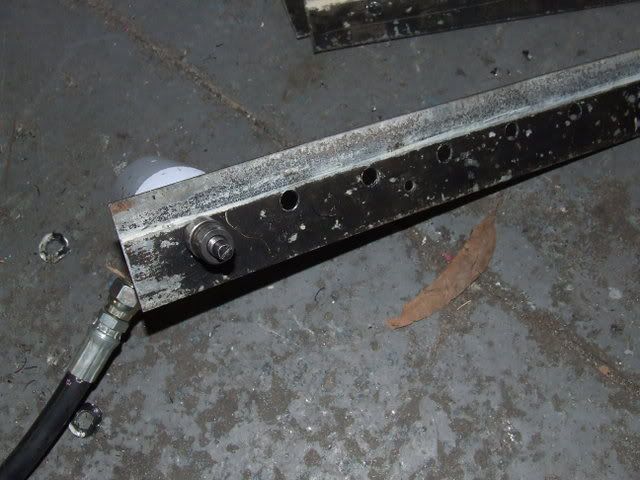
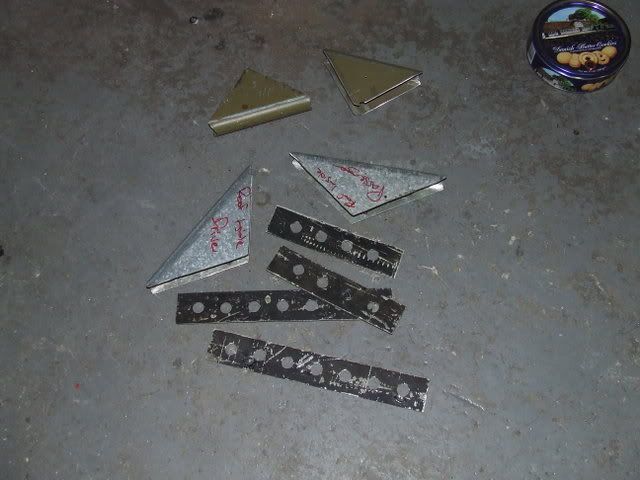
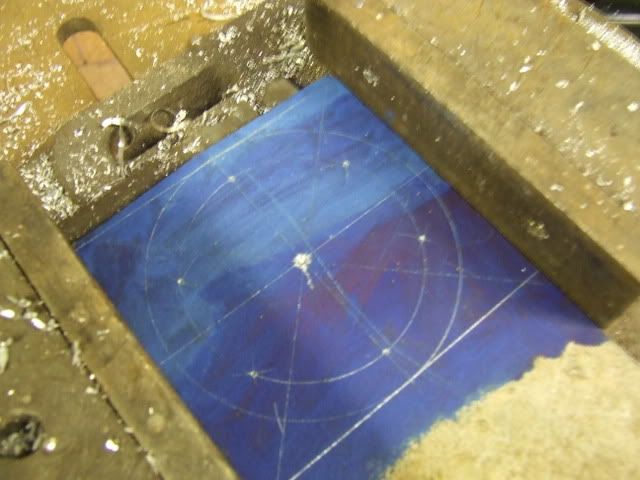
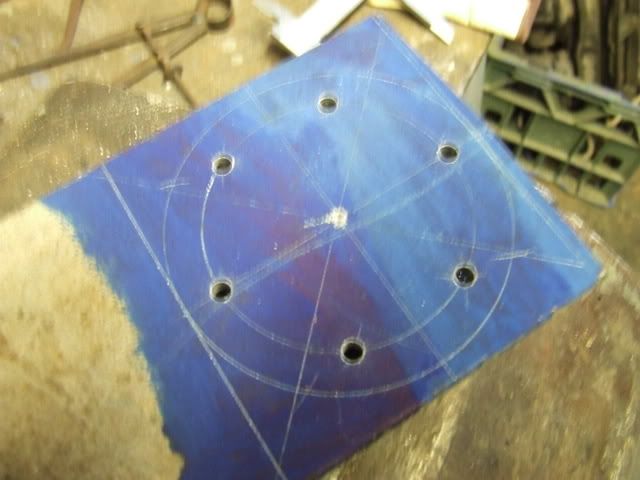
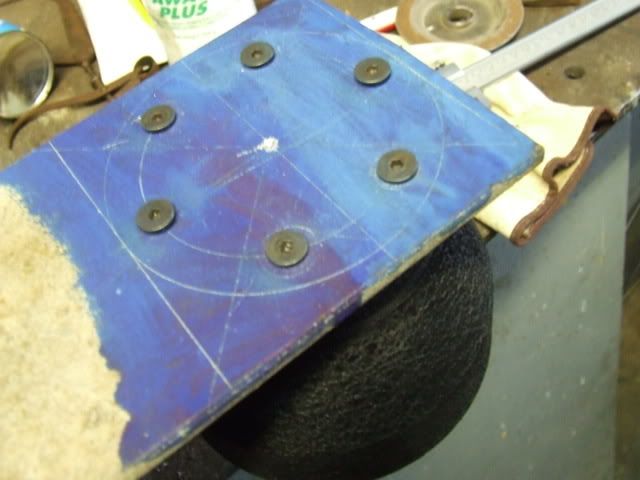
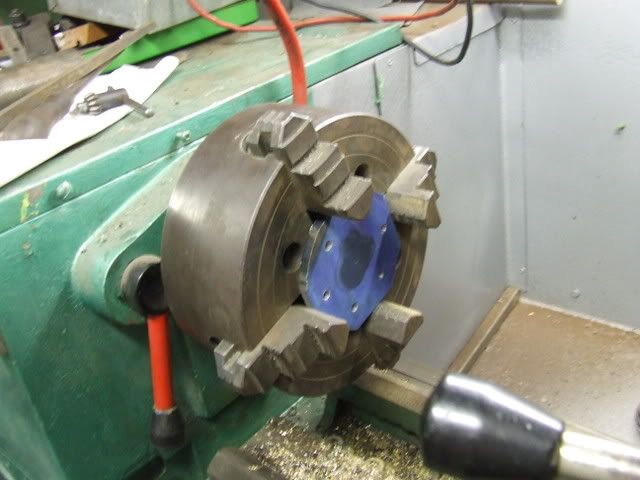
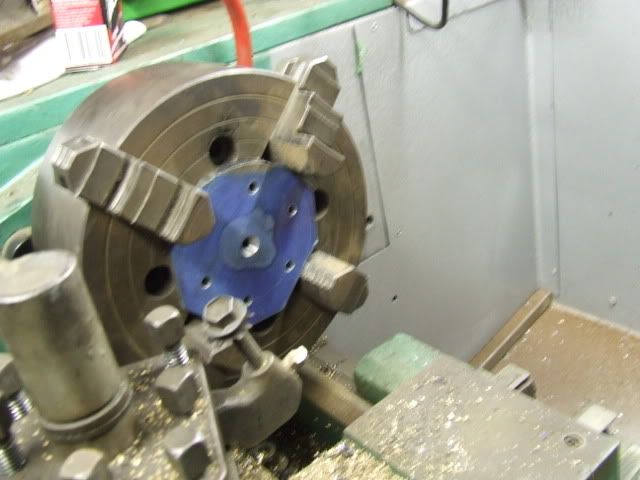
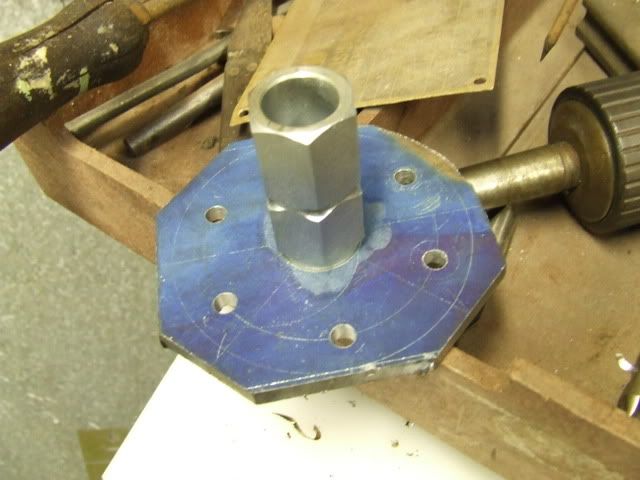
drilled plates
ready to punch
A punched piece

The days work
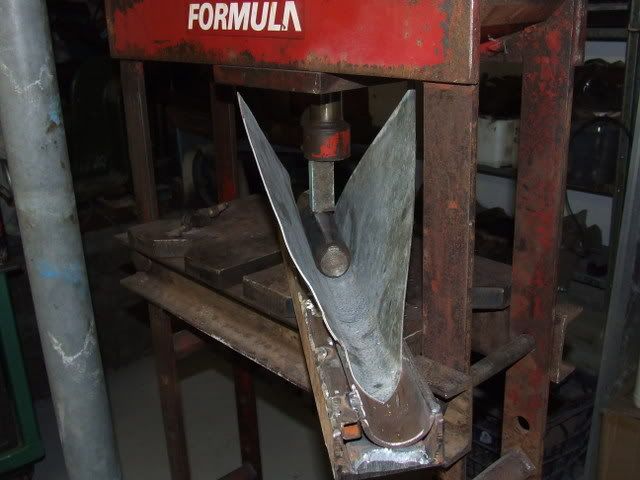
Our taco mandrel
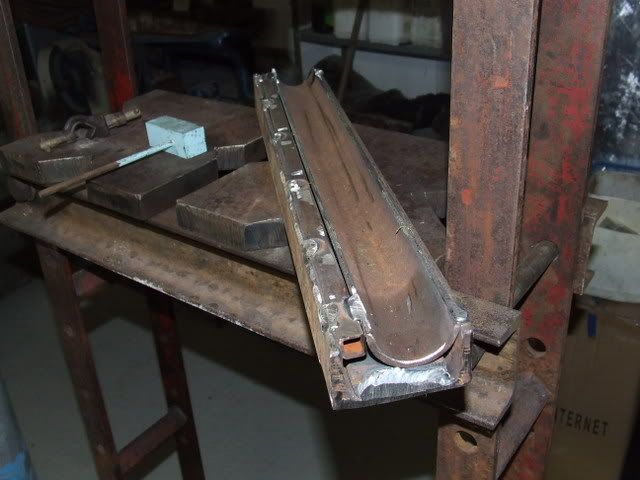
ready to press
started to press
Moved the mandrel along (it was too short)
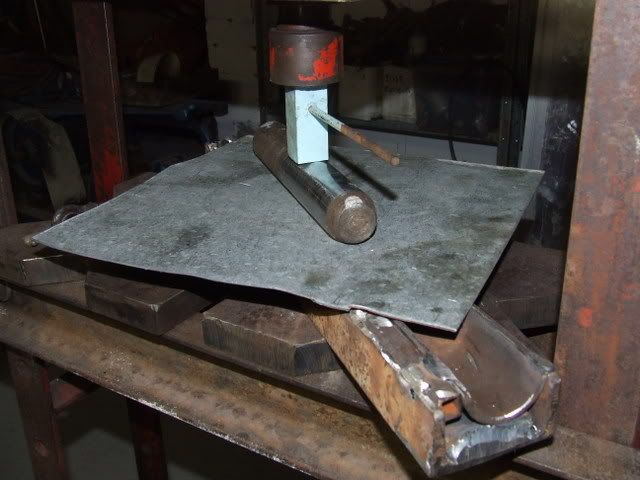
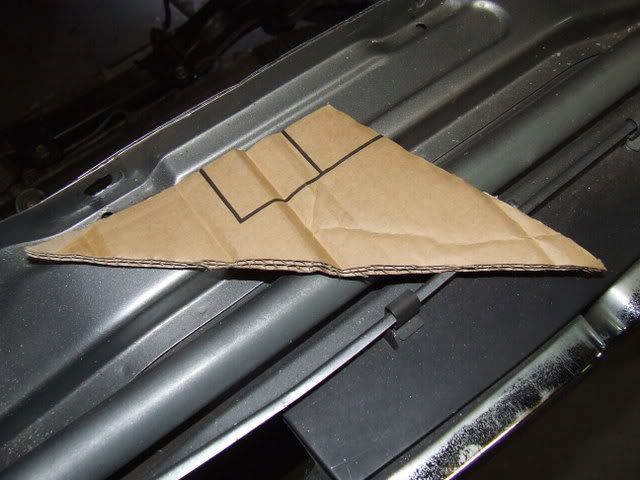
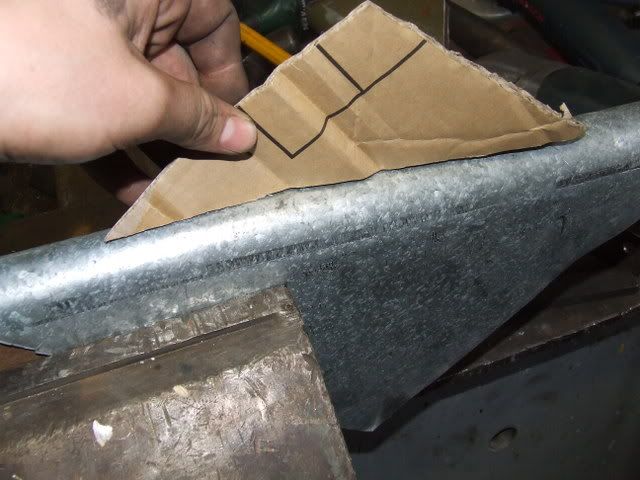
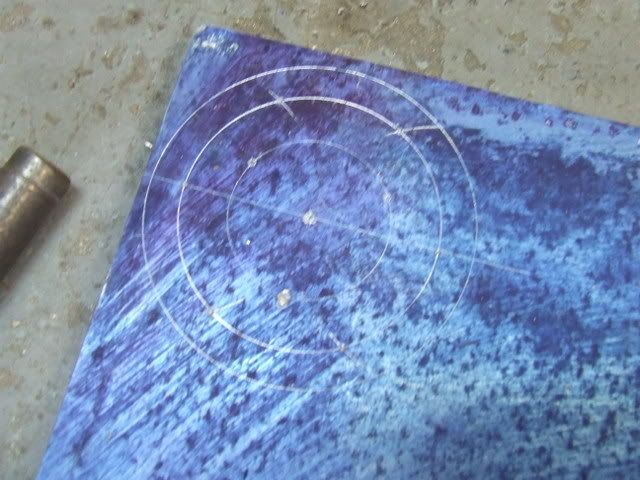
A taco template
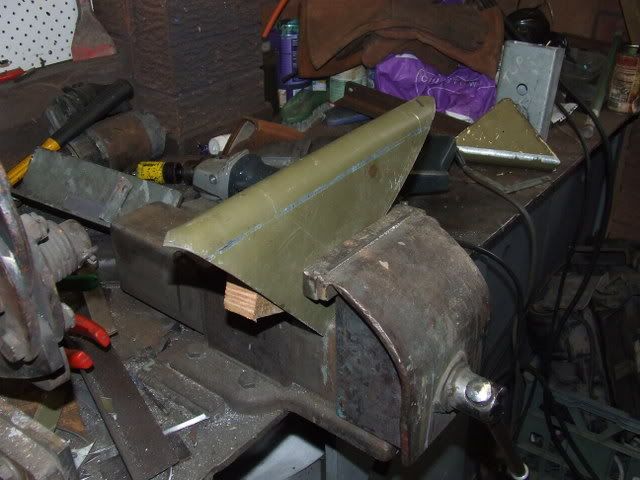
but i then decided to make the taco bigger
Finishing the taco bending
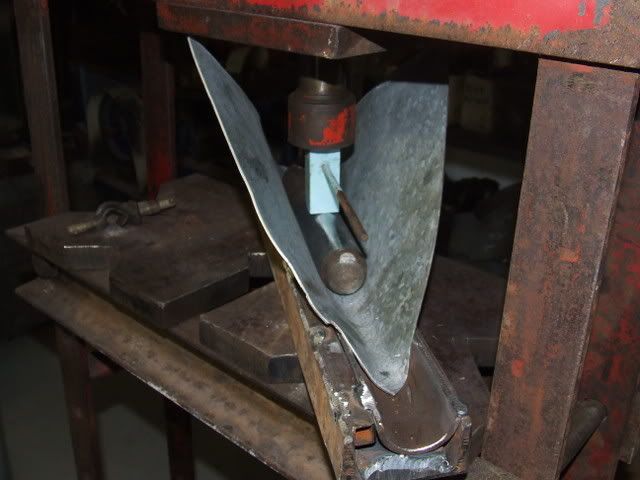
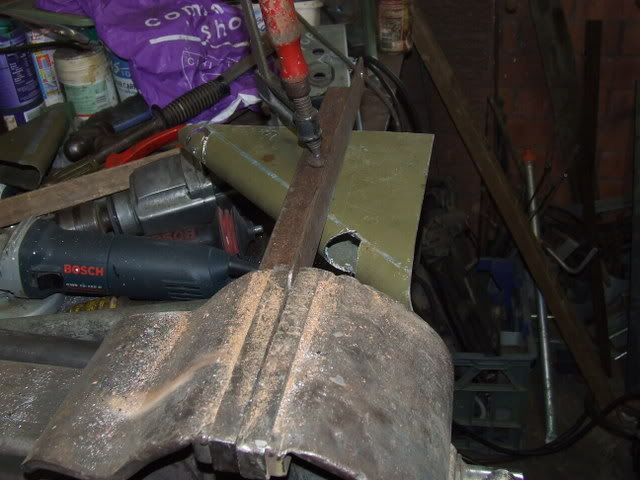
drilled the ends of the taco and getting ready to cut with plasma
taco ready for fine tuning
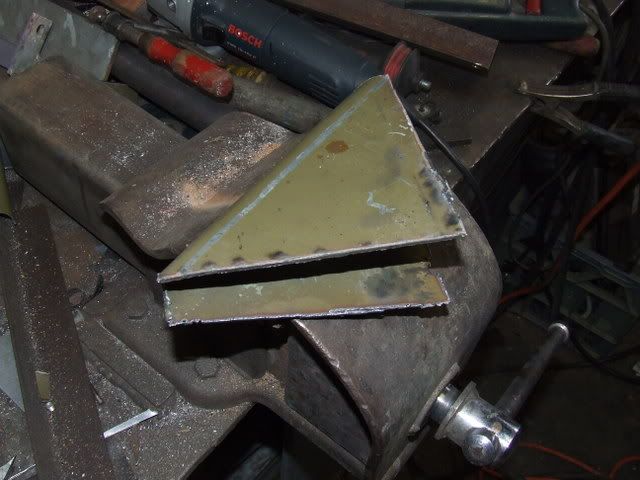
finished products, bar punching
stringline in the door bar to find the angle of cut needed
something along the lines of this
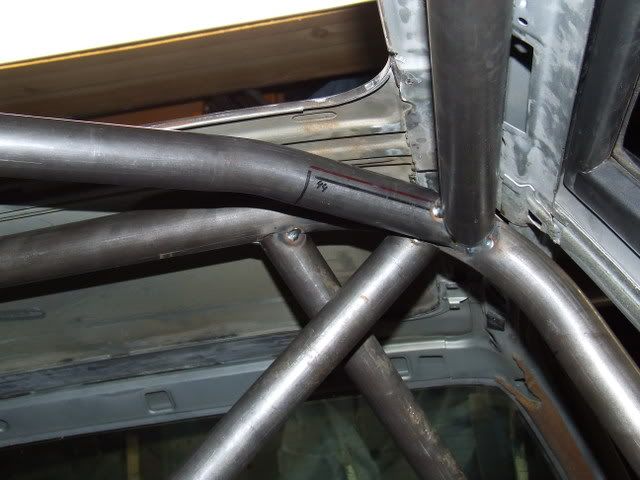
OKay that was yesterday. today we did even more thinking about the rollcage and have decided to plough on with rollcage finalisation and get the car rolling afterwards. we need to really have the cage wrapped up in two weeks. This is doable given all thats left is the dashbar and drivers door bar reinforcements. then chop the floor and weld the cage up. Its doable, but probably be pushed for time still.
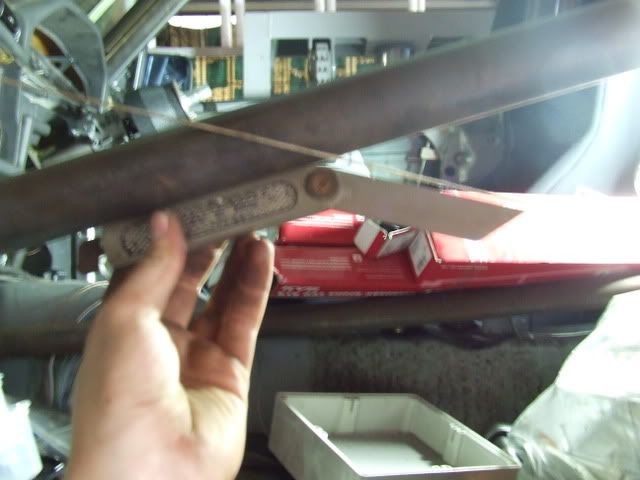
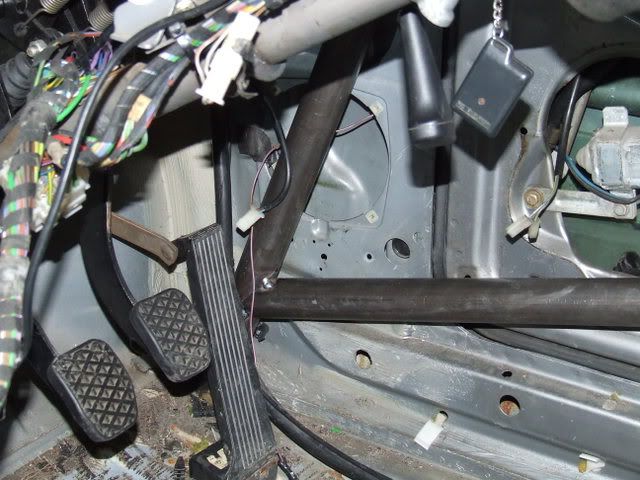
So i worked on finalising the door bars....passenger side was easier to work with obviously
Here i am using the stringline to find the angle of the notch
i cut the tube long. then measured the lengths needed for the lower and upper portion of the door bar, the two pencil marks. Then found the middle of this and made it so the middle of the notch went through this mark. Thus i have the same angle on each bar and should have enough lmaterial to construct each bar....i had shitloads

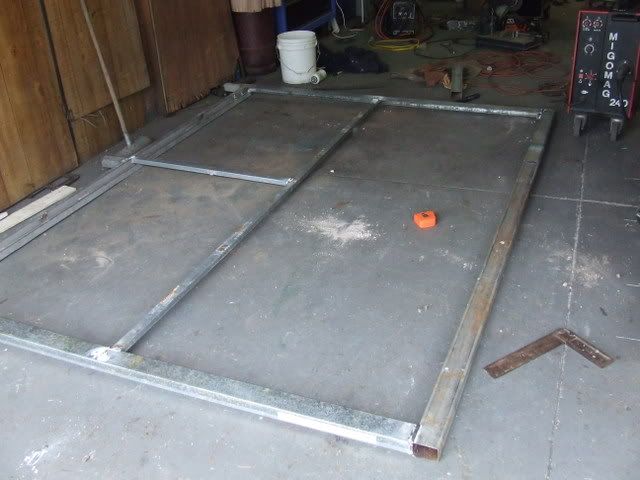
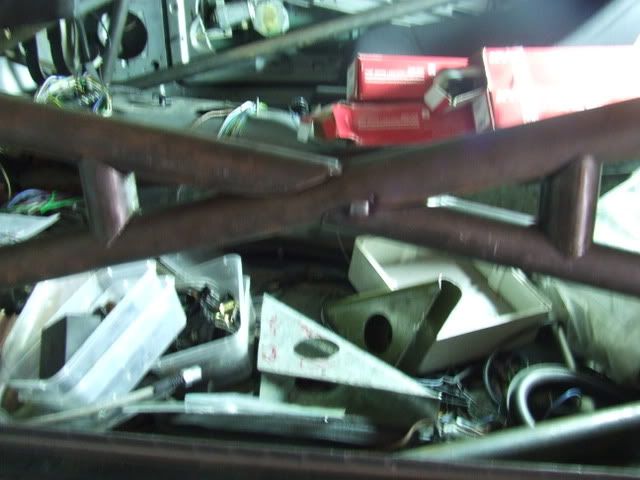
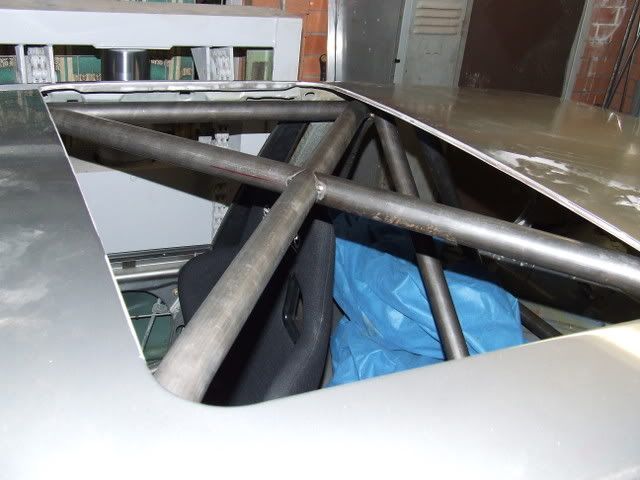
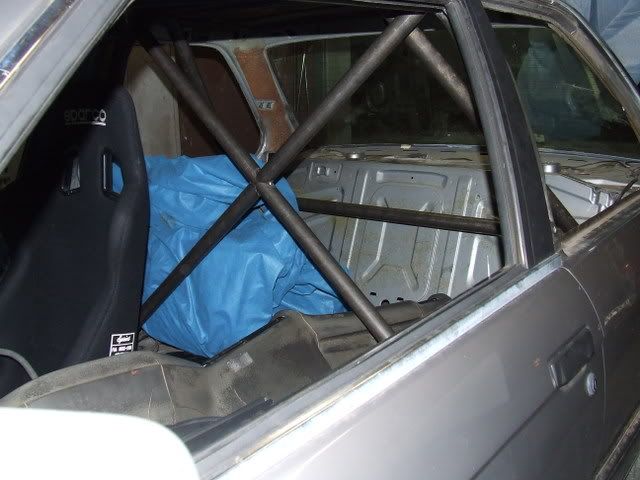
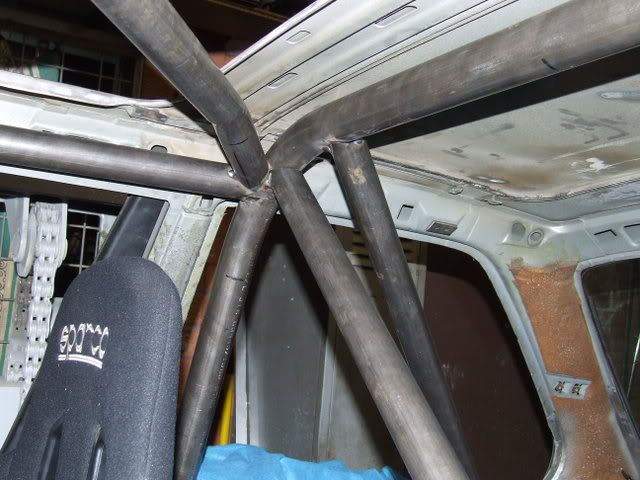
doorbars
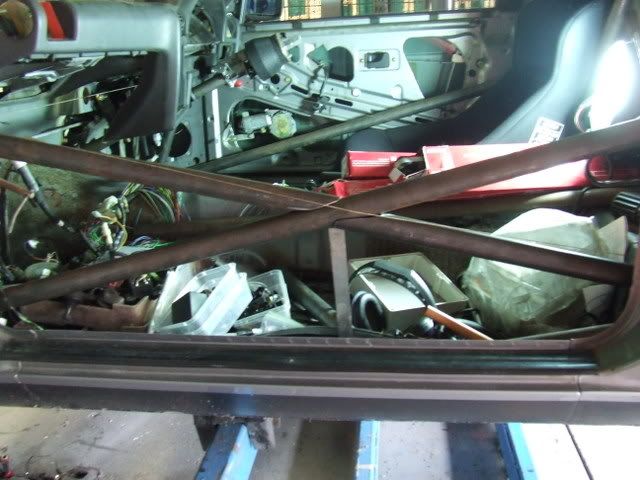
door bars and the verticle bits
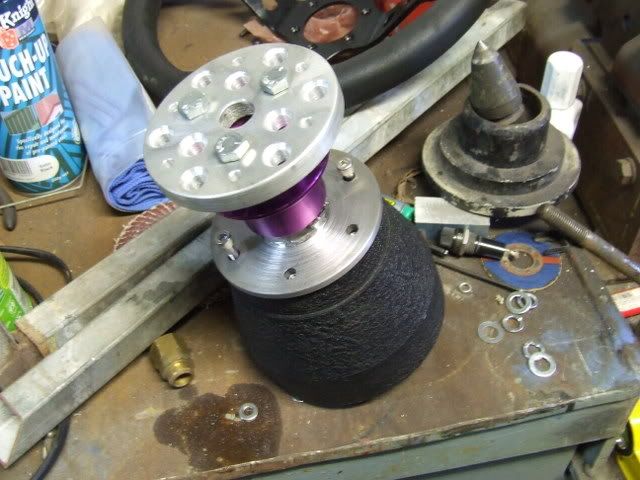
This gives you an idea of the finished product. The taco will obviously be retangular and possibly have a tube reinforcement on the bottom as well (this will require serious notching)

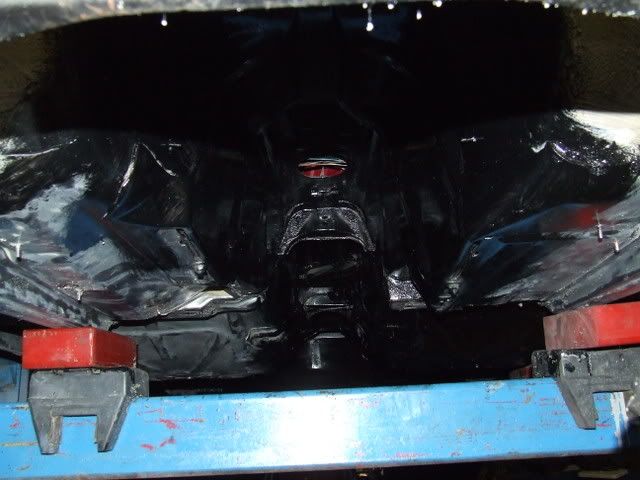
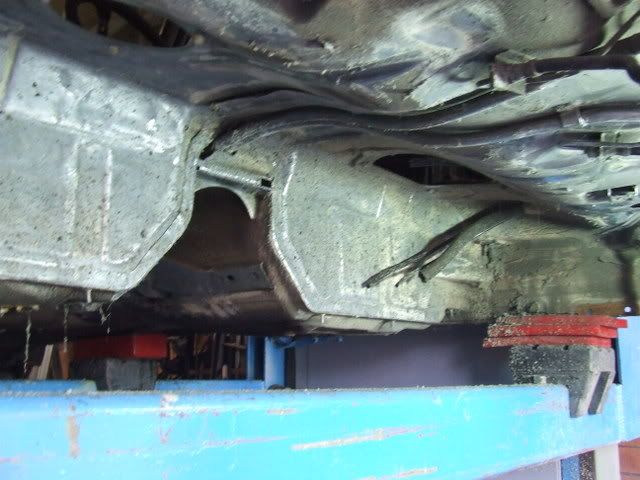
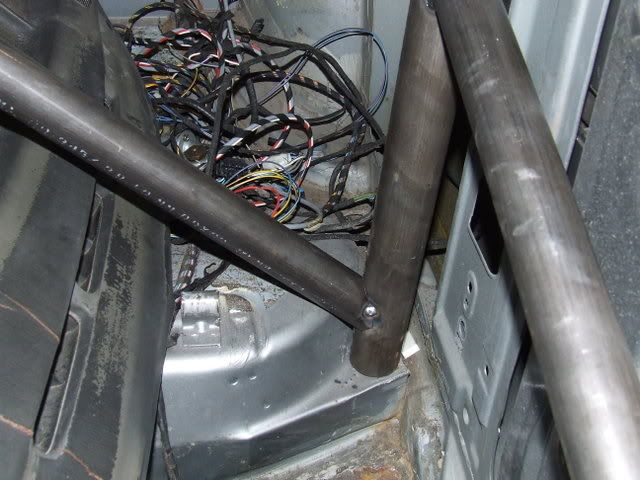
I also threw the handbrake cables back in for shits and giggles (more shit up off the floor out of the way

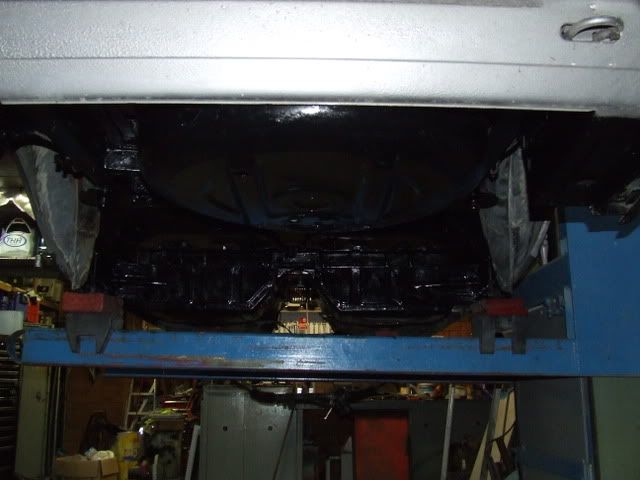
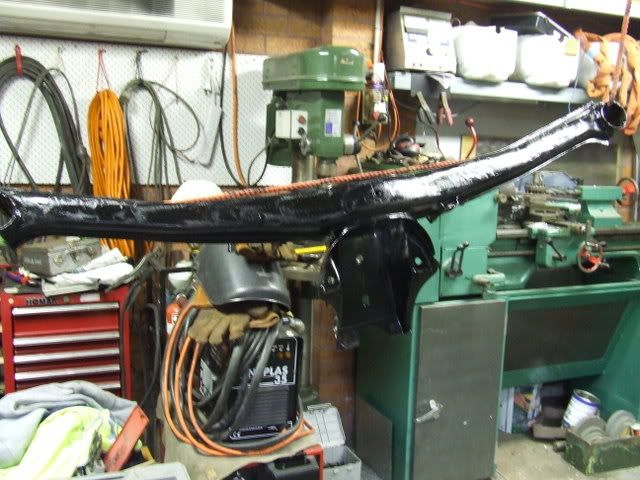
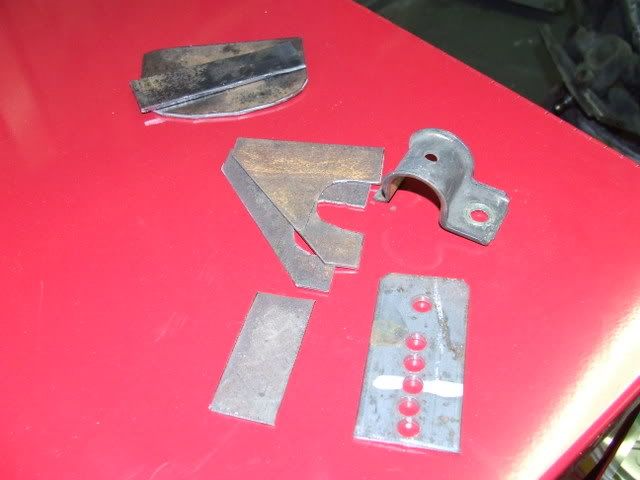
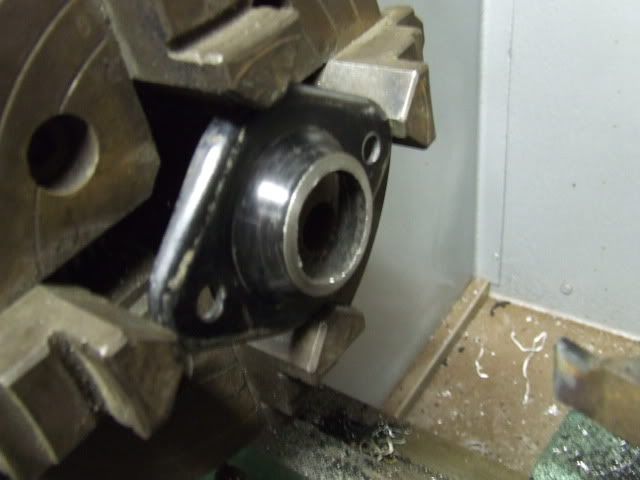
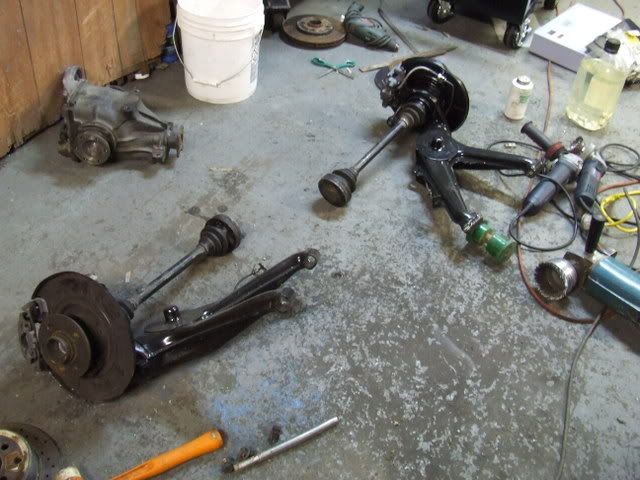
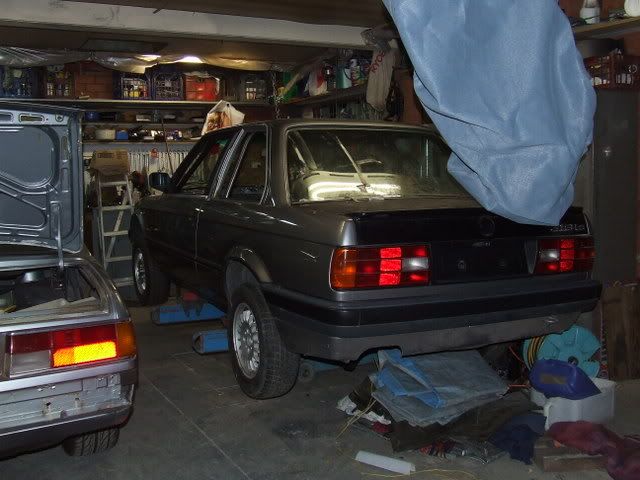
and started to assemble the subframe, again reducing the shit kicking around. I'm giving up on making predicitions of what work will be done because the plan keeps changing, who knows tomorrow arvo i could get bored and throw the engine in
but basically little things like shock mounts and spring seats will get made during the week after work while major fabrication can't really take place and then on the weekend ill focus on major things like welding the cage in and then throwing the suspension bits in.
hope you all had a great Australia Day!


Leave a comment: