
Excellent work and excellent write up. It is a damn shame that a euro E24 had to suffer such a fate.
-

-
Thanks! I agree, it's a shame that people can take such poor care of a vehicle, especially when it's a classic like a 6. What's worse is that the PPO spent several thousand on a full respray in some GM color, and completely ignored all of this rust :???:.
I've also decided on what I'm going to do for the rear badges once all is said and done. The E24 that the engine came out of was a 635csi, for coupe/sport/injected. Since mine is a sedan I can't rightfully use the "c" so I'll be badging this as the first (to my knowledge) E30 335ssi, as an accurate homage to the car that sacrificed to make it all possible.Comment
-
So you had the front valance power coated. That's cool - should stand up to rock chips well. But how are you going to match the color to the rest of the car? Paint on top of the power coat? Or match the cars paint to the valence?Originally posted by Matt-BComment
-
I was given several swatches that had been baked onto aluminum cards to accurately represent the final color. Putting them up to my car in good sunlight, I picked one that seemed to match quite well. I'm hoping that once I get the valence mounted up (since that touches OEM colored pieces, the wheels will be much more forgiving) that it matches well enough to get away with. If it's really obvious that the colors aren't exact I guess I'll have to pull it off and get some color matched paint mixed up and spray over the powder. I'm really hoping it'll be close enough to get away with though, having it stripped and coated was $150 total, and I could have easily just gotten in stripped and painted it myself while off the car. I may be able to mount it this weekend if I'm lucky and find the time, fingers crossed.Comment
-
Well - even if you have to paint it, any chips you get will be damn near imposable to see now. Keep up the good work.Originally posted by Matt-BComment
-
Comment
-
I took advantage of the great weather yesterday to undertake probably the most necessary cosmetic modification to my car: replacing that old battered valence! As pictured in a previous post, I had the valence professionally stripped and powder coated, instead of being painted. I was having my wheels done and had never heard of anyone powdering a valence so I figured I'd give it a shot.
Here's how it went:
First I removed the front bumper from the car, which is a sub-1-minute procedure. Take a 10mm allen/male hex socket and undo the two large bolts that connect the bumper to the bumper shocks. Mine were not rusted and didn't take an unreasonable amount of force to get off; I've heard some people have trouble with these.
Pull the bumper most of the way off and disconnect the plugs that go into each turn signal bucket. If you have US bumper trim, remove the running light lenses and disconnect the wires before taking off the bumper, and push them inside of it. I have european trim so my running light wires were long since wrapped up and stowed away. You're left with a bumper-less E30:

Pop the hood, but do not open it. Undo the clips on top of the headlight grills and kidney grills. Remove kidneys. Remove two screws on bottom of each headlight grill and remove grills. I did this later so my pictures don't reflect this yet, but now is as good a time as any. Make sure to keep track of the clips and screws, there's going to be a lot of them floating around by the time everything is removed, so don't lose or confuse 'em.
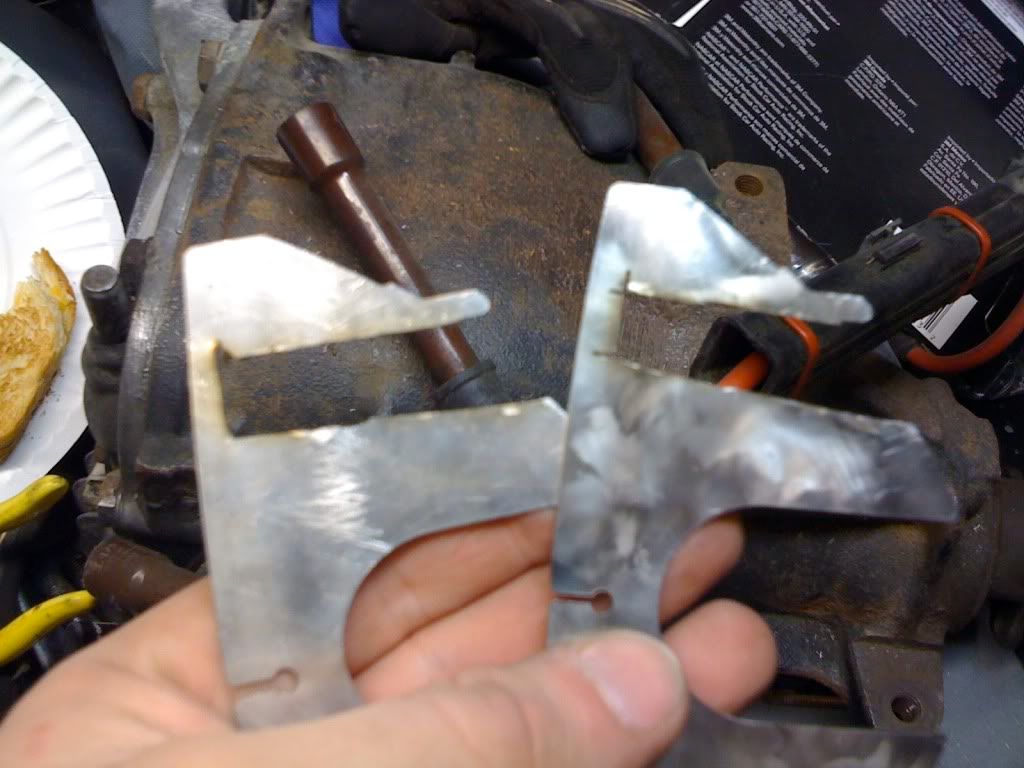
Now it's time to start actually removing the valence. There's a bracket on each side of the valence, that the bumper slides into when on the car.

Each bracket is held in with two screws, accessed from behind the valence/fender.

I jacked up the front of the car at this point to get some more room under the currently installed valence; for those of you with lower cars this is probably a necessity. In the picture above, you can see the two empty holes on the right where the bracket was held in. The nut towards the left holds the horn in place on each side, and undid the horns to let them dangle in order to get more room around the bracket screws. Next to the brackets is another screw on each side, that also goes through the fender and valence:

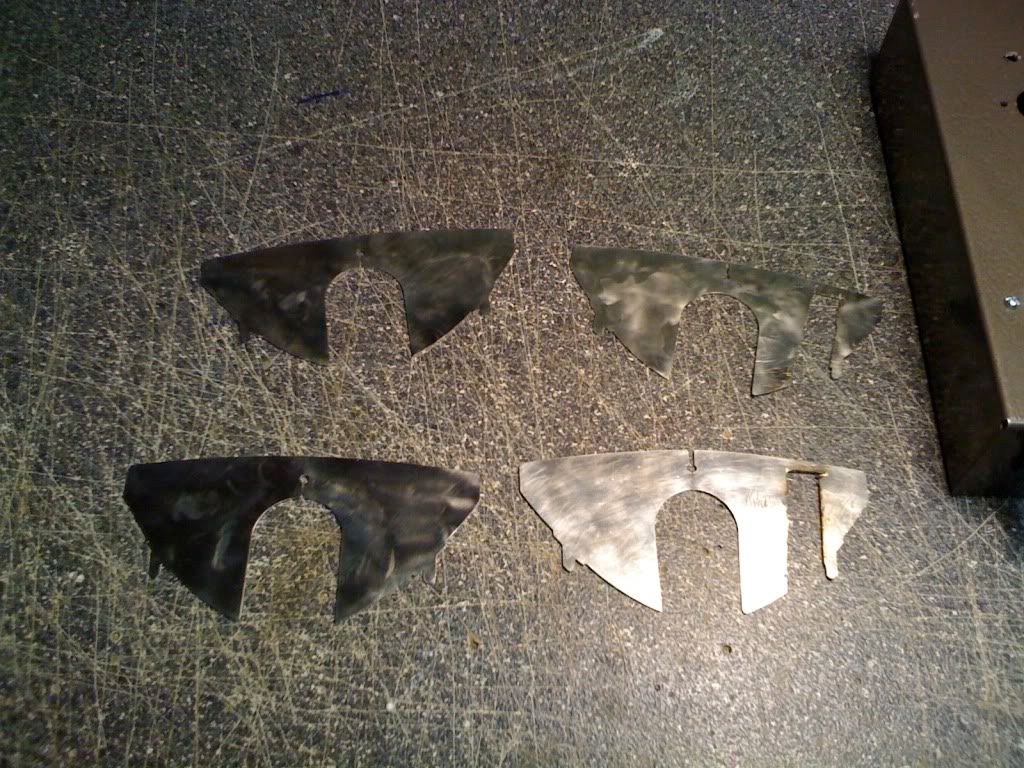
Also remove the screw(s) that hold the lower fender liner/thing with brake duct hole as there was one screw on each side of mine that attached it to the valence. Next up, focus on the lower left (for the passenger side) and the lower right (for the driver's side) where the top most valence panel slides into part of the fender. There are two fasteners on each side, one from above, one from below:
The top is another 8mm (I think?) head like the rest that have been encountered so far, it.s the one that screws in from above:

BMW decided that for this particular applications, the metric system used on fasteners everywhere else through out the vehicle wasn't good enough, so in their infinite wisdom, they figured out a T25 torx would provide maximum security for anyone trying to steal your valence, and the maximum annoyance for owners trying to do the same. This is the screw that goes in from the bottom:

I took a picture of this for some reason, I'm pretty sure that this is one of the upper mounts that attaches to the left and right of the radiator, near the high beam on each side:

Remove the brake ducts to reveal each of the lower mounts:

This also segues nicely into the next part. Once the valence was fully removed, I had to transfer all the plastic grommets and such over from my old one, which can also be viewed in the picture above. I also transferred the fogs at this point.


New valence fully dressed with fogs and all grommets:

Nekkid E30 face:

I also took the opportunity to hit my brake ducts with some fresh SEM trim paint. I have another pair with fully intact tabs that I
m going to paint white in the future, but these will do for now, secure just fine, and look a lot better than they did before, where white paint was showing through the chipped black paint that some fool decided to hit my front end with:

I also did the same with another oil cooler grill I had. I decided to try something a bit different with this, though. One of the fins was snapped, so I decided to remove all of them, sand them down, and see how it looked. I think it came out quite acceptable, if not nicely:

Installation is the opposite of removal. Out with the old:


In with the new!


I still can't get over how it looks like a new car to me. After having that bent, mismatched black valence, the car finally looks color coordinated and like a real E30. The color match is actually fantastic. I was worried that the powder I selected, which was a non OEM, powder only color, would not match well, bit it's actually imperceptible, even in perfect daylight. I'll try to get some brighter pics next weekend, as the sun was setting as I finished this, but it really looks great.
Side note: I also finally installed the window trim which had been missing since I bought the car. Two adjustable wrenches and a little coaxing, and they're on there pretty good, at least for the time being:


I'm so happy with how this all turned out, the car really looks like it really should. I also shouldn't have to worry about rock chips any more thanks to the robustness of the powder. Hope this is helpful to anyone removing/installing a valence. Next weekend I'll hopefully be smoking my headlights, fingers crossed.Comment
-
It's been quite awhile since the last update, which no one seemed to really notice. A shame, as I was quite excited about the whole powder coated valence thing, but it appeared it slipped through the cracks. No matter, I continue unabated.
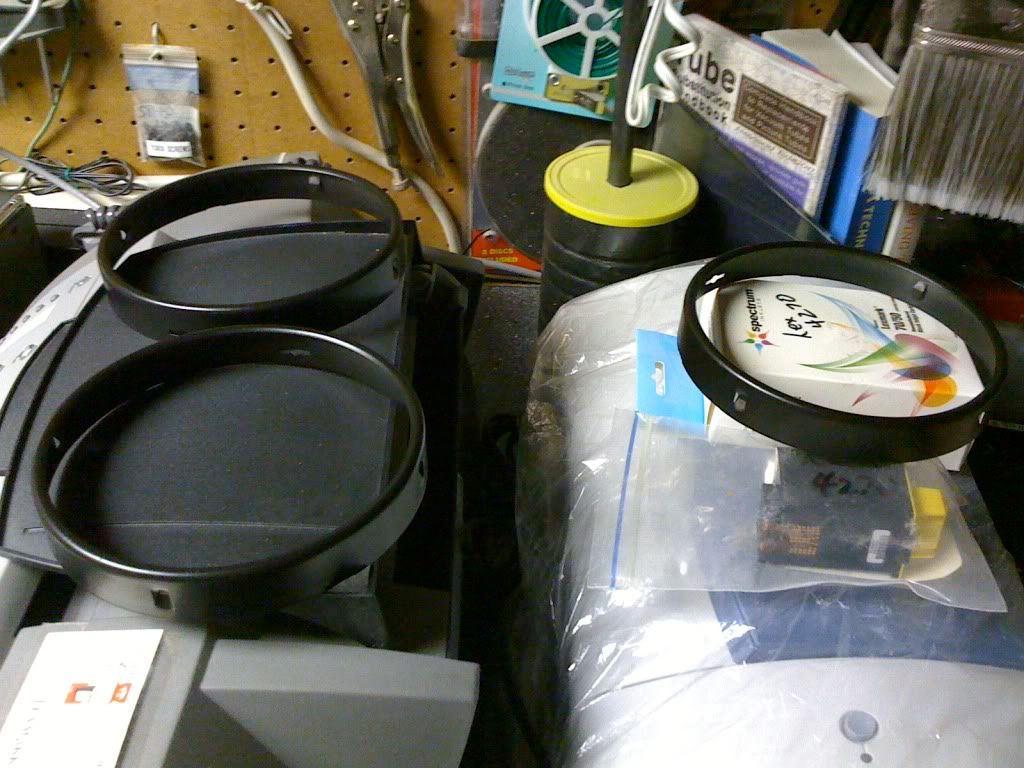
Some weeks ago I took a trip home from school for the weekend and went through the process of smoking my US ellipsoids. I didn't document it as well as some of my other work, but I think you should be able to get the gist of it:
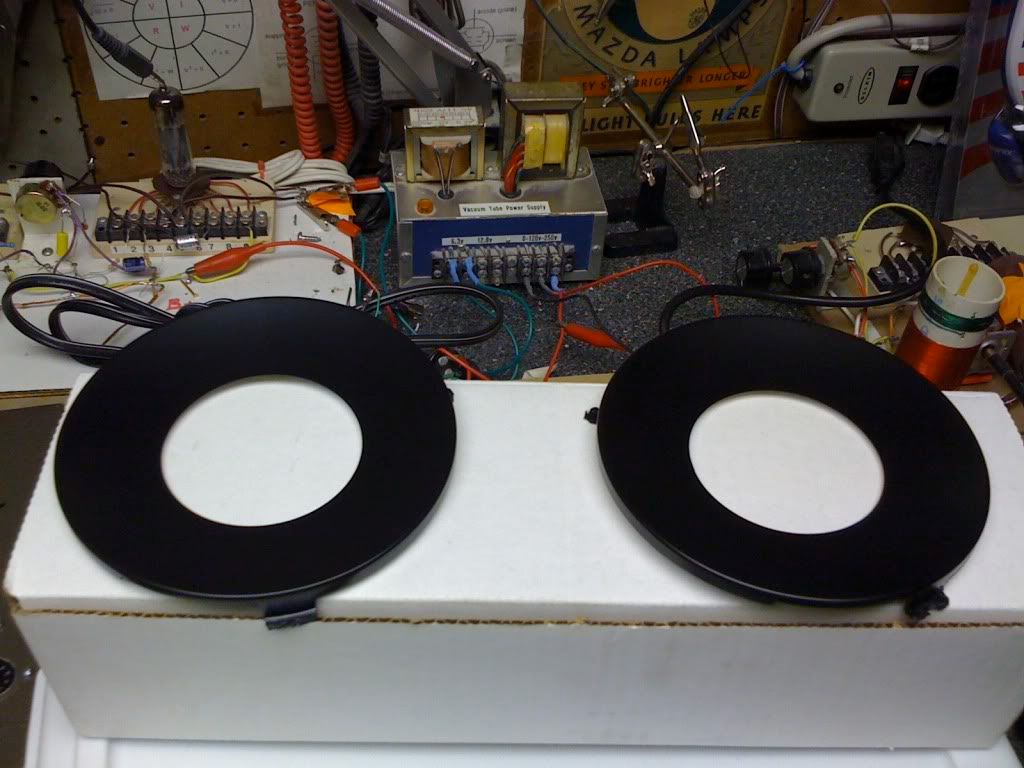
Trim rings popped off easily and were scrubbed down prior to painting:
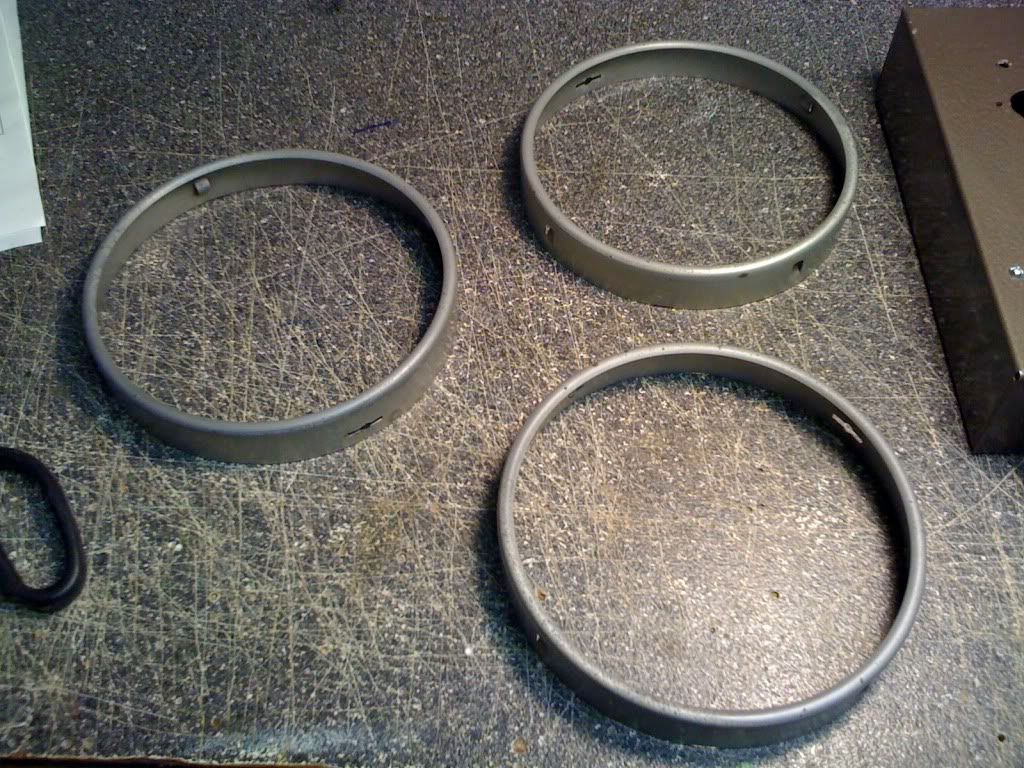
For some reason my car was missing one of them, but I painted the three that were there with some SEM trim paint. Since then I've secured a replacement for the missing one and will paint it over spring break while I'm at home.
Some people have a lot of trouble with the little black cups shown in the bottom of this picture:
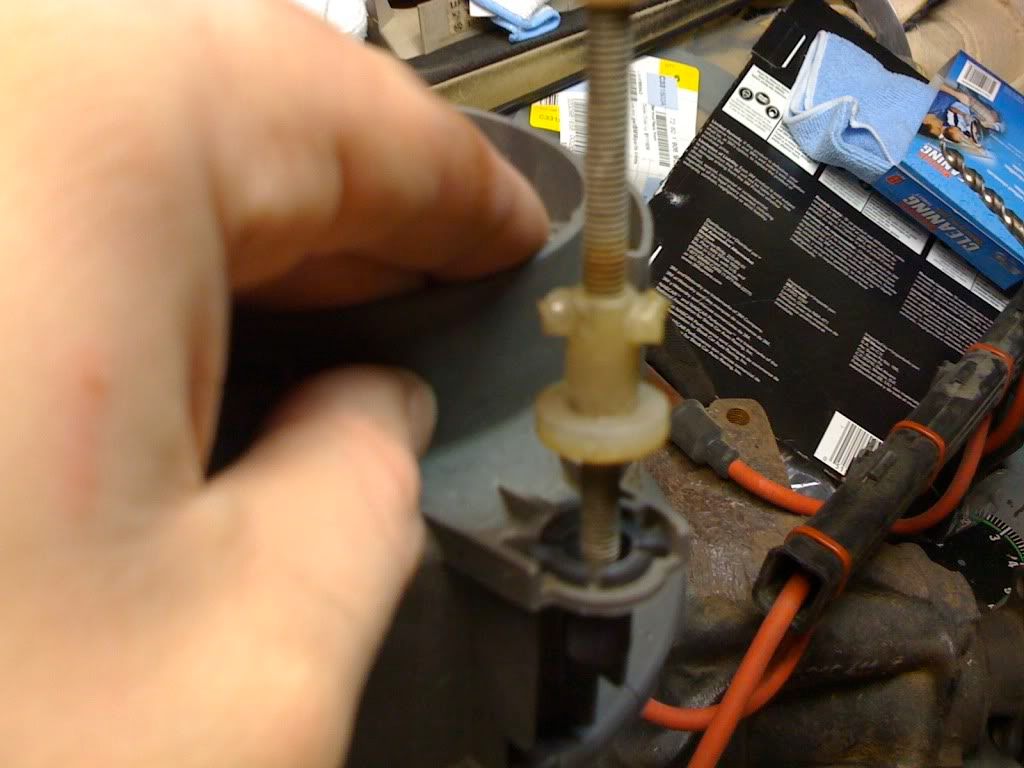
I found it easiest to simply rotate the whitish (now yellowish with age) plastic pieces until they could be slid out of the housing. I did this with all of mine, broke zero black adjuster cups, and saved a ton of hassle.
After some time in the oven and some gentle work with a screwdriver, the lenses were coerced off the housings:
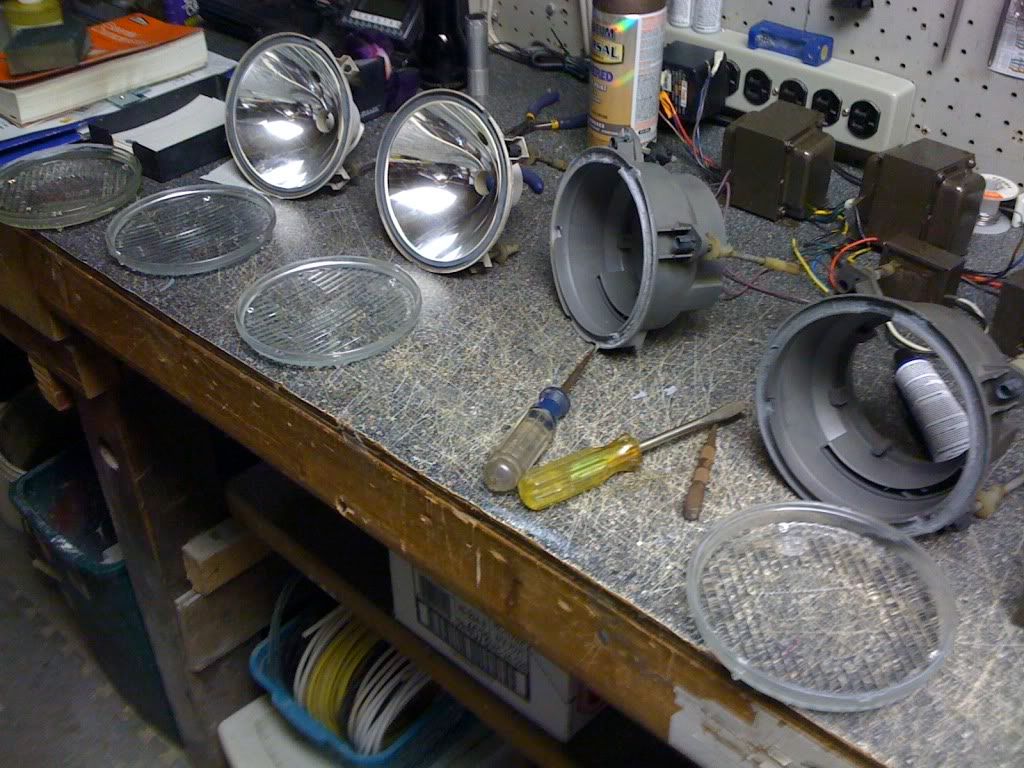
The blinds from the low beams came out shortly after cleaning some of the adhesive off of their alignment tabs, and a little steel wool made short work of the chrome coating:

SEM then made short work of the exposed plastic:
This is where things took a bit of a less typical turn. OEM Hella smoked headlights use a + arrangement for their crosshairs in the high beams, which is impossible to replicate with US ellipsoids due to the evaporation extensions at the top of the housings. Trimming the crosshairs to allow space for the evaporation tubes can allow you to go with a perfect + instead of the typical X, however:
Since I was losing a lot of material that would have been painted black and contributing to the smoked reflection effect, I figured I'd paint the evaporation tubes too, so that I didn't have white plastic hanging around what was supposed to be a predominantly black area:
Make sure to tape up the actual openings so that you don't get paint on the tiny balls inside the tubes and gum them up, preventing moisture from escaping.
Unfortunately I stopped taking pictures at this point for some reason, but they came out very nicely, aside from a little condensation I apparently allowed into my passenger low beam, which I'll have to crack open and dry. Over break I'll also get a couple of pictures of the finished product for comparison.Comment
-
Looking good, that was a good idea to keep them +Comment
-
Great work so far. Please tell me you're putting that dogleg trans in with the M90. :)paint sucksComment
-
-
Had some spare time at home this weekend since I went home to work. Little car projects make me feel good and take my mind off of not nice things, so I decided to refinish my rear parcel shelf, which was in the poorest of conditions. The blue interior of my car, while different, had taken a beating over the years and hadn't held up as well as other parts of the car. The parcel shelf and top of my rear seat were without doubt the two worst spots:
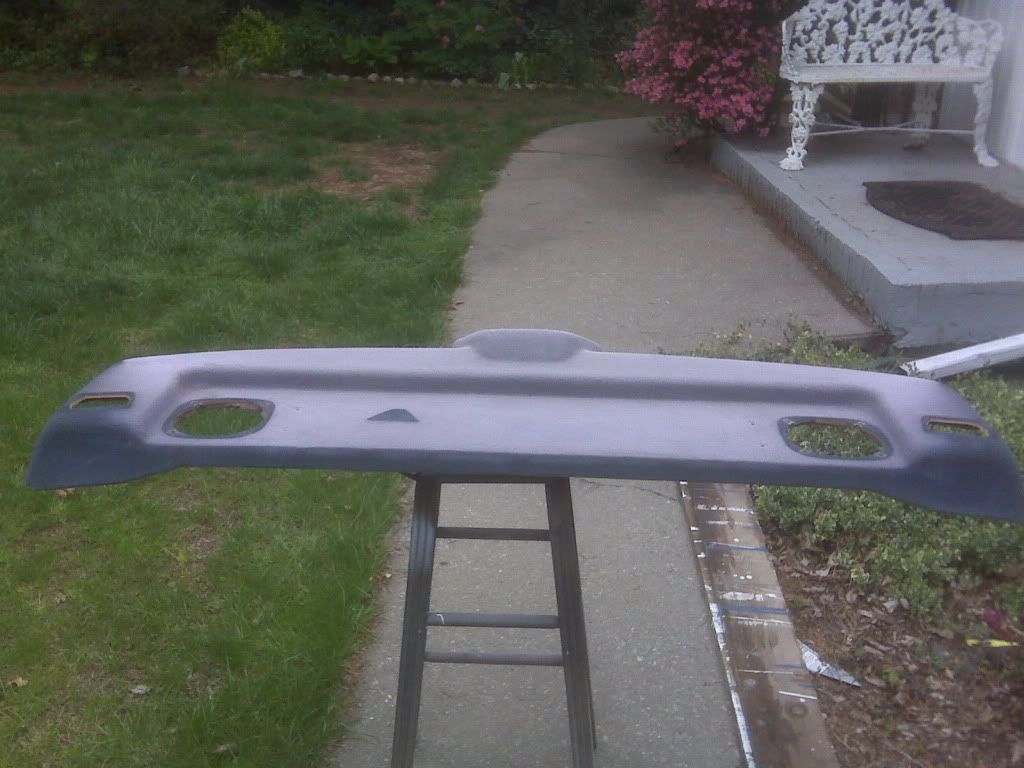
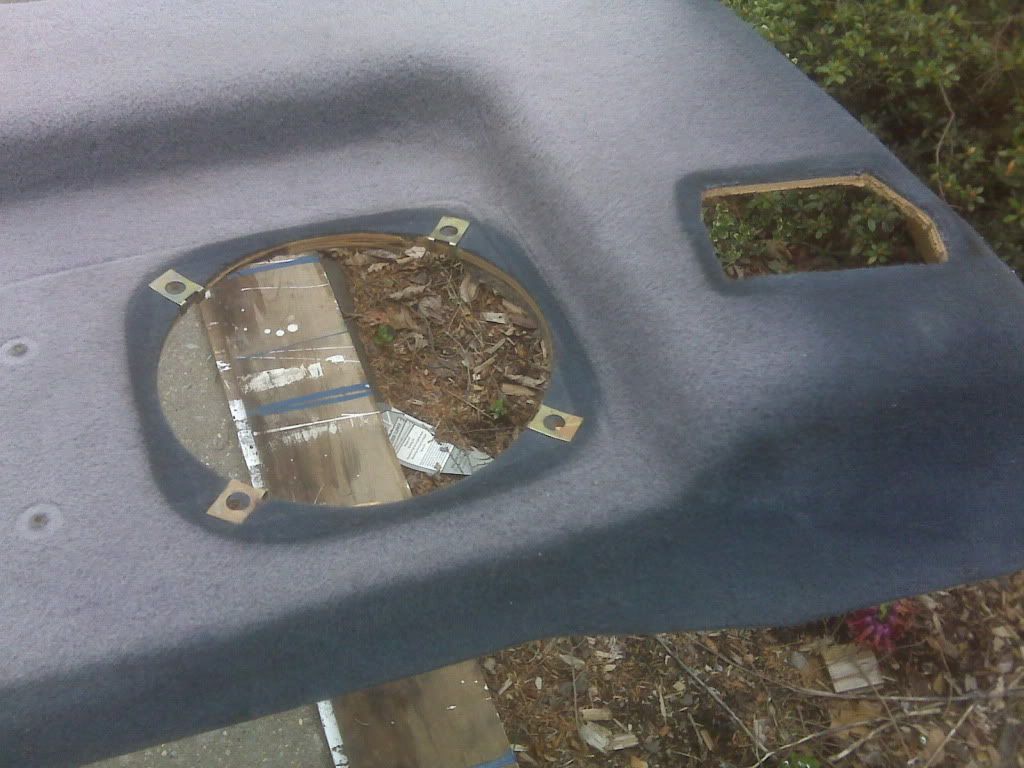
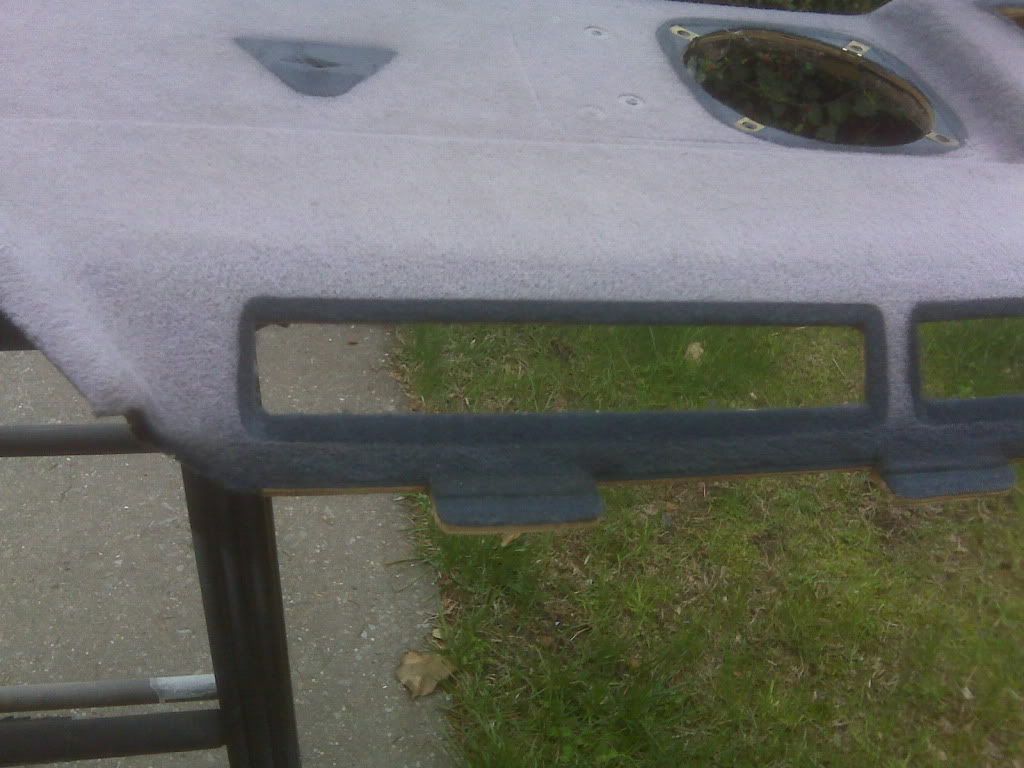
You can see the stark contrast between the sun-bleached and covered parts over the years. A quick vacuuming and two cans of Rustoleum Vinyl and Fabric paint later:
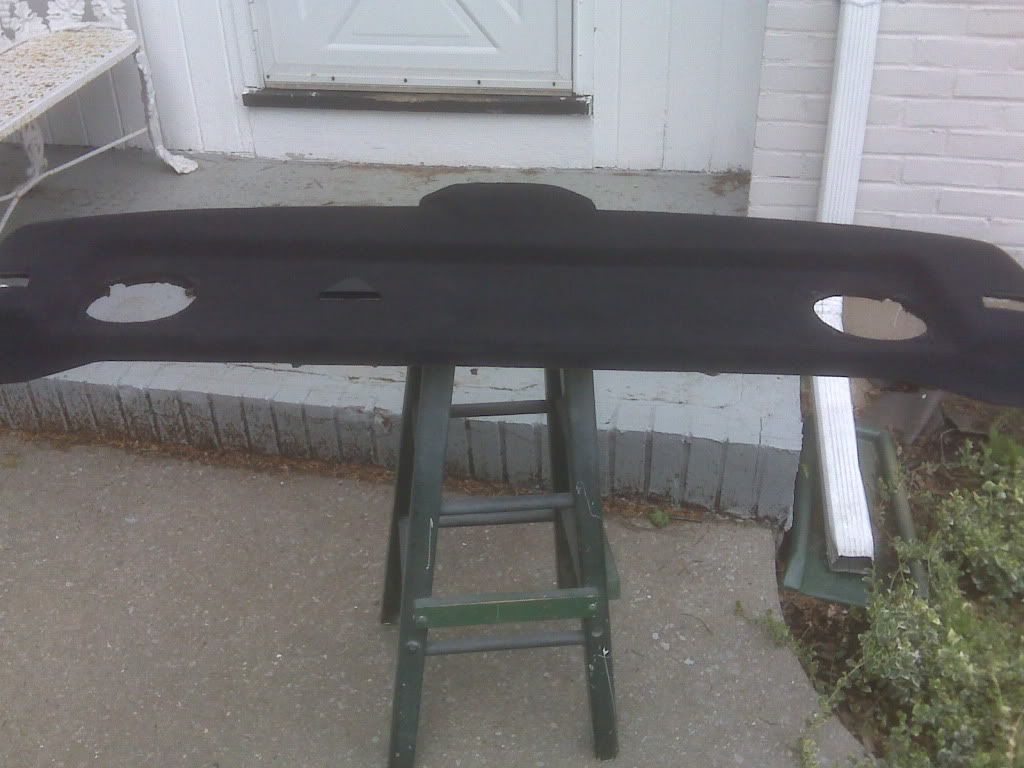
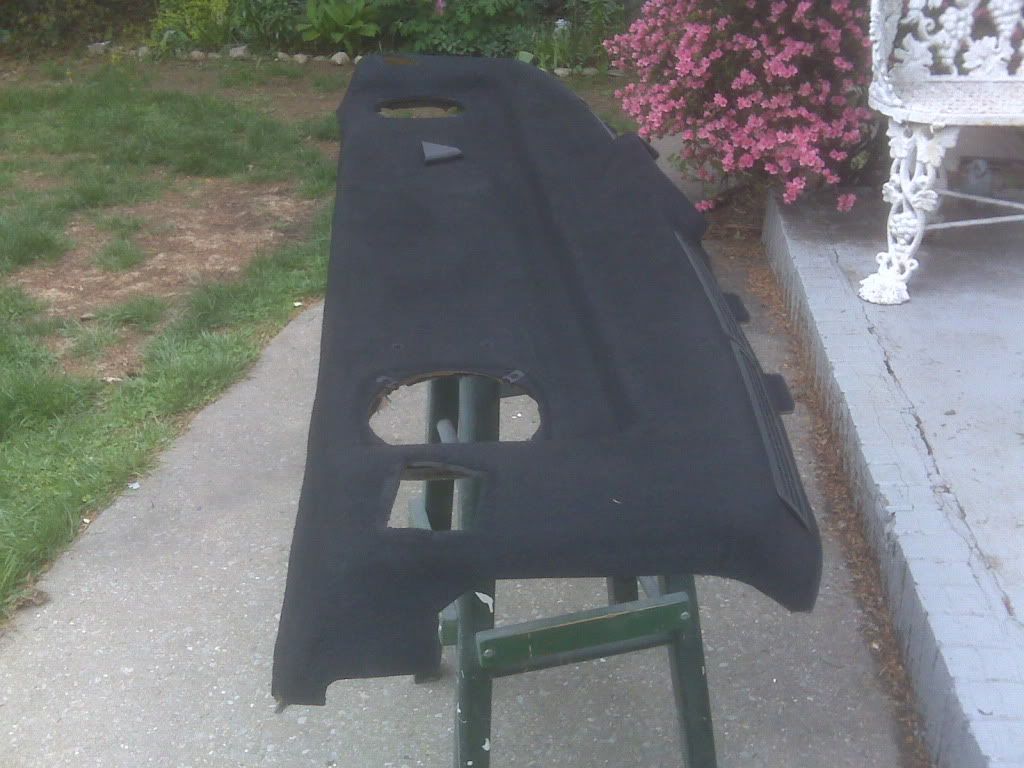
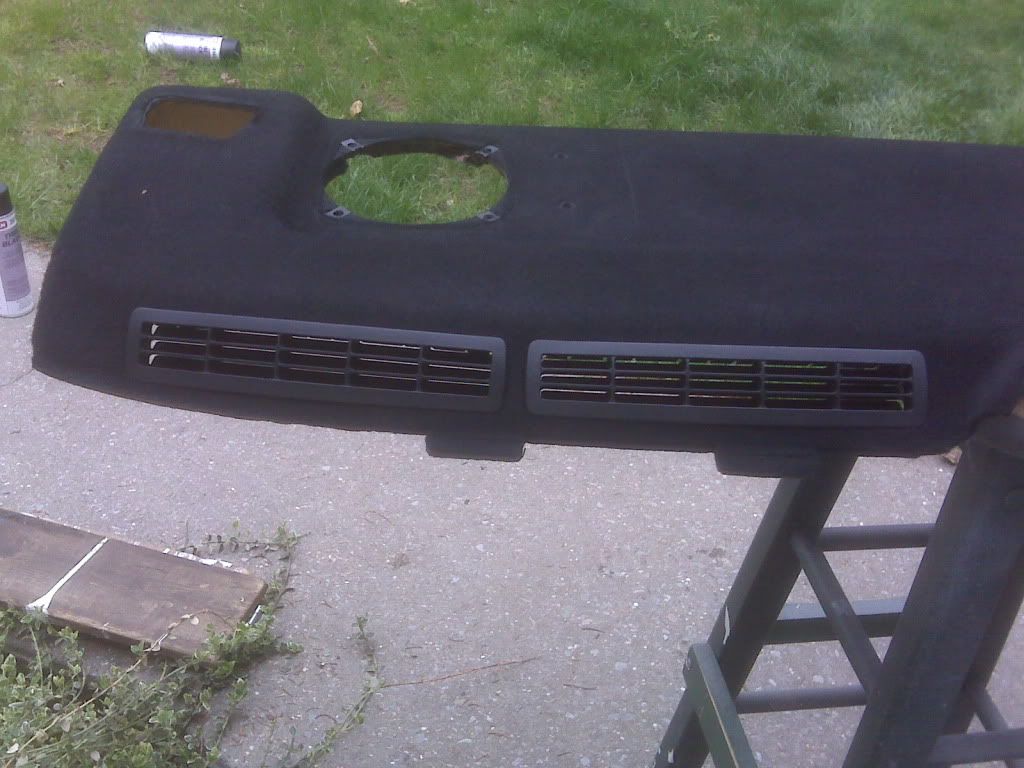
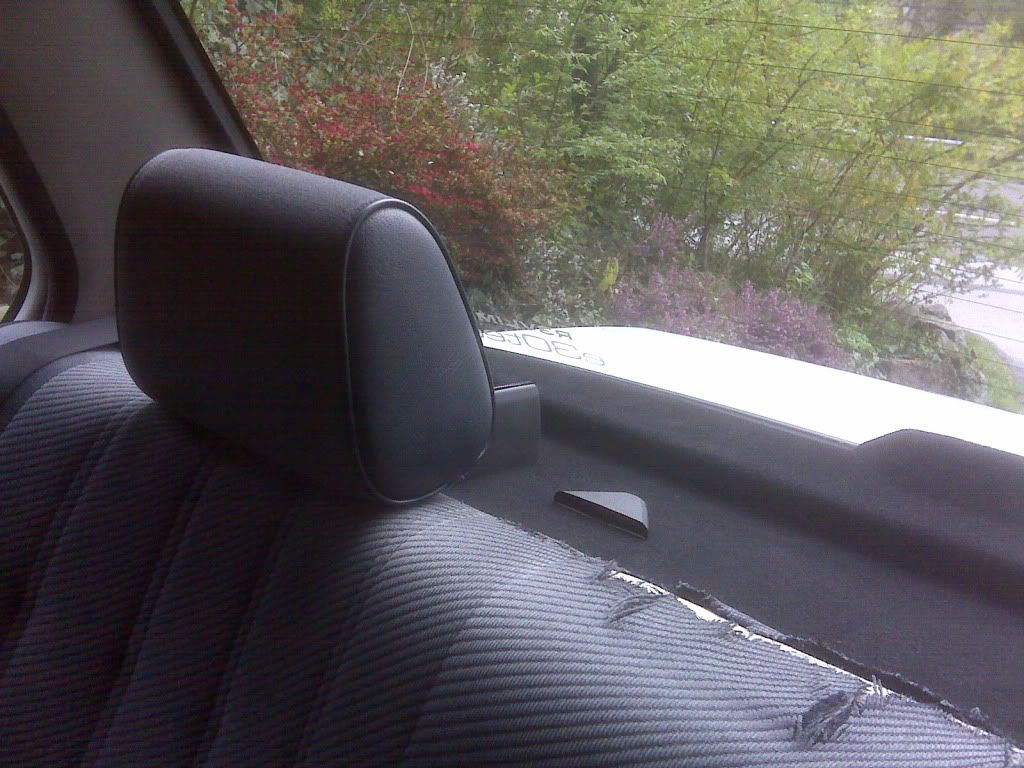
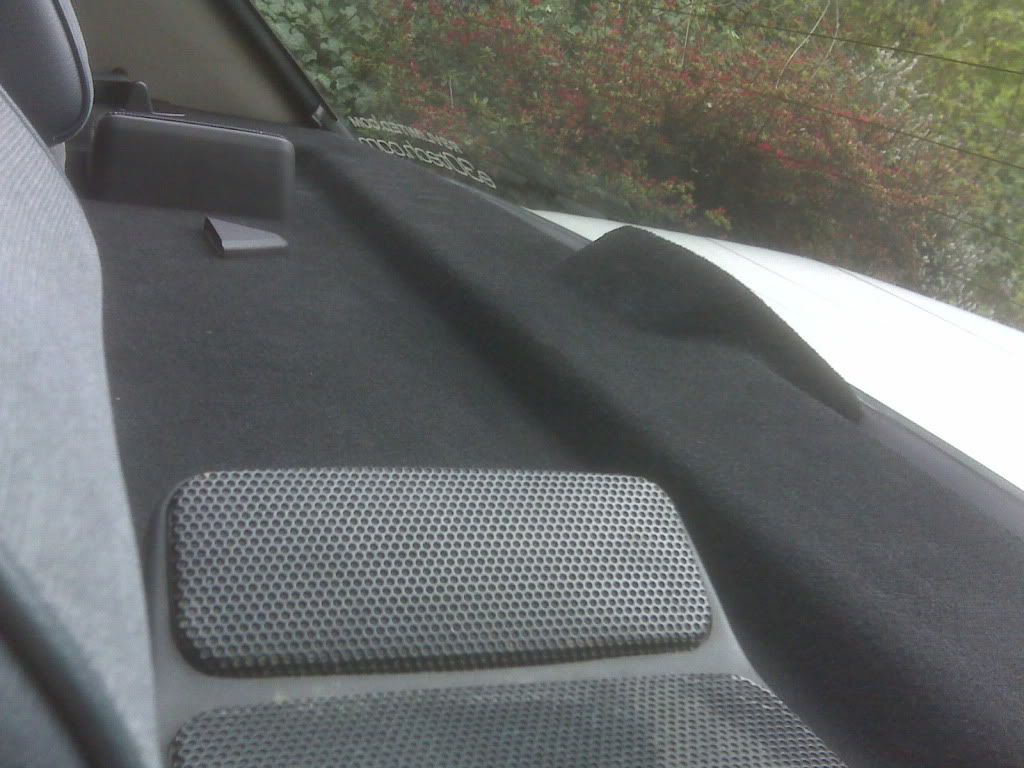
I think it's a vast improvement. I also touched up the four vents, the seatbelt guide pieces, and the plastic triangle (what is that even for, btw?) with some SEM trim black while I had the whole thing disassembled. Excuse the mangled rear seat, I'm working on getting a replacement for that.Comment
-
Triangle is a receiver for the middle seat belt.
SILBER COMBAT UNIT DELTA (M-Technic Marshal)
RTFM:http://www.r3vlimited.com/board/showthread.php?t=56950Comment
-
Comment
-
Yes, it's just a holder for you to clip the middle seat belt into when not in use.
Great work on the car btw, love these little DIY work bits.Comment

Comment