So about a month ago, my #4 injector decided to stick open. My rings on #4 were subsequently destroyed.
Instead of buying a used block, I decided to have it honed and replace the rings. Then, of course, I had a "while I'm in there" moment and decided to replace the rod and crank bearings as well.
I don't have many pictures of the disassembly, but I'll post up what I have.
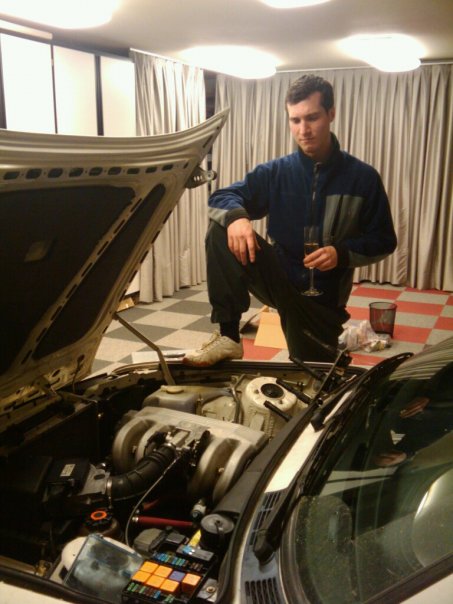
Right after it "died." The champagne (well, Cava actually), was little consolation.
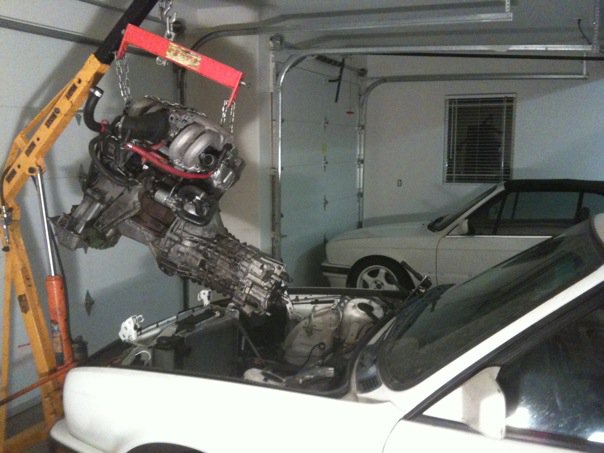
Pulled the engine out by myself in a few hours... quite proud of that achievement.
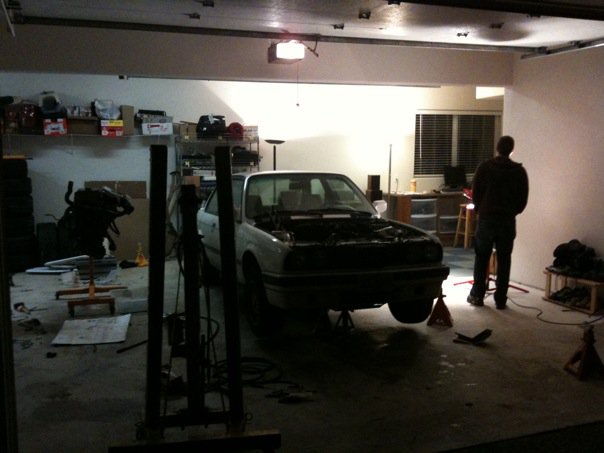
The "man-cave" that Darin (CorvallisBMW) and I have been slaving away in for weeks. Thank god for Oregon winter brews :)
Starting to break it all down:
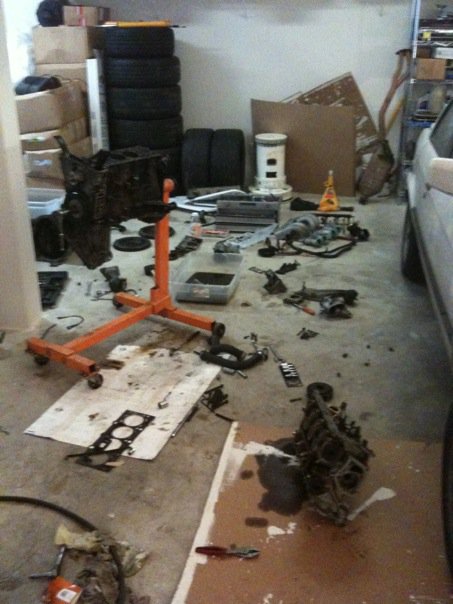
... that's all I have from the breakdown. Didn't really feel like breaking the camera out when my hands were hella greasy.
I've owned the car for over two years, and I've literally washed it a half-dozen times. Darin said it was pissing him off, so we decided to wash, clay, polish, and glaze the paint while waiting for the block to come back from the machine shop.
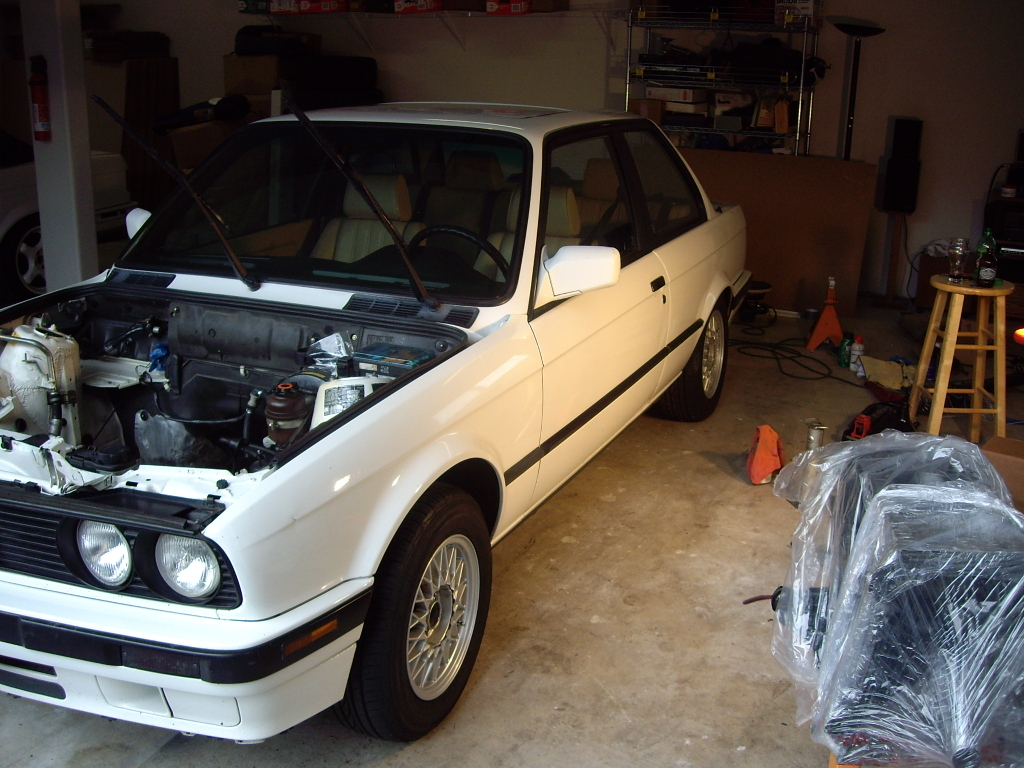
After getting the block home from the machine shop:
I can't say enough about how awesome Brian at M&B Cylinder Head in Portland treated me. I had him hone, clean, paint, deck, and put the rotating assembly together for me. He does all of the block work for Horsepower Freaks, whose BMW M52s have put down 1022whp on the dyno. Needless to say, I was confident that he could take care of mine.
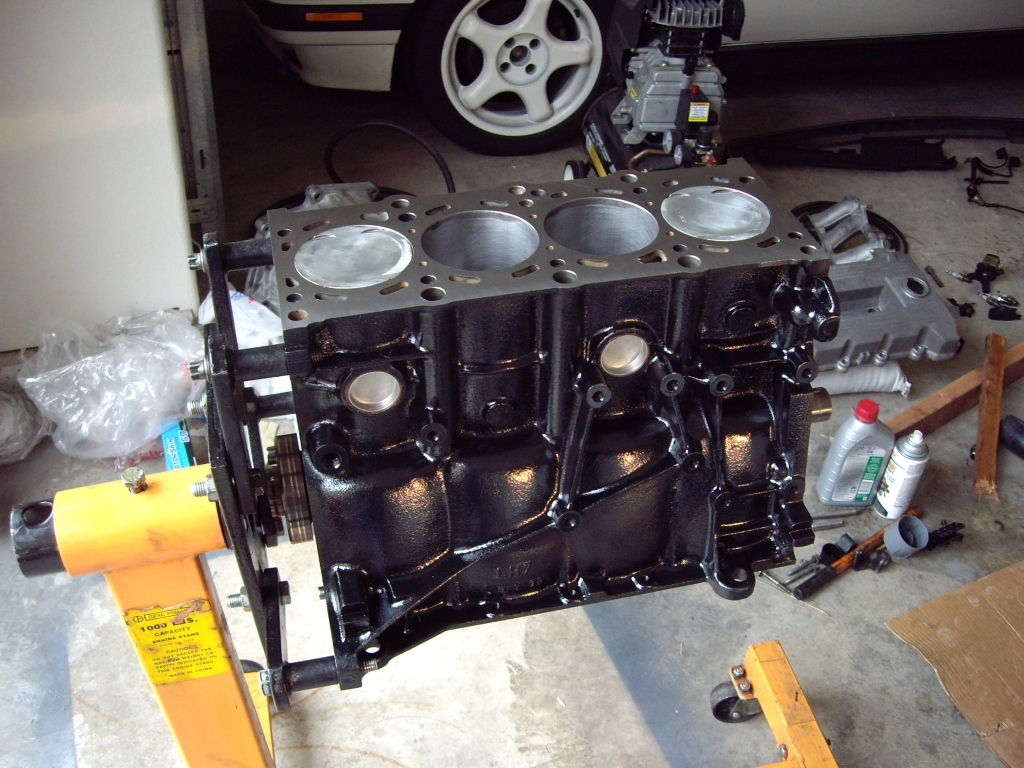
Assembly begins:
I primed and painted nearly every piece with high temp paint.
Updated oil pressure relief valve:
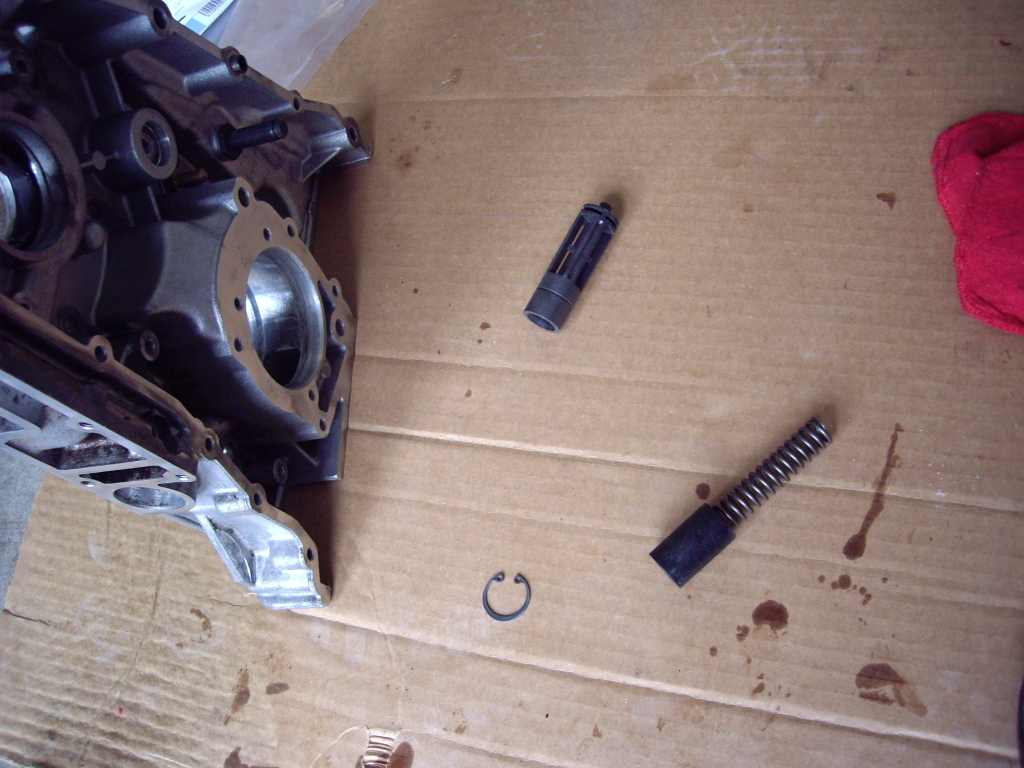
Lower timing case installed with chain guides:
The paper gasket behind the lower timing case is the only paper one I'm using. Black RTV will be used in place of all other paper gaskets. I'm not risking oil leaks with 1980s technology.
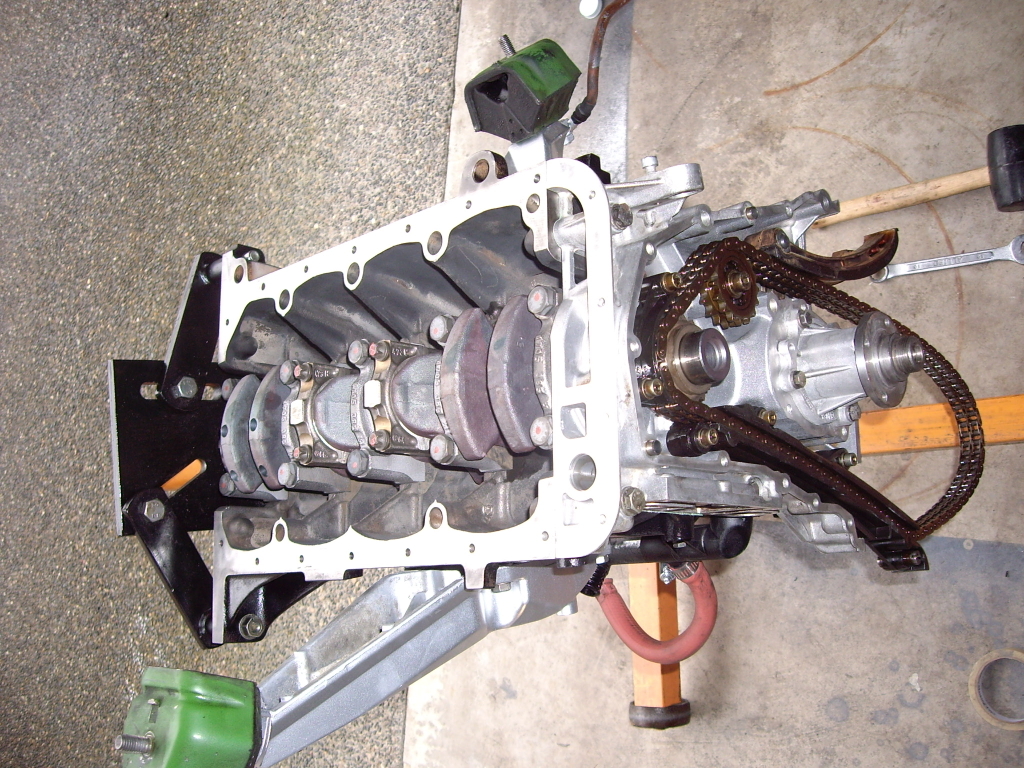
Upper and lower oil pans installed:
The lower pan had the ridges block sanded. As you can see the engine mount arms were painted as well (obviously not the underside of the far one). Those are e28 535i mounts (stiffens the hell out of the engine).
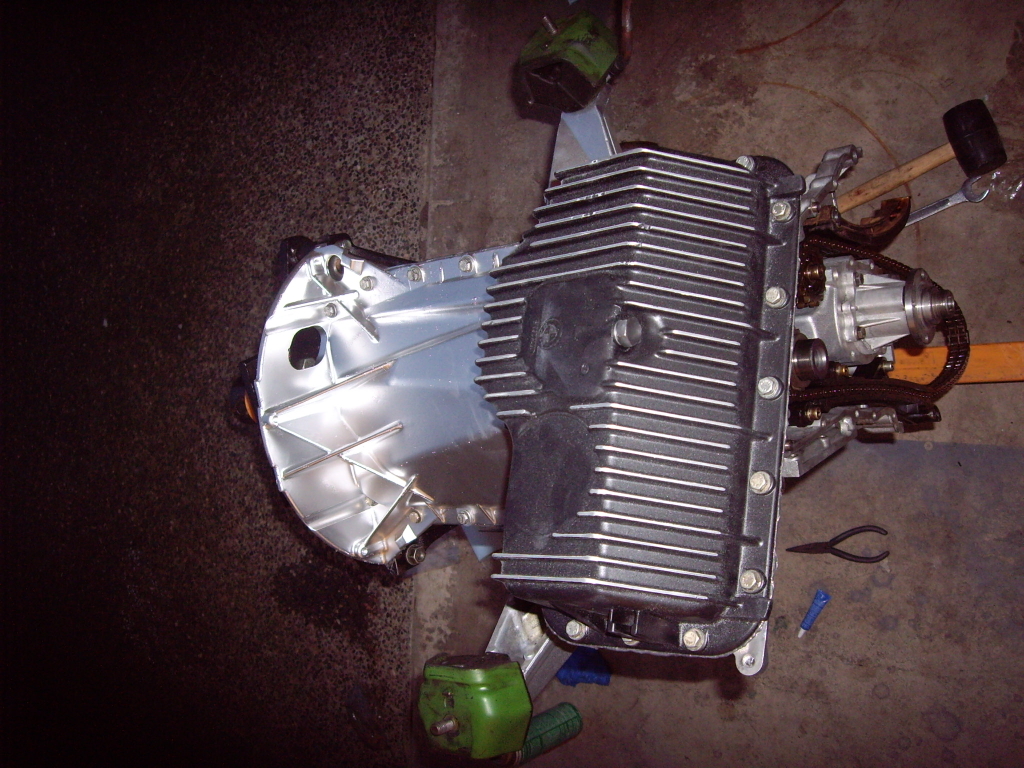

How the engine sits at the end of today (waiting on cam locks to get the head on):
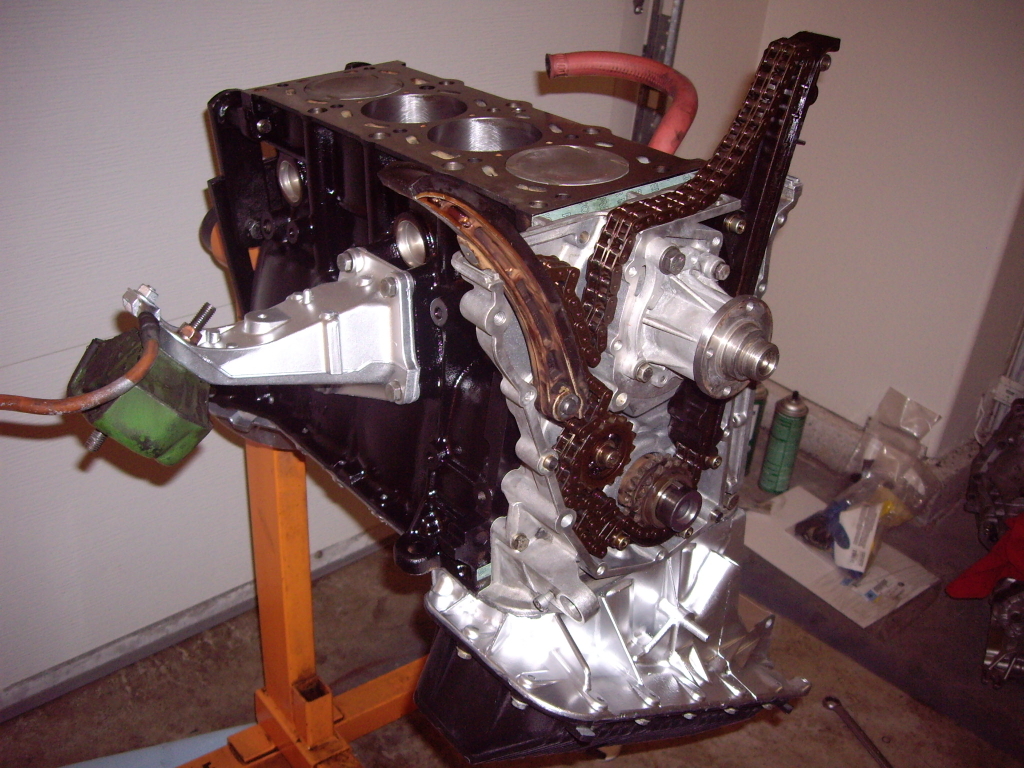
Intake manifold on the head:
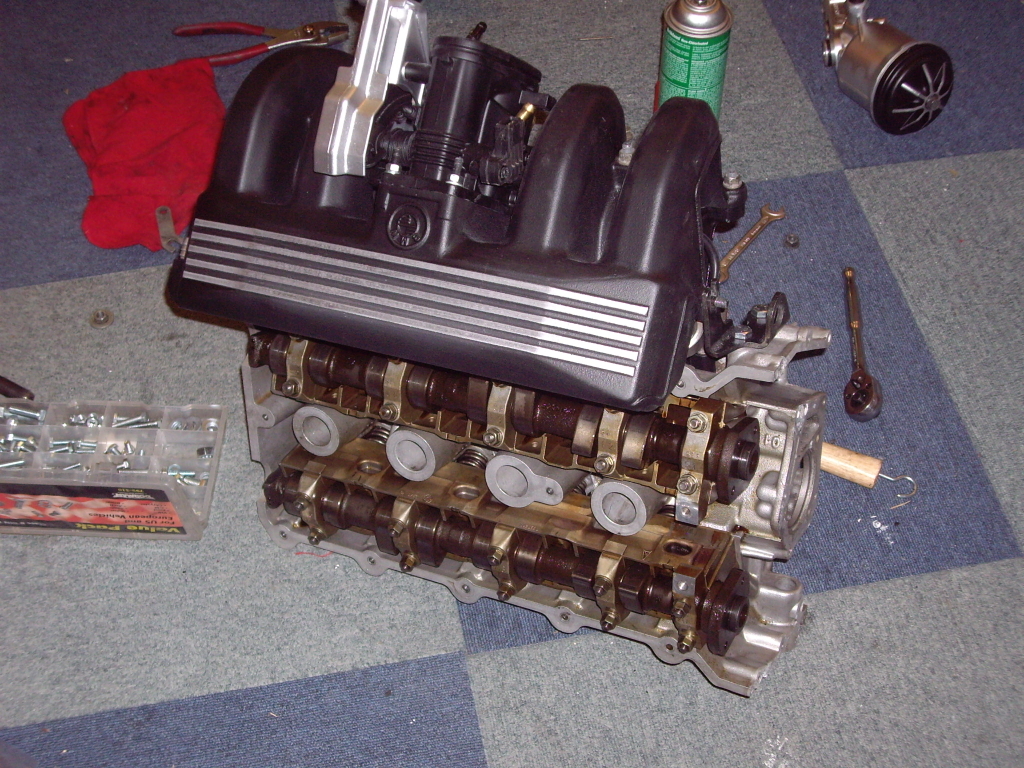
Black + block-sanded valve cover and matching COP bracket waiting to go on:
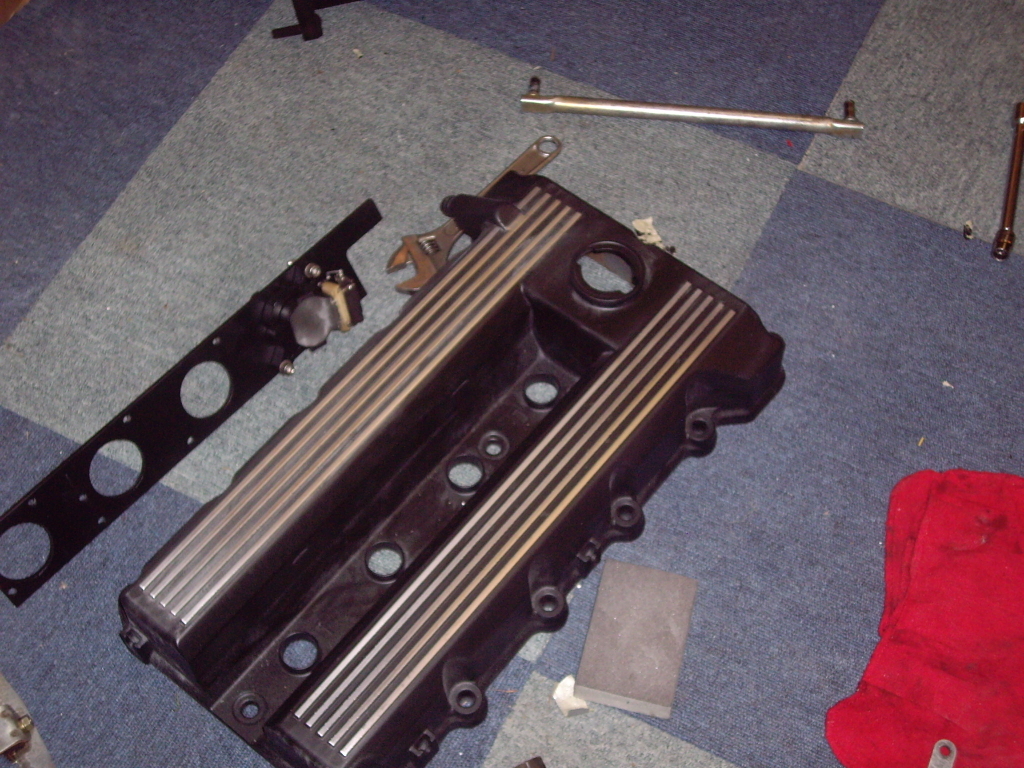
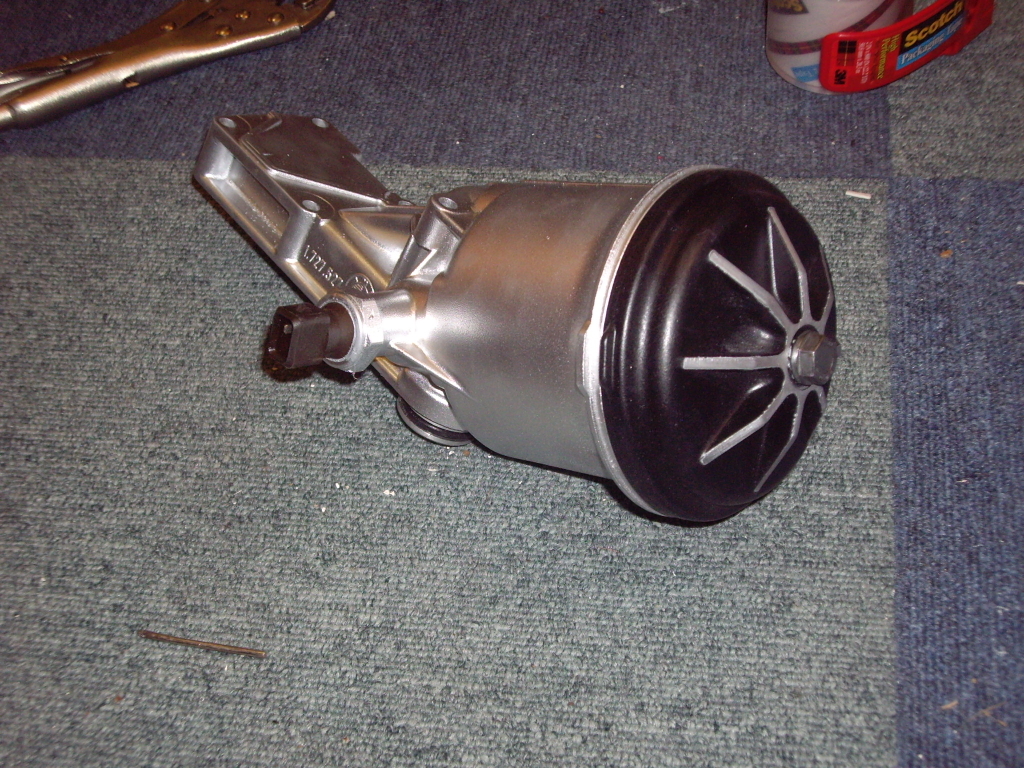
Of course the oil filter housing has to match too:
Too be continued...
Instead of buying a used block, I decided to have it honed and replace the rings. Then, of course, I had a "while I'm in there" moment and decided to replace the rod and crank bearings as well.
I don't have many pictures of the disassembly, but I'll post up what I have.
Right after it "died." The champagne (well, Cava actually), was little consolation.

Pulled the engine out by myself in a few hours... quite proud of that achievement.

The "man-cave" that Darin (CorvallisBMW) and I have been slaving away in for weeks. Thank god for Oregon winter brews :)

Starting to break it all down:

... that's all I have from the breakdown. Didn't really feel like breaking the camera out when my hands were hella greasy.
I've owned the car for over two years, and I've literally washed it a half-dozen times. Darin said it was pissing him off, so we decided to wash, clay, polish, and glaze the paint while waiting for the block to come back from the machine shop.

After getting the block home from the machine shop:
I can't say enough about how awesome Brian at M&B Cylinder Head in Portland treated me. I had him hone, clean, paint, deck, and put the rotating assembly together for me. He does all of the block work for Horsepower Freaks, whose BMW M52s have put down 1022whp on the dyno. Needless to say, I was confident that he could take care of mine.

Assembly begins:
I primed and painted nearly every piece with high temp paint.
Updated oil pressure relief valve:

Lower timing case installed with chain guides:
The paper gasket behind the lower timing case is the only paper one I'm using. Black RTV will be used in place of all other paper gaskets. I'm not risking oil leaks with 1980s technology.

Upper and lower oil pans installed:
The lower pan had the ridges block sanded. As you can see the engine mount arms were painted as well (obviously not the underside of the far one). Those are e28 535i mounts (stiffens the hell out of the engine).


How the engine sits at the end of today (waiting on cam locks to get the head on):

Intake manifold on the head:

Black + block-sanded valve cover and matching COP bracket waiting to go on:

Of course the oil filter housing has to match too:

Too be continued...



Comment