
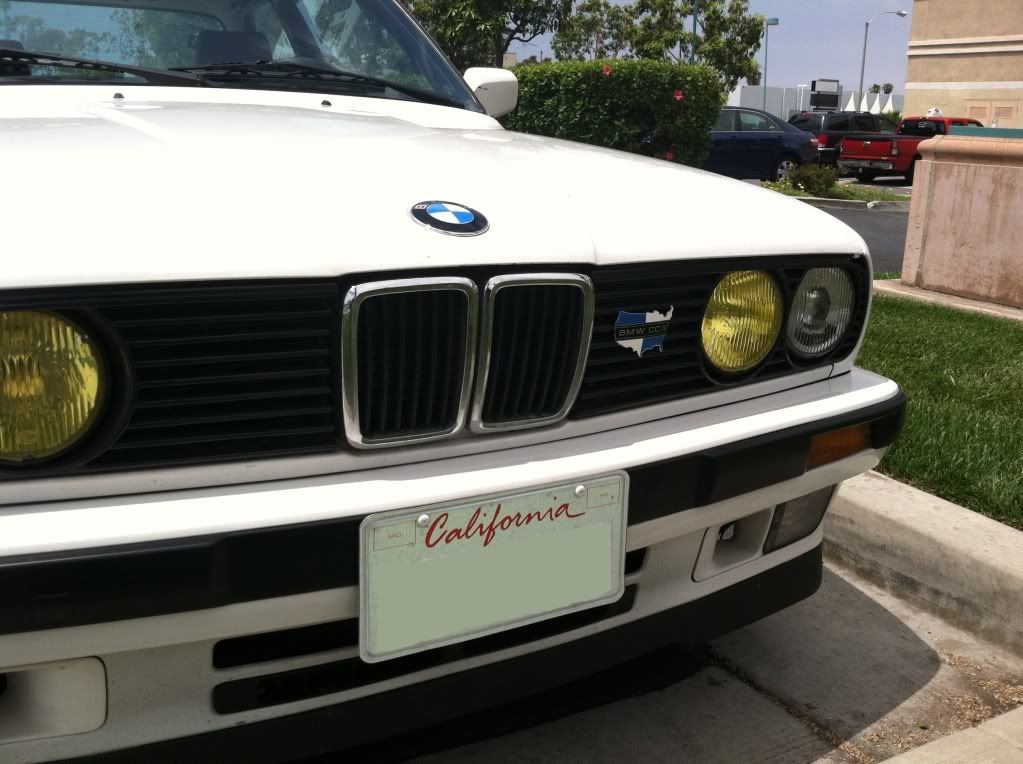
SAD SAD SAD:sad:
So i noticed some pillow smoke at start up
a day later it was running rough and she threw a check engine light
i parked her, and borrowed my girlfriends car.
spring break came around and my plan was to tear it apart.
Take off the head
Have it decked
New inner and outer valve springs
New intake guides and exhaust guides
New valve seats
Check for cracks
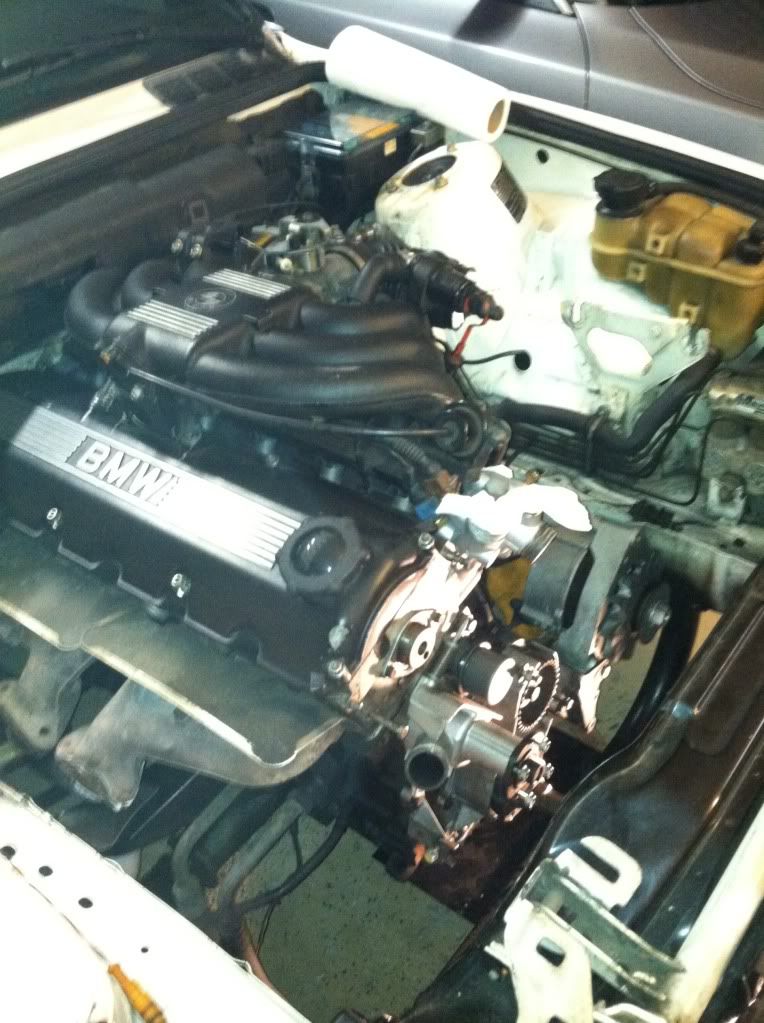
I took of the hood
Pulled the airbox and intake boot
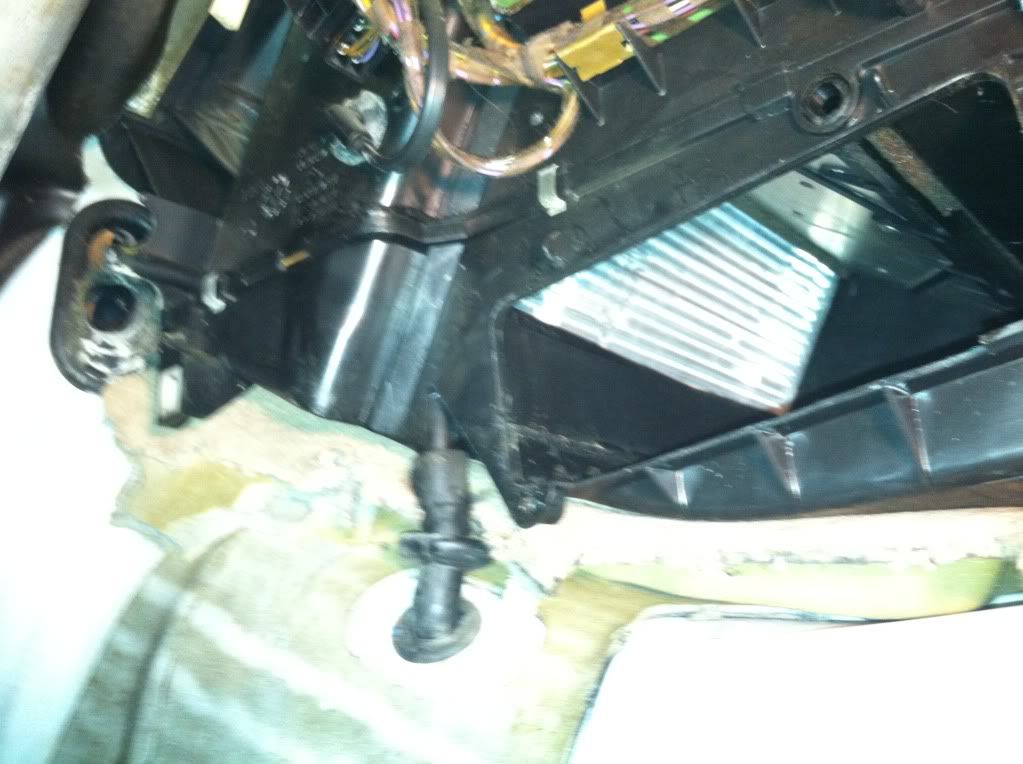
Removed the radiator hoses
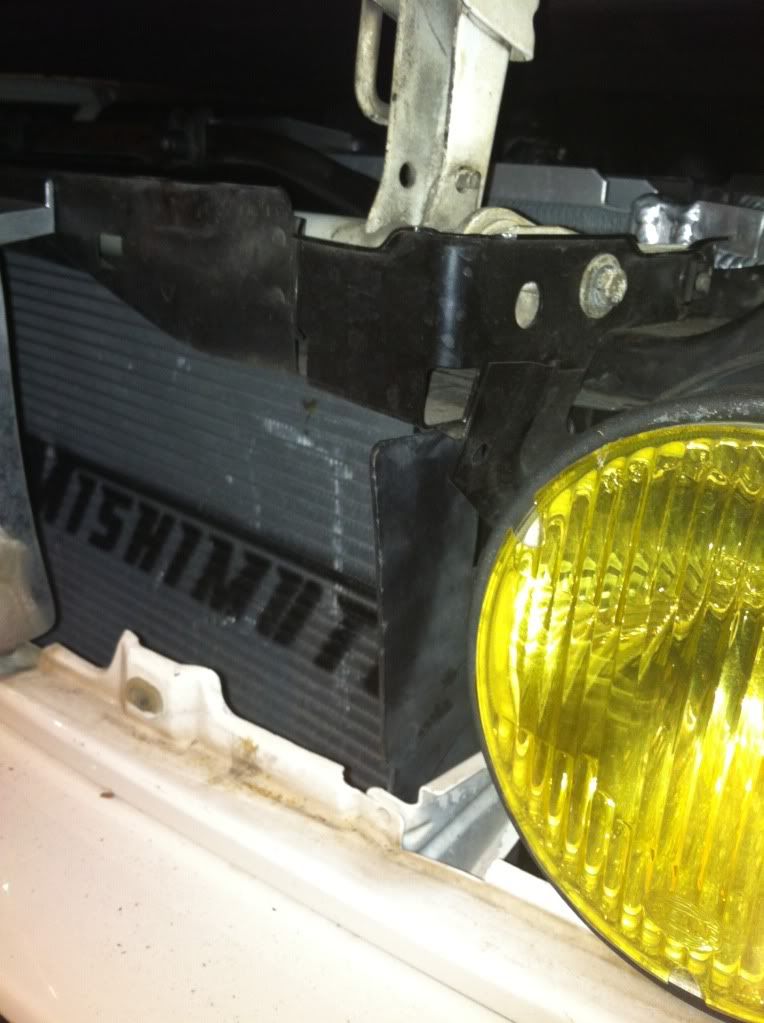
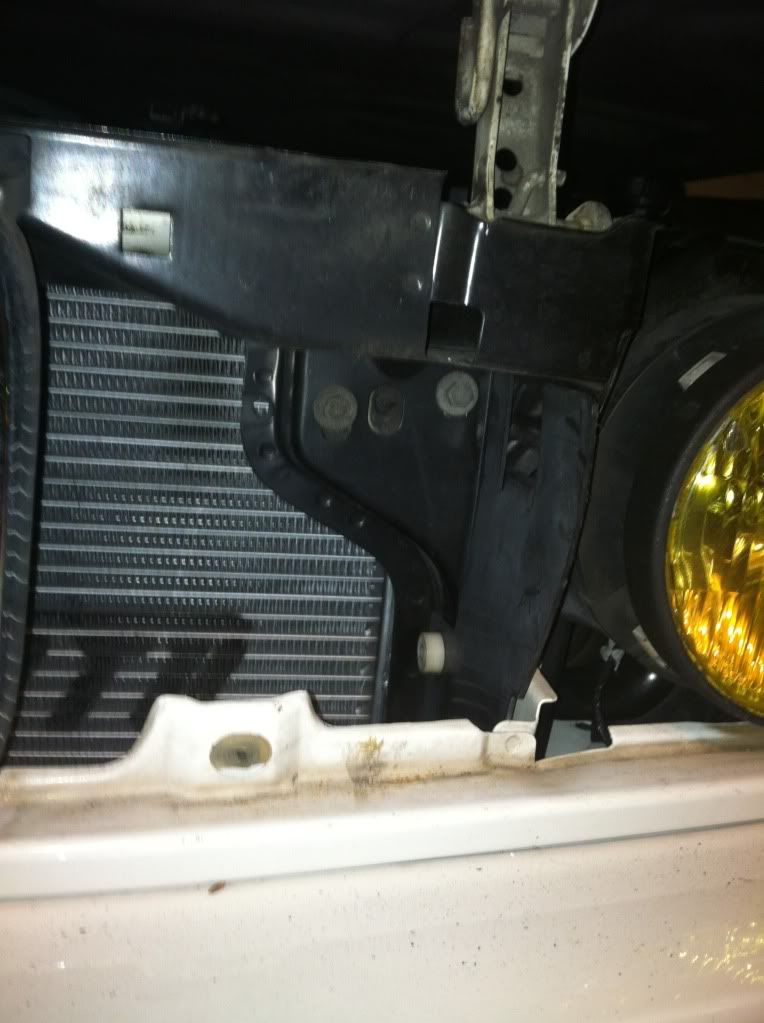
Removed the radiator and hit a snag
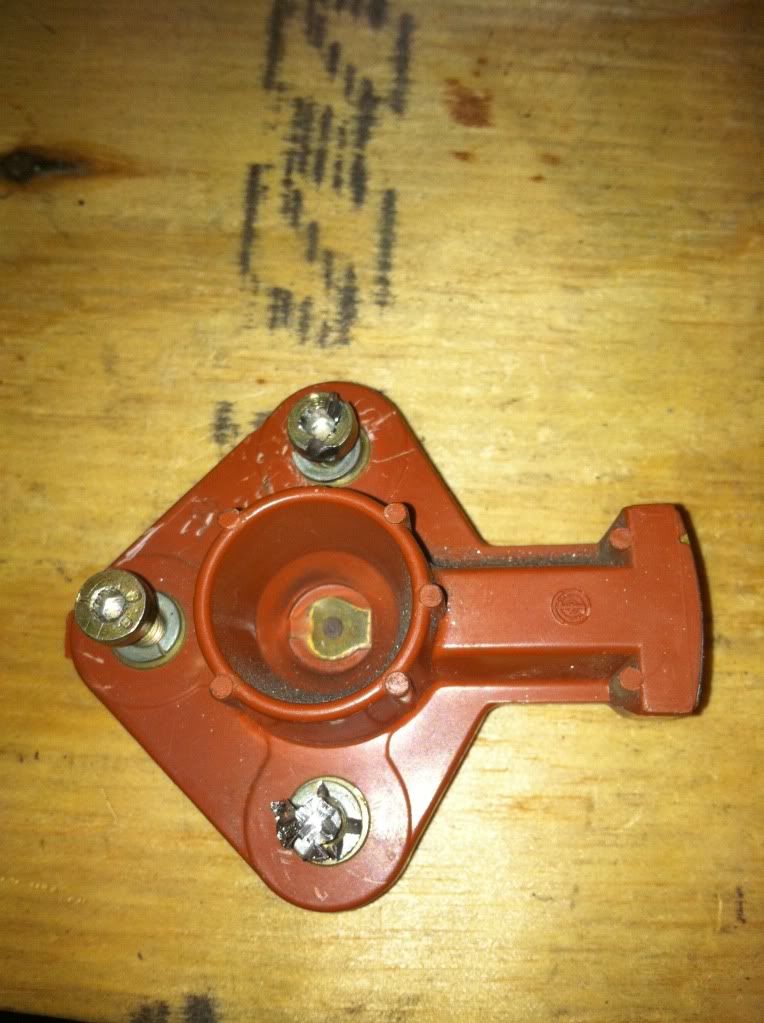
I stripped 2 of the allen screws that hold the rotor in place
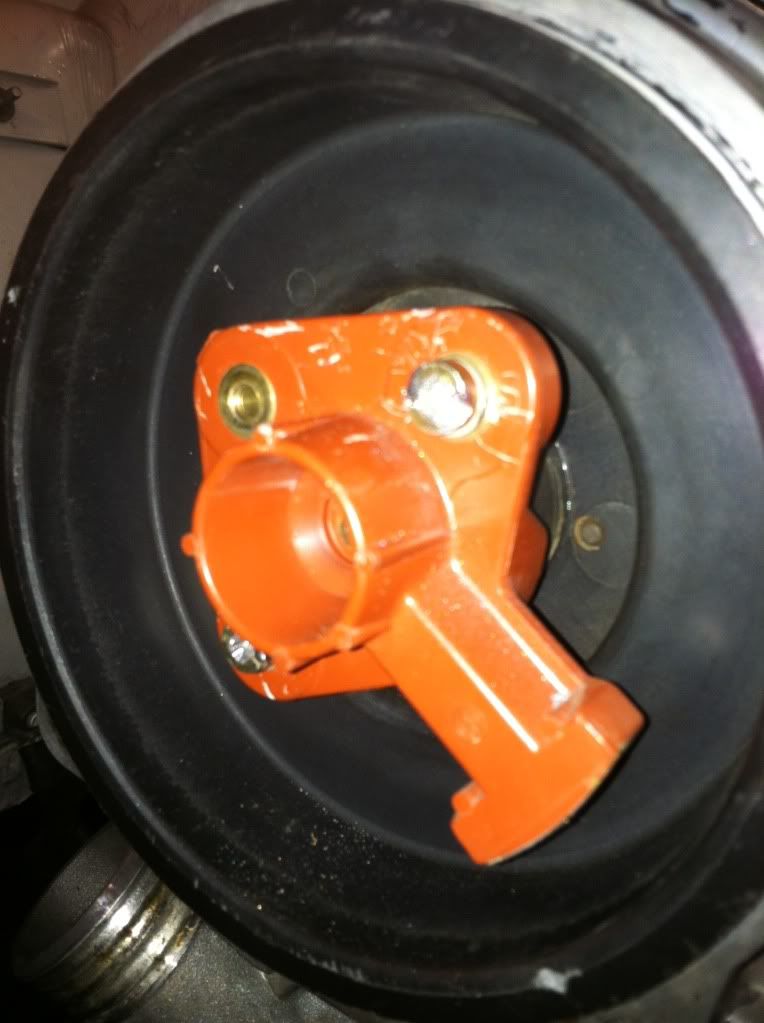
I borrowed my friends dremel and cut a slot in it.
Lined up the timing marks
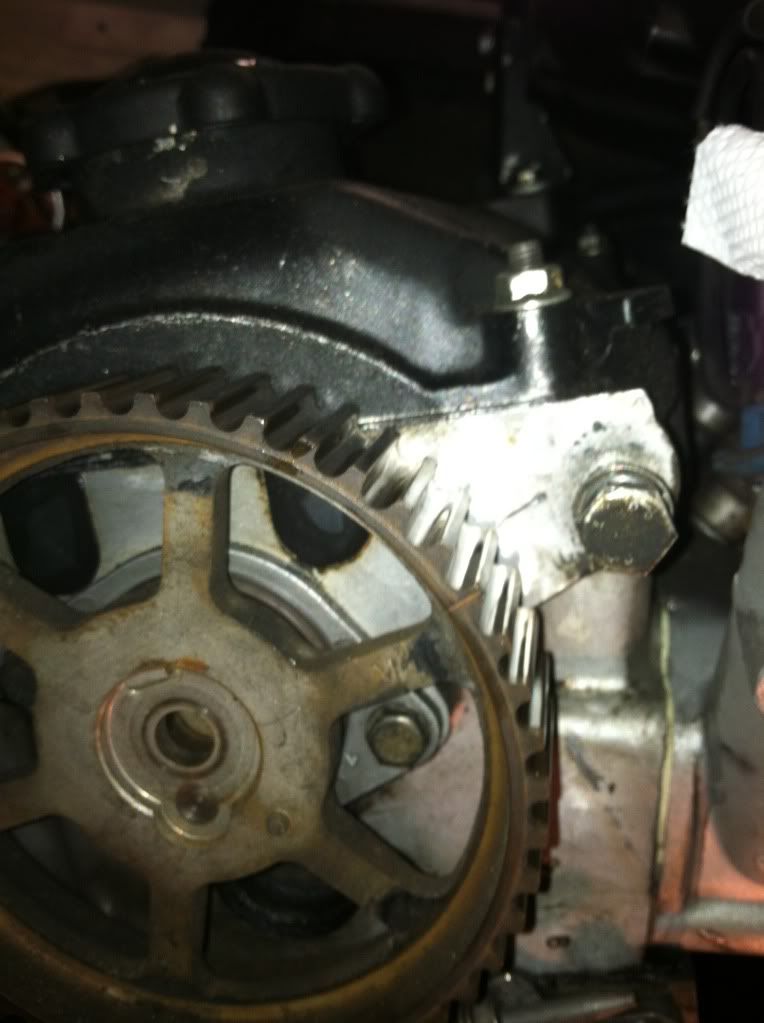
took the cam gear off
One trick to get this off is to break the bolt loose with the timing belt still on.
And you can hold the crank from rotating with a socket/ratchet tightening clockwise while you loosen the bolt on the cam gear.
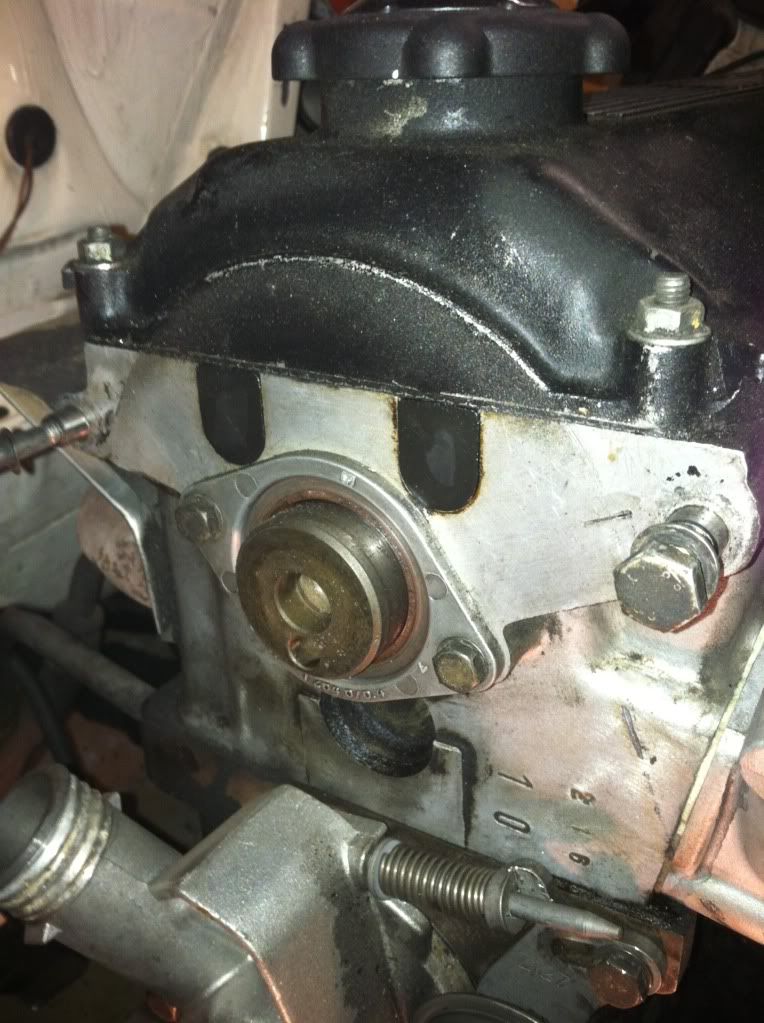
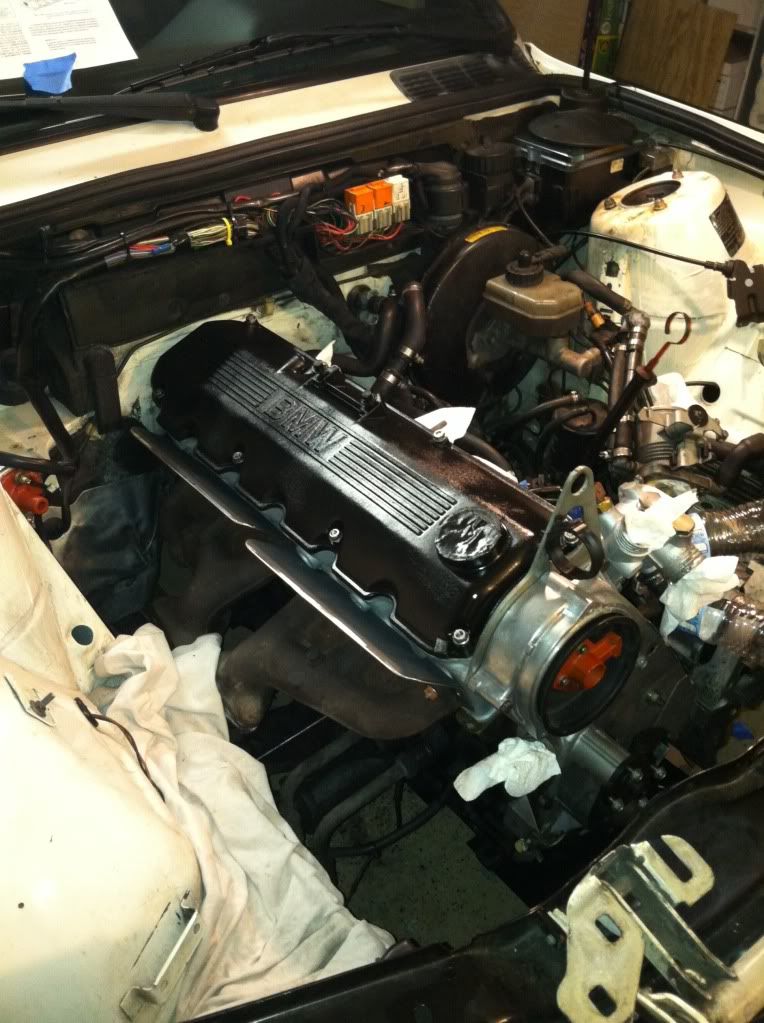
Here the front of the motor is mostly stripped
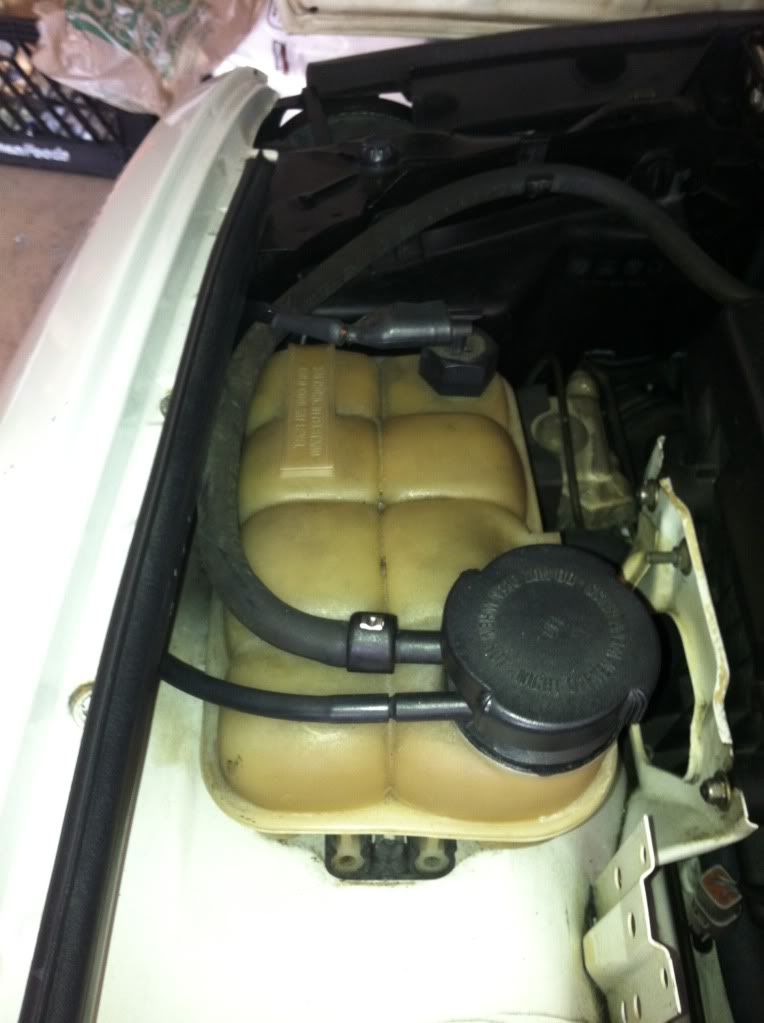
I replaced the crank seal, intermediate shaft seal, and the housing gasket when I tore the engine apart over thanksgiving weekend. So I didn’t tear into that.
One trick to get the coolant hose on the back of the head is to remove the clamp from the passenger side.
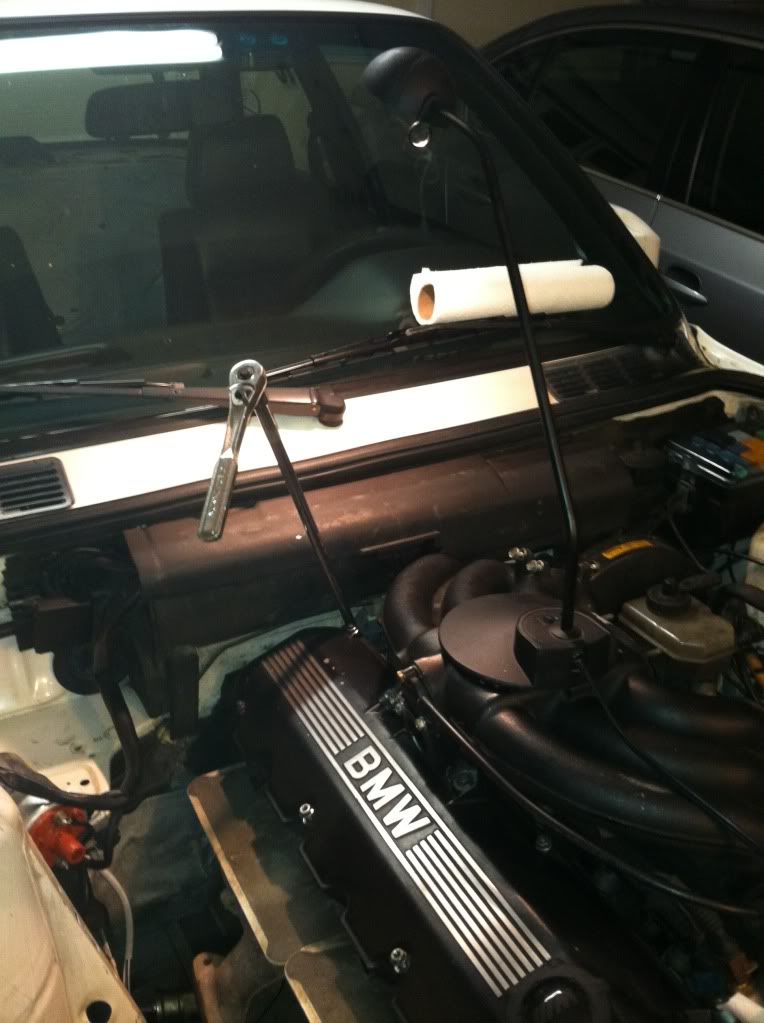
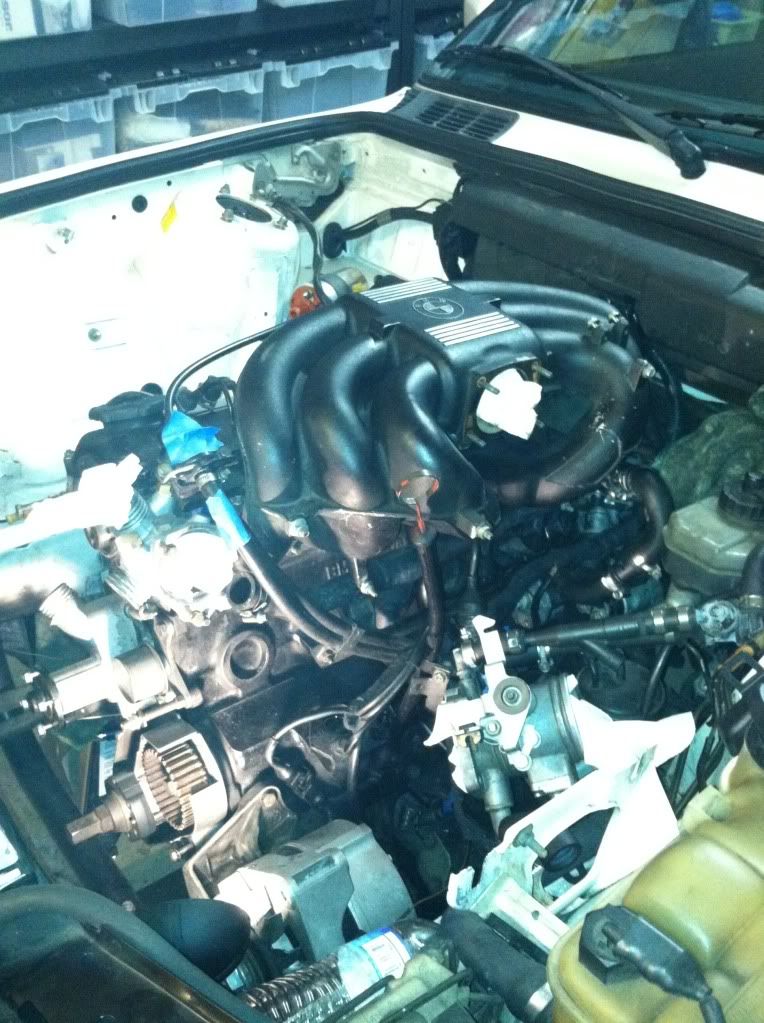
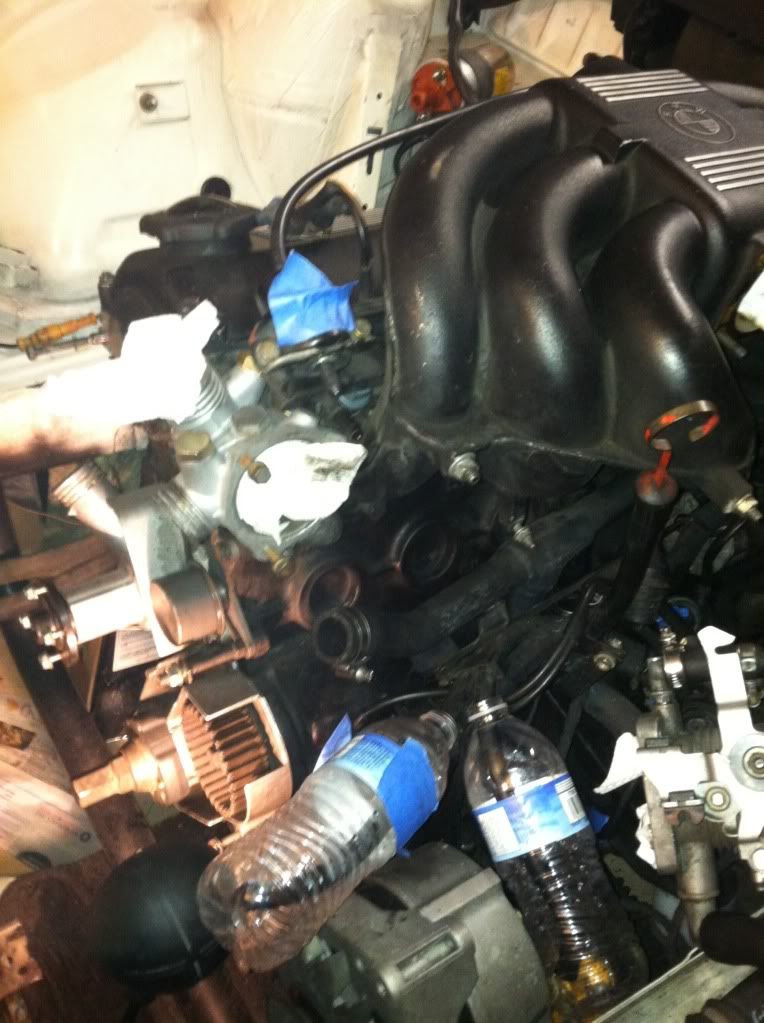
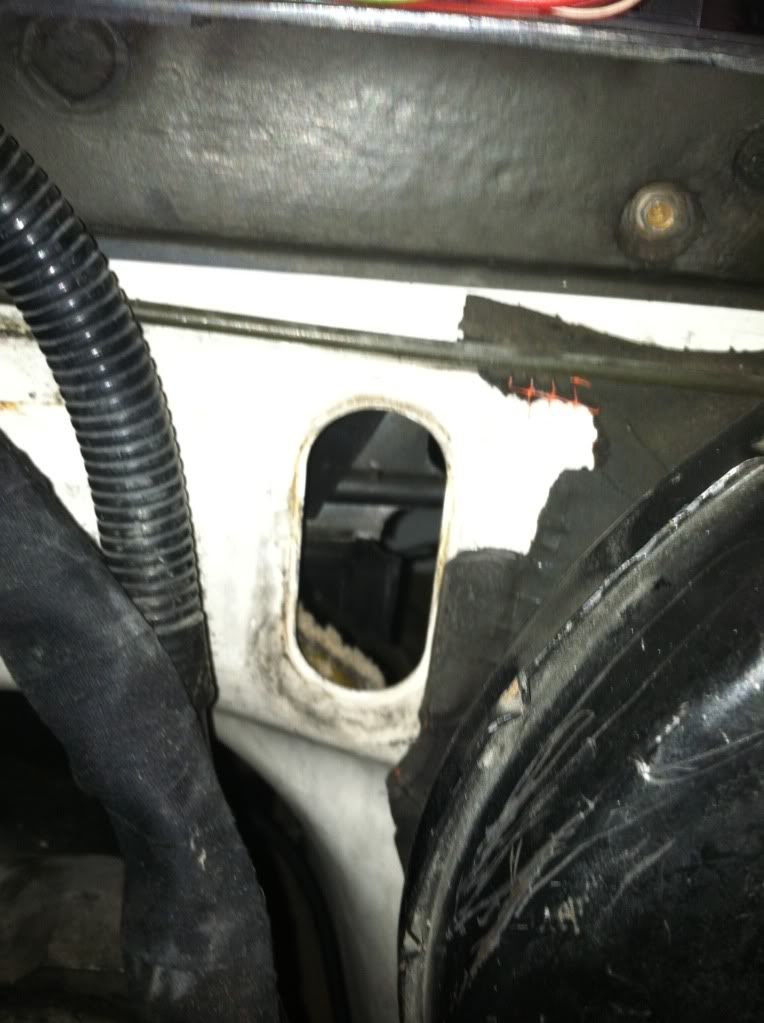
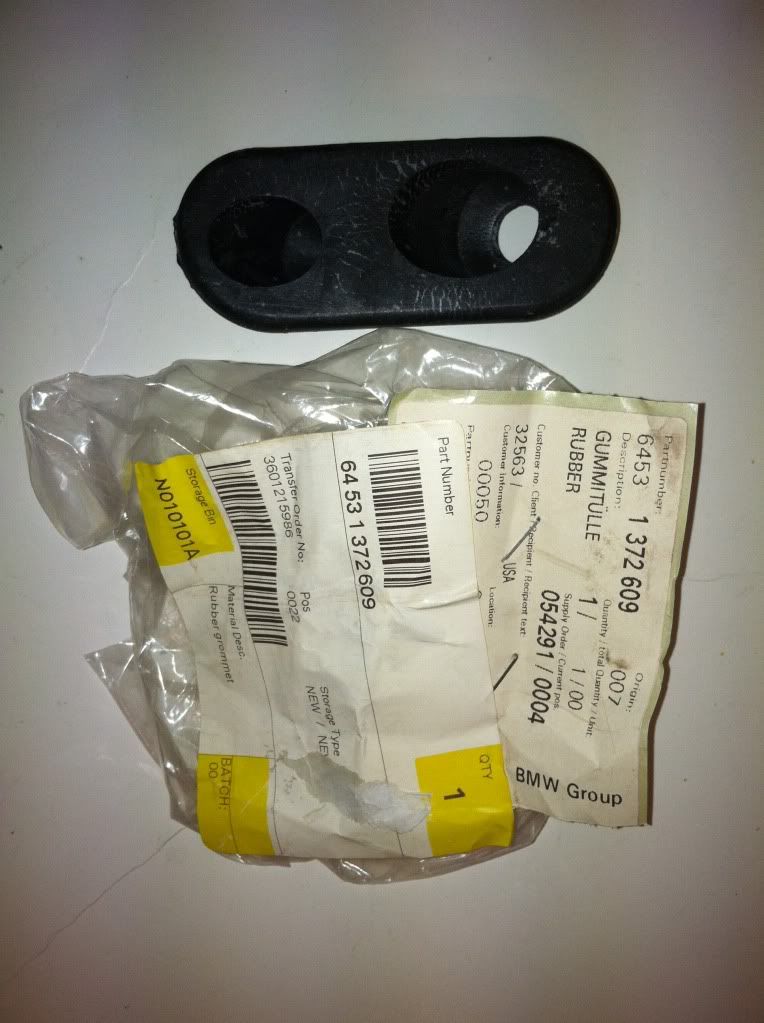
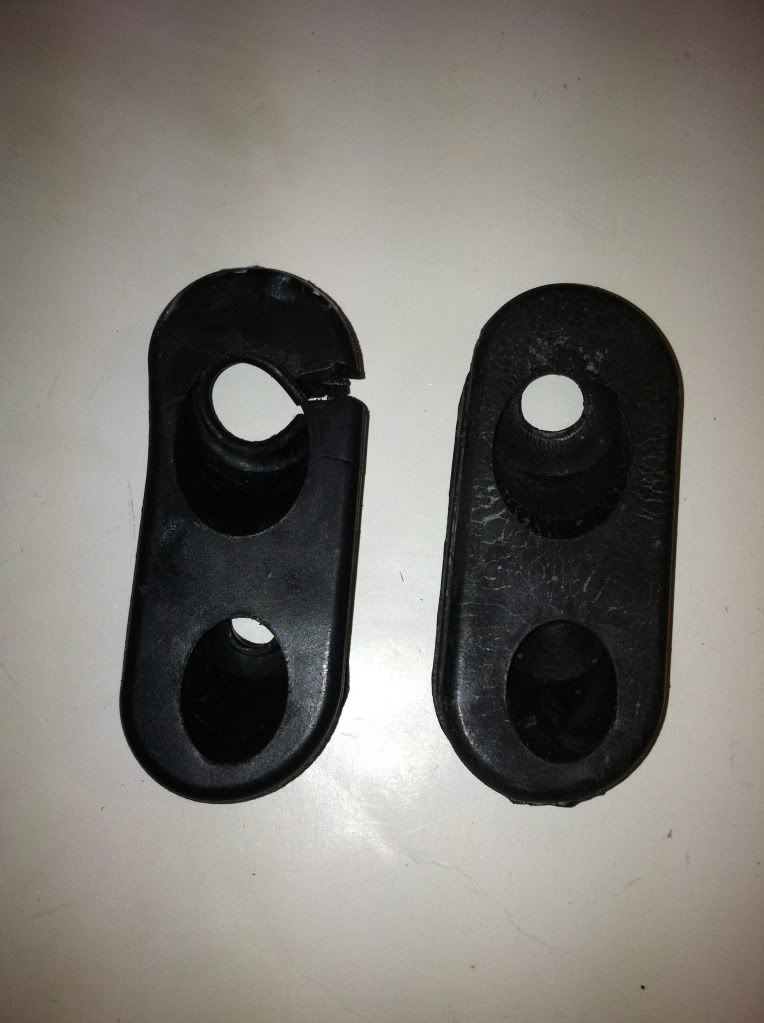
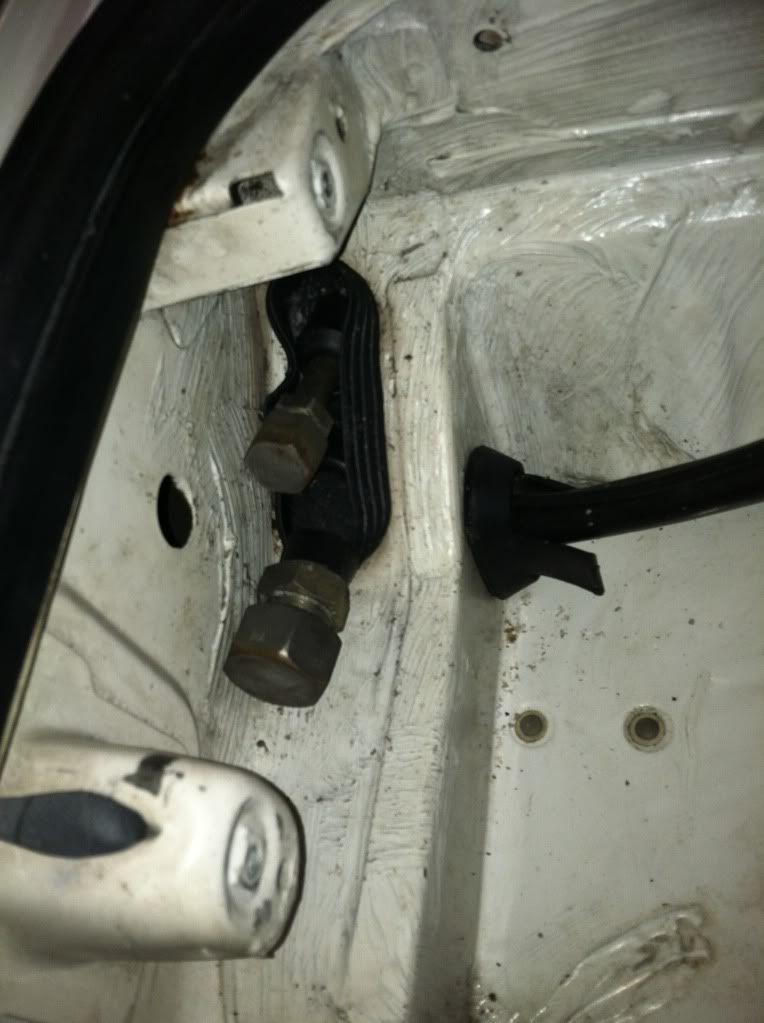
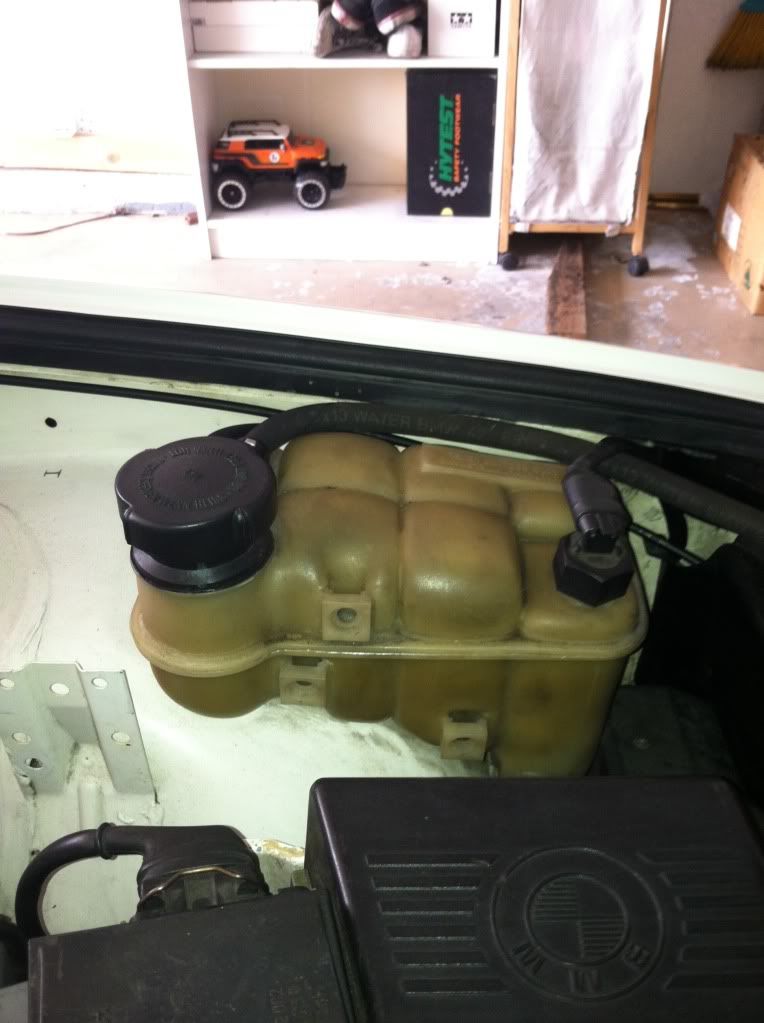
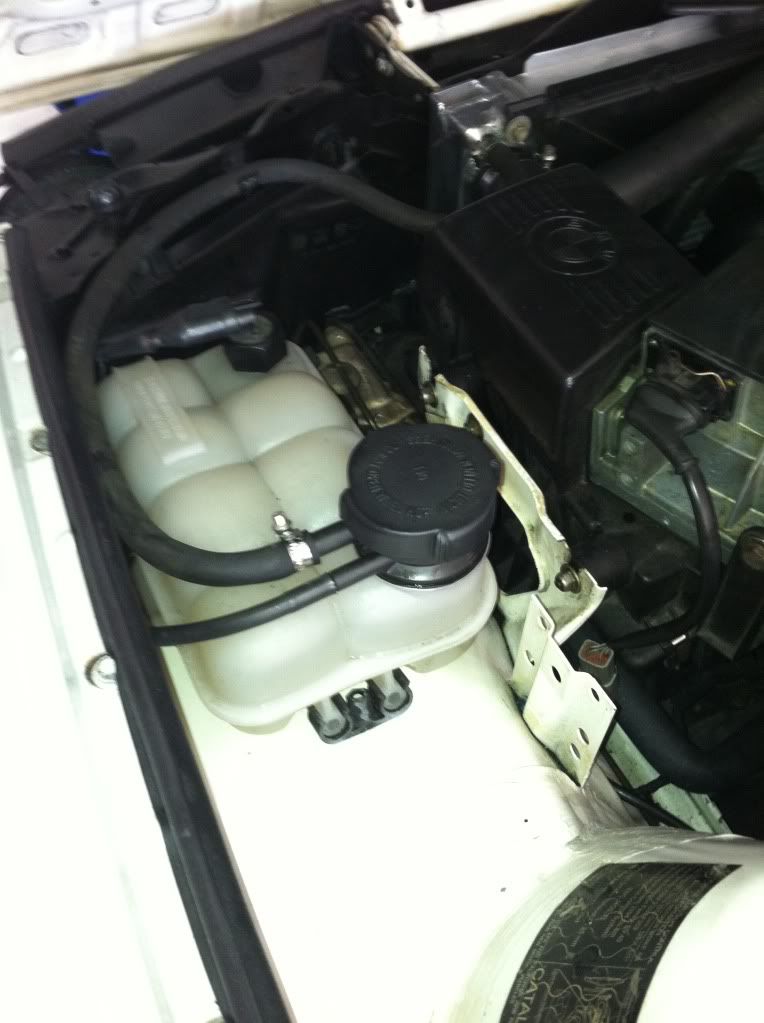
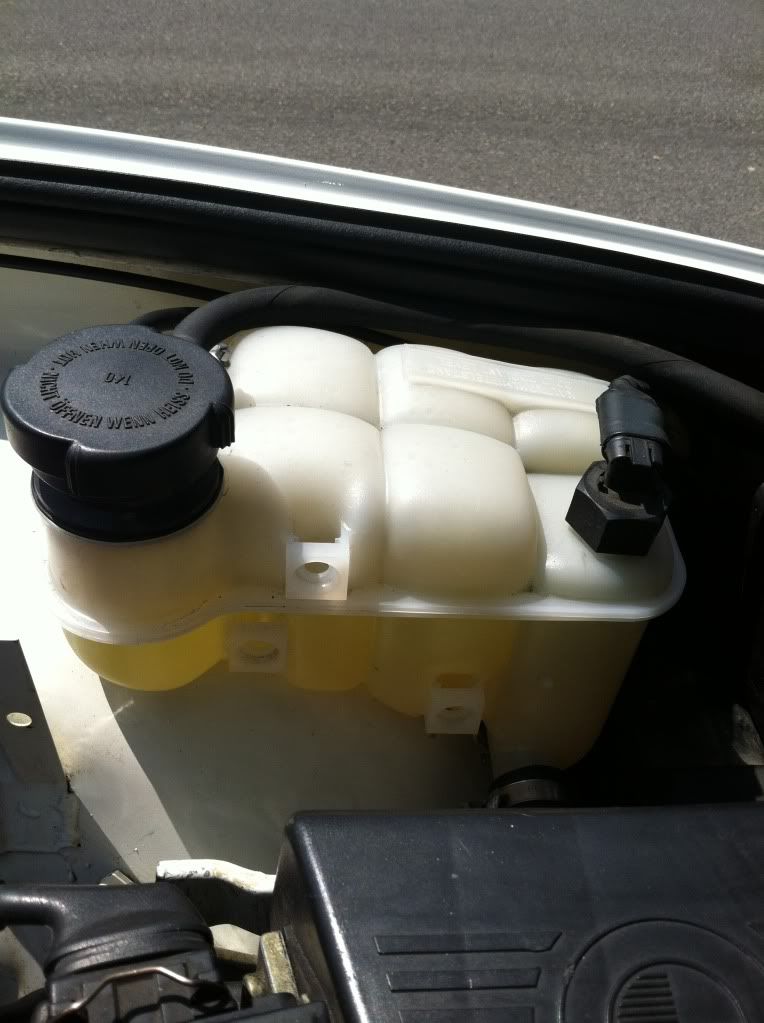
Just a reference picture
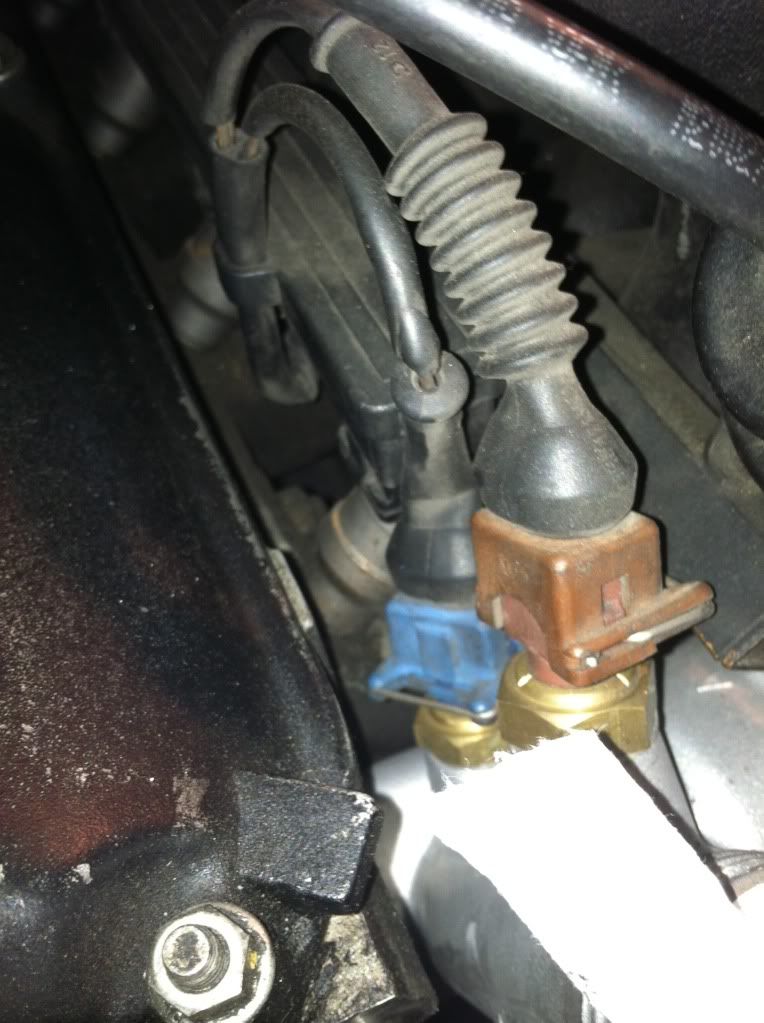
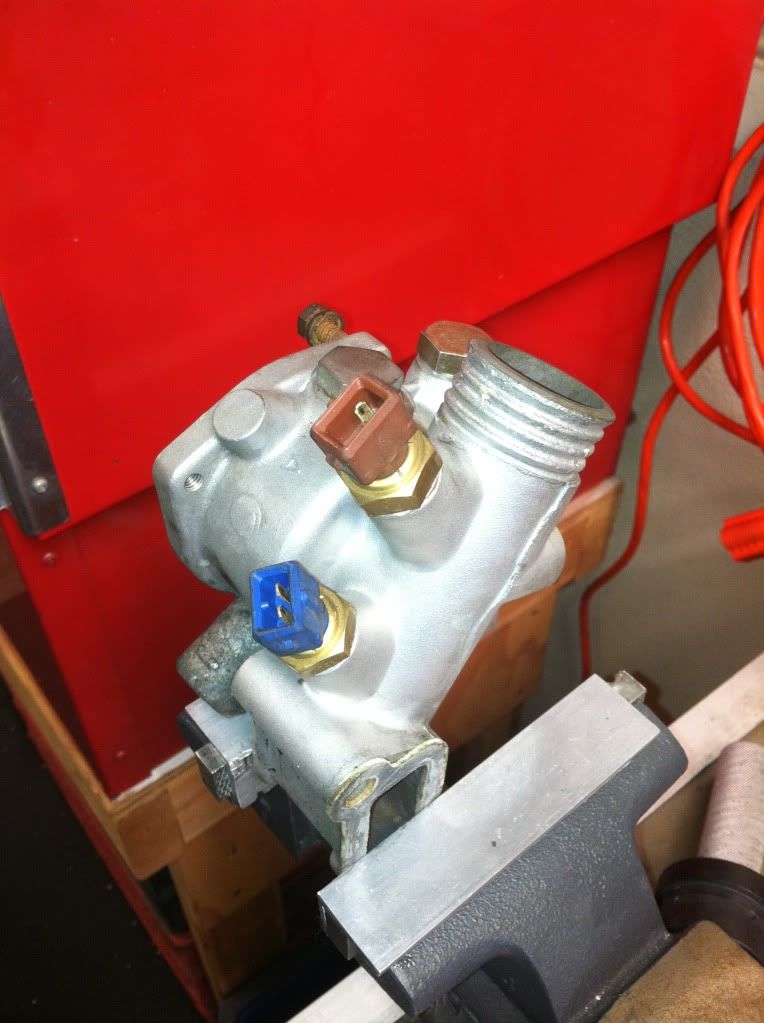
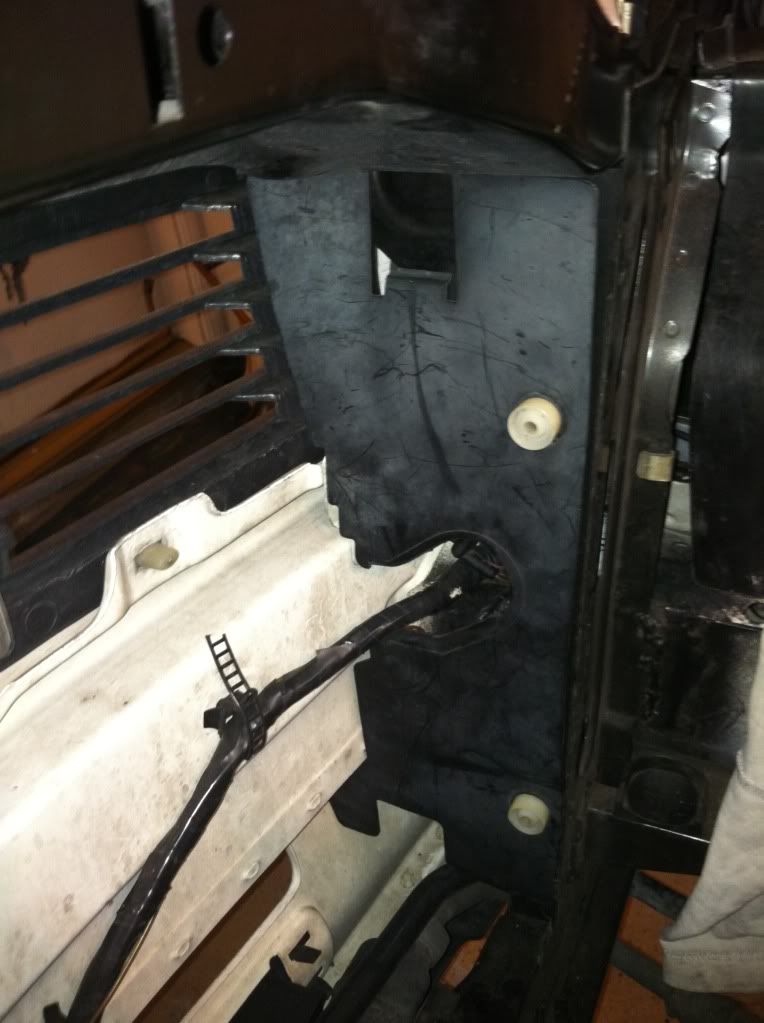
Blue connector closer to the intake is for the ecu
Brown connector closer to the radiator is for the cluster
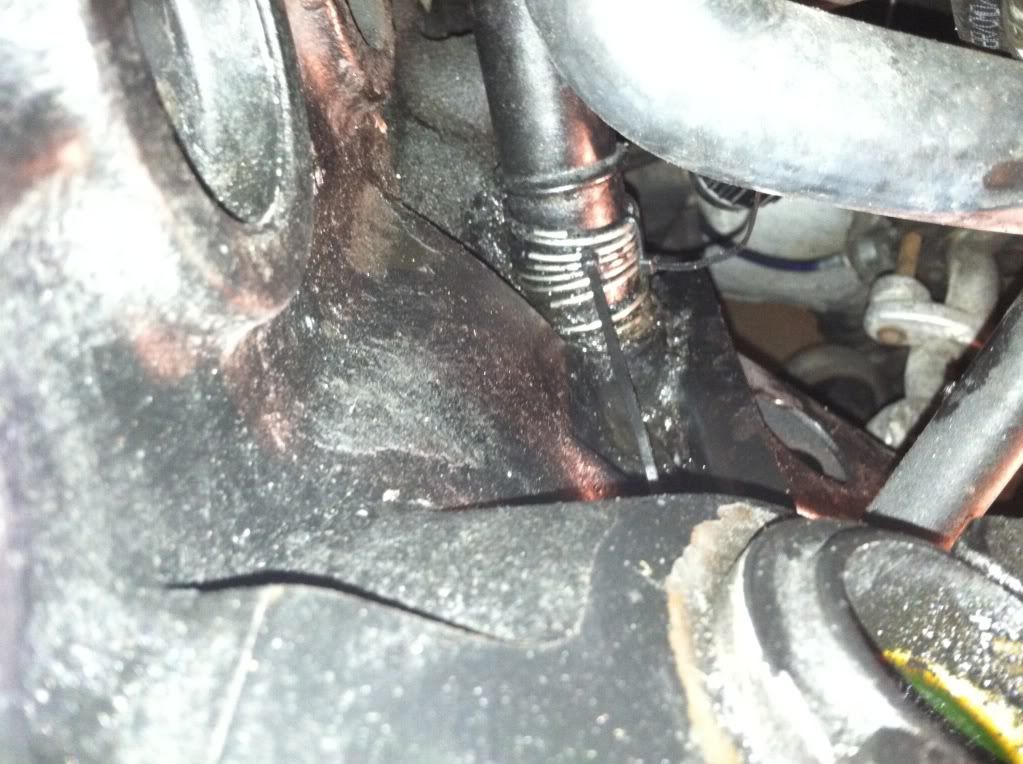
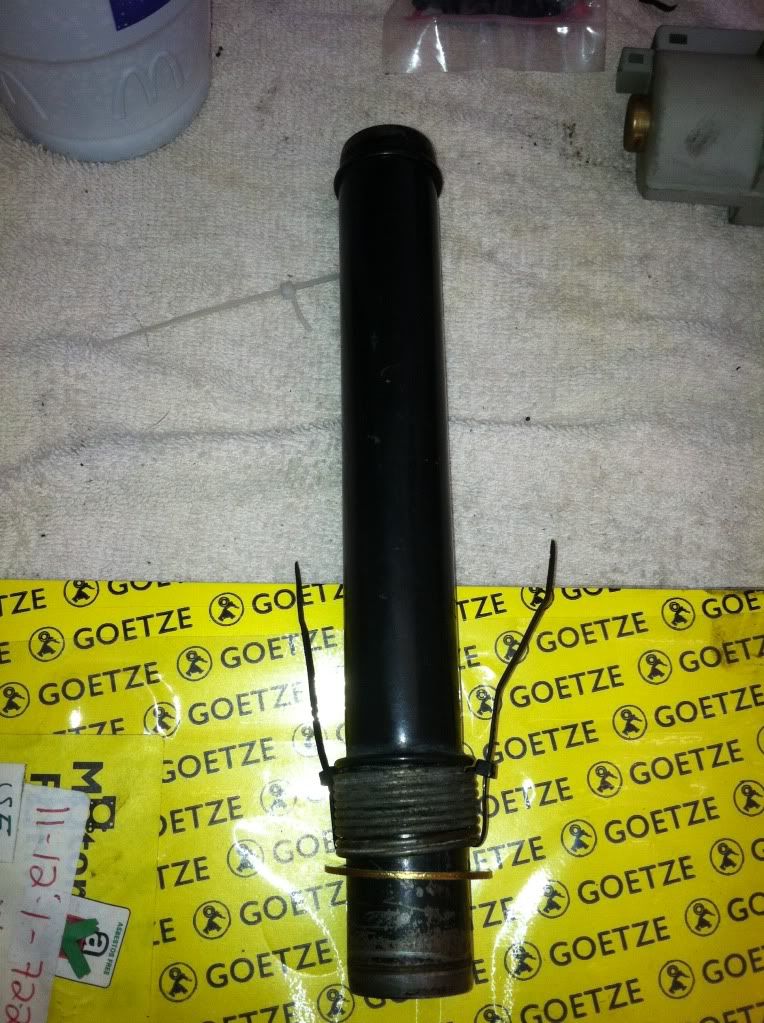
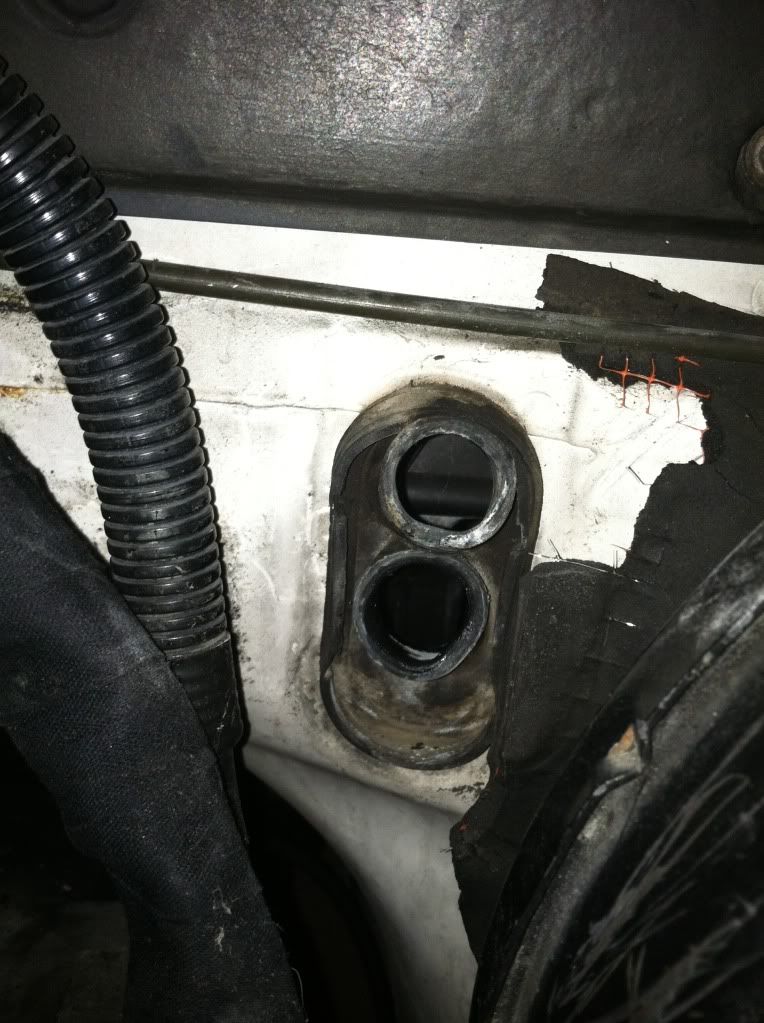
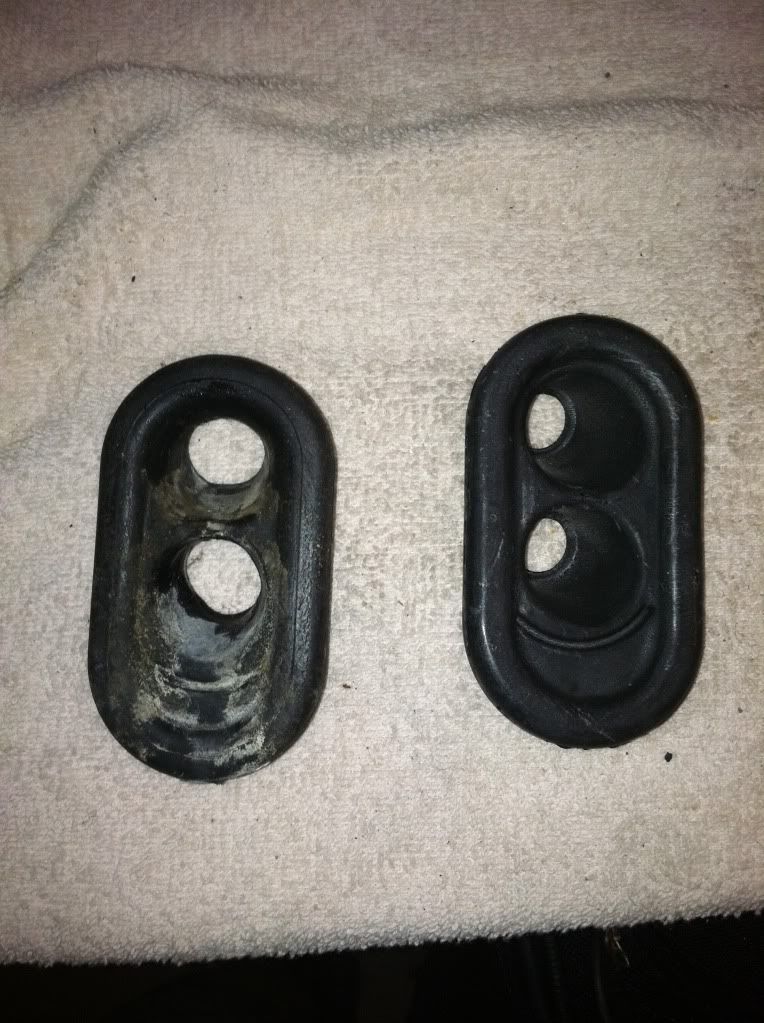
Here is at trick on remove the oil return tube(tube of death)
Zip tie on the entire spring not just part of it.
Label which fuel hose goes to the fuel pressure regulator or to the rail
This is also a good time to replace the fuel hose, I replaced mine right after I purchased the car.
I labeled them with blue tape and put the ends of the hoses in bottles to keep fuel from getting on everything.
1 trick to get the intake manifold off is to bend the oil dipstick to make a little bit of clearance.
Towards the front of the engine the very bottom left nut is covered by the coolant hose coming off the thermostat housing.
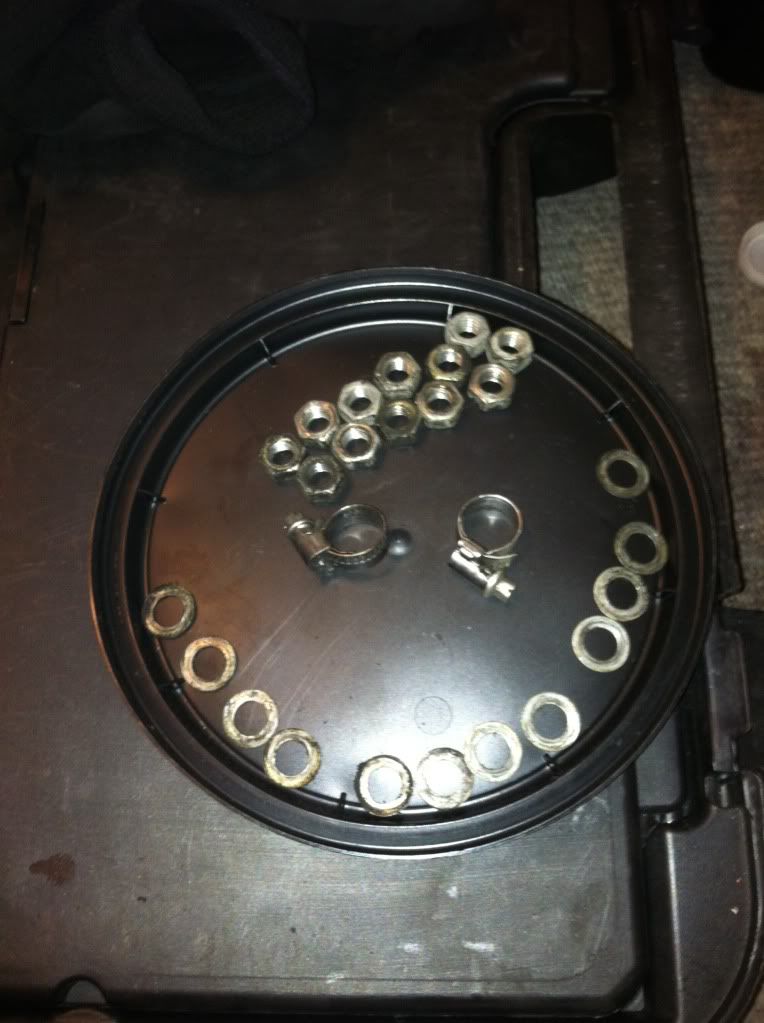
Make sure to get all of the nuts and washers off.
Coffee lid ftw
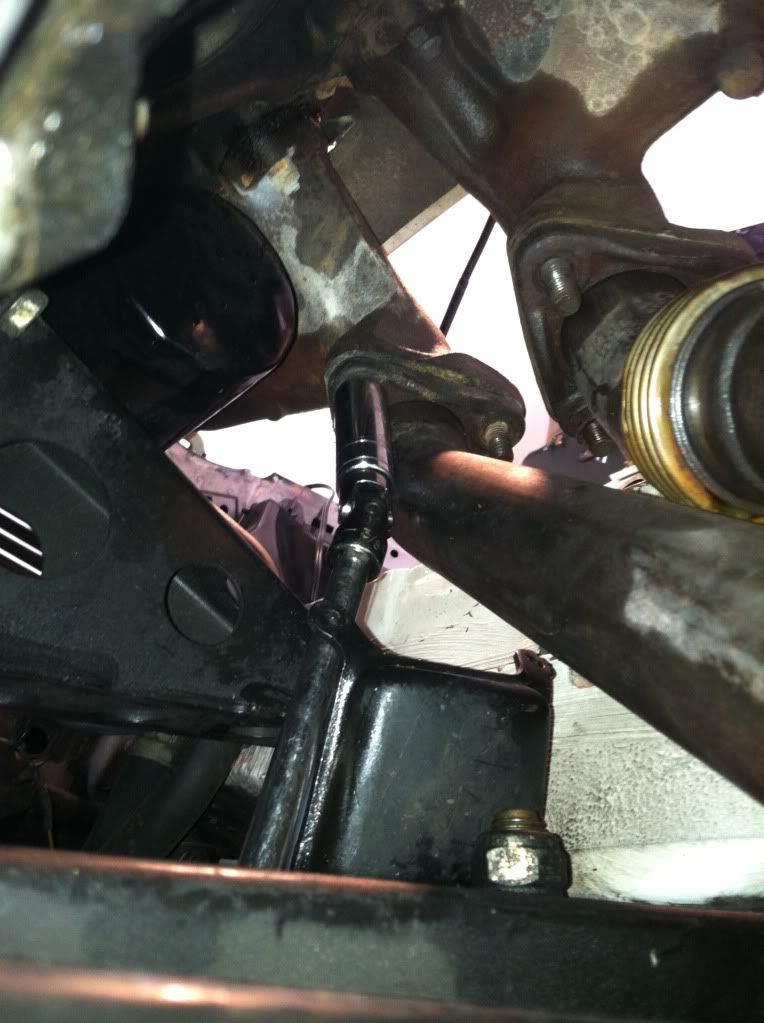
There are 6 nuts that attach the exhaust down pipe to the exhaust manifold
They are usually very tight and they can be difficult to get to.
I removed the motor mount heat shield and the o2 sensor heat shield
I used a 6 point deep 15mm socket 3/8 drive with a swivel a long extension and a 3 foot breaker bar.
There is a different combinations of sockets and extensions and using u joints on some and not on others.
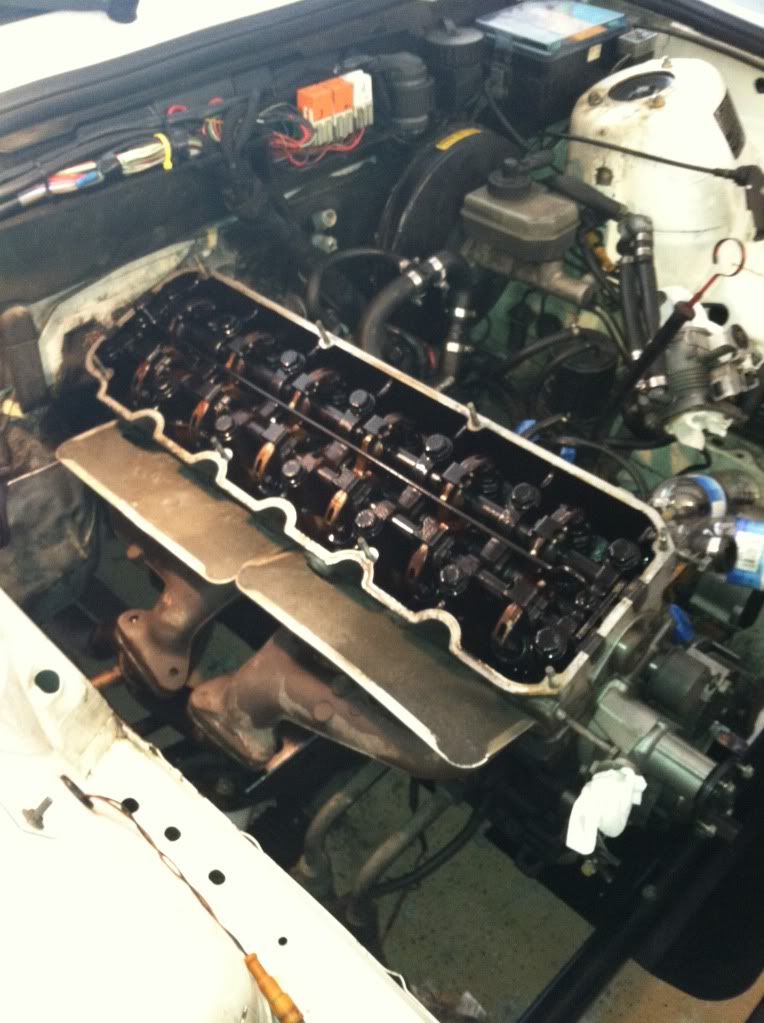
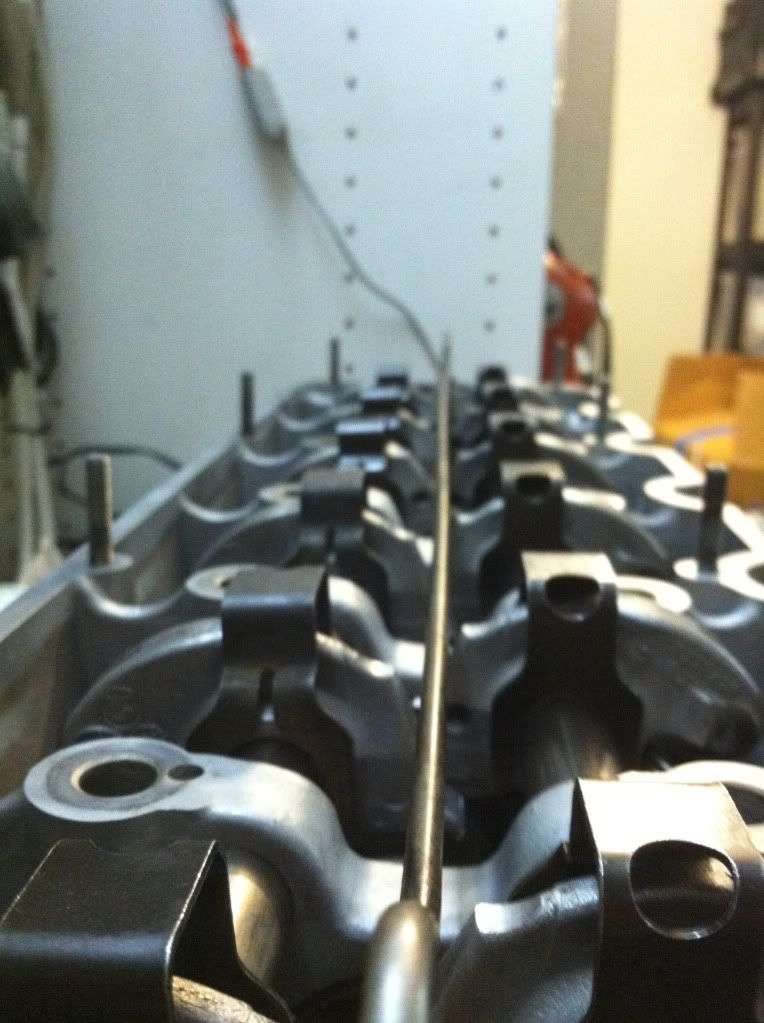
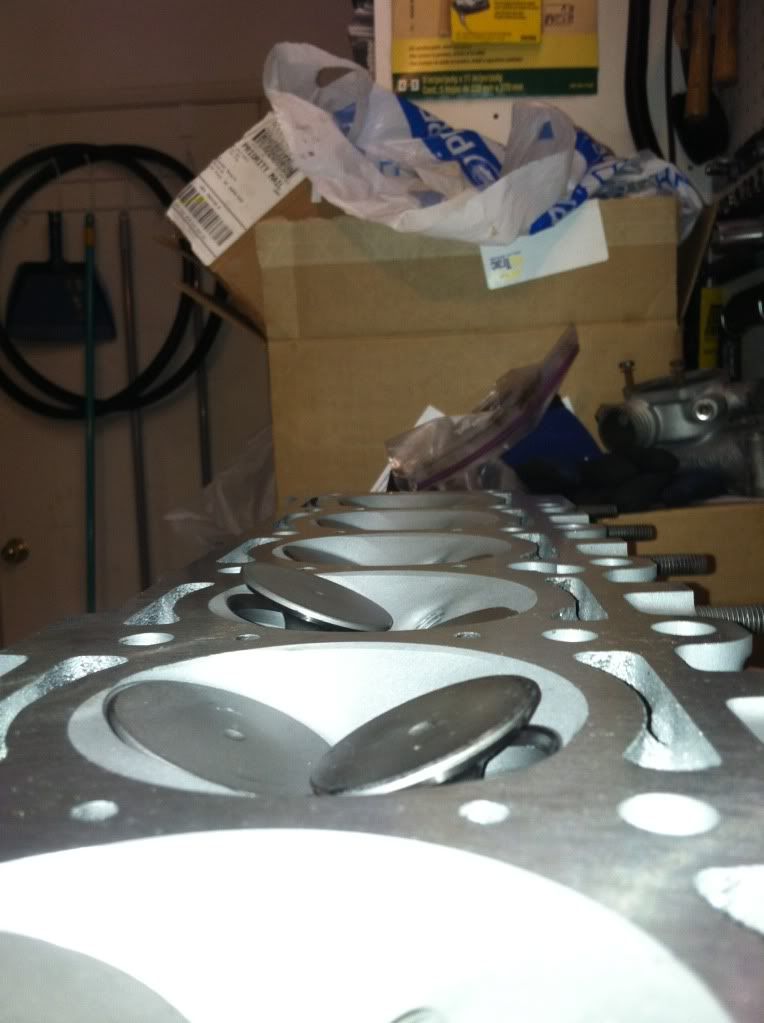
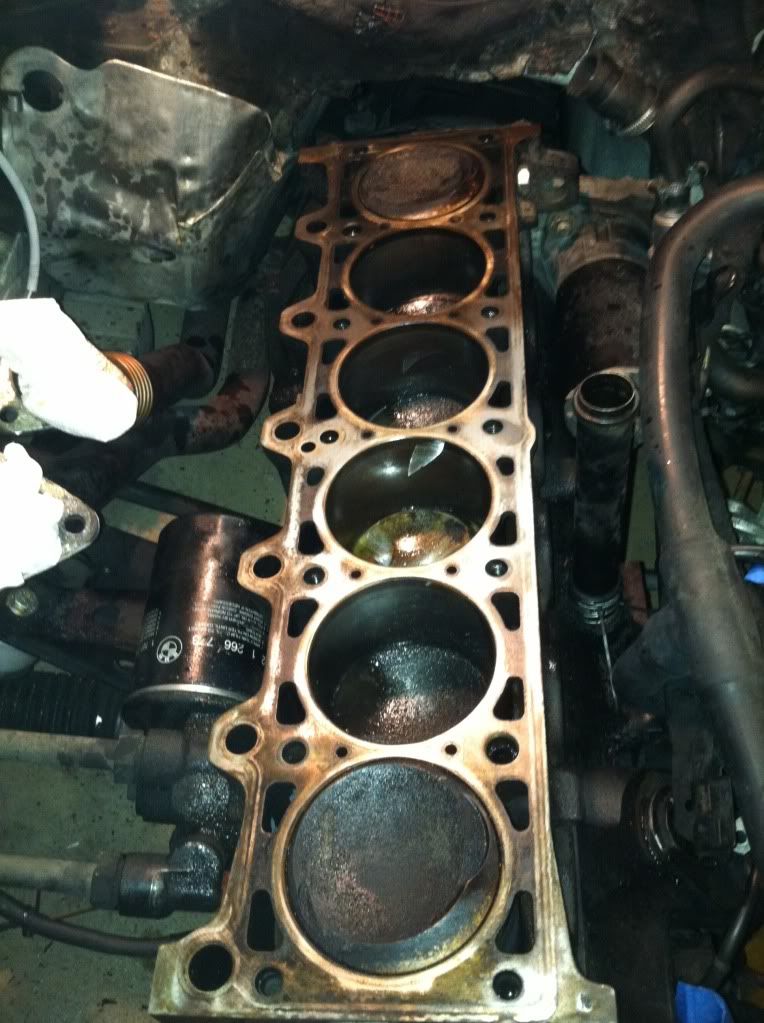
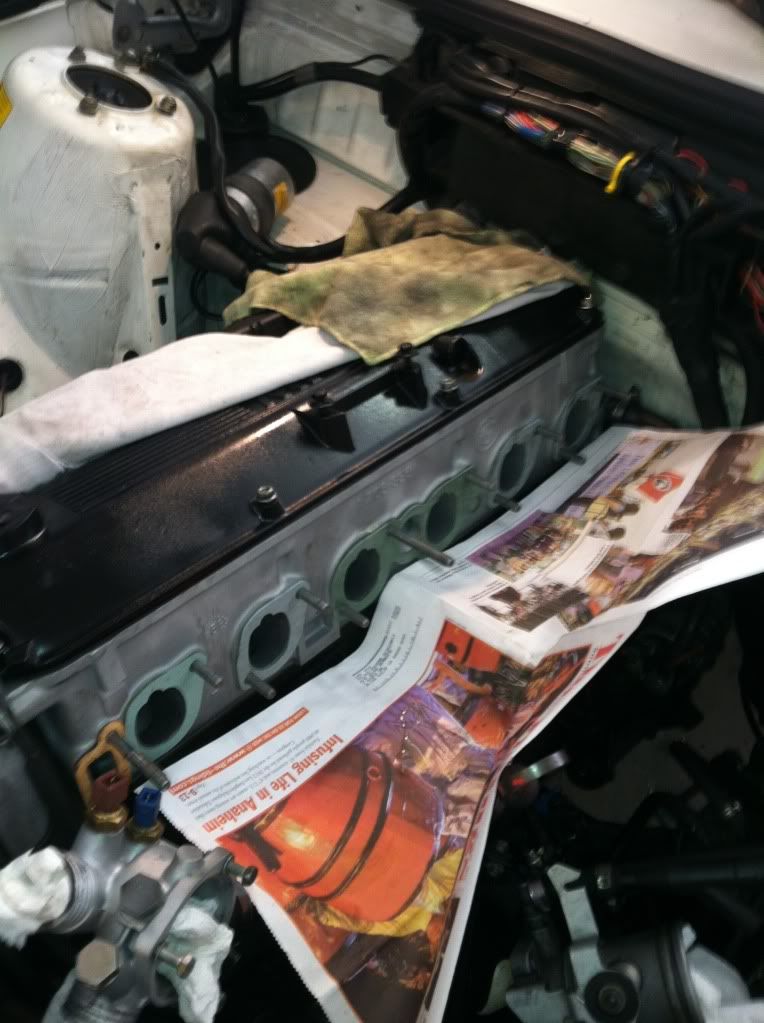
Here is the head completely ready to come off.
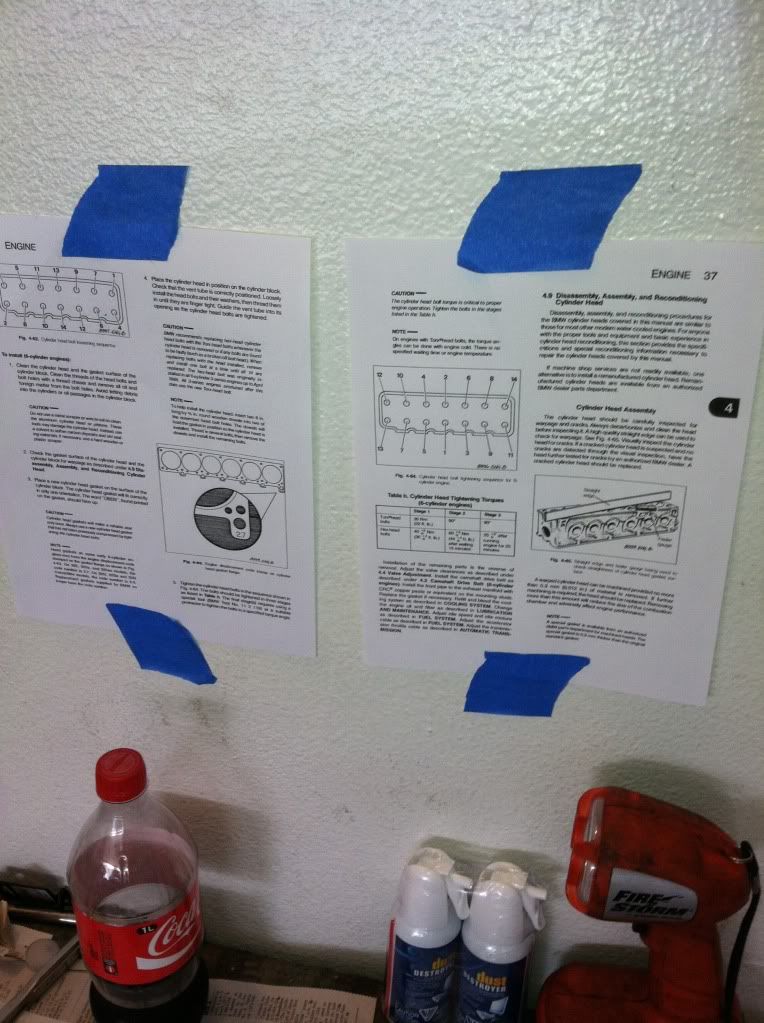
Got the Bentley PDF and printed the pages regarding the head gasket job
Gives your specs on bolt order and torque specs
My head had the old style hex head bolts sometime in middle of 1989 bmw switched to torx style head bolts.
Here we go with the cheater bar
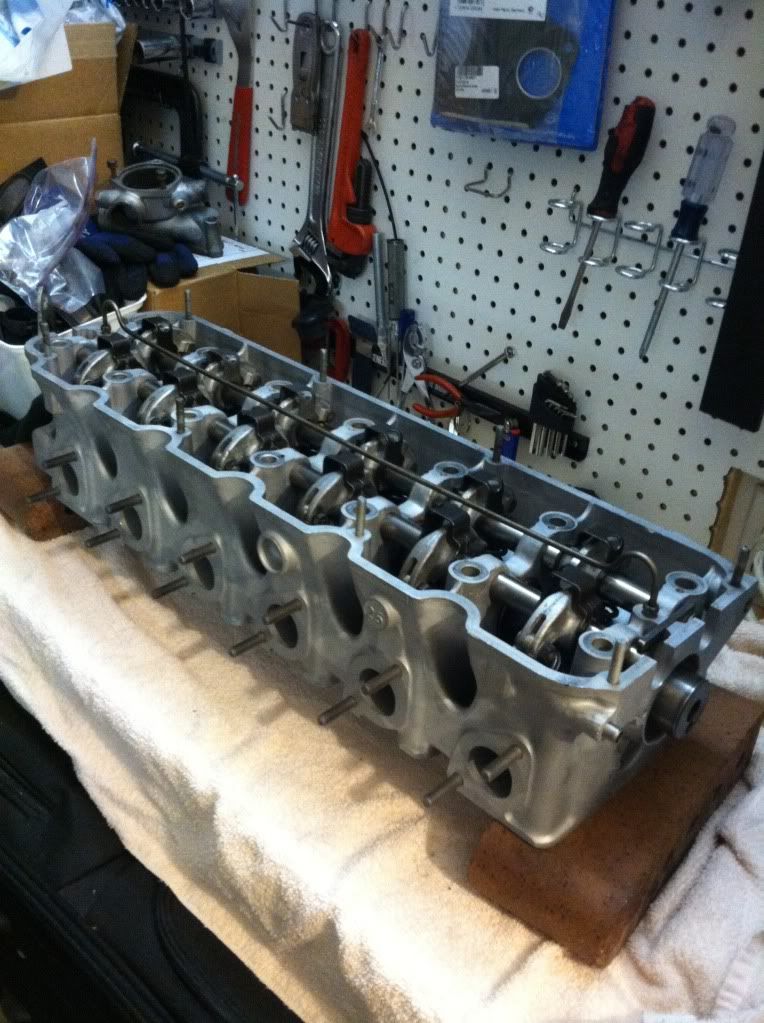
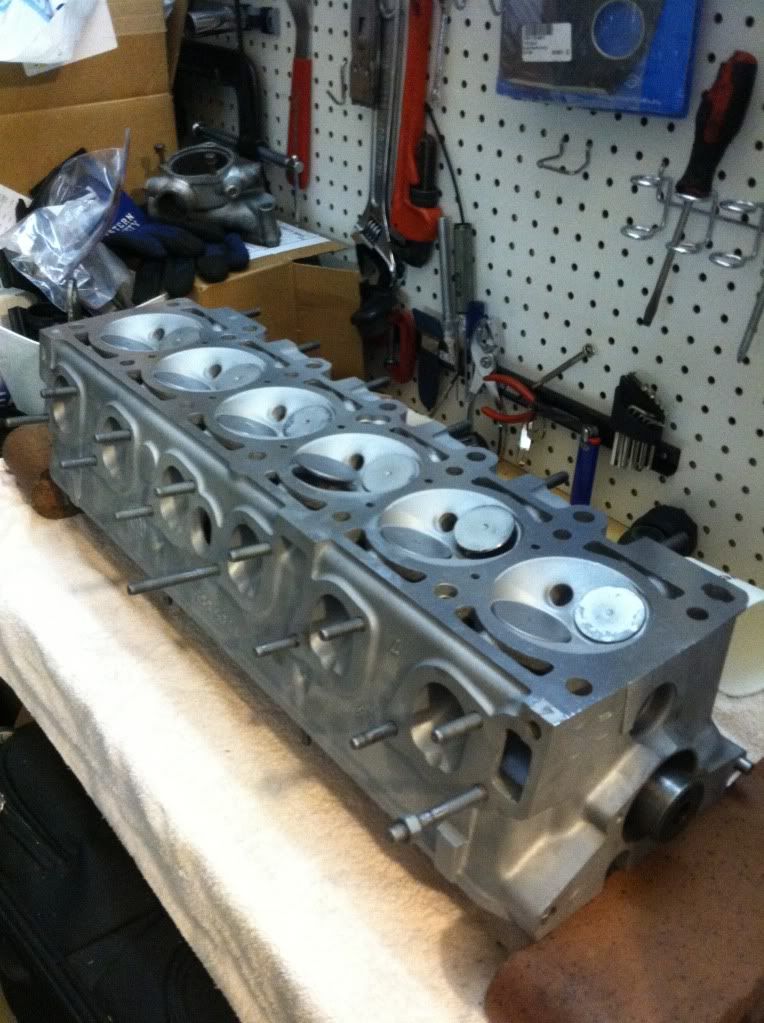
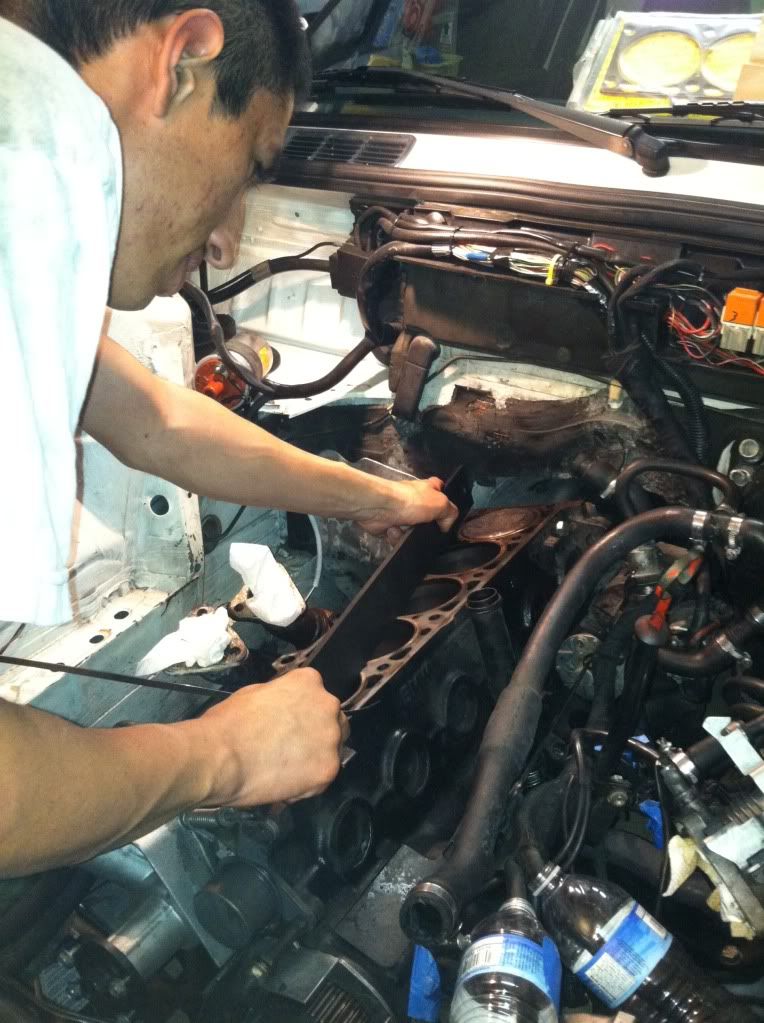
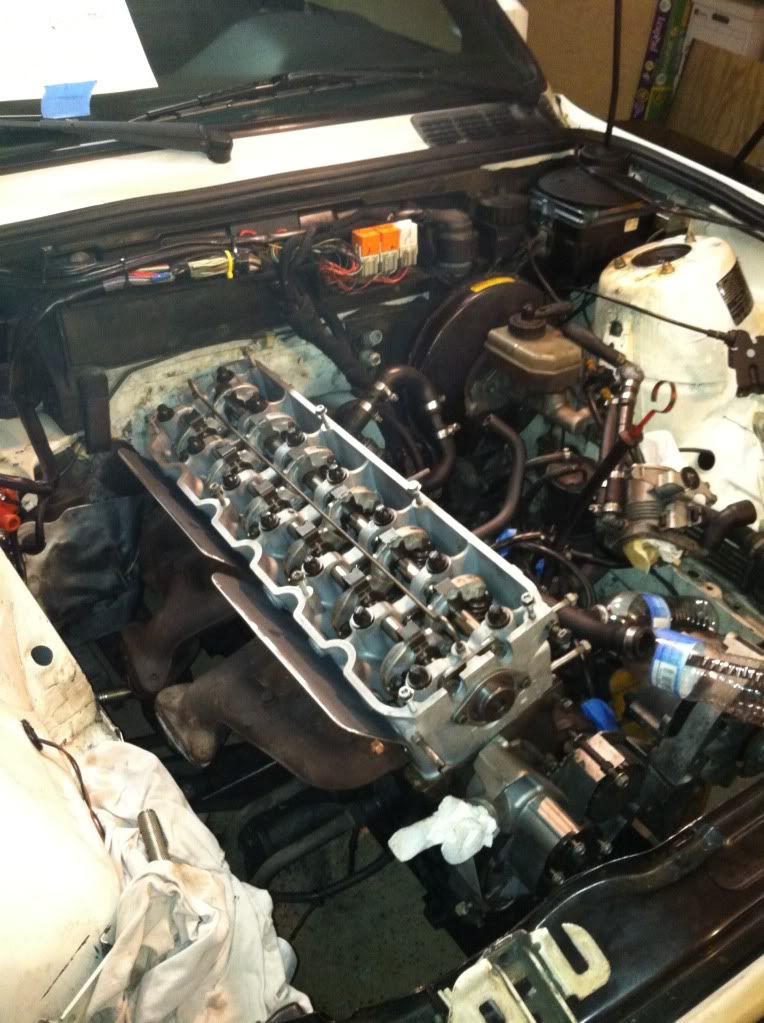
Got the head off
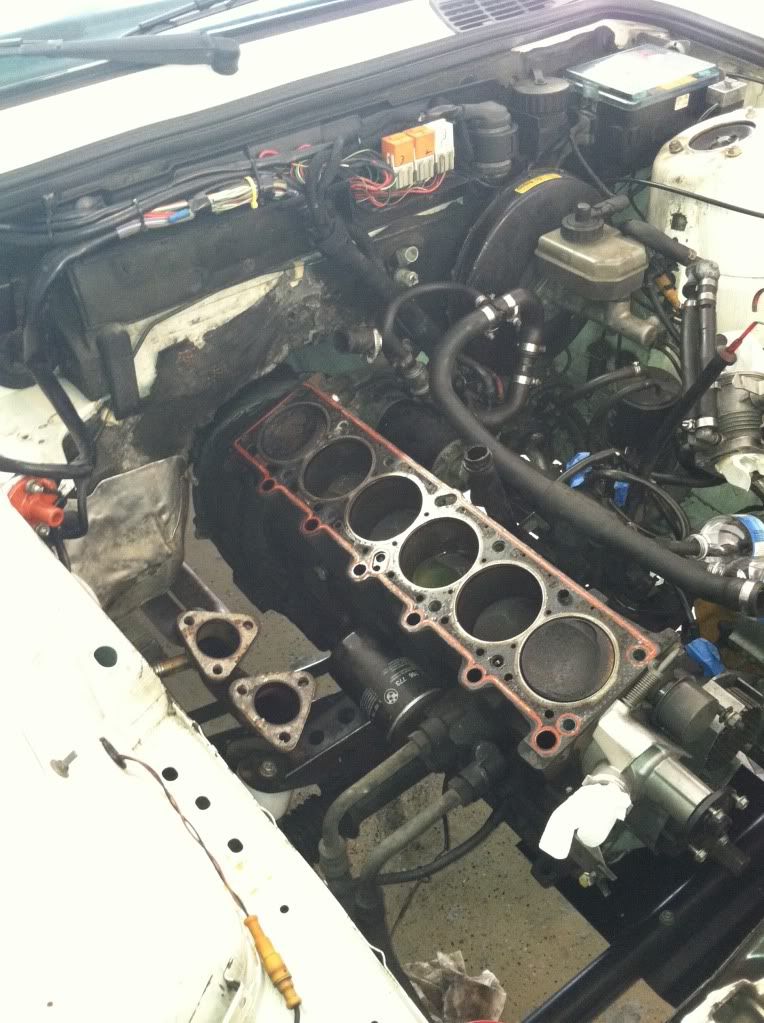
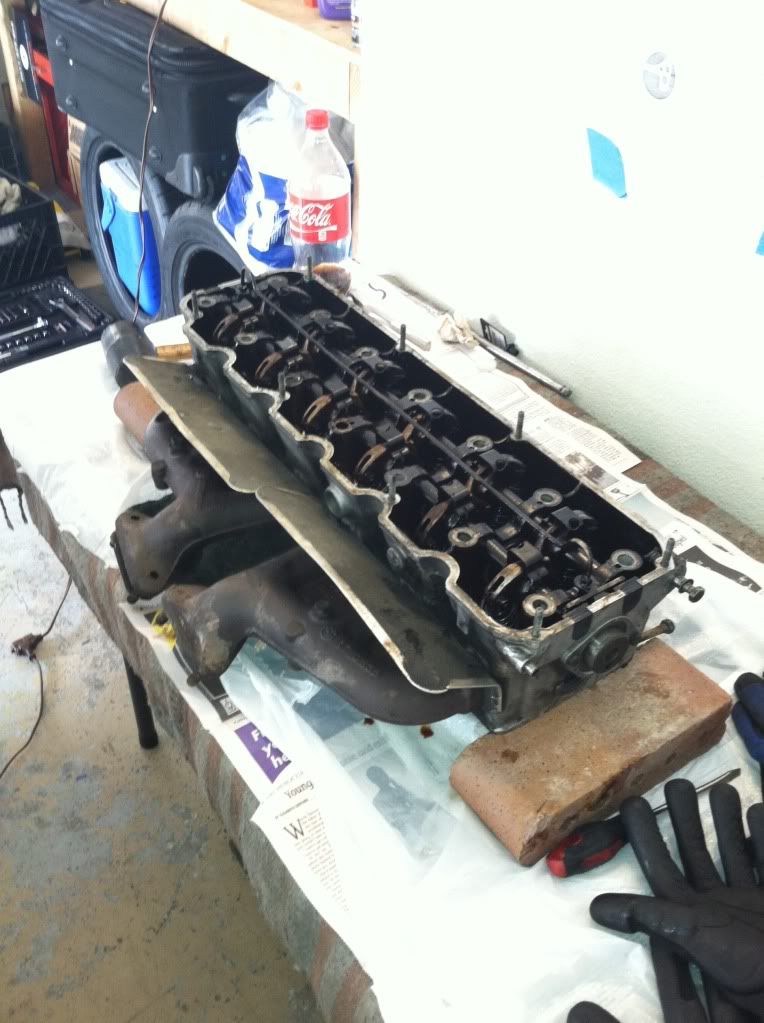
Off the engine and on the bench ready for tear down
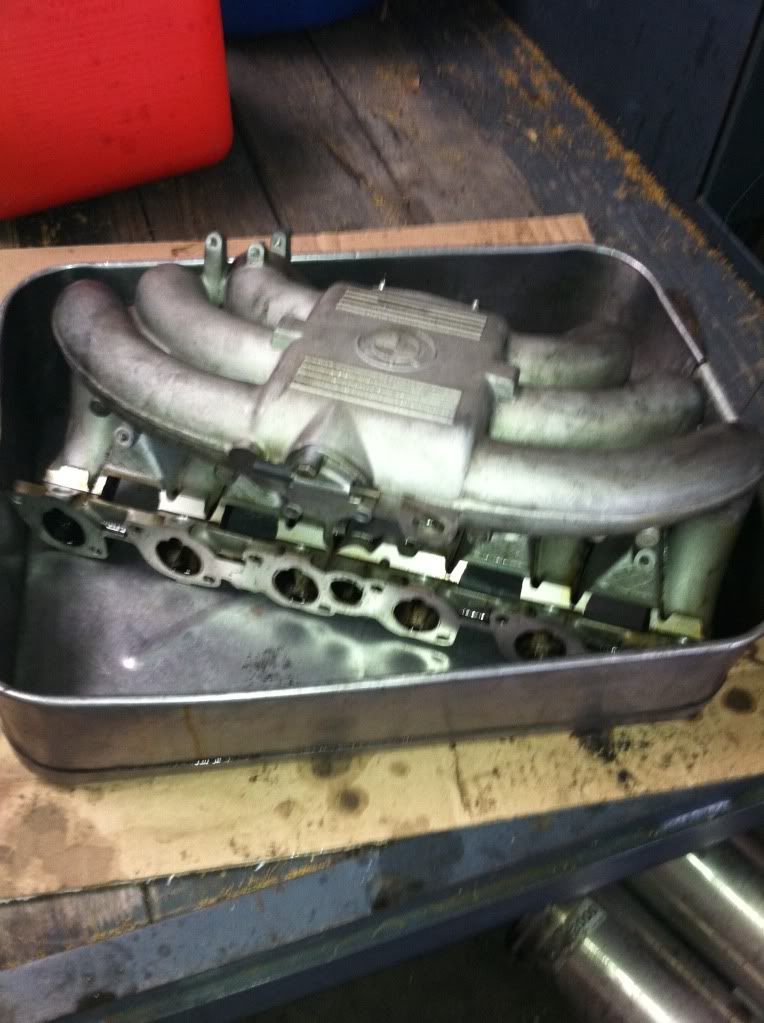
Intake manifold getting cleaned up
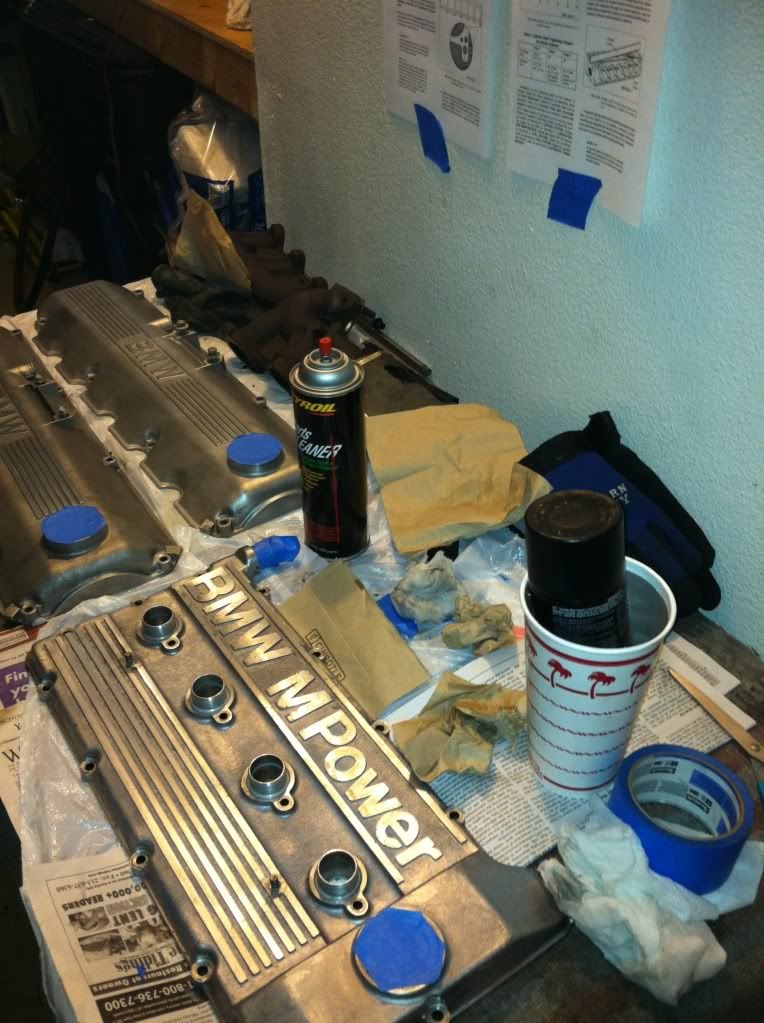
Cleaned up the valve cover with carb spray
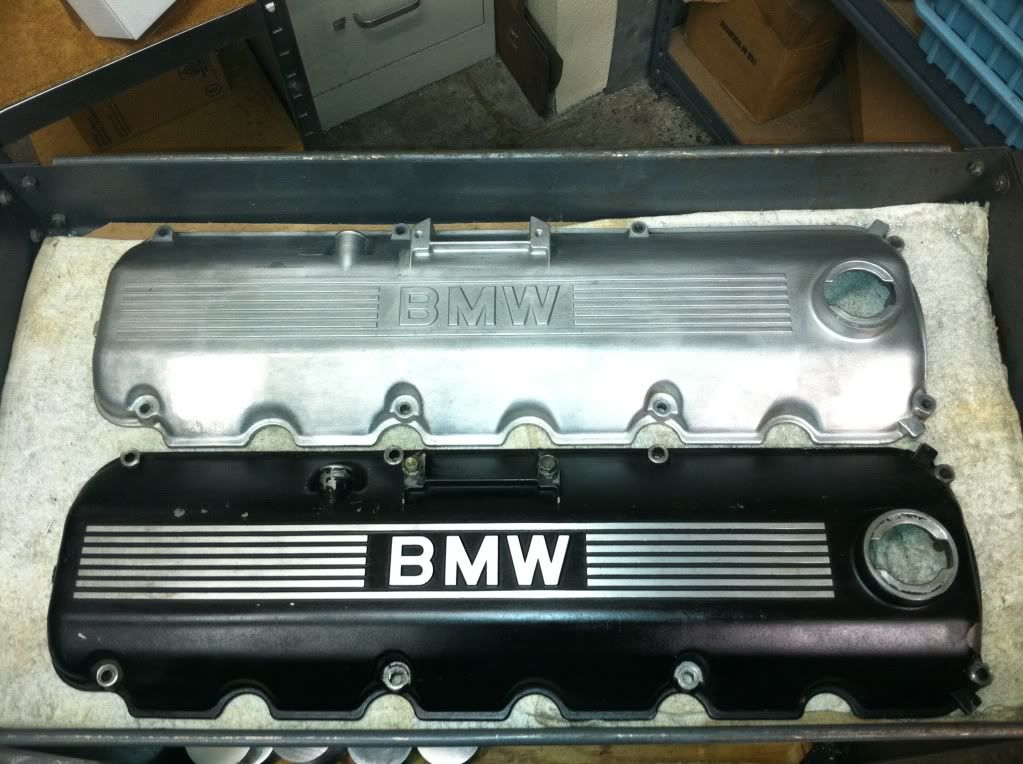
Prepping the valve covers for paint
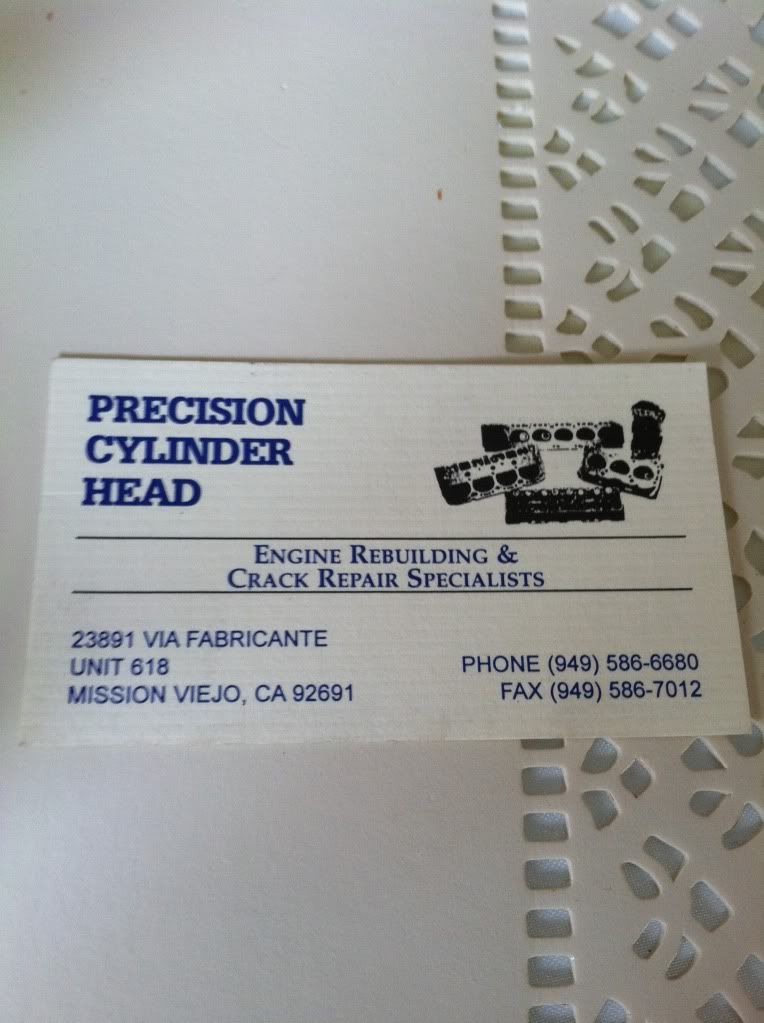
Machine shop I used for my head
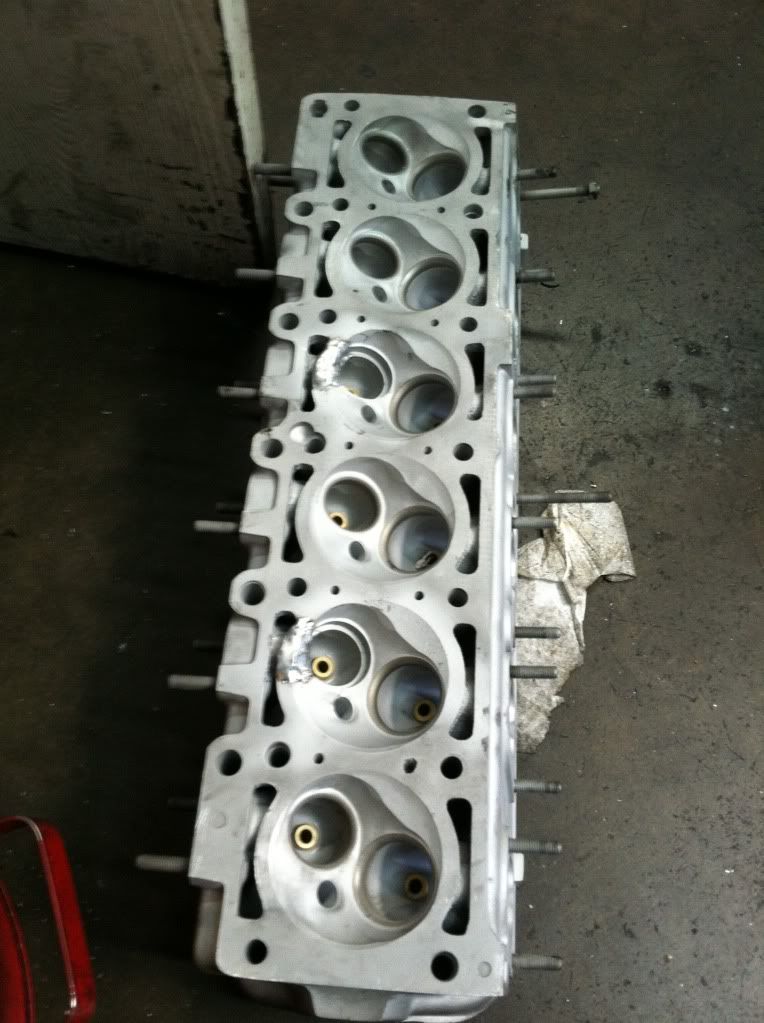
Machine shop found 2 tiny cracks in the head
Since I relocated the c101 and the impulse sensor and the crank sensor I didn’t need the bracket off the intake manifold I wanted to get rid of the stud on the manifold
Double nut method got the stud off
Woo hoo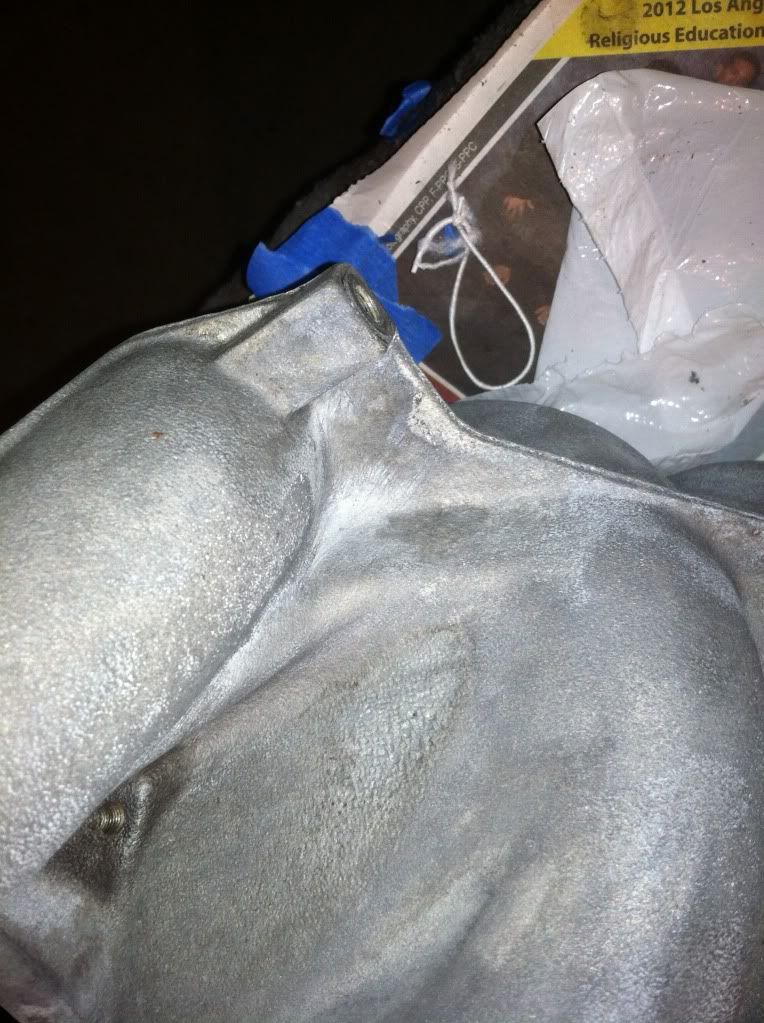
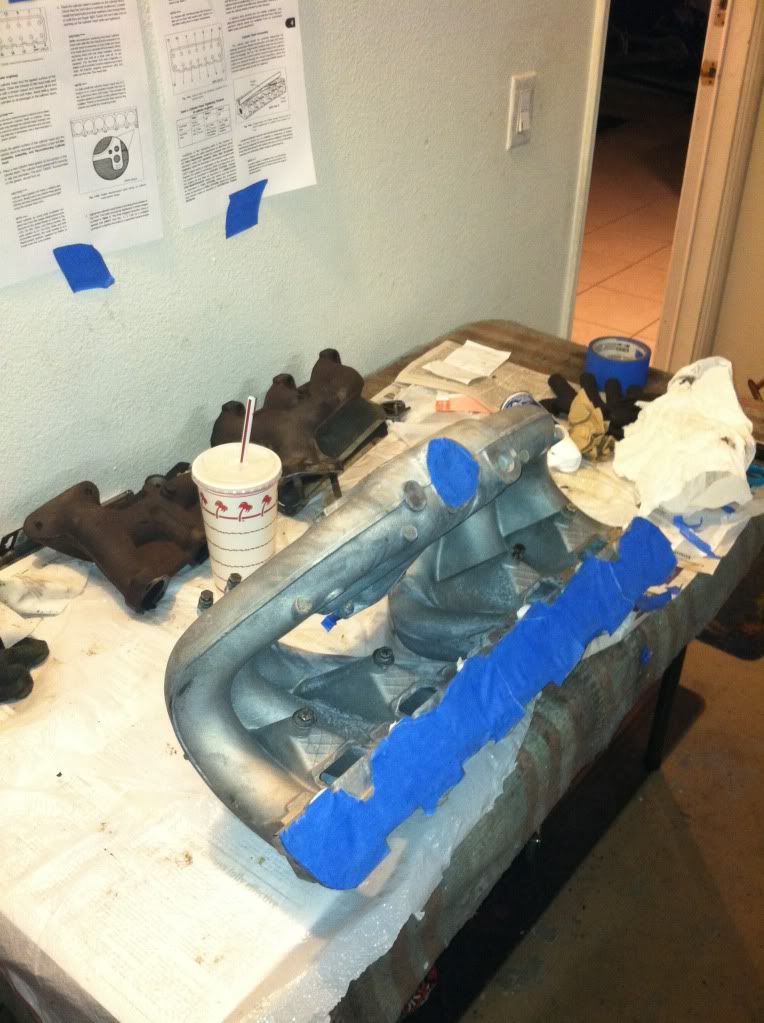
Prepping for paint
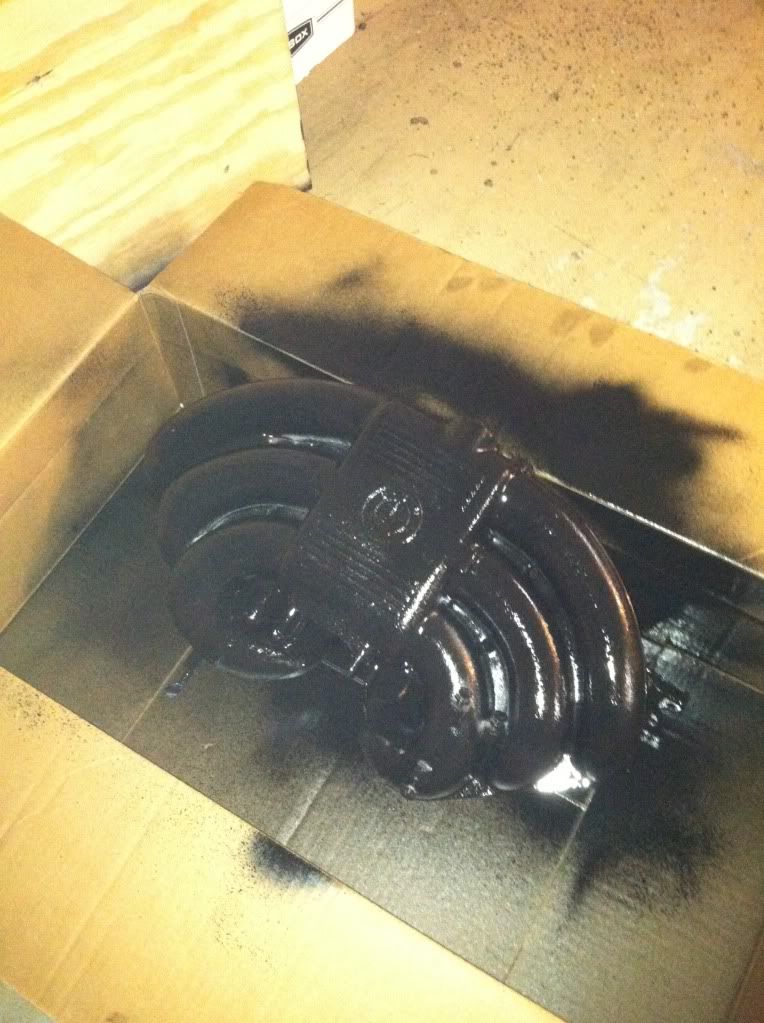
Wrinkle finish black
Head back from the machine shop
Clean
Started to clean the block
Checked the block for warpage
Checked the head for warpage

Chased the threads of the head bolts to make sure there weren’t dirty
Cleaned up the thermostat housing
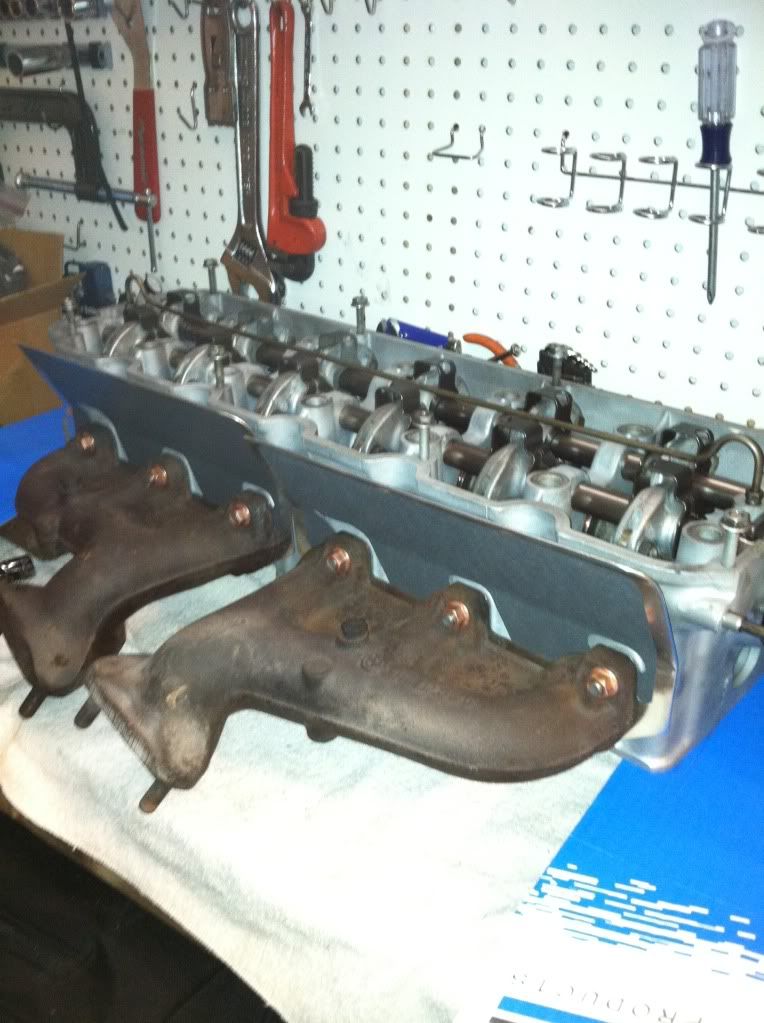
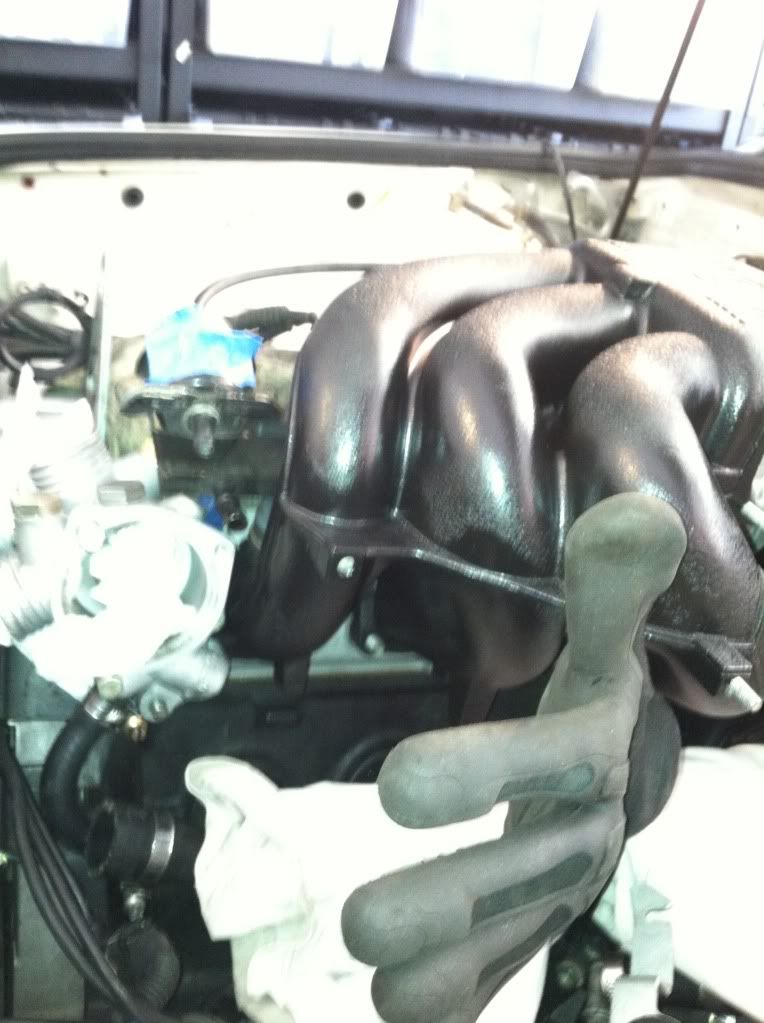
Bolted up the exhaust manifolds and heat shields with new hardware
Placed the head on the block, kinda tricky to line up the studs on the exhaust manifolds to the down pipe while aligning the head to the dowel pins on the engine block
Got the head bolts torque down properly
Make sure to use the washers with the new torque bolts almost fucked that up.
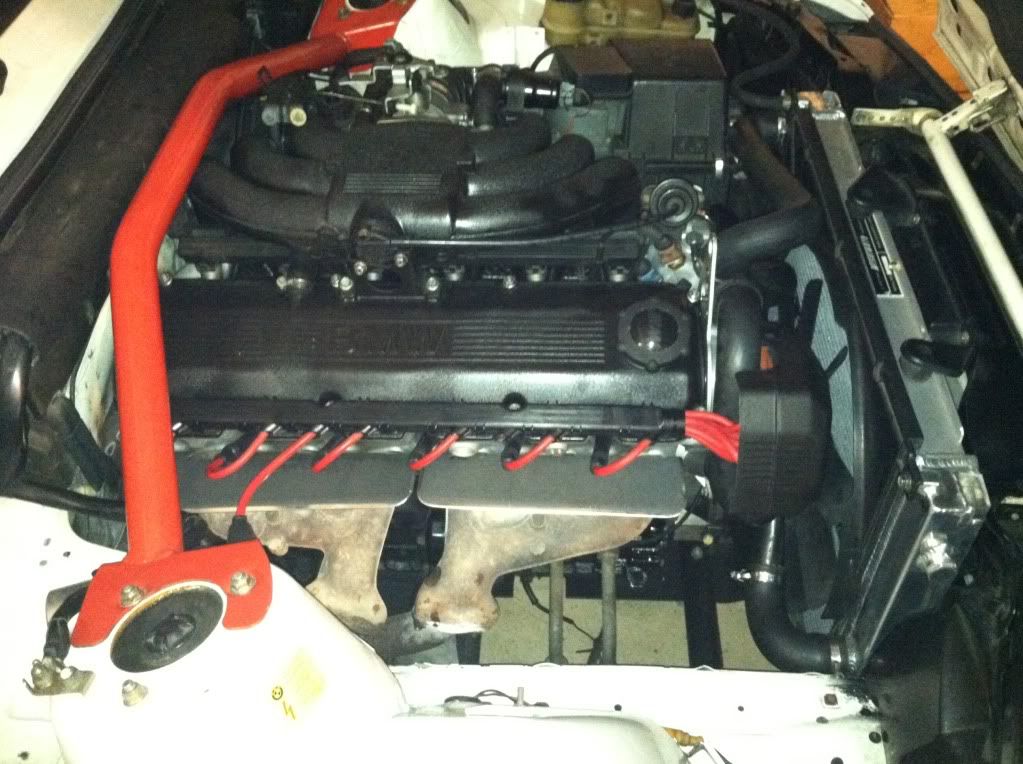
Got the timing belt, water pump and tensioner installed,
Threw the valve cover on just to look at it.
I stopped here for the night.
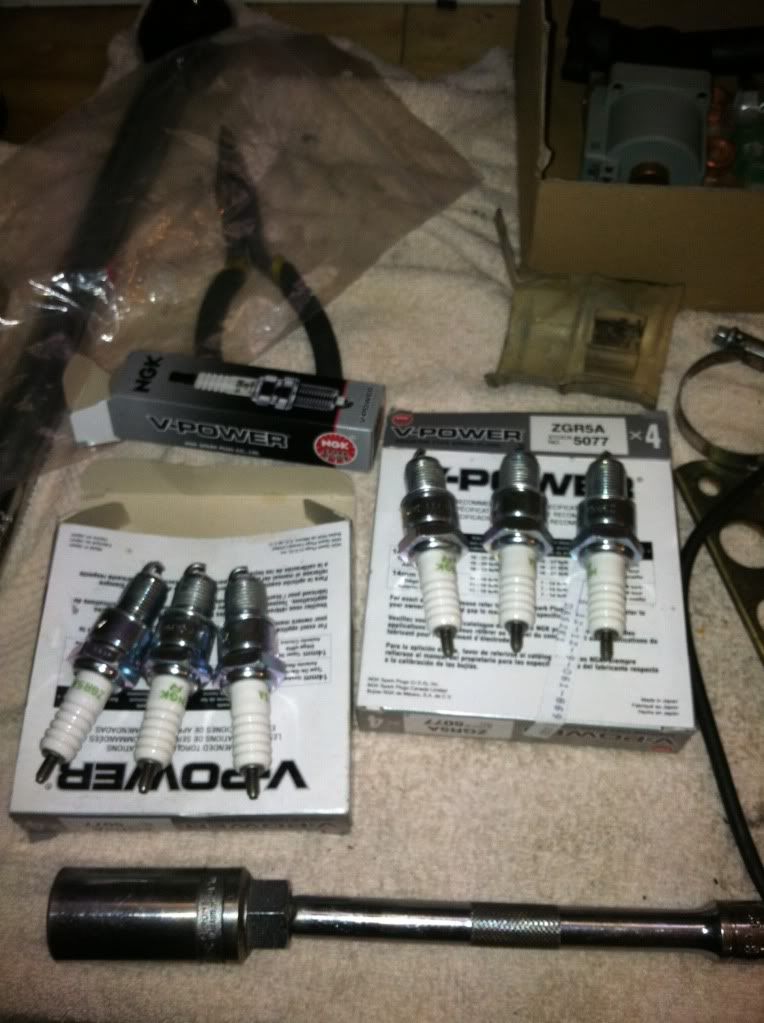
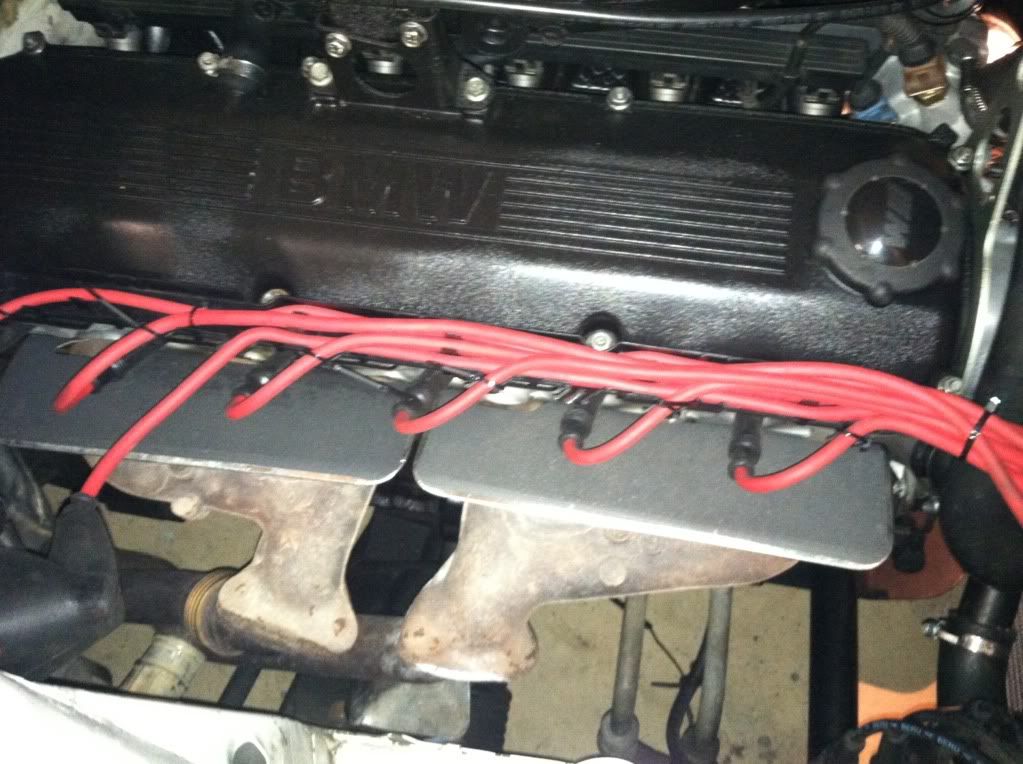
New spark plugs getting some anti seize
I used ngk zgr5a - 5077
one tip is to adjust the valves before reinstalling the intake manifold you have a little more clearance for your 10mm box wrench.

Tube of death prepped to go into the engine block
Real oem says that the engine needs 2 washer when it really only needs one.
Setup is 1 o ring
1 tube of death
1 oring
1 Spring
1 washer
Got the gaskets ready for the intake manifold
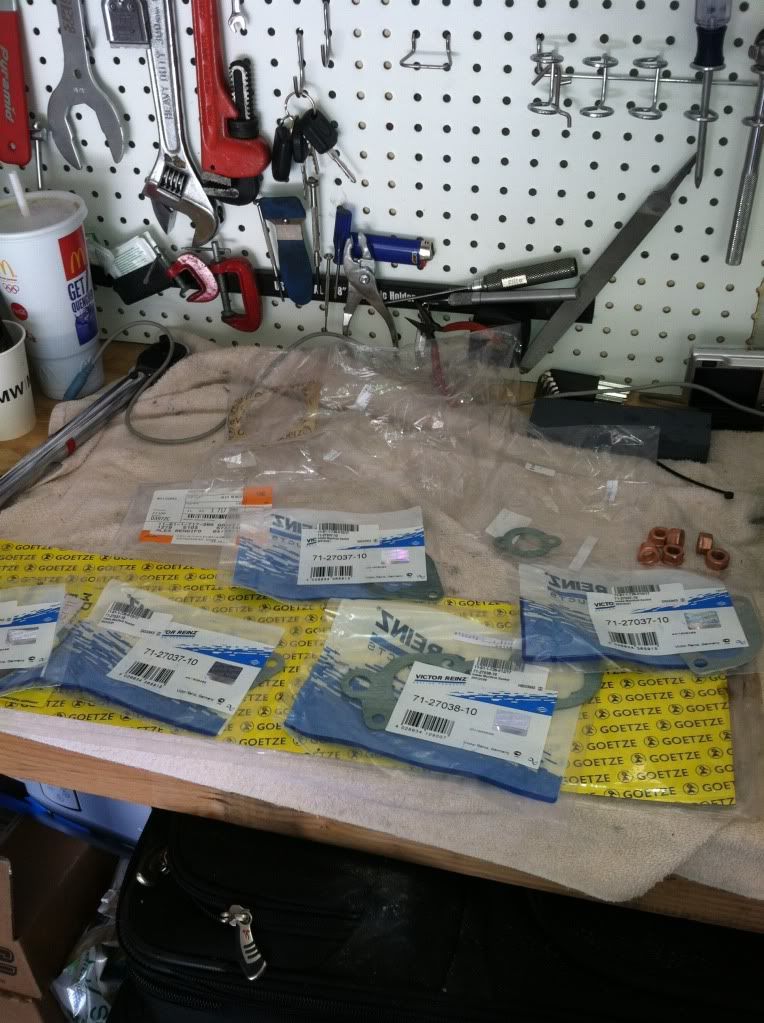
Got the intake manifold gaskets prepped with gasket cinge
Glove on the dipstick tube to protect the fresh paint from scratches
New hardware

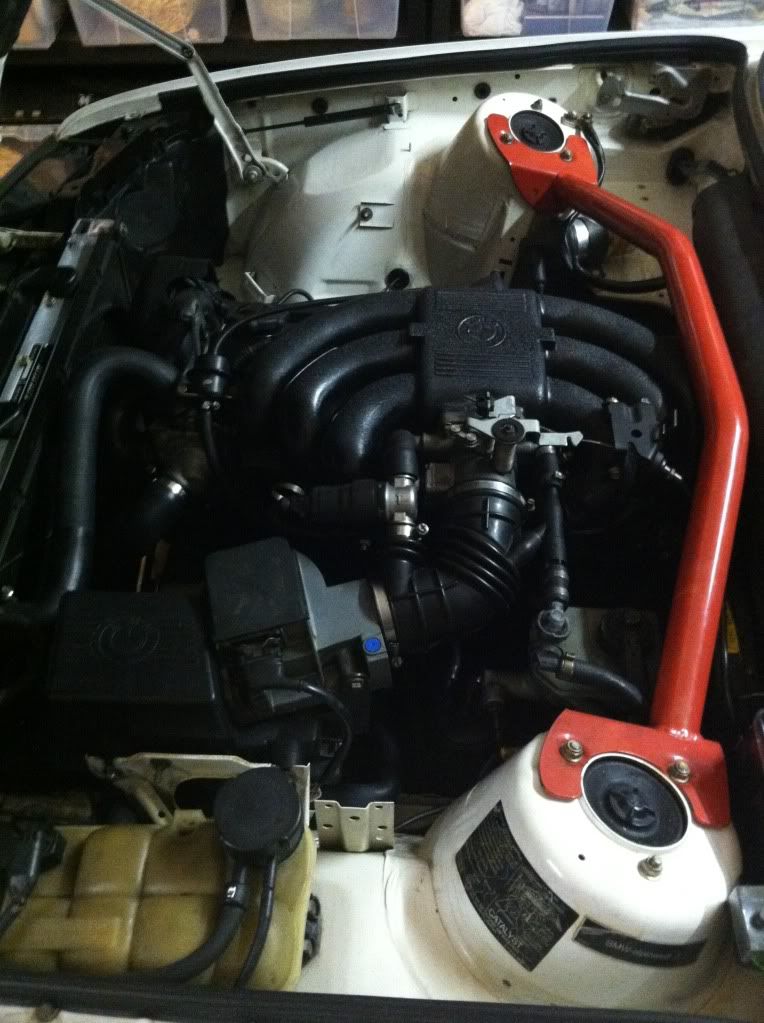
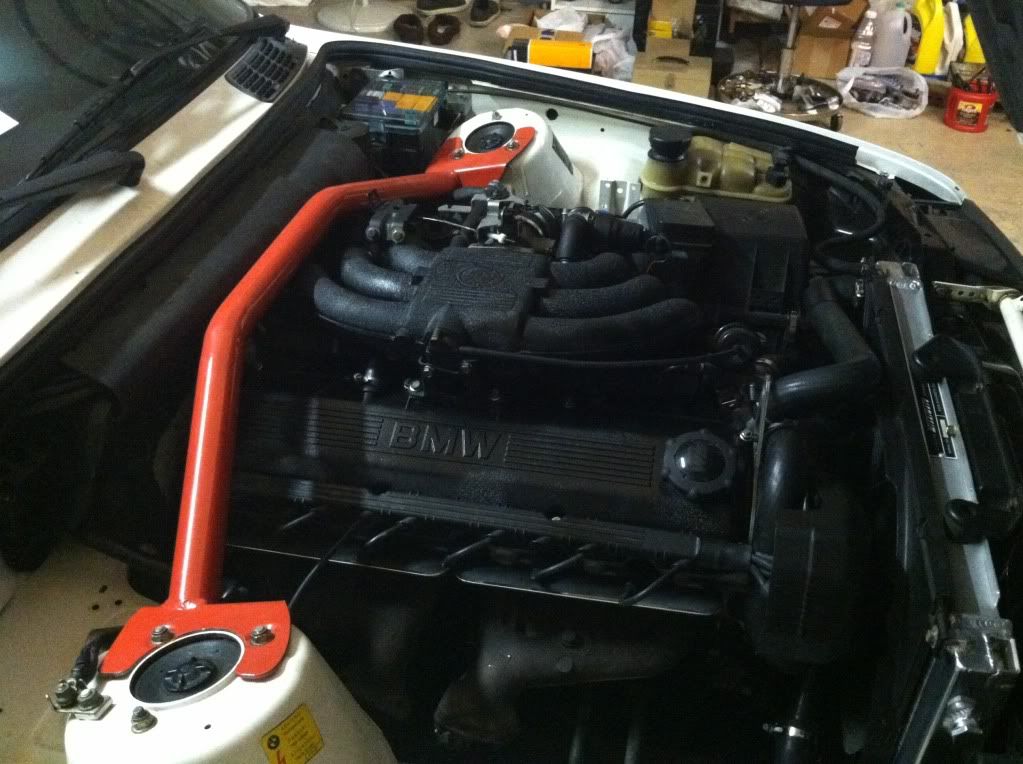
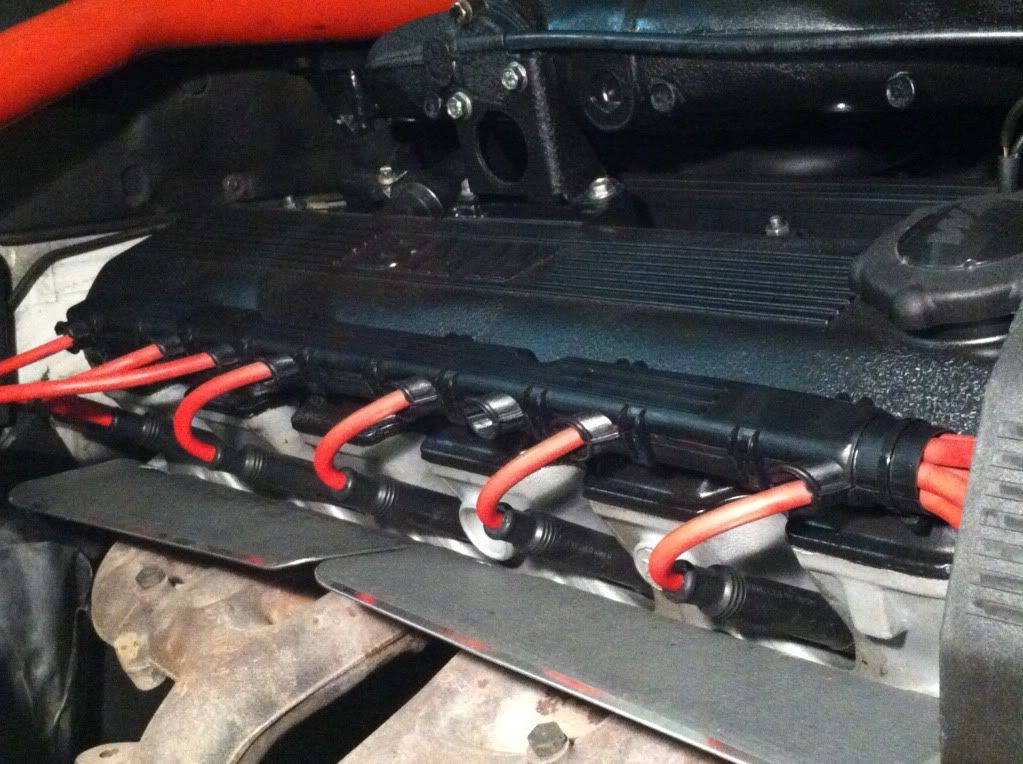
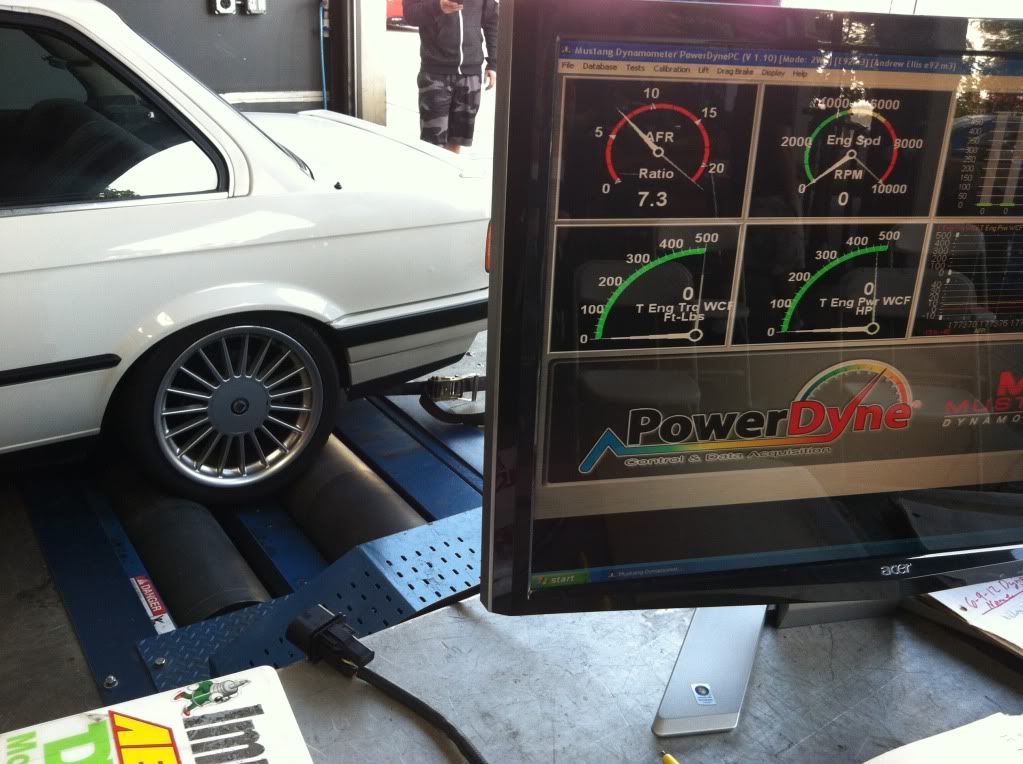
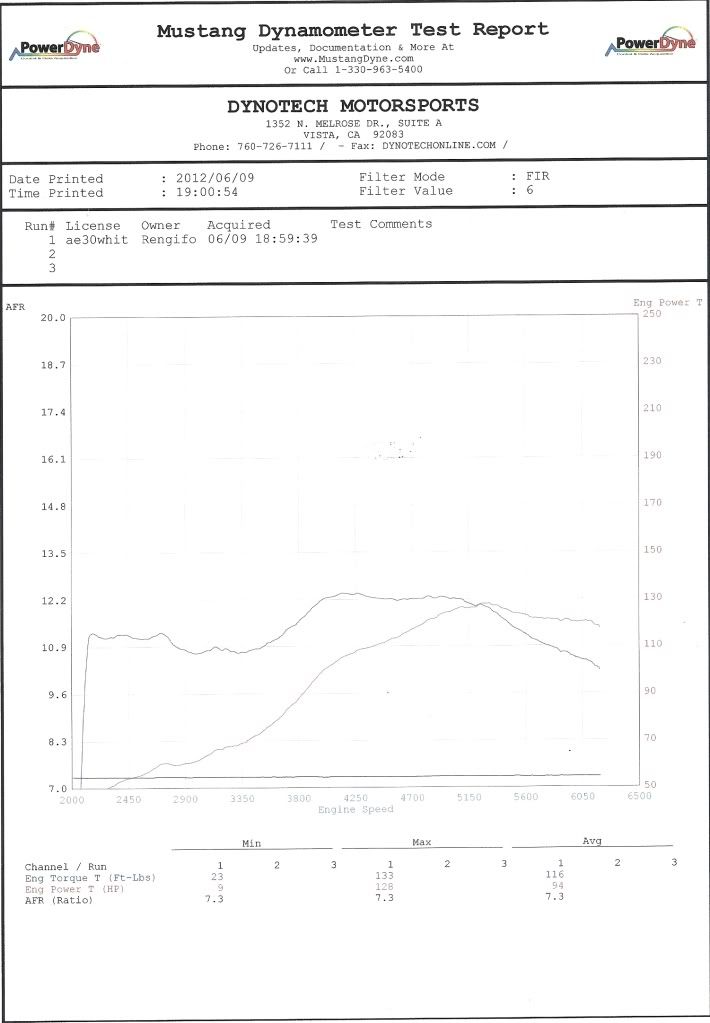
All done
So i noticed some pillow smoke at start up
a day later it was running rough and she threw a check engine light
i parked her, and borrowed my girlfriends car.
spring break came around and my plan was to tear it apart.
Take off the head
Have it decked
New inner and outer valve springs
New intake guides and exhaust guides
New valve seats
Check for cracks
I took of the hood
Pulled the airbox and intake boot
Removed the radiator hoses
Removed the radiator and hit a snag
I stripped 2 of the allen screws that hold the rotor in place
I borrowed my friends dremel and cut a slot in it.
Lined up the timing marks
took the cam gear off
One trick to get this off is to break the bolt loose with the timing belt still on.
And you can hold the crank from rotating with a socket/ratchet tightening clockwise while you loosen the bolt on the cam gear.
Here the front of the motor is mostly stripped
I replaced the crank seal, intermediate shaft seal, and the housing gasket when I tore the engine apart over thanksgiving weekend. So I didn’t tear into that.
One trick to get the coolant hose on the back of the head is to remove the clamp from the passenger side.
Just a reference picture
Blue connector closer to the intake is for the ecu
Brown connector closer to the radiator is for the cluster
Here is at trick on remove the oil return tube(tube of death)
Zip tie on the entire spring not just part of it.
Label which fuel hose goes to the fuel pressure regulator or to the rail
This is also a good time to replace the fuel hose, I replaced mine right after I purchased the car.
I labeled them with blue tape and put the ends of the hoses in bottles to keep fuel from getting on everything.
1 trick to get the intake manifold off is to bend the oil dipstick to make a little bit of clearance.
Towards the front of the engine the very bottom left nut is covered by the coolant hose coming off the thermostat housing.
Make sure to get all of the nuts and washers off.
Coffee lid ftw
There are 6 nuts that attach the exhaust down pipe to the exhaust manifold
They are usually very tight and they can be difficult to get to.
I removed the motor mount heat shield and the o2 sensor heat shield
I used a 6 point deep 15mm socket 3/8 drive with a swivel a long extension and a 3 foot breaker bar.
There is a different combinations of sockets and extensions and using u joints on some and not on others.
Here is the head completely ready to come off.
Got the Bentley PDF and printed the pages regarding the head gasket job
Gives your specs on bolt order and torque specs
My head had the old style hex head bolts sometime in middle of 1989 bmw switched to torx style head bolts.
Here we go with the cheater bar
Got the head off
Off the engine and on the bench ready for tear down
Intake manifold getting cleaned up
Cleaned up the valve cover with carb spray
Prepping the valve covers for paint
Machine shop I used for my head
Machine shop found 2 tiny cracks in the head
Since I relocated the c101 and the impulse sensor and the crank sensor I didn’t need the bracket off the intake manifold I wanted to get rid of the stud on the manifold
Double nut method got the stud off
Woo hoo
Prepping for paint
Wrinkle finish black
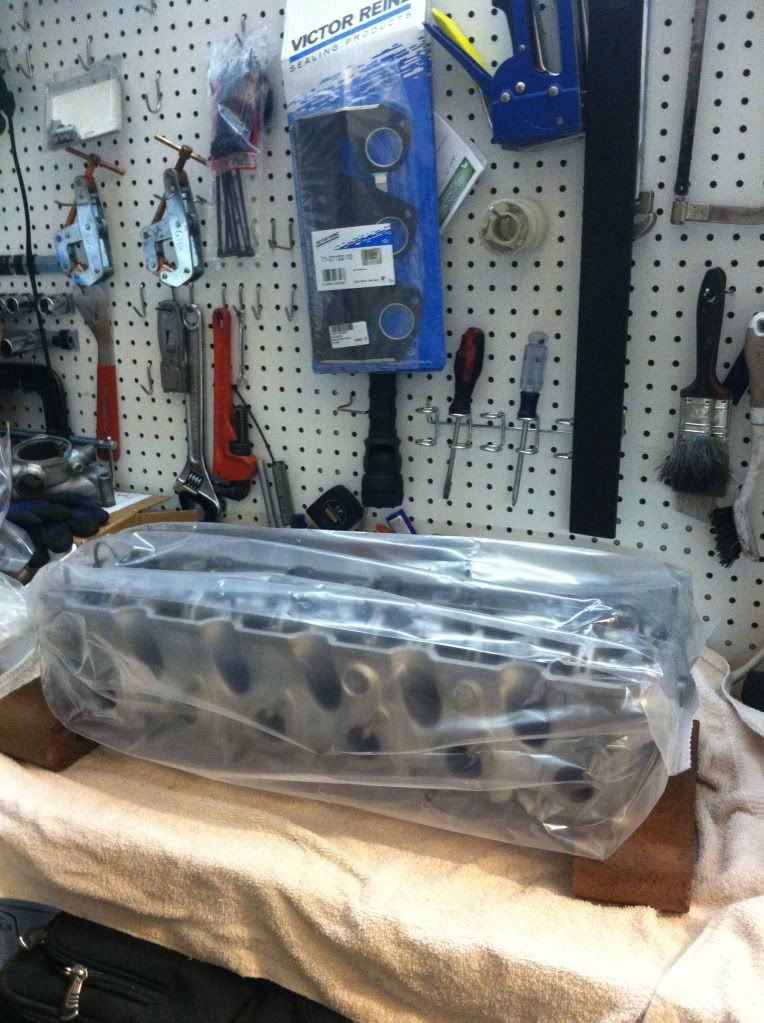
Head back from the machine shop
Clean
Started to clean the block
Checked the block for warpage
Checked the head for warpage
Chased the threads of the head bolts to make sure there weren’t dirty
Cleaned up the thermostat housing
Bolted up the exhaust manifolds and heat shields with new hardware
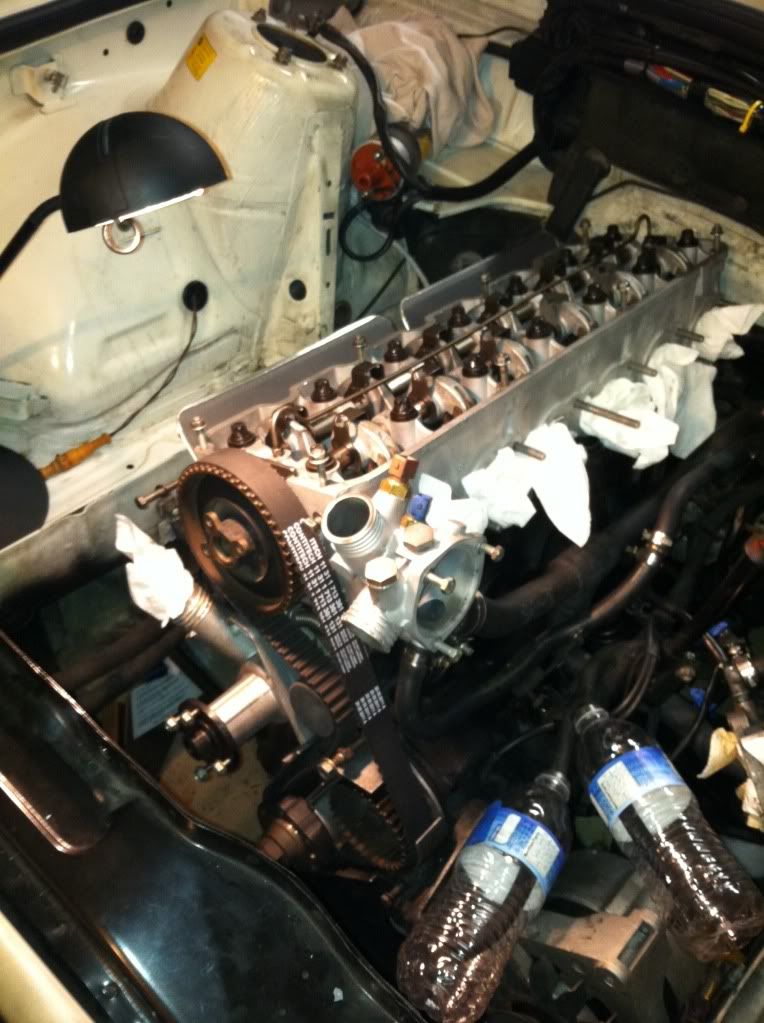
Placed the head on the block, kinda tricky to line up the studs on the exhaust manifolds to the down pipe while aligning the head to the dowel pins on the engine block
Got the head bolts torque down properly
Make sure to use the washers with the new torque bolts almost fucked that up.
Got the timing belt, water pump and tensioner installed,
Threw the valve cover on just to look at it.
I stopped here for the night.
New spark plugs getting some anti seize
I used ngk zgr5a - 5077
one tip is to adjust the valves before reinstalling the intake manifold you have a little more clearance for your 10mm box wrench.
Tube of death prepped to go into the engine block
Real oem says that the engine needs 2 washer when it really only needs one.
Setup is 1 o ring
1 tube of death
1 oring
1 Spring
1 washer
Got the gaskets ready for the intake manifold
Got the intake manifold gaskets prepped with gasket cinge
Glove on the dipstick tube to protect the fresh paint from scratches
New hardware
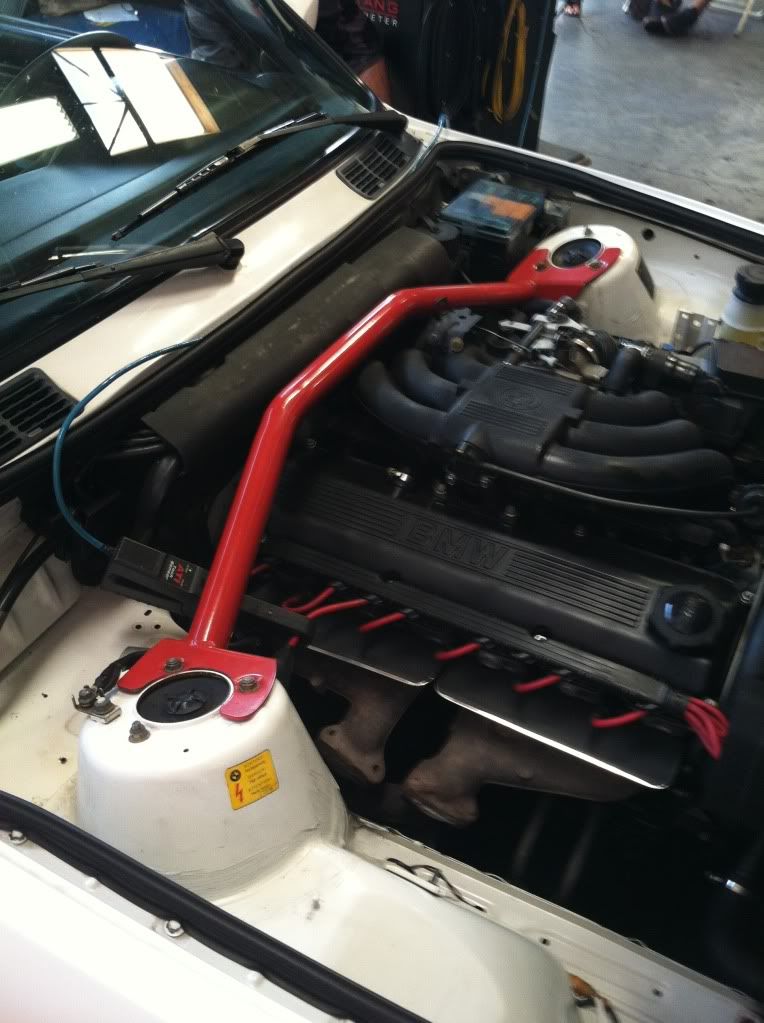
All done


Comment