-
This was a great read! I love the quirky/worn/that will do look of my e30 but dammmnnnn I would do some really really sick things to own this car!!! -
Hey guys...been a long time since I've updated. I haven't been doing much but just driving the car lately. I don't have much spare cash at the moment to mod, but I've greatly enjoyed the car in it's current form...I still plan on doing some big things later in the year, cash flow permitting. My update today is pretty interesting, though (I thought, anways).
My wife was driving the car around for most of the month, and she started telling me she was having a hard time getting it in gear. I took the car on a drive myself and barely made it home! The clutch wouldn't disengage and I couldn't get the car in gear. I knew I had to have an issue with hydraulics, the pedal didn't feel right and my clutch is pretty new.
I miraculously limped the car home and dove under the dash to find this:

You can see in the picture the piston for the clutch MC isn't even aligned with the housing, therefore when pushing the pedal, not enough motion from the pedal was being translated into hydraulic action to operate the slave cylinder. But why is it all jacked up?? You can see where I circled in red, the pedal bracket sheared from however many 1000's of pedal strokes over the last 23 years and the continued pedal strokes since the crack have bent the MC out of normal position...finally it was enough to prevent proper operation of the clutch. So, I ordered up some replacement parts from Pelican.
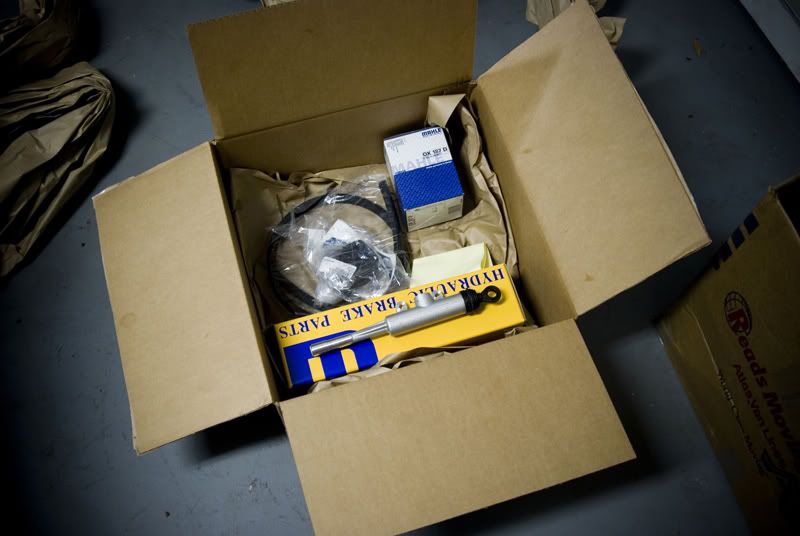
In no particular order, I got a new clutch MC, replacement braided supply hose, new pedal pads and stuff for an oil change.
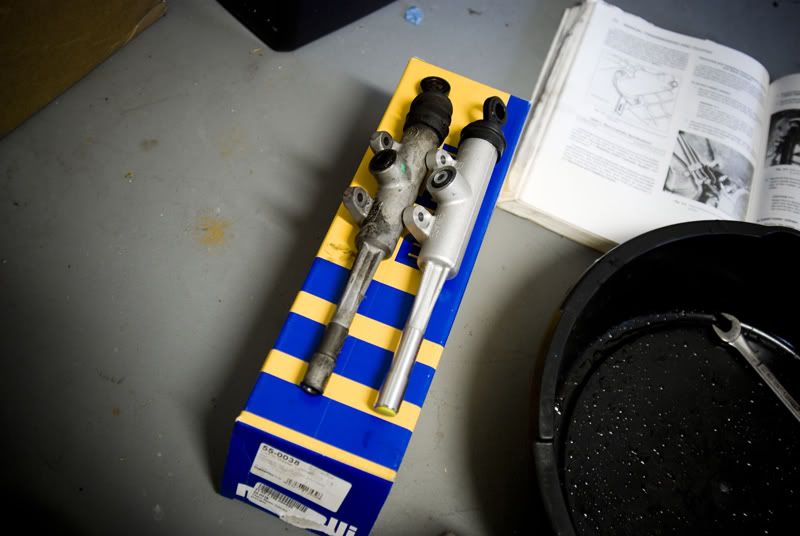
I then got to work extracting the old MC. This more or less was simple...just follow the Bentley. I avoided draining any fluid from the brake reservoir by just clamping off the supply hose with some vice grips, though. Here is the old vs. the new:
Next, I had to get the bracket out to give it a proper repair and guarantee reliable operation. This was a bit of an exercise in body contortion, but I got it done. Only 6 bolts hold it to the car, and then you need to remove the springs for the brake and gas pedal, as well as the long bolt the fixes both clutch and brake pedals to the assembly. Also, remove any electrical connections you need to successfully remove the part. After getting the bracket off, I wire-wheeled it to remove paint and some light rust to make it weld nicely.
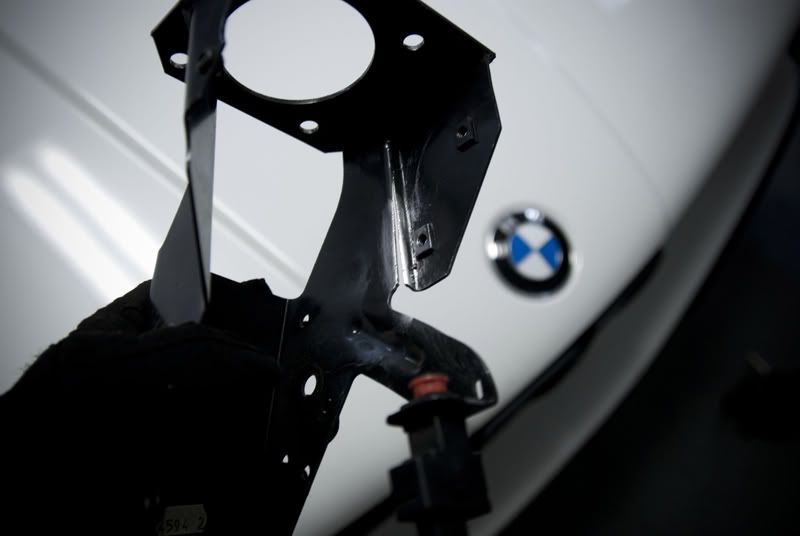
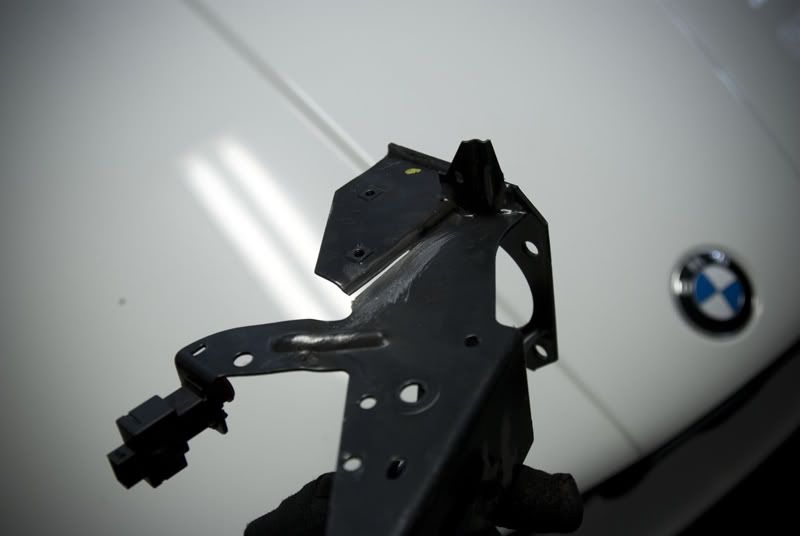
After that, I gently hammered the bracket back into proper position and welded her up! Welds came out a little cold at the feet, but they will definitely do. Not bad for my first time since I made my exhaust...more than a year I think now.
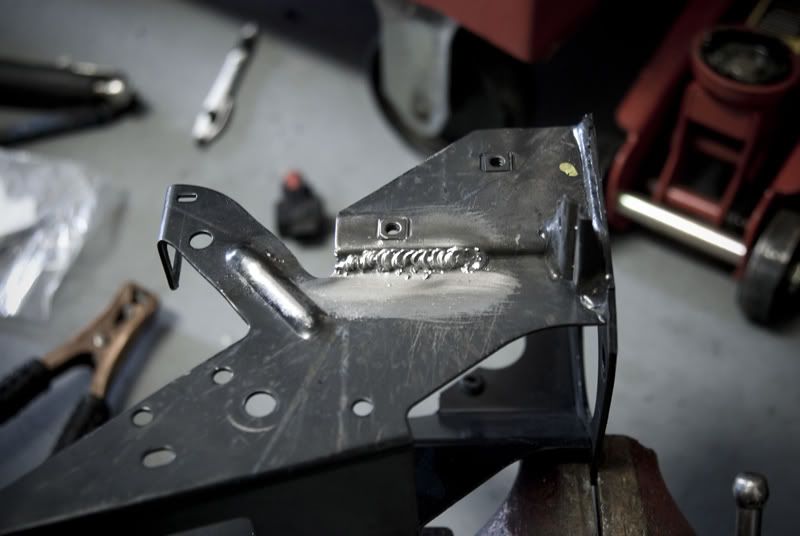
Finally, I painted over what I had stripped off and over the weld to keep corrosion away. Looks decent.
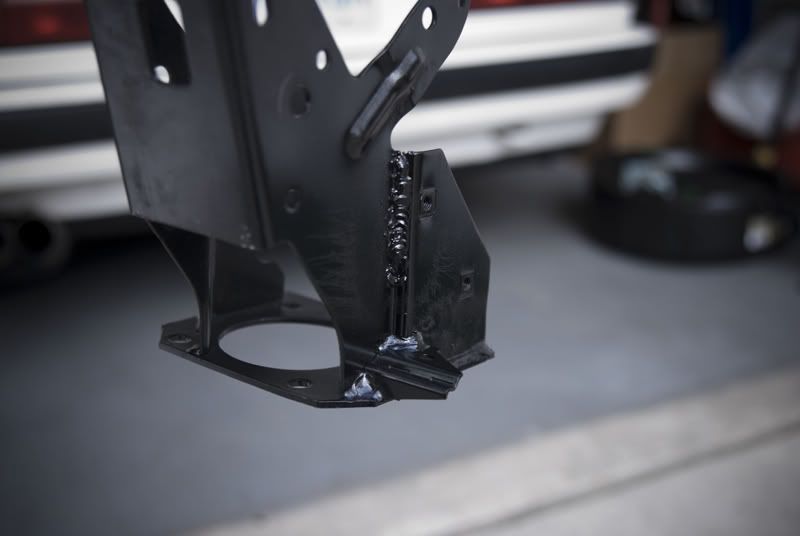
With that done, it was reverse of install...put everything back together. With the new MC installed, I connected the new fluid supply hose and let fluid into the MC. I pumped it a few times before connecting the slave to get fluid into the MC. I then hooked up the slave and hand-pumped the clutch pedal about 70 times to bleed the clutch. This was all that is required since the clutch system is self-bleeding. Much much easier than getting out a vac/power bleeder or needing a buddy.
She is back on the road and I think short of interior parts and body panels, that may be the last mechanical part that was original on the car...I expect to have super reliable driving for a few years to come!
Thanks for looking, I'll post more when I do my next project on the car!Leave a comment:
-
Ask, and ye shall receive!
Thanks for the props!Leave a comment:
-
Did a little work this weekend. I've had a replacement lens for the driver's fog for a while now but haven't ever gone to replace it. Since I had a long weekend this weekend, I decided to tackle it.
I followed a DIY on here...basically smashed the broken glass off, cleaned off the old sealing material and put on some silicone and slapped the lens on there....let it dry over night and all done! Car looks nicer for sure...here are a few pics!
Before:

Make with the fixy...

And one glamor shot!

Thanks for looking!Leave a comment:
-
Oh, and two shots from a recent meet!

DSC_0285JUL30SBUX_1 by gkurey, on Flickr

DSC_0295JUL30SBUX by gkurey, on FlickrLeave a comment:
-
Thanks for the feedback, guys. I was surprised to see this get bumped back up! I'm saving for some wheels and tires currently, hopefully I can get something squared away soon. I've got a small project to tackle this weekend on the car...if I do, I'll post some shots!Leave a comment:
-
Just read this whole thing, wonderful work. Looks like you have some wonderful fab skills.Leave a comment:
-
Great work here. That interior is sooo clean, especially since its beige!Leave a comment:


Leave a comment: