-
^^^You should get one...I love it a lot more than any of the lip options, and it installed pretty easily, and is very sturdy!
I've been slaving away on the wheels...they are all done! I'm getting the tires mounted tomorrow and then I'll put up some installed pics. It was a little intense, but the hand polishing of the lips came out decent. I didn't want to go too nuts as it isn't a show car, just my daily so I figure bad things may happen to them in time. Here is a shot of all 4 lips done and polished as well as one of the centers in one lip with the black bolts. Lookin' fresh IMO!

I'm not gonna write much else about the wheel build...there are dozens of threads out there about building RS's, so I'll spare the minutia. ALL in all, it came out great for a set I'll use every day. Here are a few shots of my test fitment of a rear. Spacer/adapter is 18mm and the wheels are 16x8 et21. I have a lot of rear camber too, otherwise it would look more flush...just another thing I need to address. On with the pics:


Close in of the lips, the conical cap, new logos, and nice new bolts....

I'll have full shots with tires on the car soon! Thanks for looking!Leave a comment:
-
coming along really nicely, i go back and forth on running an mtech2 front valence myself.
Leave a comment:
-
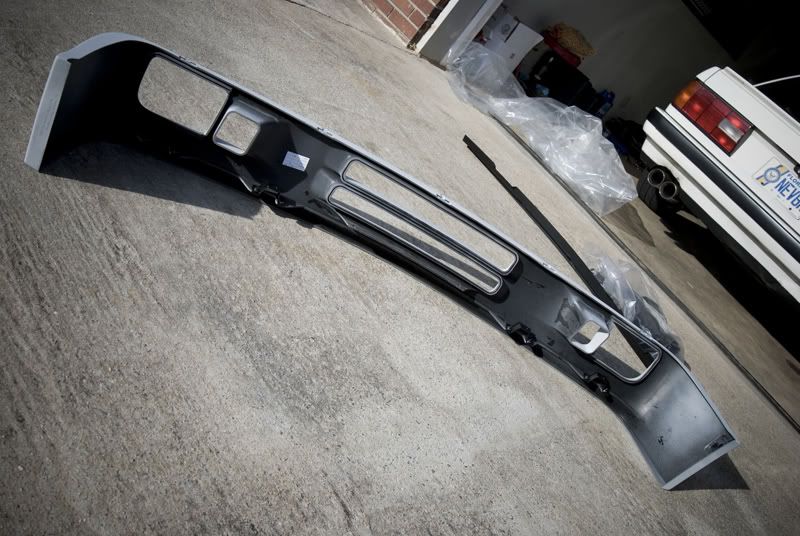
Got this gem back from the bodyshop yesterday:

It is a real OEM M-Tech 2 front lower valance. Got it for a great price and pretty quickly through Blunttech...it even had to come all the way from Germany. The kit is awesome...came with all the required hardware and a sweet drilling template as well to aide in clean install. I will detail the install process to hopefully help out anyone who is trying to install something similar!
First, you need to remove the factory upper bumper, connectors, etc. After that, remove the lower fogs, scoops, lip and associated clips, etc...basically anything and everything you have attached to the OEM metal valance. Once the car has those parts removed, you should make sure you have the required hardware and prepare the new valance. Here are shots of the hardware and of the nice brand new trim kit to protect the car's metal valance:


After that's done, you can get ready to drill holes in your precious e30; here is a shot of the drill template resting on the front end:

I drilled the holes in two steps to ensure easy drilling. You don't need to put much thought into it though...the template fits exactly in one place and one place only...very easy and very precise. I was impressed.

Once the drilling is done, you can test fit the valance to the car. Place the 5 white tabs in the holes that were drilled, and snap the valance in. There is one stud on each corner of the valance to secure the edges and several mounting points on the bottom edge that utilize existing holes from the old lip clips. For the corner/side studs, I rubbed the stud on the metal valance to know where to drill one hole per side to finish up the mounting effort. Below is a shot of the test fit.

After you determine the fit to be adequate, remove the new valance and reinstall the factory upper bumper as it cannot be installed after the valance is on (the two main bolt holes for the factory upper bumper are obscured by the valance). Once the upper bumper is back on, just snap the new valance in place and fasten the bottom and corners and you're done. Oh, also install the new extended brake ducts in the kit as well as reinstall the foglights. I have yet to snap pictures with my fogs in place. You get the idea though...The finished product:

More pictures to come when I get it cleaned up and once I get the new wheels done!Leave a comment:
-
Also a quick note on things to come...better rounding/daily-ness to my car with addition of cruise control and back-up lights...lights are a no-brainer, and the cruise is pretty simple too...pics to follow.Leave a comment:
-
TrentW, I didn't have a scale unfortunately. I went by 'feel' to get 2.5 cans in ~28-30 oz. Performance is good and pressures are acceptable. If performance is lackluster in summer, I'll get it evac'd and refilled by a shop to get proper performance....they could also probably do a better job removing moisture...although right now, I think it's good enough!
Guys...a quick update for the evening. I painted the faces last night and also got my Black Forest Industries black bolts in for the wheels...I had to throw them together to see how it looks for a little motivation. All that remains now is to polish the lips and assemble!! I also got my 42DD wheel spacers/adapters in via 8380 designs. I am impressed...steep costs, but WOW!

And here are some wheel teasers....


The wheels are getting new center logos and a different style of center cap...you'll see!
Can't wait to have the best e30 in town...and possibly the only e30 in town...ha!Last edited by gkurey; 04-17-2012, 05:27 PM.Leave a comment:
-
Following a post I found here, I connected the switched 12v wire (purple) to the grey/purple wire on the DME harness (pin 64) which raises the idle 200 rpm when you hit the AC switch...it has been running smoothly so far!Leave a comment:
-
Great update and congrats on the a/c conversion. I did it last spring on my wife's E30 and I was also pleasantly surprised at how well the R134a cools. Really couldn't tell the difference.
Curious though--when you charged the system, did you have a digital scale to accurately weigh the freon? I'm sure you know that's very important.Leave a comment:
-
awesome thread man! I like how you have everything clearly written out and documented so well. Interested in the new exhaust video :) Keep up the work!Leave a comment:
-
Gents,
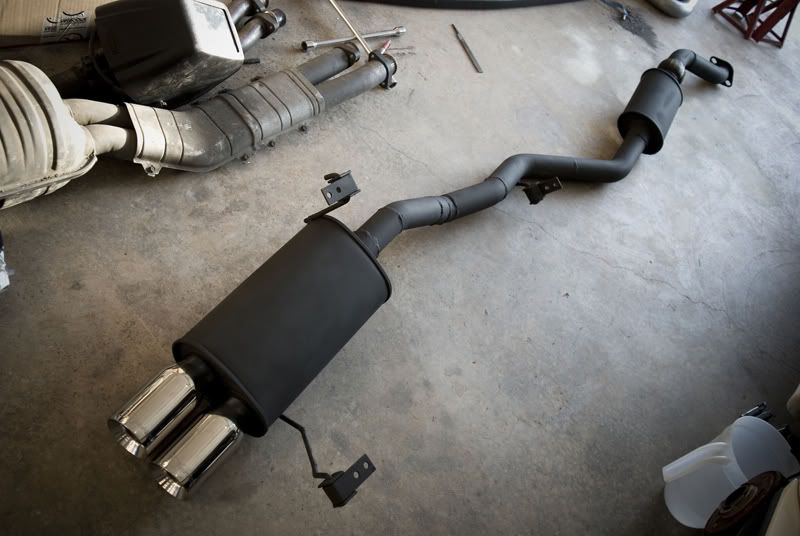
I have a few quick updates for today. So far, the exhaust was a good move...fits better, looks better, and sounds way better than stock m3 exhaust! I'll get some video this week so you all can hear it. Here is a shot of the completed pipe:
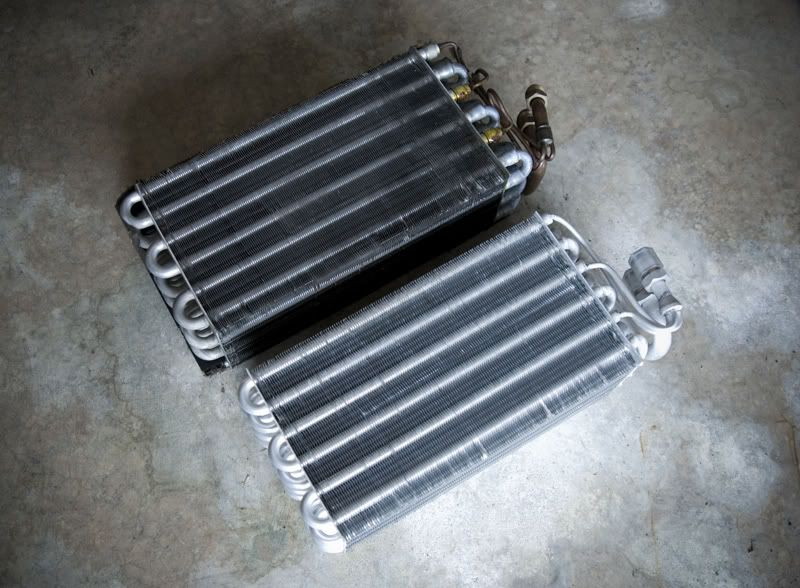
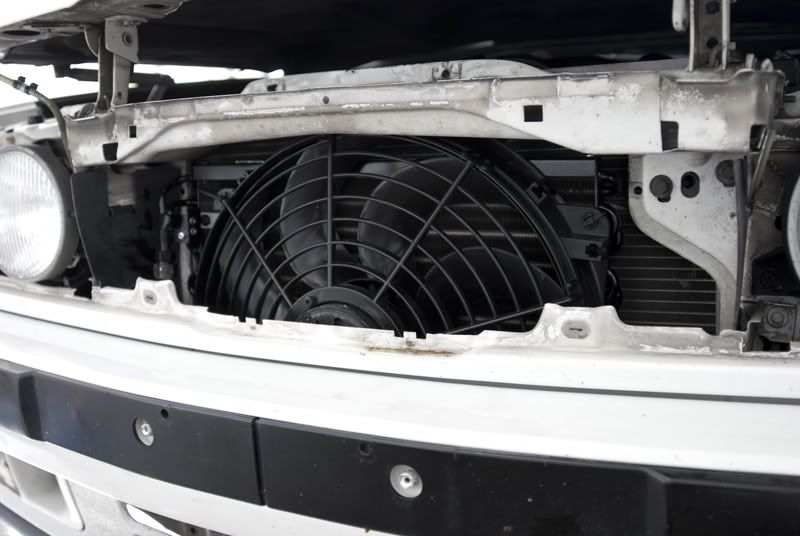
As for the AC project...I'm happy to report I have working AC on my swap; and for the first time in many years, cold air is flowing inside...what a difference in the experience of driving the car!! I ended up getting a new evaporator (chinese/ebay) and a new Behr condenser, plus new o-rings everywhere, new expansion valve, cleaned out all the lines and new drier, etc. I was going to take it to an AC shop, but I decided not to and to try it all myself with HF tools based on a DIY I found on bimmerforums. I didn't take a whole lot of pictures of the install of the various AC parts because I found it to be a little boring, but I did grab a few:
For those wondering about the chinese evap...I found the quality to be pretty good...all aluminum should help avoid the failure I had with the stock unit:
Here is the new condenser:
Like I mentioned above...I used the Harbor Freight AC manifold and vacuum pump to draw vacuum in the freshly overhauled system prior to filling with R134a. My compressor struggled to hang with the demand of the vac pump, but I did eventually get to 30" of vacuum in the system.
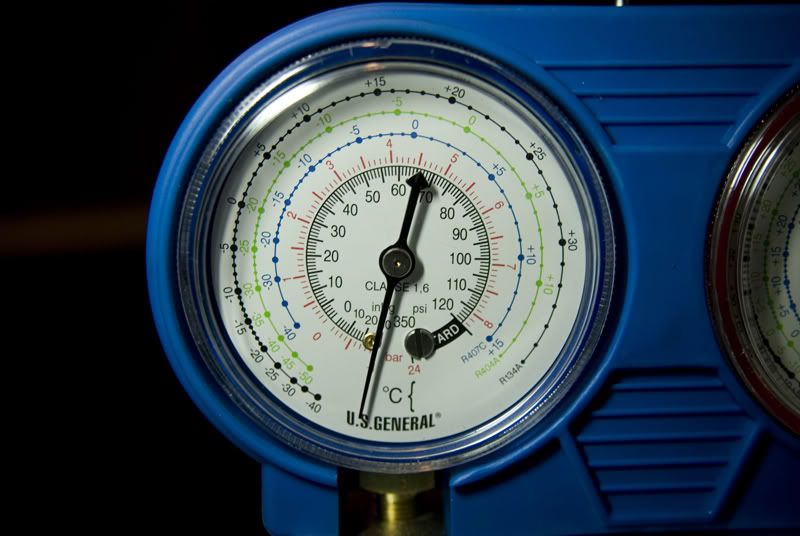
After holding this vac for over 24 hours, I deemed it a successful leak test/tight system. I then filled up the system with 2.5 cans of R134a. Cool air began to flow from the vents almost instantly and I was rewarded for my efforts. Honestly, this was much easier than I thought and super exciting all at once...money well spent; especially in the face of the forthcoming Mississippi summer!! I am pulling about 50F vent temps, we will see how it does when it gets hotter. I was worried R134 wouldn't be cold given what I've read on here...but it actually works well in a tight system that has been properly evacuated prior to filling.
Now that I'm done with the AC, my next big project is the wheel restoration. So far I have broken them down, cleaned the old sealer off all the faces, barrels, and lips and began the faces for paint prep. One of the wheels had so much paint on it, I couldn't even read some of the center markings! I opted to use aircraft remover on it...once I did, I could see 4 distinct colors the wheel had been....yikes. It is the only one like that, so I'm lucky...I also now know I don't have an all original set. Doesn't really matter, but interesting nonetheless. Here is the heavily paint-laden wheel being stripped:
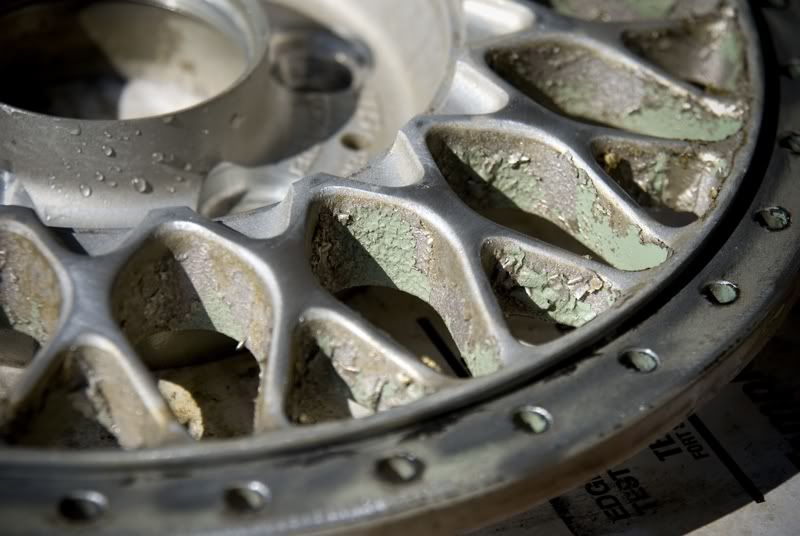
I also used aircraft remover on the lips to get the clear coat off before I begin polishing...no pics, but I fixed all the minor curb rash yesterday and they are ready to be polished up!
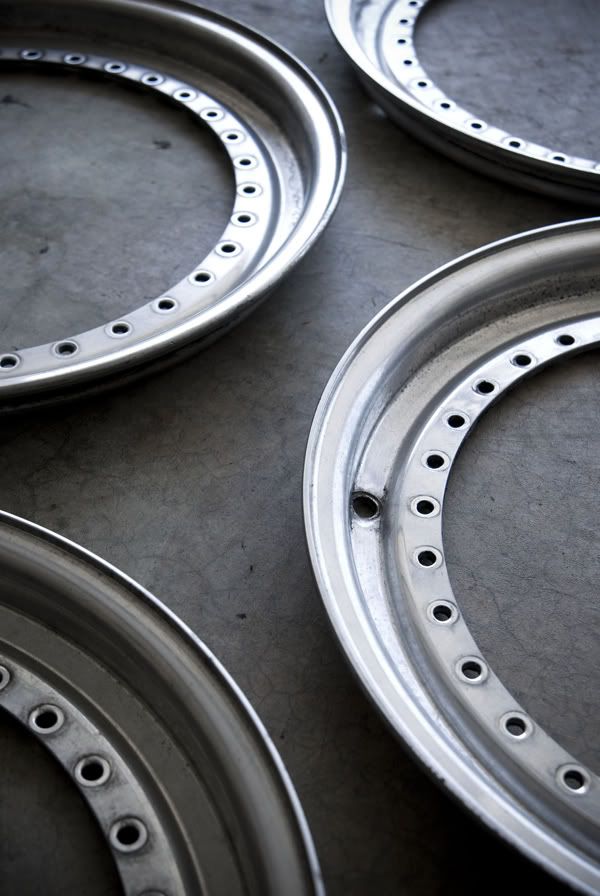
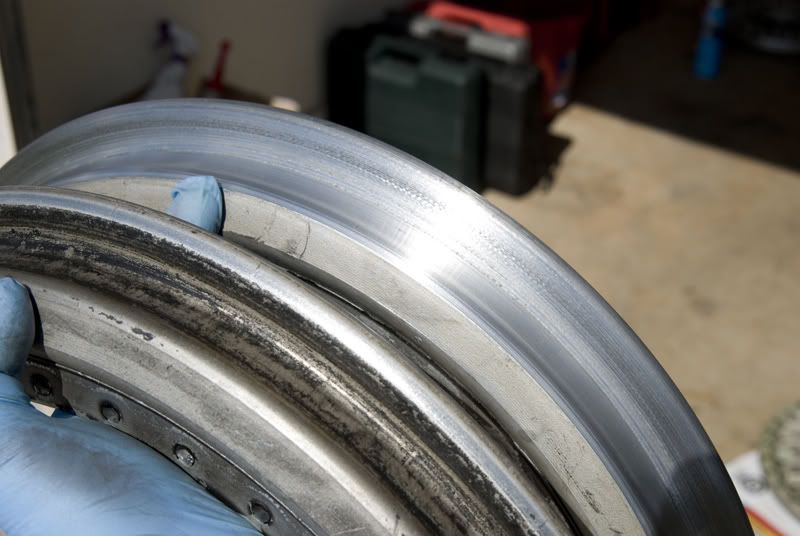
A lot of general clean up has been done to both the lips and the barrels...lots of old tire residue!!
I should have pics up soon of progress involving paint and polish and then assembly. Here is a teaser of my next upgrade...should hold you over for next time! Thanks for reading!
Leave a comment:
-
The exhaust sounds awesome! Much quieter than I thought though...hopefully it gets a little louder over the next day or so. I'll try to take some video for you guys. Stand by for more updates soon!Leave a comment:

Leave a comment: