
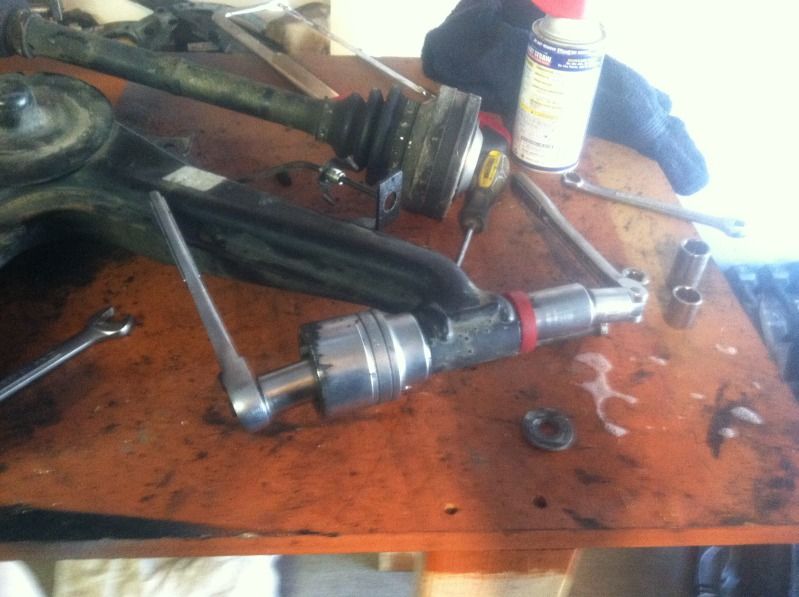
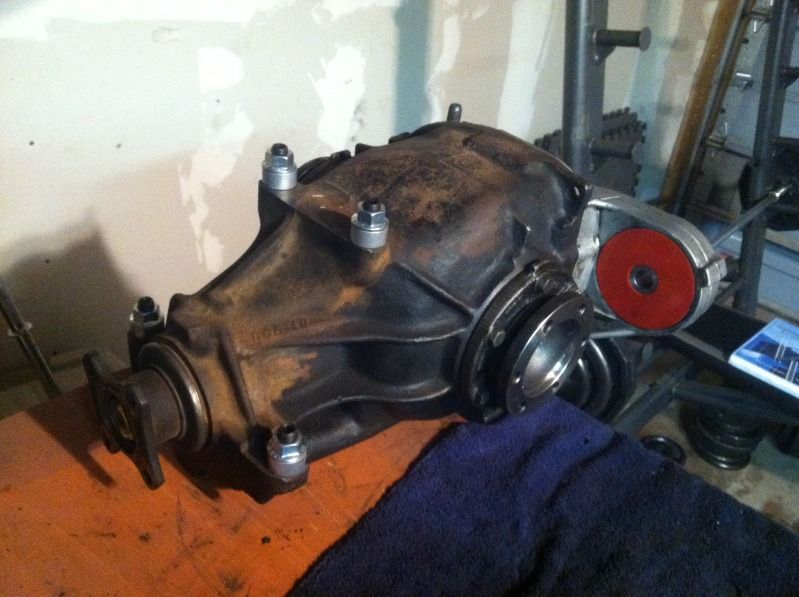
The good man Jalves619 set some time aside today to head over to my garage and knock out the rear subframe related upgrades.
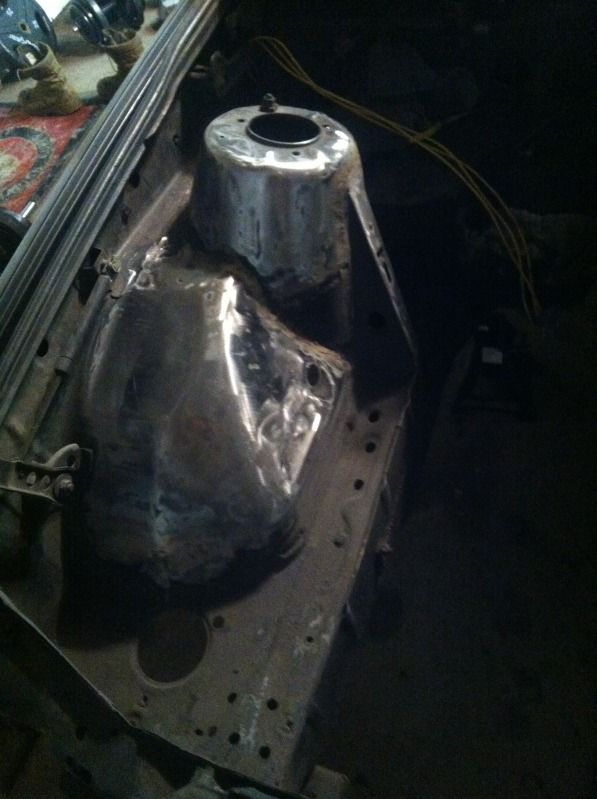
All was going well, we had the subframe out (with proper removal of the ebrake lines from the trailing arm) in an hour, and all seemed to be going well.
We had ourselves a barbeque to roast out the old subframe bushings.
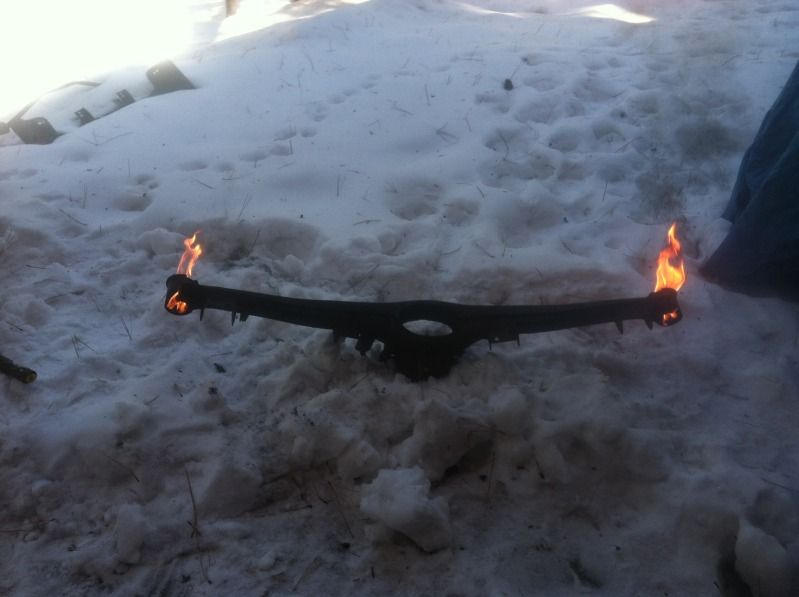
This tactic was successful at removing the center of the bushing, so a puller was utilized to get the outside of the bushing out with relative ease.
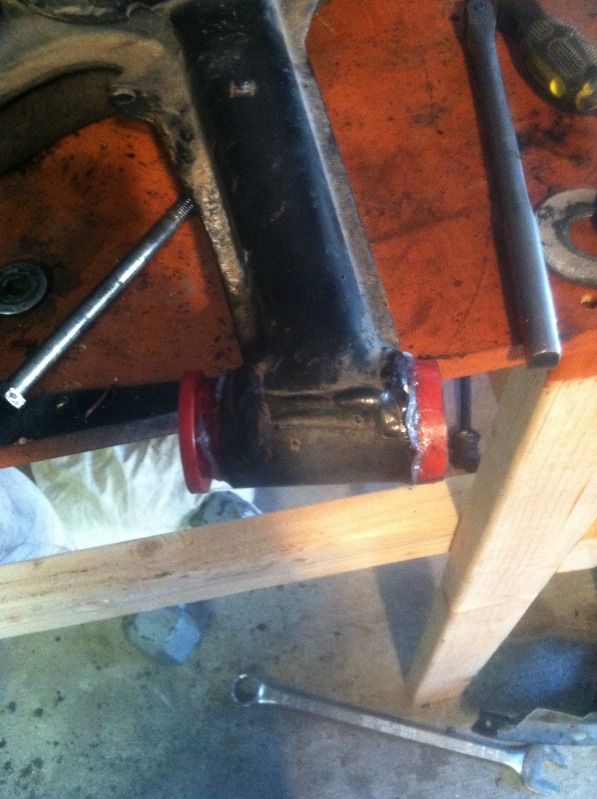
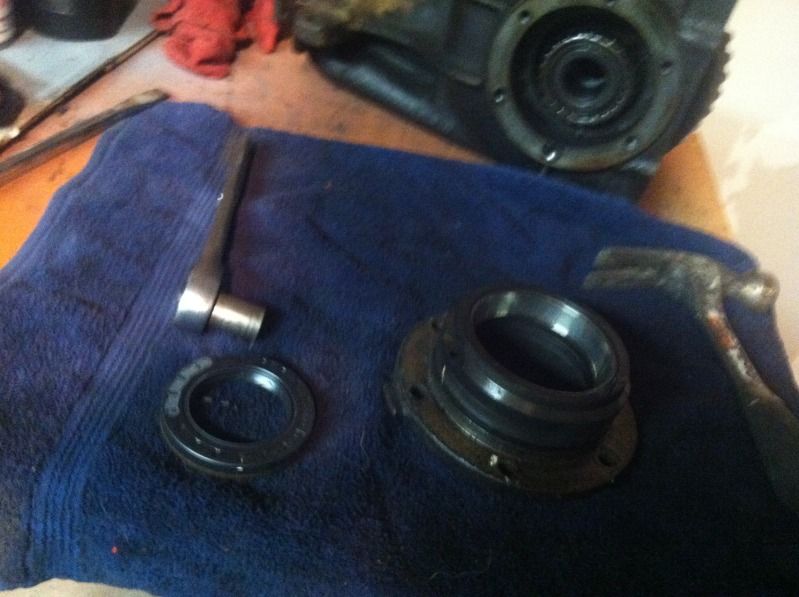
Even removing the old trailing arm bushings was a breeze compared to the hell that was ahead.
This was one of the necessary contraptions we created to get the damn trailing arm bushings in.
And even after this mechanically advantageous system, the bushing still looked like this.
Not all the way in, making install into the subframe near impossible.
These are the Revshift trailing arm bushings. I have already installed their differential and subframe bushings (of the 'hard' variety) into my car. They went in easy and were engineered well.
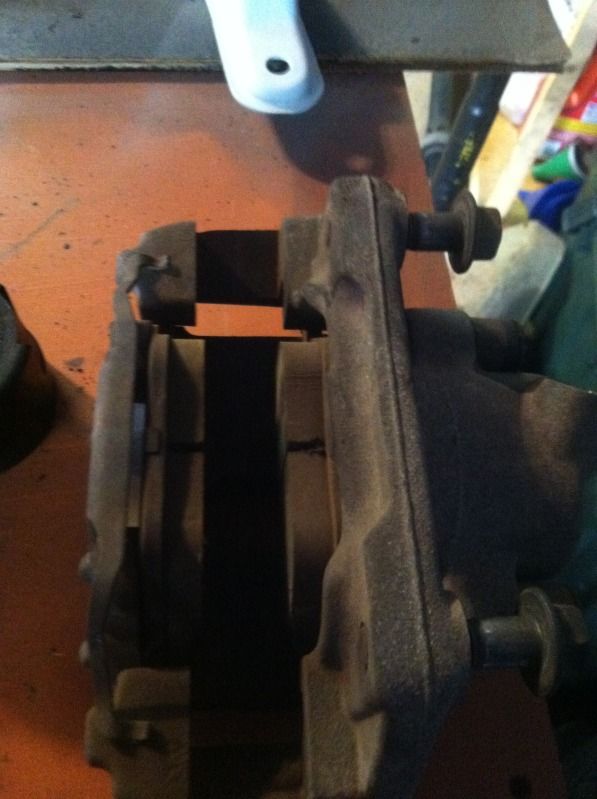
The trailing arm bushings, on the other hand, were hell in a handbasket. Outside of the trailing arm, they appear to be very tight and solid pieces of polyurethane.
But once you install one half of the bushing into the trailing arm, the other piece becomes near impossible to insert.
A c-clamp failed, and using hammers to try and smash the bushings into place is futile.
After hours of wasted time, here is what we came up with, and it is a solution that works best, compared to everything else.
Find an appropriately sized bolt with long enough threads to fit through the bushing after getting one half on the bushing into place. (Getting the first half in isnt really the problem, but the second half is). Get two washers that are big or bigger than the bushing and use two wrenches to crush the bushing into place.
You will probably discover, like I discovered, that the bushing bubbles up outside of the hole on the trailing arm, and have a tendency to expand outward after you remove the compression created by the bolt. The strategy I discovered was to simply crank the nut and bolt down and let it sit for hours, and this would keep the bushing from expanding back out after the bolt was removed.
All in all, I like their products, but I strongly feel that their bushings need to be reengineered with better tolerances. I understand the concept of having the bushings tight, but this was overkill. At the very least include a sheet of directions on the most hassle free install procedure for the trailing arm bushings.
The final bushing is compressed right now, and I will break it free tomorrow morning and reinstall the trailing arm onto the subframe, and then put it back in the car to temporarily finish the rear underside of the build.
Til next time!


Leave a comment: