-
How big is the compressor o ring in the kit? Mine fell apart when i removed the cover to clean it. -
So these came in the mail

The new BIGGER turbo running MORE boost is so much fun
Leave a comment:
-
-
-
Glad you got the spiking issue figured out brother. Can't wait to see you back in SoFla again. The turd rips.Leave a comment:
-
So this happened. drove through some water & didn't realize just how deep it was. As soon as I rolled into it the motor cut and died. Had to call up JohnnyCash to drag me back to the shop.

Then I helped out some a friend in spec miata on pit road.

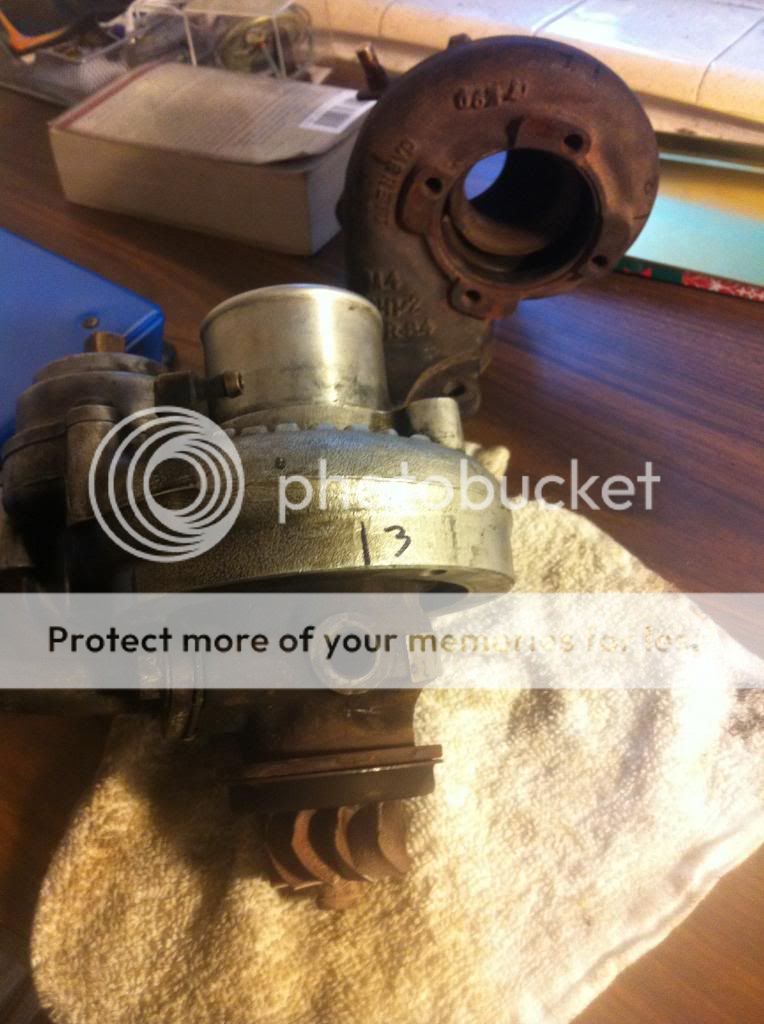
Ended up snagging a bigger TB03 turbo at the junkyard as soon as school got out for spring. Put it all back together to have the 3" exhaust be about an inch too long at the top of the downpipe
So I'm back to the 2 foot dump tube straight to the ground. It's so LOUD. I forgot how much quieter the straight pipes made it. I had to go back to school for summer though before I had a chance to get the 3" set up welded Onto the pics!

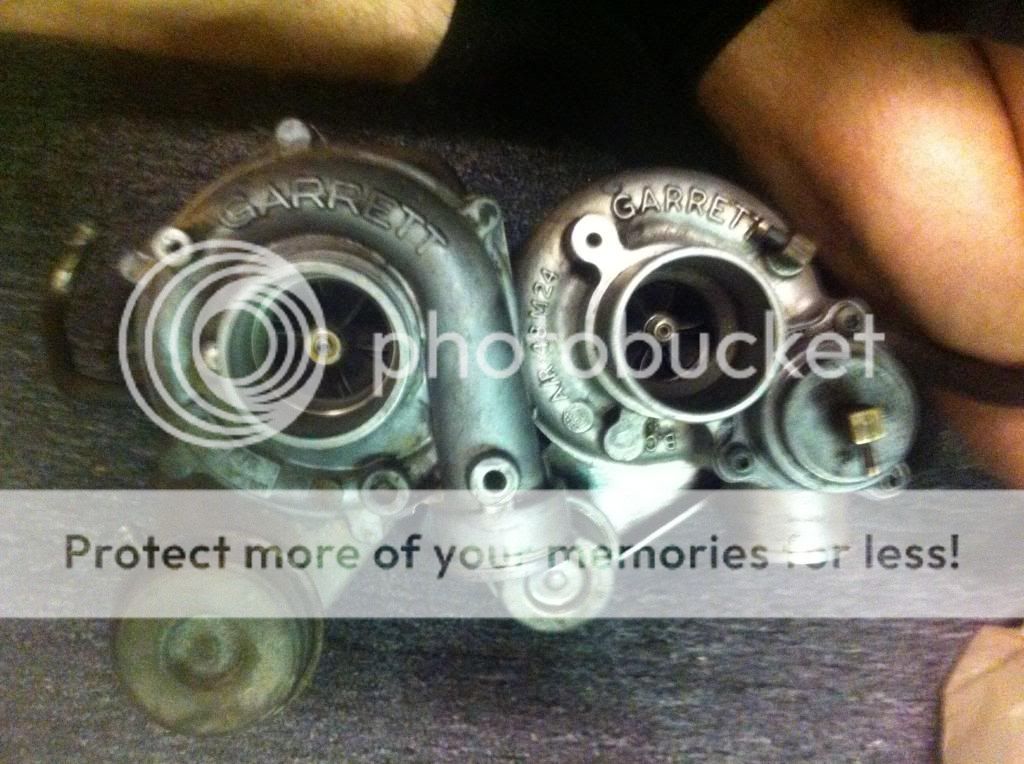
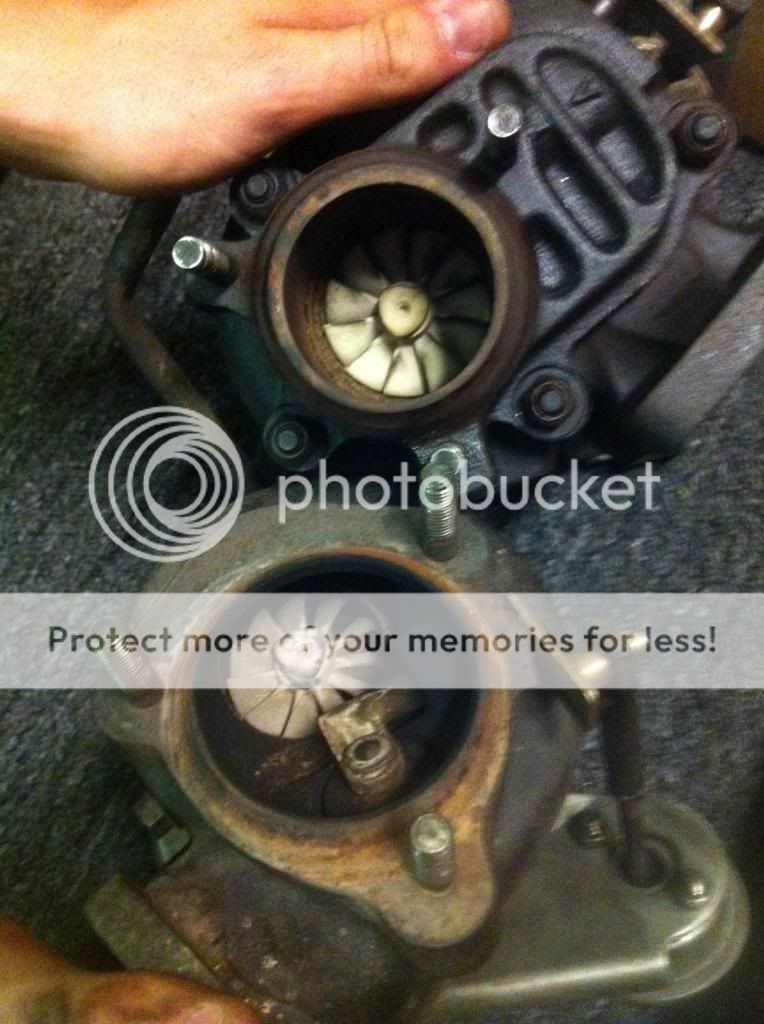
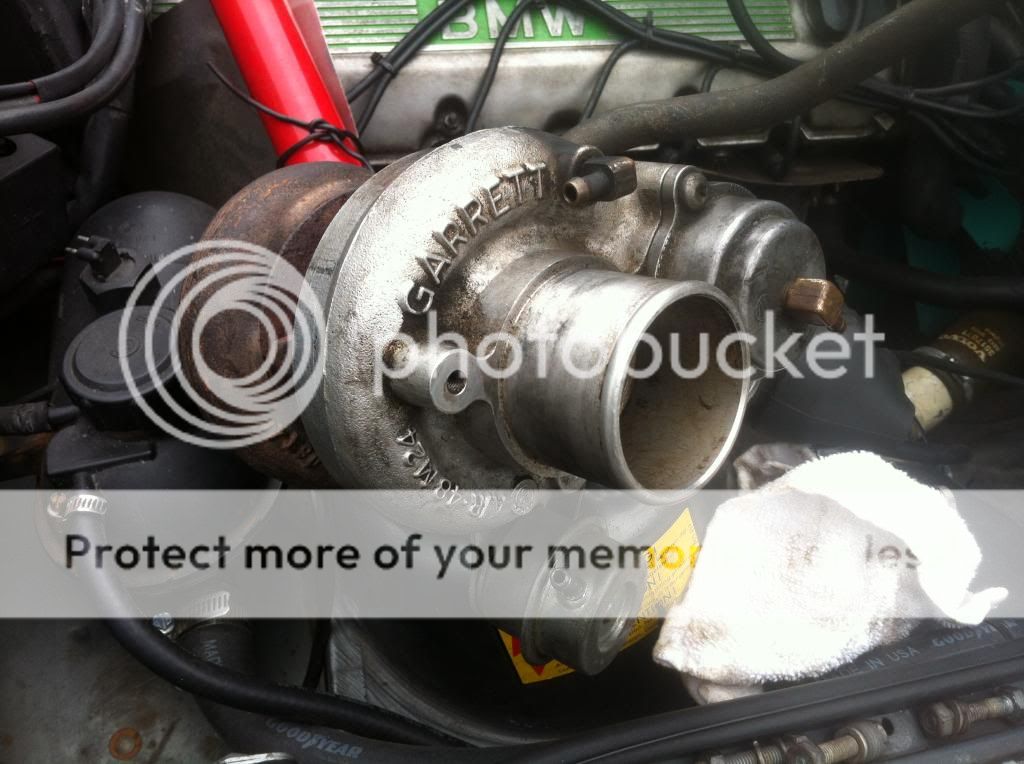
Cleaned it up a little. Old vs New
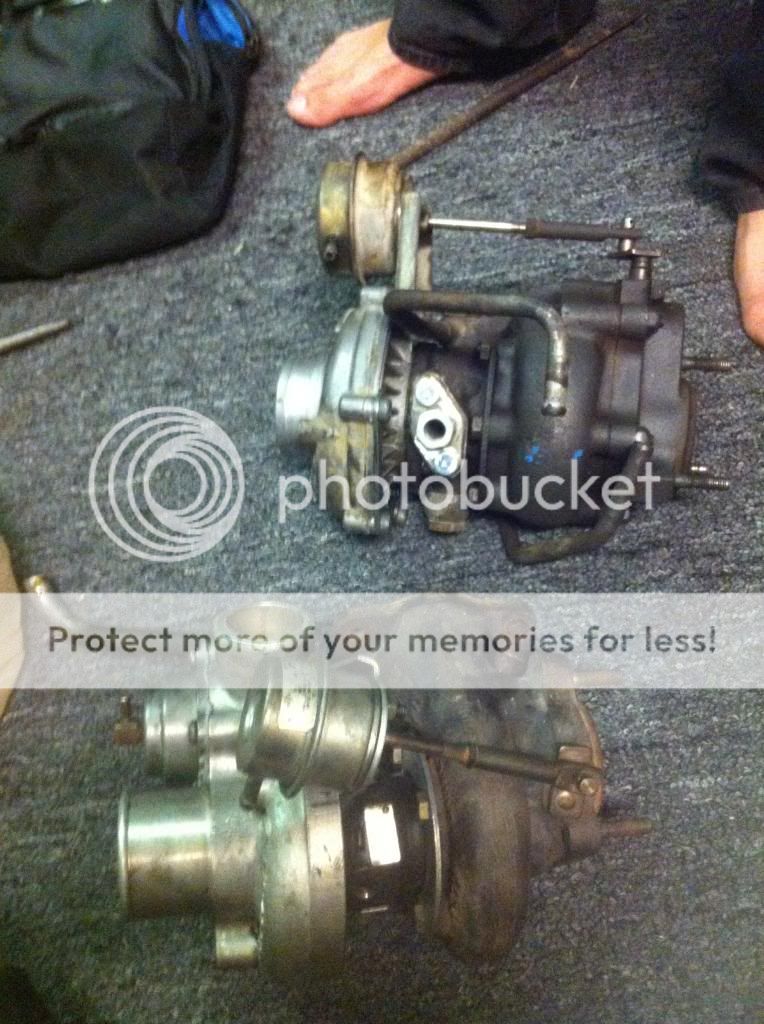
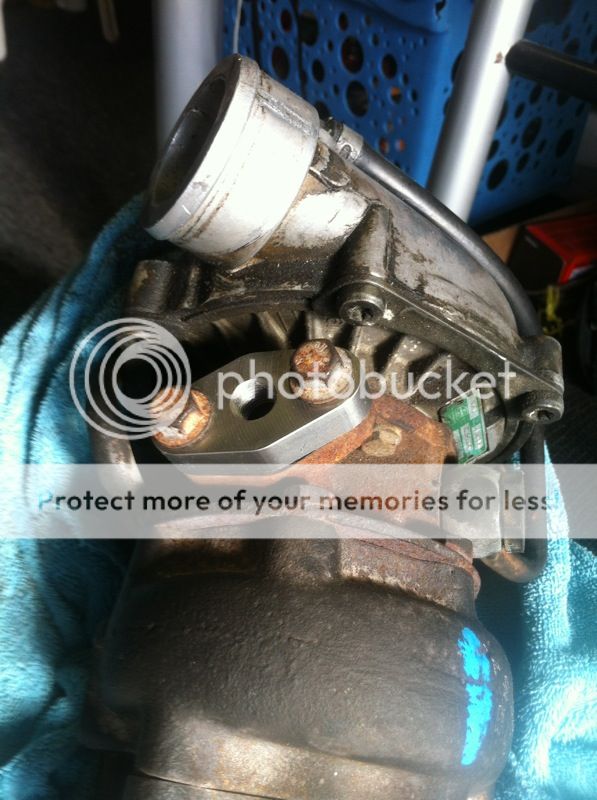
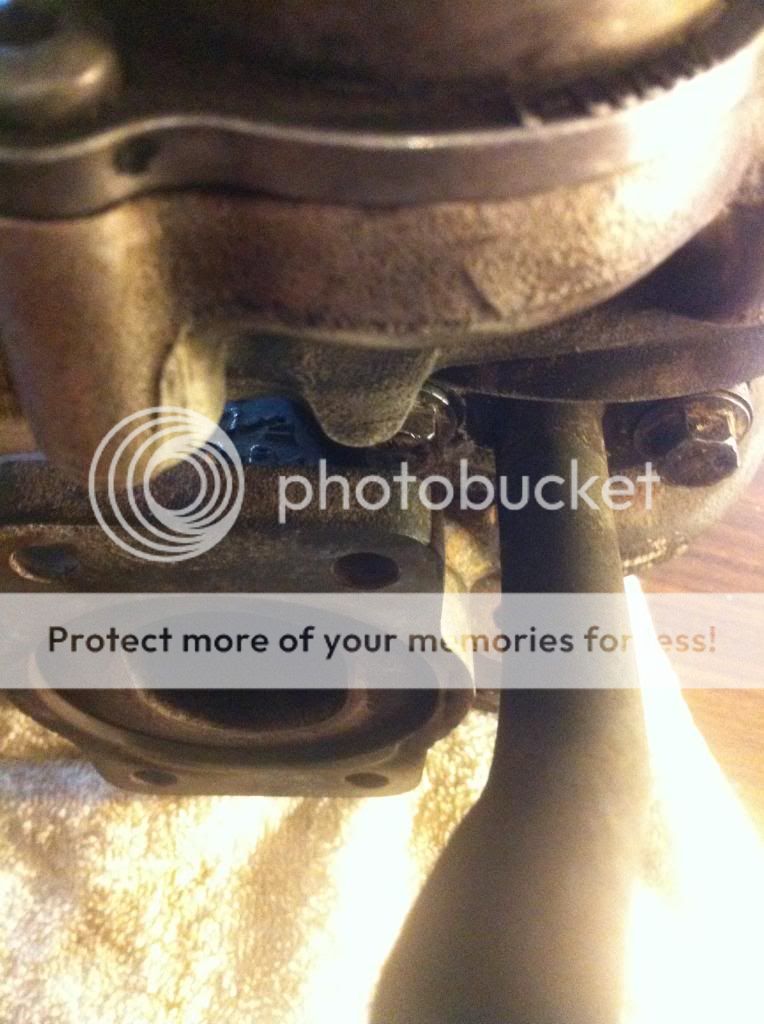
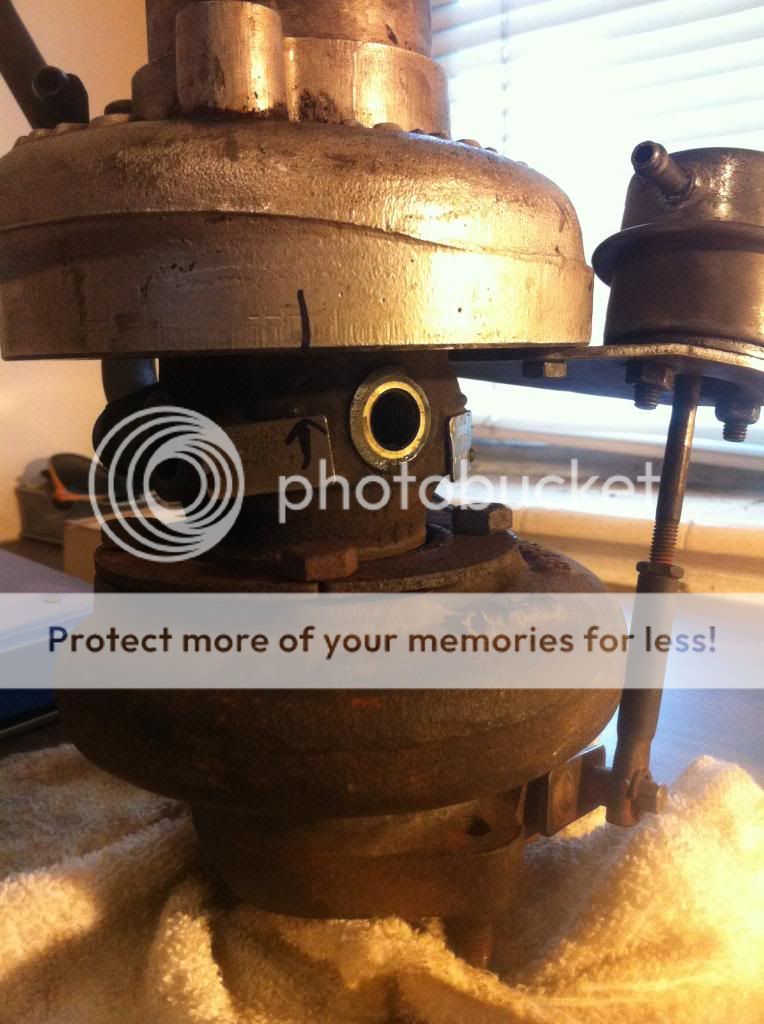
Had to clock the CHRA to relocate the oil feed and drain.
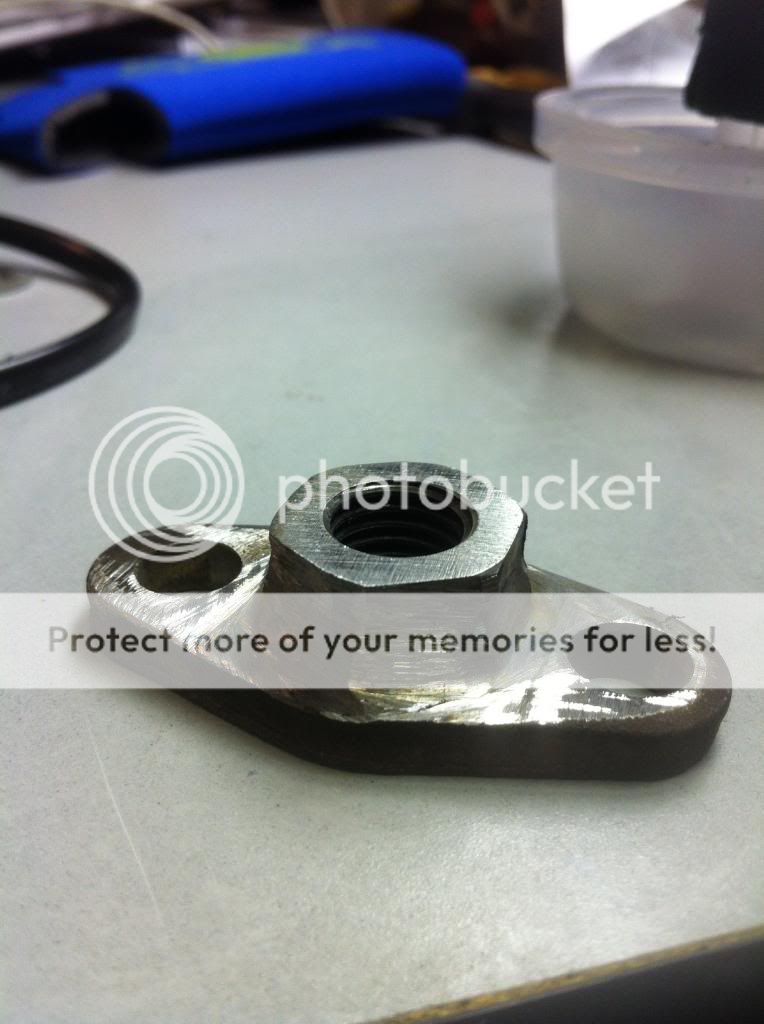
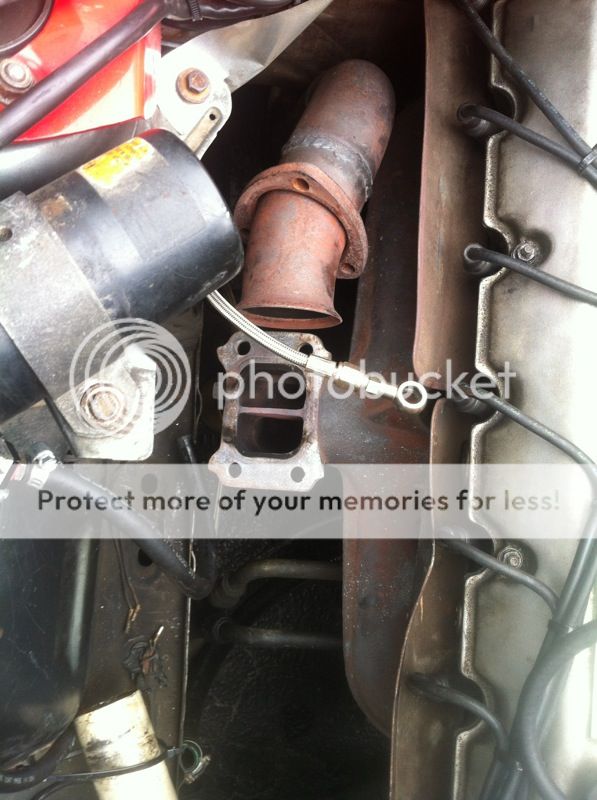
Due to it being a different type of turbo it had a different oil feed size. Just my luck:p At first I bought this flange from speed & truck world and was going to drill and tap it to retain the feed line I already had to cut down on spending.
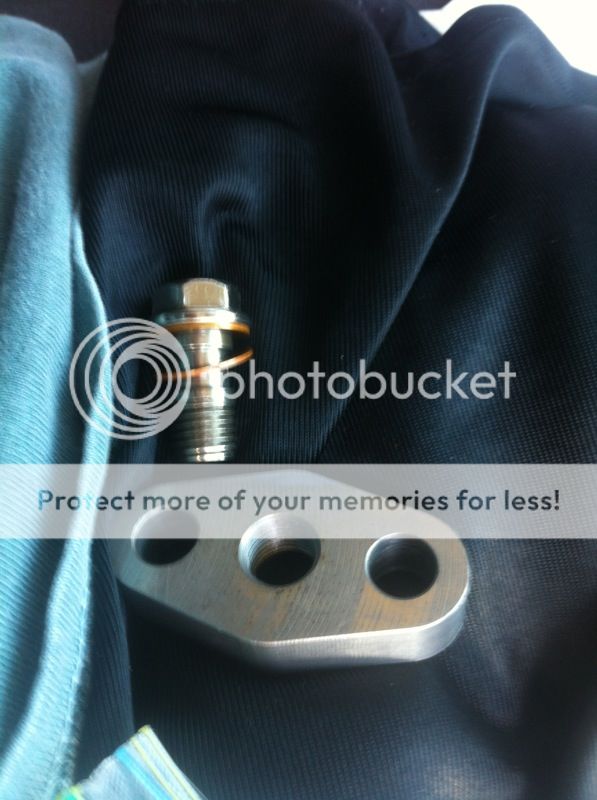
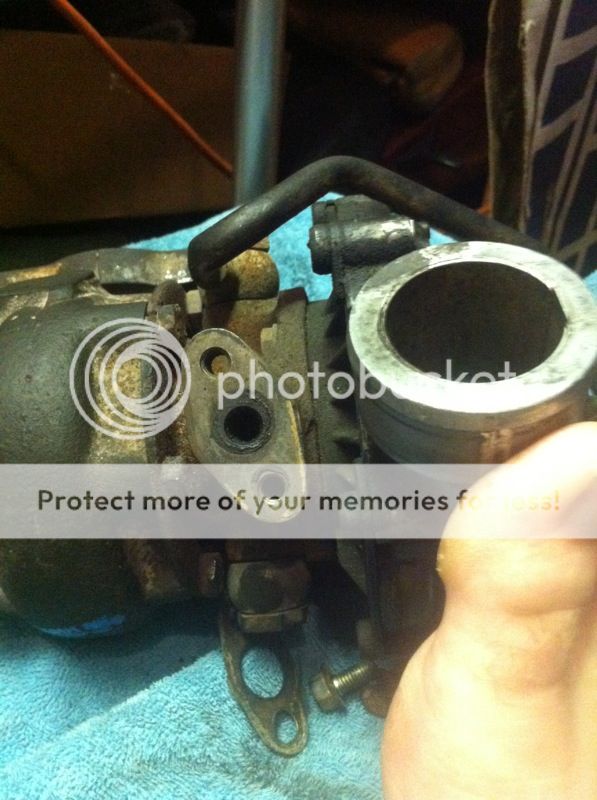
The bold ended up being 1mm too small so I would need to add material to the flange rather than remove it. So I returned the flange and returned to the junkyard!
From there I went and matched up a nut to the oil feed banjo bolt at Broward Bolt & bought it. Then my friend welded it to the factory flange after it was drilled out and flattened on a belt sander.
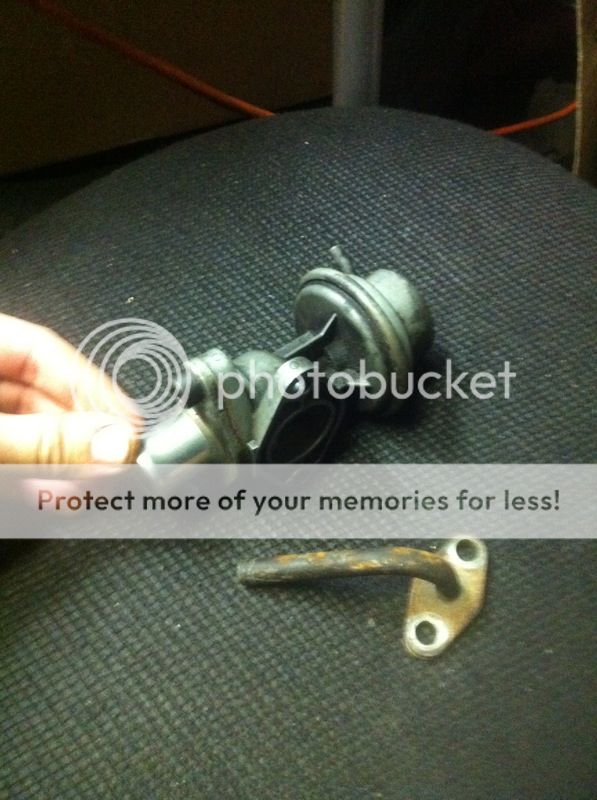
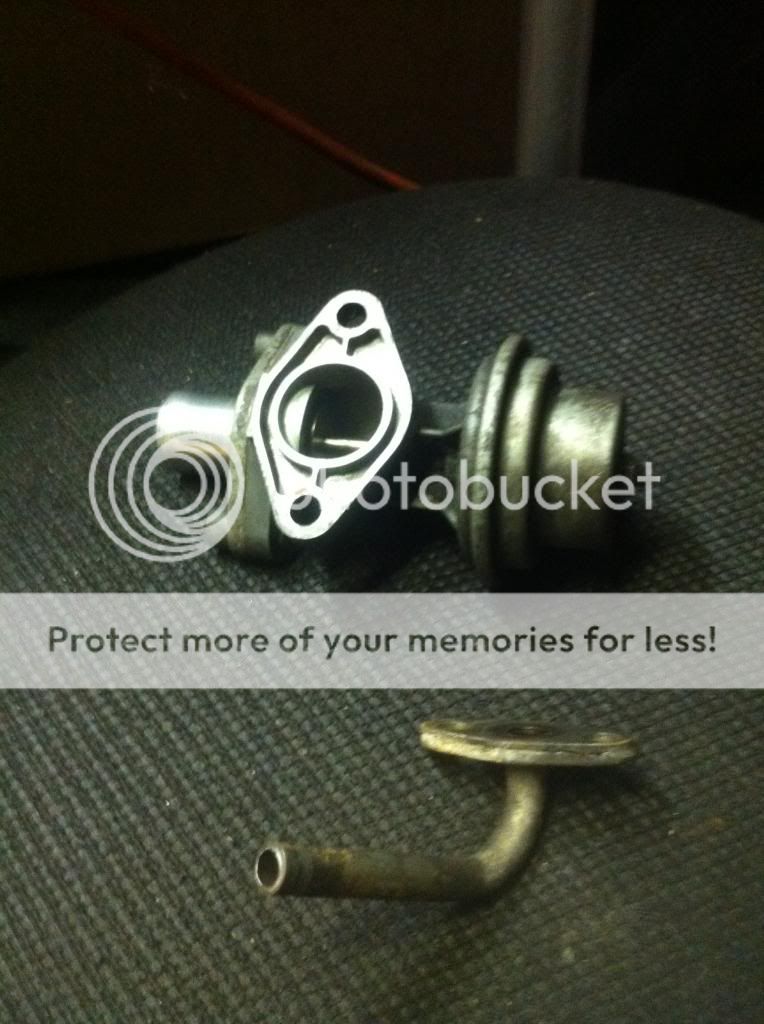
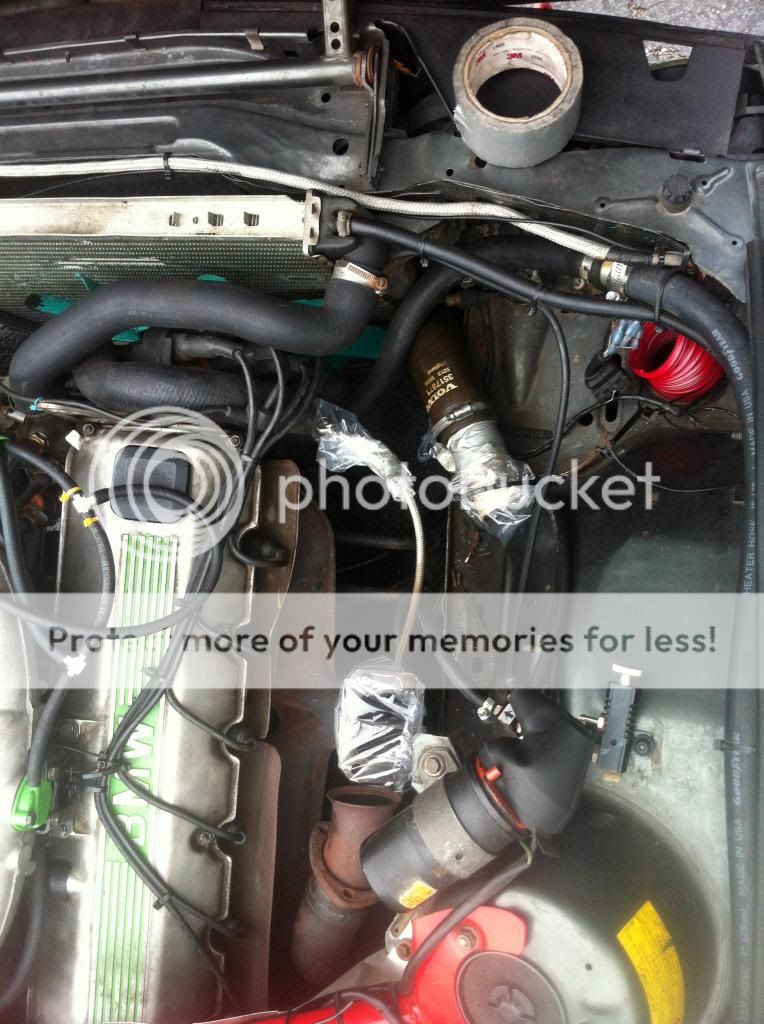
Removed the turbo

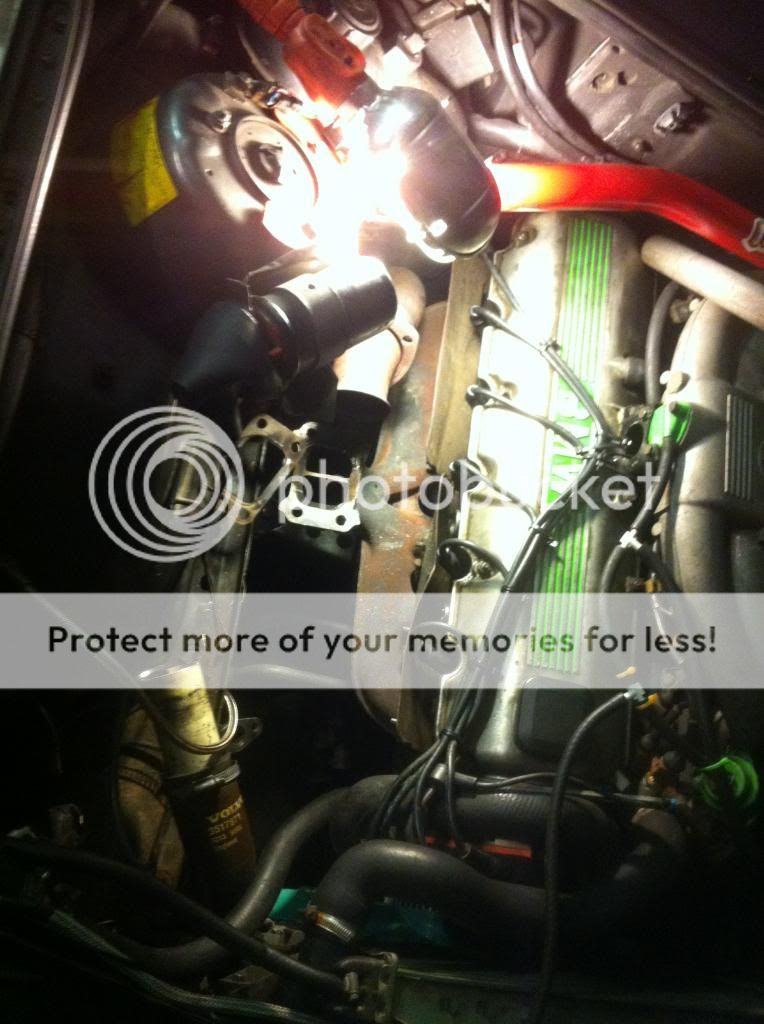
Also managed to run the water lines to the turbo.

Then almost didn't make it back up to Gainesville, the car was getting lean spikes until it was cutting out half the time. Made it though and later discovered it was the fuel pump relay. Replaced it with the O2 relay and it's good to go.
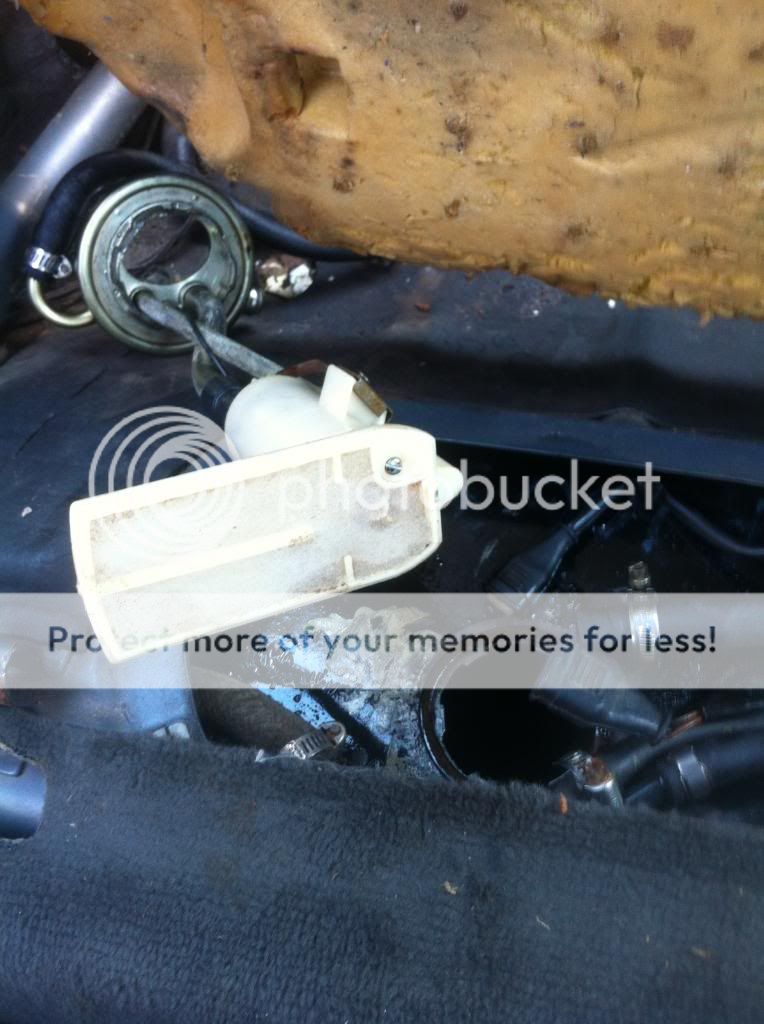
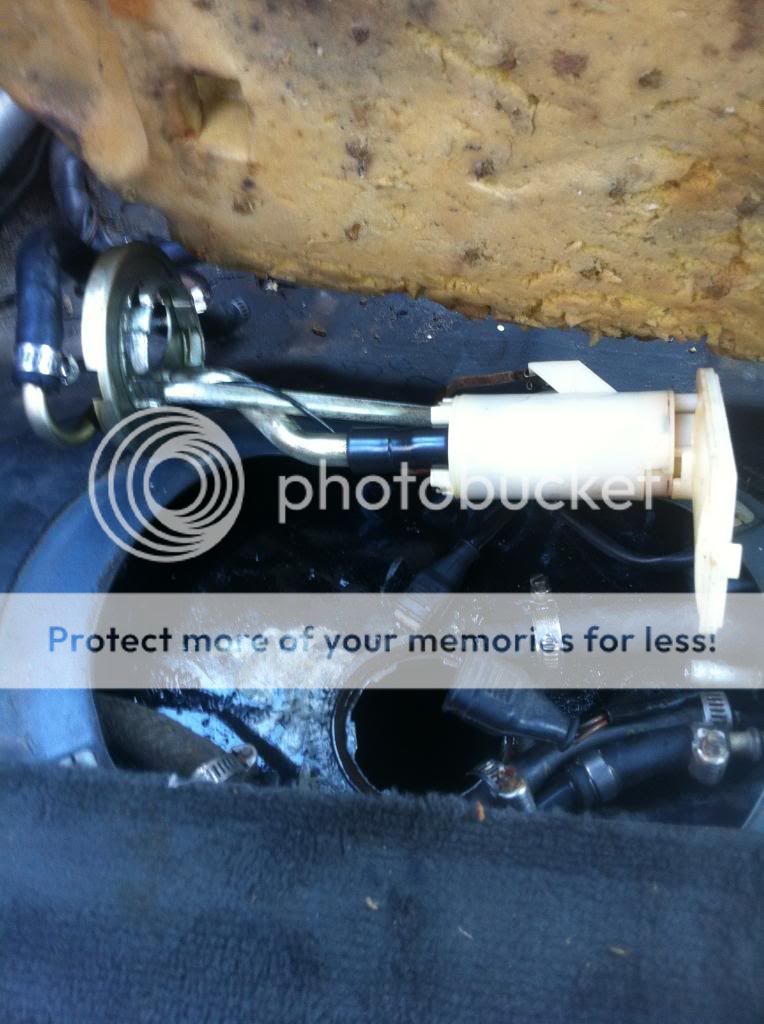
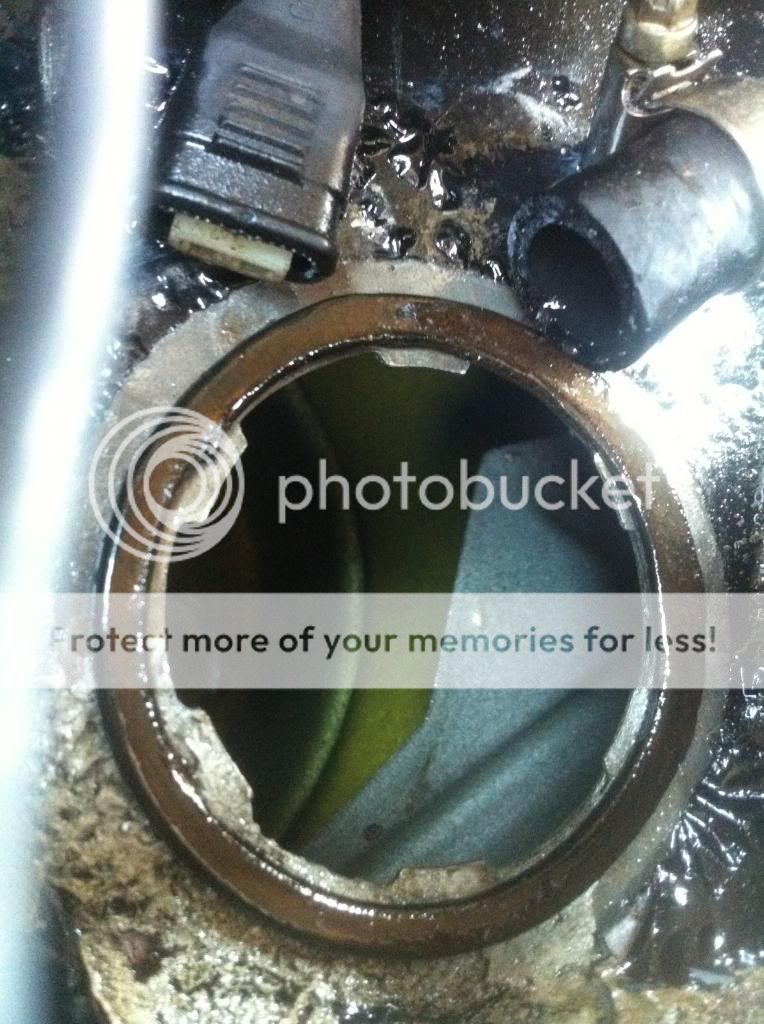
Before I found out it was the relay I suspected the fuel pump itself. So i removed it to run some tests and the tank looks like it's holding up great! I would definitely recommend the POR 15 gas tank sealer to anyone who might need it.

Leave a comment:
-
-
Initially when I tried to remove the compressor (intake) housing I didn't have a good set of snap ring pliers, so I borrowed a friends. This is what happened

Needless to say I already bought him some new ones. I did a bit more searching on the internet and found that some large 45 degree needle nose pliers work great. Off to Harbor Freight I went!

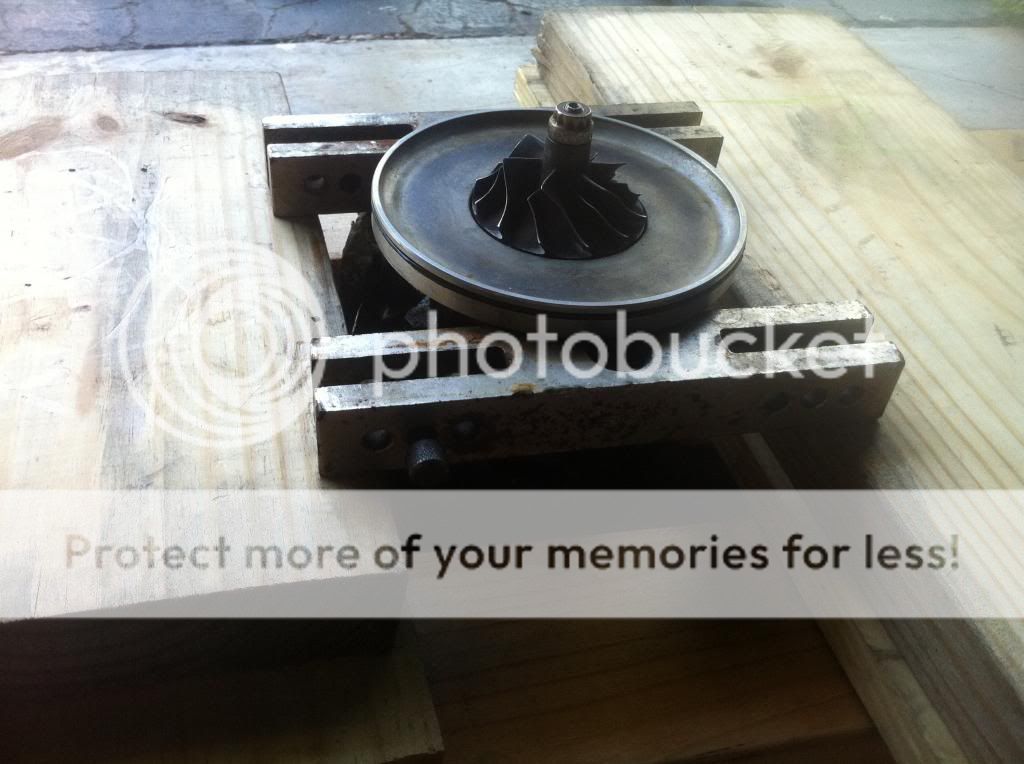
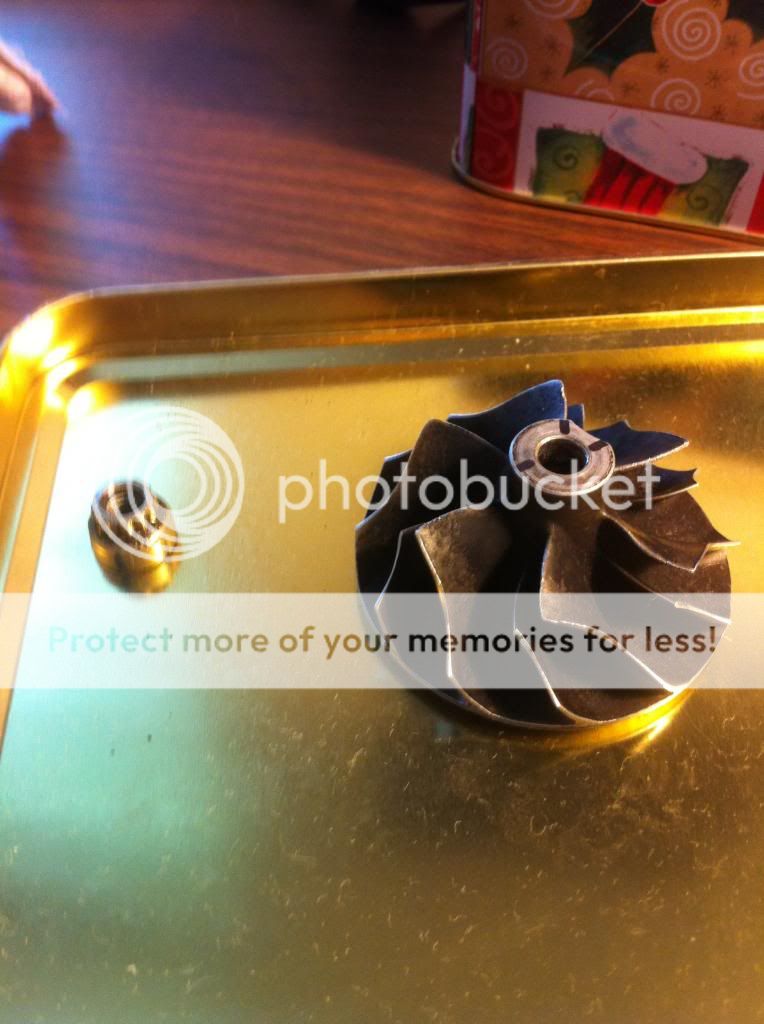
The wheels are balances, so before you remove them you want to mark their location relative to the shaft. I sharpied the wheel & nut, and then scribed the shaft with a pick. Here's some pictures so you guys can get an idea if you decide to try this. I put one dash on one side and then two dashes on the other. I figured 3 reference points would be accurate enough when I go to put it all back together.


Then it came time to remove the wheel so I can finally start this rebuild. The front nut(compressor side) is a 12 point 8 mm left hand thread. The exhaust wheel is permanently attached to the shaft(I believe) and has a rounded triangle nub which I attached vice grips to as shown.

After some persuasion, the compressor wheel nut came off

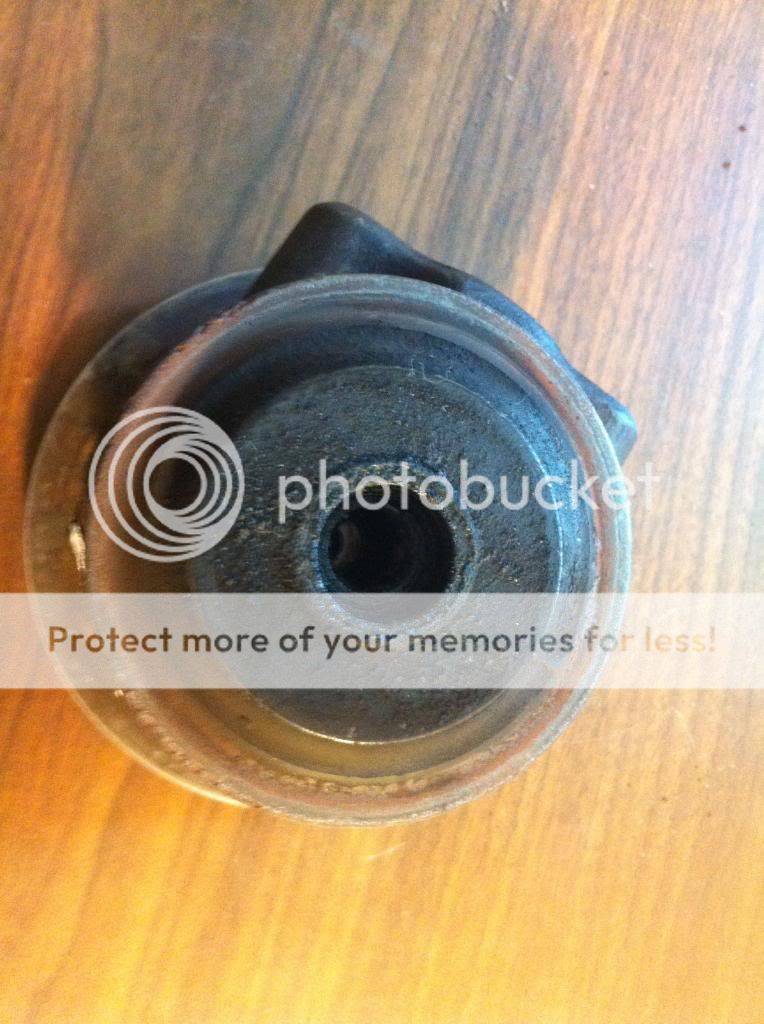
Here's what a 23 year old CHRA (Center Hub Rotating Assembly) dynamic seal looks like. There are two types of seals in a turbo, carbon and dynamic.

Then I had the absolute worst time getting the shaft out. I flipped the 12 point nut upside down and threaded it on partially & smacked it with the wooden butt of my hammer while supporting the whole CHRA. Not gonna lie, this was easily the worst part so far.

Here's a picture of the exhaust side of the CHRA.
Then I took out the snap ring that holds the dynamic seal in place. However, for the life of me I cannot get this darn thing to budge. There's not really any room to fit a small flat head or pick between the seal & housing to pry it out. After watching some videos they advise to place a rag on the ground and GENTLY smack the housing against it. However, this hasn't worked for me yet.

Any tips from someone who has done this?Leave a comment:
-
Thanks bud:up:
Hahaha, thanks for the tip lol.
My ebay t25 rebuild kit finally came in the mail

So before I took the turbo apart I figured it would be a good idea to mark the current locations of the housings.


Then I took off the exhaust housing. It came off with relative ease, probably because last time I took it off I chased the threads with a tap
And this is how the car has been sitting the past few days

Leave a comment:
-
since i was invited to trash talk in here. make sure all of your friends get tetanus shots.
but ya 99% of the time im a purest jerk but i do digg the "i dont give a shit body" lookLeave a comment:
-
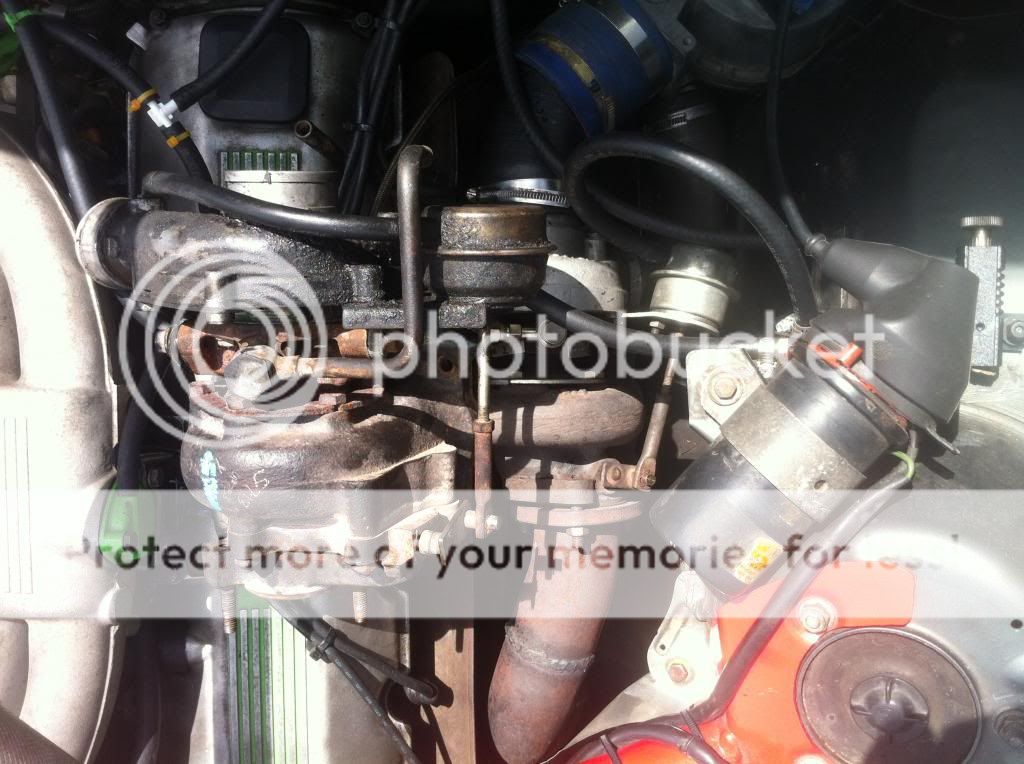
Okay, with the turbo rebuild kit in the mail, I figured it's time to start removing the turbo and prepping it!

I noticed that the crappy butt connectors I had used to wire up the AFM had come apart. Everything will be soldered/heatshrinked as soon as I get my soldering iron back from my friend who needed it for his class.

Ariel view of today's work space

It's out fifteen minutes later! I've gotten pretty quick after having to change the gasket so many times:weak:
The Culprit
Wrapped everything up so mother nature can't wreak havoc
My interestingly shaped volvo exhaust housing
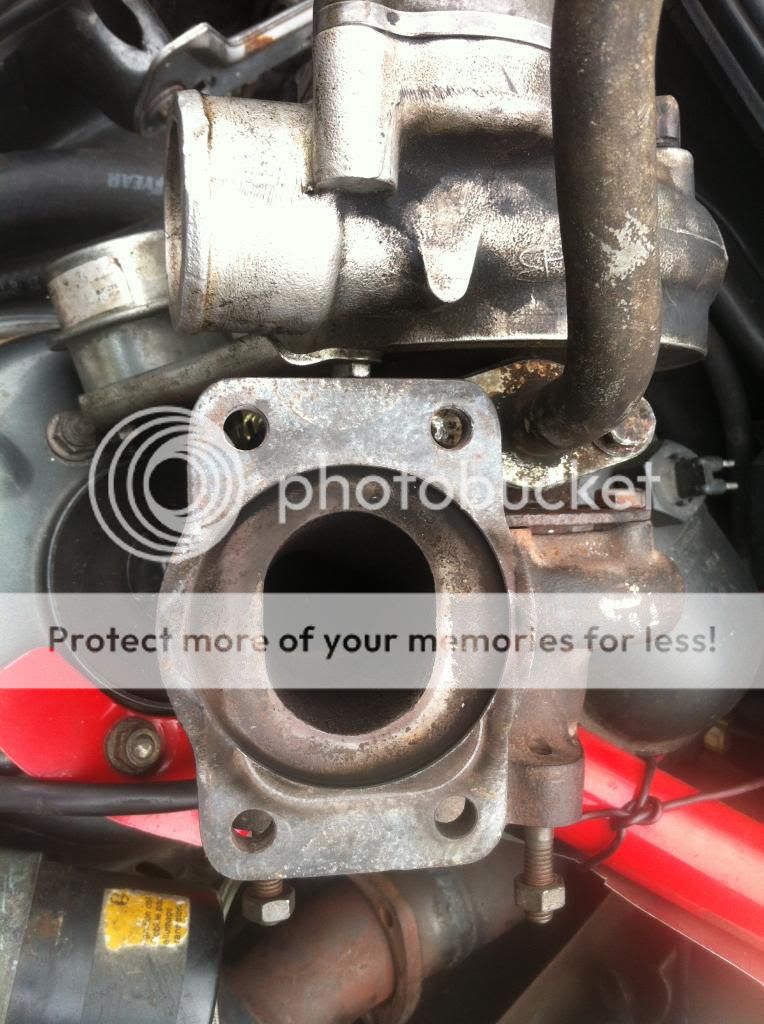
The reason why I blow so many gaskets:letitout: I'm gonna toss the housing on a belt sander when I disassemble it to make a fresh, FLAT mating surface

And the reason why it all had to come off....

Shaft Play:curse:Leave a comment:


Leave a comment: