Announcement

Collapse
No announcement yet.

Noelle celebrates turning 21 (1990 325iC)

Collapse
X
 
  • Filter
  • Time
  • Show
Clear All
new posts

    Noelle celebrates turning 21 (1990 325iC)

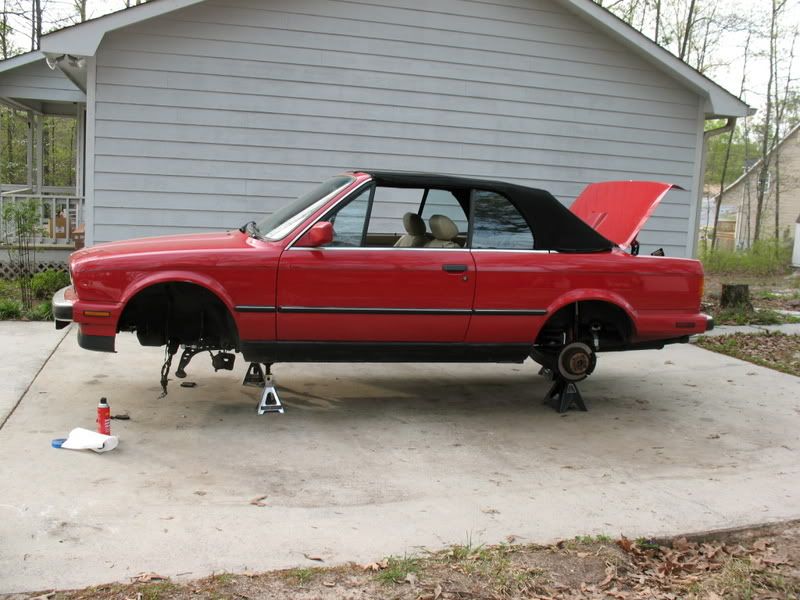
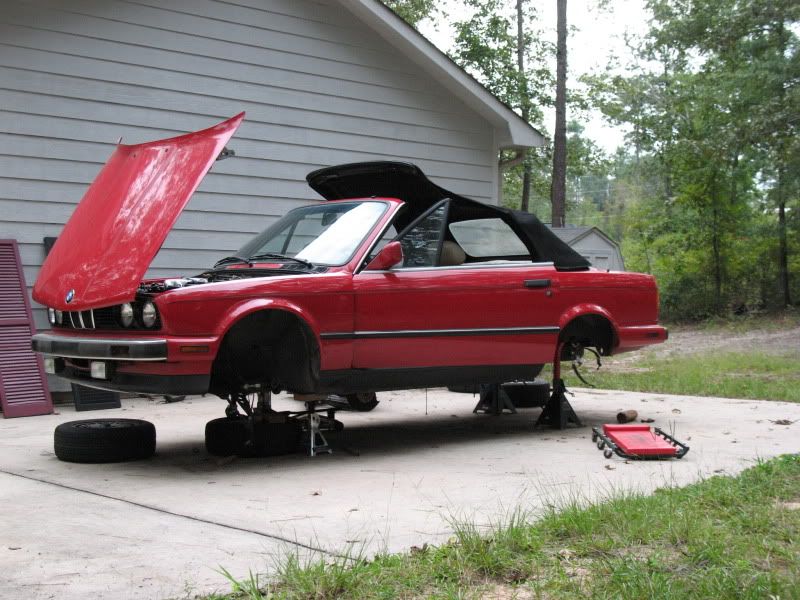
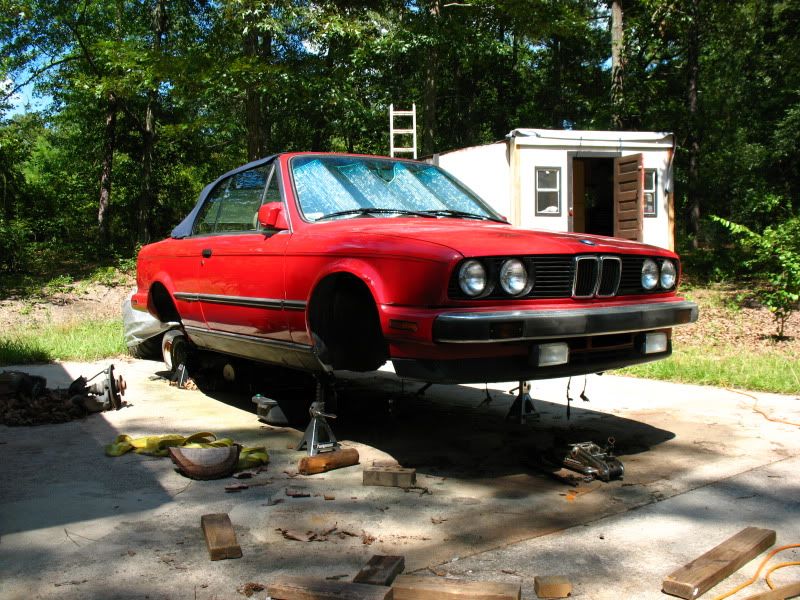
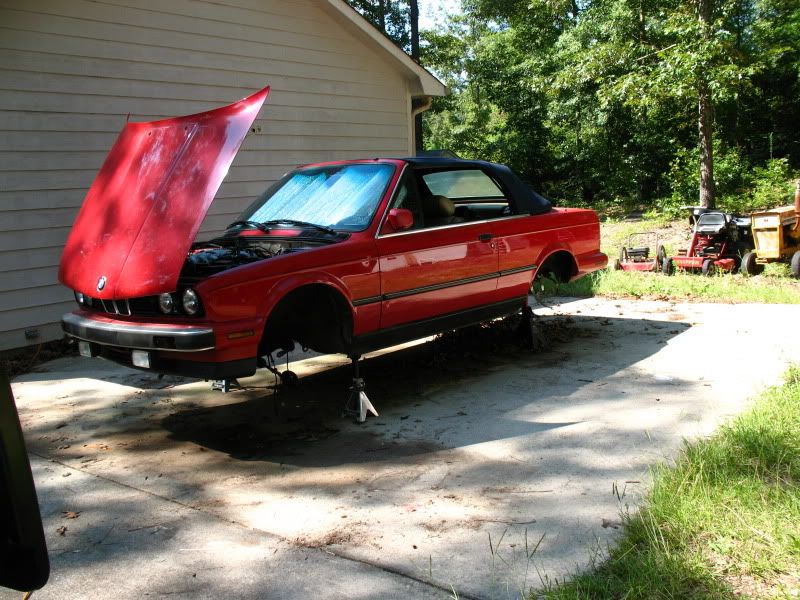
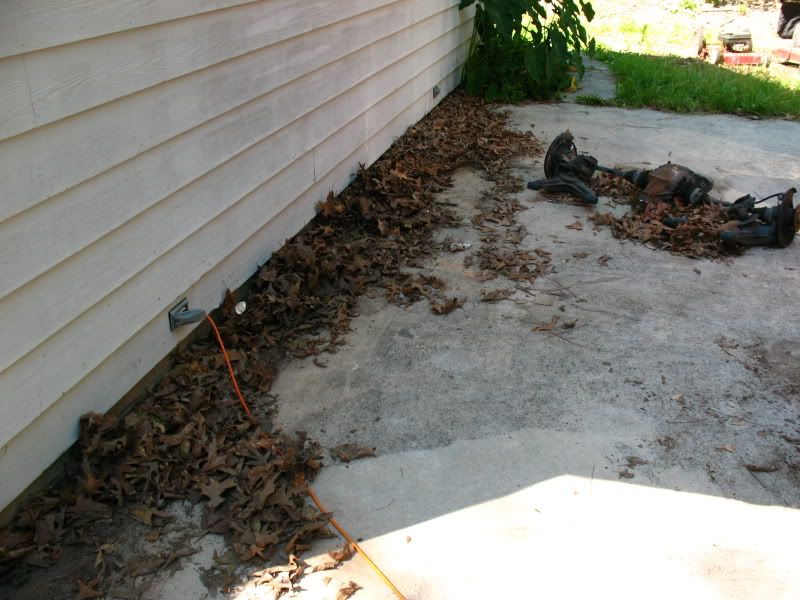
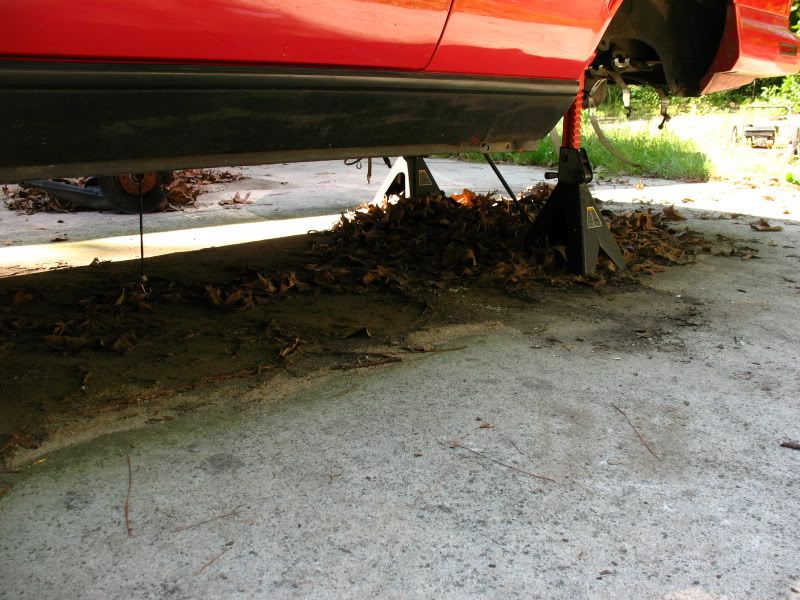
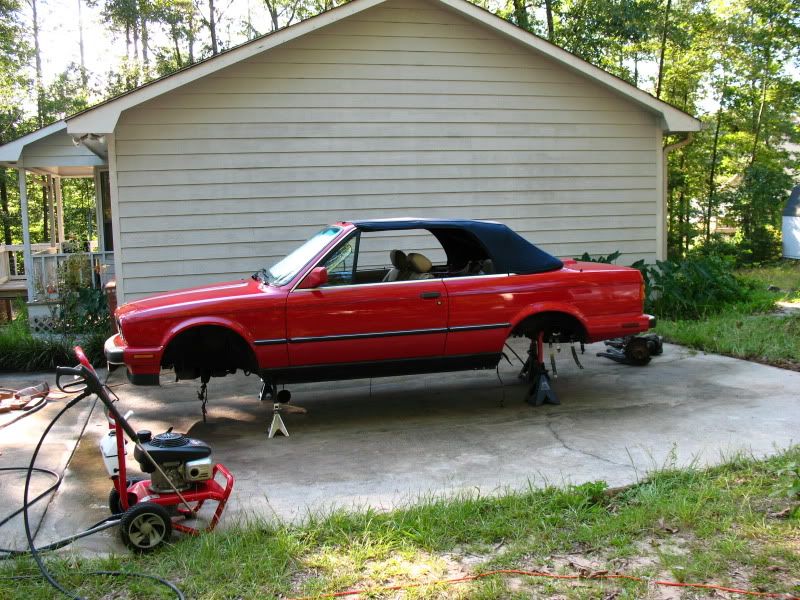
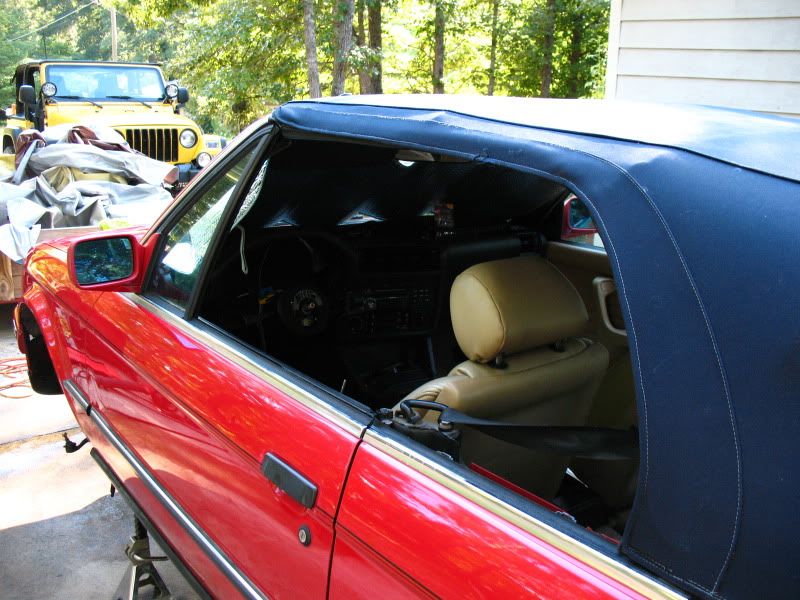
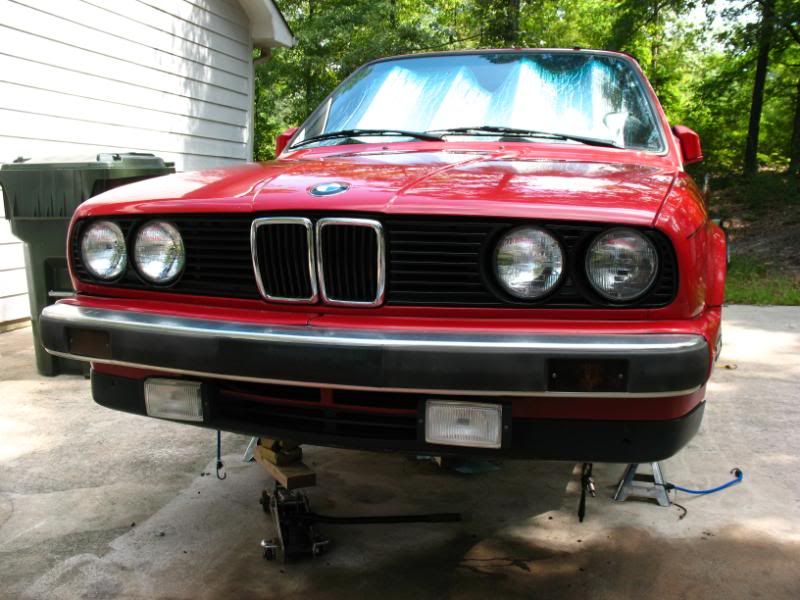
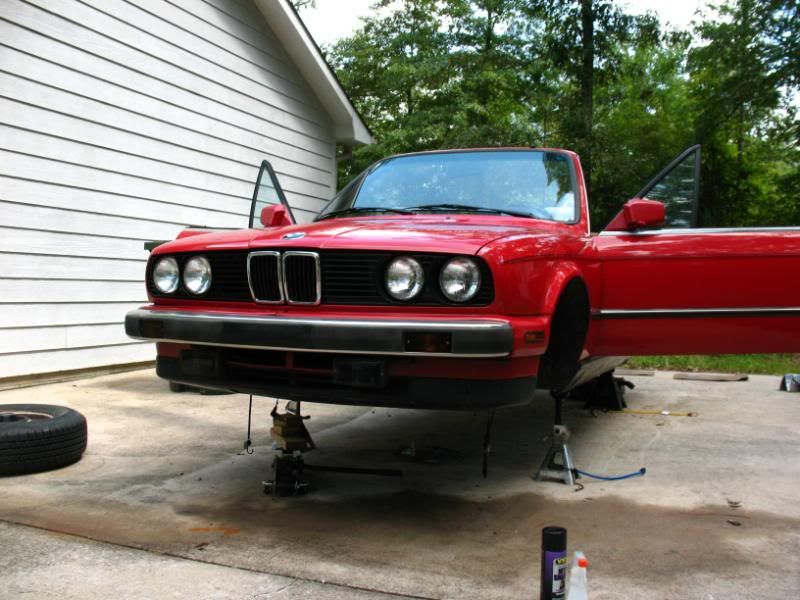
    I've started to work on the e30 again, after doing pretty much nothing on her in 10-months and on jackstands for over 16-months. During this time I missed driving the e30 so much, I bought another - 1992 318iC that I have since sold.

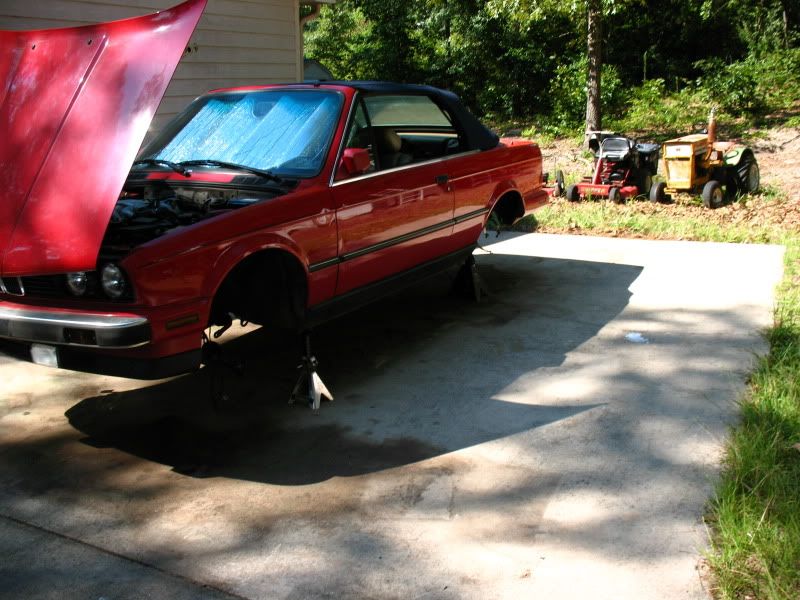
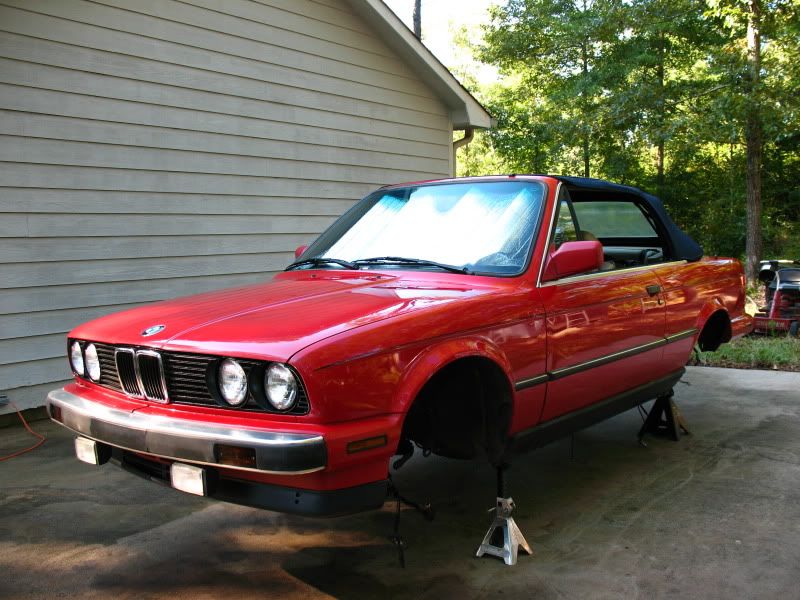
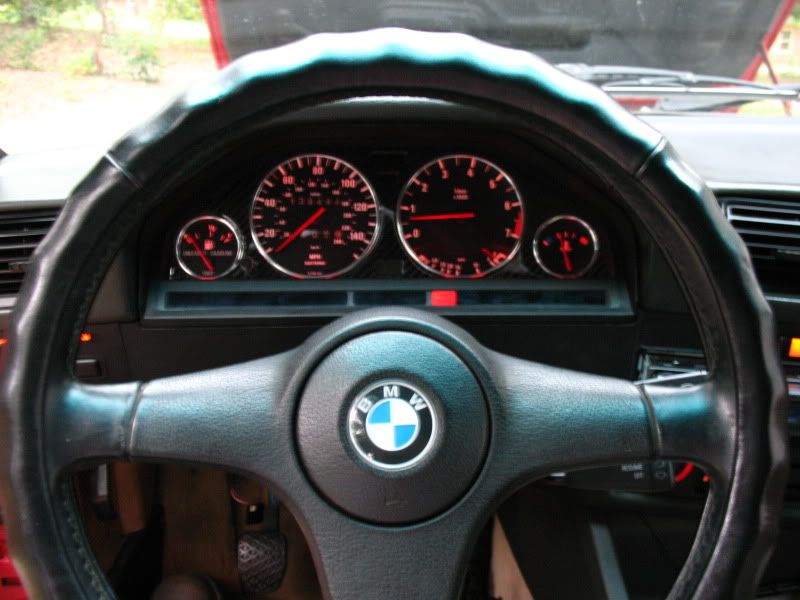
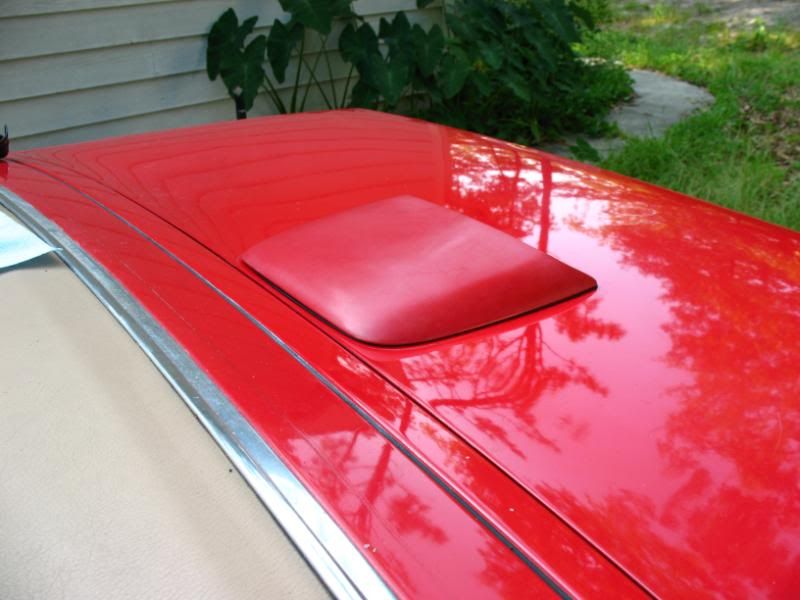
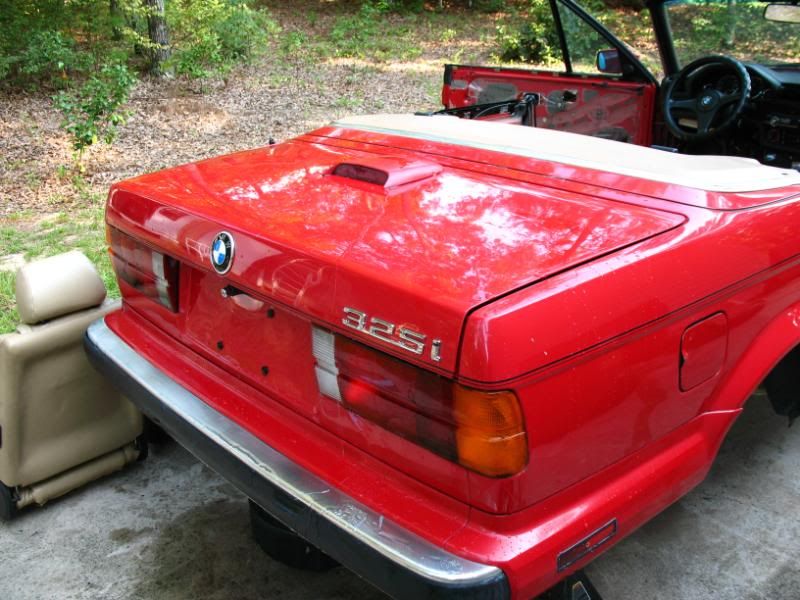
    Noelle is my 1990 325iC, with a build date of 7/89. She is two years to the month younger then I.

    The story of purchasing her in Nashville, driving up there in a rental and driving her back:


    Here was my introduction on this site:


    Along with a trip:


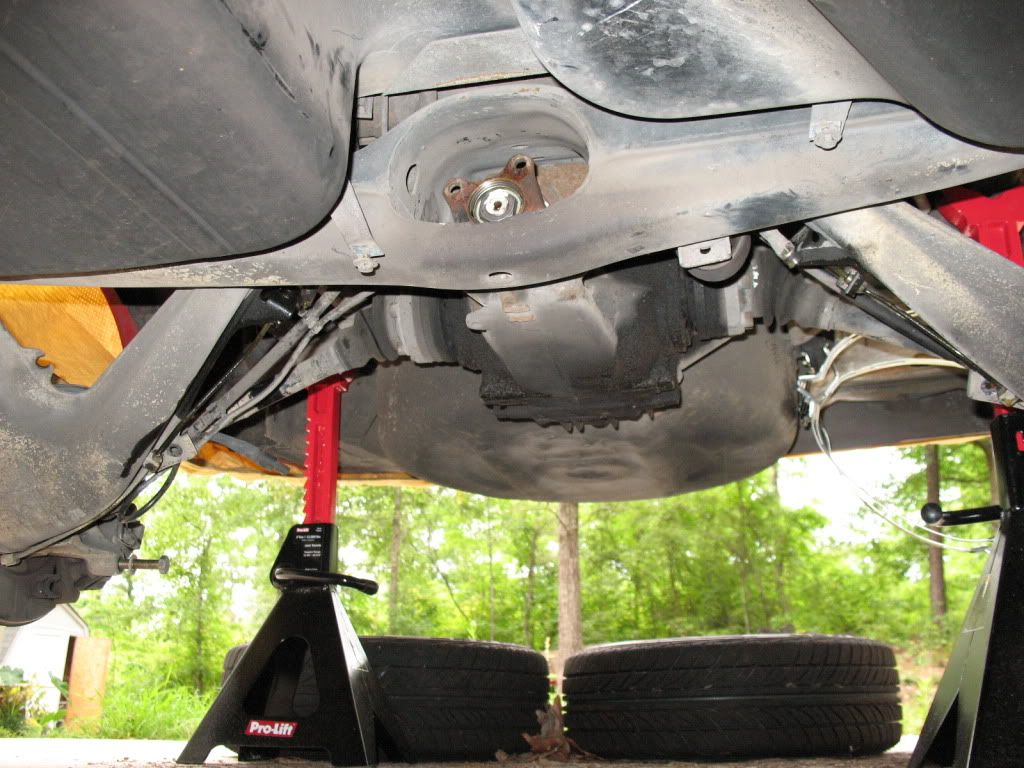
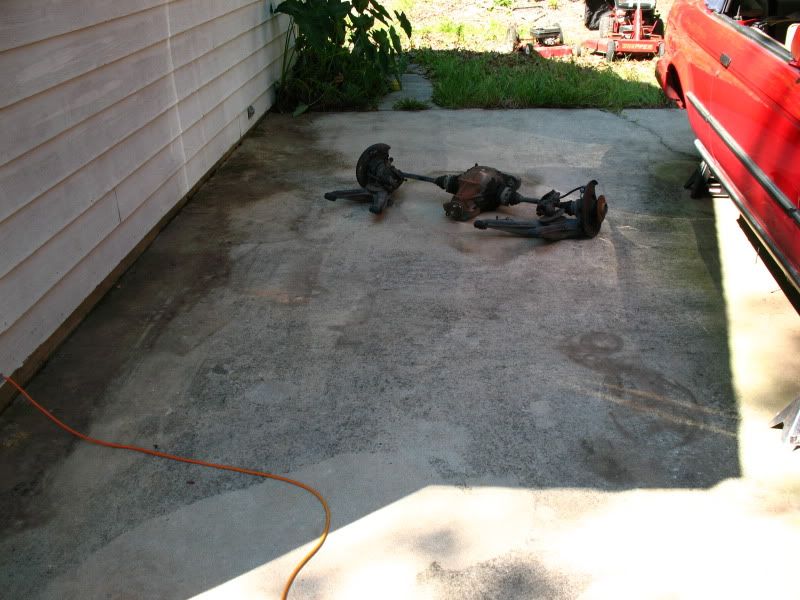
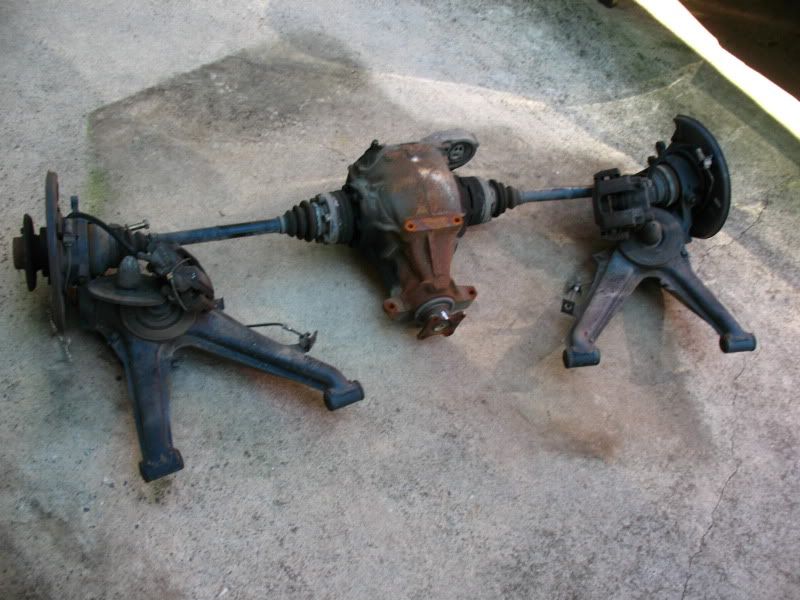
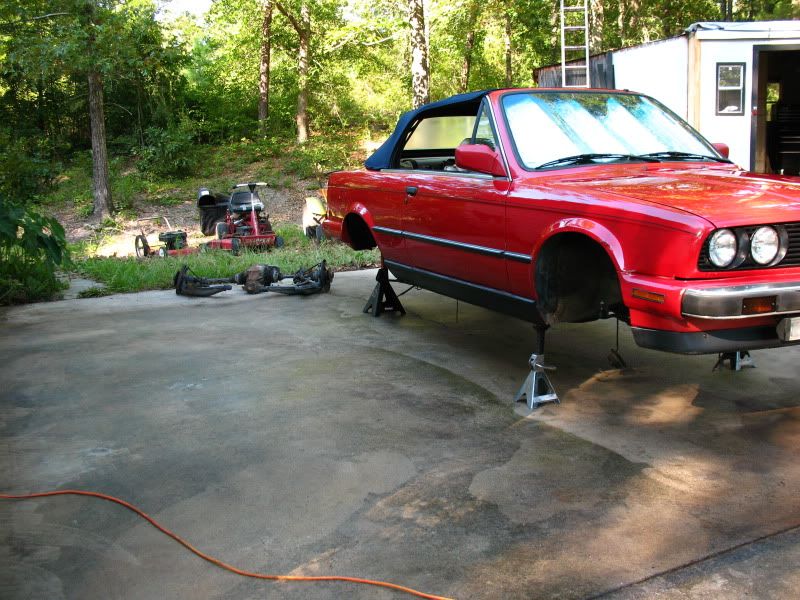
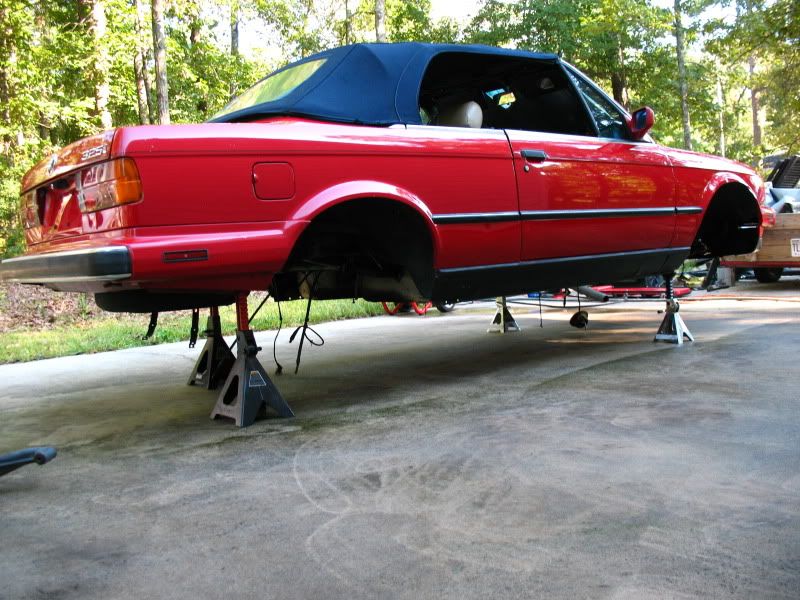
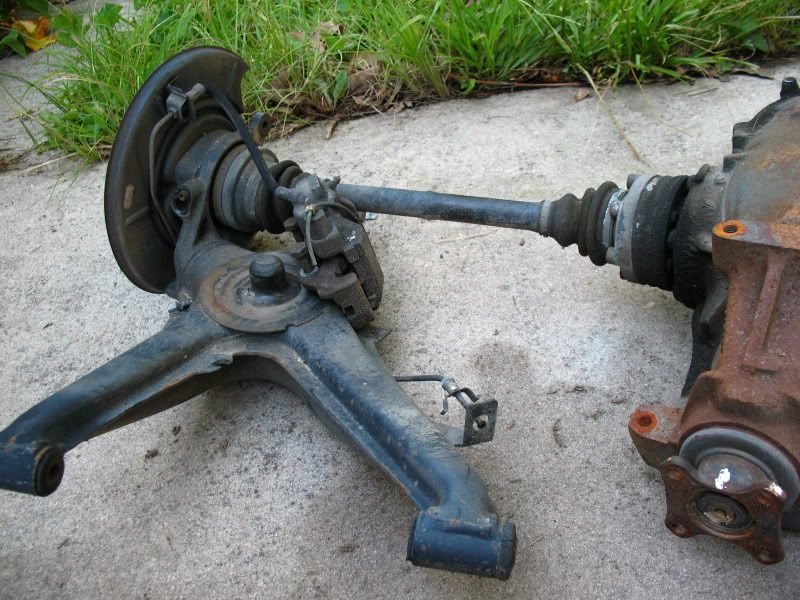
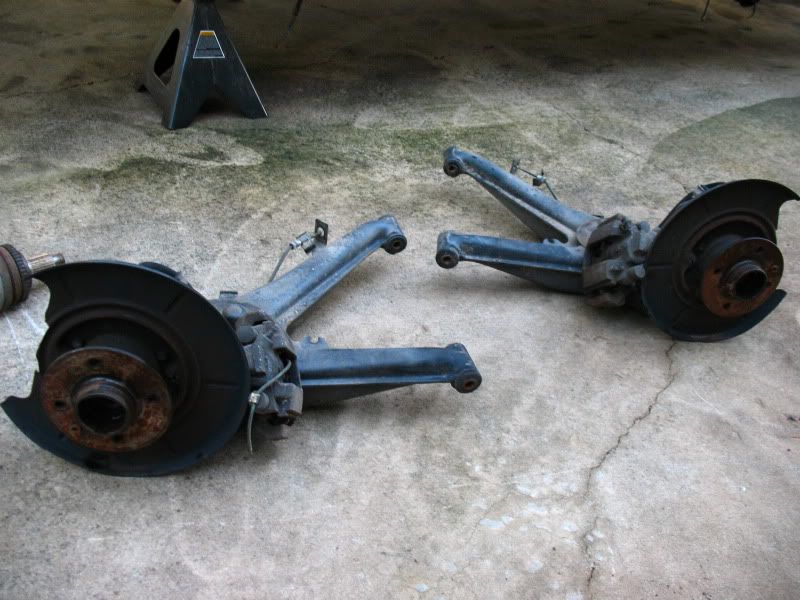
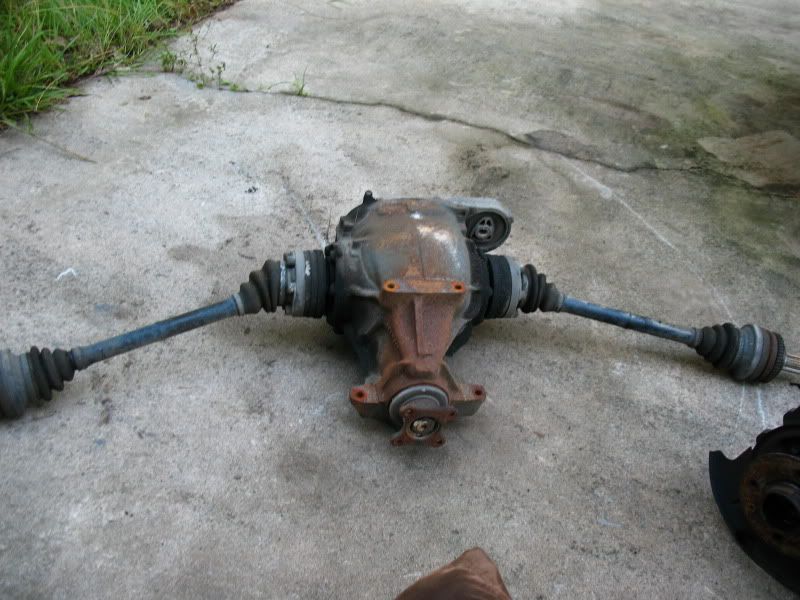
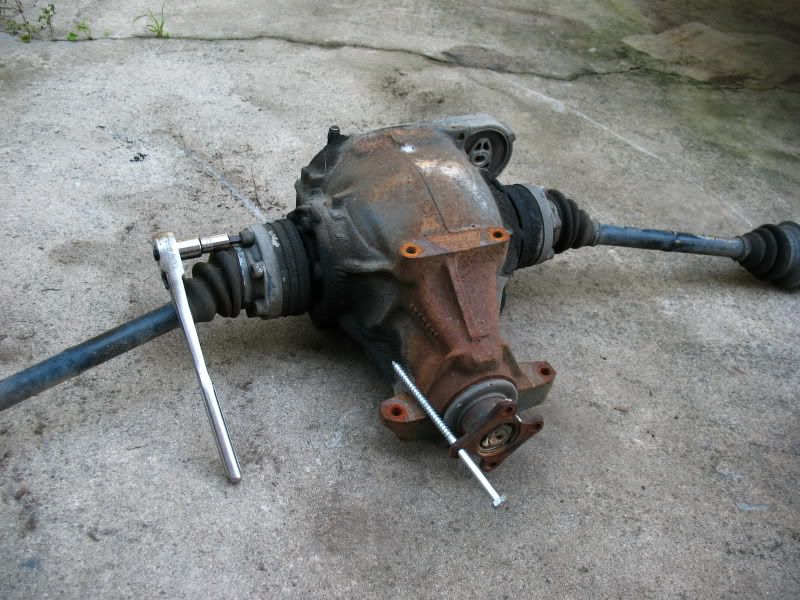
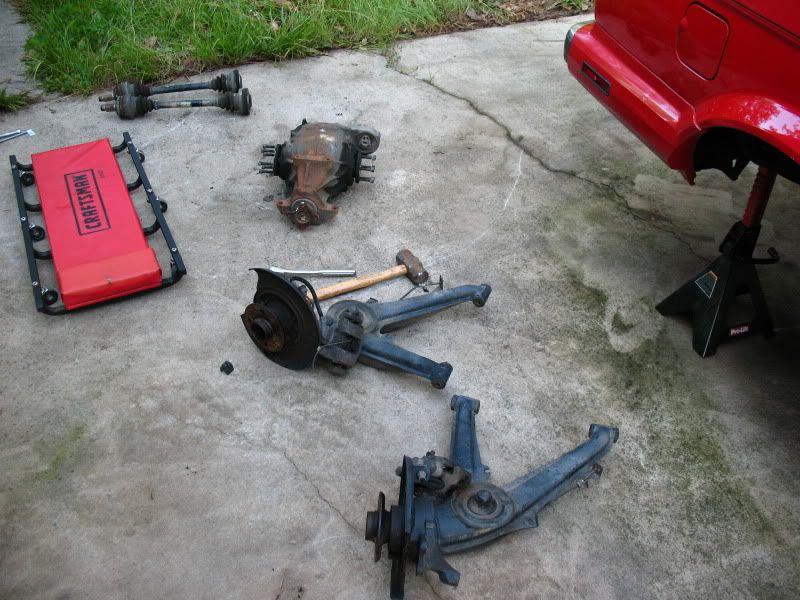
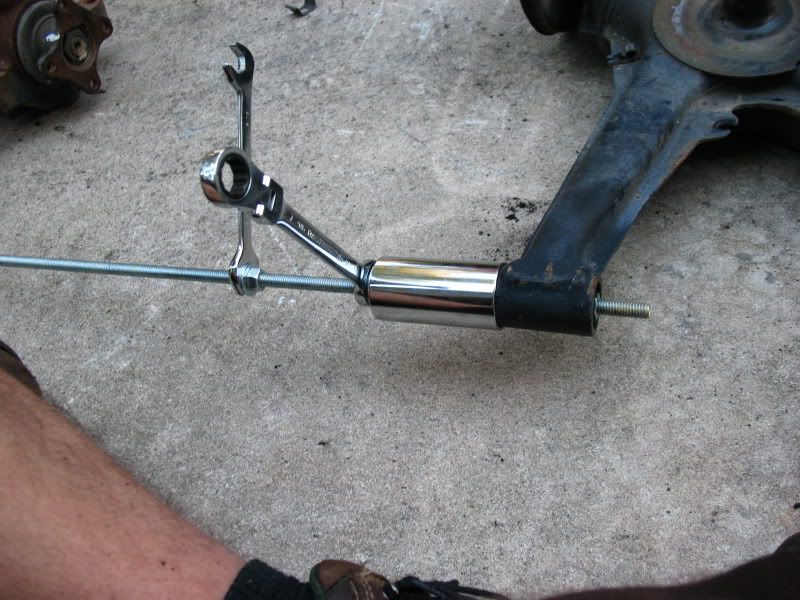
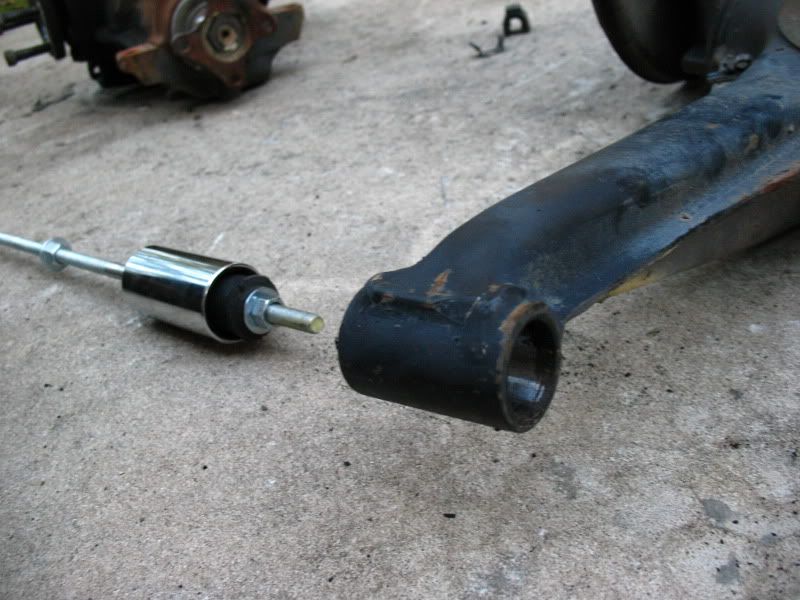
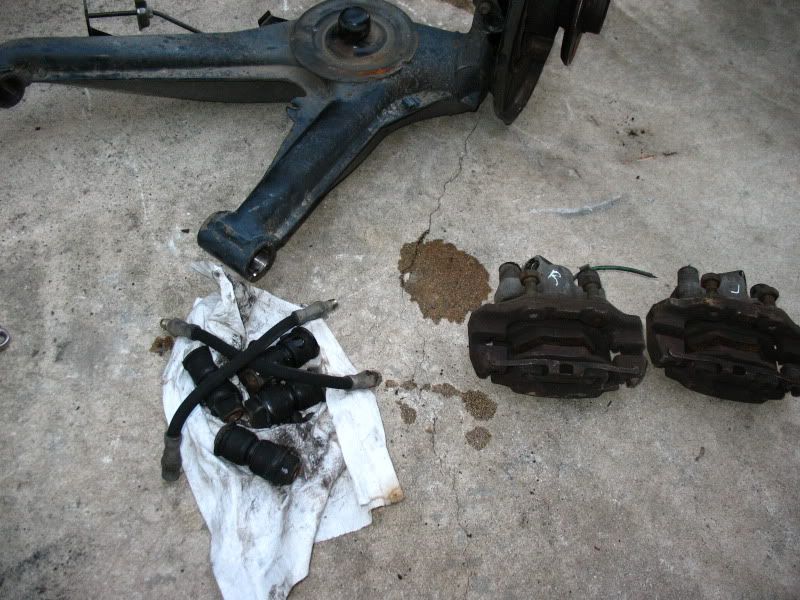
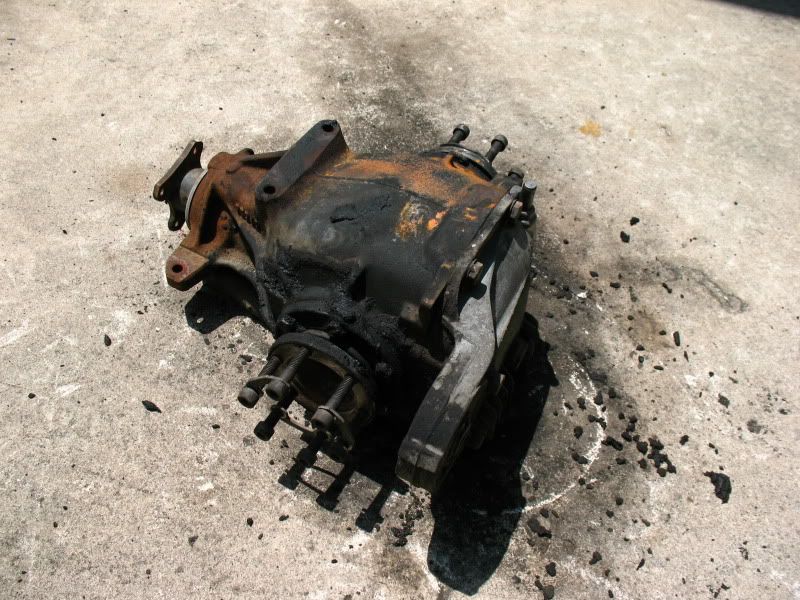
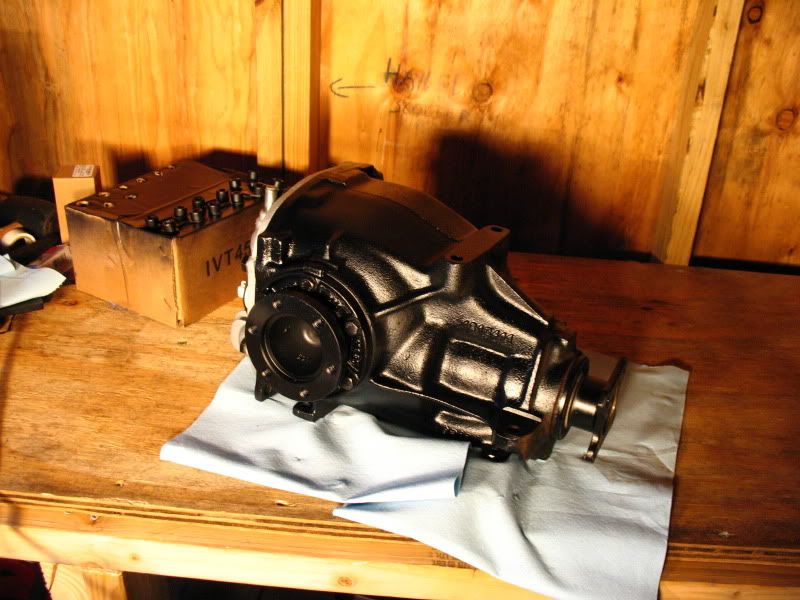
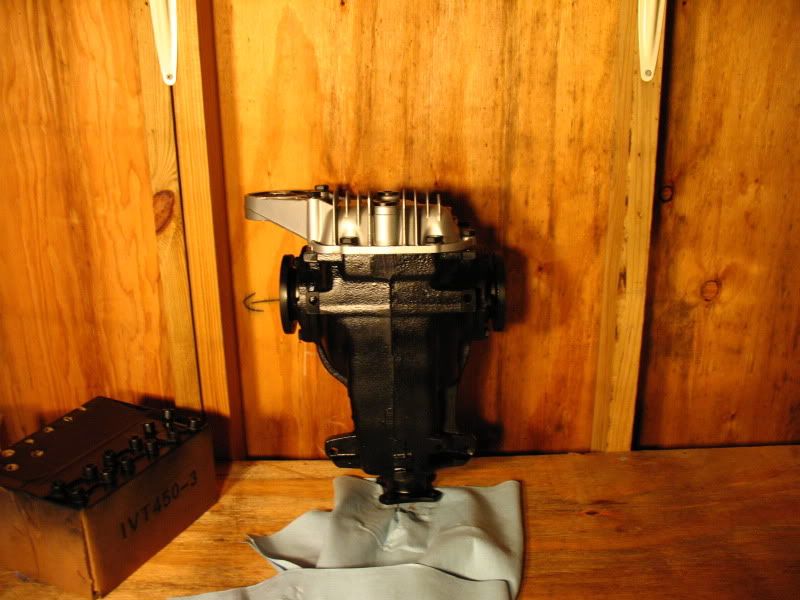
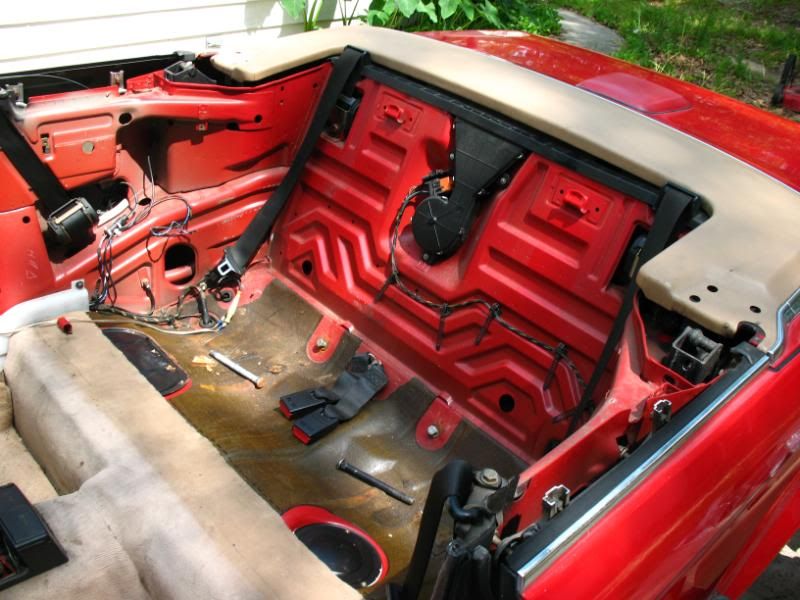
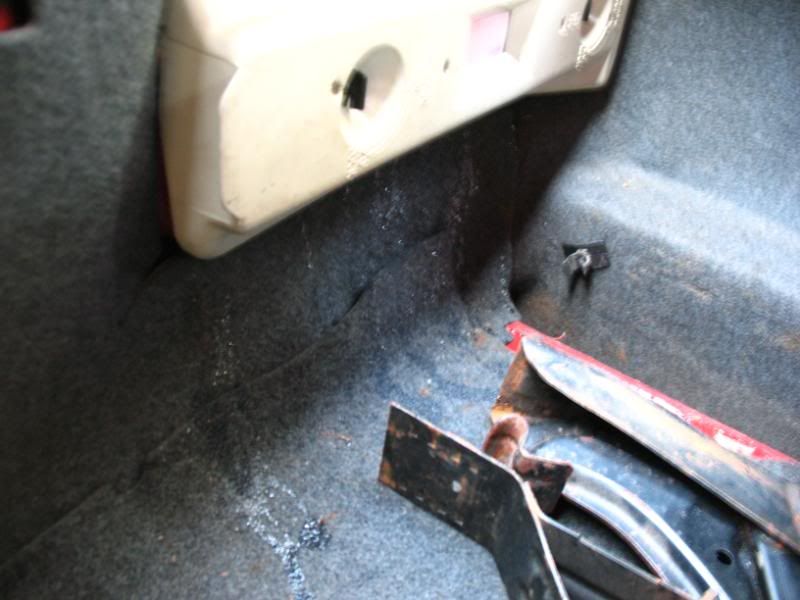
    With 140k and signs of being driven hard, pretty much all the suspension bits were shot. So many things on this car were flat out trashed (rear upper shock mounts, all the shocks etc...) or no longer functioning (both trans mounts split in half due to leaks)

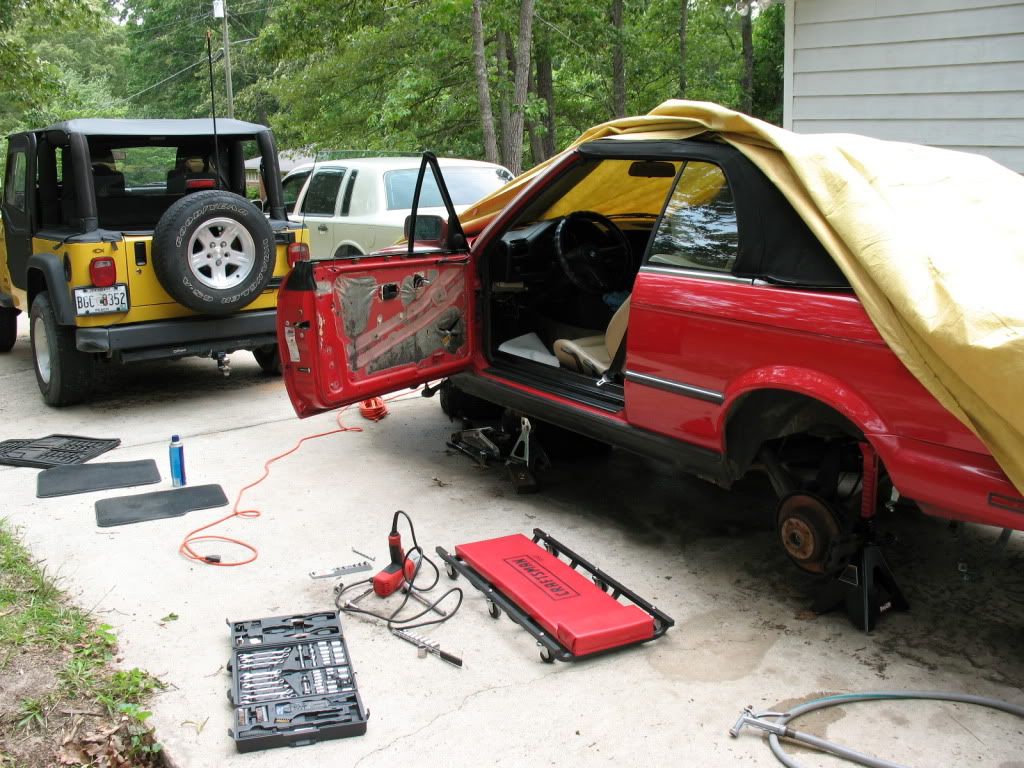
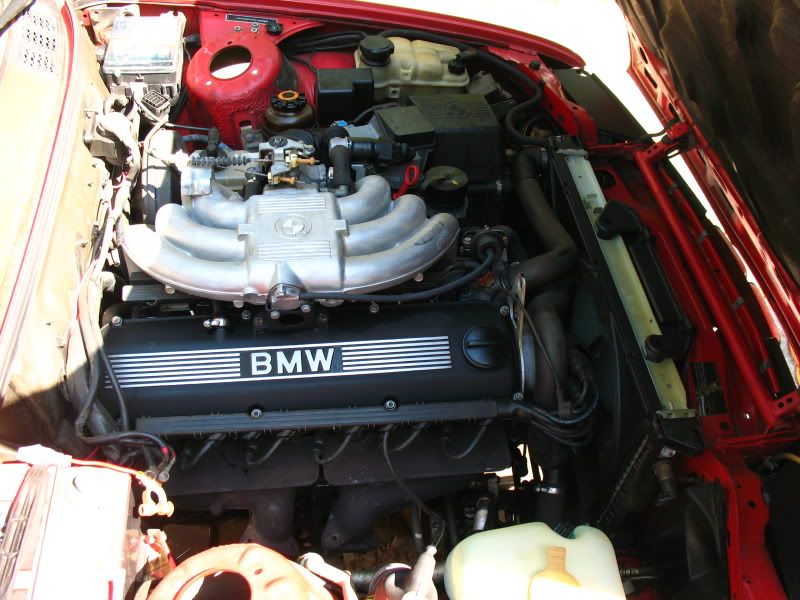
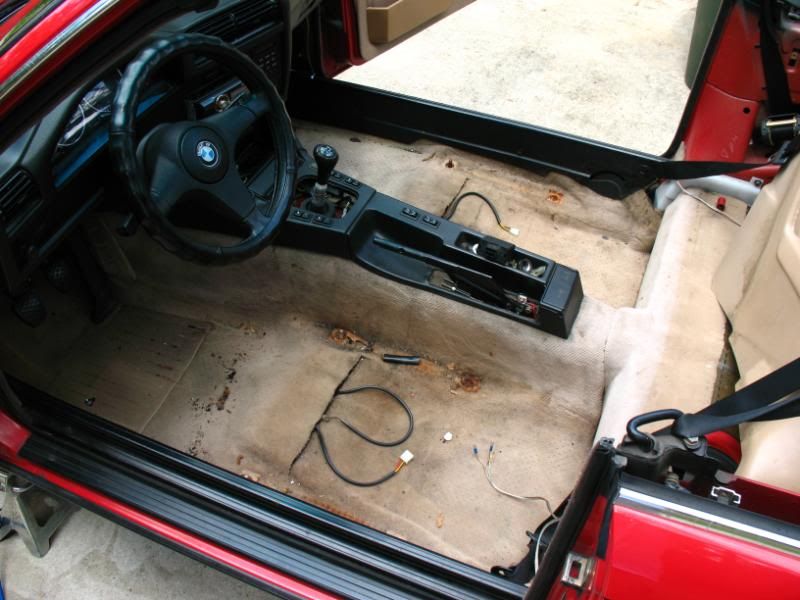
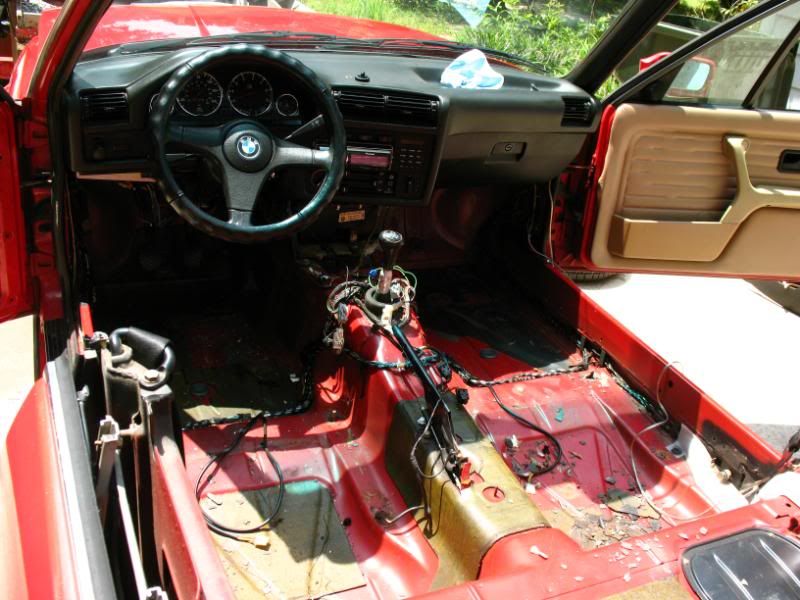
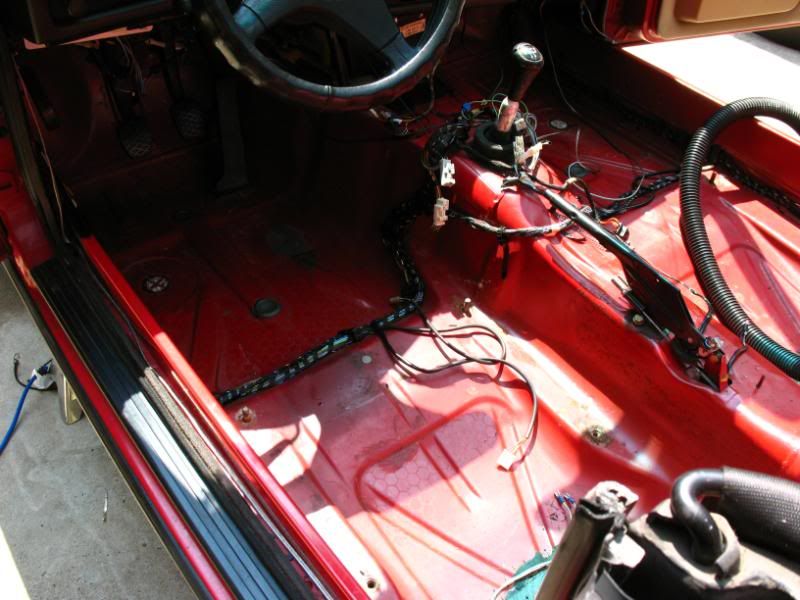
    It started as just a weekend project to replace the 4 shocks with Monroe Sensatracs, but with each part I removed, more and more things were found to be broken. I then decided to mechanically go thru the car and bring her up to date.

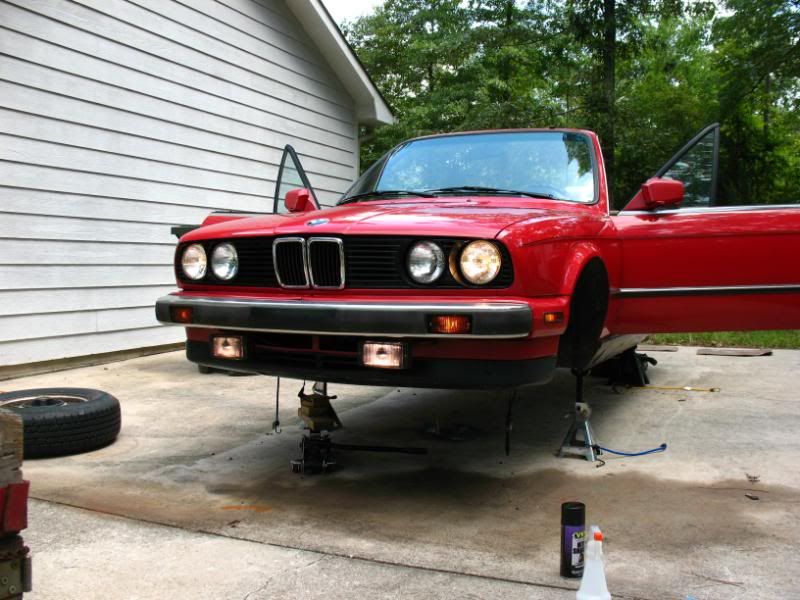
    The plan is to fix her up to be a reliable and fun daily driver/highway cruiser. I plan on driving the heck outta this car once it's back on the road.

    April '09:


    May '09


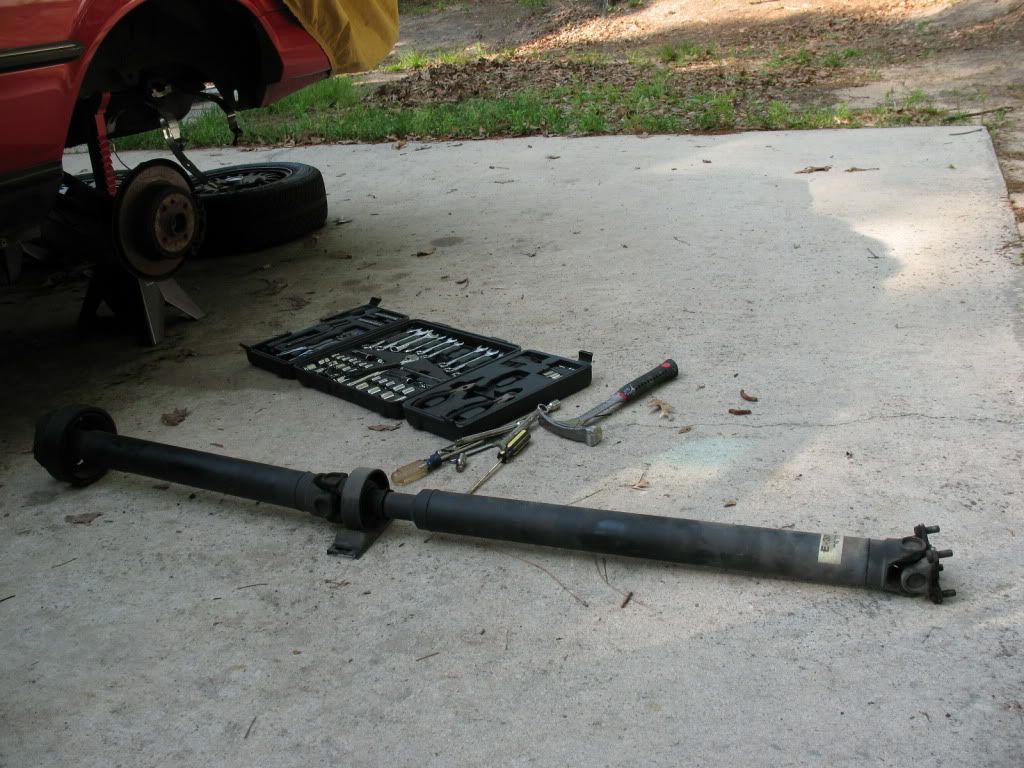
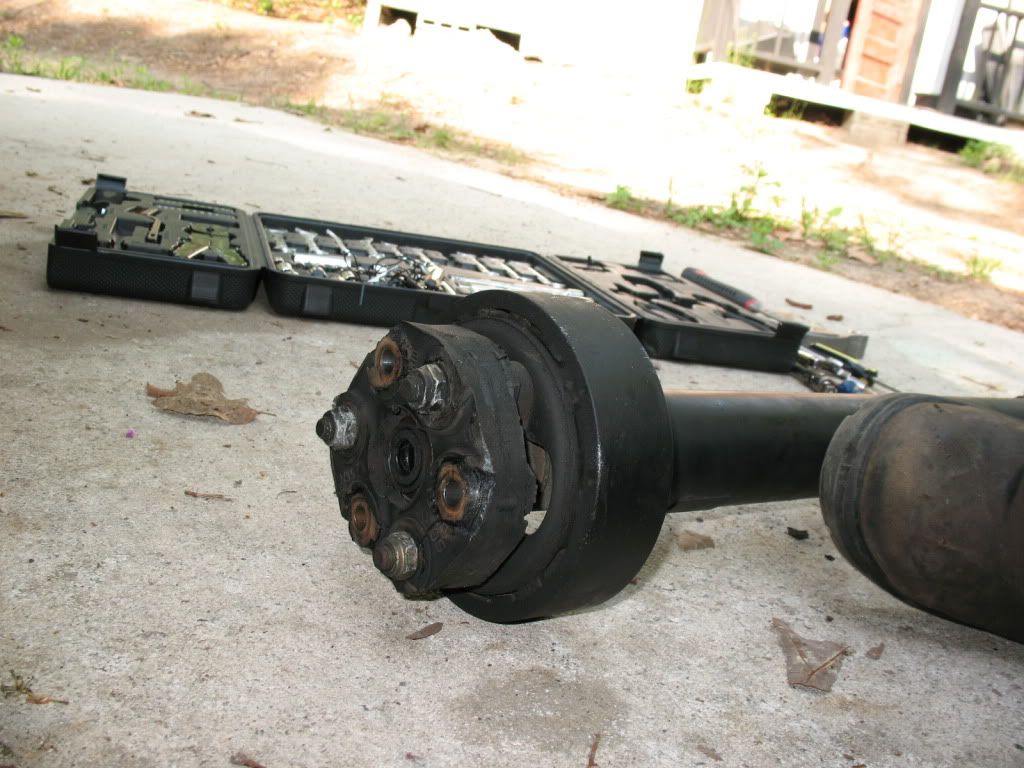
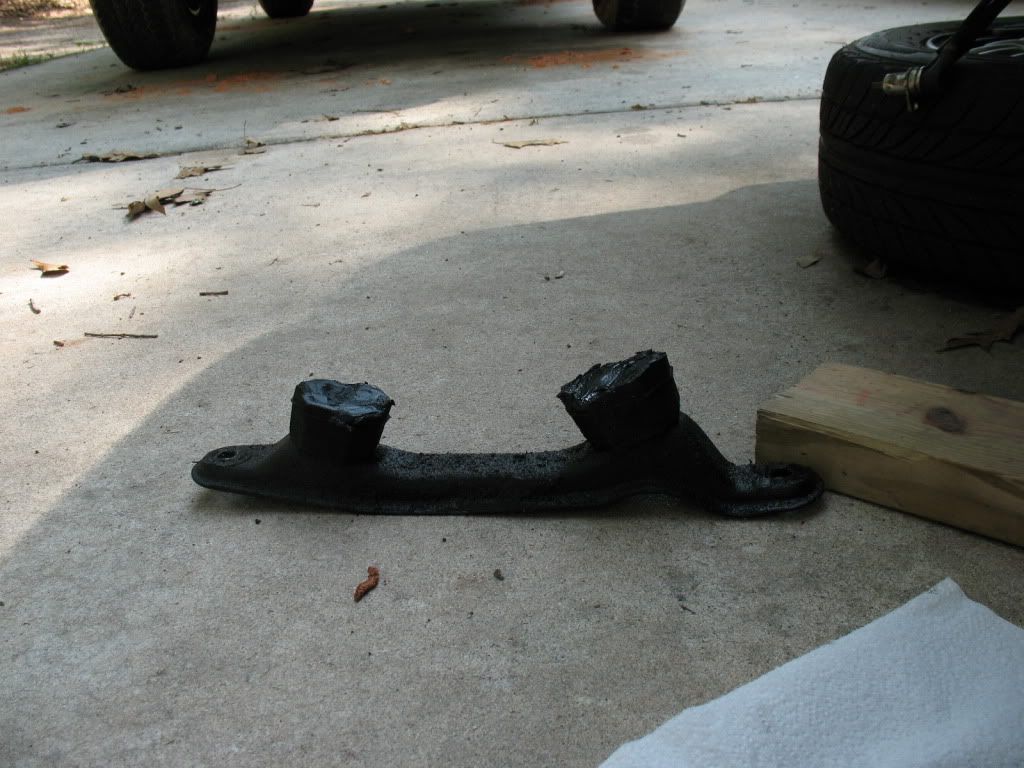
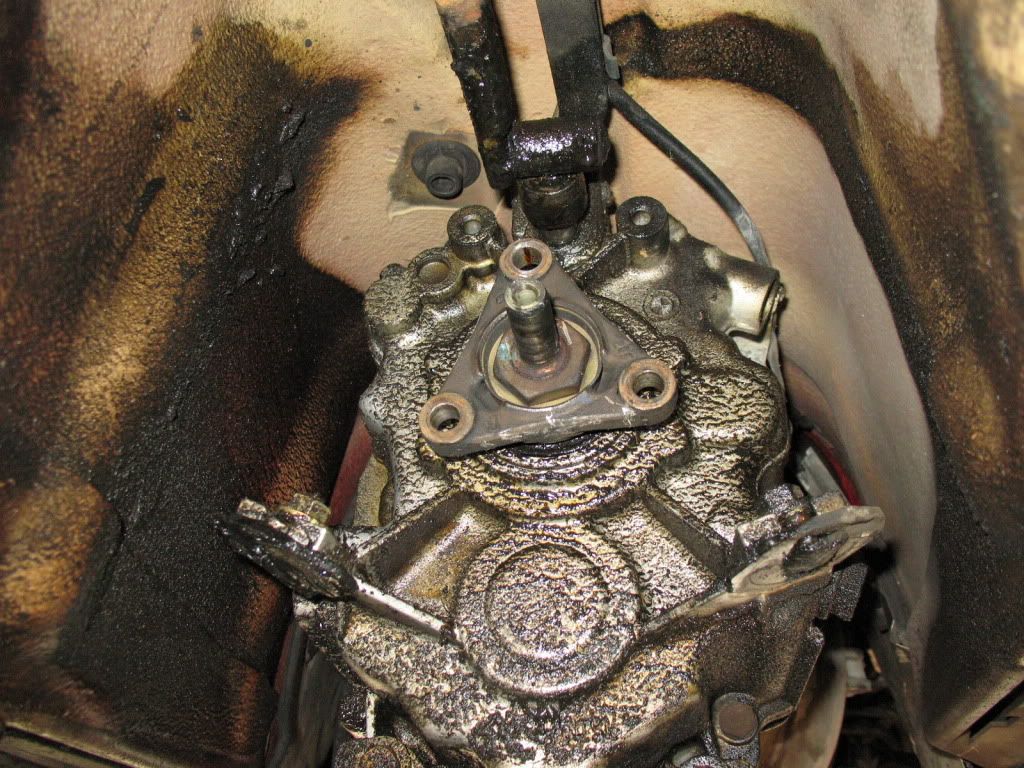
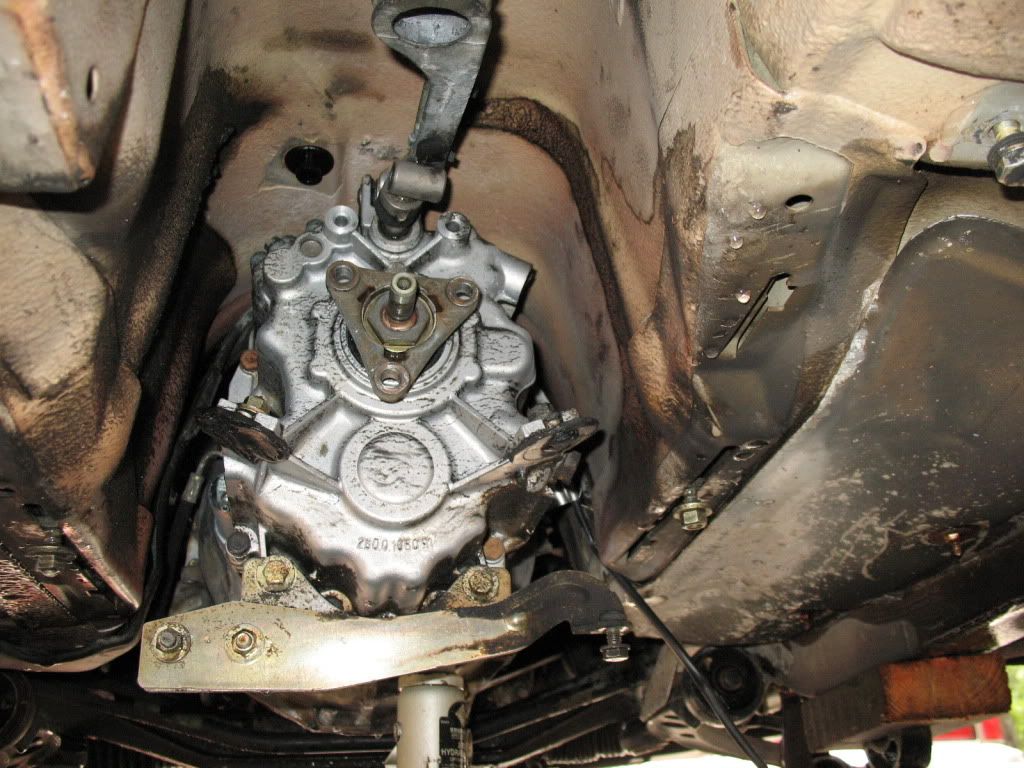
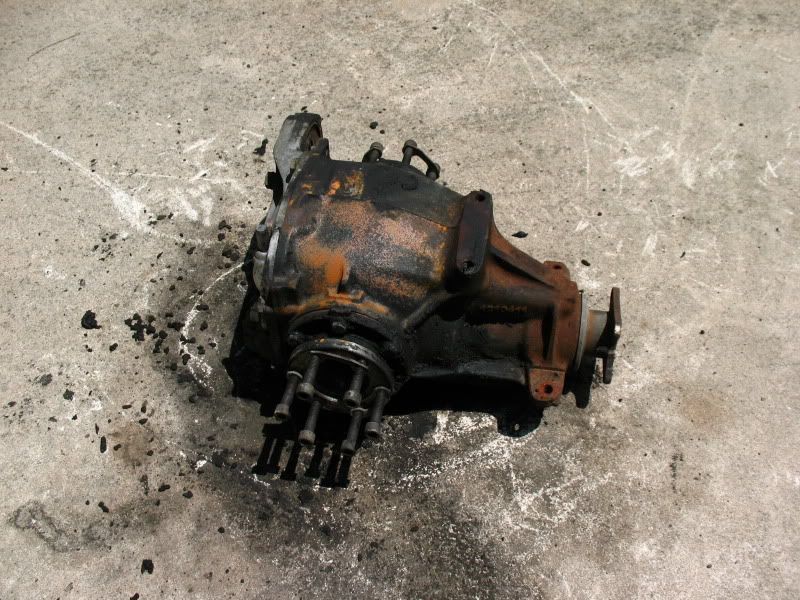
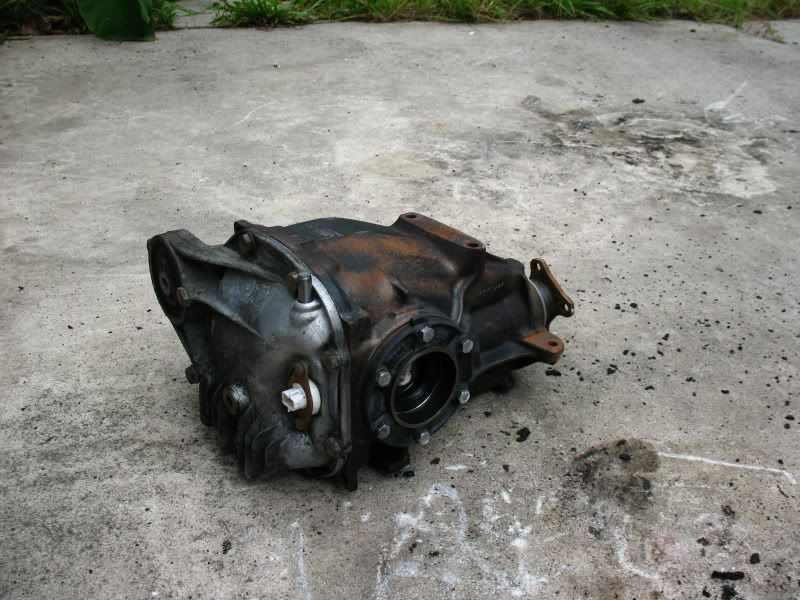
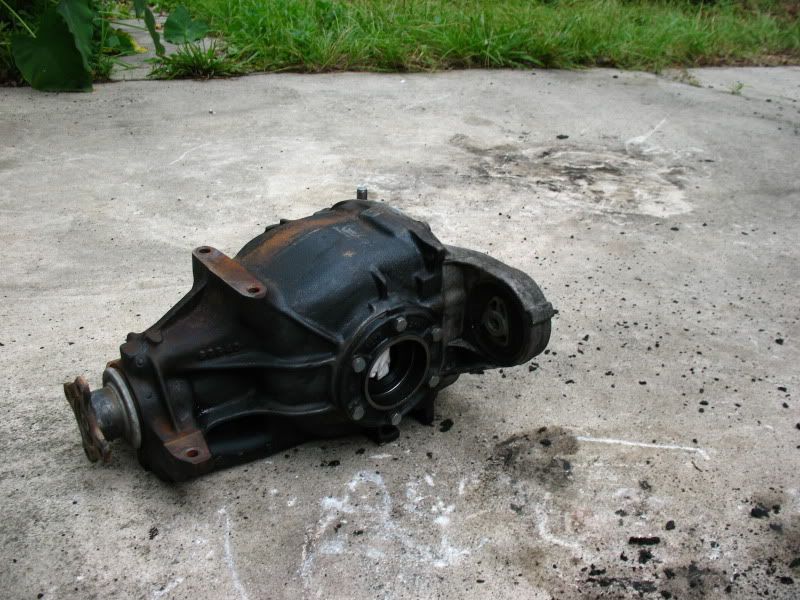
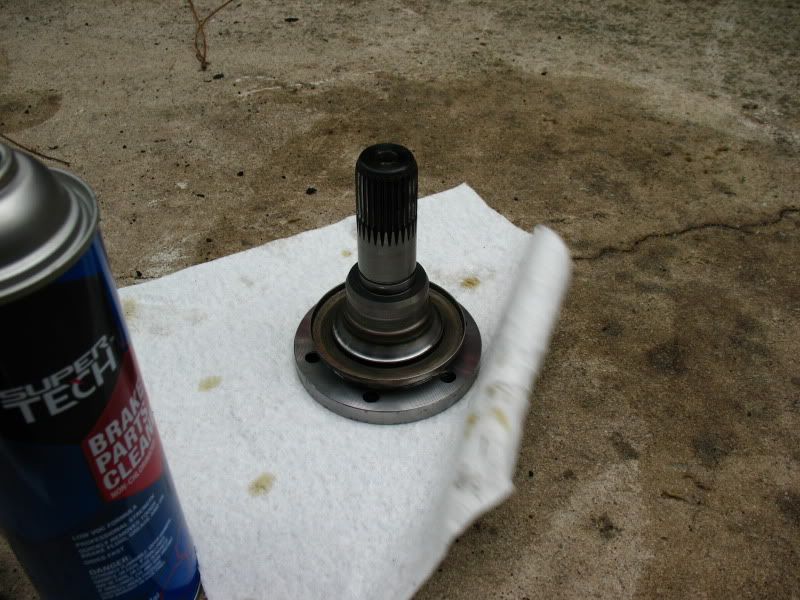
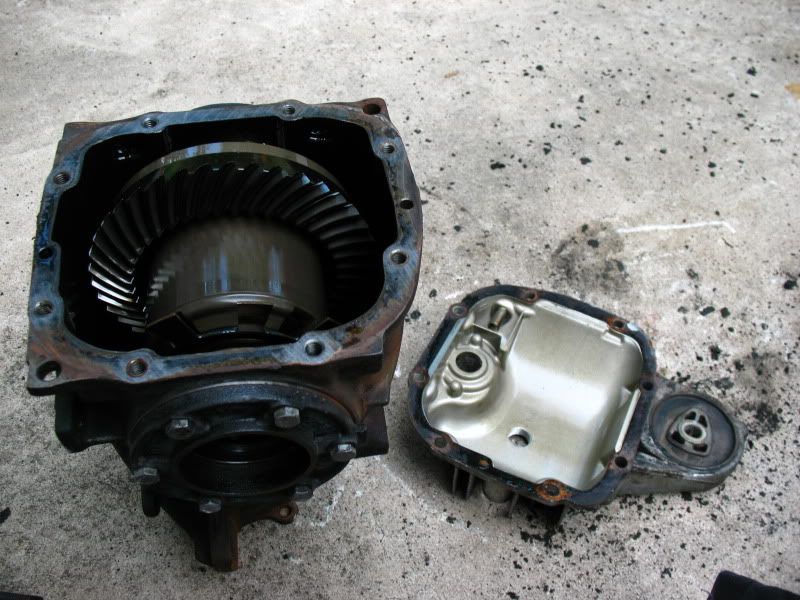
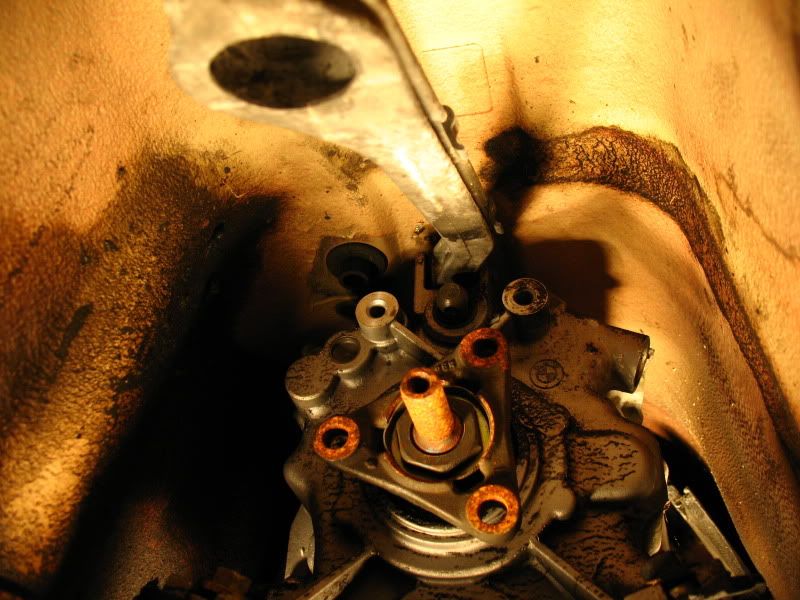
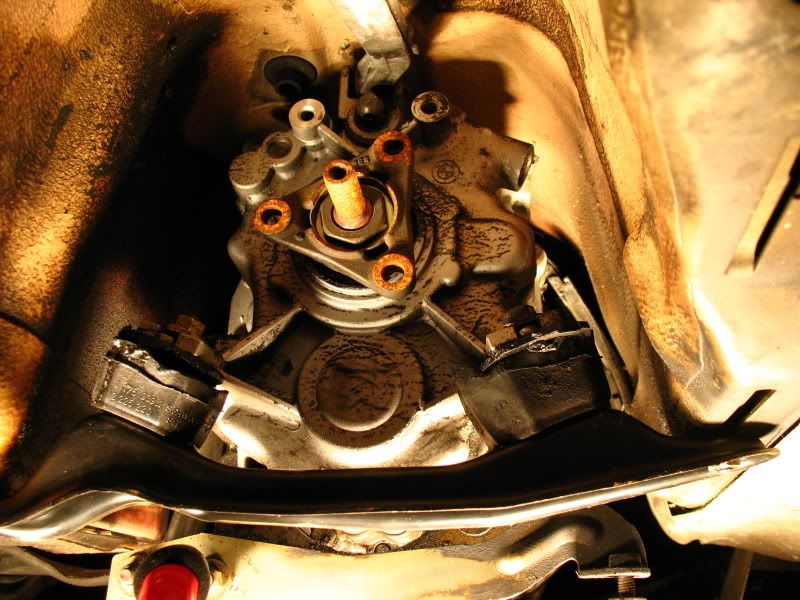
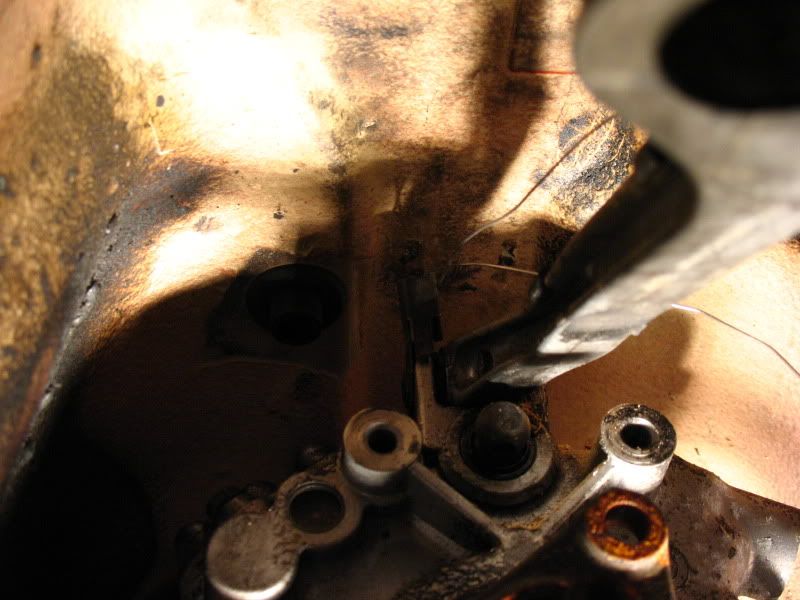
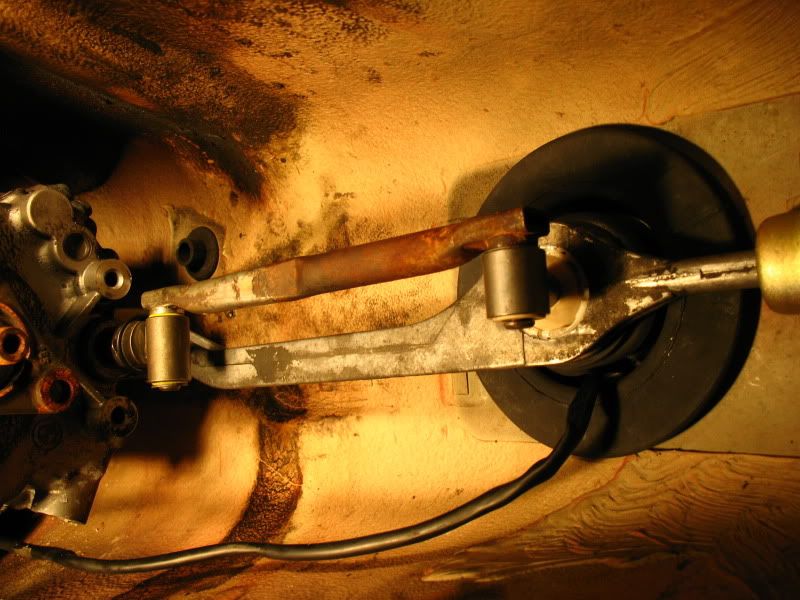
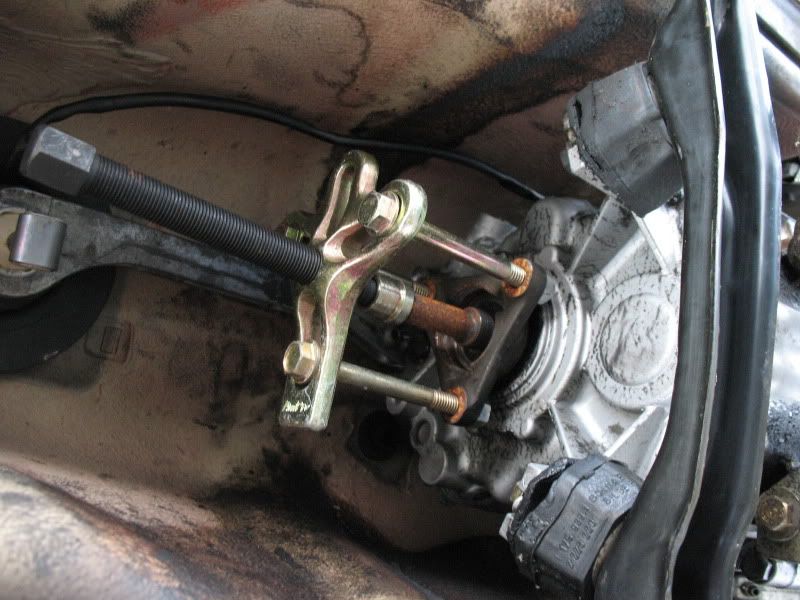
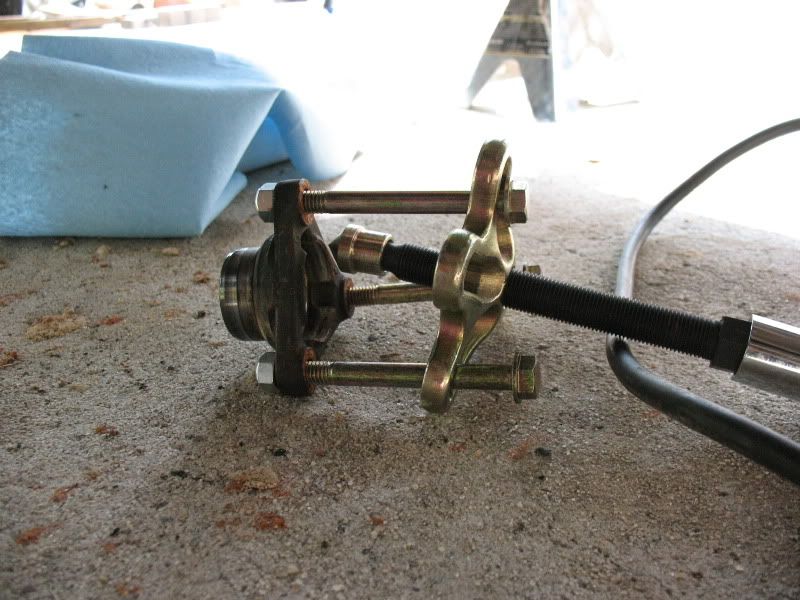
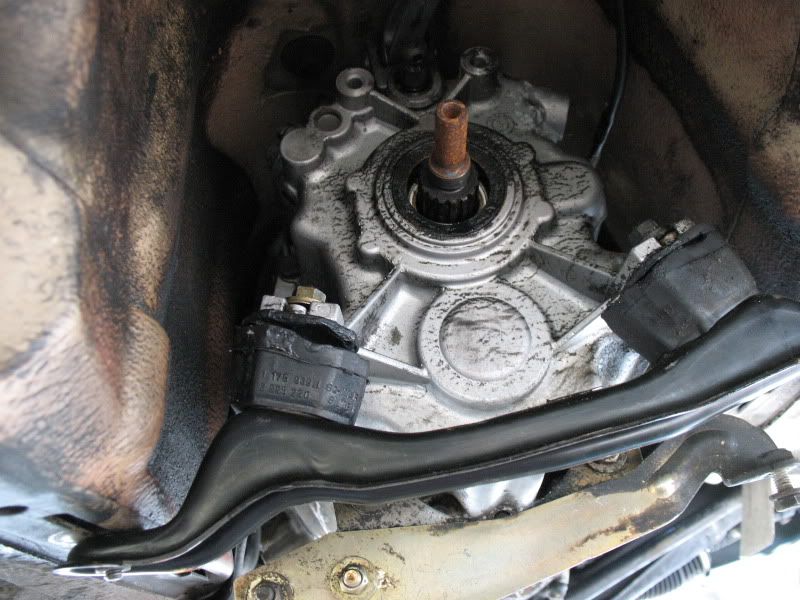
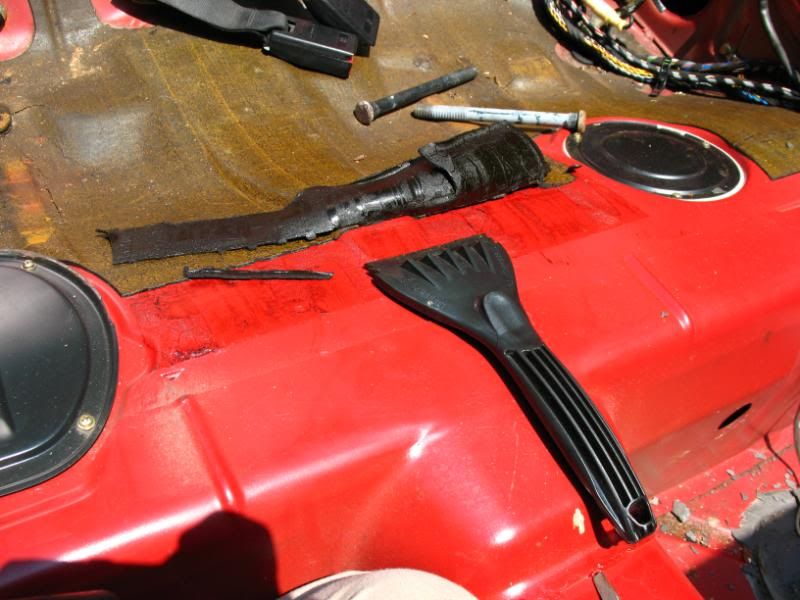
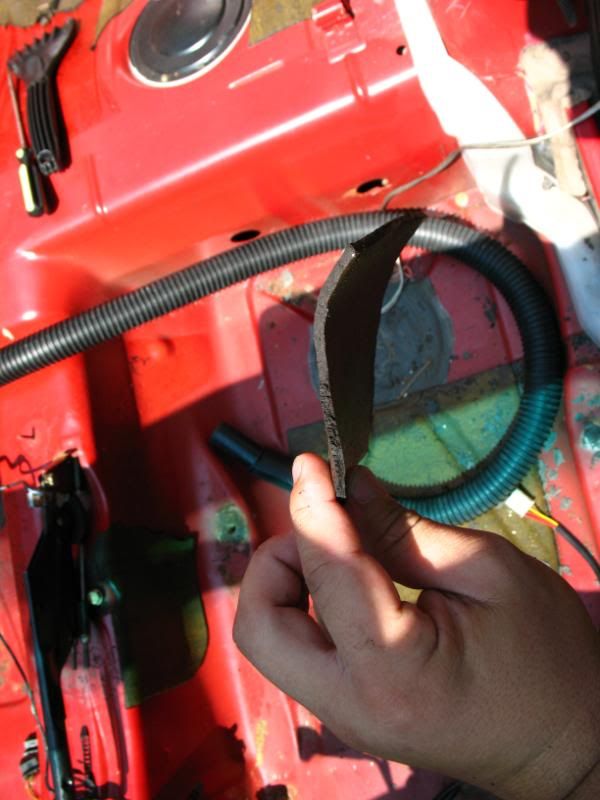
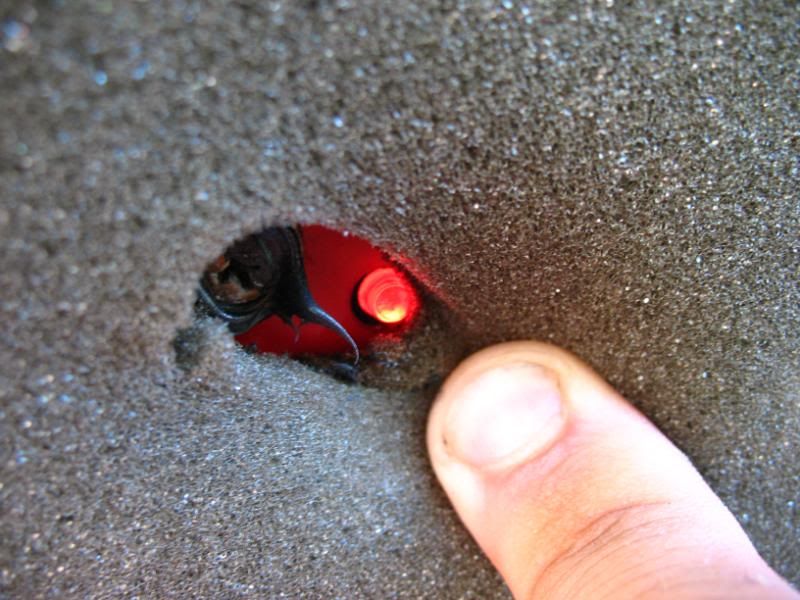
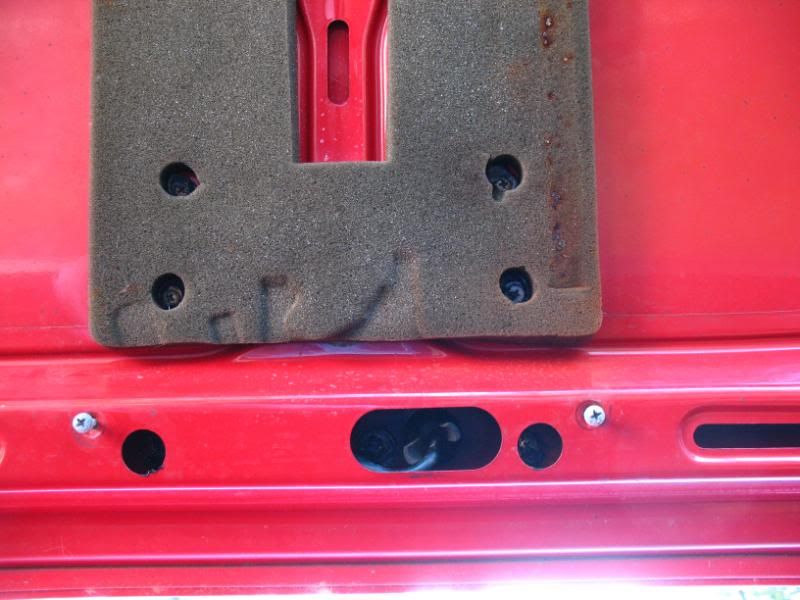
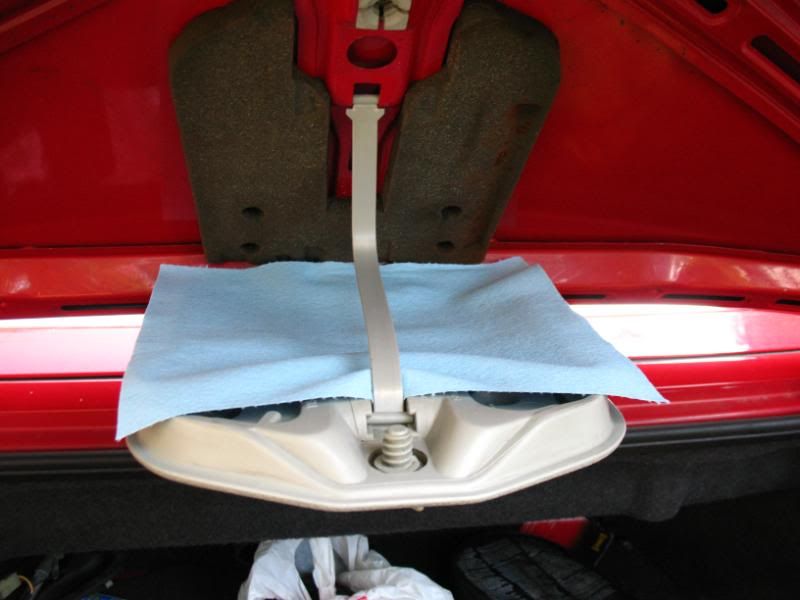
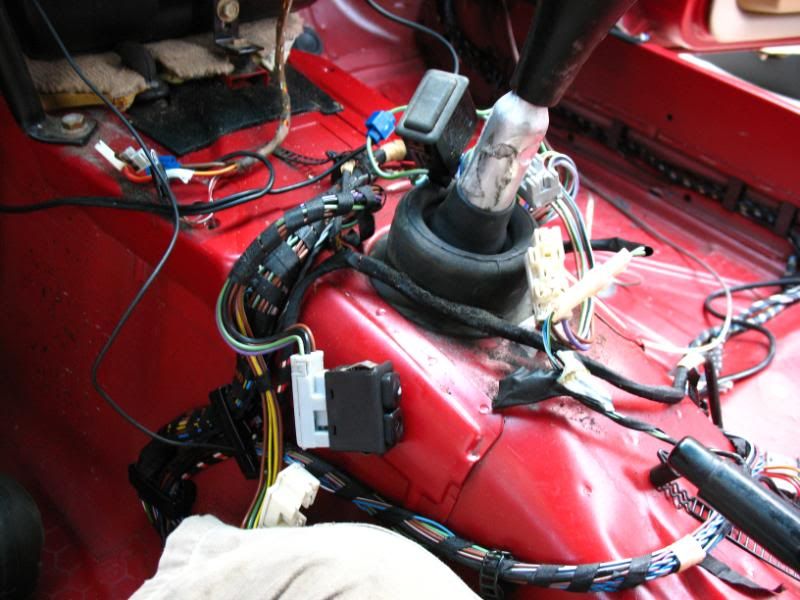
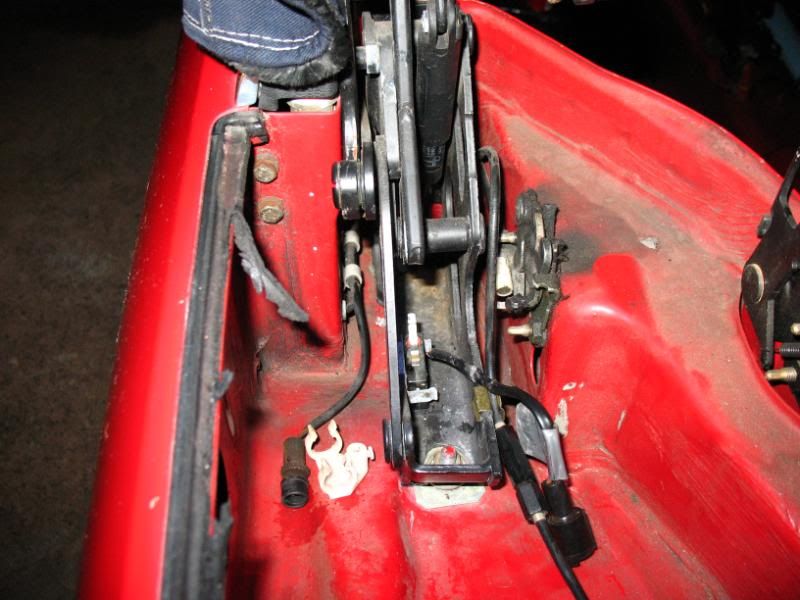
    Both the selector shaft seal and output shaft seal leaking, caused both transmission mounts to split in two


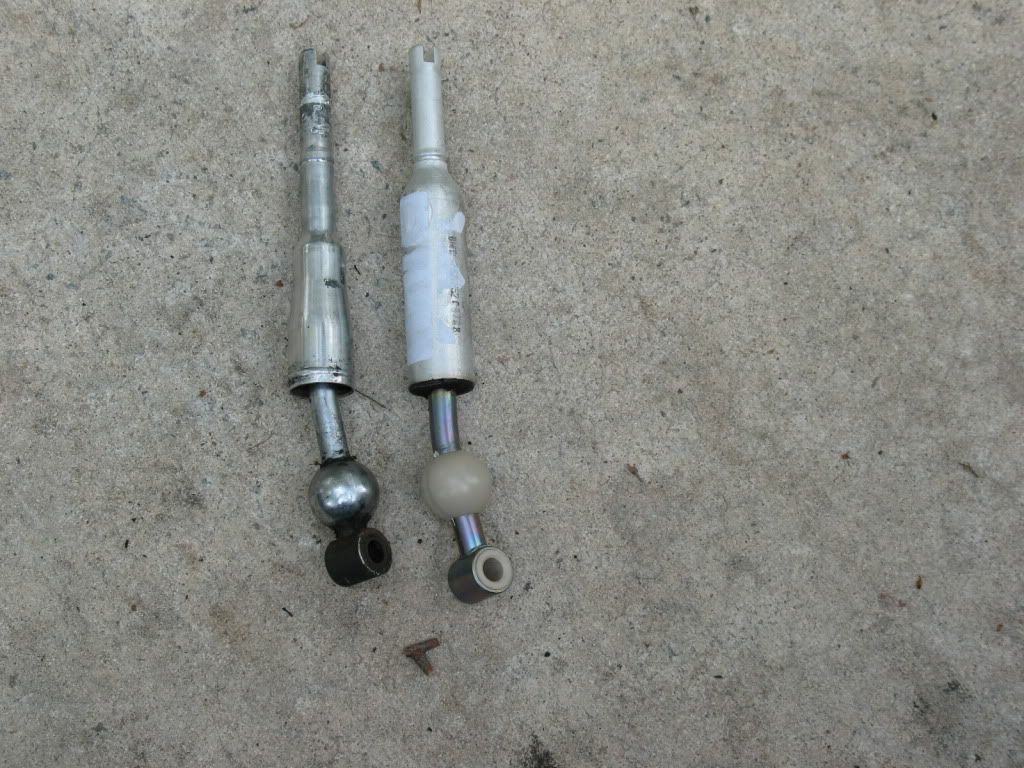
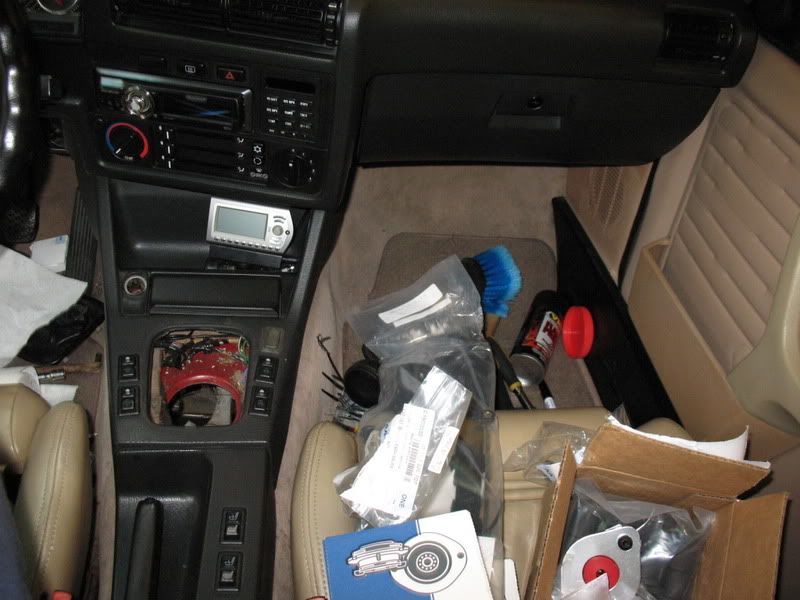
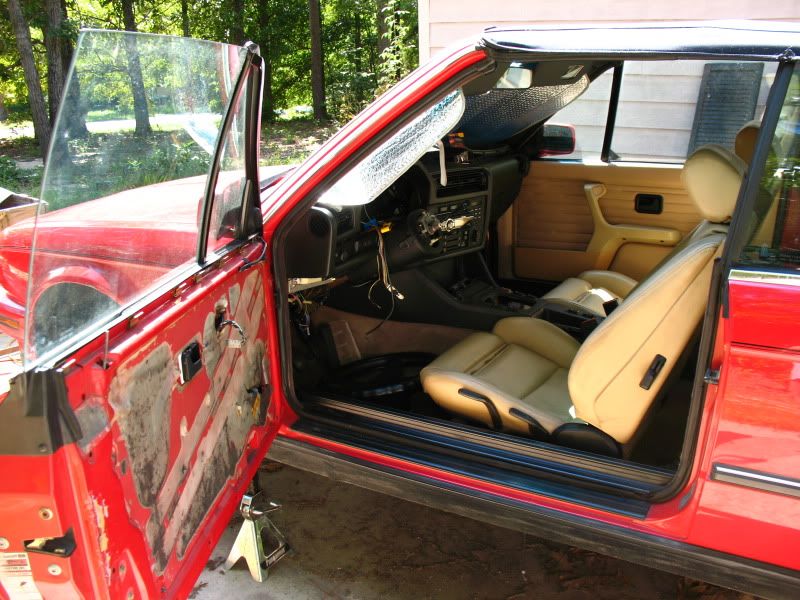
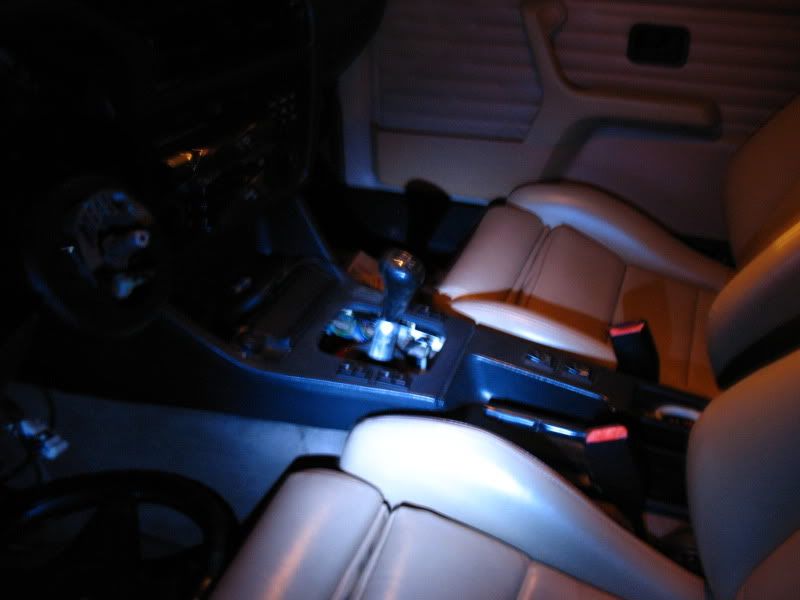
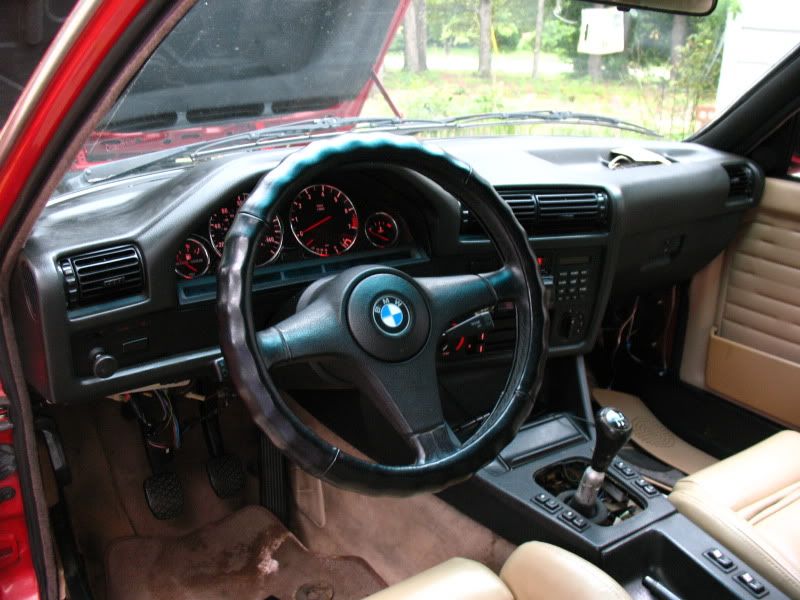
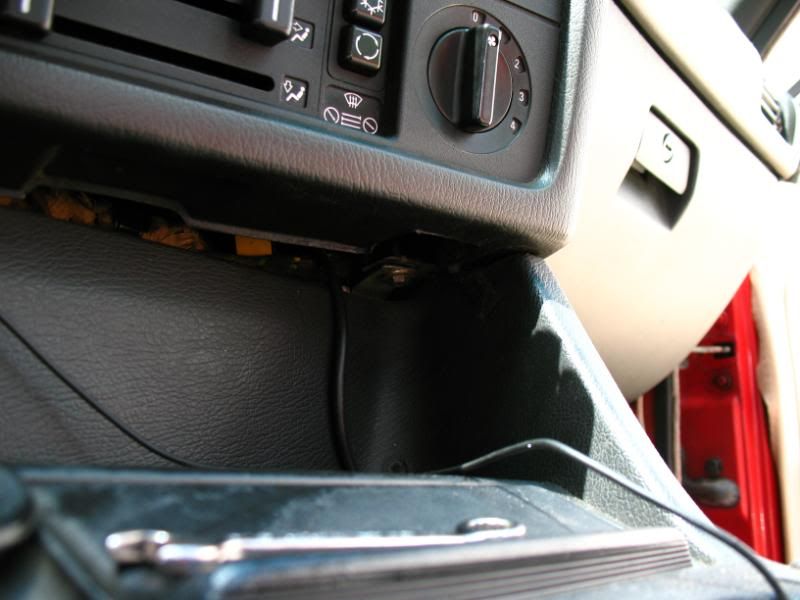
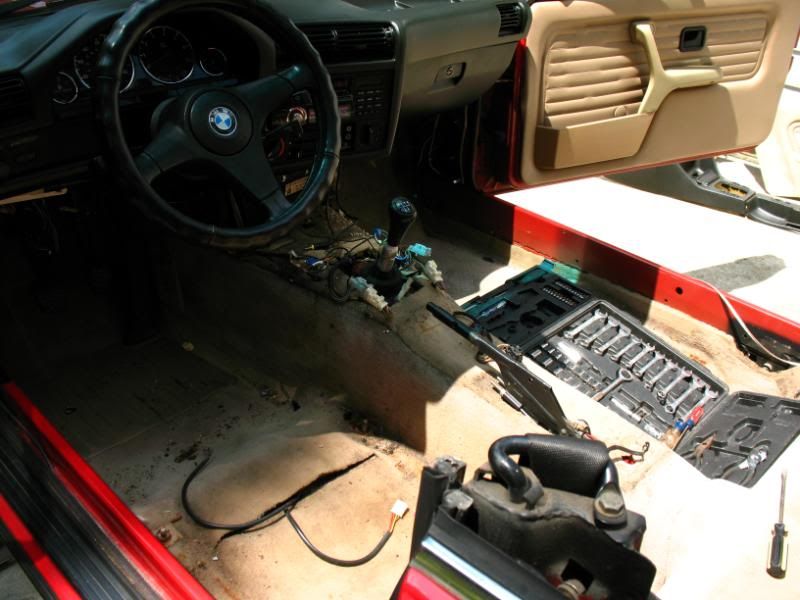
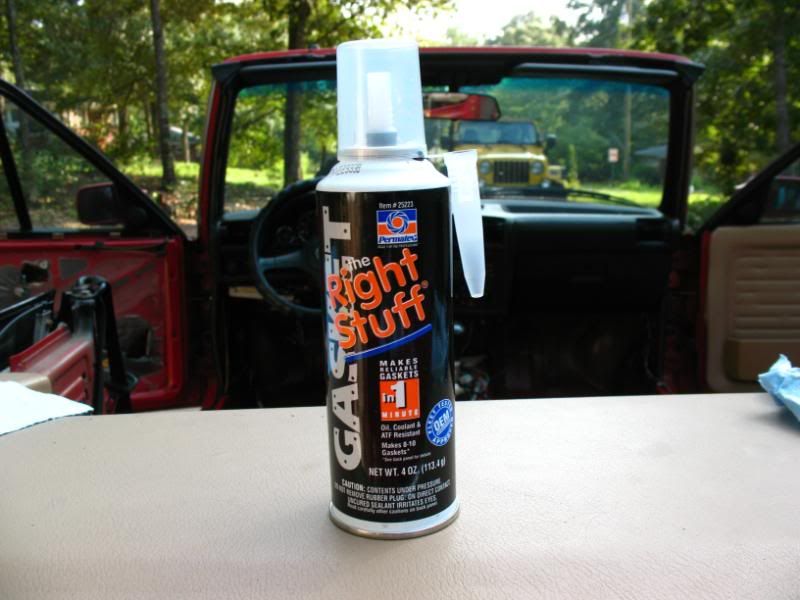
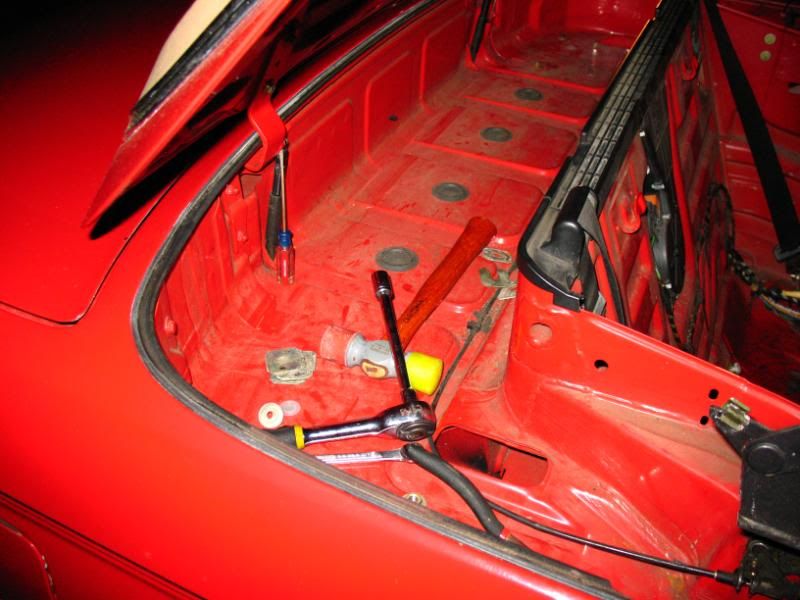
    Out of my mind, I ordered a Z3 1.9 shifter and all needed parts to rebuild the shift linkage - from the dealer. That was before I knew I could get the stuff for 1/3 the price online. I know better now.

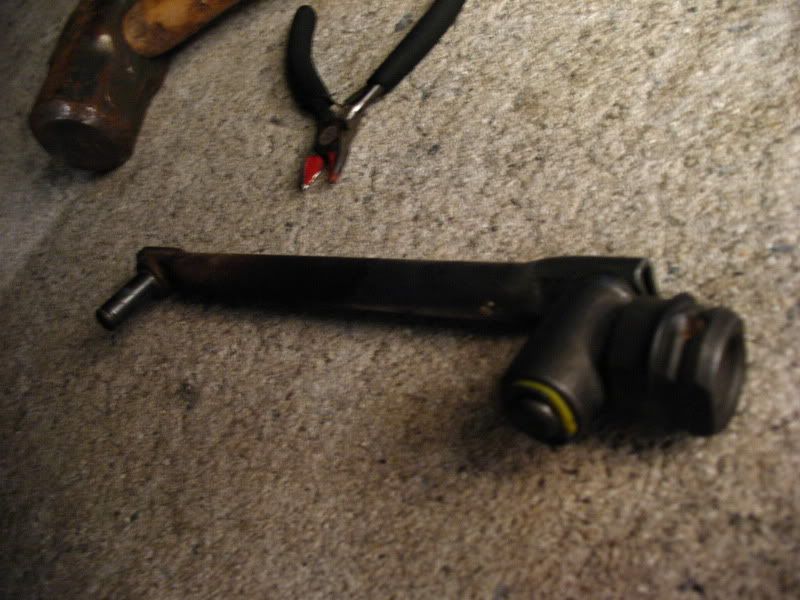
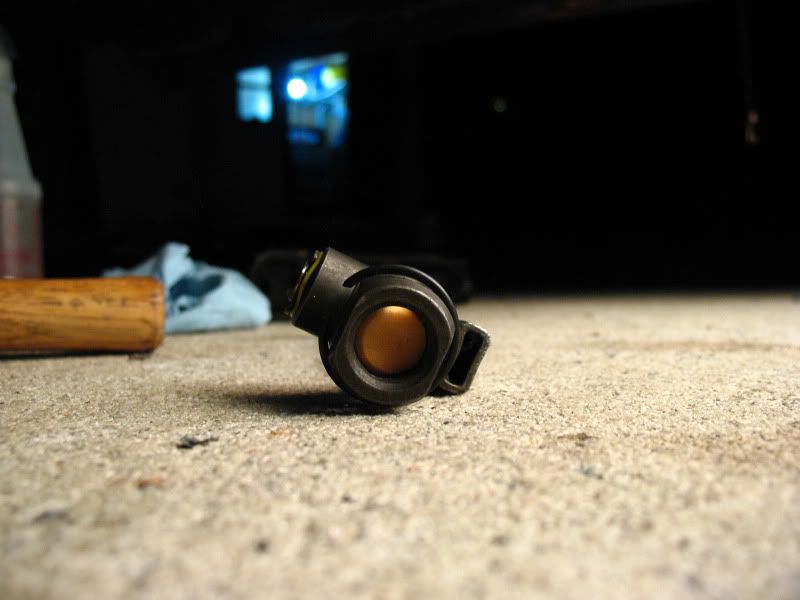
    Z3 1.9 vs stock shifter
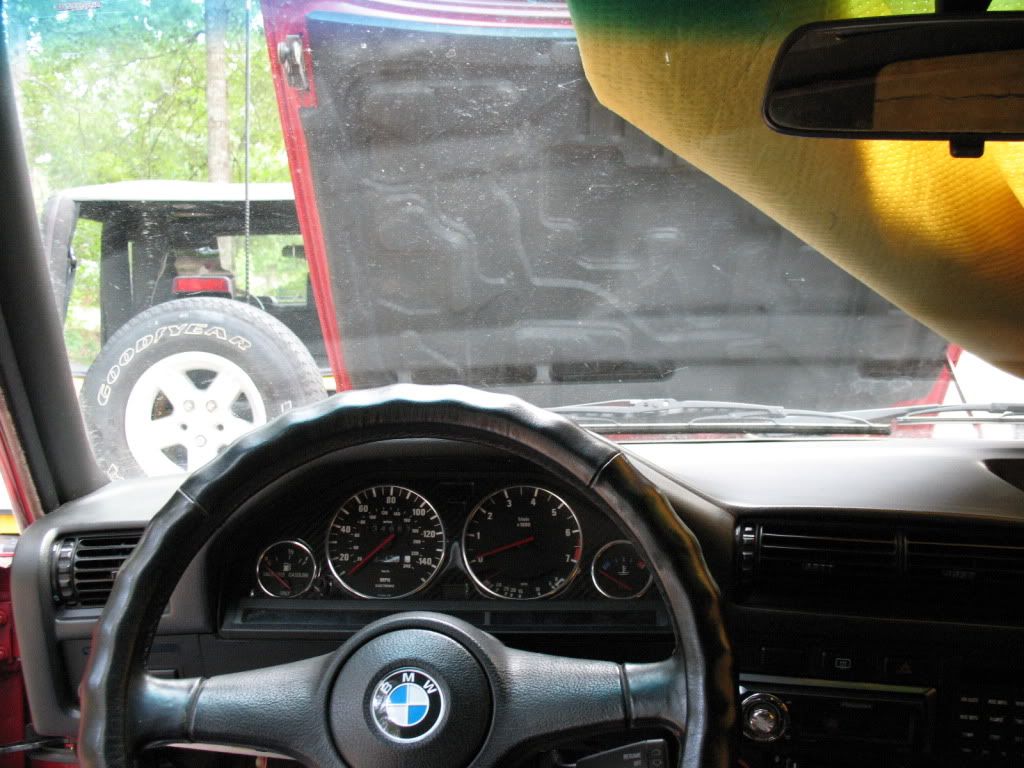


    ~Rick | 1990 325iC ~Noelle - Her build/cleanup thread http://r3vlimited.com/board/showthread.php?t=179507

    #2
    AsI was searching, reading and learning more it became known that I would be dropping the rear subframe, and all the fun that included. Because of that I felt discouraged and the car sat for a few months until late Augest '09:


    But, I didn't fully understand the lag bolt thing, so instead I kept going, breaking one of the bushings off in the car.


    kustom bent 1/2" x 3' rod, 4lbs sledge, the lagbolt


    Vert's are different as the subframe bolts are not under the seat.


    Deep in the back....


    But it needs to be hit thru here, which is not a straight shot (hence the bent rod)


    I also replaced the cap and rotor, which were original and well worn


    ~Rick | 1990 325iC ~Noelle - Her build/cleanup thread http://r3vlimited.com/board/showthread.php?t=179507

    Comment


      #3
      So.... fast forward to last month...

      She's been on jackstands for over a year now. For a long time under a cover, tarp and with stuff piled around her. Several things got in the way and then "out of sight, out of mind" kicked in. Finally having enough, I made getting her back on the road the priority again.

      Before I started working on the car again, I told myself I need to organize all my tools and clean out the shed. The shed also needed work, it was a 5x7' eyesore with a "porch" (used to be a playhouse for kids) I made it into a 7x7' small workshop. Leaking roof has a tarp for now. It's still an eye sore, but atleast it is a useful eyesore. Once the car is done, the shed will be completed.

      I moved all my tool boxes into the shed and organized all my tools, along with cleaned and organized everything else that went into the shed. Then I built a basic work bench, I'll get a vice, grinder etc... within time. Where the 3 2x4's are, is where the front wall used to be. I moved it to the edge of the "foundation" and then extended the walls. Not pretty right now, but much more useful.


      The car has pretty much been sitting since I last worked on it, in the fall. I dropped the rear subframe, slide it aside the car..... and left it. A later point in time I removed the subframe from the trailing arms and burned out the old rubber bushings, but that was it. The rest of the rear suspension sat outside, under a set of spare Jeep soft doors for the last 10 months. The whole area is a mess from last fall's leaves and just junk from being stagnant.


      The night before I went into the car itself and cleaned out all the trash and junk that was just sitting in there.


      M20B25, for this project she is pretty much staying as is. Already has new cap and rotor (I could see/hear a difference just on the jackstands, old were original and worn) and still need to put the new set of spark plug wires on. Other then that it is staying for now. Waterpump super kit (including timing belt) is in the near future, but not until shes driving again.


      Started to clean the junk up from around the car.... the Snapper and Cub Cadet are also projects, but like the other projects, are on hold til the car is done. I still need to find a place for them to wait.


      My house only had 2 exterior power outlets and both were part of other 15-amp service within the house. Running my air compressor kept popping breakers and it was inconvient to work on the car without power nearby. One recent weekend my stepfather taught me some things about home AC power (of which I had no experience with) and we installed two, dedicated 20-amp lines for car stuff. Like I said, last fall's leaves, it's a mess.


      Under the car was worse


      I also hooked up the battery and decided to let the engine run a bit. Loud, as there is no exhaust after the manifolds, but I wanted to keep the battery charged.

      Step 1:


      Much improved:


      But, I like clean working conditions, so I went further...


      While it was out, I also decided to wash the car, first time shes been washed in over a year...

      ~Rick | 1990 325iC ~Noelle - Her build/cleanup thread http://r3vlimited.com/board/showthread.php?t=179507

      Comment


        #4
        The blue top is from the '92 318iC I had for a bit. I switched the entire top/frame. The black top was in better shape, as the blue top rear window stitching is bad, and the blue top in general is worn, but this top frame is a much better fit on the car and feels tighter/less worn. It is fine for now, but a new top is in the future... again, priority is to get her driving again.


        She still shines up good, this was just a basic wash. With the exception of the passenger fender, the paint is original, non-clearcoat too. Thats the main reason why I don't want to repaint the car, hard to beat a factory paint job. She has so many little dents and dings tho, I've thought about just getting the passenger fender repainted (which has peeling clear coat) and as many of the dings fixed by paintless dent repair, but we'll see.


        On to working on the car now...

        First up was to remove the CV axles from the trailing arms


        This made the job quick and easy


        Which did this


        Then to remove the axles from the diff


        Axles are in good condition, but the boots are torn. Both axles will be getting all new boots and regreased. One of the rear wheel bearings in the trailing arms is making noise, so both will be getting replaced.


        3.73 Limited slip. The limited slip still works well, so a full rebuild is going to wait. I am going to remove the cover, inspect the gears, then both axle seals are getting replaced and maybe the driveshaft seal. As with all the other little odds and ends, it's going to be cleaned and painted before it goes back on the car.


        Next up was to remove the old rubber trailing arm bushings. I already have new poly trailing arm (and subframe) bushings... had them about a year now...

        Made a tool


        BAM!


        Little pile of junk collection. Brake lines are old and all 6 flexible sections are getting replaced with coated stainless steel braided lines. The pads/rotors are actually good, so they will stay for now but I am going to rebuild all 4 calipers along with a new parking brake cable and new parking brake shoes/hardware.


        I'm glad to be working on the car again. I felt overwhelmed because there was so much to do on it, but once I cleaned everything up, organized the stuff, made a list of what I still need and just started doing one thing at a time, even if it is small - now the project dosen't seem so bad and I'm eager to finish it.
        ~Rick | 1990 325iC ~Noelle - Her build/cleanup thread http://r3vlimited.com/board/showthread.php?t=179507

        Comment


          #5
          The diff is still waiting for a new cover gasket and two outter shaft seals. After install of the shifter linkage I removed it as a whole to be able to replace the leaking selector shaft seal and output shaft seal on the transmission, then the shifter linkage can be installed for good.

          To start with, my new keychain came in the mail the other day. I plan to get a real BMW key at some point too.


          The diff was a complete mess after 20 years of gunk buildup. I think the vent was clogged, which may have had something to do with the excessive leaks from the output seals. I first sprayed degreaser on it and used the pressure washer to blast whatever I could from it.


          But that wasn't enough, I used a screw driver to scrape all the crud off followed by several steel wire brushes to get all the crud and surface rust gone. I also removed the innter axle shafts. I removed what seemed like 5lbs of old gunked up grease from this thing. The old grease was so thick that it imbeded into the driveway, when I was all done I ran the pressure washer to clean the driveway up and some areas refuse to come clean.


          Then I removed the diff cover. It appears to be the first time it was ever removed. I like the drain and fill plugs on the cover, the Jeep only has fill plugs and the covered needs to be removed to drain the oil. I wanted to inspect the inside of the diff too, I was very surprised by how clean it was, there was no grime or anything on the inside of the cover, or much anywhere inside the diff. This was taken right after the cover came off.

          ~Rick | 1990 325iC ~Noelle - Her build/cleanup thread http://r3vlimited.com/board/showthread.php?t=179507

          Comment


            #6
            Once all cleaned up it received some high-temp paint in the hi-tek paint lab


            All the parts


            temp installed until the seals arrive.


            The way I had it positioned, I wasn't able to get the very bottom of it. I'm sure it'll get some scrapes once attached to the subframe and getting put back in the car, so once it's in, it'll get a final touchup and those spots will be included.


            Then it was time to move on to the shifter linkage. The upper small shaft is the selector shaft, that seal will be getting replaced. I need to get a special thin walled 30mm deepwell socket to remove the flange on the output shaft, then I'll be able to change the output shaft seal. Both of these seals were leaking, which caused transmission oil to shoot all over the back of the transmission, I already cleaned alot of it up in the past, but it is still a mess.


            The leaks caused both transmission mounts to split right in half. The transmission cross member is in just to support the trans, but both mounts will obviously be replaced.


            I then unbolted the crossmember and lowered the transmission to gain more room to remove bitch clip.


            Here is the rebuilt linkage. Every part that could wear, was trashed. On the right side of the picture, the "T" connector, on each side of that are a rubber o-ring and a yellow plastic washer - which simply put, were no longer there after 20 years.


            On the inside of the T connector is a foam/rubber spacer. It too no longest exists after 20 years


            I then installed the linkage to try out my new Z3 1.9 shifter. With the exception of the circlip on the shifter end, and the locking ring slid over the dowel pin on the transmission end, this is all the way installed. The carrier sits on a rubber bushing at the front (on the bitch clip) as well as a rubber bushing at the rear (the housing is the goldish thing at the very right). All of these parts were either totally worn, or simply missing before, which is why the shifter was so sloppy and would just flop around in a big circle when in gear. I also think that the trashed shifter linkage and split transmission mounts was causing the grinding when downshifting into 2nd, when the car is driving again I'll get to find out if it was the synchros being worn or not.


            The end result was throwing on the broken factory shift knob:


            and making my own enigne sounds. It feels -very- nice. The throws are considerably shorter then stock - it actually feels like a performance car and less like the Jeep. It is very tight with little/no play at all when in gear. The old rubber dust boot, which provides the centering action was ripped in a few places, the new one keeps the shifter centered nice. I can't wait to drive the car with the short shifter and rebuilt linkage.
            ~Rick | 1990 325iC ~Noelle - Her build/cleanup thread http://r3vlimited.com/board/showthread.php?t=179507

            Comment


              #7
              I got a bit done today, the great thing about having everything cleaned up and organized like it is, is that I can start and stop pretty easy and only work on the car for a short time if needed. I was going to keep going, but some fast moving thunderstorms got me to put everything away before the downpour.

              There is a flange held onto the output shaft of the transmission, the proper tool to remove it is a 30mm thinwall deepwell socket. It is not carried, well pretty much anywhere, except the e30/BMW parts stores online. The price? $45 - for something I am going to use once/e30.

              I was ready to shell out the cash but decided to search the forums a bit more first - turns out Advance Auto has a "oil pressure sending unit socket" - 1-3/16" which is 30.16mm, it is thinwall, in stock and - $12 WOOHOO


              This lockring gets removed


              BAM! The electric impact made removing that nut cake.


              Then the flange can be pulled off, so I pulled out the harmonic balancer puller, had to go to the store to get nuts that fit.


              Both the output shaft seal and selector shaft seal are ready to be popped out, they will be getting replaced next week when the new ones arrive. When the flange is on the shaft, BMW specs to apply thread locker to the outside edges of the splines (not the threads) as oil can weep out along the splines, the threadlocker seals it. It's easy to see where the oil was getting slung all over from the leaking seals. I am going to check the vent and make sure it's not clogged, which would cause the seals to leak.


              Then I decided to put some of the interior back together, was going to throw the drivers door panel on (replaced the broken check strap) but the storm was moving in fast.

              When I bought this car, I watched (iirc 23 miles) the last turn as it stopped. Between that time and when I refreshed the cluster (including replacing the odo gears) I guestimate I put 5,000miles on the car (trips to FL etc...) and I want to figure actual miles, for my own reference. Once the odo was fixed, I put another 5k on it, which brought it to 135k. When I had the white BMW (which already had broken odometer gears) I swapped the cluster and put that "guessed" 5k miles on it, and removed it just before 140k, so as far as I am concerned, the 140k displayed is actual miles.


              This morning I ordered $185 worth of parts from 2 companies that should be here later next week, seals for the diff and trans, CV boot kits and misc other things that should keep me held over until next payday when I'll have more disposable money to spend on the car.
              ~Rick | 1990 325iC ~Noelle - Her build/cleanup thread http://r3vlimited.com/board/showthread.php?t=179507

              Comment


                #8
                So you named your car Noelle, huh?

                My daughters name is Noelani, generally shortened to Noel.

                She, too, is 21:

                Closing SOON!
                "LAST CHANCE FOR G.A.S." DEAL IS ON NOW

                Luke AT germanaudiospecialties DOT com or text 425-761-6450, or for quickest answers, call me at the shop 360-669-0398

                Thanks for 10 years of fun!

                Comment


                  #9
                  Sweet vert, I love the build. I will be keeping my eye out on this one.
                  Your signature picture has been removed since it contained the Photobucket "upgrade your account" image.

                  Originally posted by Wh33lhop
                  VANOS: sometimes you just need to go full retard.

                  Comment


                    #10
                    Originally posted by trackjunkie21 View Post
                    Sweet vert, I love the build. I will be keeping my eye out on this one.
                    Thanks! You are from my home state :) (Mid-Hudson Valley). That pic in your sig is actually the first time I've seen the new plate design on a car.... retro? Yeah.... but IMO sometimes retro isn't good. I prefer the blue/white with picture of the city/valley/falls.

                    As for the name on a female, every girl I've met with some form of the name (several so far) have been both unique and attractive, appears true in this case too :).
                    Last edited by Night Wolf; 08-07-2010, 06:37 AM.
                    ~Rick | 1990 325iC ~Noelle - Her build/cleanup thread http://r3vlimited.com/board/showthread.php?t=179507

                    Comment


                      #11
                      I had Sunday off and devoted it to working on the car - another 12 hours logged in. I was unsure what I was going to get done, For the most part, I am on hold with the current mechanical projects until my parts arrive Thursday plus the thought of not getting greasy was appealing.

                      The factory bumper mounted fog lights look like they belong on the Jeep, not BMW, I like them and they work well, but draw a little too much attention to themselves in a not so good way.


                      VHT Nite Shades took care of that (same thing I used on the BMW and Jeep front turn signal lenses)


                      I went a bit heavy with it and it is darker then I'd like, but they are still bright at night.


                      I previously painted the grilles and headlight rings black, although new grilles are on the way, couldn't pass up on the price ($15 ea x 3)
                      The interior is dirty and there are alot of little odds and ends that I want to do within the car, so the best idea was to remove everything.
                      First the front seats. The car originally had leather seats, but all front and rear seats were already recovered in vinyl before I bought it - actually a darn good job I think. I much prefer the vinyl too as leather is picky about maintenace, not as durable and gets effected by the sun much greater (the seats are exposed alot)

                      A while back I bought a pair of Sport seats from a convertible in tan leather and have them in the house, they are in good condition and was unsure what to do with them. There are alot of unique parts on these things, so they'll be spares. I am going to clean up and lube the seats, replace a few broken parts fromt he other set, paint the frames and finally, install heat pads. My car had heated seats from the factory - the switches and wiring is there, but the seats do not have the heat pads. Either they were removed when getting recovered or a different set of seats were installed. Either way I am going to buy an aftermarket kit and wire them into the factory wiring. The switches are 3-way off/low/high and light up when on. It'll be really nice for top down driving during the cooler months.


                      When I bought this car, I wanted a tan interior, not black. I was thinking about changing to black but decided to keep the tan, I prefer it, plus it'll stay that much cooler with the top down. Either way, the carpet was pretty nasty


                      Then the upper part of the rear seat came out


                      an 8mm nut is hiding


                      then the consol


                      Moar nastiness


                      There are two ways to remove e30 carpet - remove the HVAC unit under the dash, or make several short cuts hidden by the consol. Out came the aviation tin snips.


                      This thing was pretty nasty


                      I shook out the carpet on the ground, but there was still 20 years worth of junk within the car. I brought out my shop vac - which hasn't worked for a year. I went to turn it on one time and the power button fell inside, of course it was already off. With no easy way to open it up I decided to plug it in, get a screw driver and pry off the power swtich then randomly jab inside, after several times it turned on! It is now turned off by unplugging it, works for me!.

                      ~Rick | 1990 325iC ~Noelle - Her build/cleanup thread http://r3vlimited.com/board/showthread.php?t=179507

                      Comment


                        #12
                        I've heard about people pressure washing carpet, but never actually tried it - so I fired up the Honda:


                        yes, those are the front steps to my house that I removed to repair just before I started working on the car again.... I'm determined to get the car back on the road and the house has 2 entry doors!

                        I must say, I was impressed.


                        Not sure where the green came from, oh well


                        Now to let it dry outside for about 3 days.

                        BMW used this tar stuff as sound proofing, well due to various water leaks over the years the stuff on the floor boards just crumbled I decided to just remove it all as I doubt it does much for sound (it's a convertible...) it gets more nasty as time goes on and think of the weight reduction! Really tho, there was probably 30lbs of this crap in the car.

                        When I bought this car, there was a plastic ice scraper in the trunk. I never had a use for it until now, paired with a flathead screwdriver...


                        The sun was beating right down on it and it was about 100*F today, it was coming up in sections pretty nice actually. Note to GM: Learn something from BMW. The black elongated panel is fuel tank access to replace the fuel pump. The round one is fuel tank access to replace the level gauge. Changing the fuel pump from within the car and not dropping the gas tank - imagine that.


                        stuff was pretty thick


                        All clean!


                        My trunk had a leak and one of the areas was from the 3rd brake light on trunk lid as the tool kit was rusty. I could swap the trunk lid for one from a coupe but I don't mind the lower profile light, plus the trunk, along with all other body panels are original to the car and with all the Bubba's in their pickup trucks around here, a higher brake light is probably a good thing

                        So I decided to give it some TLC. The cover is held on by 6 screws


                        The old gasket shrunk over time, and BMW only sells the whole assembly, not just the gasket. I cleaned all the grime off the trunklid and waxed the area under/around the light with some ColorX - car could use a good waxing, it's been about a year and a half. Then I used a strip of rubber to make my own new gasket. The light worked, but the bulb was original, so I put a new one in.


                        I loosely installed the screws which allowed me to position the gasket how I wanted, then tightened it down.

                        Because the car is rather high on the jackstands, it can be difficult to reach some areas, this comes in quite handy as a step stool.

                        ~Rick | 1990 325iC ~Noelle - Her build/cleanup thread http://r3vlimited.com/board/showthread.php?t=179507

                        Comment


                          #13
                          I keep a few of these laying around. They are cheap and you never know when some thin aluminum will come in handy. I made a heat sheild on the Jeep (to fit between the cat and trans) out of two of these with exhaust wrap sandwhiched in between.


                          Then I used a razor to trim the edges off around the curves.

                          Finished:


                          I've heard that "The Right Stuff" is about the best sealant/gasket maker you can get. $16 for 4oz and it should be.


                          So I put it around all 7 screws, and the two plastic alignment pins hidden by the foam to seal the trunk.


                          Dollar General carries "Awesome", it is about the best cleaner/degreaser I've used. It has so many uses too, and a spray bottle of it is only $1. I keep a big container and 2 spray bottles on hand, one straight for heavy grease, the other about a 50/50 mix with water for lighter stuff (such as this)


                          Before (the rust under the tool was thick)


                          Then I cleaned the outside of it


                          Now to test!


                          I poured it in all directions around the light

                          ~Rick | 1990 325iC ~Noelle - Her build/cleanup thread http://r3vlimited.com/board/showthread.php?t=179507

                          Comment


                            #14
                            As soon as I opened the trunk I saw water on the carpet... turns out it was coming from the tail light. Both of them are cracked, so I am going to get another pair along with new gaskets for them. This appears to be where the majory of the leak was from


                            But no leak here!


                            Only time (and a long rainstorm) will really tell tho. I am going to order all new tools for the trunk kit.

                            I then decided to clean the rear side panels with awesome. I brought them inside tho and will go over them again either with a tooth brush or magic eraser as the shop towels were not getting in the "grain" very well


                            I swapped the entire top and frame with the 1992 318iC I had for a while. I couldn't get the old frame aligned properly (on this car, fit great on the '92) and this frame was acting up on the '92 but fits great on this car - go figure. I temp installed the top, but decided it was finally time to properly rig the top. I attempted this once before (on the other frame/top when on this car) with bad results. I studied the design a bit more and realize that it is quite a simple top design for what it is and was easy to adjust.
                            So I put the windows switches back in (only 1 in pic) as well as the window lock switch, which is needed to provide power to the switches


                            On each side there are 3 mounting points, the lower two are what control the adjustments, this is just extra support and once set, is shimed to fill in the gap. I have the top moved as far forward as it will go and this gave me a proper fit.


                            Already did the drivers side, I spent HOURS on it, but learned alot. This is the passenger side. Those are the two mounting points and the 1mm shims are used to adjust overall top height as well as tilt forward/back. loosen the nuts and it'll slide forward/aft along with some minor side to side adjustment. It was rather time consuming as I would make a change (one shim at a time) then close the top, latch it down, check the fit, then lather on check the windows.


                            The shocks that hold the lid are shot - on the list, and it would have really helped during this process, that little screwdriver did well tho.


                            Tough to see, but this is the drivers side all bolted down


                            The door windows have adjustments for window tilt as well as how high it'll go. I pulled off the plastic and threw it away. I was able to get the window nice and straight, as well as seal better by raising up a bit more.


                            So then I did the same to the other side


                            and found a surprise


                            I never bothered to check, but the passenger window is stamped PPG while the rest are BMW. The car was broken into at some time, the shop vac cleaned the glass up.

                            The passenger door window never lined up properly, and now I know why. Maybe a difference in glass, but it sticks too far out and there is no adjustment for that. Also, someone did a really crappy job with the slide that mounts to the glass for the regulator as it is crooked and not straight, so when it gets to the very top it pushes the window back, and messes up the alignment. Once I saw that I didn't even bother going further, I am going to try and find a used BMW passenger door window glass from a convertible.

                            The only adjustment for bringing the window in more, is to actually adjust the door in. The passenger door was a tad out from the body (at the quarter panel) so I loosened the latch and moved it in. The door lines up nice, but now is a bit more difficult to close, that movement did very little to help the window gap tho.

                            The top is very picky when being adjusted. I wanted it as far forward as possible so the part that goes against the windsheild lines up, but then the rear quarter panel windows were getting hung up, I was able to adjust that out to ok levels by adding a shim to tilt the top further. With the exception of the passenger door window, the other 3 work and fit very well, and seal very nice. This top needs to be repalced but funds don't (and wont for a while) allow, so it'll do for now. When the car does get a new top tho, all the seals will be replaced.

                            So I brought the front seats inside and put them in the living room. I put some towels onver them to deter the cats from posibly clawing them - they are good cats and only claw at their scratching post/cardboard but I was unsure because I'm sure they are full of all sorts of smells that cats can pick up on.

                            But, it didn't take long before they had other ideas. Heck, I find them to be rather comfortable myself


                            Then daughter wanted to join her mother...


                            That was a couple hours ago, they are still passed out on them.
                            Last edited by Night Wolf; 08-09-2010, 12:36 AM.
                            ~Rick | 1990 325iC ~Noelle - Her build/cleanup thread http://r3vlimited.com/board/showthread.php?t=179507

                            Comment


                              #15
                              Very detailed and thorough work. Thanks for the progress posts.

                              I don't know why we all enjoy reading detailed work of stuff that we have seen and done multiple times. But for some reason we do, so keep them coming.
                              "A good memory for quotes combined with a poor memory for attribution can lead to a false sense of originality."
                              -----------------------------------------
                              91 318is Turbo Sold
                              87 325 Daily driver Sold
                              06 4.8is X5
                              06 Mtec X3
                              05 4.4i X5 Sold
                              92 325ic Sold & Re-purchased
                              90 325i Sold
                              97 328is Sold
                              01 323ci Sold
                              92 325i Sold
                              83 528e Totaled
                              98 328i Sold
                              93 325i Sold

                              Comment

                              Working...
                              X