
start with the little sail panels behind the rear quarter windows. gently pull the entire assembly (including the body-colored metal the trim clips into) straight out, they are very delicate and can bend easily. they may not want to come at first, just slowly increase the pressure and they'll budge. they are held in by 4 or so regular push in style clips and one peg that goes directly into the body at the bottom, so start at the top and work your way down. the bottom will be tricky, just take your time.
once the whole assembly is off, you'll see the clips that hold the trim to the sail piece on the back, just drill them out and buy new ones from the dealer, they are like $0.30 a piece.
the main trim piece is easiest to remove at the back and work your way towards the front i believe. pry them up, and them twist them a bit to get them to release. it's hard to explain but once you look at how they are on there it will make sense, again be careful because they'll bend easily.
you can also remove the trim on the door, below the window by prying it up, it's on there pretty firmly. again, slowly increase pressure until you get it to start coming up. good luck.
-
Plastic not painted body color is almost always done on the low end cars. It's kinda looks cheap. So 150 grit? Isn't that too aggressive. 150 grit - I almost never even use that on wood cause it leaves too many scratches you have to sand out later. Is 150 grit really what you are to start with? (I don't know - I'm asking)Leave a comment:
-
I dont know if I like how that looks, a little too much red for me. Maybe I will do it and if dont like it I will just paint it black
Leave a comment:
-
First things first. Have to wash and clean everything before sanding. Kind of counter intuitive i know. I used joy, a 150 grit sanding pad, and a brush to clean.

Part way through the wash/sand

Starting to remove the trim so I can clean all the crap from underneath it

crap under the door sill

crap in the trunk drain area

Done for the day. If anyone knows a good method of removing the trim around the windows let me know

I got some iS sideskirts. I think I am going to just leave them in the black plastic to match my black iS spoiler. If anyone knows what clips and fasteners I need to buy to mount them let me know.

Leave a comment:
-
We have a barn/garage and I plan just put the plastic on the wall on one side, the ceiling, and another side from from the ceiling but brace it against a trailer, and hang the ends from the ceiling. I plan to have 2 or 3 fans going in with filters and 2 going out.Leave a comment:
-
Yes, it was single stage. How can you tell by looking at it? I did it to make it easier. A few spots had a bit of orange peel, so I ended up color sanding the entire car with 1000, 1500 and 2000. That took a ridiculous amount of time, but it was well worth it.
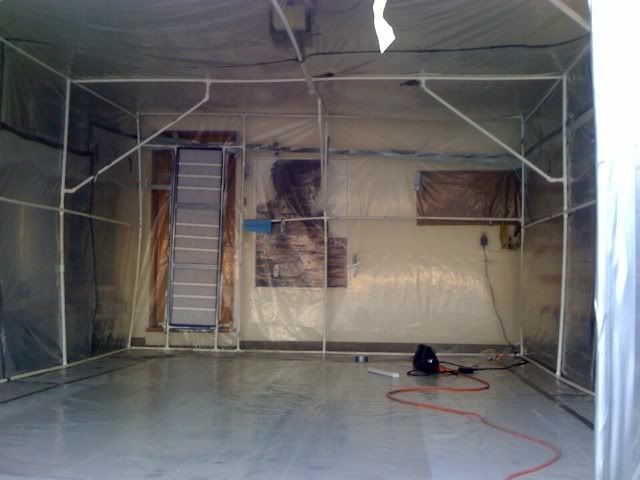
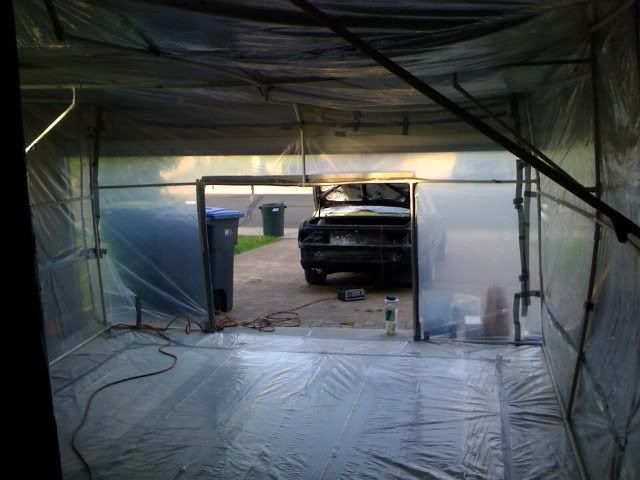
And after those pictures were taken, I put two fans on the side opposite of the filters. That's why I had the HVAC filters -- that's where the air came in. When we were spraying, it was completely sealed in. The plastic on the sides was sucked in very hard. I was actually surprised with how much air moved through there.
And yes, it was PVC. I never added up the cost, but it was at least $150, probably more. The pipe wasn't too expensive, but all of those fittings sure were. We had to mop the floor and wet down and wipe the ceiling and walls prior to spraying. It was a bitch to keep clean, but it is very important.Leave a comment:
-
-
-
-
I did a DIY paintjob about a year ago. It actually turned out pretty well.
Here's the "booth" I made:
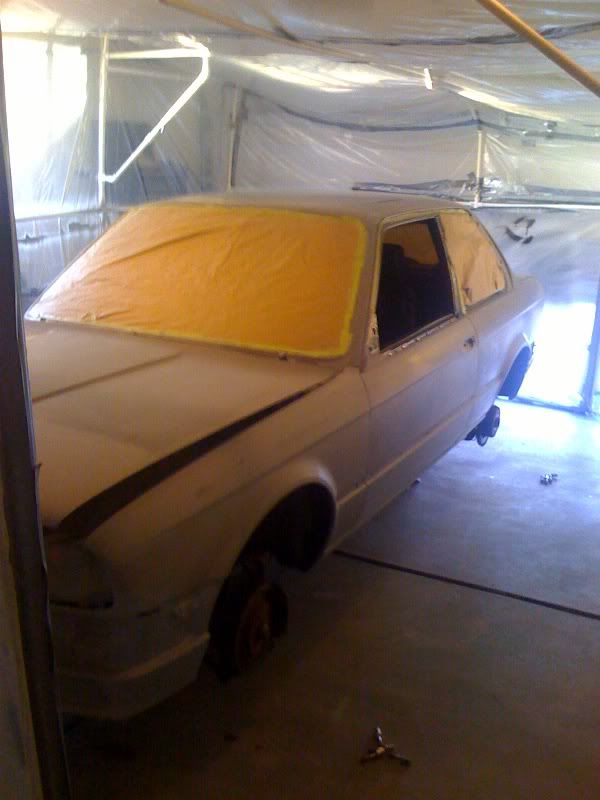
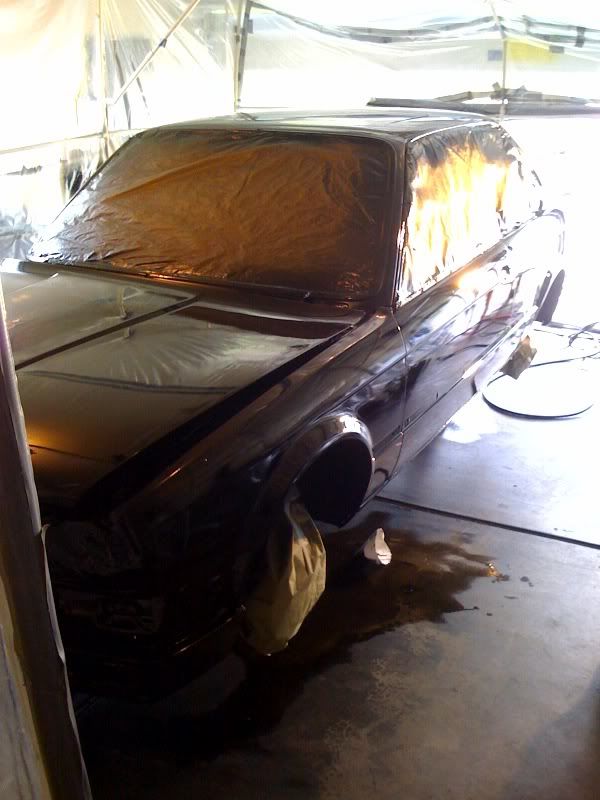
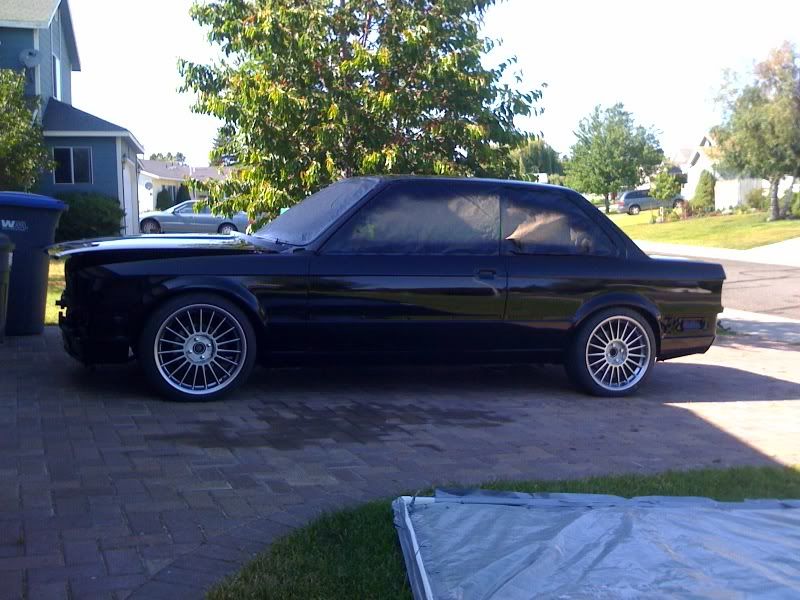
Turned out pretty good:
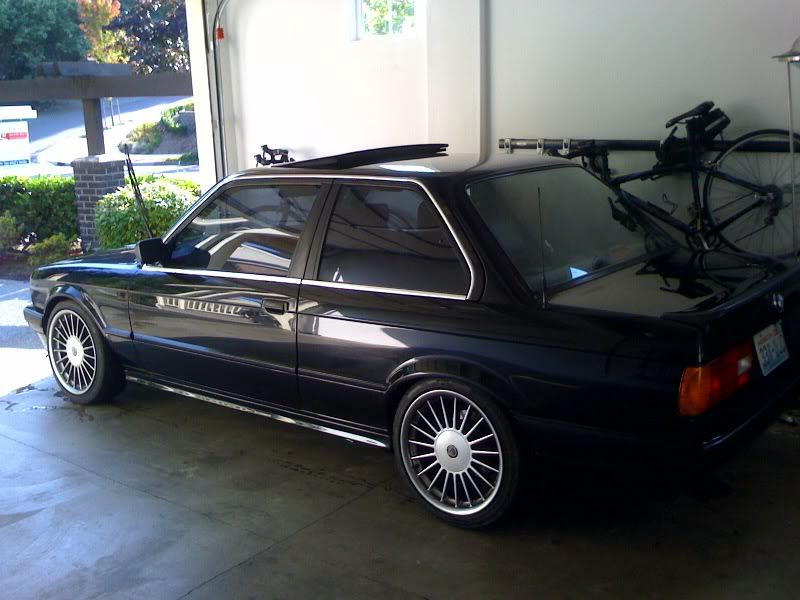
Like you already know, it's all in the prep. Make sure you have an absolutely dust free environment to spray in. That is imperative.Leave a comment:
-
Like the rest, I would like to do this as well. I can get supplies but were will you be shootin this? A make shift booth?Leave a comment:


Leave a comment: