
good work hombre. keep it up, be safe. looks sick
i love that valve cover blue...hehe. very cool
-
The only way to stay alive in the texas summer:

Engine swap starts tomorrow at 9AM all locals welcome to come and help.Leave a comment:
-
-
-
That is one sick ass Y pipe bro... keep it up I'm still waiting to see the end product :)
DJMOSKALeave a comment:
-
So another small update. i got my new Y pipe made today. Very excited about it. I also did some math.
The duel inlets give me a total cross section area of 6.381 in^2 while the single 3" tube gives me a total of 7.069 in^2. So the 3" is in fact overkill as the choke point remails in the Y pipe, however, it should still flow much better than the stock headers/exhaust. So yay for that.
New Y pipe":


Also got my new shift knob. Took a while as it was machined in Lithuania but it feels great and with my SSK its a ncie easy throw now, and feels great in your hand. The standard Jaffster knob is about 6" i had this one made to 7" for a little more reach. Took a bit of hammering to get it on though, and I am not sure how I will be able to remove it as it was a VERY tight fit.

Leave a comment:
-
few more small updates:
1. Cluch kit came in - M20 Stage 3 kit from F1 Racing - 200 shipped- pretty quality stuff.

2. 20lb Battery installed.


Exhaust stuff came in from SummitRacing


I am very upset about the Y pipe - its junk - I would never run something like that in my car - I mean what can you expect for 30 bucks but still I didnt think it would be that bad. Plus its WAY too wide - I think that since they are so close together I am going to have a local muffler place fab me a pipe to my specs.
this was free in the box - weird.

Leave a comment:
-
Note: I am swapping over to google photos from imgur. There are a few reasons for this but when my imgur premium account dies near the end of the year I imagine a lot of the pictures on this thread may die. I will do my best to go back and replace the links on as much as possible but for those who simply want to go find stuff check out:
My Picassa album just remove the stuff behind the last backspace and you can see all my public albums and just browse through, I do a pretty good job of tagging and writing notes for the pictures themselves.
Anyway with that bit out of the way. I got some more work done today.Finished putting the exhaust studs in, test fitted the exhaust and got my step ups made, so my 2.25" to 3" Y pipe will bolt in now. Pictures:


There are a lot of big things coming, so stay tuned.Leave a comment:
-
take it to pleasant grove, im sure someone out there can figure out a way to steal the grime if they think its worth money ;)!
awesome build! learned a lot thumbing through this threadLeave a comment:
-
it just oil residue that you need a professional oven to get off. Has 0 impact on engine performance in any way.Leave a comment:
-
hmmm,here you go. what would you rather have your engine internals look like? clean like this
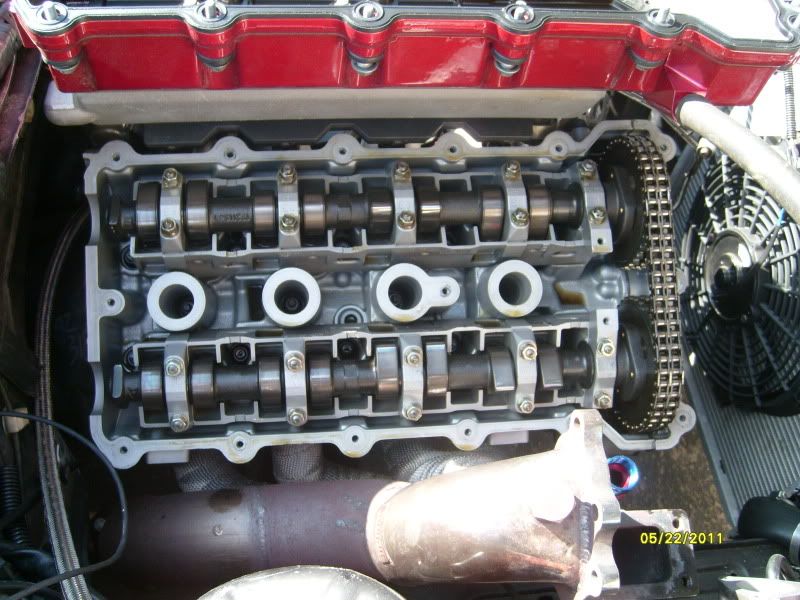
or covered in oil deposit grime dog shit.

My point is this: why spend all that time tearing down an engine just to rebuild it with a fucked up head covered in shit? seems stupid to me.Leave a comment:
-
-
so I bought some tubing and finished this up. at this point we are going to take a little break. the engine is done - almost.
All that remains is
-8 x exhaust studs
- headers
-RMS
the RMS has to be done after i get it off the stand, and the other stuff will get taken care of when it comes in.
oil sensor gasket going on

isntalled

tiny bit of hose

the fppr vacuum hose runs to the inside of the intake many

valve cover hose runs down to the ICV plug


ICV to intake boot hose

as she sits


Leave a comment:
-
I have a friend at the shop, that did a free pressure test and inspection - they did not take it apart and clean it. the block I chekced myself.
There is no "shit" in the engine buddy. All the dirt/grime is on the outside fo the block - places that are always dirty and grimy. All the immportant stuff (internals) were all cleaned out before reassembly.
done right the first time.,Leave a comment:

Leave a comment: