-
sub'd deff doing that shadowline you have inspired me sir good thing i have a bronzit and youre answering many questions i had about what it would look like. -
Haha nope :) vinyl is cool stuff to work with. It holds really well tooLeave a comment:
-
^haha i had a similar thought.
the good news is it looks like you have a nice attention to detail, so everything came out really nicely.
keep up the good work dude. :pLeave a comment:
-
Sanded down....make sure you're in a well ventilated area when you do this! Wear a respirator...sanding fiberglass is sketchy stuff

Filled with regular filler

Sanded down the filler


Still have a couple spots where I'll need more filler...turned out pretty well though. Still flexible and doesn't crackLast edited by jaywood; 01-06-2011, 01:53 PM.Leave a comment:
-
Made a little progress on the homemade euro bumpers
Cleaned up the resin...used a chisel for the big blobs, sanding would have taken too long

Sanded around there area where the bondo will be going

Sanded some scratches down too

All ready for filler
 Last edited by jaywood; 01-06-2011, 01:45 PM.
Leave a comment:
-
Rebuilt injectors

Pictures of FPR for reference:

Injectors out

This was the cleanest one...every single one had a cracked pintle cap.

Didn't get any pictures of the rebuilt ones, but I cleaned out the inside and got new o-rings and pintle caps on each injector.
Another pic for reference:

Manifold out

P.O tried fixing an intake leak by dripping some silicone on the gasket...

Valve cover off...looks pretty clean

And all back together

I cleaned and painted the intake manifold and valve cover and put new gaskets on them too...didn't get pics of the new gaskets though.Last edited by jaywood; 01-05-2011, 01:37 PM.Leave a comment:
-
This is my first time doing this, so I am no pro. But this way seemed to work out fine for me. I don't know of anyone who has done it this way, so hopefully this is something new to you guys as well.
Materials
> Two 12"x24" roll of red taillight tint (eBay)
> Heat gun/blow dryer
> Squeegee
> Patience
> Stock taillights
> Razor blade
> Degreaser
> Wash cloth
For my squeegee I used a piece of dense foam I had lying around. I should have used a plastic squeegee wrapped in cloth on the end for protection against scratches, but since I didn't have that lying around I improvised. It ended up working super well.

Make sure your razor blade is sharp. I used a brand new one so I wouldn't have any issues.
I did use a heat gun, I think they work a little faster then hair dryers.

Before I tell you how I did it, I should tell you how not to do it. The first time around I tried covering the light in one solid piece of tint. It ended up being close to impossible. You will see what I mean when we get a couple steps in:)
So if you don't like my way of doing it, sorry, good luck with covering it in one solid piece;)
Procedure
1. The first thing I did was remove the taillight from the car.

2. Once you have it removed, clean it. Use a degreaser/windex to get all the dirt/grease off of it. If there is anything, even a spec of sand, it will show through and give you a bubble! So make sure you clean it well.

3. I ended up doing this alone, so I had to find ways to get around the roll of tint wanting to roll back up into its little roll. So I taped it up against the cabinet.

4. I then cut a 3.5" strip of the tint to cover the first section of the light.

(by section, I mean where the light has little dips in it. There are 3 parts to the light, and 2 of the dips)
5. Take the backing off of the tint so you have the transparent piece ready to be applied.

6. At first you will want to apply only about an inch of the tint to one of the ends. The reason for this is that if you try and lay the whole thing down at once you will get air bubbles everywhere and your end finish will look like horrible.

7. Heat up the strip that you are applying to the light. You will only need to heat up about 4 inches of the tint since it will cool off very quickly. Once it's hot you are going to want to take your squeegee and squeegee all the air out like so....

If there are any air bubbles don't worry. You can always peel the tint up and re-heat/reapply to get the bubbles out.
8. Finish that end until you get around the curve and make sure there are no air bubbles on that half that you just made perfect. I had to use Gojo as a weight, so the light wasn't moving around everywhere when I was squeegeeing. (this is a picture that I took after I was finished covering it, just wanted to show you how I did it)

9. Now it's time to go back to the beginning where you first lied the tint down.

There will most likely be air bubbles here. So just peel it up, reheat, and squeegee all the air out...
This is what it should look like now....

10. Now that you have the tint applied without any air bubbles, it is now time to trim the extra tint off. I used my trusty razor blade for this. I am cutting the tint at the divider of the sections of the light, right in the middle of the two, so it will fold over and not have an ugly edge visible.


You should have about this much left over to wrap around that edge....

I used my piece of foam squeegee to get those edges in there nicely. The tint holds well if you give it enough pressure.

Here is what the edge should look like once it is tucked away

Go ahead and trim all the rest of the edges off and....
You are now done with this section of the light....only two more to go now!:)
For the next section I cut a piece of 4"x24" tint.

Lightly lied it down just so it would stay in place.

From here on out it's pretty much the same as steps 1-10. I got a little better pictures though...it was hard to take action shots because I was by myself so I tried to get the best shots I could.
Here is me using the heatgun

Forcing the tint around the curve.....had to use a lot of heat on this one.

Got it around nice and smoothly

Finished the rest of it and....
Trimmed it up

Again, cut down the middle of the divider and fold the edge over


For the last section of the light you can pretty much repeat everything we just did....it's the exact same.
After doing one light, the next light will go a lot faster and smoother. You get the feel for it after awhile.
Here it is finished:

Before


After


Made a little roof rack for road trips

Repainted the bottom part of the bumper black

Than I got an IS lip from one of my buddys who crashed. His lip fell off the car and was just laying around at the crash site. He gave it to me. It had cracks and broken clips, but I fiberglassed and bondo’d it and got it looking new again.

And today I decided to do the DIY euro trim.
Remove trim from bumper


Sand the backside of the trim where you will be putting your fiberglass


Mix up some resin and lay up your fiberglass. I decided to use cloth rather than mat.


That’s still drying…gotta get on that bondo tomorrow and sand everything flush.
And this is what should be happening in the next few weeks.


Leave a comment:
-
'90 325i sedan. (bronzit content)
Just recently picked this up....170xxx on the working odo


Well it had a torn shift boot which was bothering me, so I went to town on it.
Took off the original shift boot

Cut around the plastic to give me just the pattern of the leather/vinyl/whatever it is

Turned it inside out and cut the stitches so it would open up and give me a template for the shape


Traced the pattern and cut it out

I failed on the pictures from here on out....I sewed it all together, then added the 2 strips of redness. I glued it back onto that plastic rectangle thing with hot glue.

Well anyways here is the finished product.

One of the dash lights were out, so I replaced that.

Here's the bad bulb.

Put everything back in, and what do you know??? The other one decides to go out! So tomorrow I'll be replacing that, and the glove box light died tonight.
The rubber on the e-brake handle bugged me, so I made a leather covering thing. Sorry for the bad pic, this is the only one I took I guess.

I also cleaned the seats, but don't have any pics yet. You can see a corner of the driver side in the last pic, but that's it.
I replaced the other dash light and got them both working

I also got a new little toy

Sorry for the bad pics, it was getting dark out and the flash didn't seem to help things.
---------------------------------------------------
Got rid of most of the chrome!
Black kidneys (yes, the hood isn't straight)

And here's the window trim.

First off, clean it well with rubbing alcohol/degreaser.

Then apply a part of the tape to one of the edges, only take off the backing a couple inches at this point.
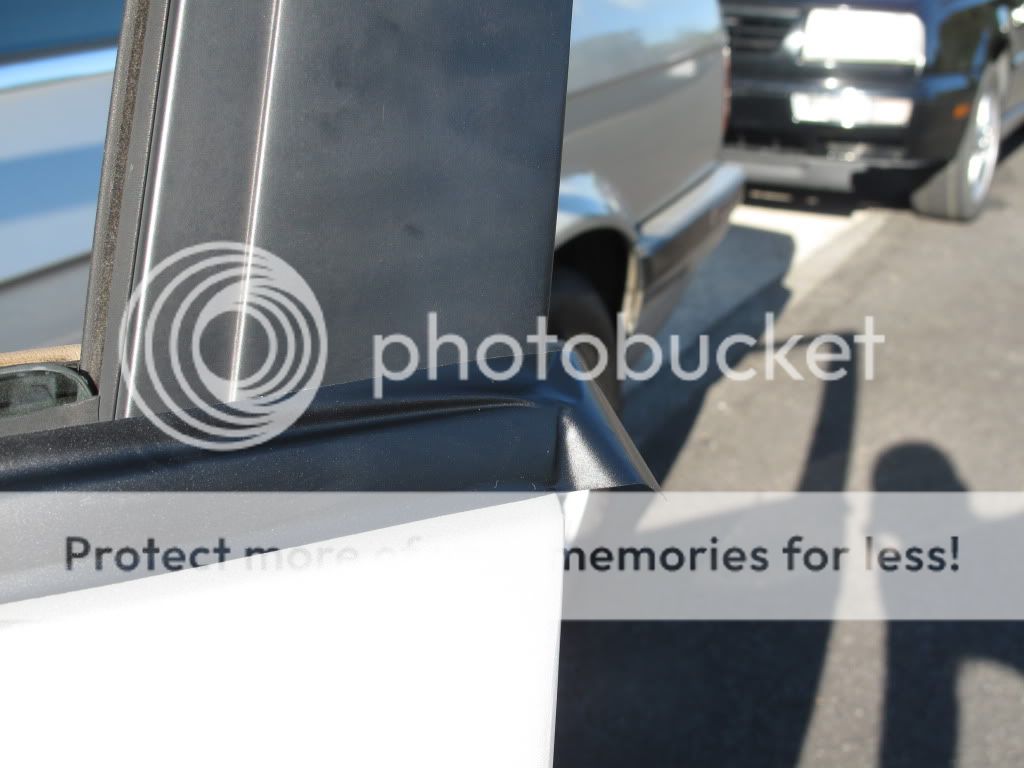
Cover the part, but don't start wrapping it yet. You don't want it to start folding around the edges yet. You just want it to be stuck on enough to keep it held on.
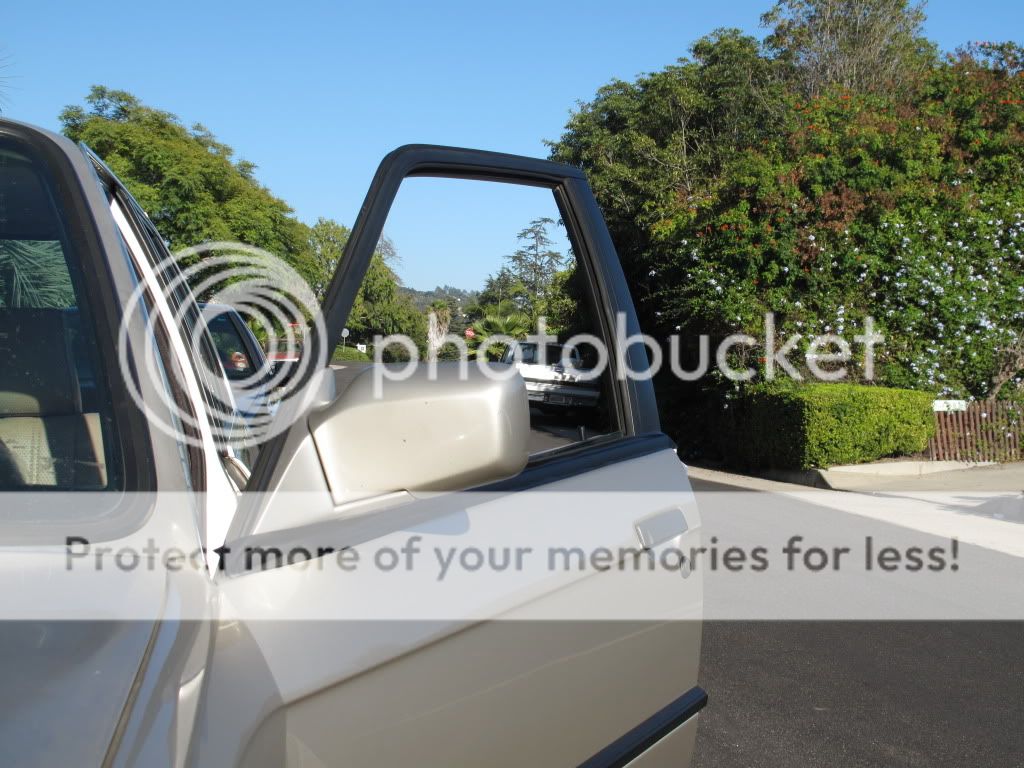
Get rid of all the air bubbles, and once you have done that you can start folding it around the edges.

You can then get out your razor blade and trim the excess off.


Here's what the finished product should look like

Before and After:


Made a new shift knob:)


I ended up threading the shifter rod so I could easily swap out different knobs. I drilled a hole in the wooden ball, and sanded down a bolt so I could then press it into the hole. Filled it with epoxy, and it's pretty solid. I like how it looks, goes with the interior pretty well.
Also painted the headlight rings
Before
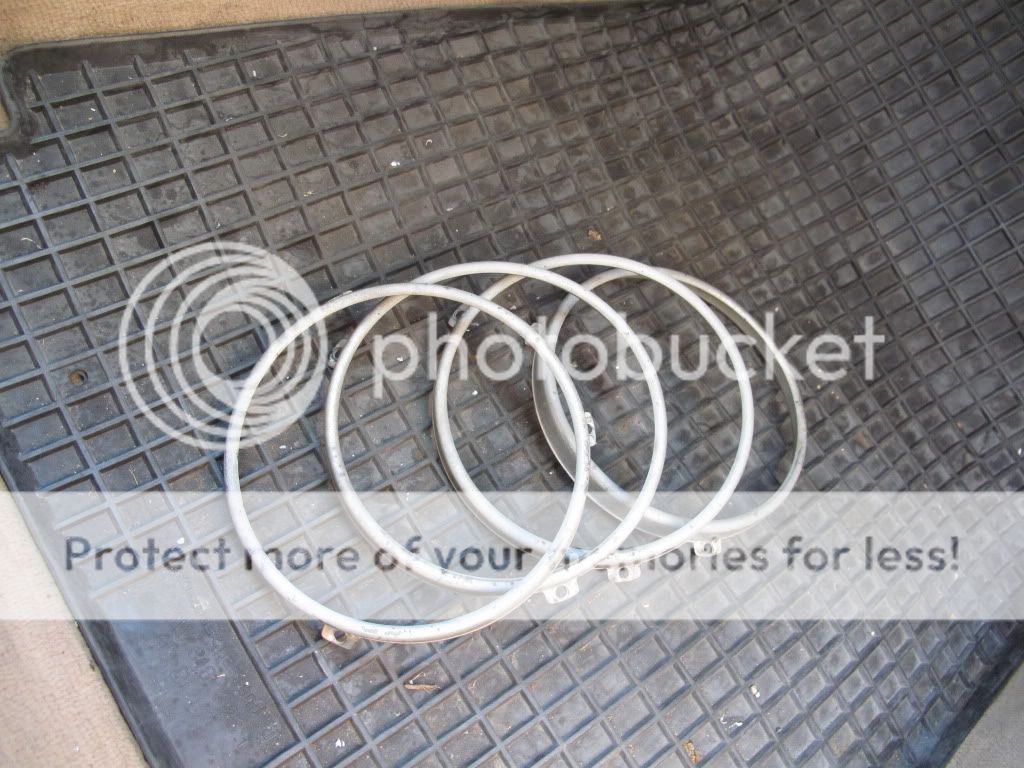
Sandblasted

Painted

On


Leave a comment: