Just recently picked this up....170xxx on the working odo


Well it had a torn shift boot which was bothering me, so I went to town on it.
Took off the original shift boot

Cut around the plastic to give me just the pattern of the leather/vinyl/whatever it is

Turned it inside out and cut the stitches so it would open up and give me a template for the shape


Traced the pattern and cut it out

I failed on the pictures from here on out....I sewed it all together, then added the 2 strips of redness. I glued it back onto that plastic rectangle thing with hot glue.

Well anyways here is the finished product.

One of the dash lights were out, so I replaced that.

Here's the bad bulb.

Put everything back in, and what do you know??? The other one decides to go out! So tomorrow I'll be replacing that, and the glove box light died tonight.
The rubber on the e-brake handle bugged me, so I made a leather covering thing. Sorry for the bad pic, this is the only one I took I guess.

I also cleaned the seats, but don't have any pics yet. You can see a corner of the driver side in the last pic, but that's it.
I replaced the other dash light and got them both working

I also got a new little toy

Sorry for the bad pics, it was getting dark out and the flash didn't seem to help things.
---------------------------------------------------
Got rid of most of the chrome!
Black kidneys (yes, the hood isn't straight)

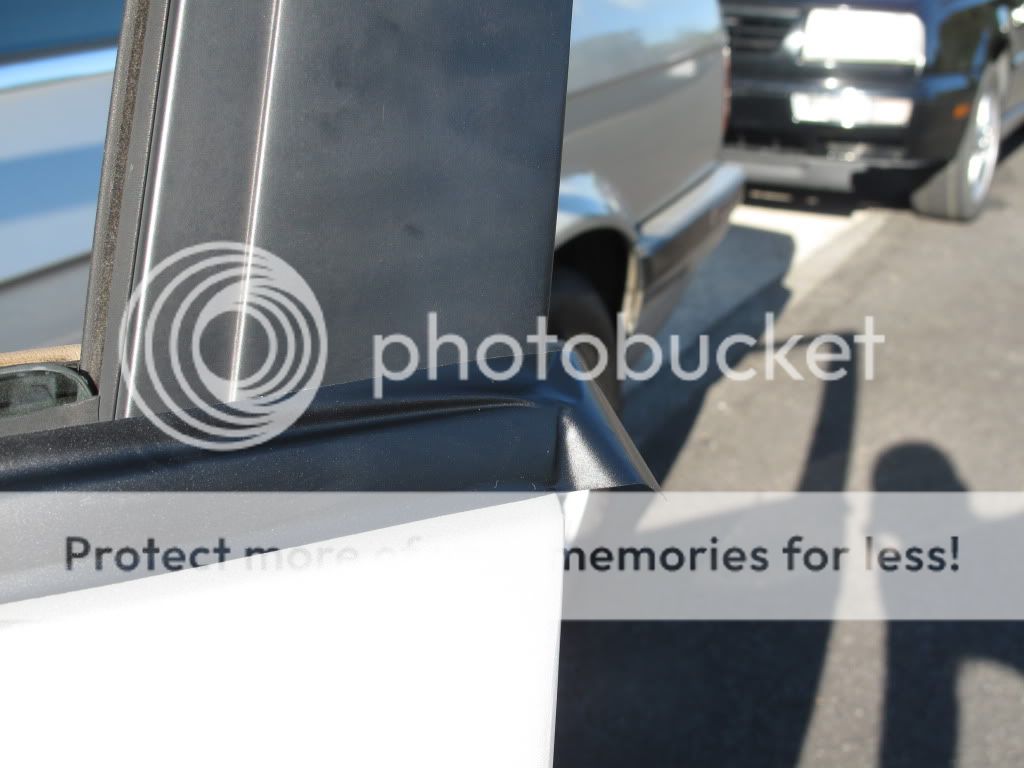
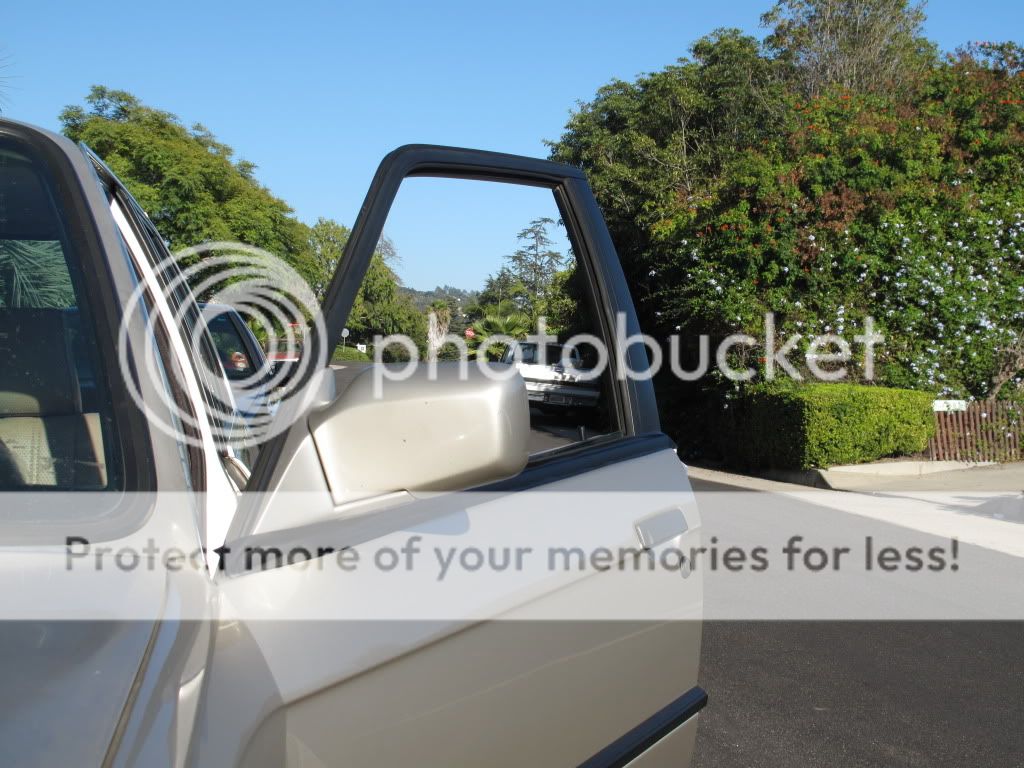
And here's the window trim.

First off, clean it well with rubbing alcohol/degreaser.

Then apply a part of the tape to one of the edges, only take off the backing a couple inches at this point.

Cover the part, but don't start wrapping it yet. You don't want it to start folding around the edges yet. You just want it to be stuck on enough to keep it held on.

Get rid of all the air bubbles, and once you have done that you can start folding it around the edges.

You can then get out your razor blade and trim the excess off.


Here's what the finished product should look like

Before and After:


Made a new shift knob:)


I ended up threading the shifter rod so I could easily swap out different knobs. I drilled a hole in the wooden ball, and sanded down a bolt so I could then press it into the hole. Filled it with epoxy, and it's pretty solid. I like how it looks, goes with the interior pretty well.
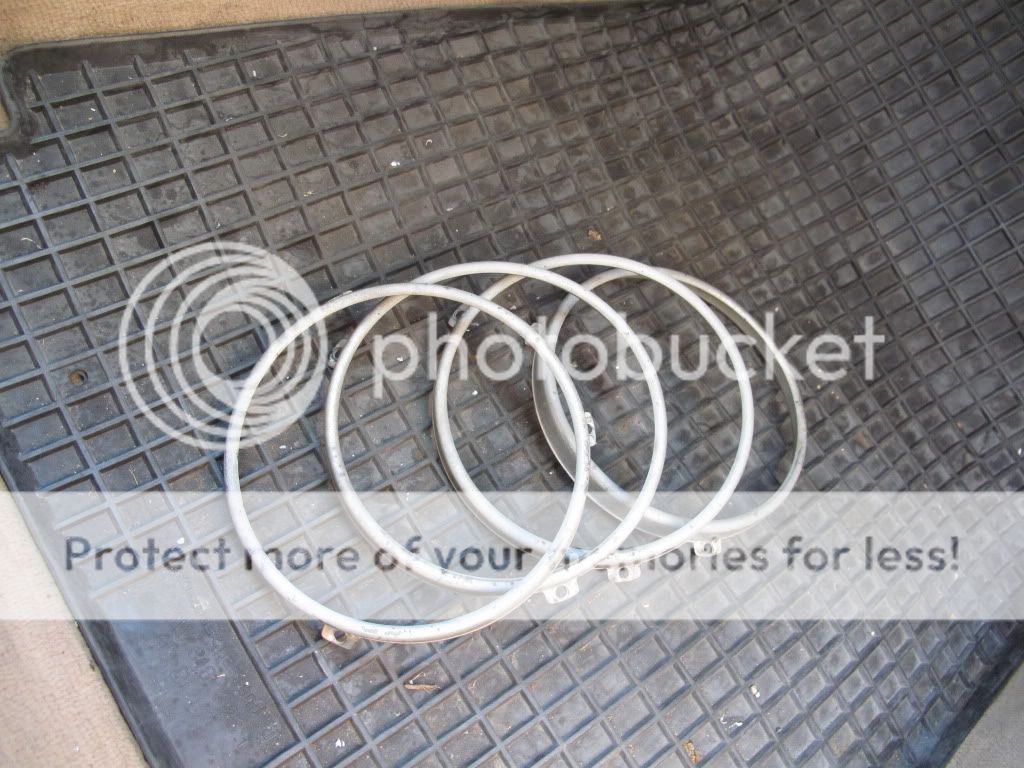
Also painted the headlight rings
Before

Sandblasted

Painted

On


Well it had a torn shift boot which was bothering me, so I went to town on it.
Took off the original shift boot

Cut around the plastic to give me just the pattern of the leather/vinyl/whatever it is

Turned it inside out and cut the stitches so it would open up and give me a template for the shape


Traced the pattern and cut it out

I failed on the pictures from here on out....I sewed it all together, then added the 2 strips of redness. I glued it back onto that plastic rectangle thing with hot glue.

Well anyways here is the finished product.

One of the dash lights were out, so I replaced that.

Here's the bad bulb.

Put everything back in, and what do you know??? The other one decides to go out! So tomorrow I'll be replacing that, and the glove box light died tonight.
The rubber on the e-brake handle bugged me, so I made a leather covering thing. Sorry for the bad pic, this is the only one I took I guess.

I also cleaned the seats, but don't have any pics yet. You can see a corner of the driver side in the last pic, but that's it.
I replaced the other dash light and got them both working

I also got a new little toy

Sorry for the bad pics, it was getting dark out and the flash didn't seem to help things.
---------------------------------------------------
Got rid of most of the chrome!
Black kidneys (yes, the hood isn't straight)

And here's the window trim.

First off, clean it well with rubbing alcohol/degreaser.

Then apply a part of the tape to one of the edges, only take off the backing a couple inches at this point.

Cover the part, but don't start wrapping it yet. You don't want it to start folding around the edges yet. You just want it to be stuck on enough to keep it held on.

Get rid of all the air bubbles, and once you have done that you can start folding it around the edges.

You can then get out your razor blade and trim the excess off.


Here's what the finished product should look like

Before and After:


Made a new shift knob:)


I ended up threading the shifter rod so I could easily swap out different knobs. I drilled a hole in the wooden ball, and sanded down a bolt so I could then press it into the hole. Filled it with epoxy, and it's pretty solid. I like how it looks, goes with the interior pretty well.
Also painted the headlight rings
Before

Sandblasted

Painted

On


Comment