
Not really..
Haven't touched it durring last two months..
-
Today I replaced my alt/water pump belt as it was falling apart and luckily I did. 3 rubber teeth were missing. I also finished removing the power steerring pump for weight reduction. The car without power steering is not bad at all, just hard from a dead stop but you get use to it. I know my upper strut mounts are binding which make it harder.
I also continued on my passenger seat today, little teaser of course. I still need to work on bottom have and order the seat shocks. Just need to check if I need all 4 shocks, so far I need 2.
On to the pics of the mtech centers and micro suede bolsters to match rears and door panels. It is not hard to work on the seats, just tedious. I understand now why labor can be expensive doing this.
Top half off:
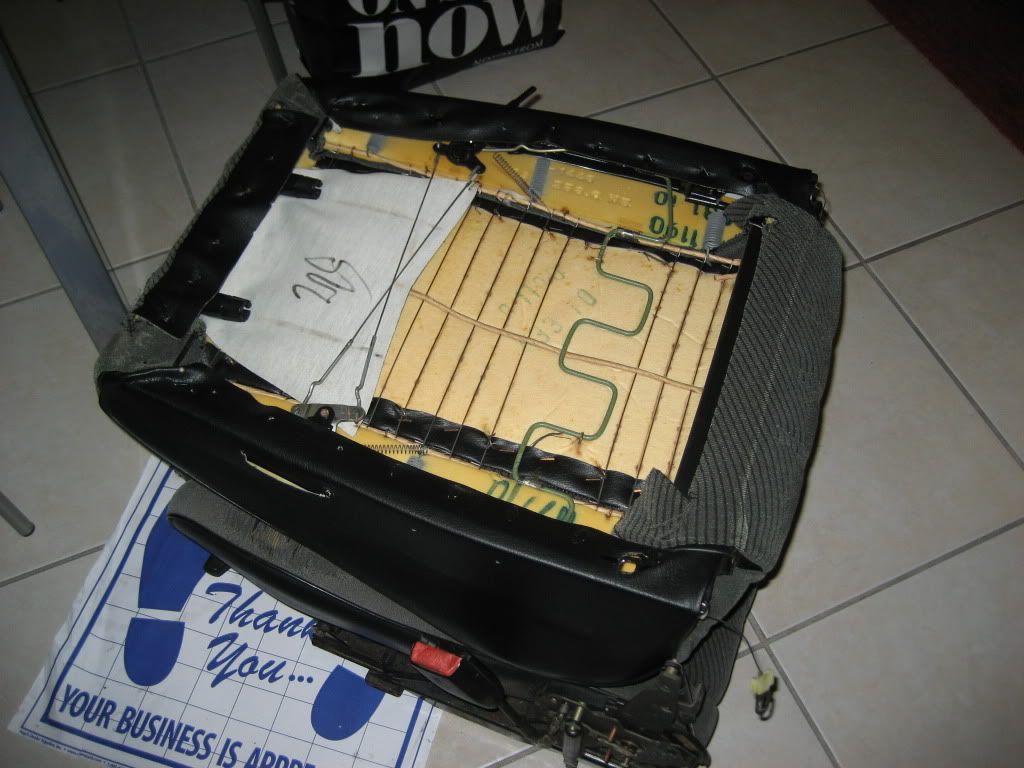
Center cushion removed and side bolsters/frame:

One side bolster hog ringed with blace micro:

Main teaser, center section just resting on frame with mtech m3 pattern, horizontal instead of vertical stitching plus the one side bolster:

Leave a comment:
-
Got a few things done today....
Replaced passenger side seatbelt rod bolt cover, minor but it was cracked and driving without a passenger seat since Christmas, it was bugging me. Here is the pic and you can the old one in the top left had corner. It was cracked and part of the edge was deformed from stepping on it while getting in and out of car from back seat.
Some of the pics for this thread suck due to focus. Didnt check after pic was taken.

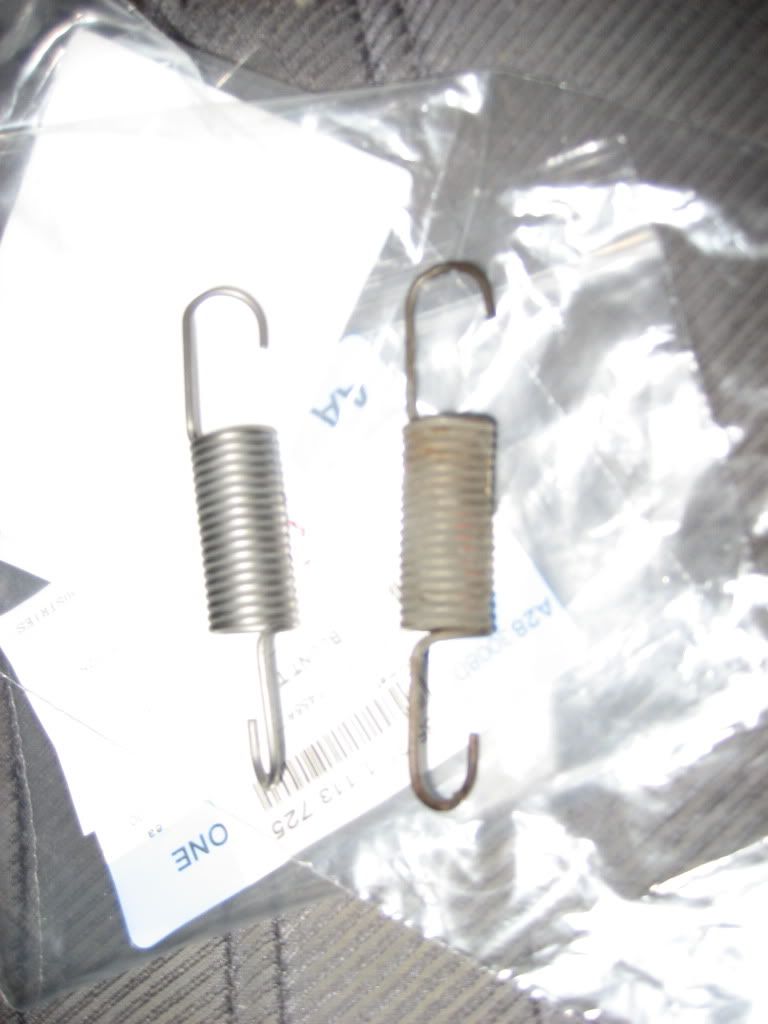
Next was replacing grommets and return spring for clutch pedal. I recently did the same for gas pedal and did the clutch pedal bushing, so just wanted to finish it off correctly. The spring grommets on both sides were gone and the spring ends were touching metal.
Here are a few pics of the parts and before and after for the upper grommet.


Finishing up with e36 rack upgrade....
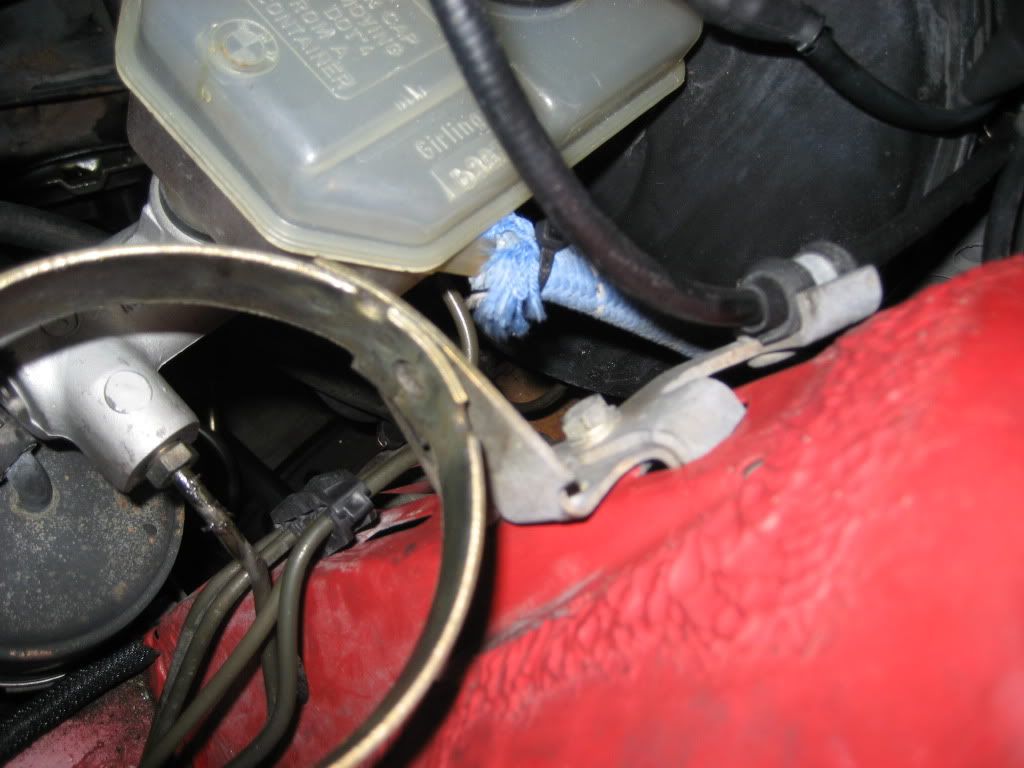
I got the PS delete from Silence. I removed the lines and reservoir with hoses. Still need to remove pump.
Here is a pic of the PS delete:

Here are the hoses loose from the PS pump and draining the system
While draining, I removed the old reservior, hoses and brackets
Now you see it:
Now you don't:

I replaced the cable ties with the OEM metal clamps after running rack for a few days to make sure nothing was leaking. Here is a pic with the delete also installed.
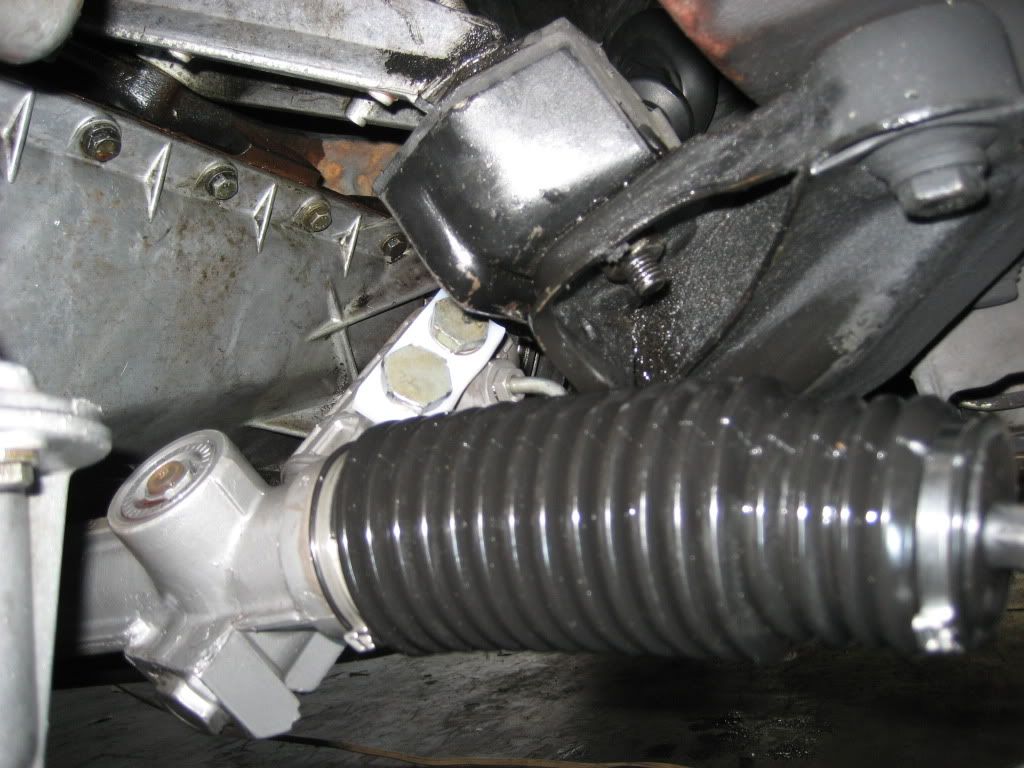
Here is the tool to clamp them. I bought it many years ago for some coolant lines the use them on the e28 m5. Got it at Grainger.

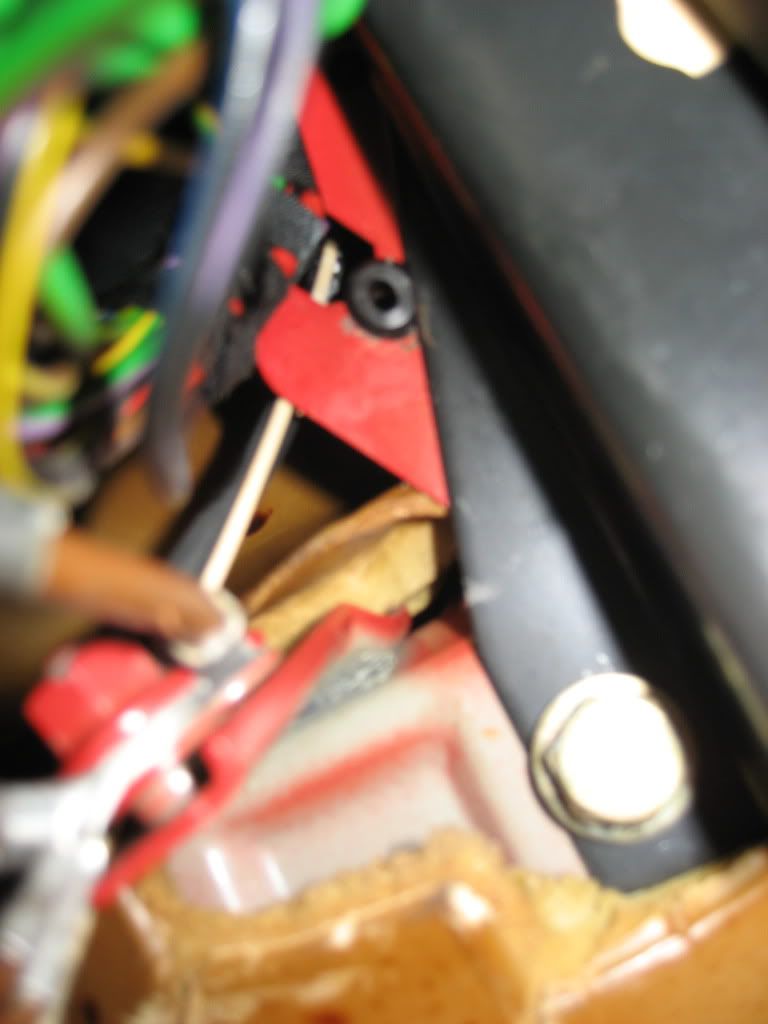
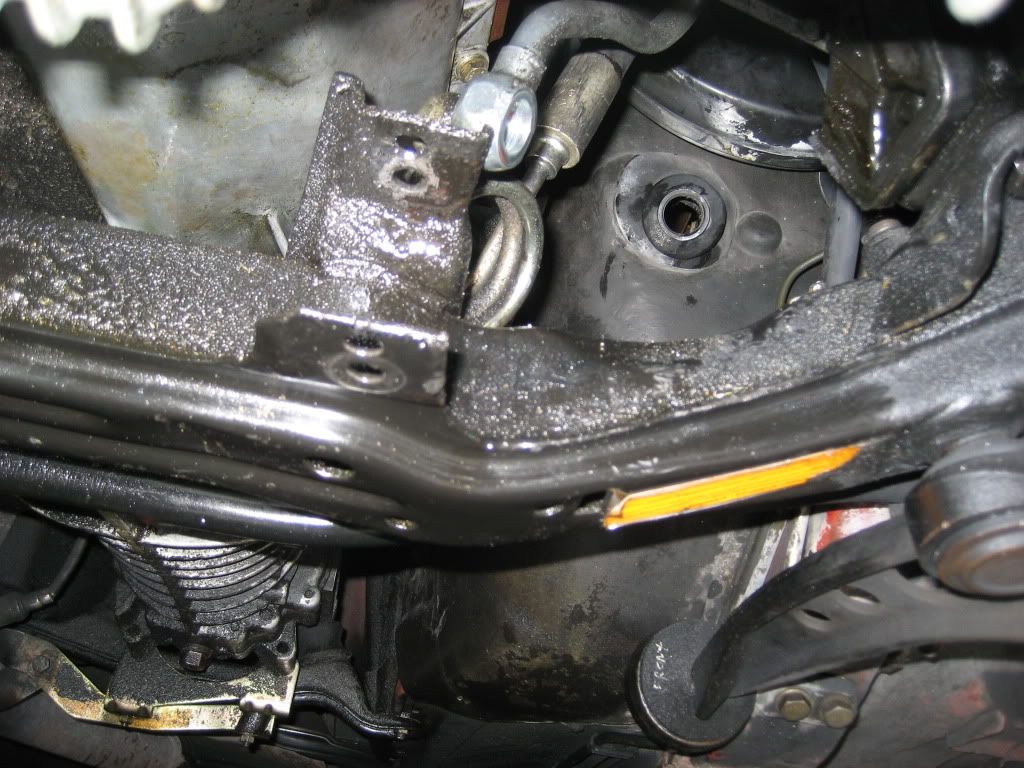
Lastly, here is a pic from inside the car at the plate that needs a little grinding for the e36 rack swap on an airbag car. It is held with 2 13mm bolts and comes out easily as long as you have the steering column telescoping rod out. I just got it loose and did it there. You can also make a new plate also.

Leave a comment:
-
Finally, after almost 2 years of having the e36 rack, I installed it due to leakage from my e30 rack. I purchase a 95 m3 rack (3.0 ltl) from a junkyard for $35 and $15 for shipping. Had it rebuilt with lifetime warranty like I did my e30 one. It lasted 6 years and the issue with it is one of the rubber lines that goes from one end to the other popped loose. I will have it rebuilt and then sell it with the warranty as I have receipt paid in cash to someone local. Will help offset cost of e36 rack rebuild.
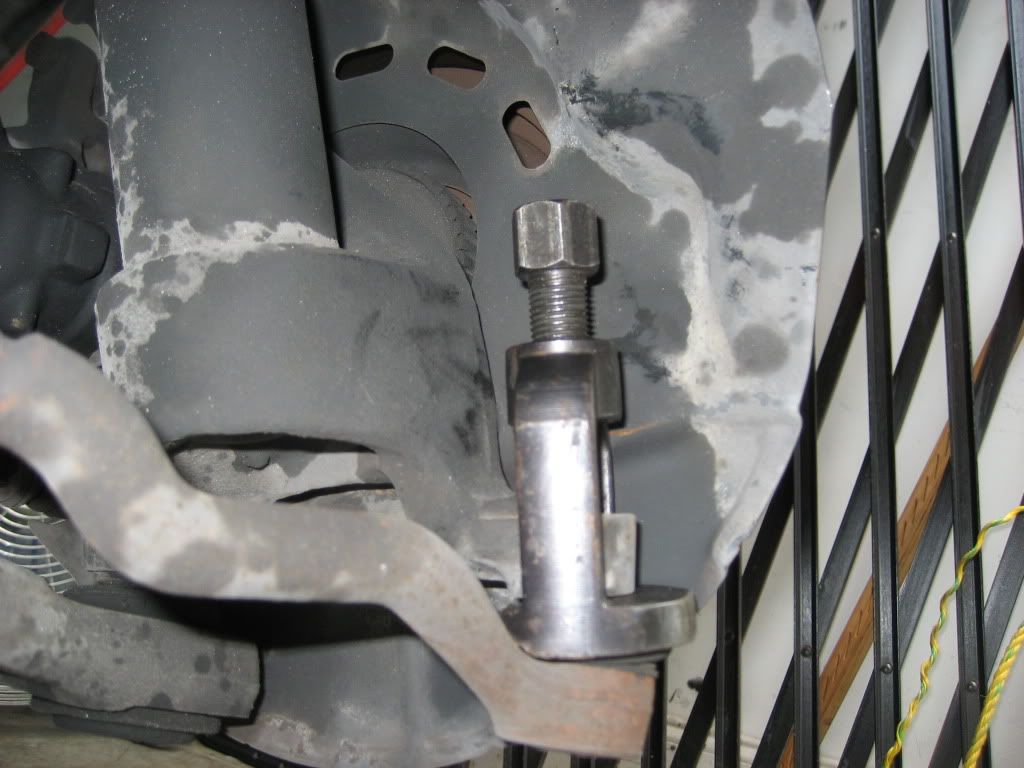
I started to remove the old rack. Very simple and use the tie rod ball joint puller which takes 2 minutes per side.
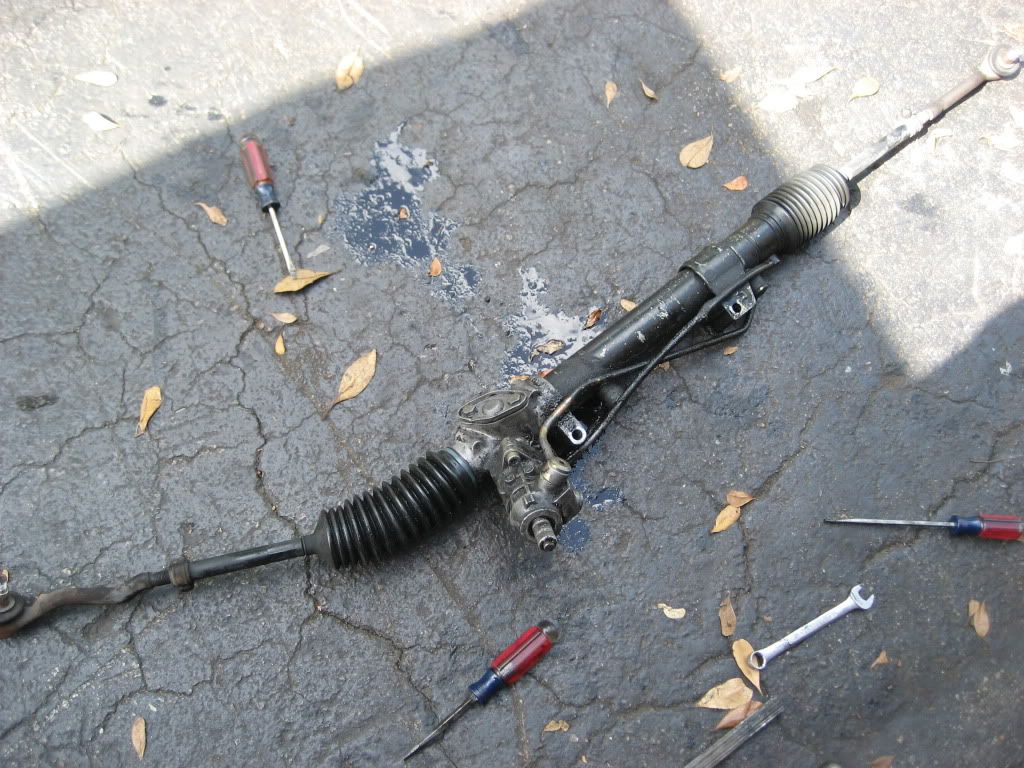
I then removed the rack. Only issue I had was I couldnt get knuckle off rack and next time will try to remove it while rack is still bolted to subframe for extra support. Made installation a pain but not difficult since it is an airbag car. Here is the rack removed and what leaky ATF does to the rack on the outside. No fluid inside the boots.
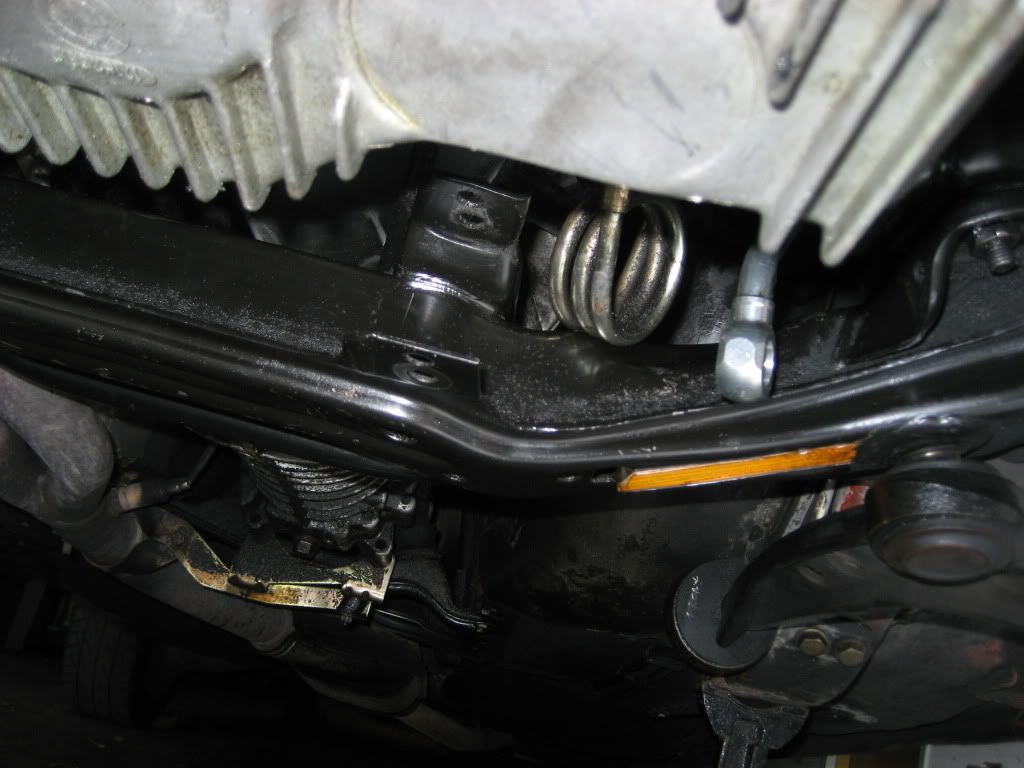
Here is a before and after of the subrame area under the PS pump. I just used a rag and next weekend will drive it on ramps and clean with degreaser and hose. The subframe has nice OEM sticker stating airbag info from factory in orange. I wiped it before I took the before pic. It was covered in grim and was not visible. Nice to see it even after 20 years on the car.
Before:
After:
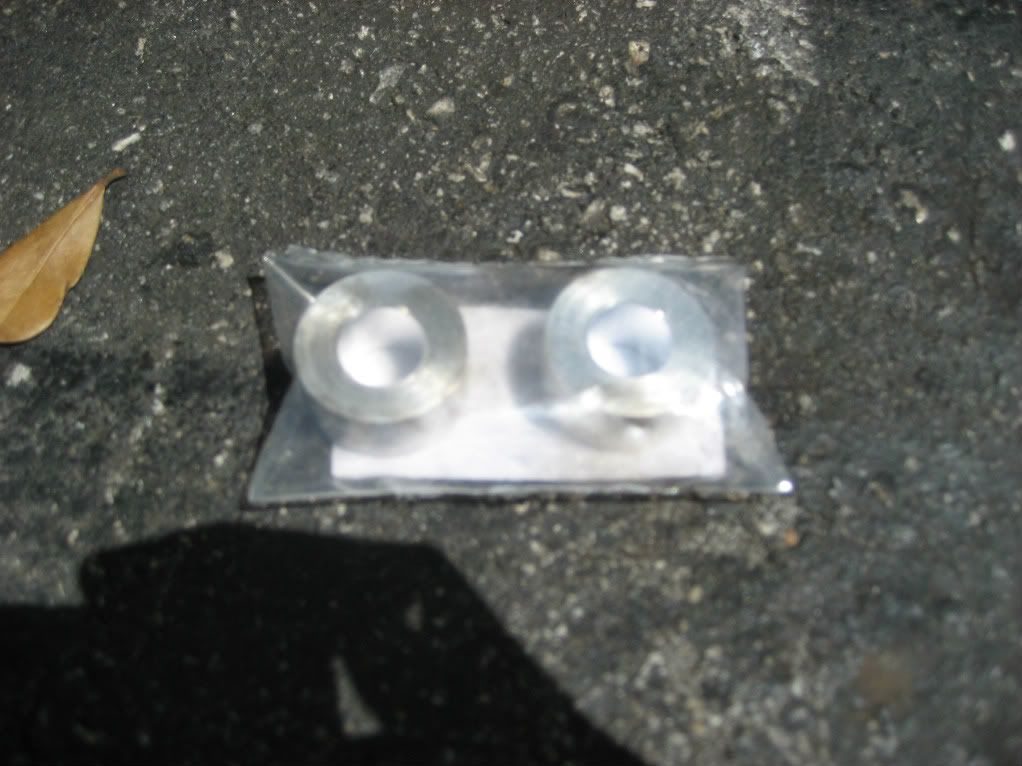
Here are the spacers from AKG for the top of the rack when mounted to the subframe:
Lastly the new rack. Here they still have the old boots. I replaced the whole tie rods with e36 Lemfoerder ones which are beefier than e30s. New boots and new metal clamps instead of cable ties even though that would work.
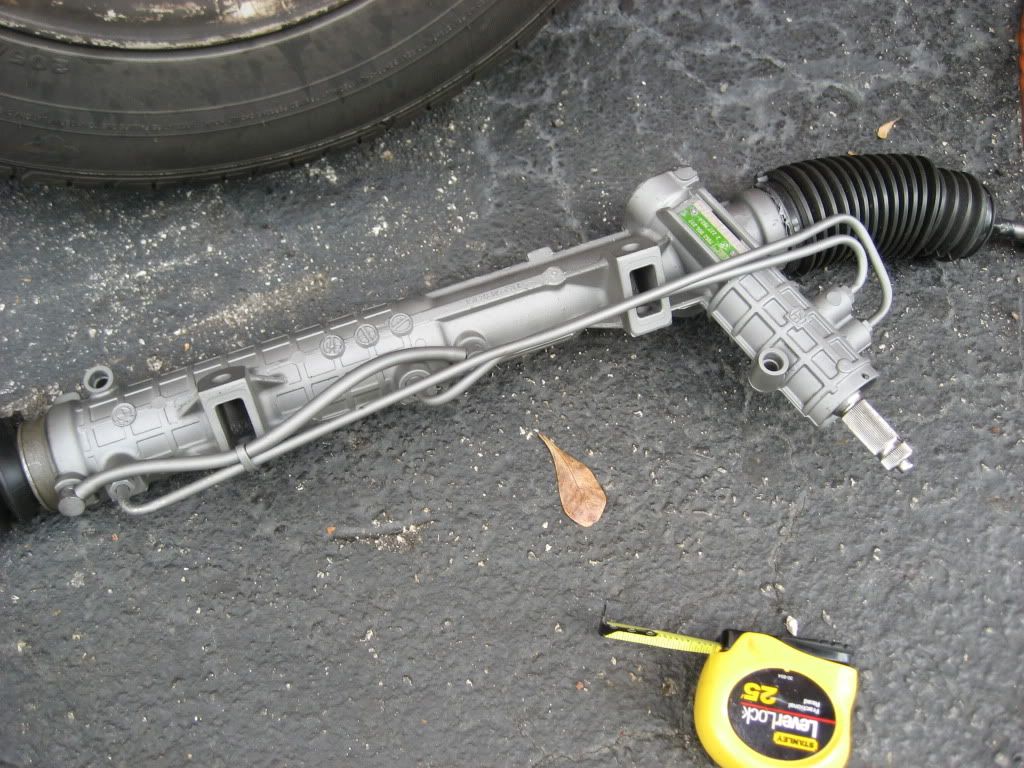
I then bent the hose that goes from the PS pump to the rack. I modified the opening on the firewall. It is the black plate from the pedal assemble that needs to be grinding, not the actual firewall of the chasis. After it is installed, the grinding was not necessary unless you want the rubber boot to fit better. I just modified the boot to seal up the whole. The car turns much faster and feels great. Today I have alignment appointment. I also ordered the PS delete to remove 9 pounds of hardware. It should be here tomorrow and will try to to get to it this weekend while cleaning the underside.Leave a comment:
-
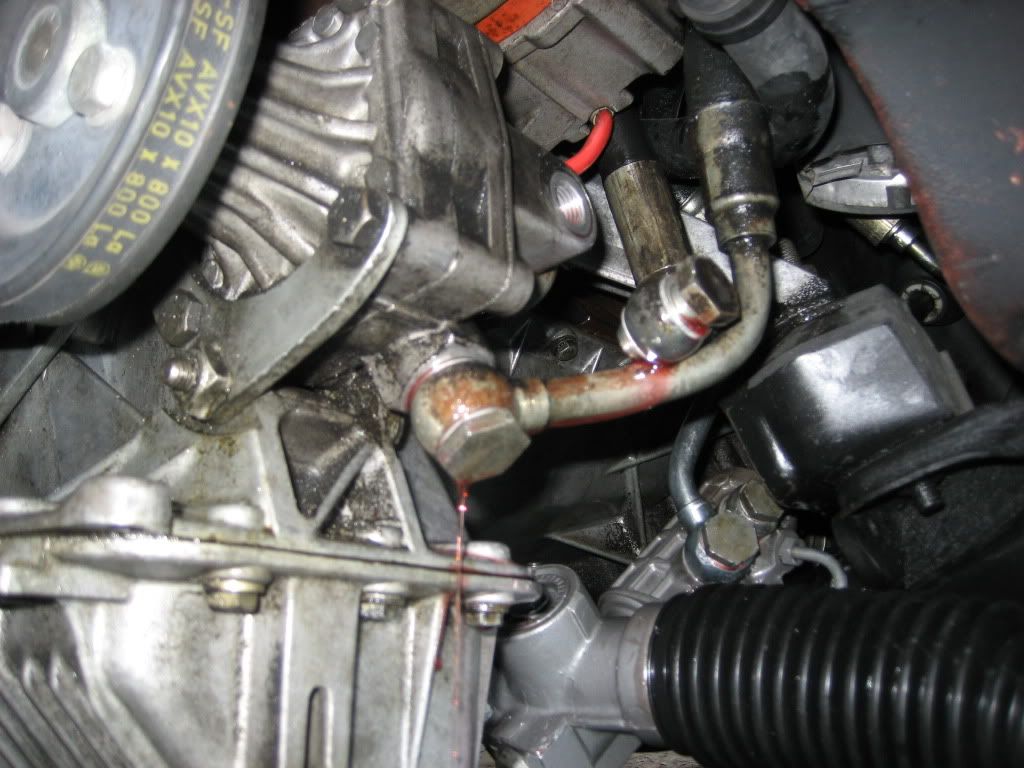
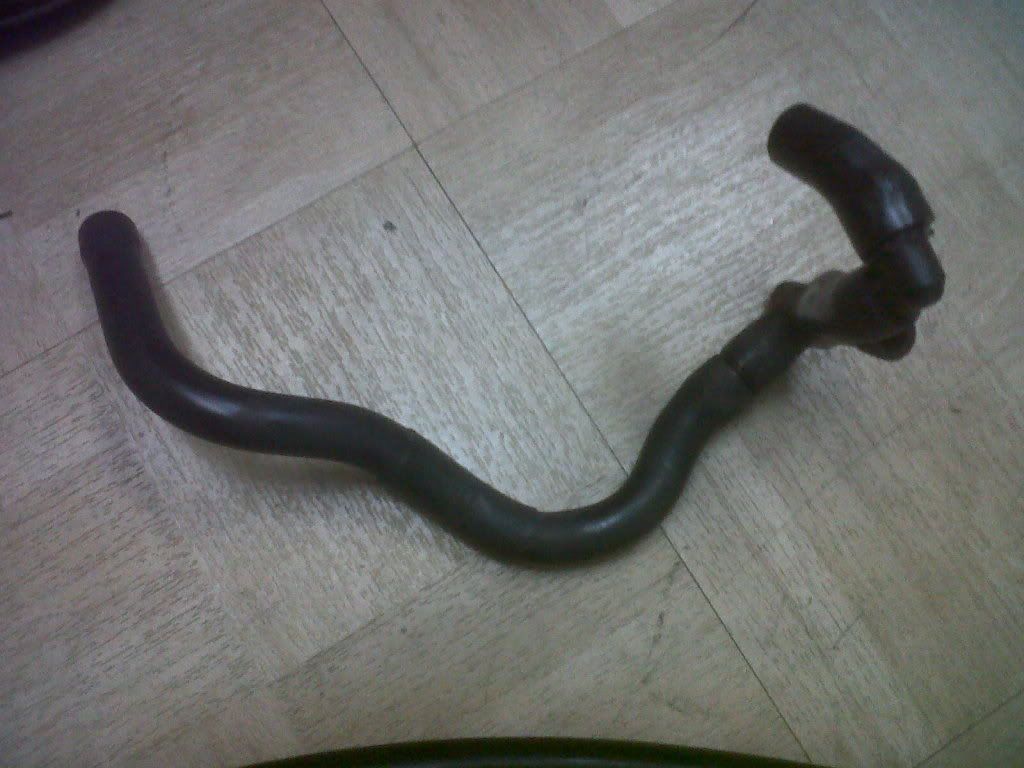
Well today I wake up this morning and when I turn the car on to go to work, and I get a huge smell of gas. Opened the hood and one of the small rubber hoses going to fuel rail under the upper intake manifold is leaking. So after work, since I have extra BMW 8x13 fuel hose I went to replace it. I found out one of the original clamps was bad and couldnt be tighten anymore. This normally happens with these clamps overtime. I still swapped out the hoses and replaced the clamp. But when I removed upper intake the gasket was broken in 3 parts. I think this is my bad idle/bad mpg, plus the loss of fuel to make it worst. I ordered the gasket but car is back on road until I get gasket Mon or Tues.
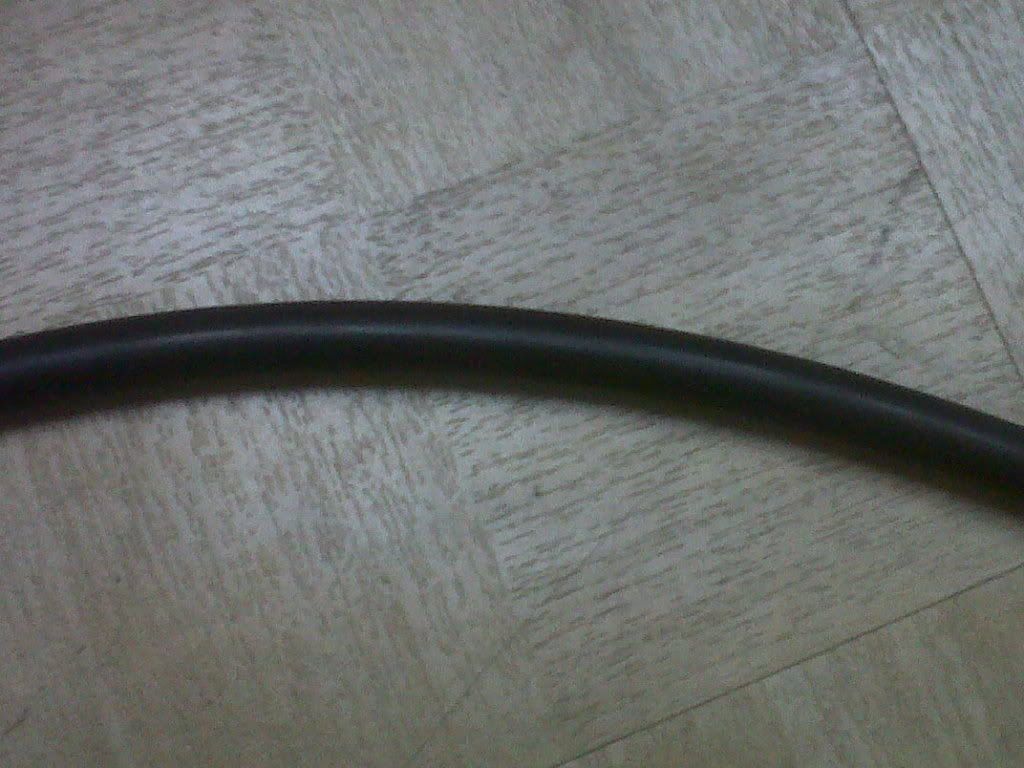
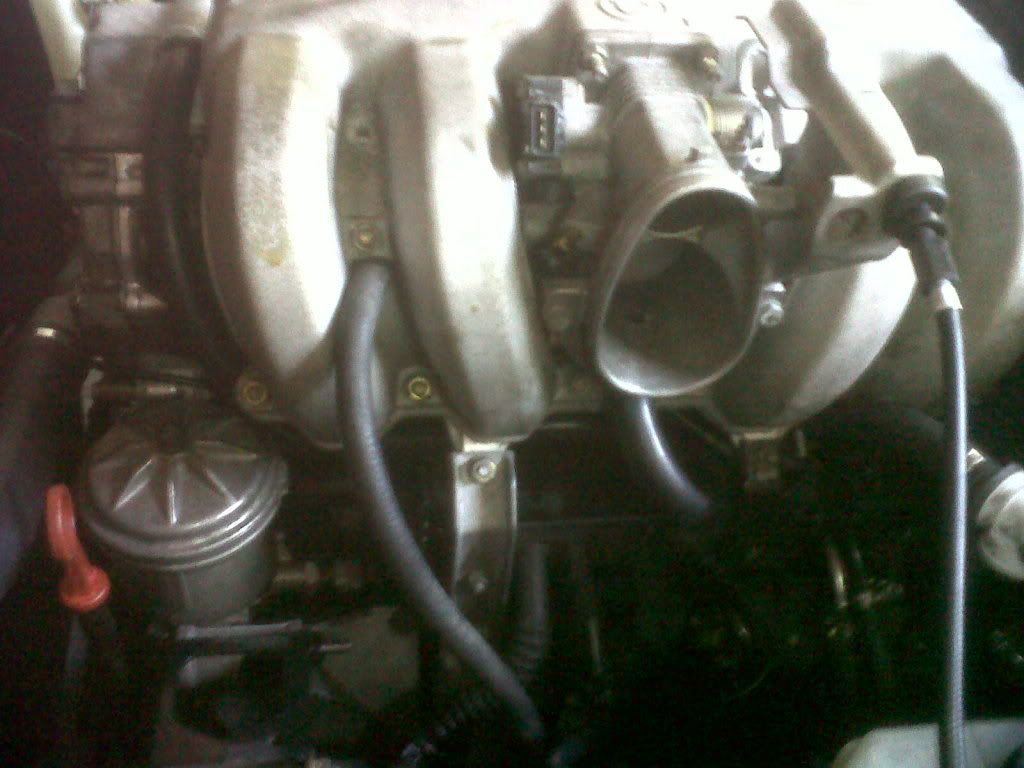
I also order a piece of 12mm silicone black hose from Hi Performance after Desktop Dave's review of their product. I order the 2ft length to change out my oem hoses that go from valve cover to throttle housing. The cable fit very snug on both ends. I could have cut about 4-6 inches but wanted to keep the hose without kinking and using the same path the OEM hose uses, which is under the intake manifold. Here is pic of the 3 items and upset I had to use cell phone for pics. When I replace gasket, I will take a better pic of hose installed. I need to figure out hoses for the ICV run even though I am using the 2 stock hoses and then a stock plastic coupler with a molded ICV hose for the m30. Looks stock.
Here is the hoses I replaced with the silicone. It is the 3 piece with 2 couplers. I used these after removing the throttle heater plate. And 10x eaiser to remove upper intake with out having to deal with coolant hoses.
Here is the new hose, terrible pic. Hose is great quality.
Here is the new hose installed. Being that it is a little longer, I ran it towards the rear of engine and thenturn it back under the throttle housing. Bad pic but better coming soon...
Leave a comment:
-
Just change bulbs. I got the housings from Blunt from BMW. They are the same as Hella part so save money and go with Hella. He also offers them. I think they are like ~$17 ea.Leave a comment:
-
did you have to do anything to the wiring? or just switch the bulbs? also how much where the new platic housing?Leave a comment:
-
thanks, just trying to fix things but do it right the first time.Leave a comment:
-
You Sir are amazing... the way you do things is awesome... keep up the work... i think you're an inspiration to must of us ....8-)Leave a comment:
-
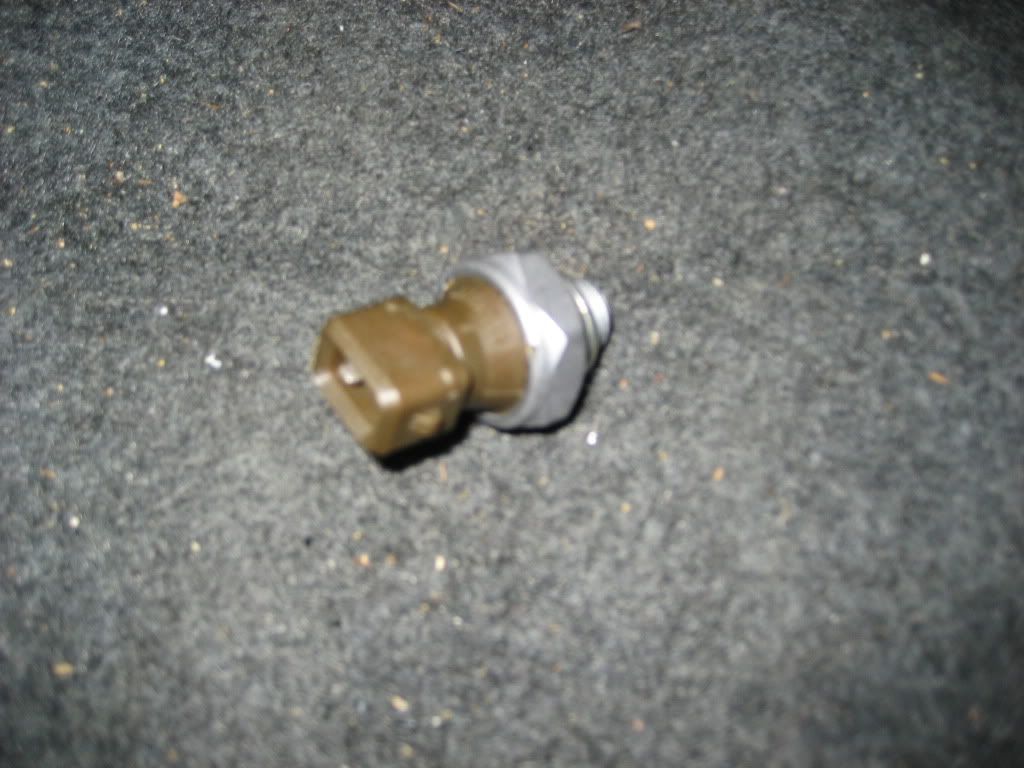
Took care of the little oil leak that was still happening today after work. Already replaced oil filter housing gasket and oring and leak got better. Now needed the oil pressure switch. I got it from BMW which is the same as the TRW part. Even stamped with it. The size is not the normal 22mm size like the Meyle version but uses a 24mm size. The problem is the plastic housing would just spin which then cause oil to seep throught. The BMW/TRW one is not possible to spin the way it is built. Here are the pics:
Old Meyle:
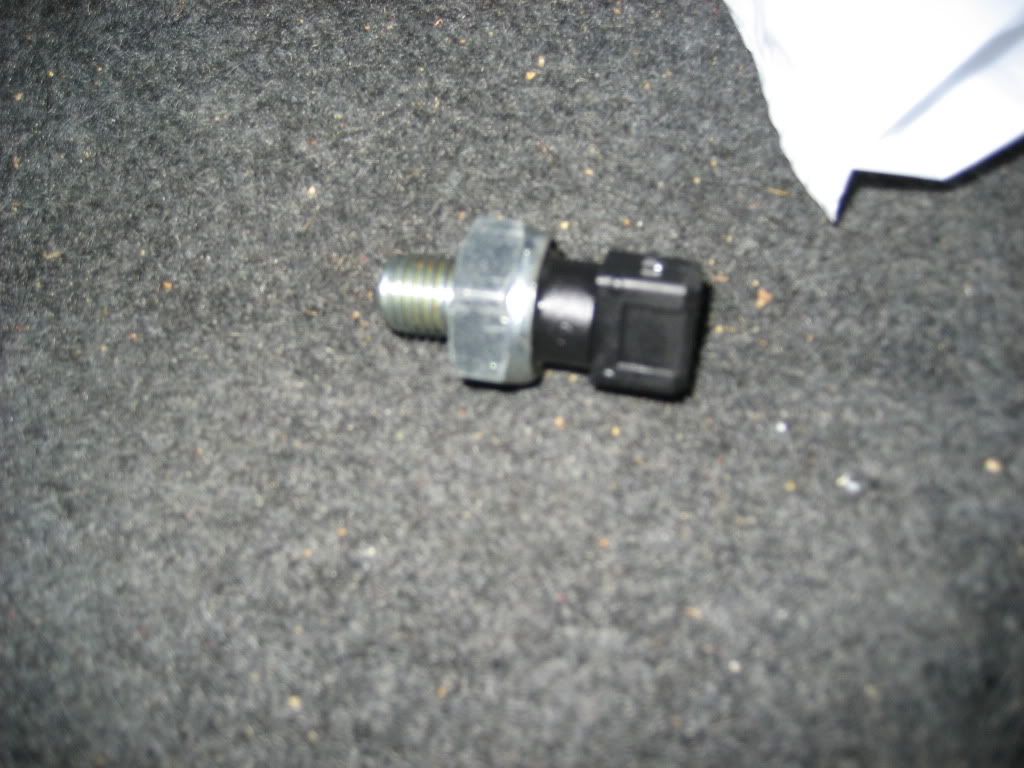
New BMW/TRW:
Leave a comment:
-
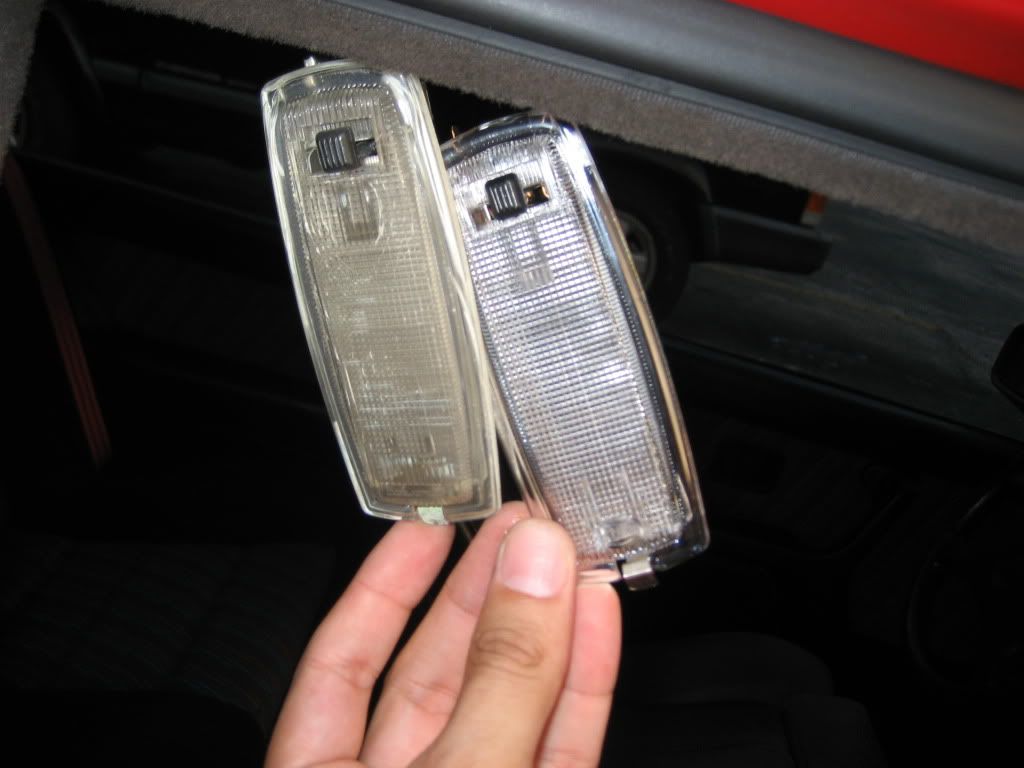
Another quick update. I got my interior LEDs from superbrightleds.com. I changed out my glove box light which takes a 36mm festoon bulb. This company uses high power LEDs as I tried the regular 9 LED bulb version they made and though the bulb looked nice, the ouput was not enough to my liking which has to be like stock but doesnt hurt to be brighter. They have a 3 HP led bulb version that is 37mm festoon bulb and worked perfect in this spot. Will later order 2 more for the trunk light and get another housing from the junkyard to had 2 housings in the trunk for more lighting. I will also get them for the licensce plate housings. Instead of getting it in the warm white which mimics the incandescent bulb, I opted for the clear white which gives it a more modern look and more white. Here is a pic of the glove box in the dark with the flash turned off, before (stock bulb) and after the bulb swap.
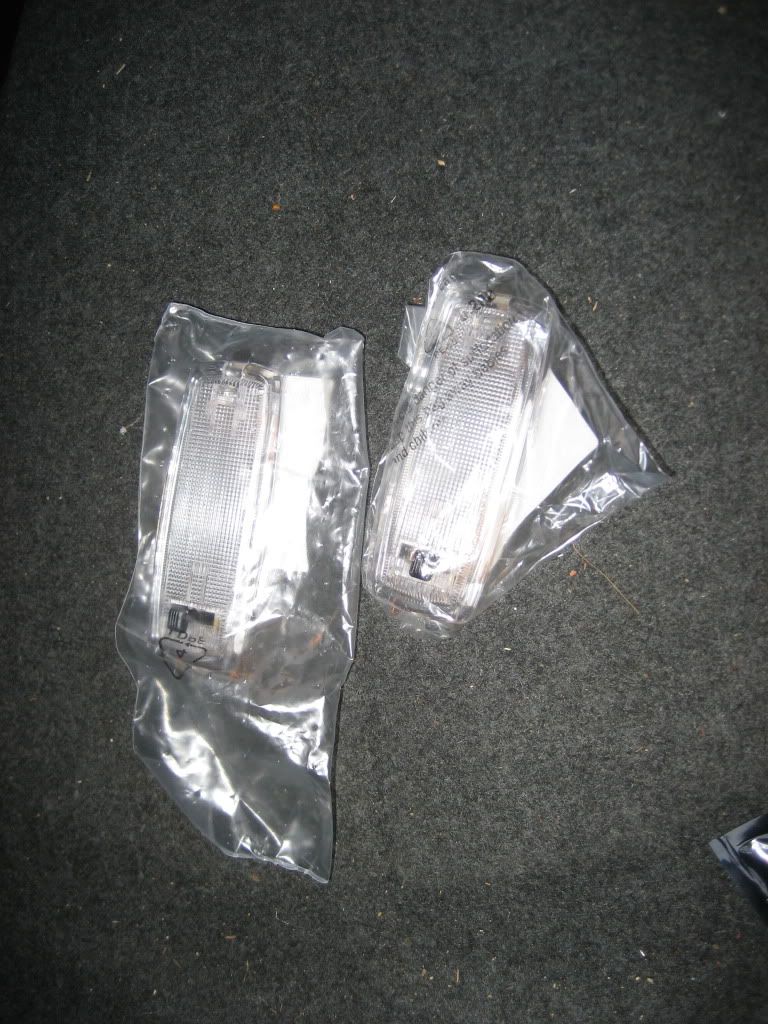
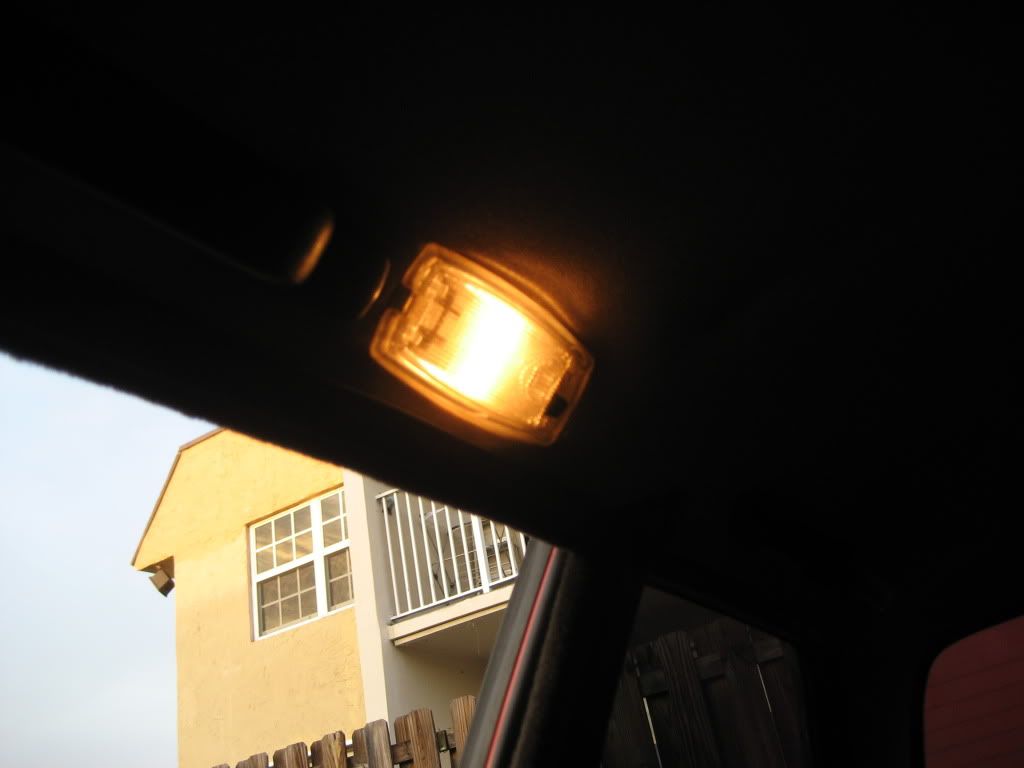
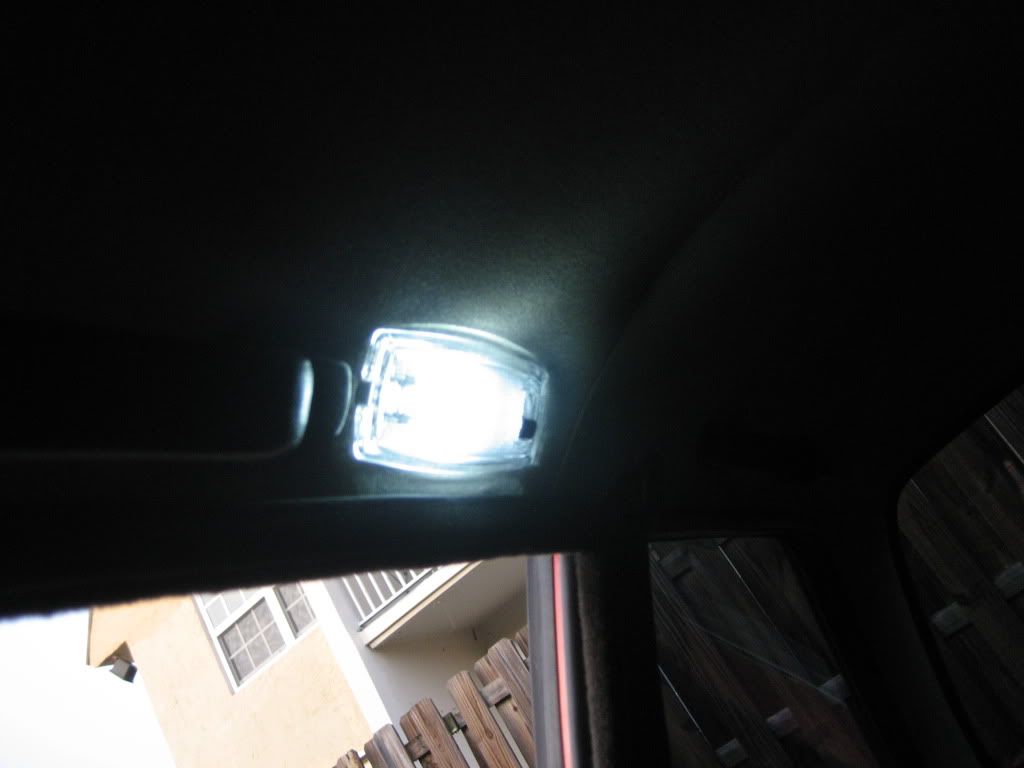
I then decided to get new dome housings as the originals ones were a little yellow, cracking but still worked just fine. The new ones click so much nicer between the 3 settings. The BMW part is actually the Hella part so don't waste money on the BMW part. The bulb is the same size as the stock, 44mm. I went with the 3 high power LEDs and they do offer a 6 LED version but then it might be too bright. Here are them still in the BMW package. Then a side by side comparison. Then pics of the passenger side before and after.
Next is the e36 rack sway this weekend. Have e36 LEM tie rods, 95 m3 rebuilt rack and spacers from AKG. I also got a new oil pressure switch from BMW, except same part as TRW (actually stamped with TRW) to finish the small oil leak issue. This switch uses 24mm instead of the other brand 22mm. Just got a new wrench today for the job.Leave a comment:
-
I have polished it twice, using the Zaino Bros stuff, multiple coats and working a whole day and it comes out very nice and shiny. The issue is the paint on the hood, roof and trunk is oxidized at its best. The other areas dont even have paint and just show the metal/primer. The paint is just shot. The polish/wax works great on the side panels, but there is a little oxidation on the top half of the side panels. I need to remove the white haze and in the end the car needs a paint job. The wax lasts a good 6 months but then goes back to the pink/white hazy color. I want to try the rubbing compound as it is the last thing to try before I really paint the car. Just have other projects and need the $ for those before spending it on the paint job. Thanks for the recommedations on those products.Leave a comment:


Leave a comment: