
Sweet work man
So you’ve done a 5 lug swap? Or are you using adapters?
-
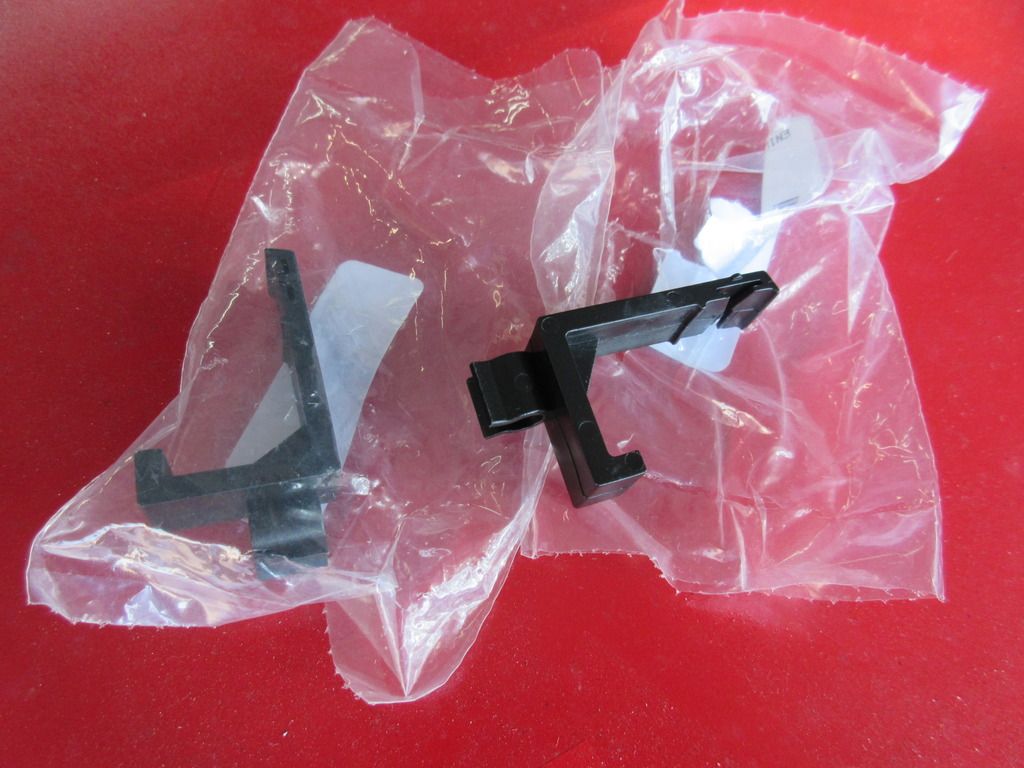
I got back today from a business trip and some parts came in so I can finish the car and get it back on the road officially. I already took it out for a short drive around the block but the exhaust is not installed. I plan on bleeding all 4 corners in the morning and will install these, abs wiring holder that goes on the subframe. The current subframe doesn't have them and the original ones are very brittle.
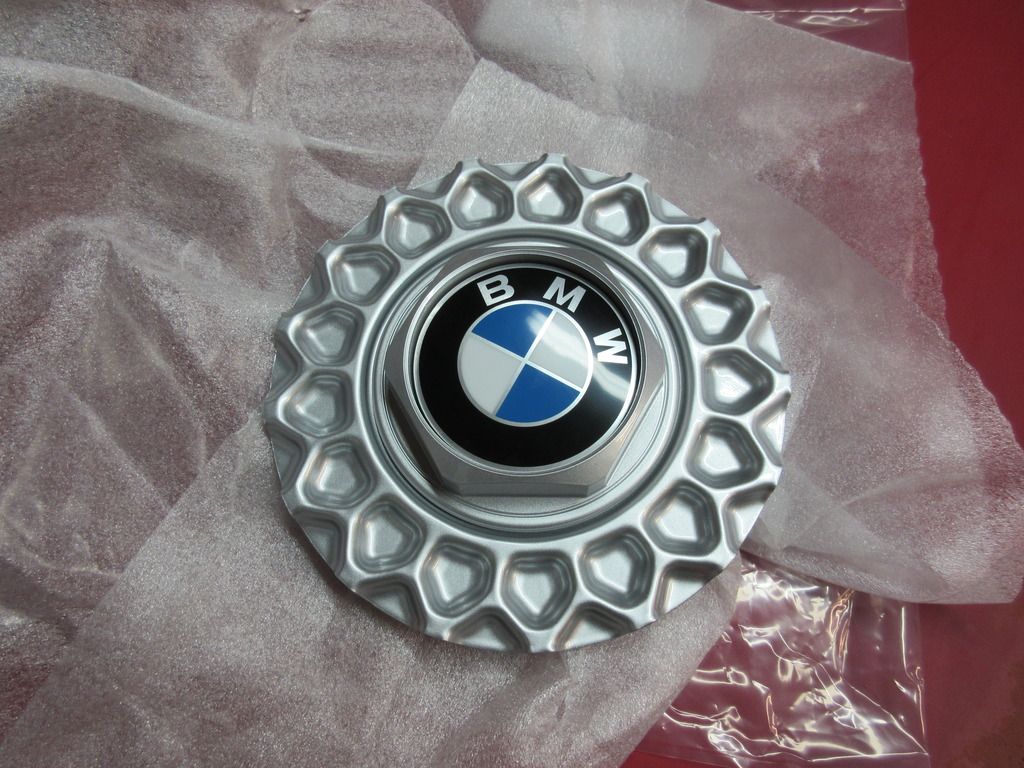
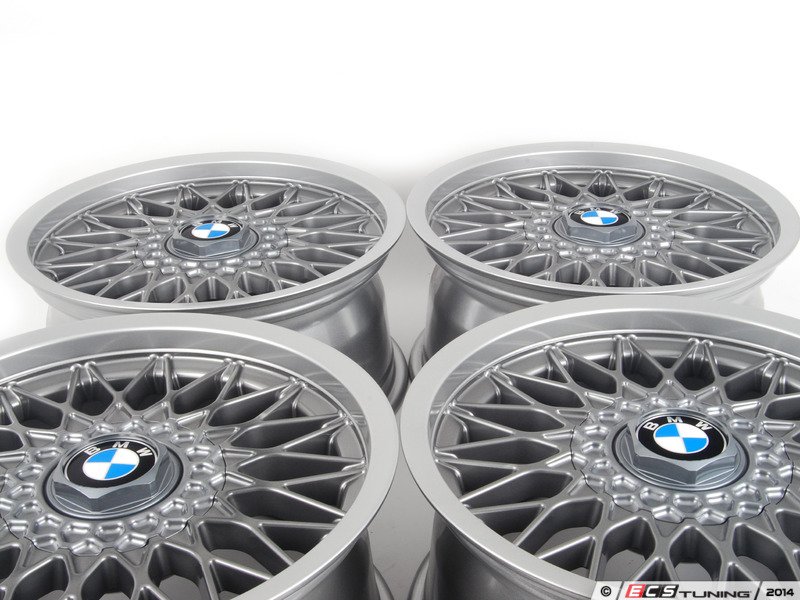
I also received one of the caps for the e28 m5 wheel. They are pricey so I got 1 for now. I am still looking for 2 used wheels and 3 caps. Will work the 16x7.5 e28 wheels in the front and the 16x8 e32 style 5s in the rear for now.
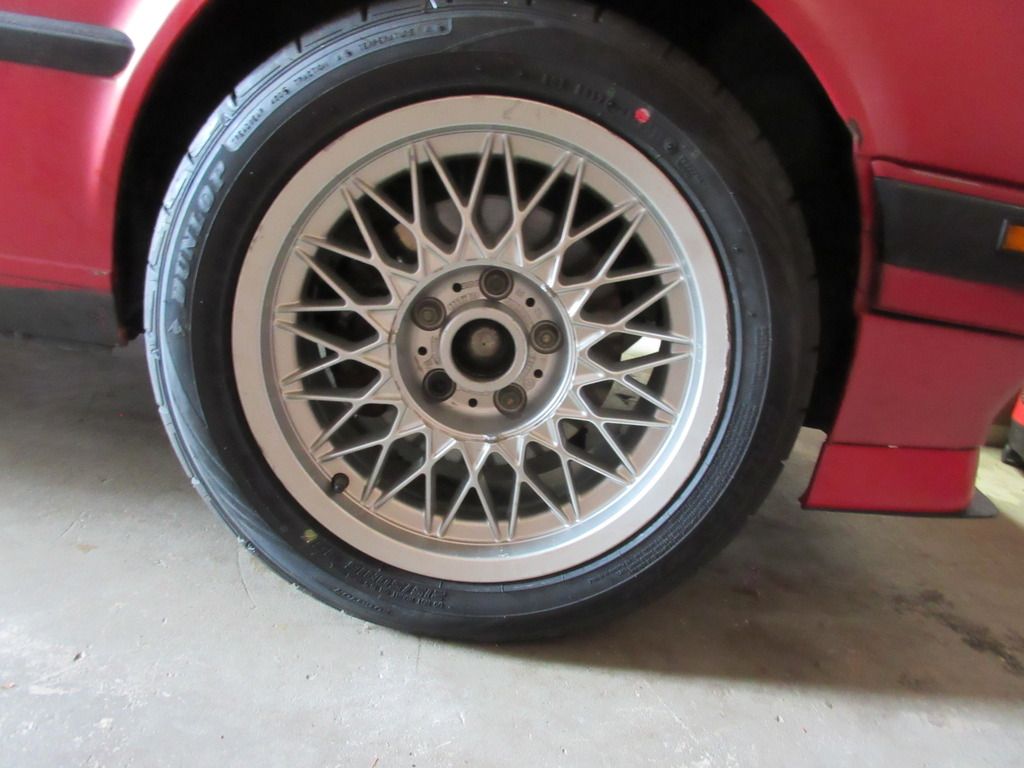
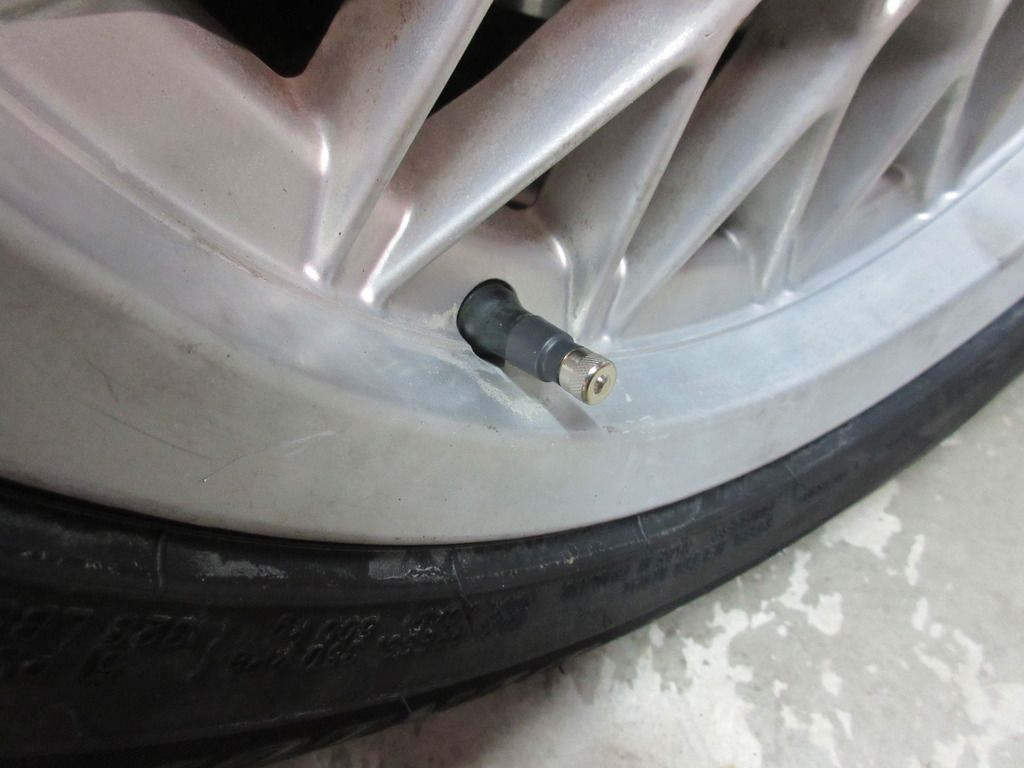
Here is the wheel installed, showing the BMW wheel lock.
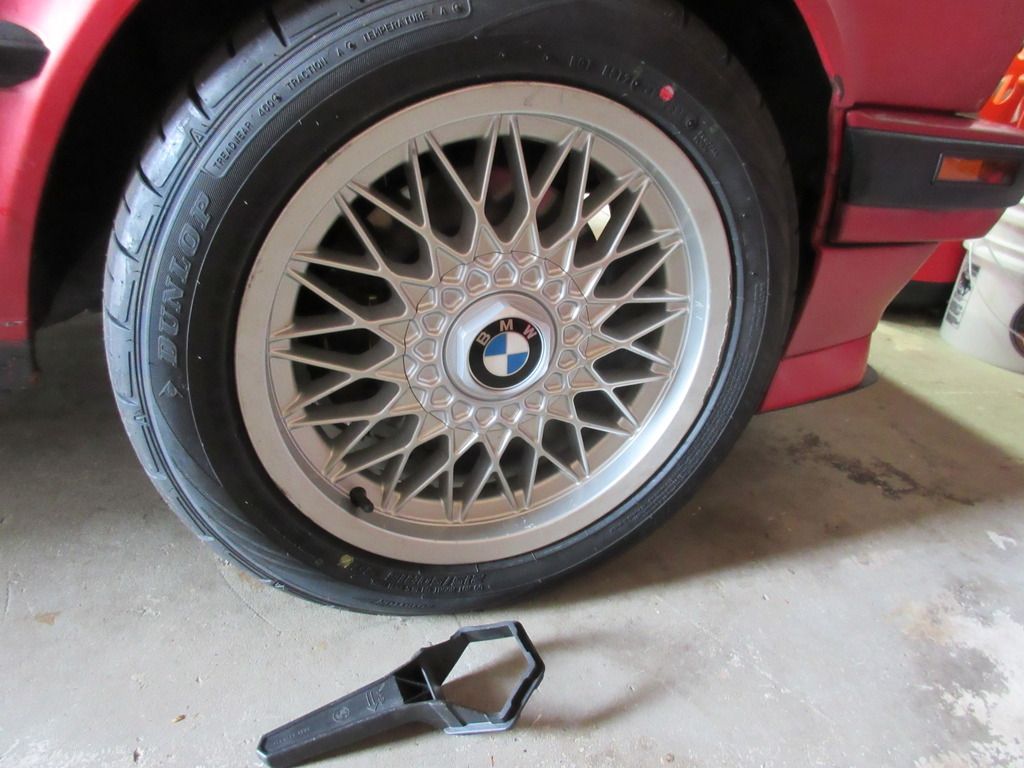
Here is the cap installed. Will be keeping the stock tool from the 14" wheels as they both use this tool.
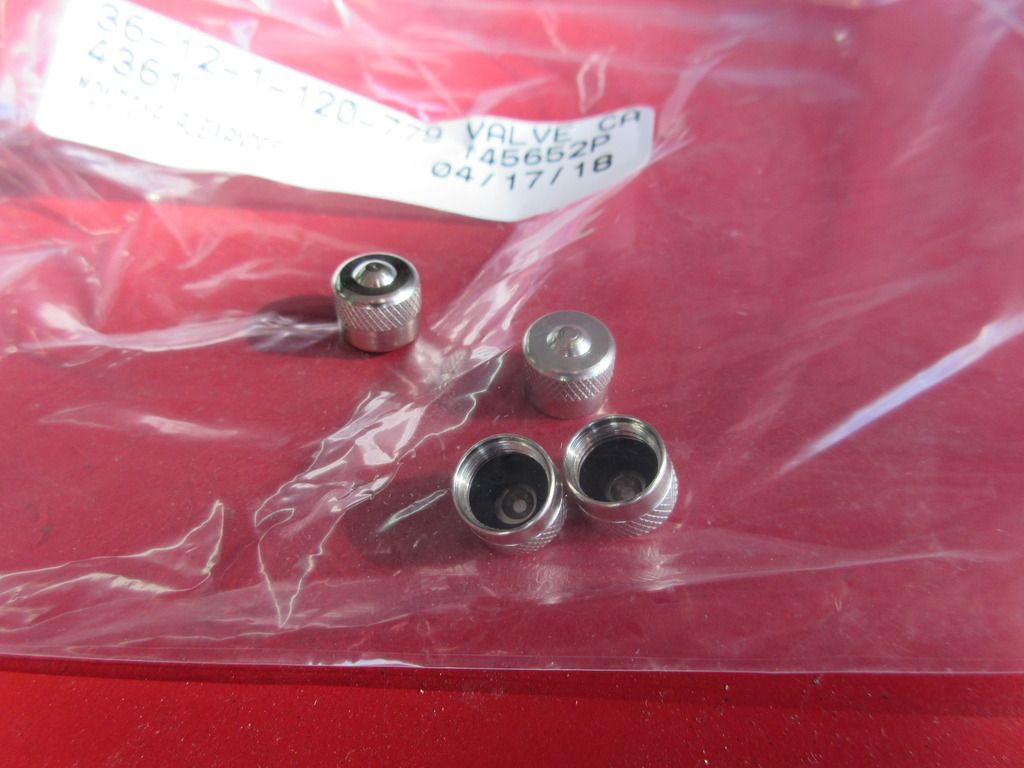
I then got BMW air valve caps. They are only $1 and has a nice grip material plus a o-ring on the inside to seal the connection.
[The issue now is that the stems have a long thread and the caps are not that long. This is how they come new from BMW. Here is picture from ECS tuning to show the gold threads exposed:
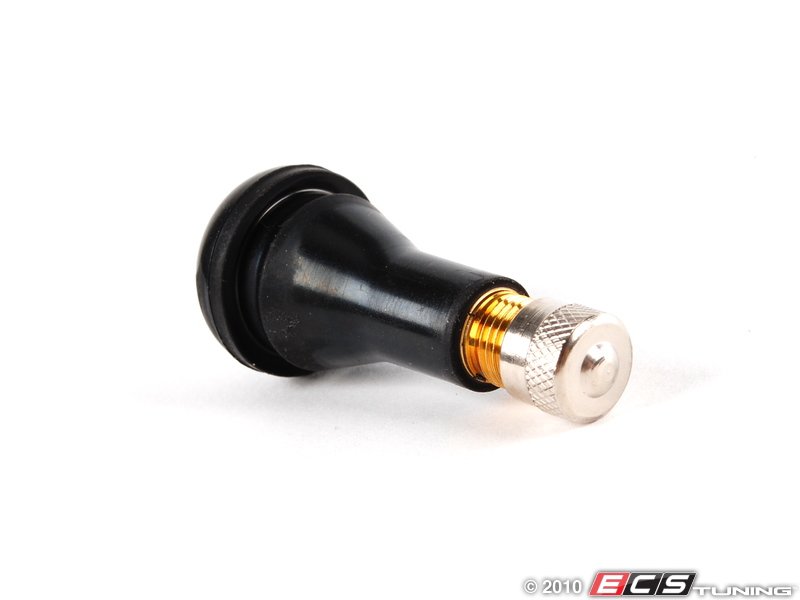
I don't like this, so I got black heat shrink tube to fill in the gap. Here is one example:
The goal is to refinish the wheel with nogaro silver like this. The e30 came with 27mm offset and the ones I am using are 20mm.
Leave a comment:
-
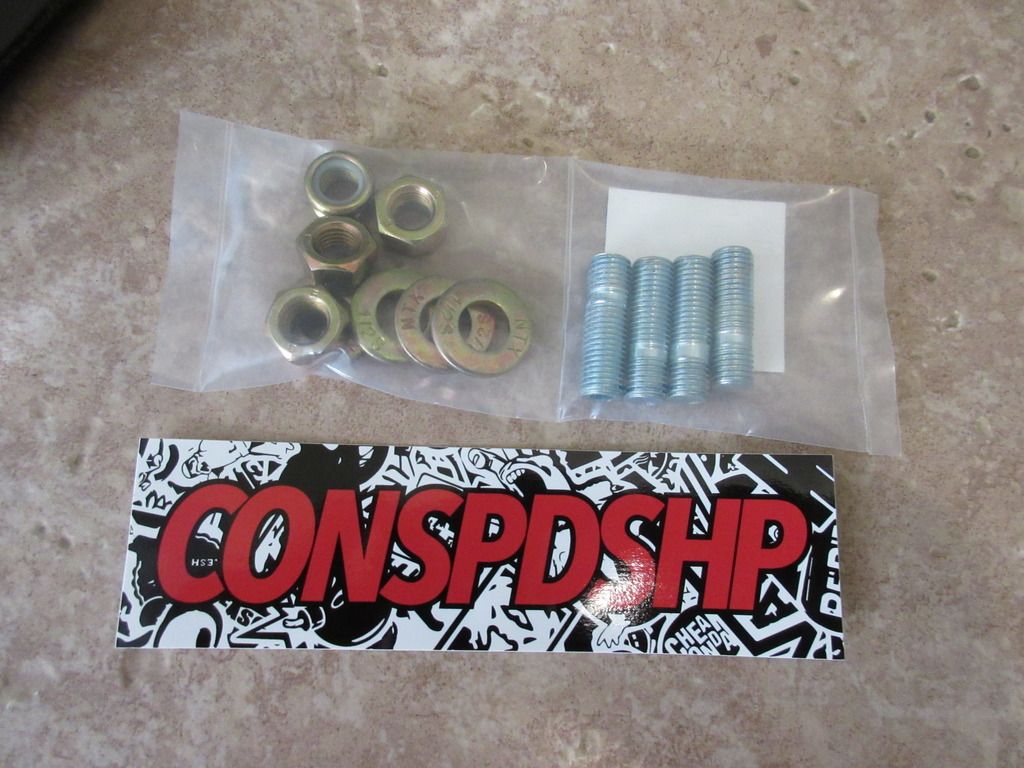
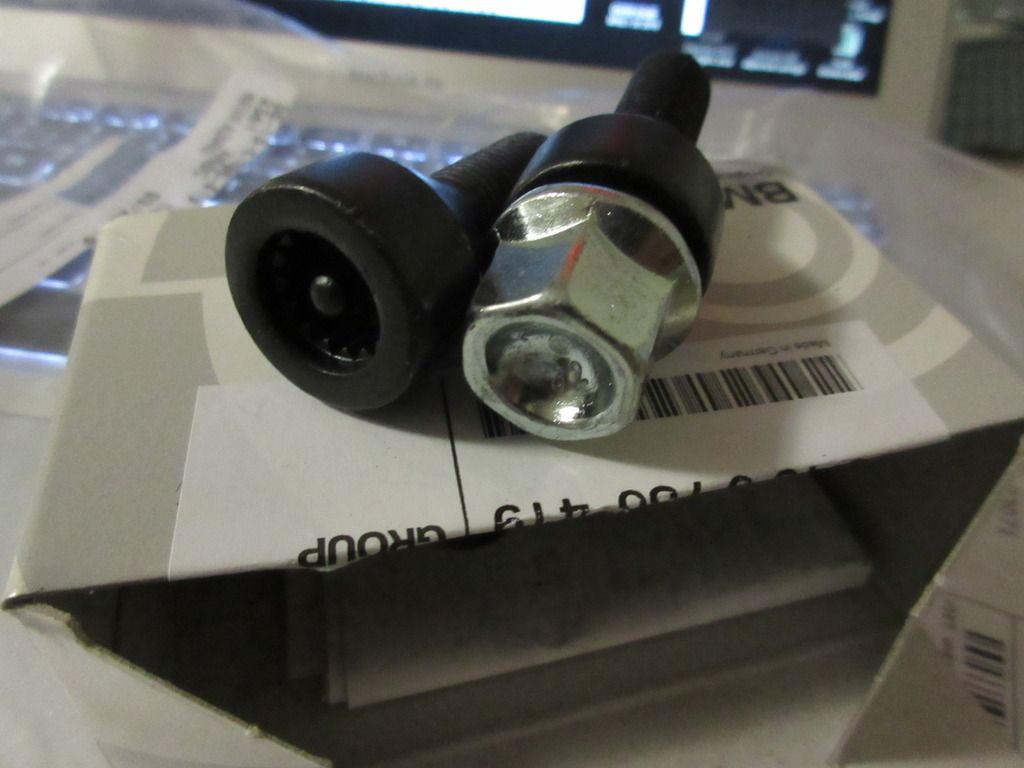
Got the diff stud kit from Condor. I wish the socket for the allen key was metric, I don't have standard and had to use an allen key. Already installed on diff and will try to install diff when I get home from work.
Leave a comment:
-
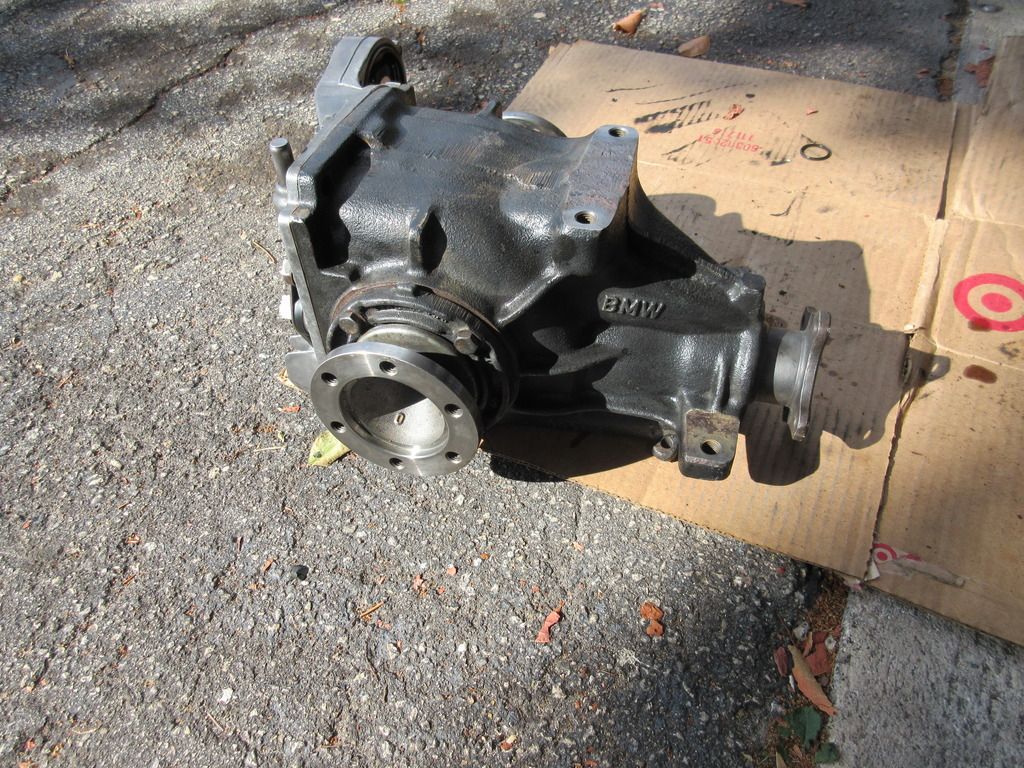
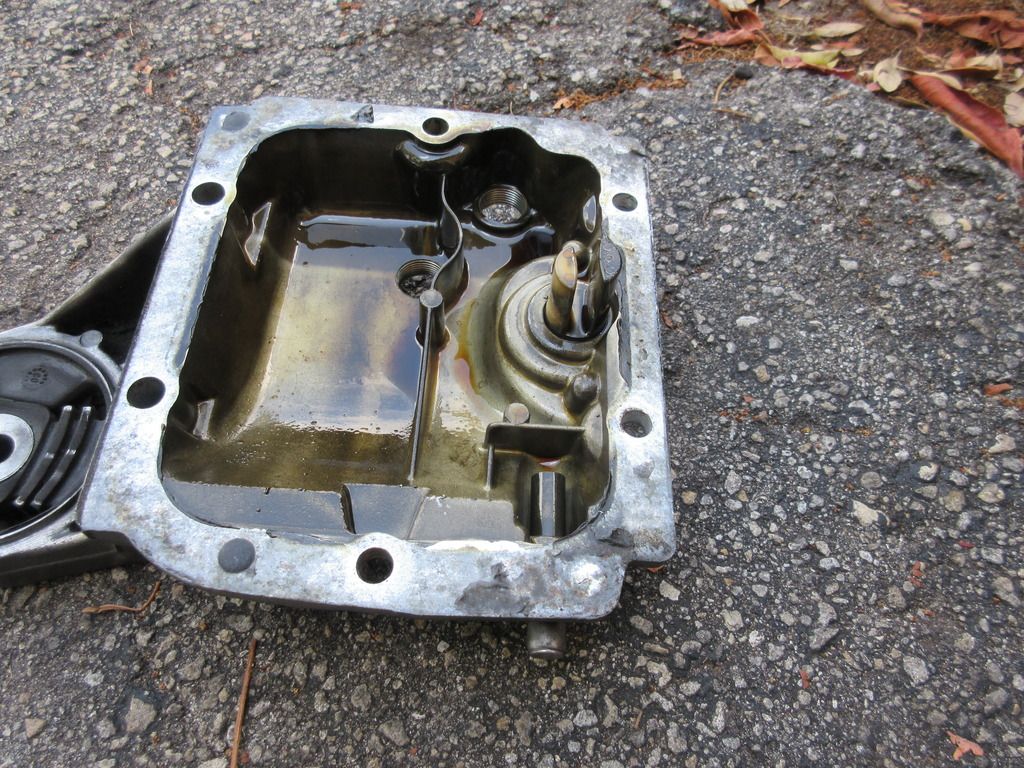
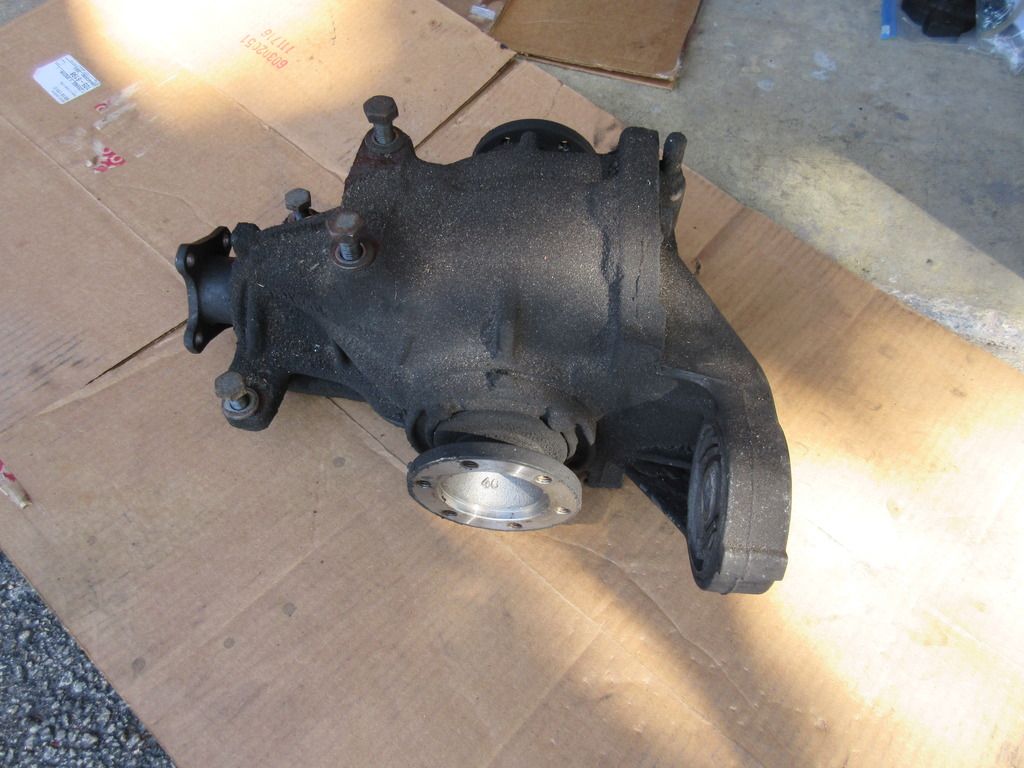
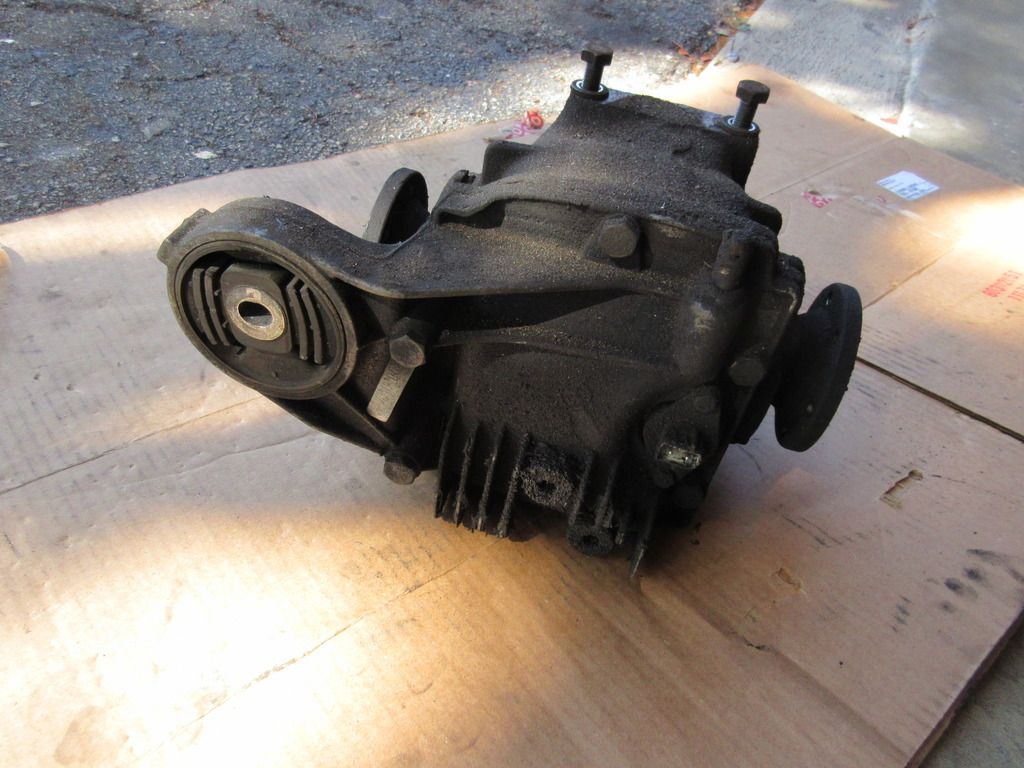
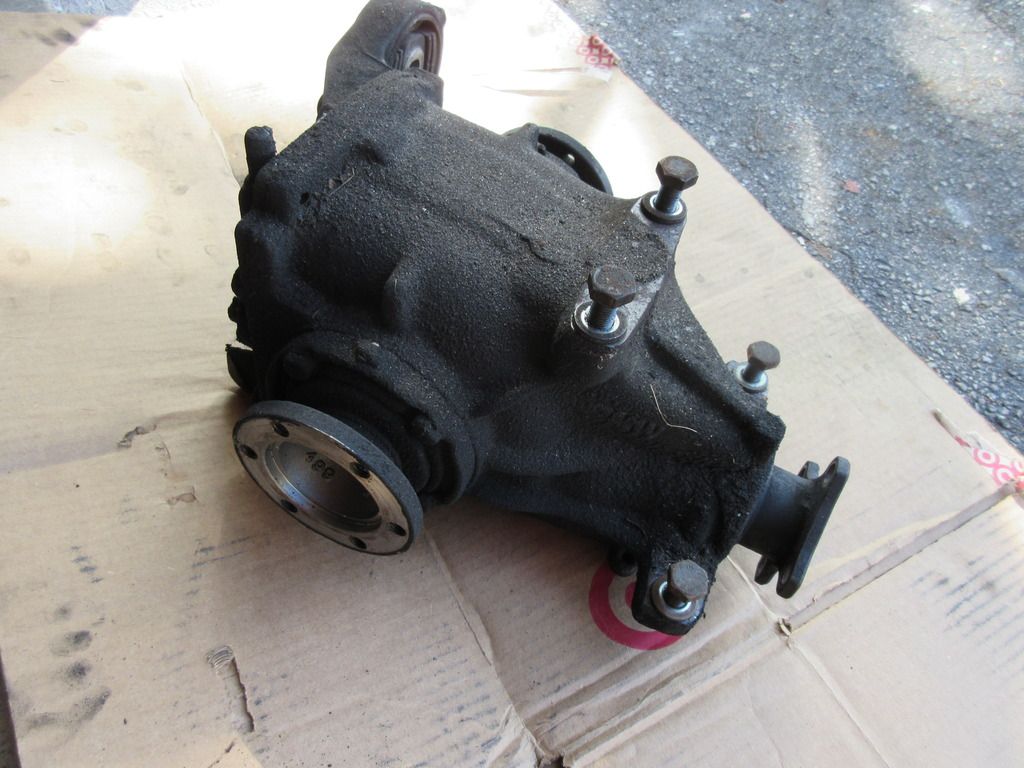
I finished cleaning the rear diff. I prefer doing a better job but since I will be rebuilding it in the near future, I will give it a better cleaning then. I remove all the heavy grease with a degreaser and wire wheel. At least you can touch it without getting you hands dirty. At least the BMW test is clearly visible today.
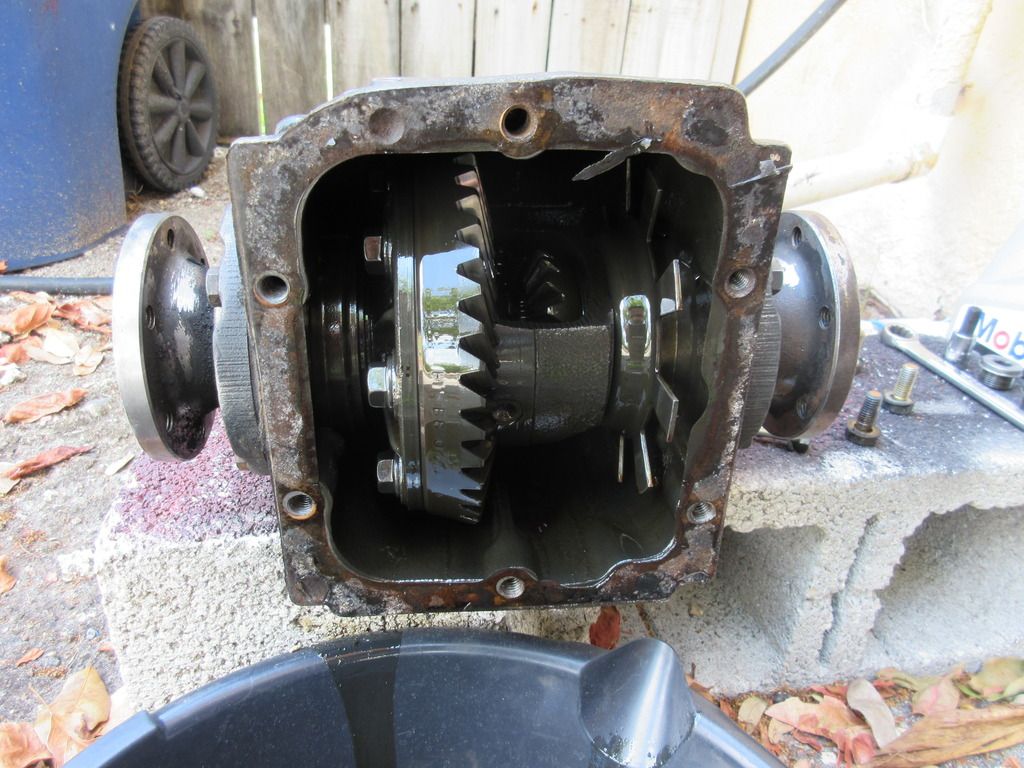
Here are the internals, nothing loose or shavings on the bottom. The paper gasket was all wasted.
A few new parts, new speed sensor, oring and plug washers and all toque to specs:

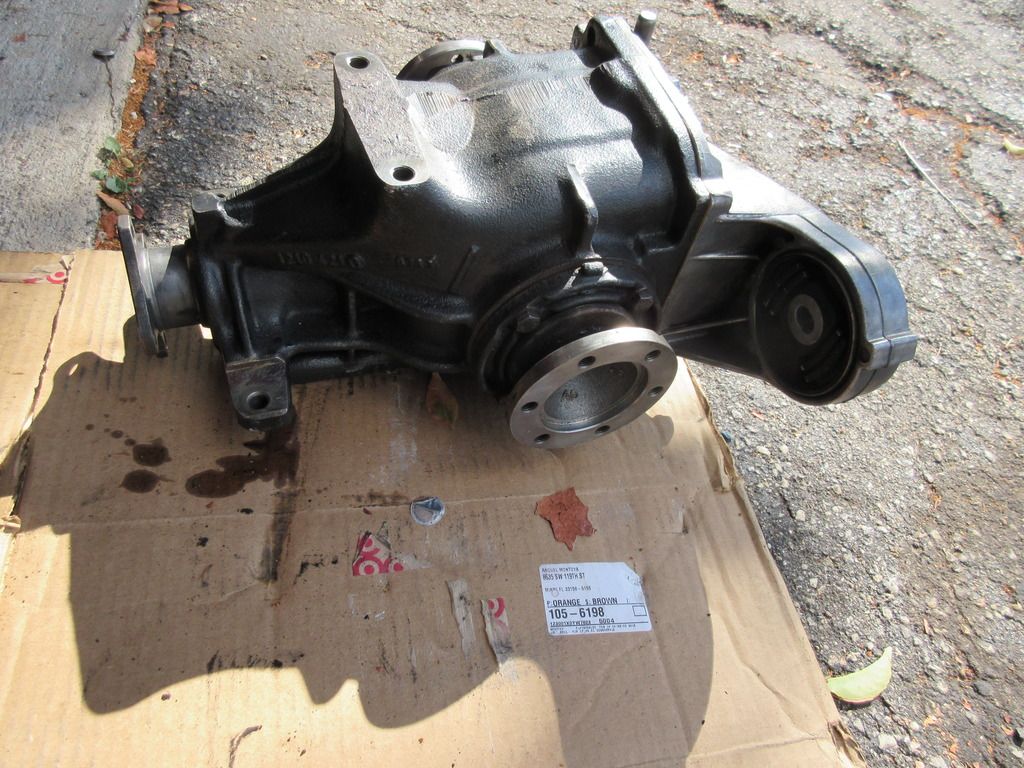
Final product:
Leave a comment:
-
I was amazed at the difference in feeling before/after doing poly bushings on the e30. You'll definitely appreciate all of that painful work.Leave a comment:
-
In preparation for the e28 m5 wheels, I got BMW wheel locks.
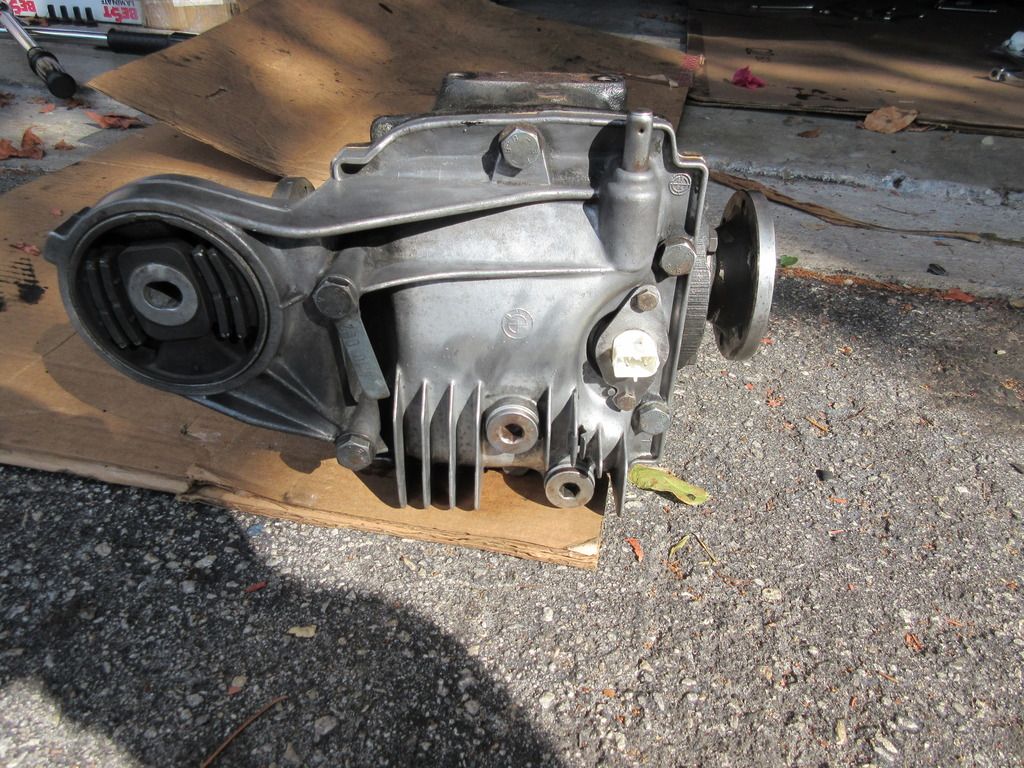
I started to clean my diff. Here are a few pictures of almost 30 years of grim on the original part.
I just ordered a stud kit from Condor Speed Shop as they are somewhat local to me.
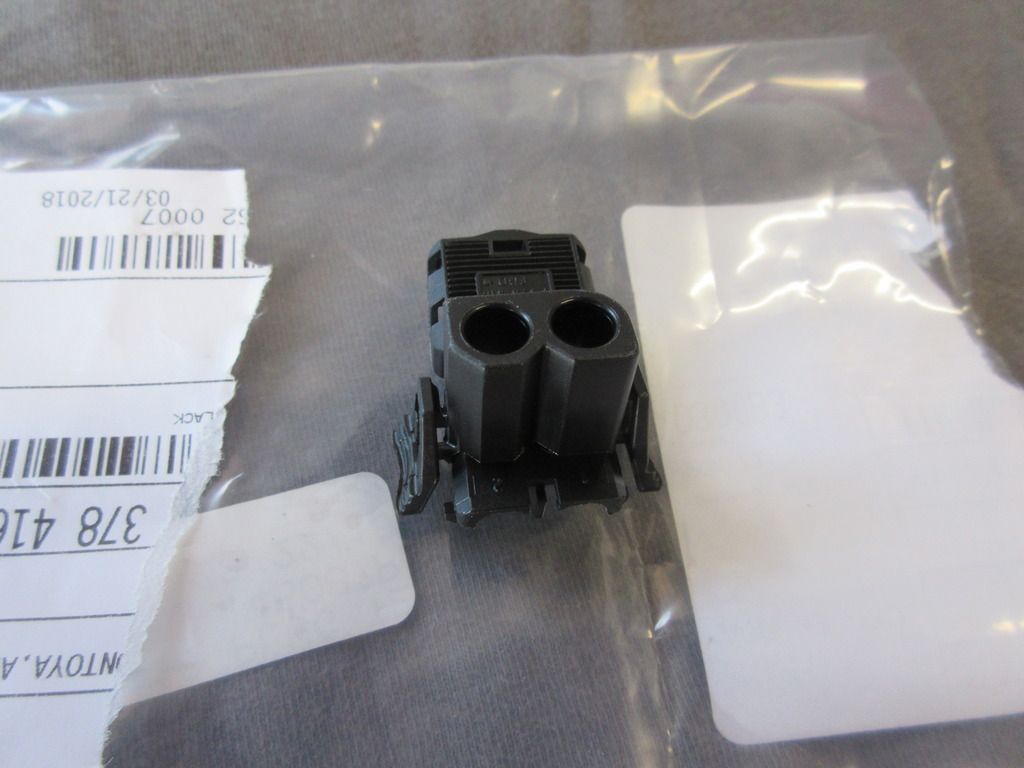
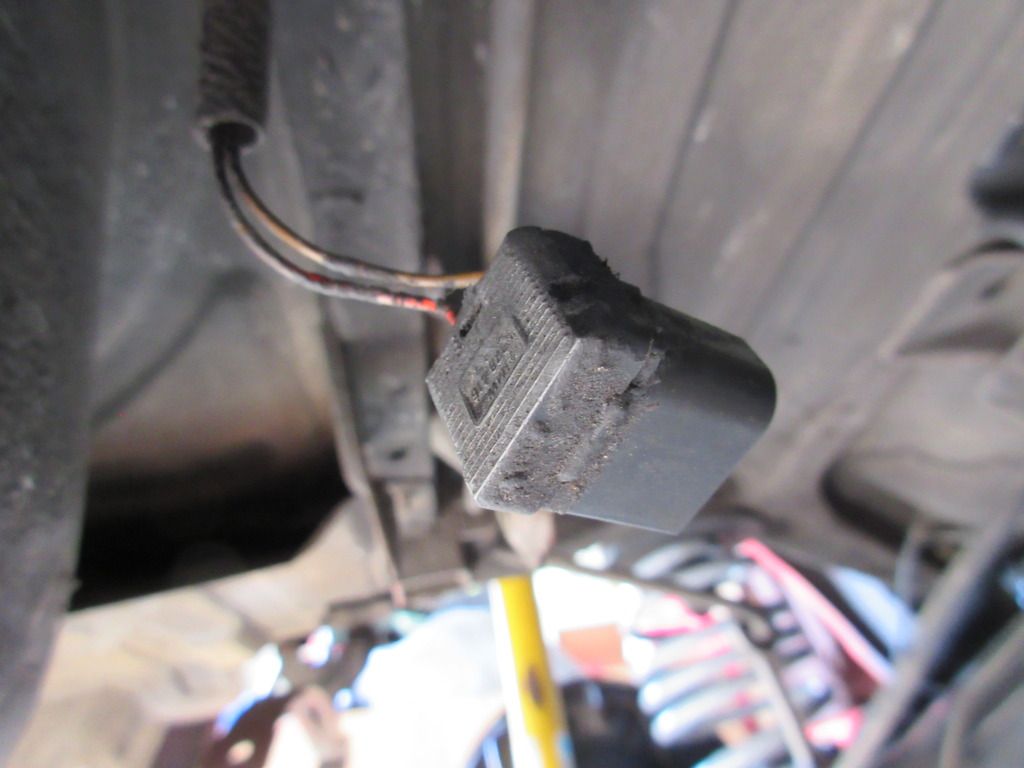
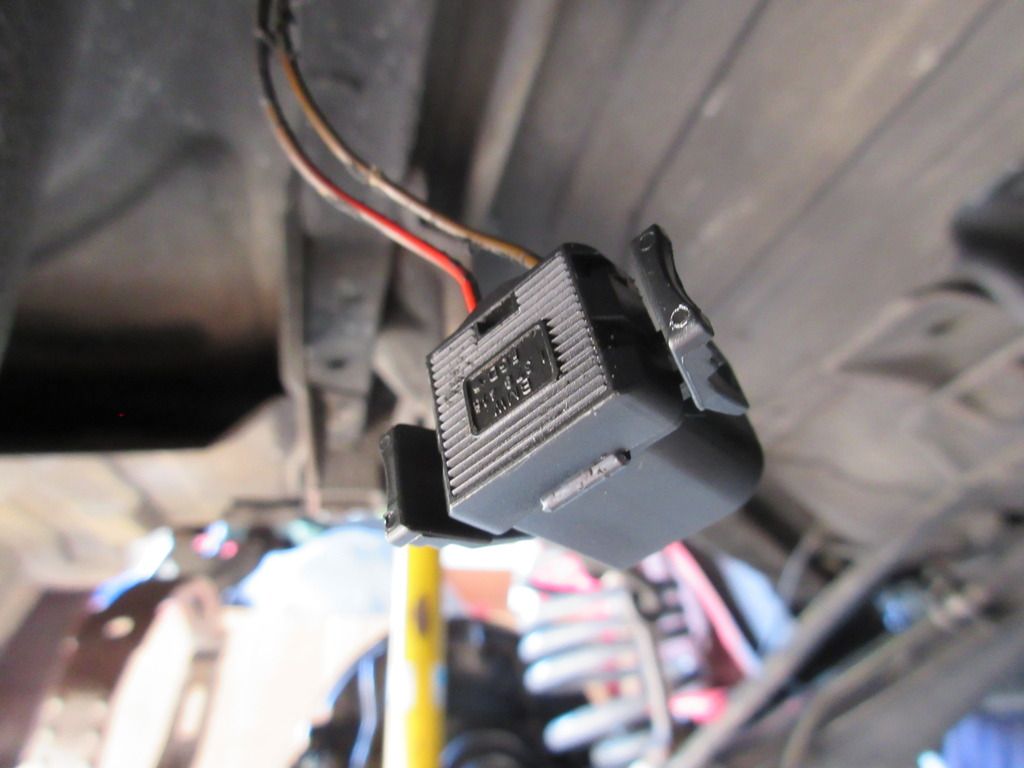
I then replaced the rear diff speed sensor plug. The clips were brittle and one side broke while removing it. The other side was already broken, not sure when that happened.
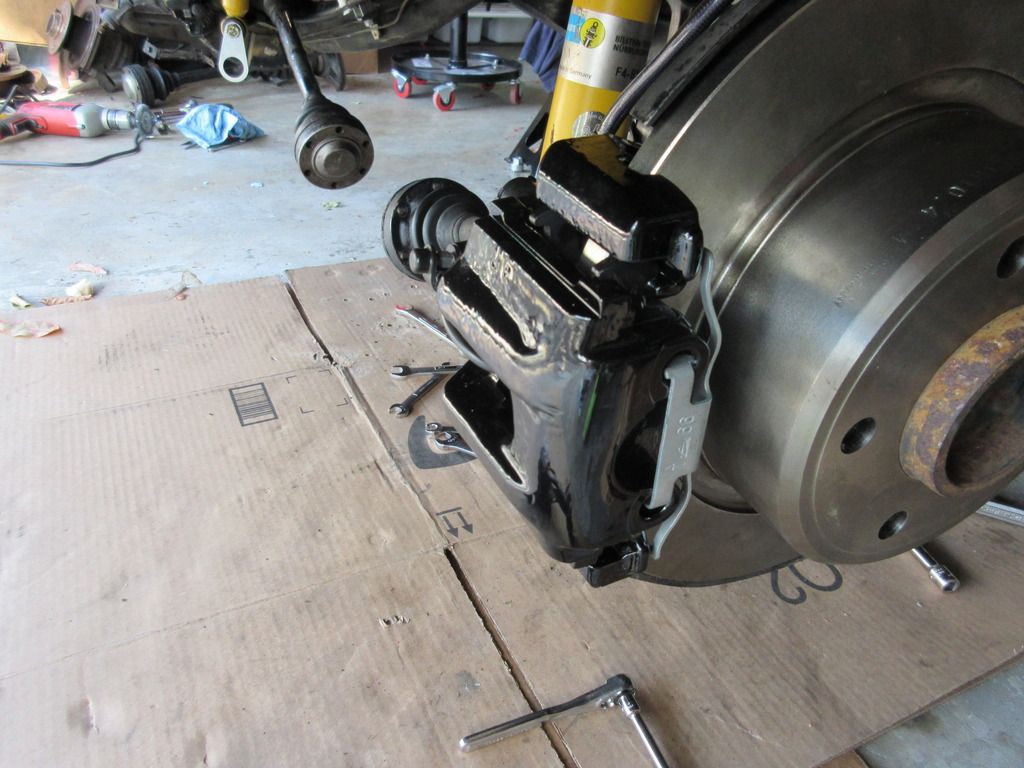
Finished the passenger rear side. Got the ebrake installed and all the calipers. New brake lining sensor and making sure clips to hold all the wiring and cables are in place. I also installed the anti-rattle clip as I had forgot on the driver side. Both sides have been bled with Motul 600 brake fluid.
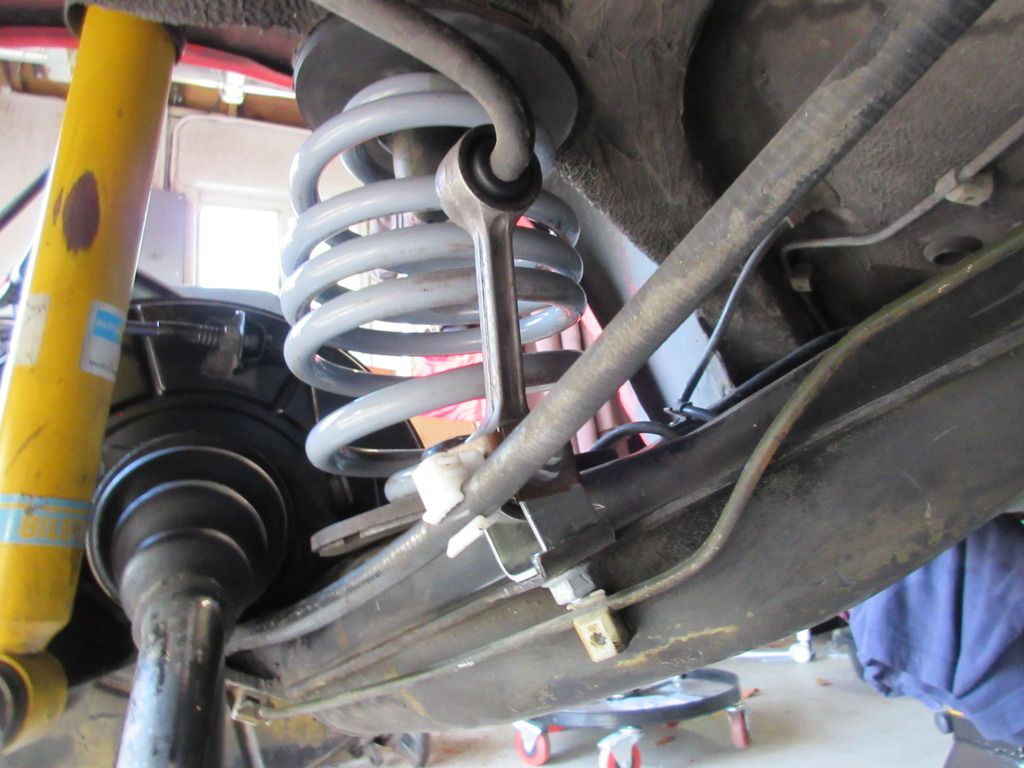
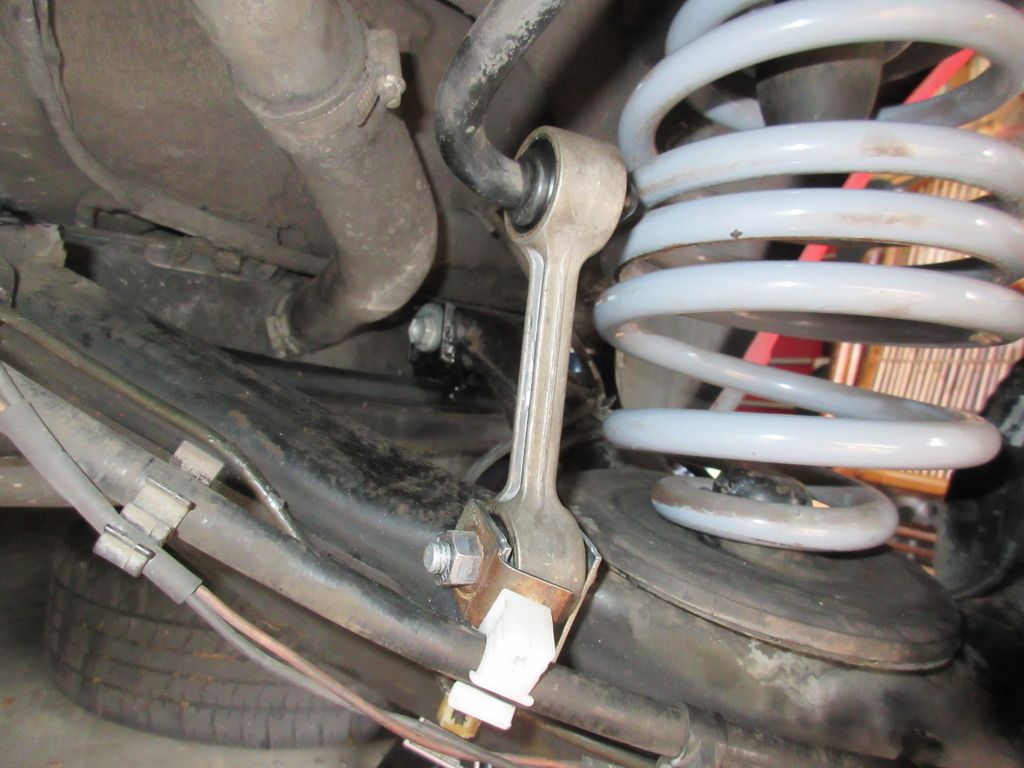
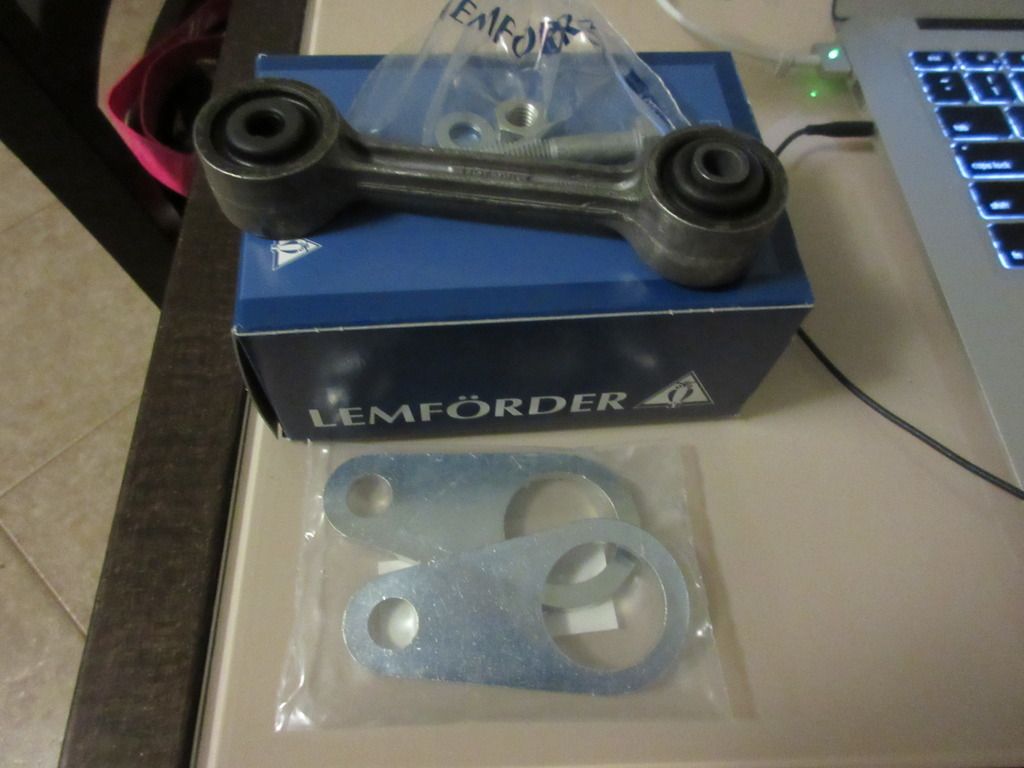
I installed new Lemforder sway bar links with new hardware from BMW. Even got new white clips for the ebrake cable. Little soapy water got the links on the swaybar.
Just need the differ installed plus exhaust and then its time for test drive. Still need to get tires and need to figure out if I will go with 215s or 225s.Leave a comment:
-
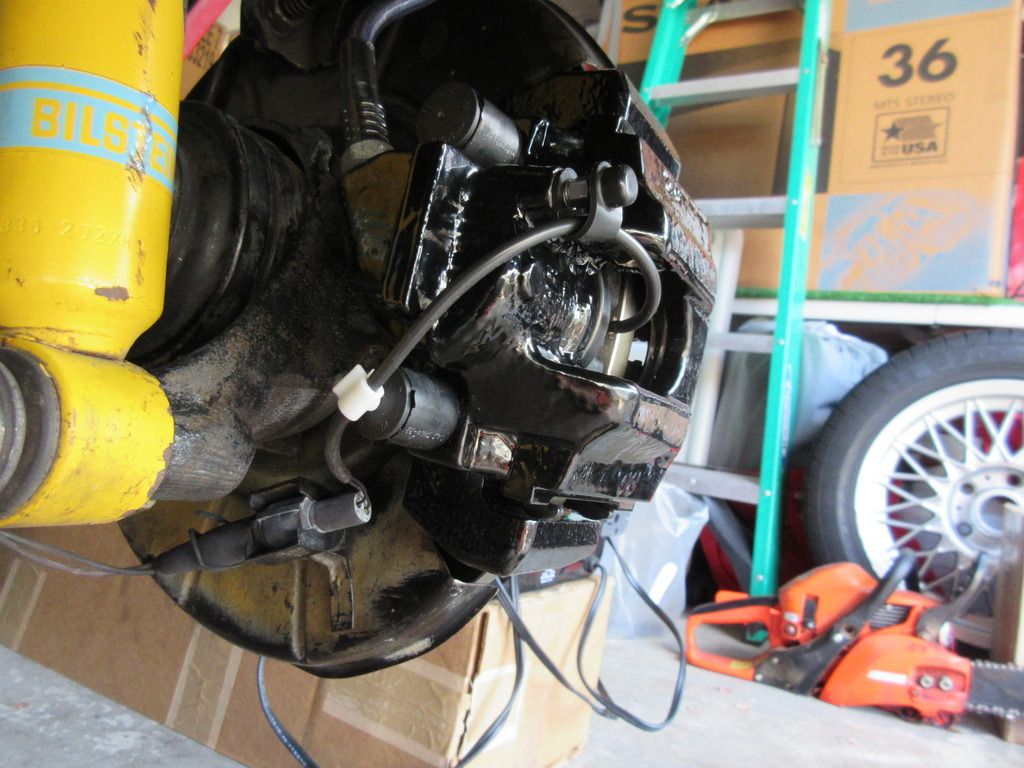
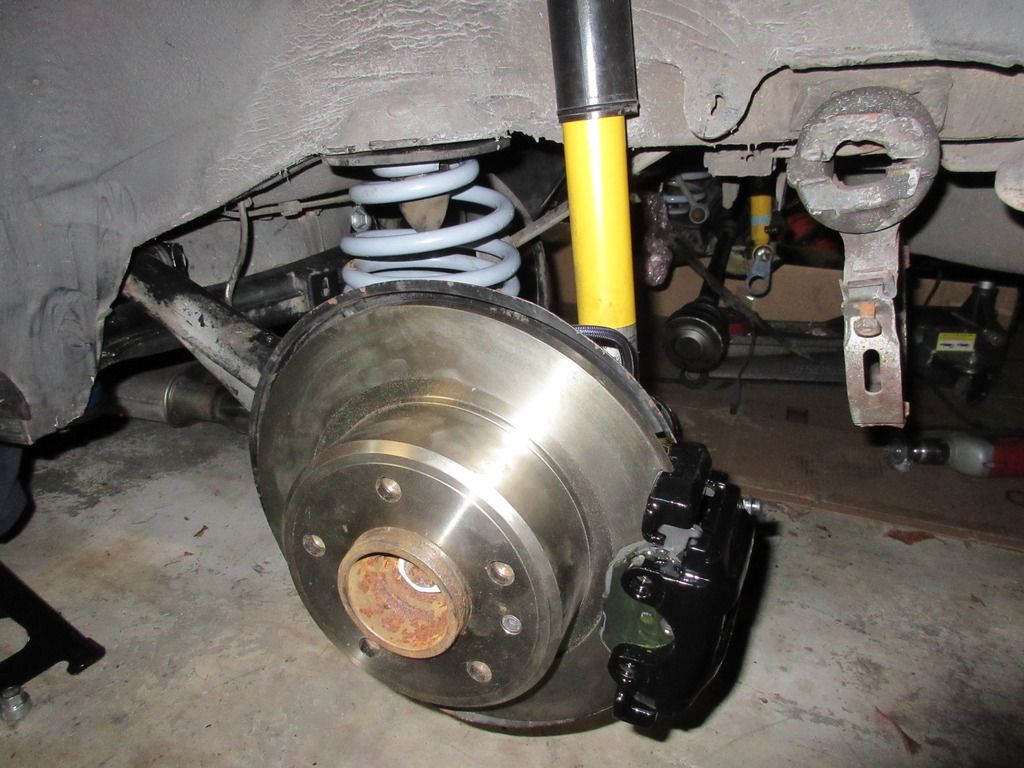
Got the driver rear side button up with the brakes. I got the ebrake items installed. I also installed a new rotor with the rebuilt powder coated rear e30m3 brakes to match the front in gloss black. I also added the Porterfields brake pads as well to match the front. Here is a picture of it installed. Just need to bleed it after I do the other side.
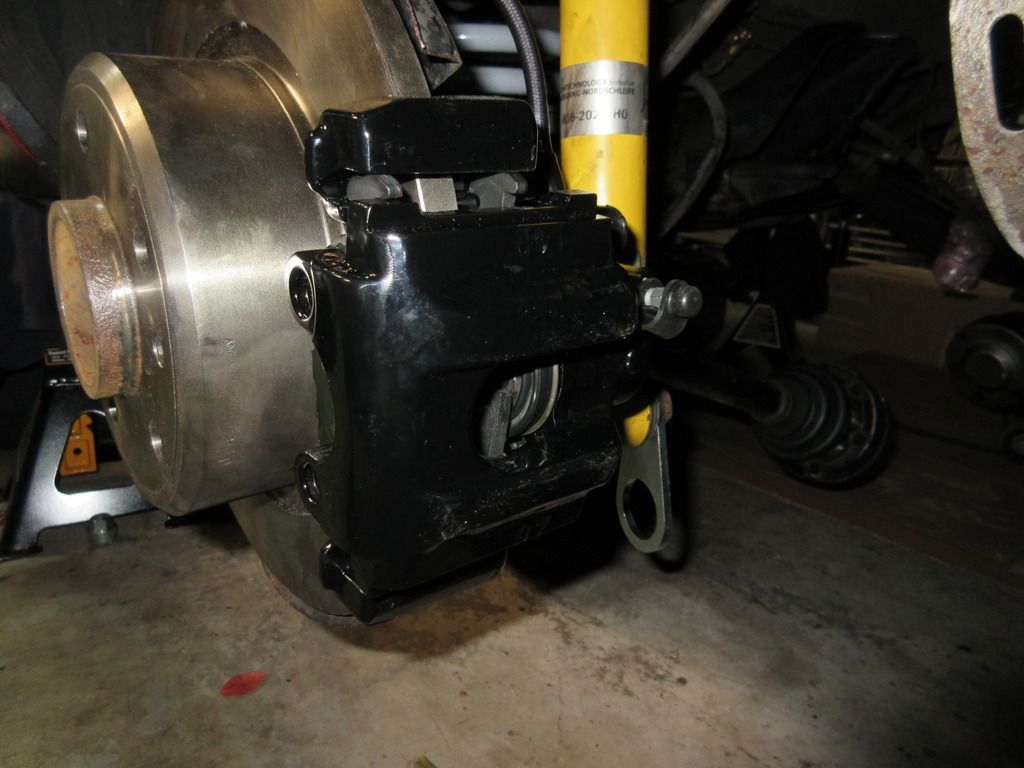
Here is another angle. You can see the UUC brake lines after a good cleaning as well as the AKG tow hook.
Leave a comment:
-
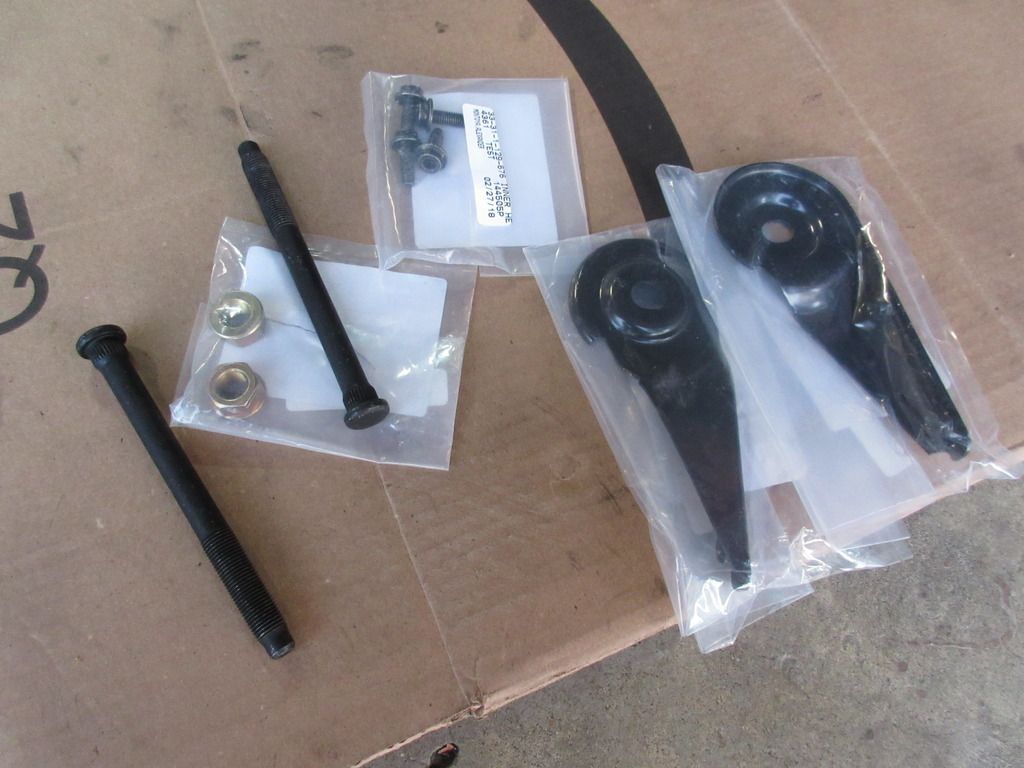
Ready to install the subframe. Here are all the new parts to make it happen.The original parts just has a little too much surface rust. The subframe bolt and nut are recommended to replace with new ones.
I got it installed. One thing to note, if you are using the AKG bushings, and the eccentric slots and bolts, you need to take a small slice from the top of the bushing and washer to fit a 18mm wrench to adjust. I notice they were touching during the install and then reading online confirmed what I did. I will take a picture of it.Leave a comment:
-
getting closer to putting it back together.
Using AKG tool removing OEM rubber ones from these e30 m3 rear TAs. The rubber even has the BMW logo
Got all the rtabs installed. I lube the grease grooves with ATE plastilube. Highly recommended to prevent squeaking.
Here is one of the ta arms installed with the eccentric bolts. I tighten them in the middle, to match stock. Will get a 4 wheel alignment when its all back on.
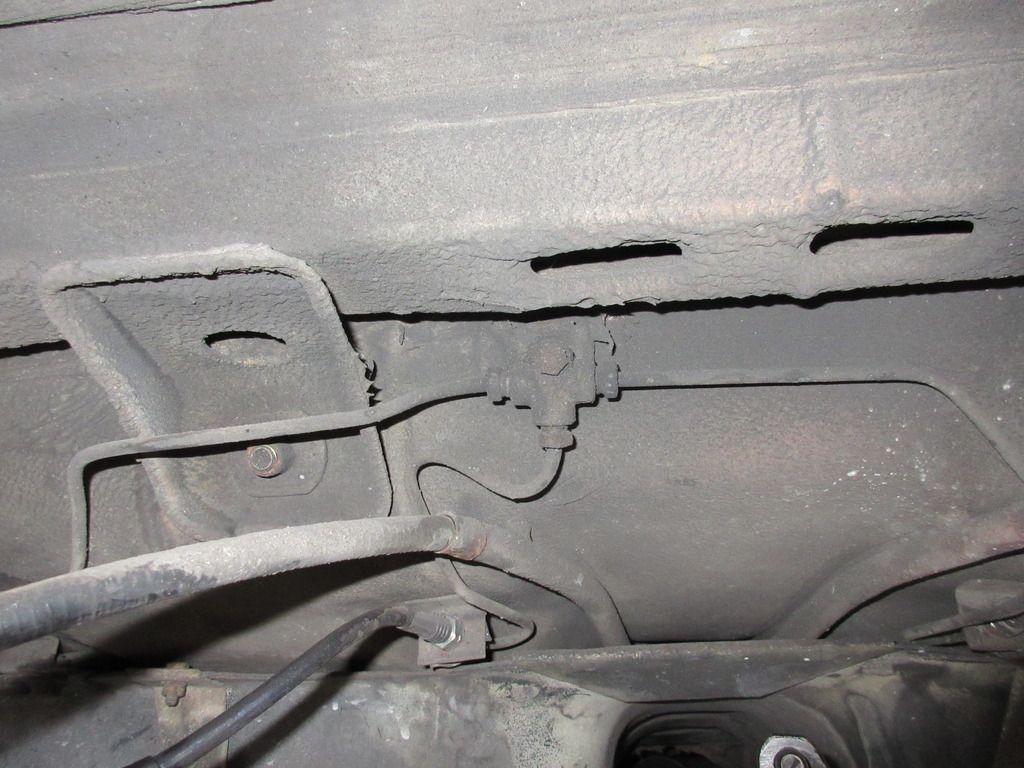
I then decided to replace the rear brake valve T. They call the this the proportioning valve but it is just a T. Single line goes int from the front of the car and then exits out to both rear calipers. Here it is and for $15 dollars new, I decided to do it while I was in there.
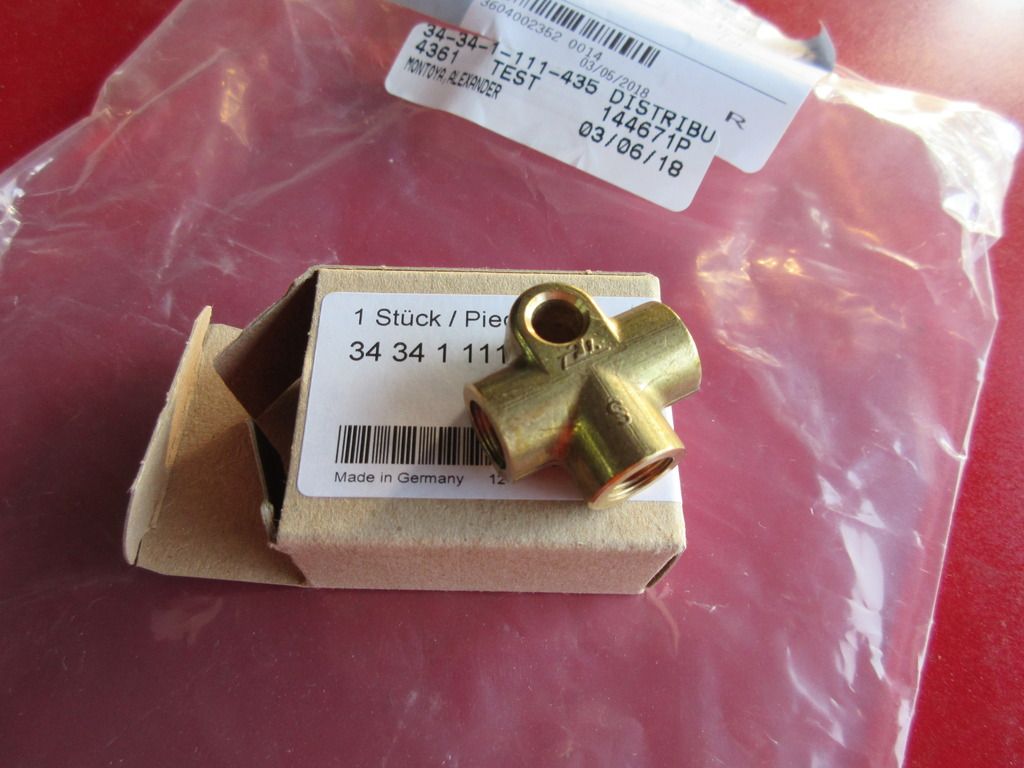
The brake fittings has surface rust but nothing major. Key to removed for any of these fitting, flare nut wrenches to prevent stripping. Also lots for grim due to 27 years of use.
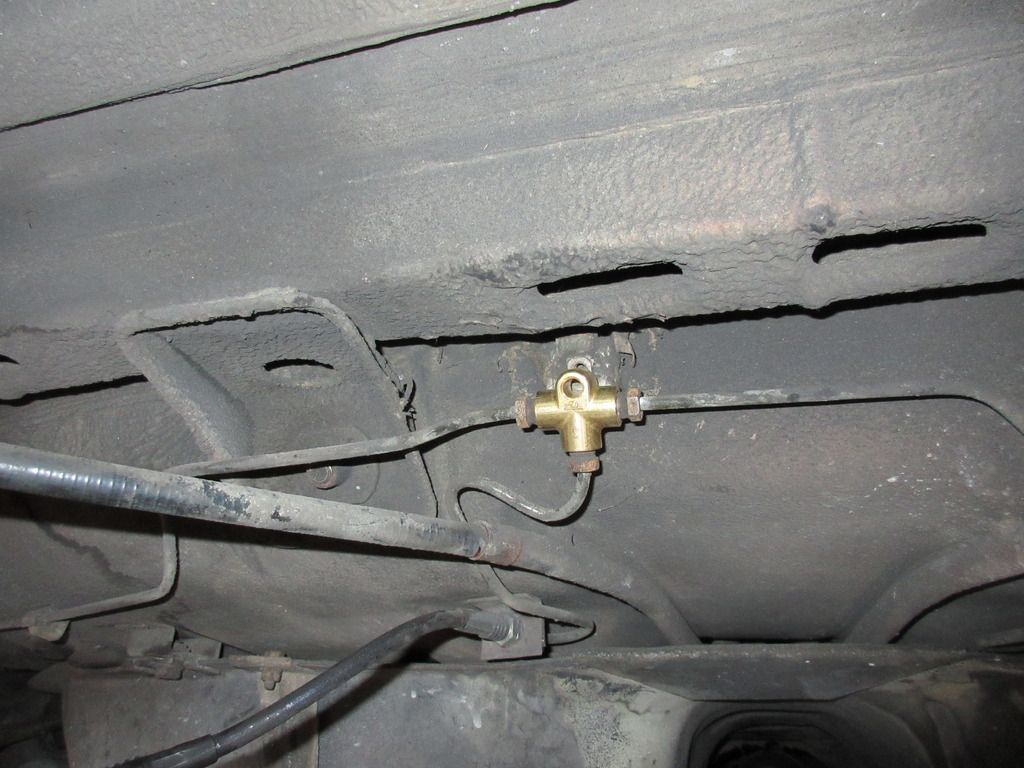
Here it is installed but need to get a new mounting bolt. The old one is too rusty for my taste.
Leave a comment:
-
Currently working on cleaning the diff now that it is out of the care. Also, one TA has the new bushings installed, need to to the passenger side. I also just got new sway bar links as my current ones are 7 years old. Also got AKG rear tow hooks.
Leave a comment:
-
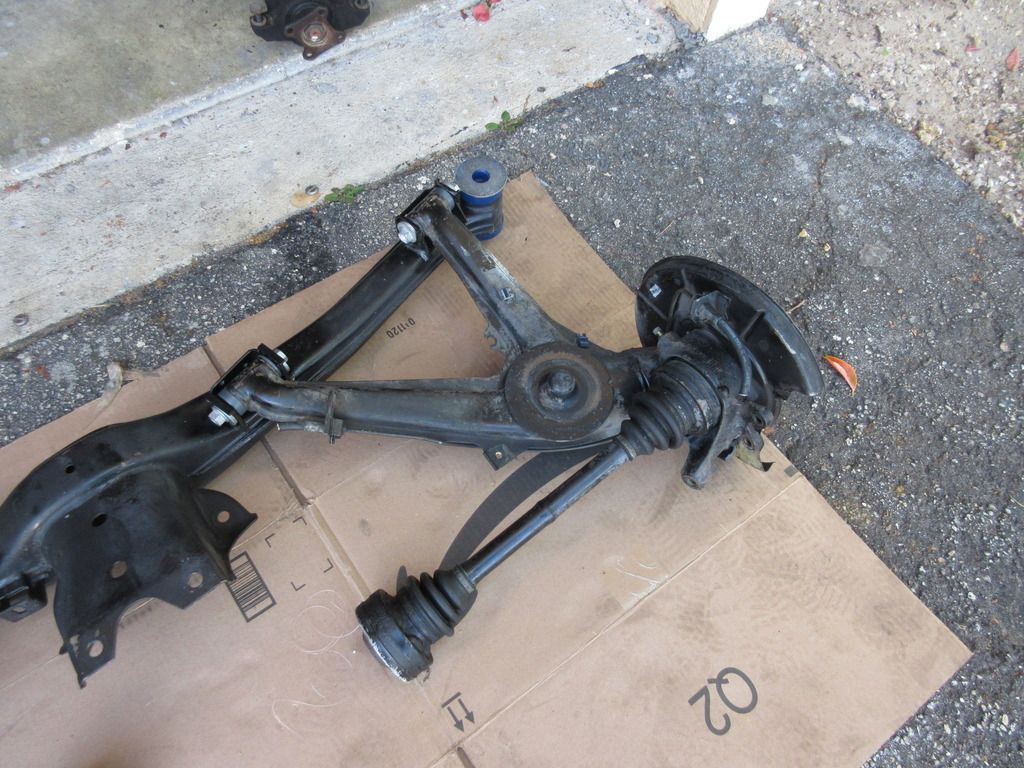
Here is a picture of the e30 m3 subframe. From what I can tell, the only difference besides the PN and cost, is that there is an extra bracket for what looks to be an exhaust hanger. You can see it in the picture and it is very close to where the diff mounts. I am going to use this part as well because the owner that I bought it, had installed the tabs from AKG to slot the TA bushings to allow for toe and camber adjustment with BMW OE bolts.
Aerial view of subframe, you can see the AKG subframe bushings. I went with the softest option. Left shows top of bushing exposes and right has the washer on top.

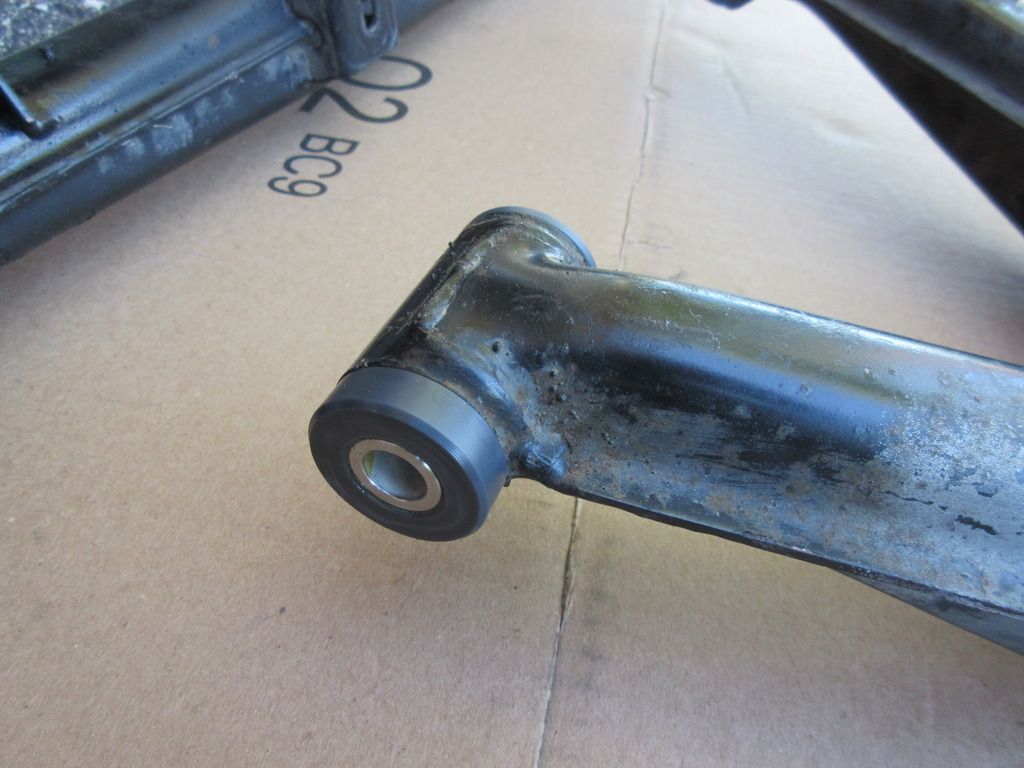
Here is a closeup of the bushing and you can see the tabs that were welded on with the slotted hole.

AKG rtabs with the eccentric bolt through it. The inside of the poly bushings have grooves to apply grease to keep things quiet. I will add ATE plastilube.

Leave a comment:
-
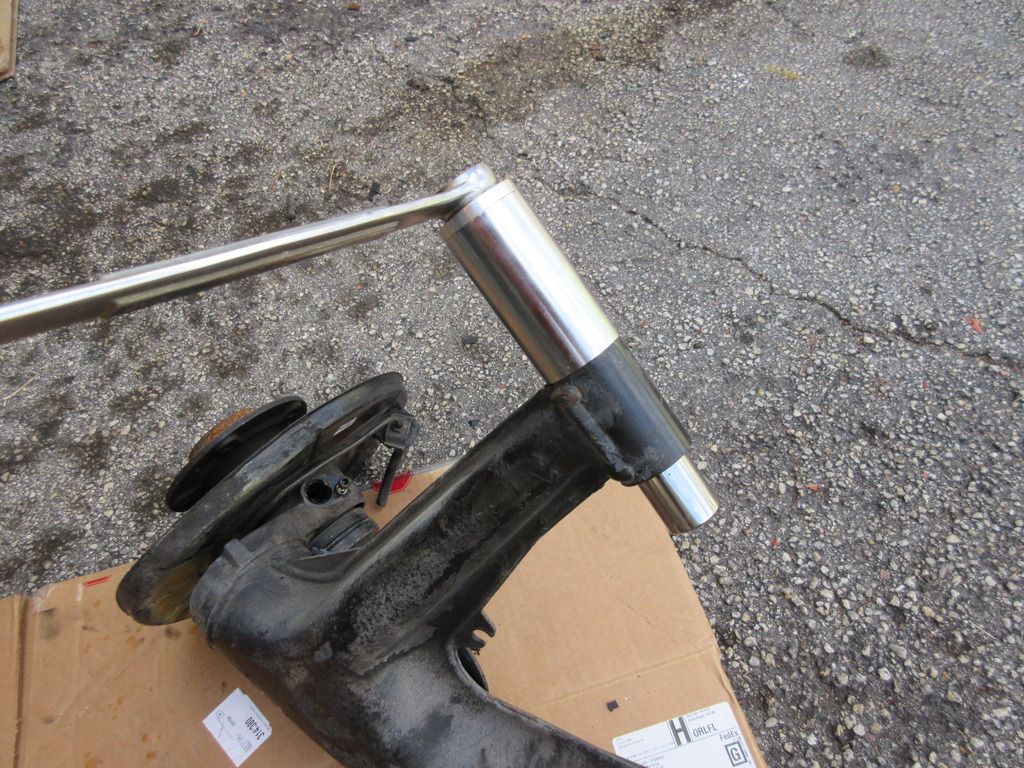
Got the subframe removed today. Very happy that the subframe bushings did not get fused to body like last time. It has been about 10 years since replaced. While I prep to move the items over to the e30 m3 subframe, I decided to get shocks mounted up with the new AKG poly rear shock mounts. Very nice quality and used a BMW supplied gasket. It of course is not a BMW made product but Elring which can be obtained via the aftermarket world. But its a nice to know for next time and that BMW trusts this brand. I know this is the sought after brand for gaskets but sometimes hard to obtain. Victor Reinz and can't remember the other common brands are crap.
Here is the mount and new gasket.

Here it is installed.

Gave the shock and protector a new cleaning and both are now installed ready for subframe. The old version were Meyle HD and they had some good deep cracks on the bottom side. Nothing where it was loose but it would get there sooner than later. Got a good ~10 years out of them.
Moving on to subframe mounts.Leave a comment:
-
Not sure if they were NLA and came back but a little pricey in my opinion, but nothing to crazy if you are in a rebuild and these should last another 20 years. The action on the release is very smooth. They only come with the sensor connection that some cars have on the driver side. I didn't cut it but tucked it away under the seat.Leave a comment:


Leave a comment: