-
Not really, the dim a little but nothing noticeable. I never dim them because even at full brightness it is not that bad, just noticeable between a led and non led. Maybe someone makes dimmable bulbs at this size.Last edited by monty23psk; 03-31-2021, 05:03 AM. -
-
Yes off the shelf. The blue is nice and bright now. But if you go LEDs for one button, you will have to do them all as the brightness is noticeable.
Here you go: https://www.superbrightleds.com/more...-car/227/1065/Leave a comment:
-
Are those LEDs available off the shelf? Id love to do this and have brighter switches, especially the AC switch.Leave a comment:
-
While rebuilding my HVAC panel to add all the LED bulbs, I noticed that the middle slider light was night shining through. Upon inspection, the fiber optic wire had snapped about halfway from bulb to slider button. I was able to source a very mint panel from a non-AC car, which only has a blank plate where the AC switch goes and the slider mechanism was included. Got lucky with price. This non AC panel also meant that the plastic piece under the AC switch and above the defrost diagram was good as new. My old one has this missing and one I got years ago had a crack.
I will post pictures as I complete it but while doing that, I swapped out the bulbs with in all the switches with LEDs. The only one I couldn't, the hazard. It uses an internal solder bulb. I have read it can be done but I want to keep it as original to the car. But I did find out the e28 hazard does have the bulb socket and works. Confirmed the pin outs with the ETM as well. The only thing you need to do, saw off a little plastic leg. Replaced the bulb, tested it and all good.
Here are the two switches side by side, front and back. E28 version on the left:


Here is red colored bulb:

Leave a comment:
-
I did two but a few things I found out that made be go back to apply some of the BMW trimming foil (fancy name for vapor barrier paper), because depending on who you applied the tape, water would find any seam to leak out. I only applied it to the edges of the door and around the door latch. While it wasn't a lot, using the update vinyl film which you can apply a little heat with the heat gun to really stick to the crevices, helped remove any possibility. The inner skin has all the holes that if water comes out one, then it has no where to go back in. Since I had some laying around, I peeled back this foam, to seal it up better. Second skin does sell the foam with a stick adhesive. This would work better, but maybe creates more of a mess if you need to pull it away for some future work. The perfect combo, is using the trimming foil to cover everything and then apply the foam to the back of the door panel or on top of the vapor barrier like I did. This is what SS recommend as well. I will try the self adhesive version when I do the passenger door later this year. And update it on here. But I can say less noice is coming from the door with both products applied.Leave a comment:
-
CONNECTED.
I like the idea of using closed cell sound deadening foam for the door "Moisture Barrier"Leave a comment:
-
Recently did a coolant flush and replaced the radiator drain plug, the inner o-ring had a small flat spot and liked a few drops after a decent drive. Swapped it out plus the two larger upper radiator hoses as it had been over 10 years. Need to prep for the long drive to the Vintage in May.
I also an early birthday gift. Swapped out my modern radio HU to something more period looking for our cars but still bringing the modern touches of Bluetooth and media inputs, the Blaupunkt Bremen SQR 46. Very cool radio with many features. Just getting use to the operation of it. I am still working on calibrating the colors to match. Need to drive it during the day and night to make sure the color is close to OEM. I am also swapping to the HVAC panel bulbs with LEDs as well as the buttons for rear defogger and AC. Very easy todo, just awaiting the right colors to arrive. Will post one after that little project is complete.

Leave a comment:
-
Here is the 2nd phase of the sound proofing of the driver door. I am using another Second Skin product, called Overkill closed cell foam. I opted for the thinner version as I didnt want it too thick and the door panel push on it. I am using this to not only help with sound absorption, but to replace the plastic vapor barrier. I still have some in a roll from BMW of OEM vapor adhesive plastic, but going to try this out. I need to test it some more and if all looks ok, do a water test to make sure no leaks are noticed. Here is a quick picture of it installed. The bottom right looks odd because of the indentions on the door inner metal to the material needs to curve in/out.
 20210212_203643
Leave a comment:
-
Refreshing!
Cant wait to see how the whole interior comes together.Leave a comment:
-
Nice wheel! You really can't beat a nice 370mm MT2. I also really like what you've done with the cluster.Leave a comment:
-
Finally after waiting long enough, I got the steering wheel I wanted to match the interior which is m3 Evo sport inspired. I got a great deal on a recovered 370mm mtech 2 steering wheel, covered in alcantara, with M tri-color stitching. I used a highly reputable shop in Germany that does BMW and Porsche steering wheels. . I received it in under 2 weeks as well. I did buy a pack of disposable plastic steering wheels, that dealers and shops use. This, if my hands are dirty, I can pop one off to extend the life of the alcantara. Now to figure what to do with the 385mm Mtech1 wheel.


Leave a comment:
-
Got a little something a week ago for a small issue I have had for the last 3 years.
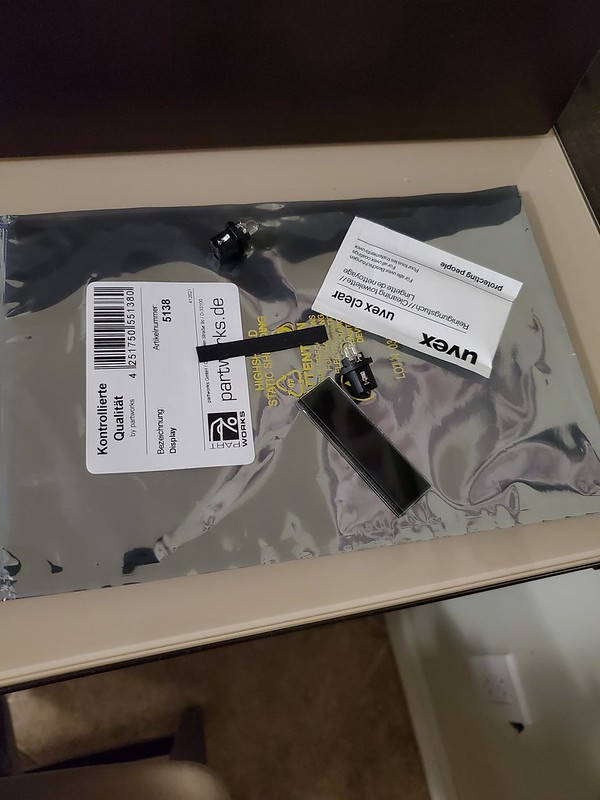
This is the OBC LCD repair kit from Germany. Very simple to remove and replace LCD.
Here is a before and after. Glad I can see that outdoor temp now....


Leave a comment:
-
Continuing with the driver door rebuild. I remove the window glass to polish it and remove some scratches. I took this opportunity to refresh the regulator and motor. I disassembled the motor to clean out all the dried out grease. I used mineral spirits upon research to not damage the plastic gear. I then applied a good amount of grease made for applications like this. Grease seen in one of the photos.


I also cleaned up the regulator metal and then gave it a nice coat of a rust protector satin black paint and it now resembles some newer regulators. The exposed galvanized metal always looks dirty. I will apply grease on the regulator rollers as well as the tracks on the glass upon install. I have some silicone lube in a spray can from WD40 with the straw nozzle to apply to channels to smooth out the up/down operation even further.
Before:

After:

Leave a comment:


Leave a comment: