91 318is Never ending project(s) journal

Collapse
X
 
  • Time
  • Show
Clear All
new posts

  • monty23psk
    replied
    I got a little done the past few days. I finished modifying the sound system. Ran new speaker wire to all for location where I have my MB Quarts with crossovers. I mounted the tweeters in the factory location. I also got my new/used JL Audio 300/4 amp to power them. I have a free to air Pioneer 10" sub mounted to the rear deck from the trunk side. I power that with a MTX Thunder amp. Overall, the system sounds good and really only to be heard inside. I don't need anything more as this is a daily and want to keep my trunk space. My speakers are the older MB Quarts before they got bought out which supposedly the quality has gone down.

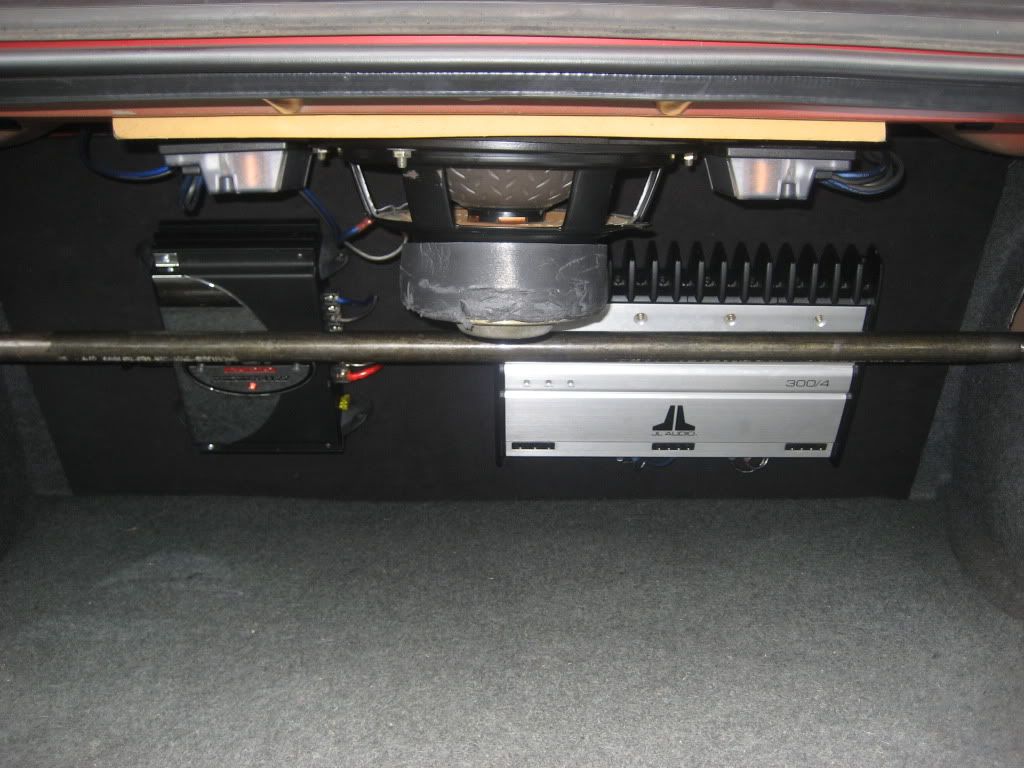
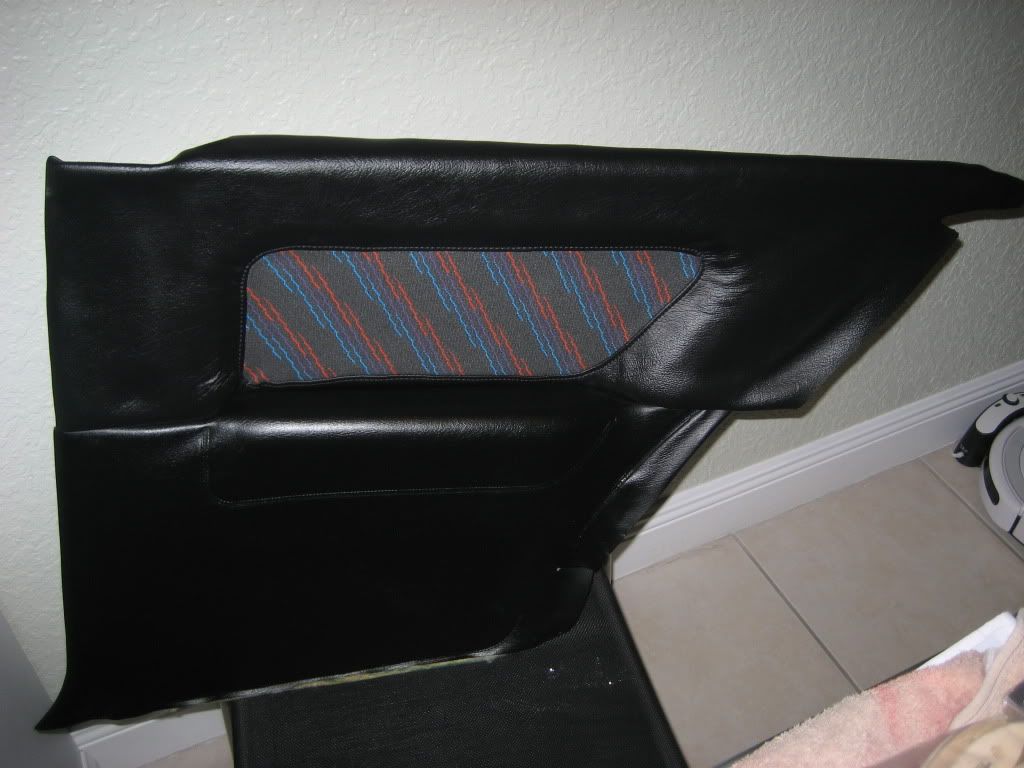
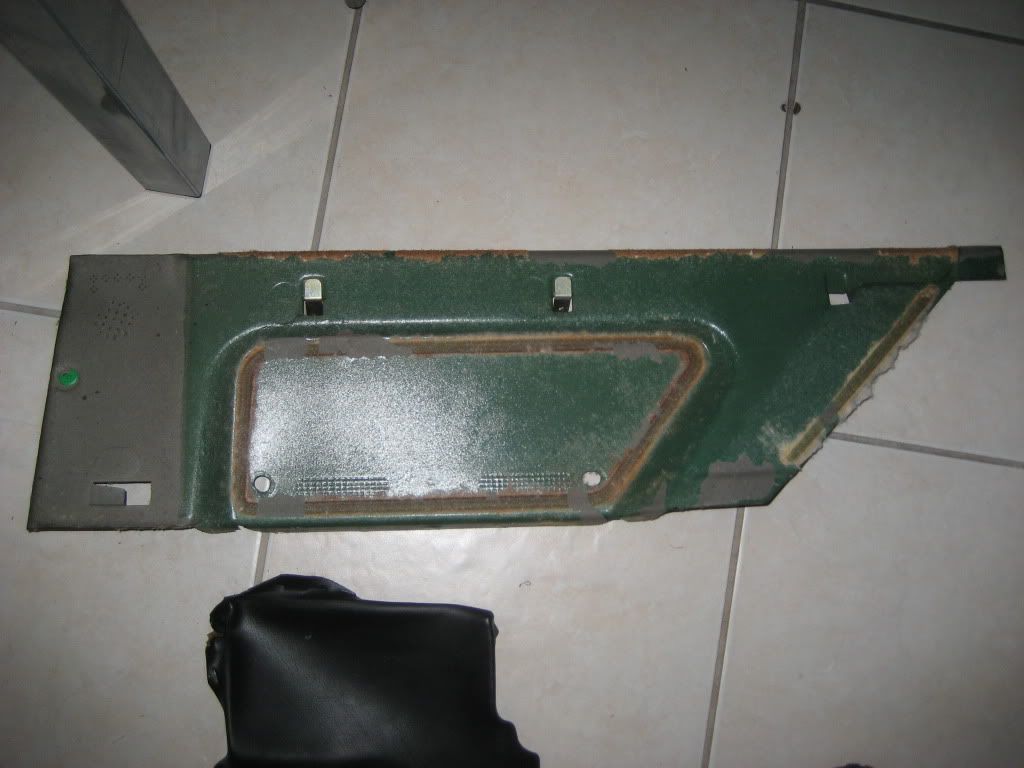
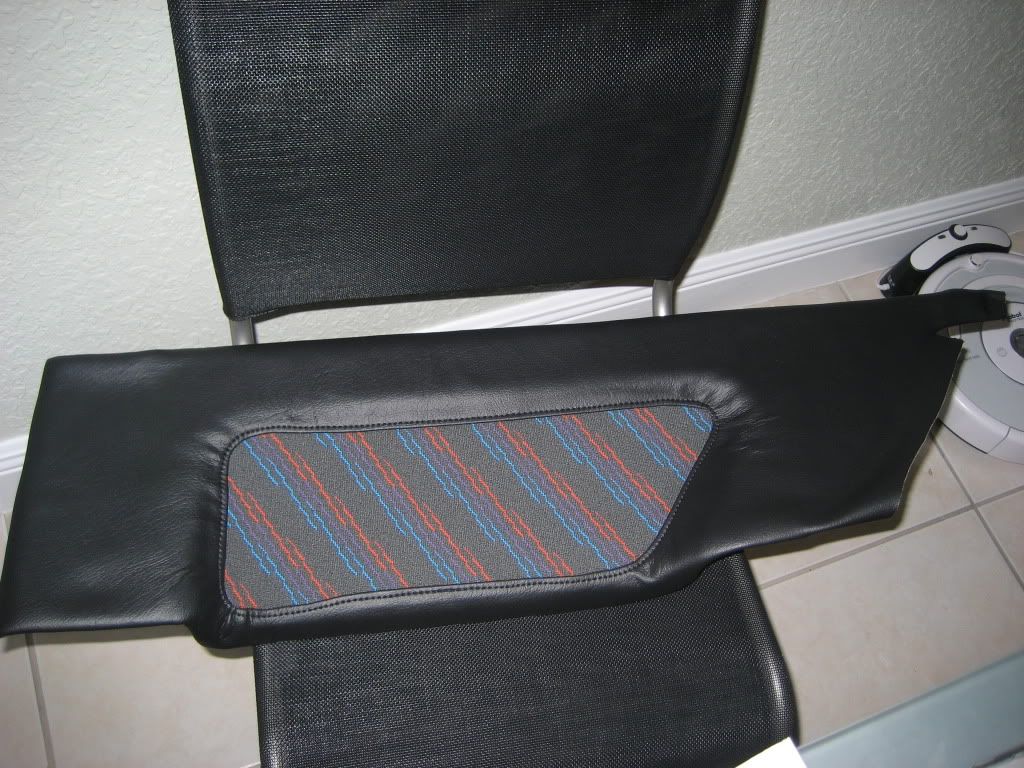
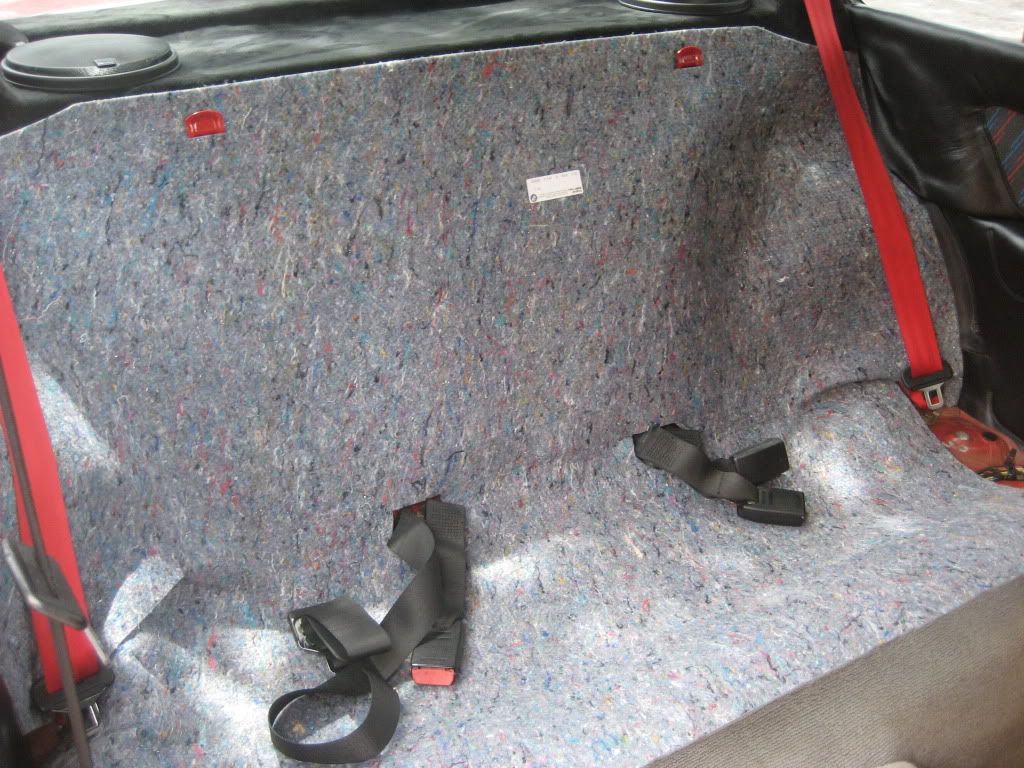
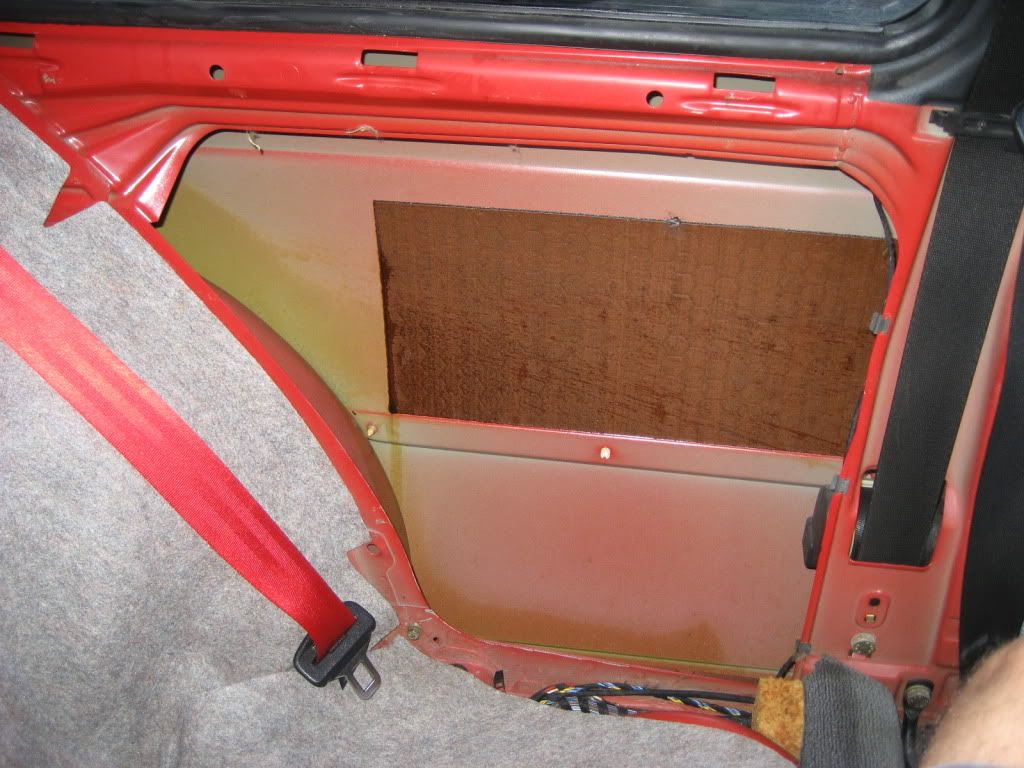
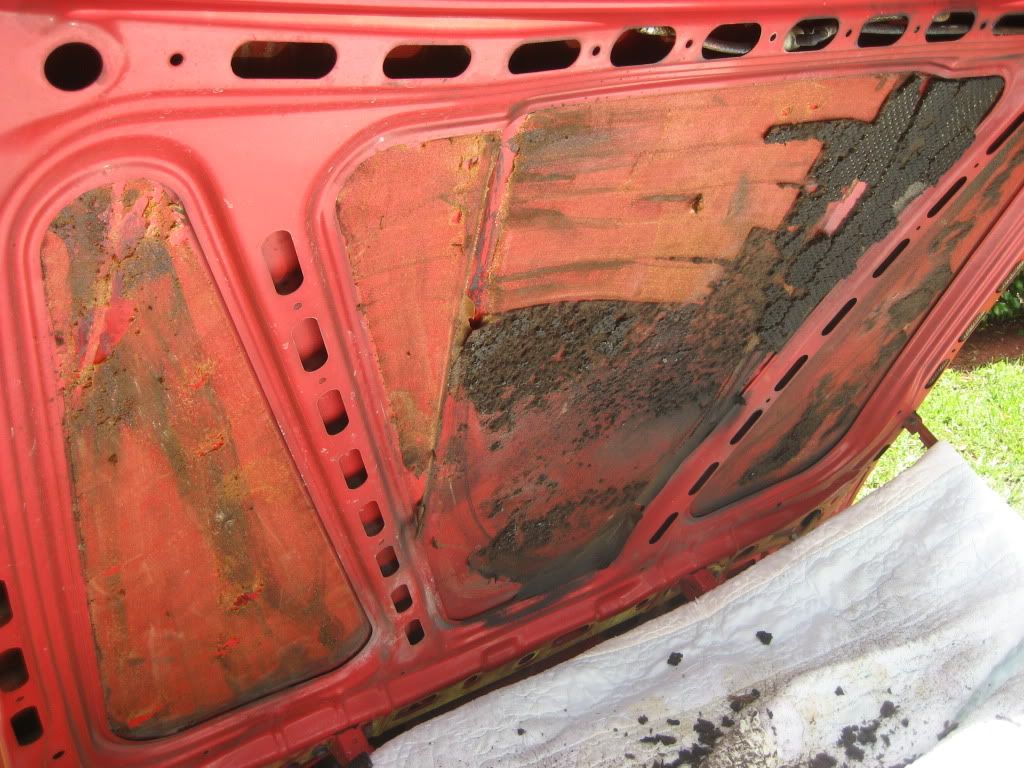
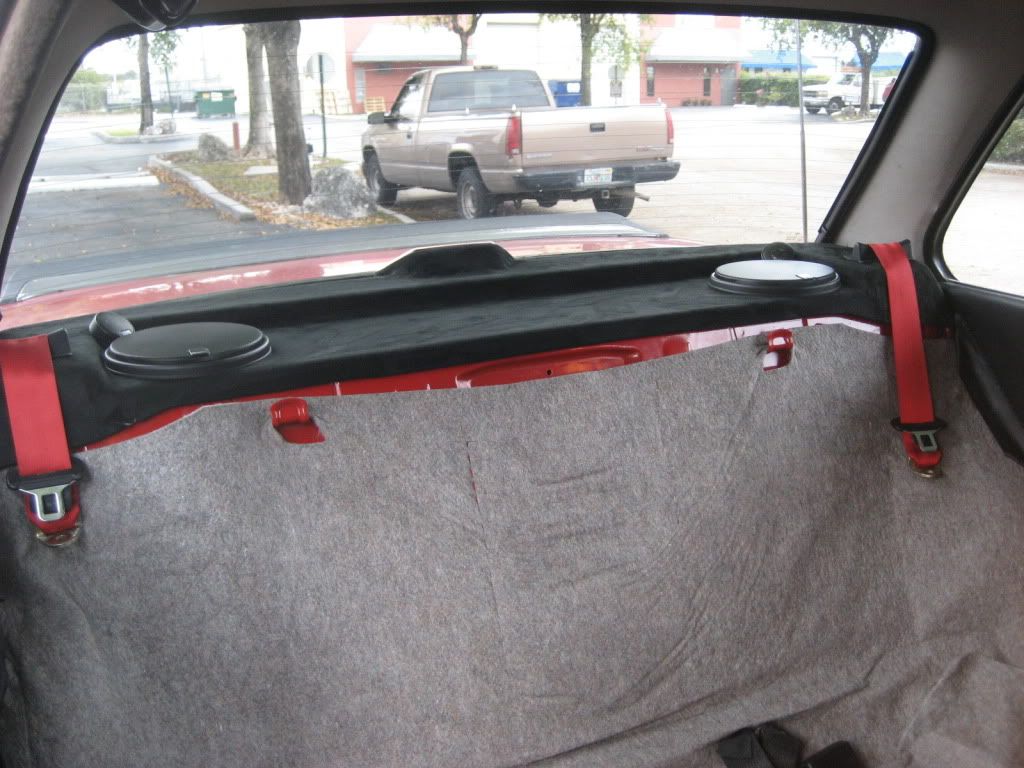
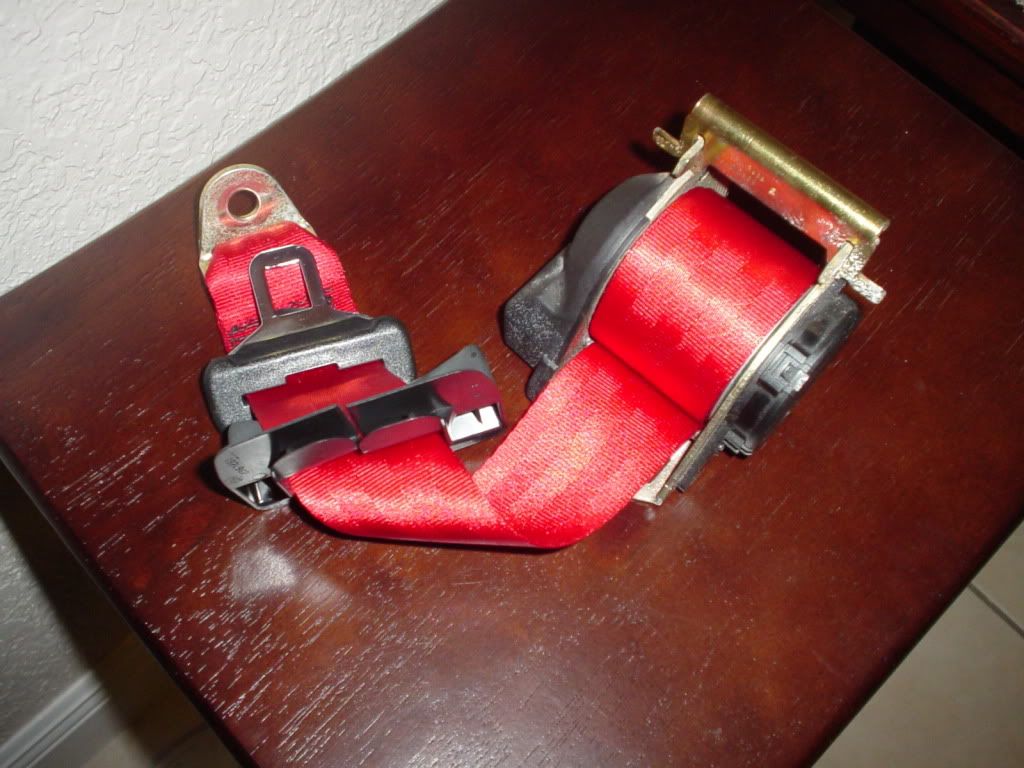
    Here is a pic of the rear trunk. I used the OEM carboard and it help up the two heavy amps but decided for something a little stronger. Got some 1/4" piece of wook and wrap it in black flannel.

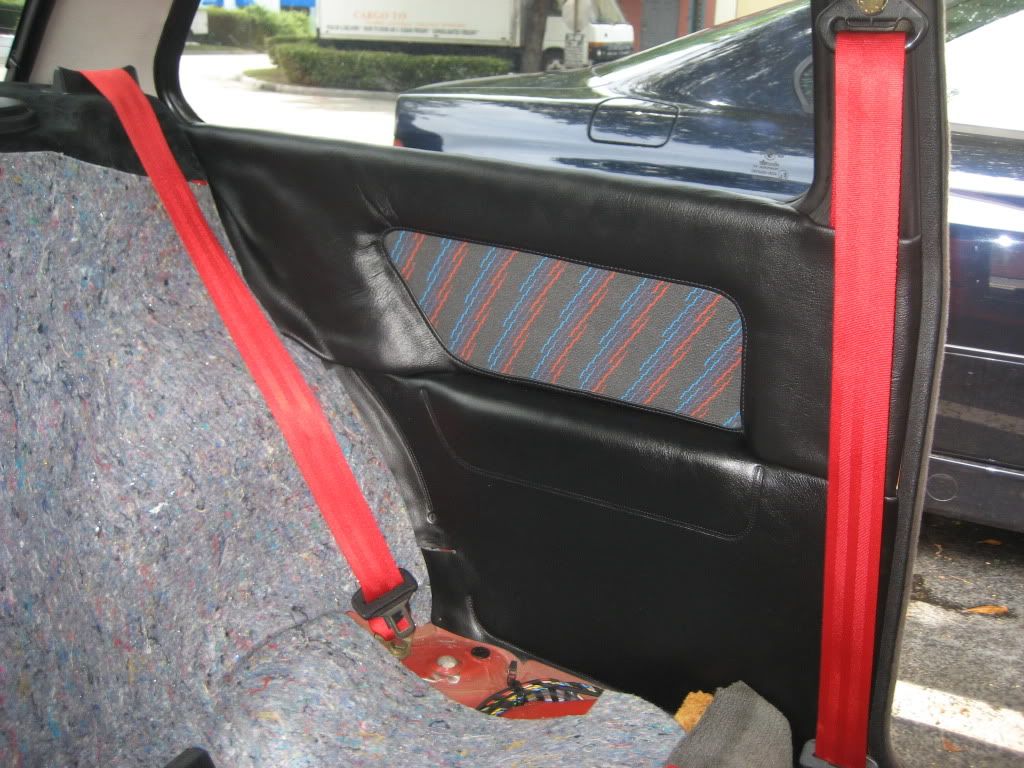
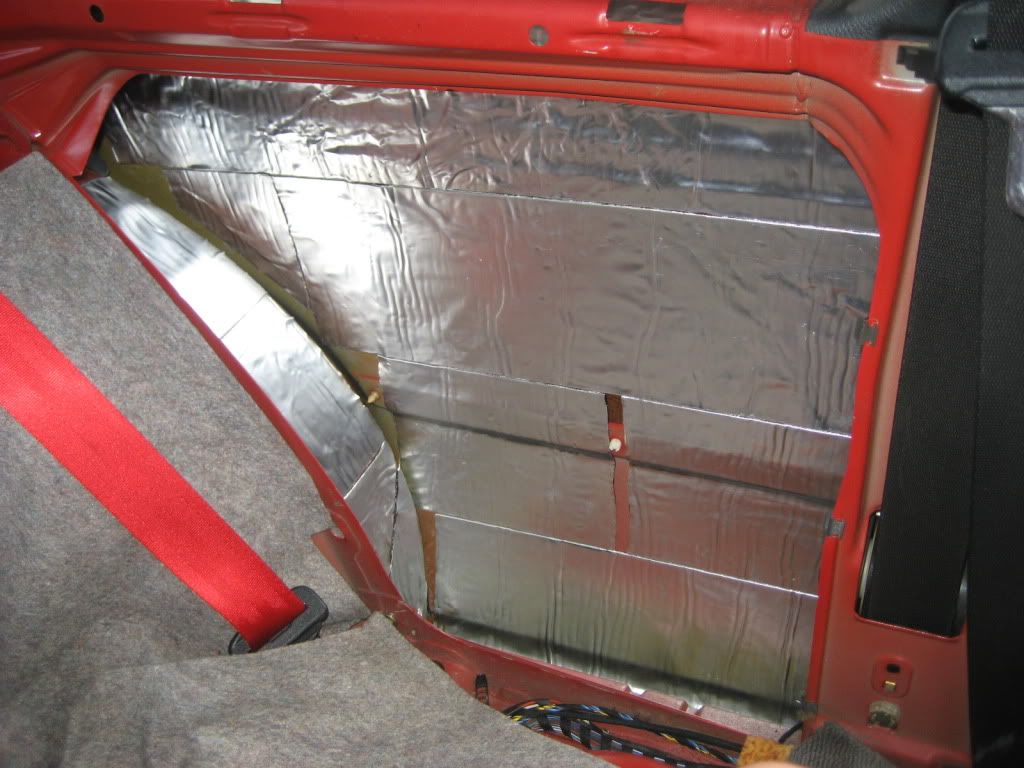
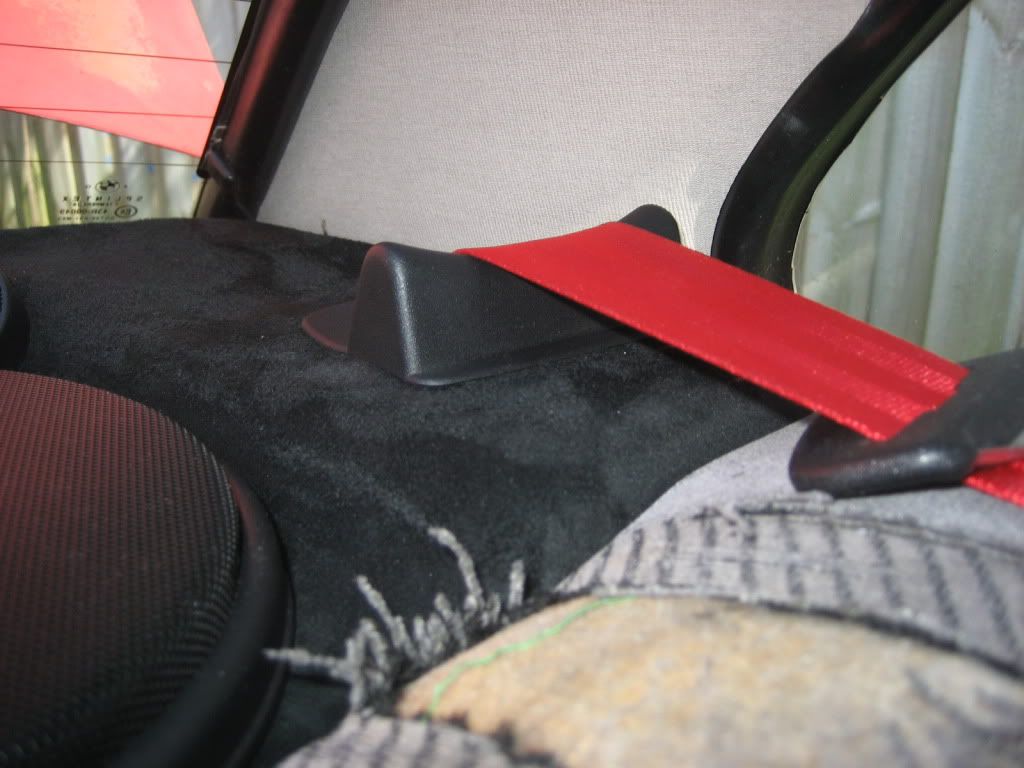
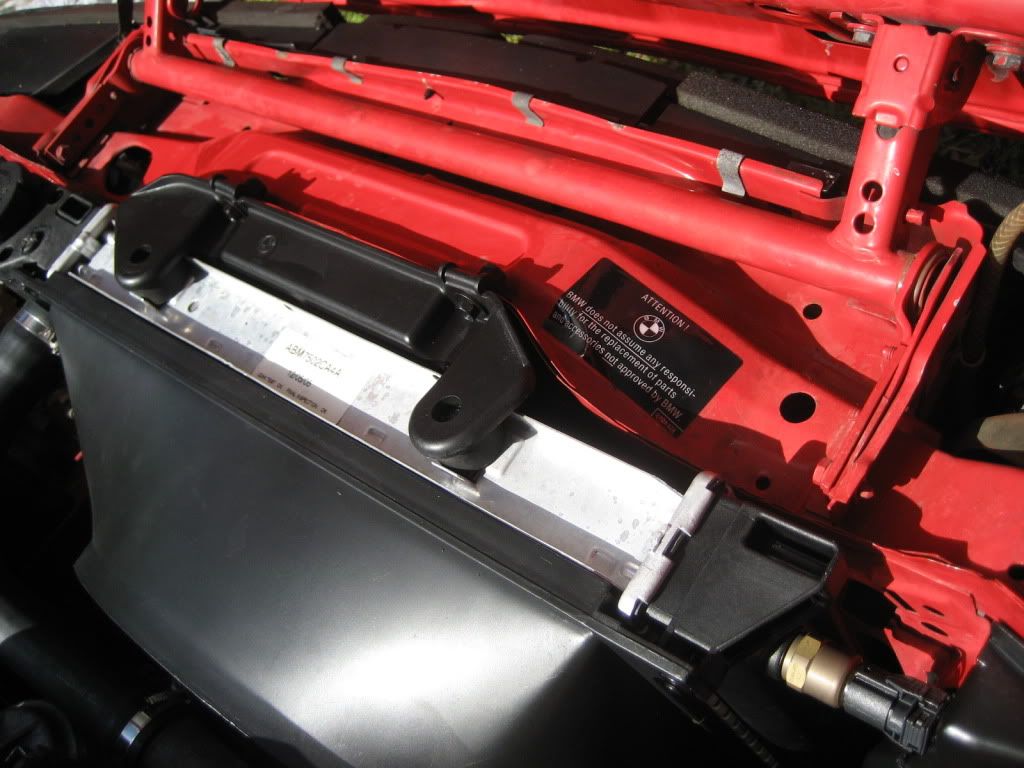
    The rear strut bar adds some protection. It will be painted body color when I paint my car. I have cleaned up the sub speaker cable since this pic was taken. I also cable managed all the cables behind the board to keep it neat.

    Leave a comment:


  • monty23psk
    replied
    I just installed installed the rear section of the carpet and you can really see the difference between the original faded grey, the new black, and the dark black floor mats.
    You can also see how stained my carpet is.


    I got the passenger side panel in plus the top of the rear seat. I know can use this as a template to add the rear female seatbelt receptacle which is in the middle. Next job is to drill this in.


    Leave a comment:


  • monty23psk
    replied
    Here is a pic of the panel together as I just finished it and cleaned and protected it with Meguairs #40. A little too much shine with flash. I will install it tomorrow with the carpet item. Then will install the top par of my rear seats.

    Leave a comment:


  • monty23psk
    replied
    Hey guys, another update. Have slowed down because I have worked every weekend for the last 2 months. This will be my last work weekend coming up and then I get them back.

    I redid the passenger side rear door panel. I just need attach both parts and hope to finish that tonight. A little before and after:


    I also painted the rear trunk panel as I will be installing my 2 amps. It original held my small amp for 10" sub and the two rear crossovers. I am now getting a 4-channel amp so not sure if it will hold the weight. I will give it a try first before bringing in something more sturdy and heavy.
    Before:


    After:


    I also started on the re-dye of my gray carpet. I use the Colorbond carpet stuff to change to black. I followed the instructions and gave it 3 light coats. It kept the fibers as soft as the orginal. Now the original was nice a faded and also not the softest. It didnt make it harder which is what I am happy about. I guess the trick is very light coats and to nap with a brush in between coats. Here is a before and after. I also gave it a good cleaning with a professional detergent used for steam cleaning, and I just used a good brush and hot water with my shop vac. You can see an old stain, probably coffee from a previous owner.

    Before:


    After:

    Leave a comment:


  • monty23psk
    replied
    Not a major update, did the insulation on the rear passenger side. Started to work on panel.

    Leave a comment:


  • monty23psk
    replied
    I got one panel done and installed. I also purchase new insulation that does behind the rear seats and hangs on the rear wall. I noticed with my old car that most of the old musty interior BMW smells comes from the old glue and insulation. I decided to get a new one to help the difference in the cabin odor. Big difference between old an new. I started on the passenger side panel today.

    Here are the pics:


    Leave a comment:


  • monty23psk
    replied
    Little update from this weekend. Finished putting the front grills and rings all painted back in with the foam. Now on to iS lip and splitter paint and install.

    Also kept on the rear panel. Going slowly as this is my first time and want to do it right.

    Here is the panel covered in new foam:


    Here is the insert part glued:


    Here part of the vinyl with glue, should finish the rest tomorrow after work:


    Also got my driver door seatbelt installed. Also this is first online pic I believe of how bad my driver seat is:

    Leave a comment:


  • monty23psk
    replied
    Another interior update. I stripped my rear driver side door panel to add the new covering. New black vinyl plus the mtech insert all stitched together. Kevin from Creative Options sells the inserts that glue on top but I want something more OEM. For a little more to make me kits for all the panels. I already have the glue and will go tomorrow to get the right foam so I can put it back together. Here is a little teaser of the original panel and the new fabric on top, minor teaser. I will sell the old coverings as they are in good condition.


    Leave a comment:


  • monty23psk
    replied
    This past weekend I continued on the current projects. First I removed the rear driver side door panel to start the covering swap and decided to add some insulation. Driving the past few days with out it, you get a lot of road noise through there.

    Here is the pic of a virgn interior panel from factory. The rectangle in the middle in the only little insulation BMW added.


    I went to Lowes and got Seal & Peel as it works like Dynamat but much cheaper. I am in the process of upgrading my sound system so this has a double purpose.


    Here is a picture of the insulation installed. Driving now is much more quiet. Night and day difference. I plan do to this to more areas plus when the door panels are installed, it will be more quiet.


    I then moved to my next project. Painting the front euro grills and the headlight rings. I will also replace the foam gasket with the BMW one. One side was factory the other was done with aftermarket foam and it was too big.

    Here are pics of the progess.

    Driver side before which was in good condition so it was more of a touch up to match black kidney which was done few weeks ago.

    Old foam:


    New painted grill:


    With new foam:


    Here is a pic of one of the metal, and I believe use to be chrome, headlight ring. I preped it with SEM product and then get it a few coasts. First pic is orginal mounted then painted


    New screws since the old ones were a little rusted and these were cheap:


    Installed and just pulled the other rings. This is my daily so need to keep it running. Here is a pic of how I used it over the weekend. Lookes toothless. Will recover the buckets when I installed which every new lights I installed to upgraded from these sealed beams.


    Now I need to finish the other side but ran out of SEM trim paint. Picking up a can tomorrow.

    Leave a comment:


  • monty23psk
    replied
    Another quick update which might benefit others. SEM trim paint is the best for exterior trim, but what about interior trim. Duplicolor makes a product but you have to know which black to use. I didn't want to deal with that and researched. I found a product, Colorbond by Bryndana that has color swatch and has many for BMW factory colors. They have a BMW black which I got. It was dead on. Can be used for door panels and even dashboard. Here are a few pics of the rear seatbelt plastic trim.

    Before, item installed:


    Items side by side before:


    Items after:


    Item installed:

    Leave a comment:


  • monty23psk
    replied
    Got to install the George Graves interior light dimmer. Product is very cool. Do recommend it to all.

    Here are a few pics...

    The unit itself:


    Relay connected, but in the end my car did not have the factory delay so had to splice it as per his instructions which were very easy:


    Here is a pic of the driver side kick panel with the speaker removed. Under the black plastic cover at the bottom, which just pulls out, is the plug for this relay. Also there mounted on a bracket with the two phillip screws is the central locking module:

    Leave a comment:


  • monty23psk
    replied
    Got some more work today. Added some new hood insulation as the original was all shot and missing in most areas. I found a company that uses a material that will not absorb water and oil. www.bonnetliners.com is where I got them. You can also get them from ZM Blue Devil (Levent) on some of the boards. I got the 1/4" instead of the 1/2" and it fits perfect. The slots for the insulation are about 1/4" in depth, so just right. It was only a about $15 more that the OEM pads and are much better in quality. They are FAA approved and used in firewalls on airplanes...good enough for me. Here are a few pics of them them before and after.

    Before:


    Prep:


    Halfway on removal:


    New installed:


    I also replaced a worn out OEM sticker in the engine bay.


    I also ordered the OEM floor mat locks. I decided to try this on my not so good aftermarket floor mats to see how they work. You will see I also need to replace the whole carpet if a good cleaning does not work. I will also go from gray to black, but this is in the future for now. Installation was easy, just need to cut a hole big enough on the mat. I just measured it to try to keep them even.


    Only negative is the tab the swivels to lock it is a little too tall for the hole and in the picture it looks like it is sticking up.


    Here are some pictures of my brushed aluminum rings and painted needles. I did it as a rough draft as my guage faces need replacing and one of my needles is bent. I have another cluster that I have a few ideas in the works. The picture is of the cluster with the clear plastic off. I have it ready and polished with 3M's clear plastic polish. I used a enamel hobby paint "Bright Red" for the color. Testors required me ordering but the other brand had it in stock. I can't recall the name.


    Lastly a pic of the exterior that I just liked.

    Leave a comment:


  • monty23psk
    replied
    I finally installed my rear shelf. It went in real easy. Also installed the new rear seatbelts. I need to now figure out where the bottom receptacle will go as I will be installed the e30 m3 rear seats. This will require the bolt/bracket to be moved to the center. You can see how bad my rear seats are but looks nice with the red belts.

    Before:


    After:


    Leave a comment:


  • monty23psk
    replied
    Got a few things done since the last update. I finished going through all the plastic covers in the engine bay with SEM trim paint. I need to wash the engine bay and take a pic. What a difference. Painted the light covers, spark plug cover, fan shroud, firewall cover as posted above, and even the radiator support. I decide to continue on the exterior and do the kidney grill. The euro grills were nice so this will complement them. I have this on the m5 which also has all shadowline trim. I will post pic of the it installed tomorrow with sunlight. If anyone is wondering, you can remove the chrome rings from the backplance. There is a grommet with a plastic pin at the top and bottom of each side. You just need to push the pin out and magic.

    Pics of before, the pin location and after:


    I also resurfaced my rear brake rotors and bought new pads. Porterfield's to match the front. I had installed new ATE oem ones almost 5 years ago. Now the brakes bite when you hit it. No more squel either. Did a good bleed with pressure bleeder and my Pentosin racing brake fluid. Pic of the rear brake pads box. I recommend these as they are for the street.


    Last, I got my little project under the way. I found someone on the 2002 forums and he rebuilds BMW oem seatbelts as a hobby. I gave him my hardware and he installed my red webbing. I figured this was possible by taking a seatbelt apart. Came out really good and paid half of the new m3 evo ones. I also got the receptacle webbing replaced which is not even availabe from BMW from the rears. He even stiched on the BMW tags. The stiching is not the best, but like he explained it is done with laser machines at the factory. I found few companies that would restore them but about the price of just getting new ones. Here are pics of the rear ones. This will go nice with my micro suede rear panel and the mtech cloth interior I am about to install. If someone would like the seatbelt guru's contact information, PM me. Enough explaination, here are the pics.


    Leave a comment:


  • monty23psk
    replied
    While I keep renewing the trim in the engine bay, waiting on 48 paint cure time, I received my next project item. BMW OEM Euro grills. I got some from a board member an another e30 forum and these things are like new. It freshen the front as my old grills are very faded and the black was looking white. I will freshen the new ones plus the kidney grill as I need to get more SEM trim paint. Here are some pics of before and after. The difference is not much but more noticeable with the lights on. I rather get these grills than eyebrows and would only get OEM not aftermarket. On to the pics...

    Before:


    After:


    Lights:

    Leave a comment:

Working...