Announcement

Collapse
No announcement yet.

My 4 door Lemans Blau build - pic heavy- UPDATE

Collapse
X
 
  • Filter
  • Time
  • Show
Clear All
new posts

    #46
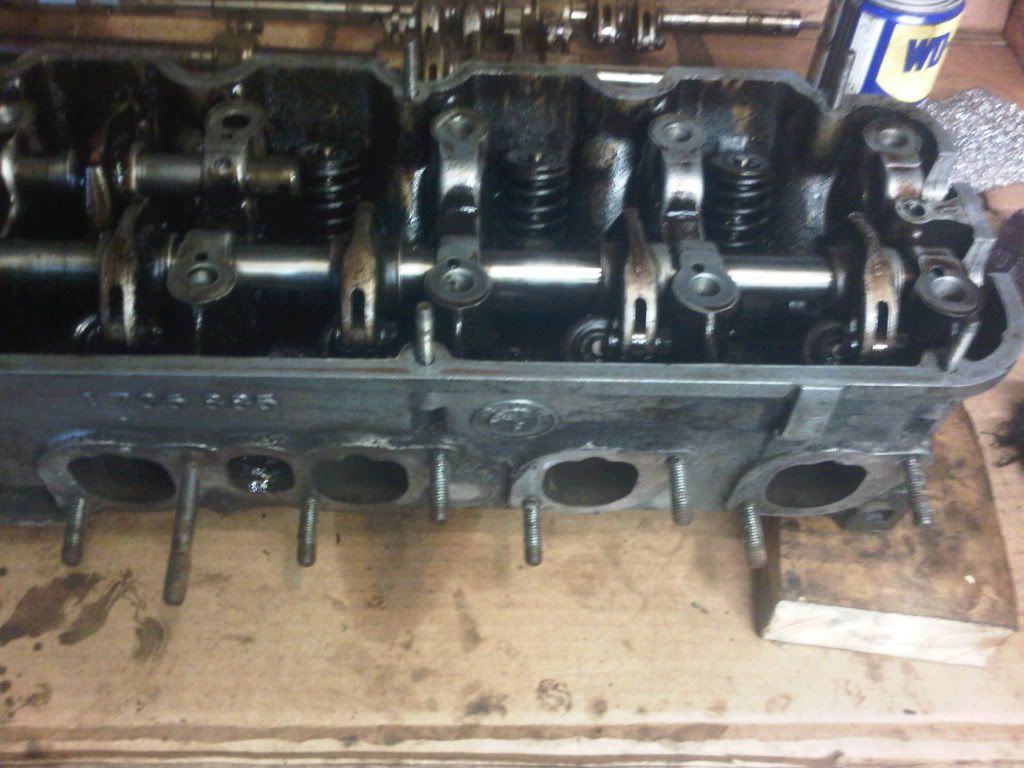
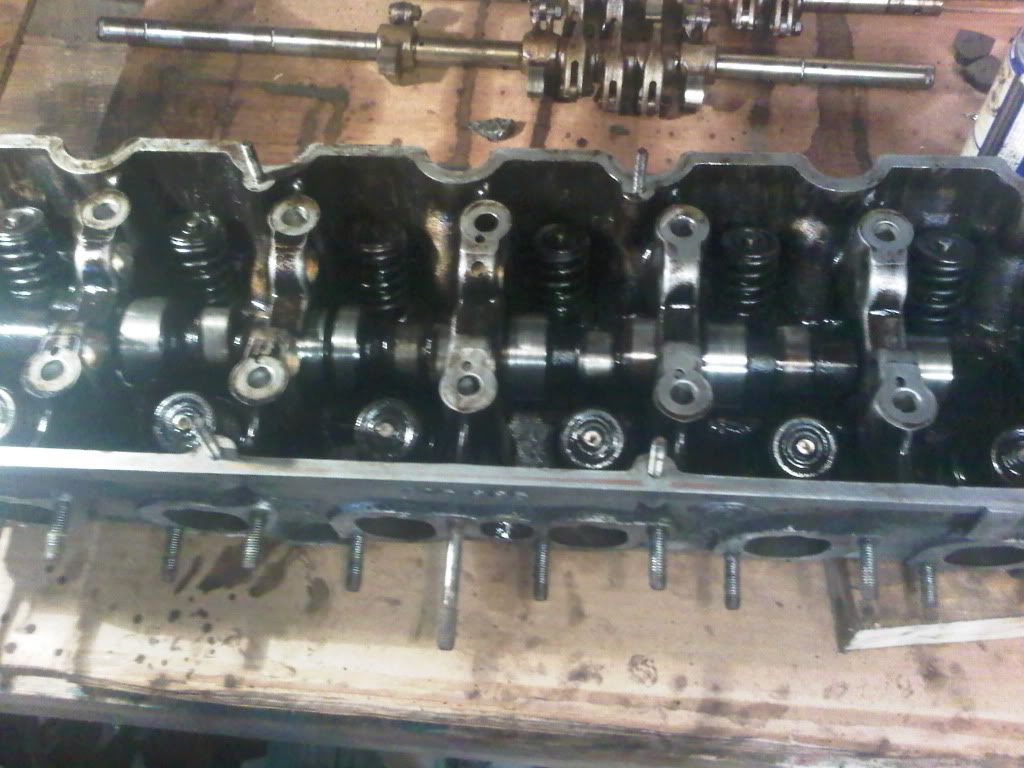
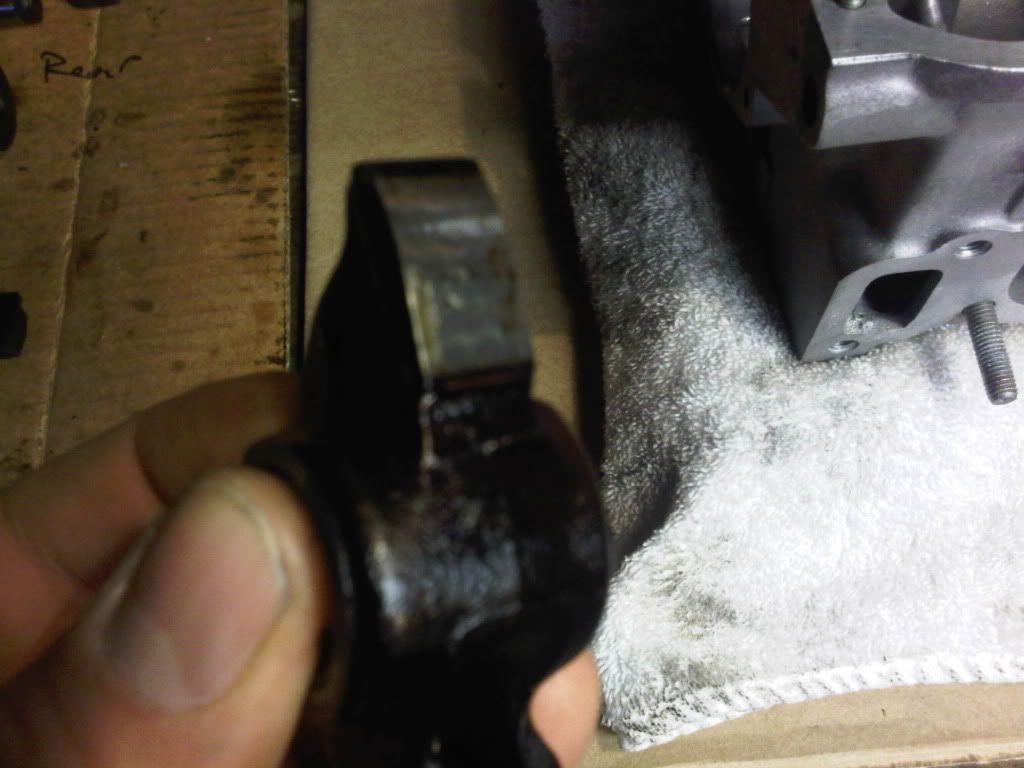
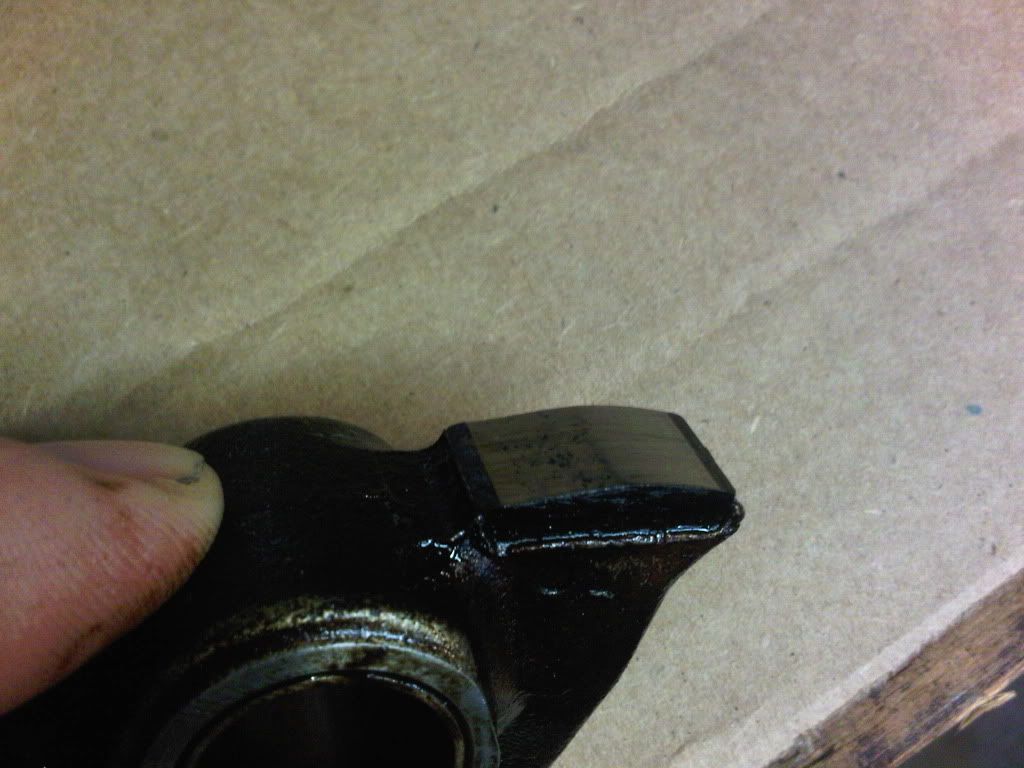
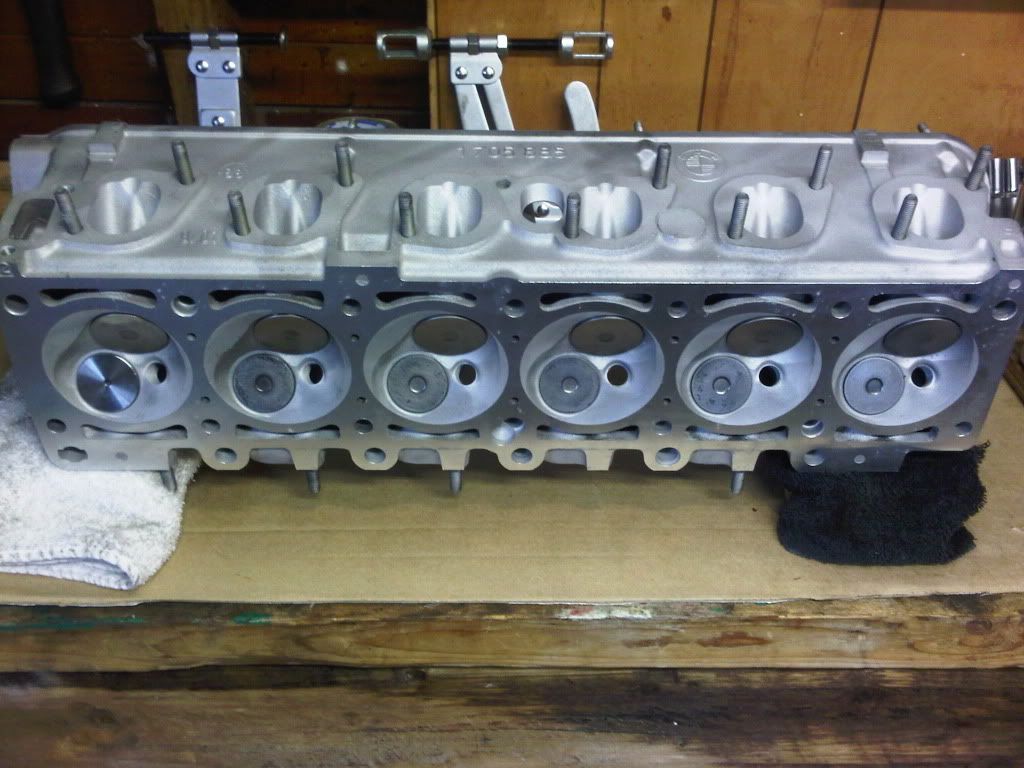
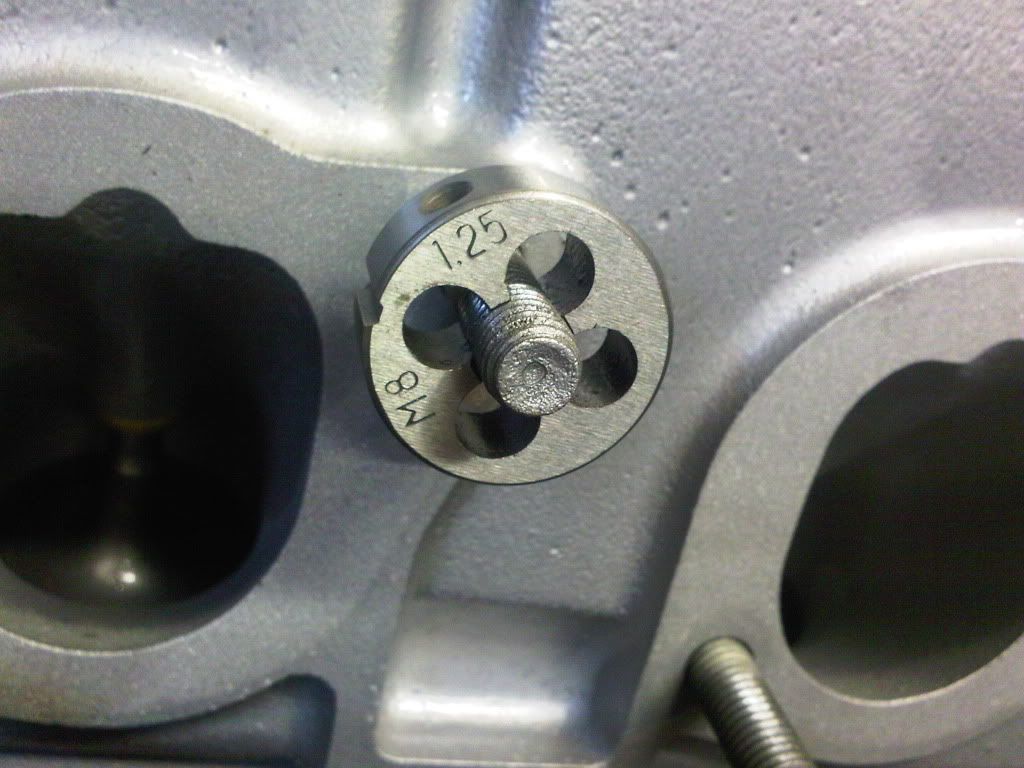
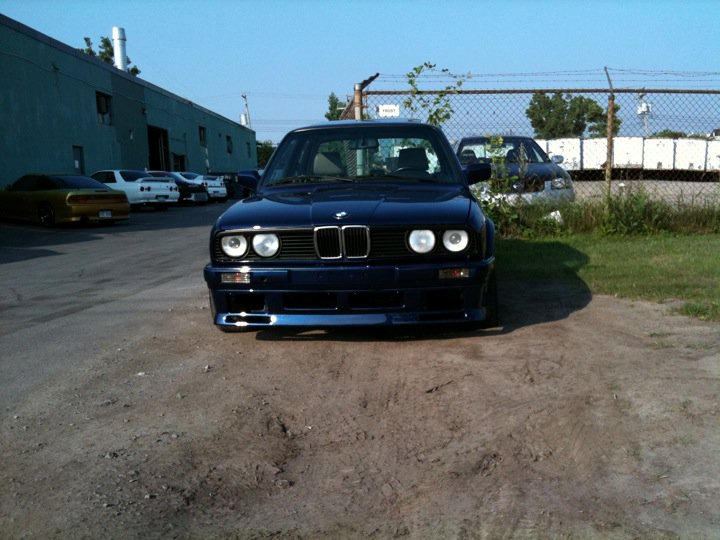
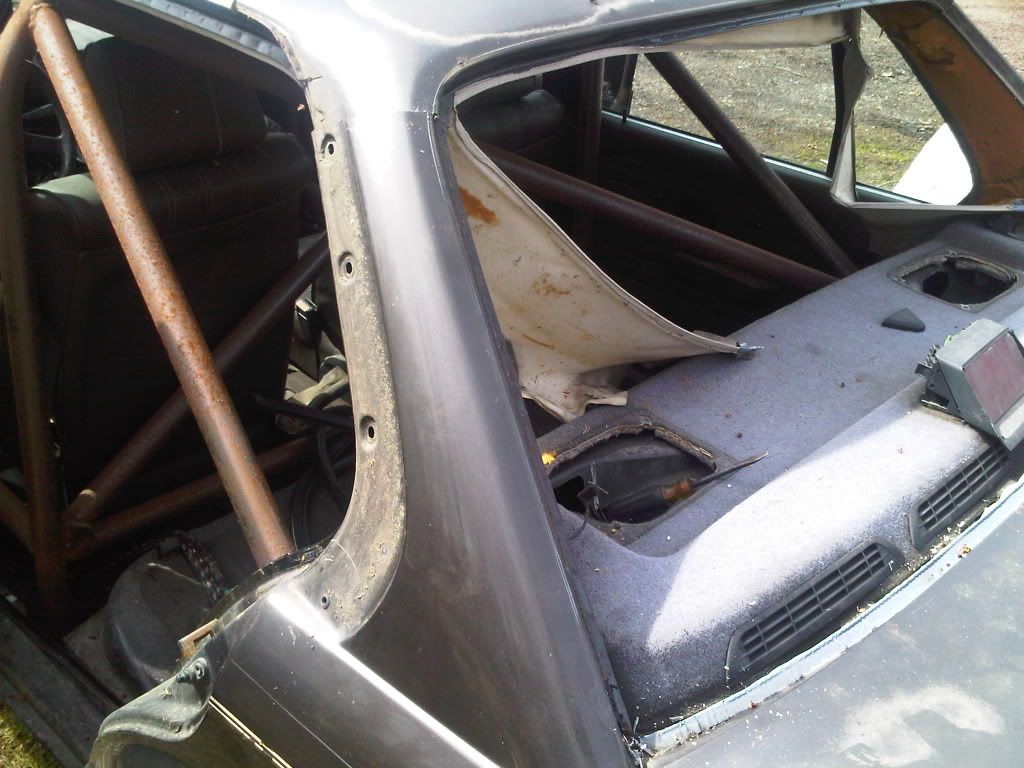
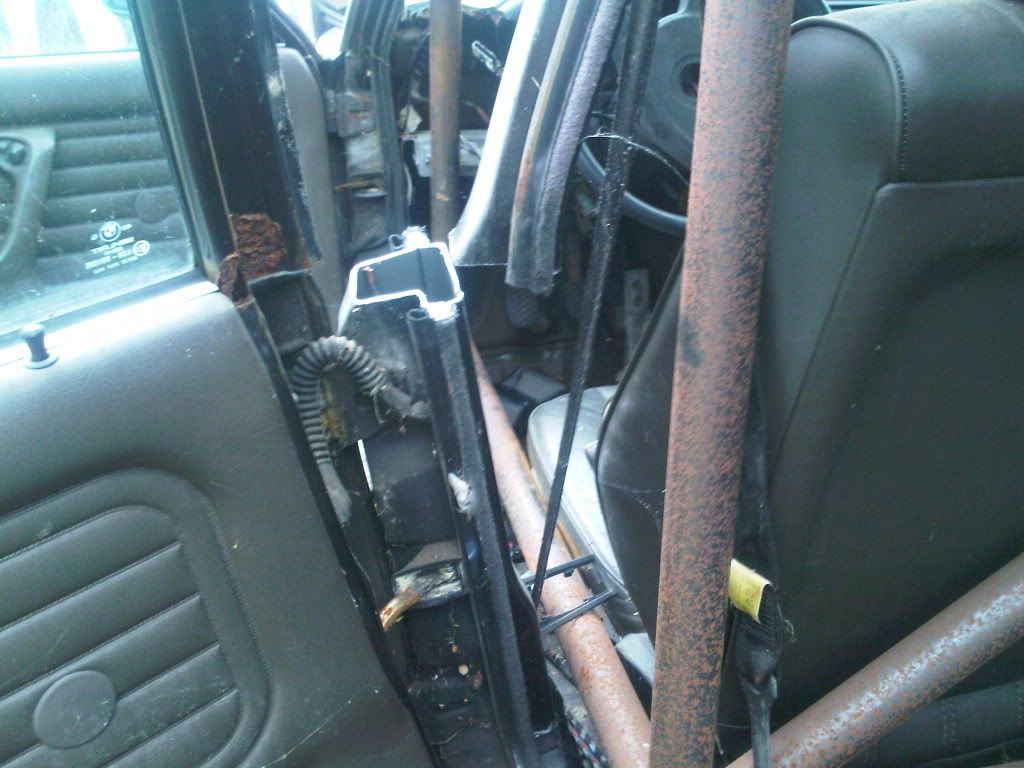
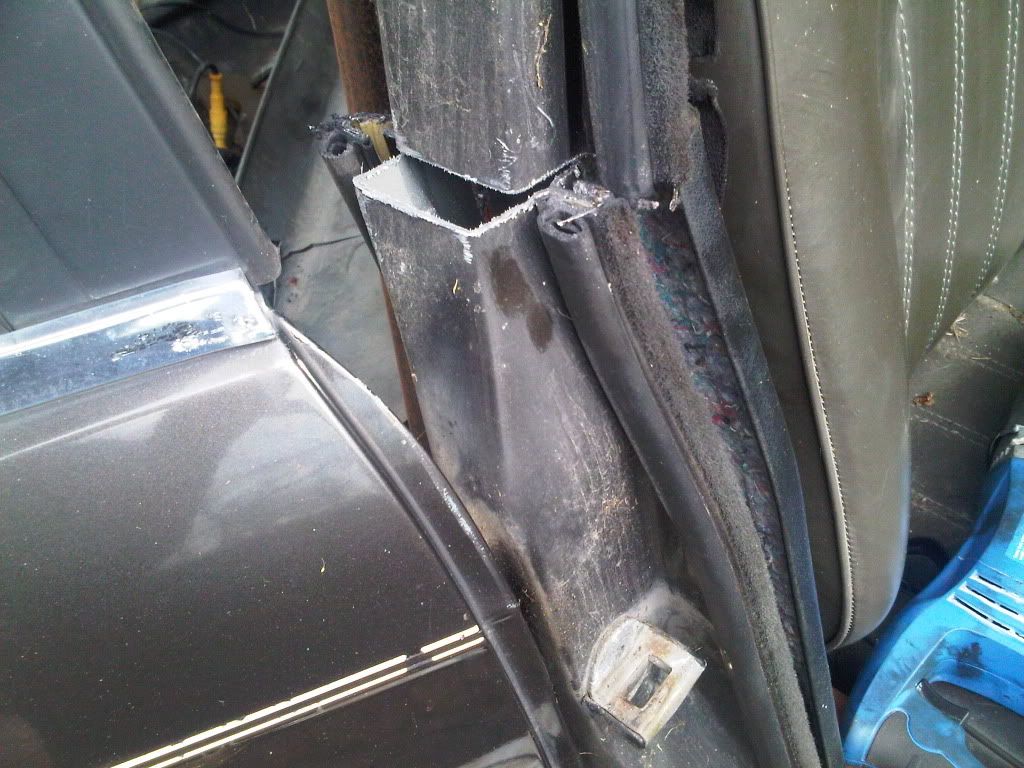
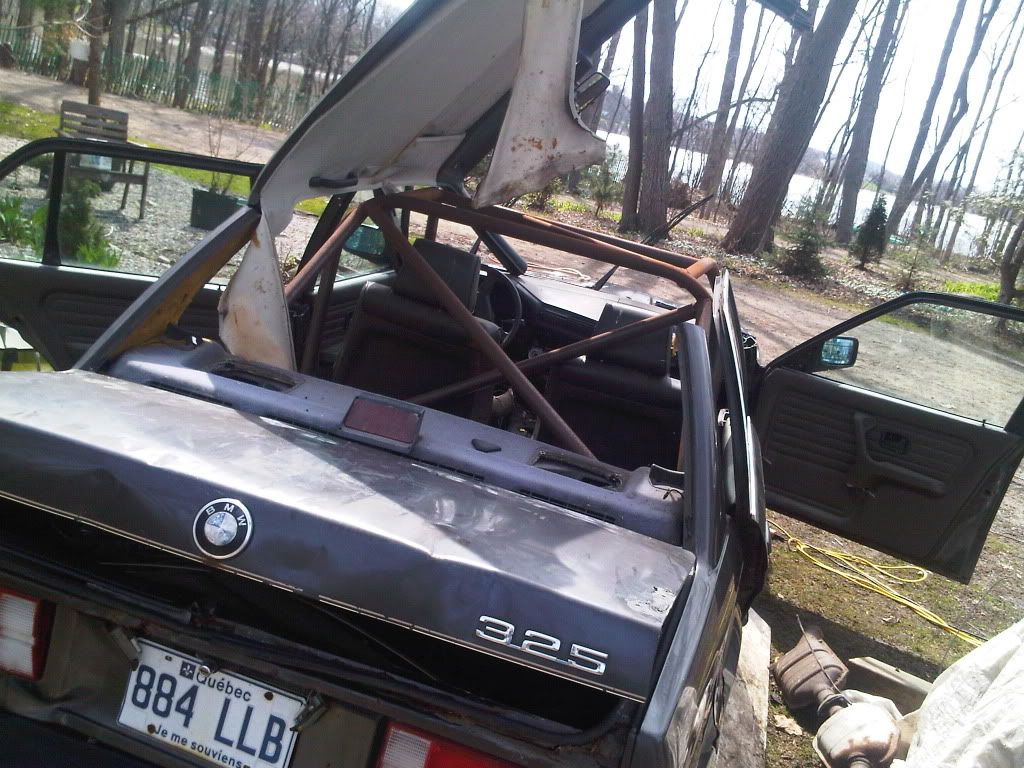
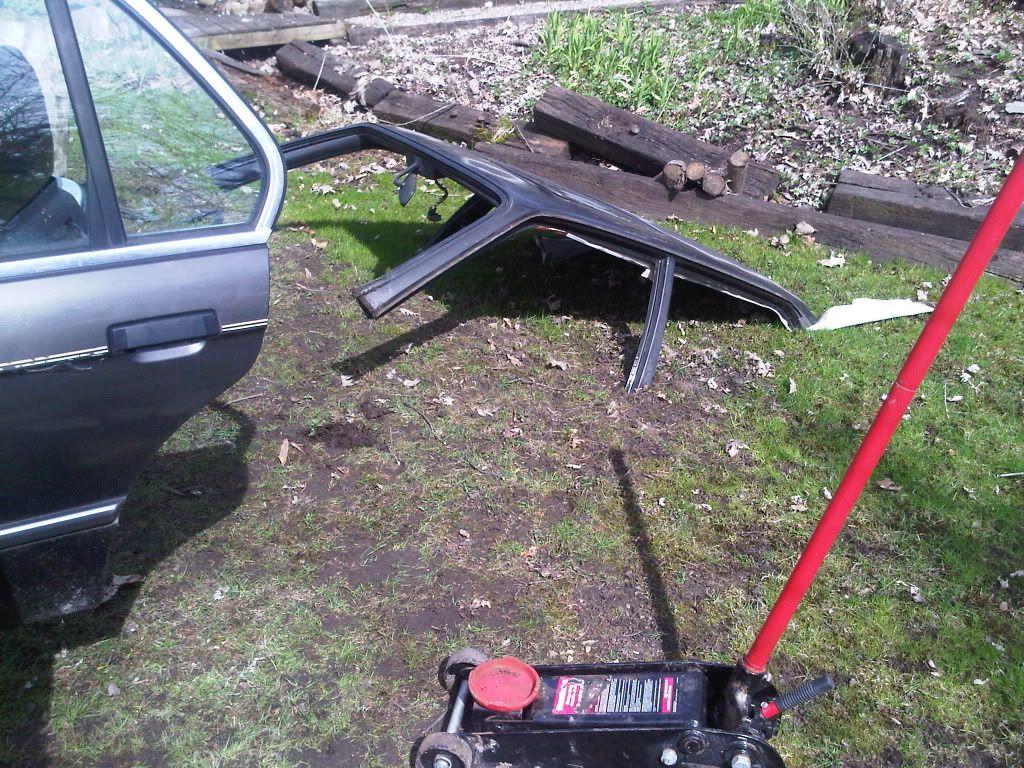
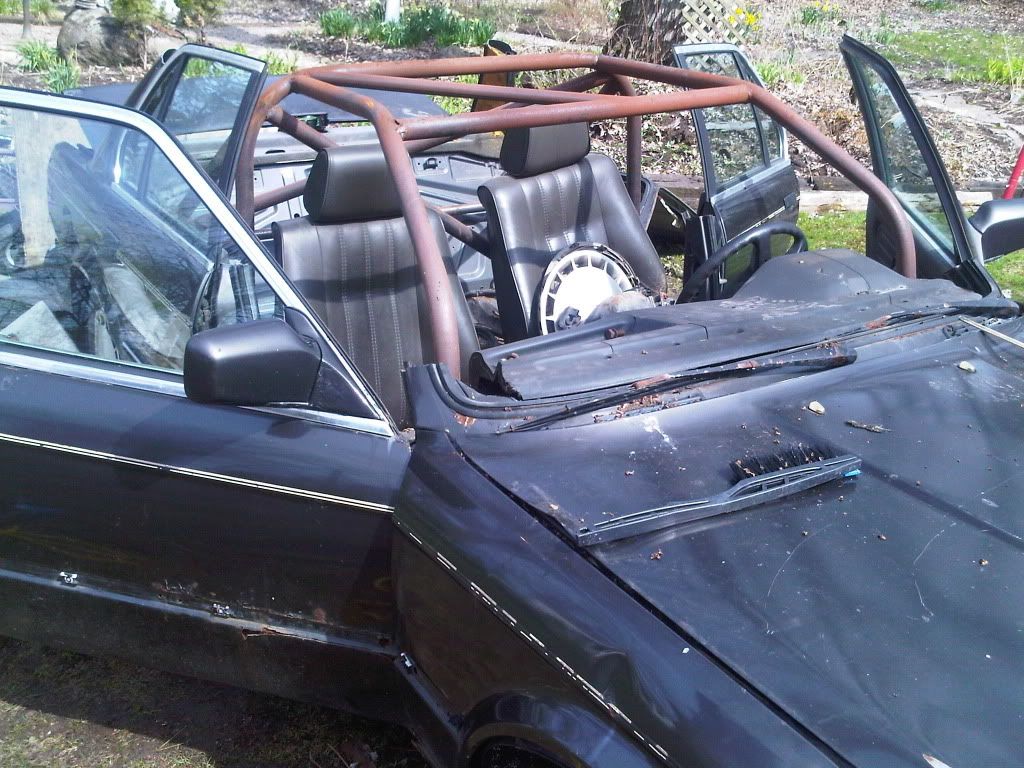
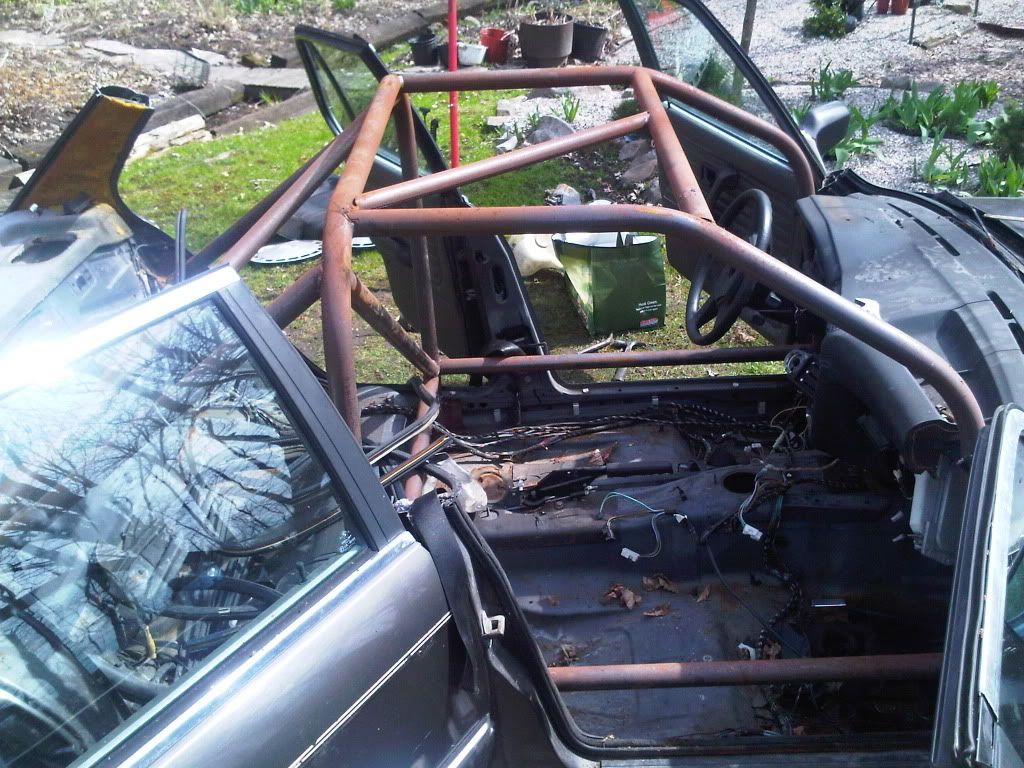
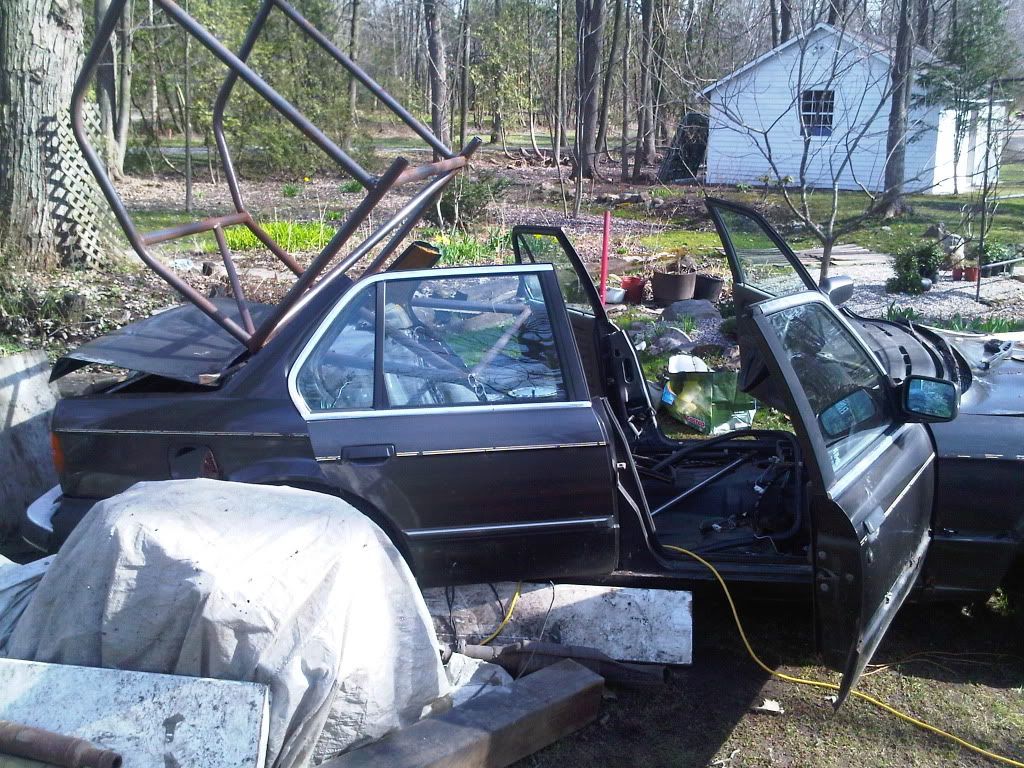
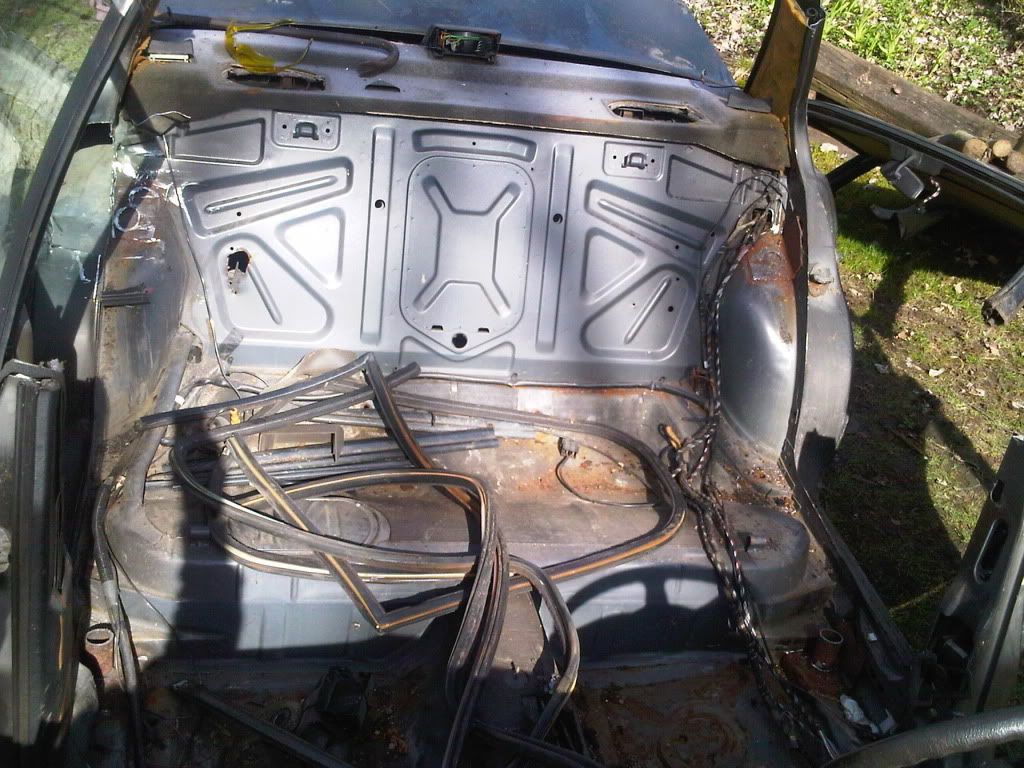
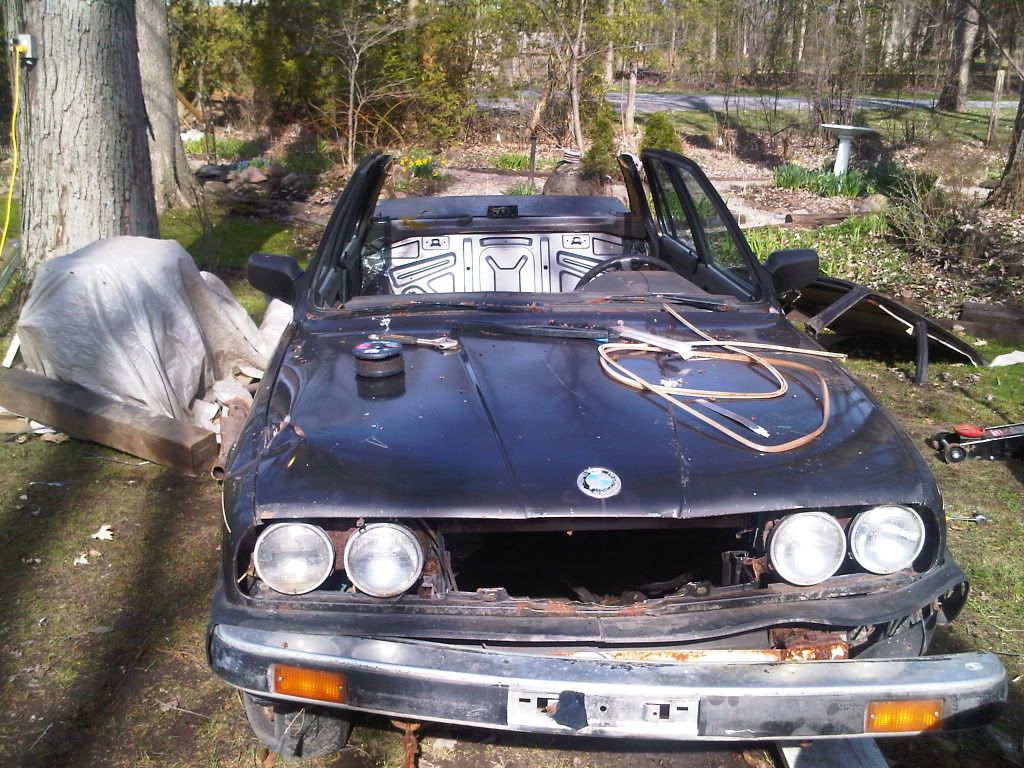
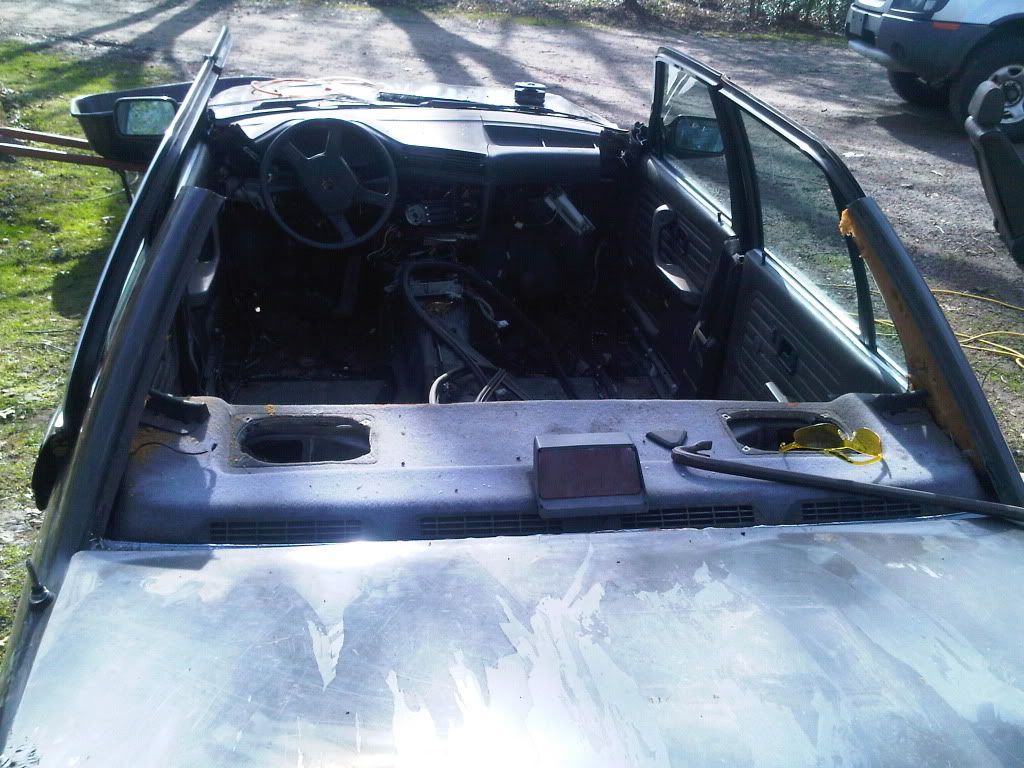
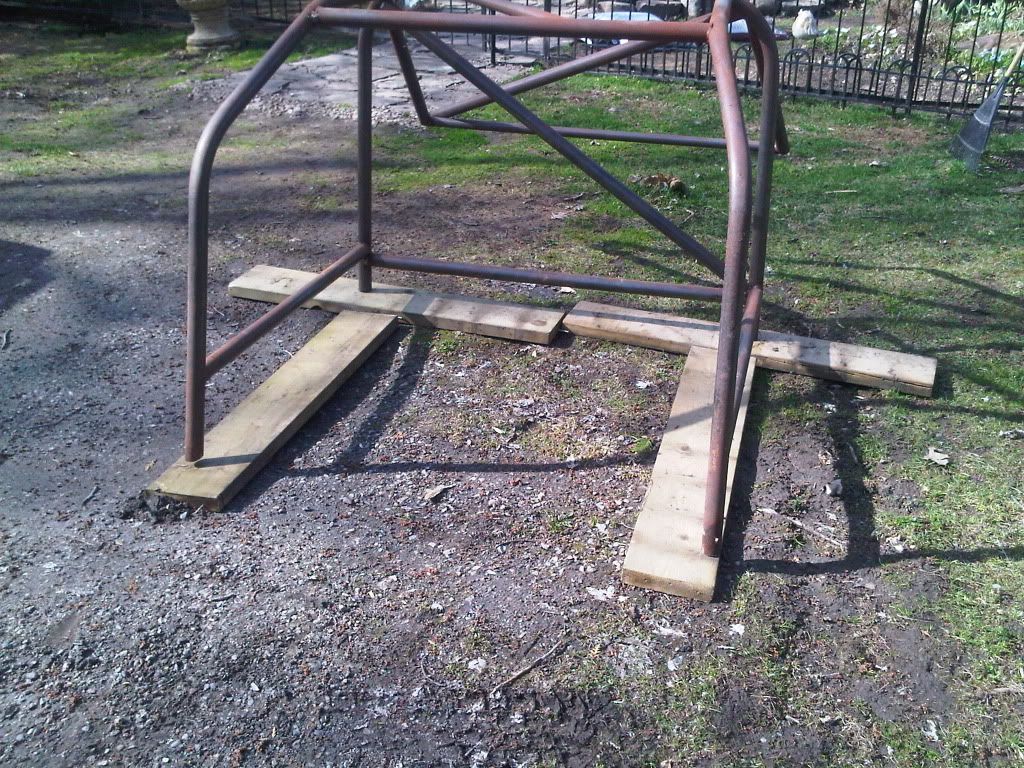
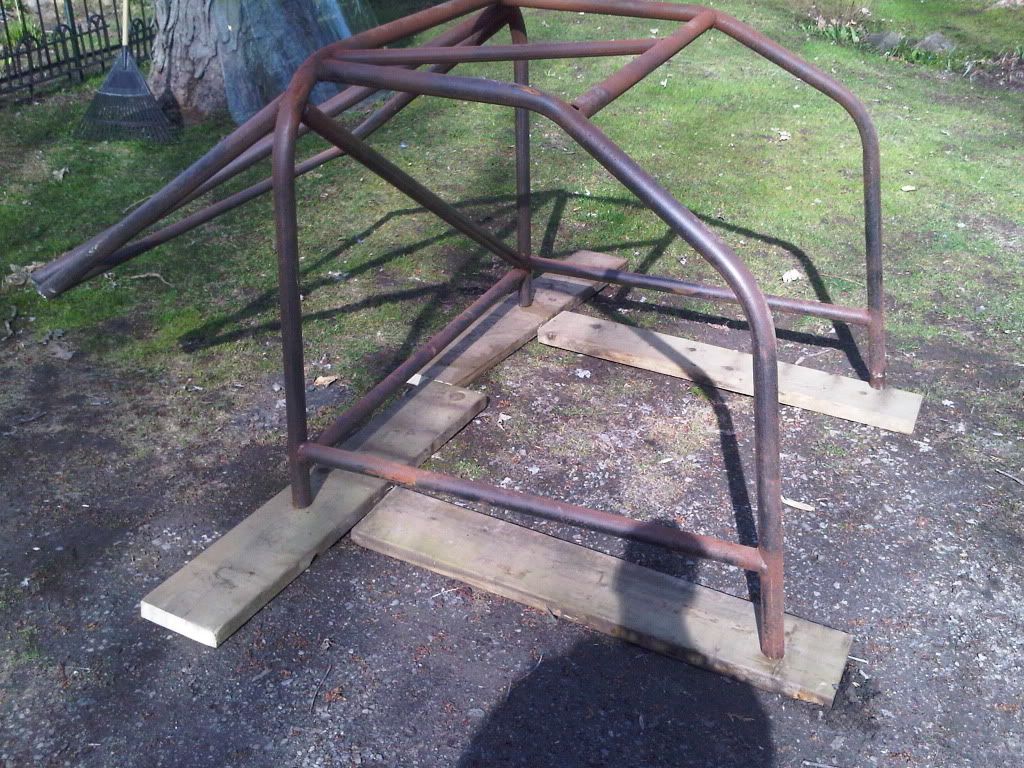
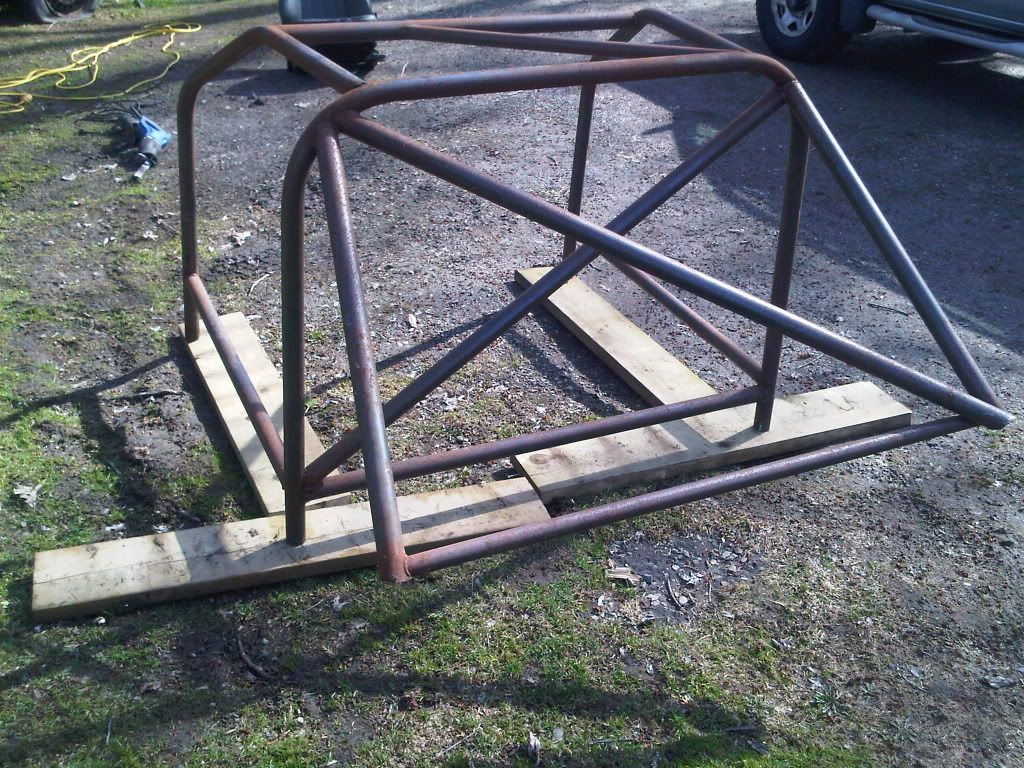
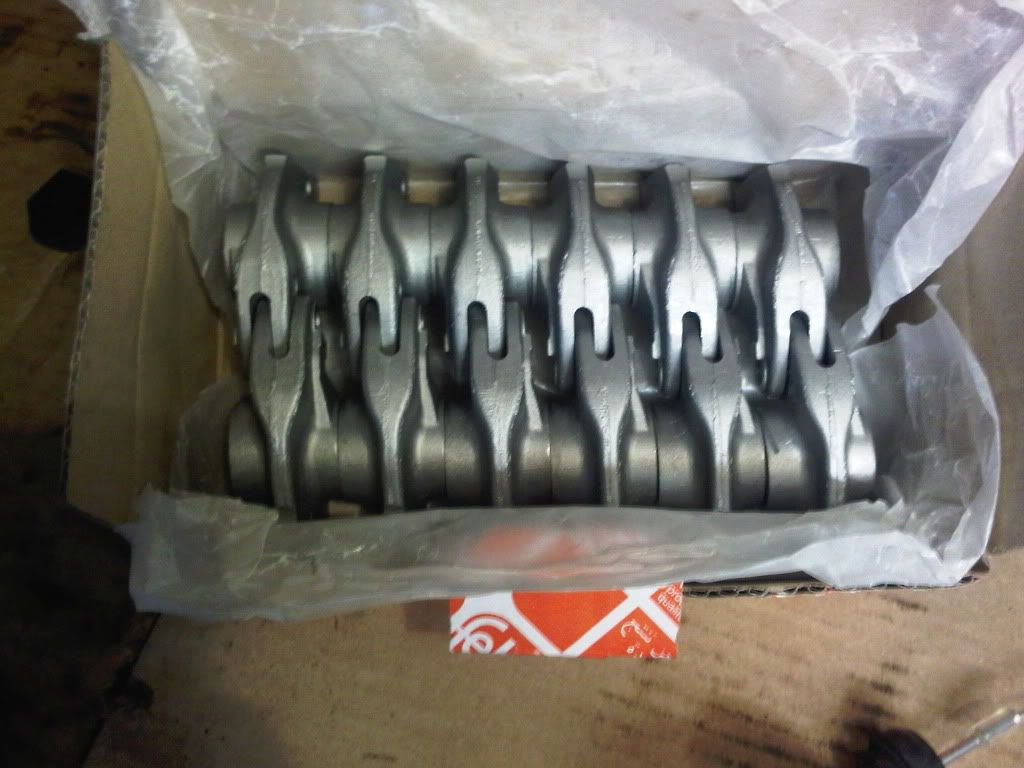
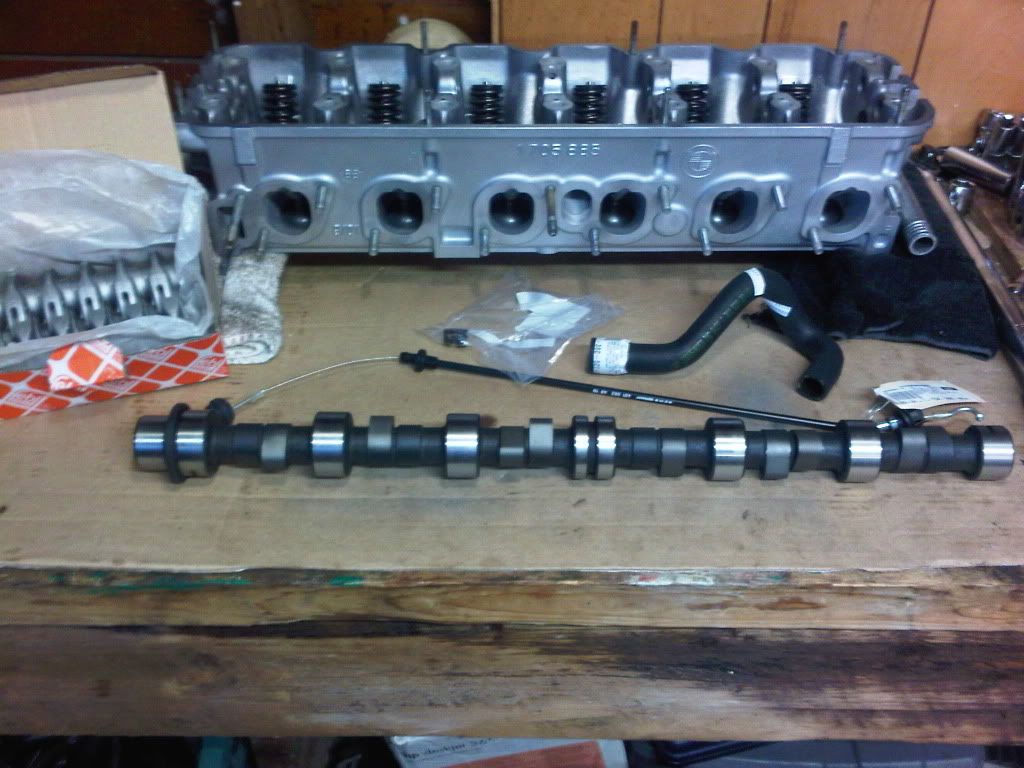
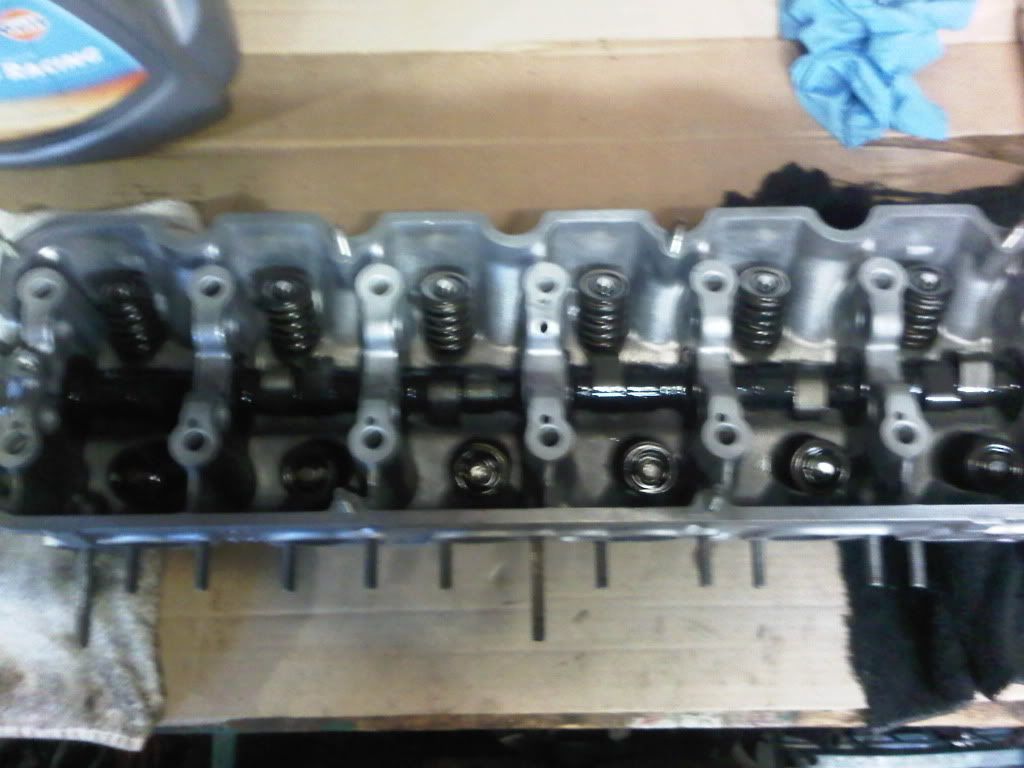
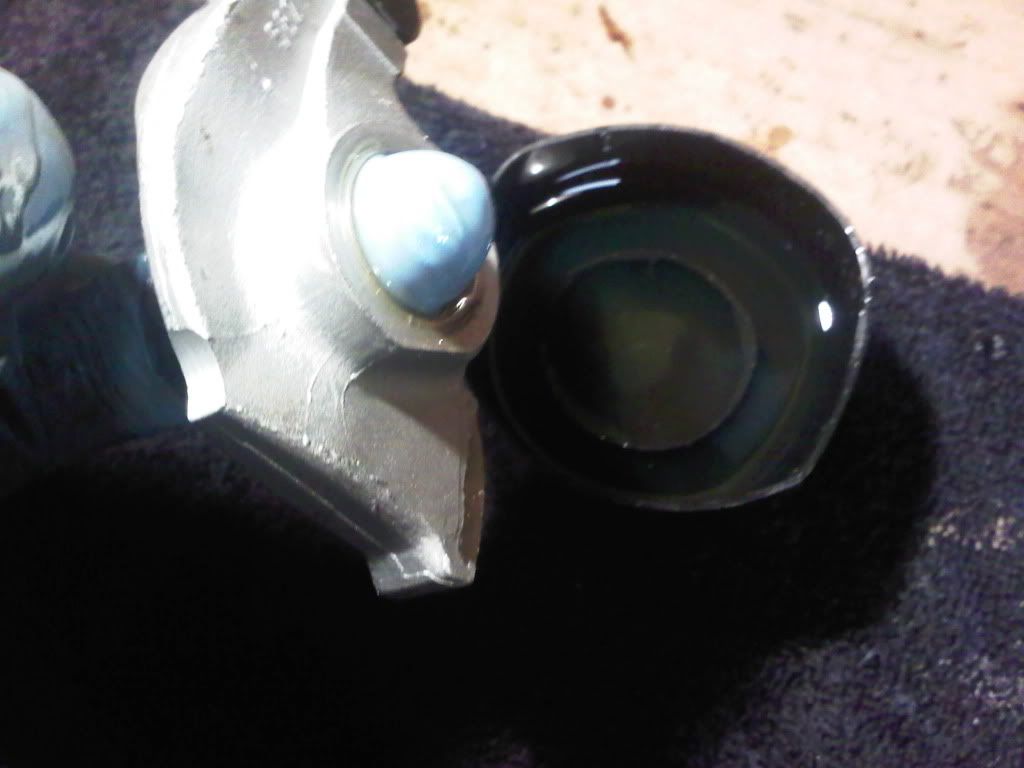
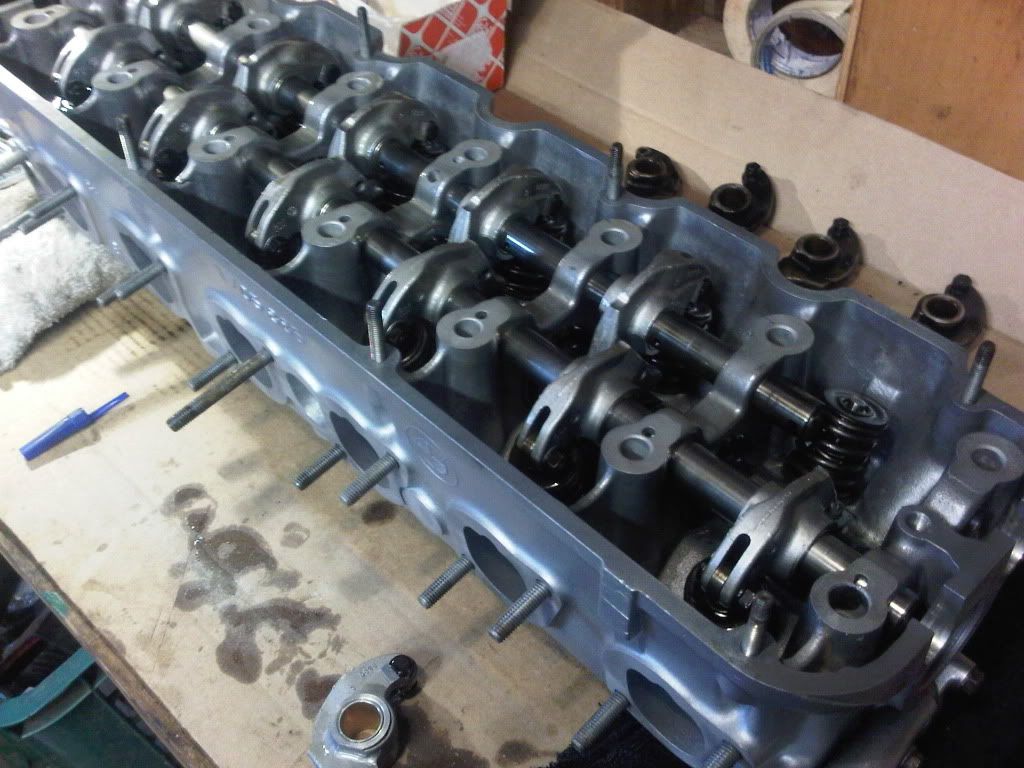
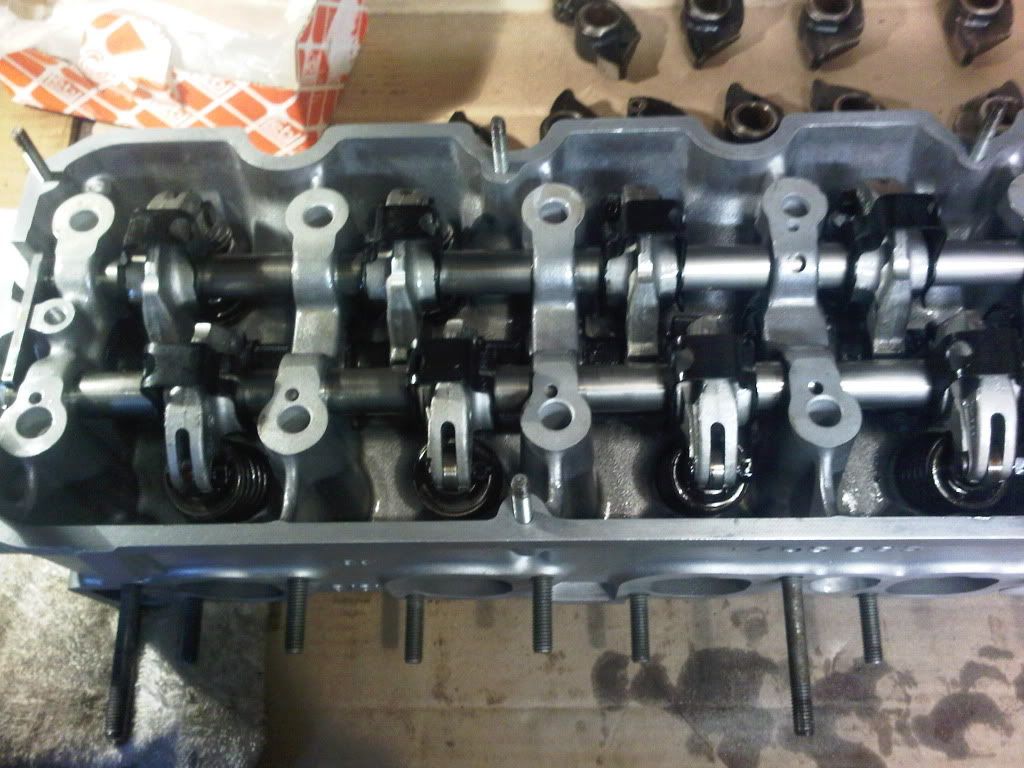
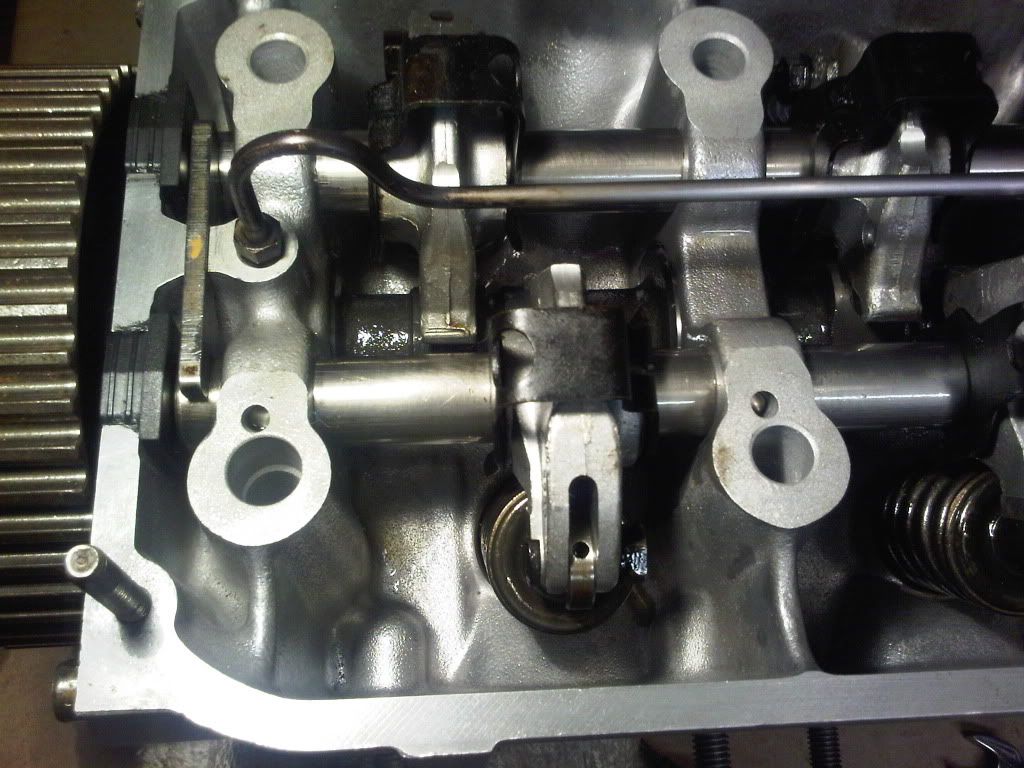
    heres an update on that heap of junk that i picked up for parts and had the full cage in,


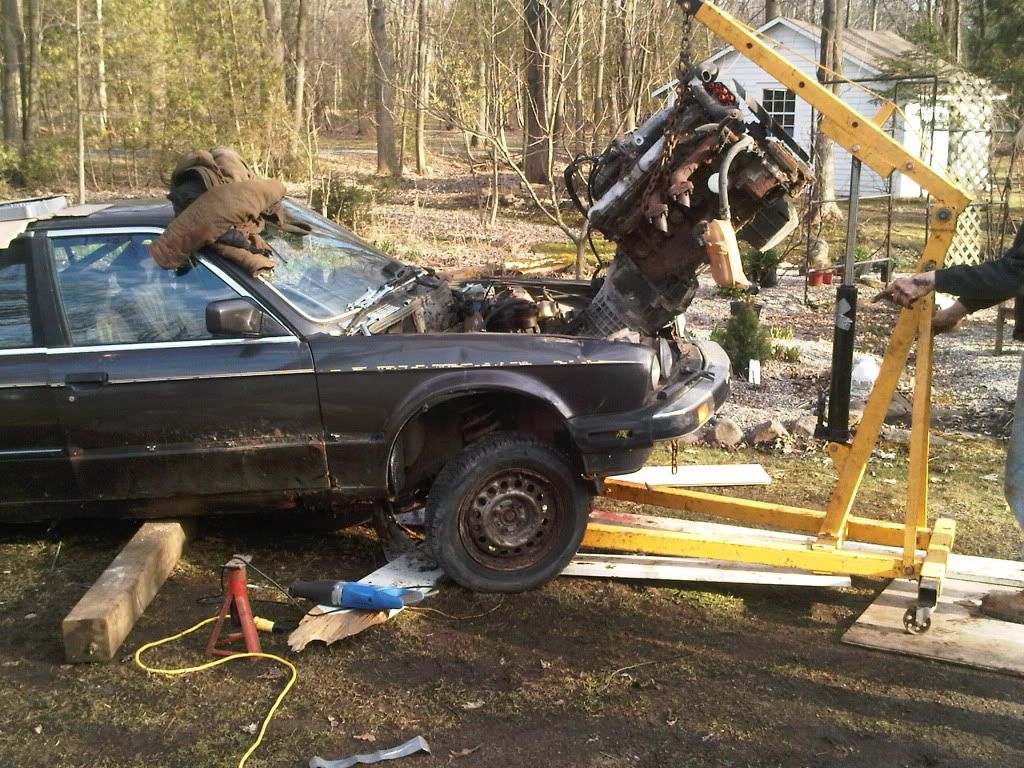
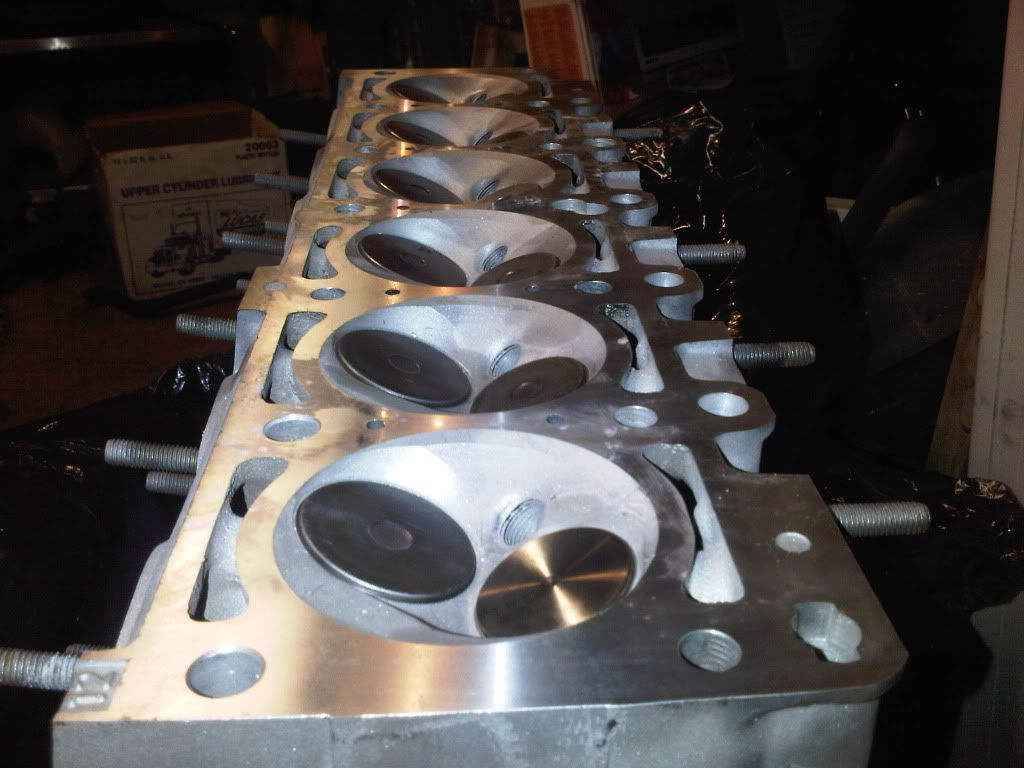
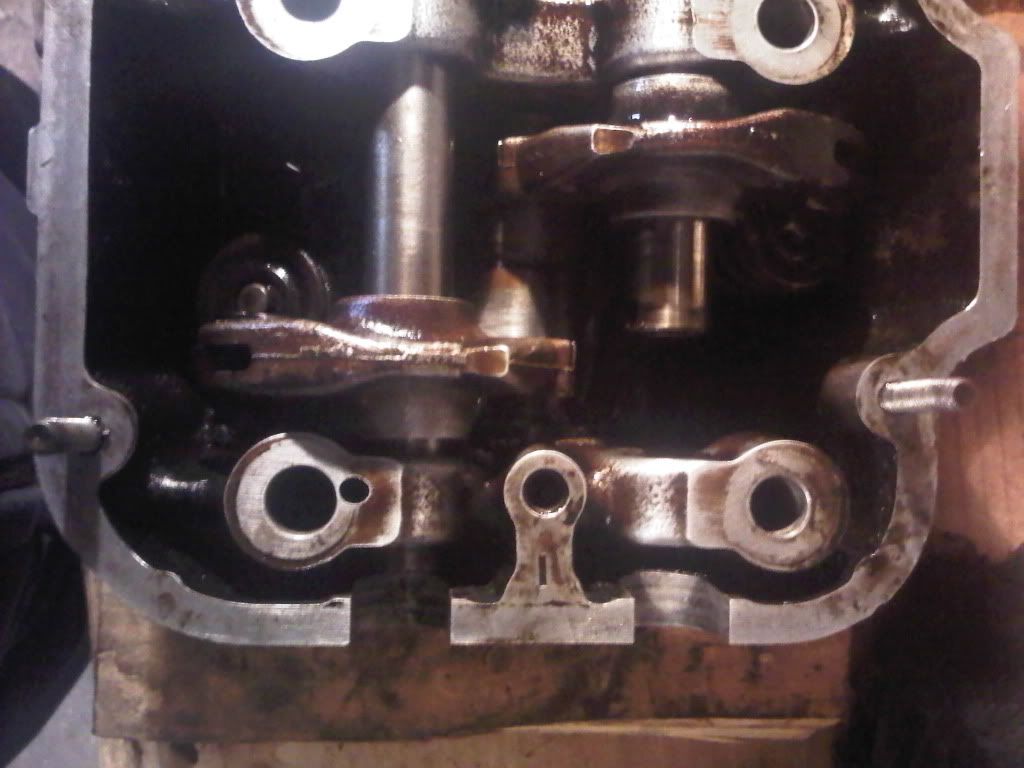
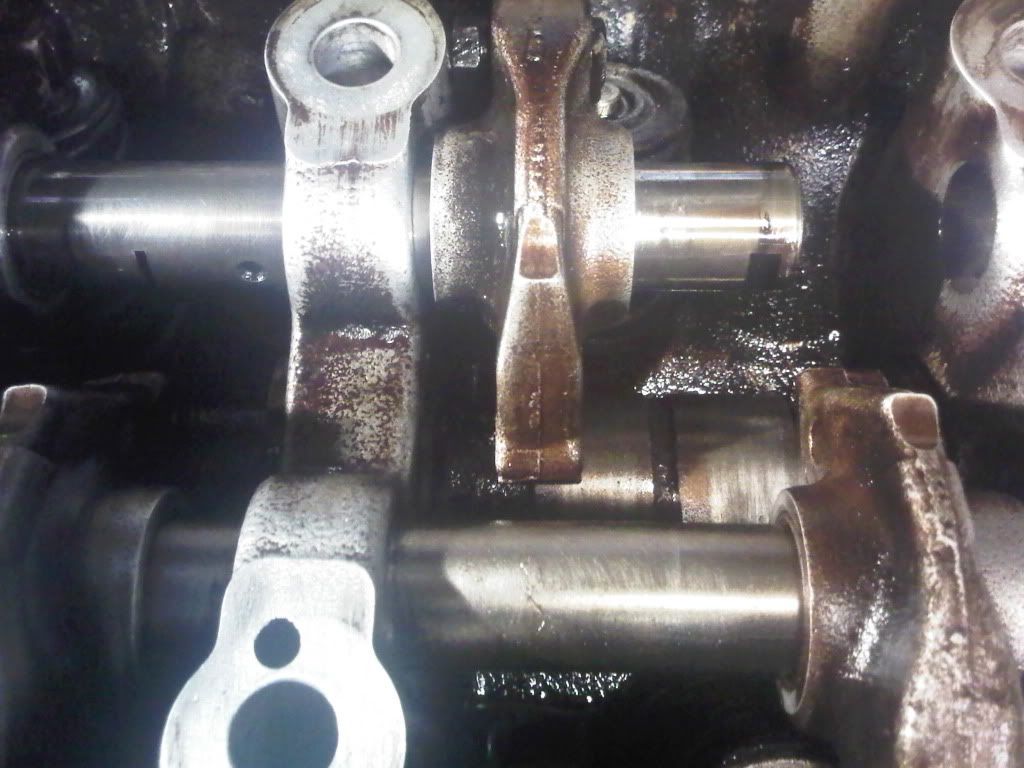
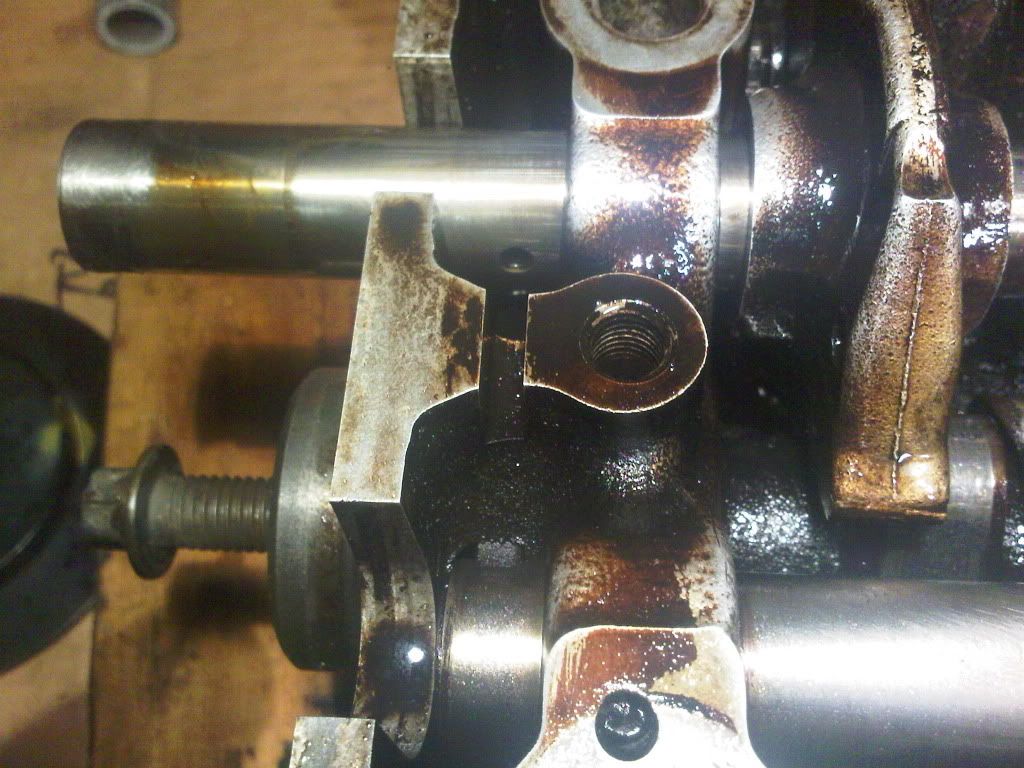
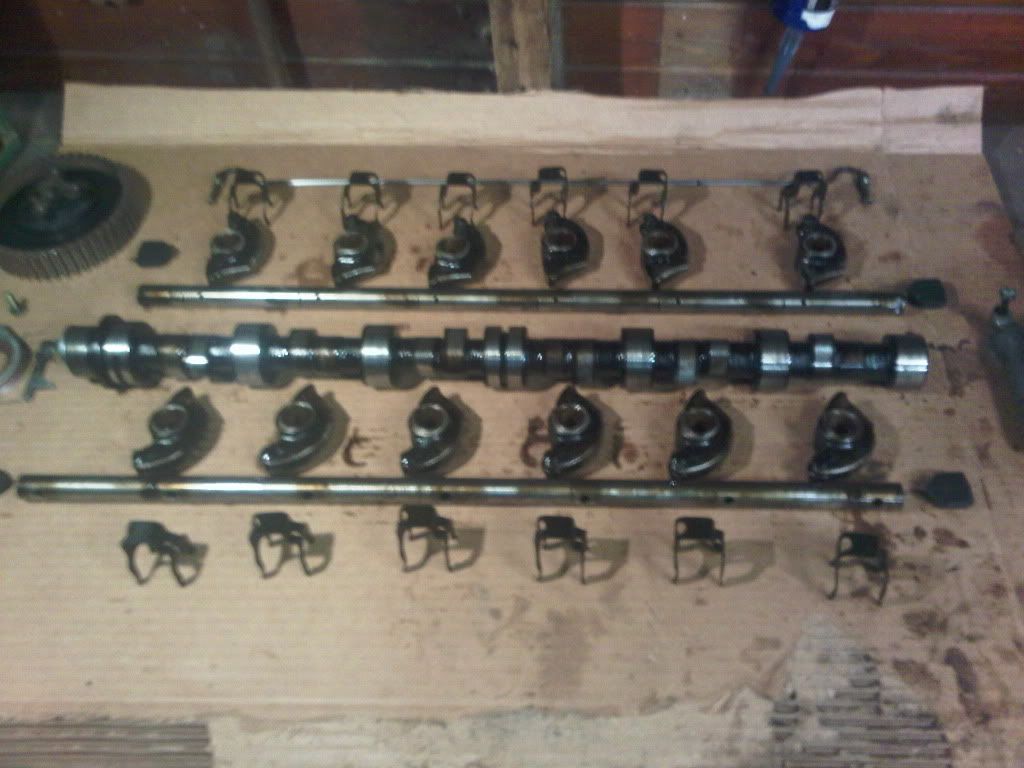
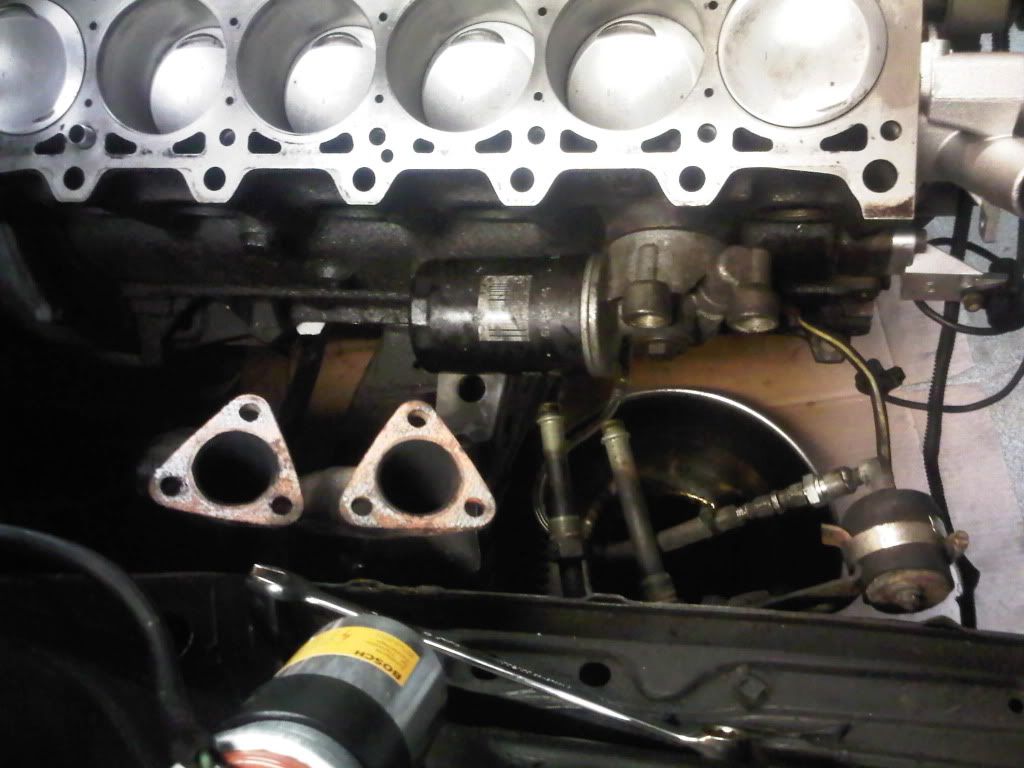
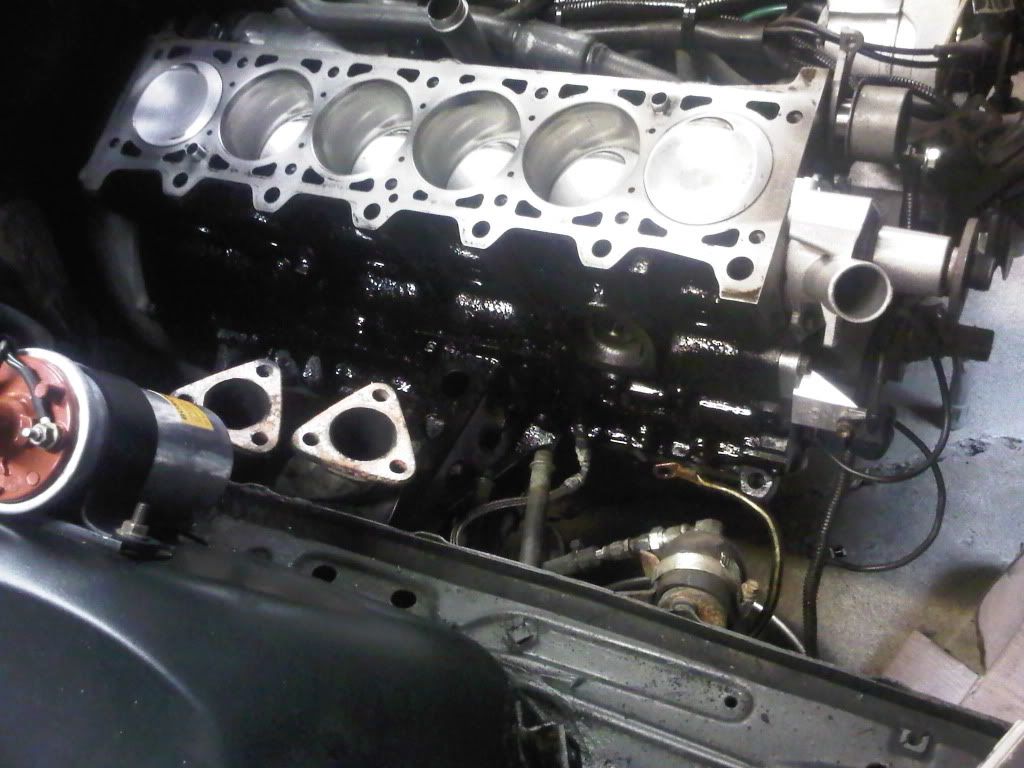
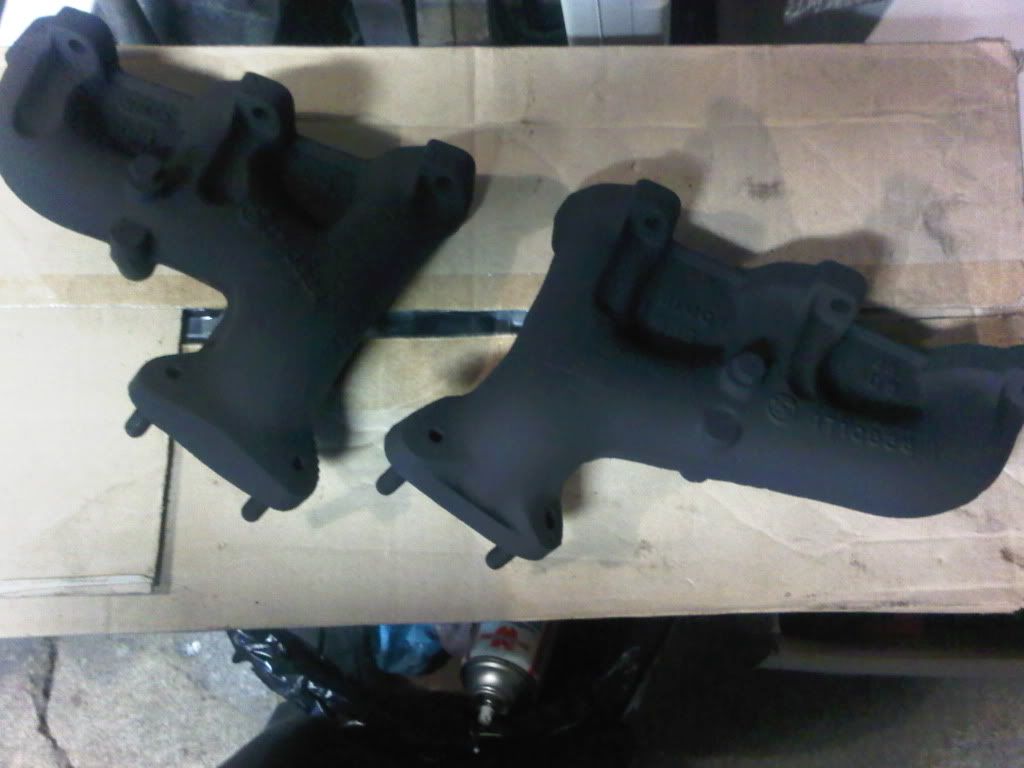
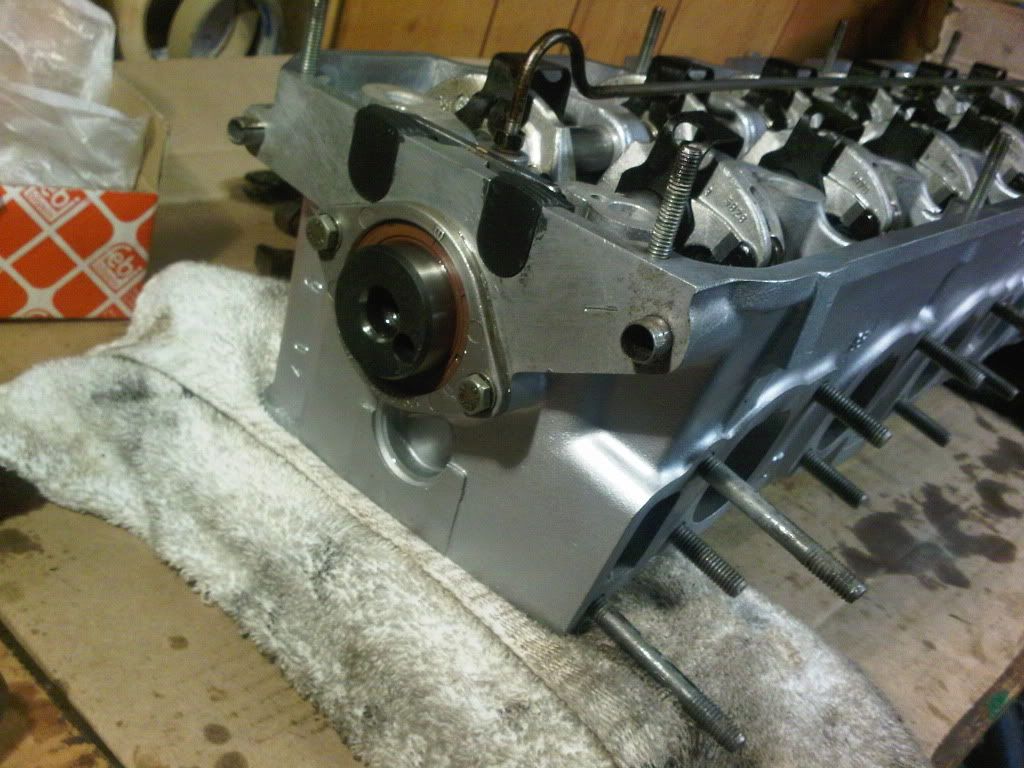
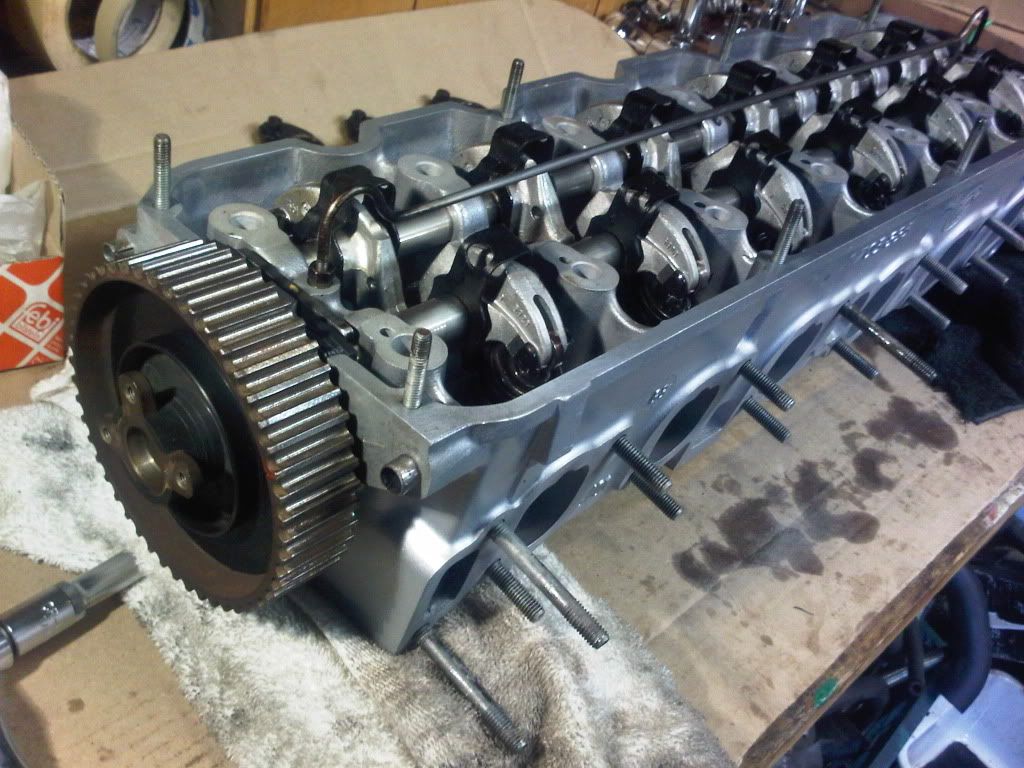
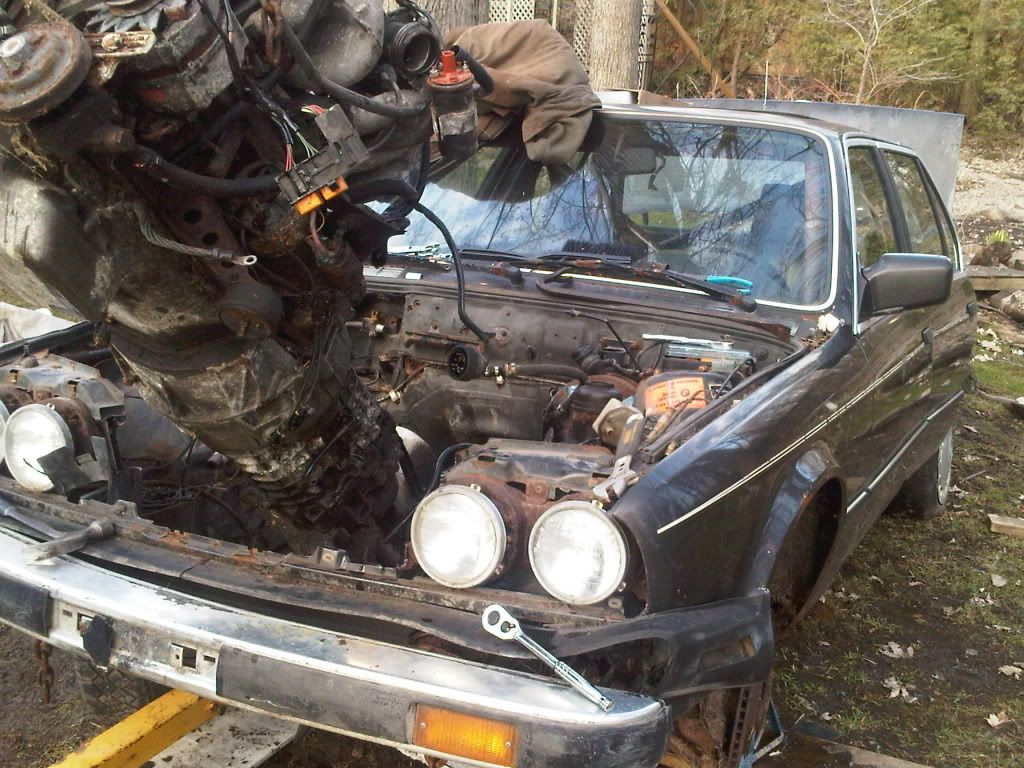
    the drive shaft was in good shape, and the getrag 260 trans was perfect, a 2.7 block to tinker with an i head,....maybe turbo later for a build....... pretty much this shit is to use as parts and to be sold off. ill update later on the "cutting" the cage out 'vert' style!!!!!
    for now thats it
    my build here ---> http://www.r3vlimited.com/board/show...ht=lemans+blue

    Comment


      #47
      great build man. love the color. i would have enjoyed it more if the pictures were not cellphone quality. the color would've popped out better. But I'm still liking it.
      Your signature picture has been removed since it contained the Photobucket "upgrade your account" image.
      ---------------------------------
      89 E30 S52
      ---------------------------------
      Transaction Feedback.

      Comment


        #48
        Great looking car.
        Really love the color choice and bodywork.

        1991 BMW 318i (Old Shell RIP, Now Being Re-shelled & Reborn)
        1983 Peugeot 505 STI
        1992 Volvo 240 Wagon
        2009 Toyota 4Runner SR5 Sport 4WD

        Comment


          #49
          heres a couple of my fav pics i think r kinda cool from all this shit


          a peak out the door to take a break


          thanks for the comments, more to come, yeah sorry for the crackberry pics, i plan on getting an actual camera soon
          my build here ---> http://www.r3vlimited.com/board/show...ht=lemans+blue

          Comment


            #50
            Also, just a bit of constructive criticism.
            Euro-trim would look great on your car. :up:

            1991 BMW 318i (Old Shell RIP, Now Being Re-shelled & Reborn)
            1983 Peugeot 505 STI
            1992 Volvo 240 Wagon
            2009 Toyota 4Runner SR5 Sport 4WD

            Comment


              #51
              i was thinking that too, I painted all the trim and mouldings the same color as the car to see what it would look like, i can always paint them flat black. I will probably do that.

              all the chrome trim will be blacked out ( shadowlined) since i think chrome really looks like ass, thanks man
              my build here ---> http://www.r3vlimited.com/board/show...ht=lemans+blue

              Comment


                #52
                Originally posted by sweet6e30 View Post

                all the chrome trim will be blacked out ( shadowlined) since i think chrome really looks like ass
                ^^^ this !

                Comment


                  #53
                  Nice! love the color and valence choice in the front. I tried to do the same once with euro bumpers and never could make it look that good.

                  Comment


                    #54
                    That blue is the tits man!! But some constructive criticism for ya....i think the metallic paint on the engine parts is really gonna screw you later. I don't think that the fluctuation of temperature from engine heat to the climate in Canada is gonna treat you well. Those metal flakes will expand and contract like crazy. Again....just a thought. Not hatin on the metallic paint. It looks awesome!!
                    1989 325i|1992 325i|And completely obsessed|:woowoo:
                    sigpic BMW. The Ultimate Driving Machine.
                    The Build...

                    Comment


                      #55
                      The metallic paint on the parts was all baked, its all high temp engine enamel, and its a summer car only. The Canadian summer is the same as the American summer minus the insane tornados and hurricains. Anyways, heres some updates, good news and not so good!
                      i took the rocker shafts out and removed the rocker arms and camshaft. The cam has some flat spots and some small grooves on some of the lobes, which sucks and which usually means the rockers r fucked too, which they are so i ordered up a new cam and a full set of rocker arms. ill be able to assemble in a week or so.


                      my build here ---> http://www.r3vlimited.com/board/show...ht=lemans+blue

                      Comment


                        #56
                        did a few more things today, removed ex manifolds and cleaned em up and got them coated. Cleaned up the threads on the studs on the head, and finished the cleanup of the block on the exhaust side.


                        my build here ---> http://www.r3vlimited.com/board/show...ht=lemans+blue

                        Comment


                          #57
                          heres a couple of pics that i had no idea a friend had. cant wait till shes back on the road


                          Last edited by sweet6e30; 04-28-2011, 08:58 AM.
                          my build here ---> http://www.r3vlimited.com/board/show...ht=lemans+blue

                          Comment


                            #58
                            Chop shop time

                            so for all you peeps that like destruction :) and verts chop style heres how i took the cage out of that heap. Used a sawsall and a cutting wheel grinder. Next step is to separate the front section of the cage from the rear, clean it up, sand, primer, test fit into my car, make support anchors and feet, paint cage and install. Im thinking of a sleave and bolt approach to the installation of the tubes. We'll see how it goes.


                            my build here ---> http://www.r3vlimited.com/board/show...ht=lemans+blue

                            Comment


                              #59
                              got some goodies today, brand spankin new cam , new rocker arms, accel cable, and the last coolant hose needed.

                              started to rebuild the head. Its really easy. The most important thing to do is lube everything, with some good oil or assembly lube. If you are disassembling your old head and assembling a new one, most important thing to remember is to clean the rocker shafts so there is no crud to bind up as your removing or installing them. i used a 3m scotch pad and some old gas/oil mix for an outboard motor I kicking around to clean the rocker shafts. then a good spray with brake and parts cleaner.
                              Anyways heres pretty much step by step


                              oil up the lobes and journals on the cam , and the cradles on the head, and slid the cam in gently


                              i ended up reusing my eccentrics since they were still good, make sure you install them in the correct orrientation , easy stuff


                              here you can see the difference in the rocker arm contacts, flat spotted rocker arms are no good, chances are if they r like this your cam is due for a regrind, or a replacement, ( its easier just to replace)


                              lube up the rocker shaft cradles and lube the rocker shaft, the intake and exhast sided shafts r different , so make sure to keep them in the same orientation and not to mix them up when installing. the underside of the exhaust side has a single large ovalized oil feed hole in the center, match it up to the recipricating oil feed hold on the head in the rocker shaft cradle.
                              the intake side is similar with more holes.


                              as the rocker arms are being installed one by one as you pass the the shaft through the cradles, dont twist the shaft, otherwise the lock plate will not line up with the end notches

                              i did the intake side first, turning the cam as i installed the rocker arms one by one. keep the eccentrics loose and open to avoid binding on the cam

                              the exhaust side is pretty much the same, it takes a while, but everything goes together very easily and lightly , i didnt have to force anything, towards the end it gets a little touchy since most of the rockers are in contact with the cam lobes in sequence. i used a wooden dowl and a small hammer to tap the end of the shaft throgh , but i made sure that there was a relief of pressure off the cam lobes, you have to do this for pretty much each rocker arm, turning the cam as you install the shaft forward and adding a rocker arm. i then installed the rocker locking clips, and the rocker shaft end plugs. The rest you can see in the pics is pretty straight forward, If anyone is doing this DO NOT forget to install the rocker shaft locking plate, DO not force it, and do not hit directly with a hammer, i used a wooden dowl and a light tapping. Easy as butter


                              I adjusted the valves to COLD spec, and will adjust them again after running the motor.
                              my build here ---> http://www.r3vlimited.com/board/show...ht=lemans+blue

                              Comment


                                #60
                                So, how's the cage going back in the car/a car? ;)
                                Need a part? PM me.

                                Get your Bass on. Luke's r3v Boxes are here: http://www.r3vlimited.com/board/showthread.php?t=198123

                                Comment

                                Working...
                                X