-
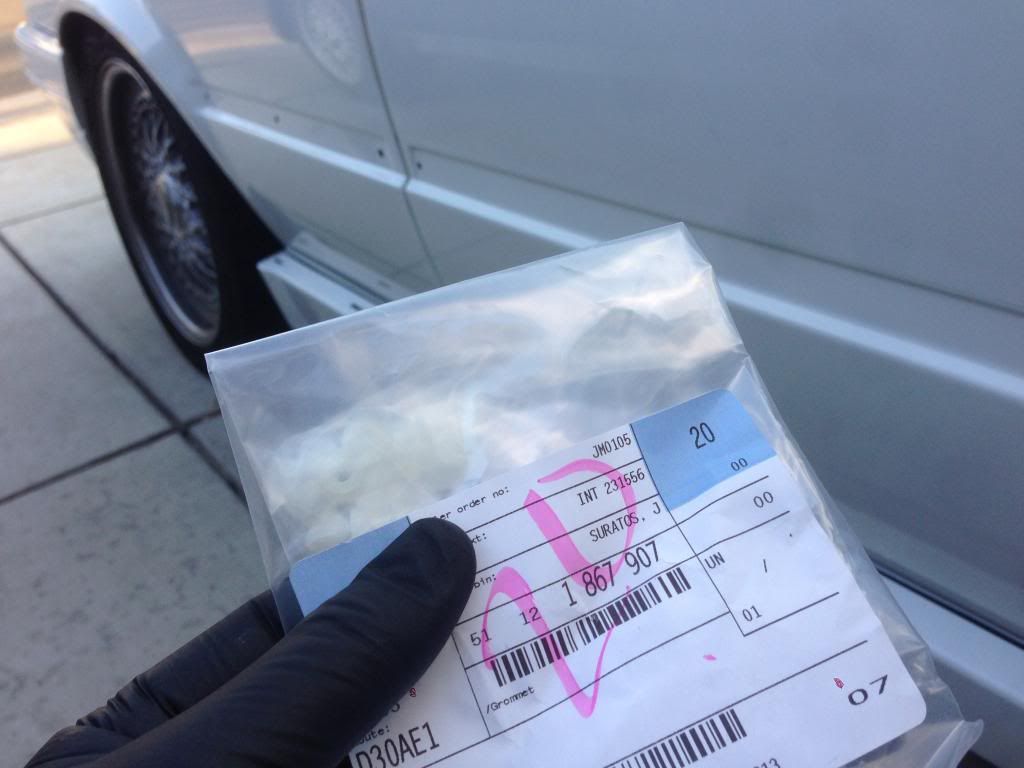
Now the wheels need a 5-7mm spacer to fill wheel wells better, shame all the little grommets cost nearly the price of a kit.Leave a comment:
-
KoKoSe7eN YOU ARE MY HERO.
Holy shit dude, you've done the work of a professional in your driveway. Just speechless, keep up the good work.
I'm heading up to SJ on the 19th to see one of my friends, let me know if I can see the car!Leave a comment:
-
RE: Lets do the exterior!
Pods are last
Started with factory liner that goes around the edge to prevent the panels from rubbing on the body paint
Can barely see it
New panel clips
More clips
Rear pods is on
Door pods
Bottom clips for door pods

Installed

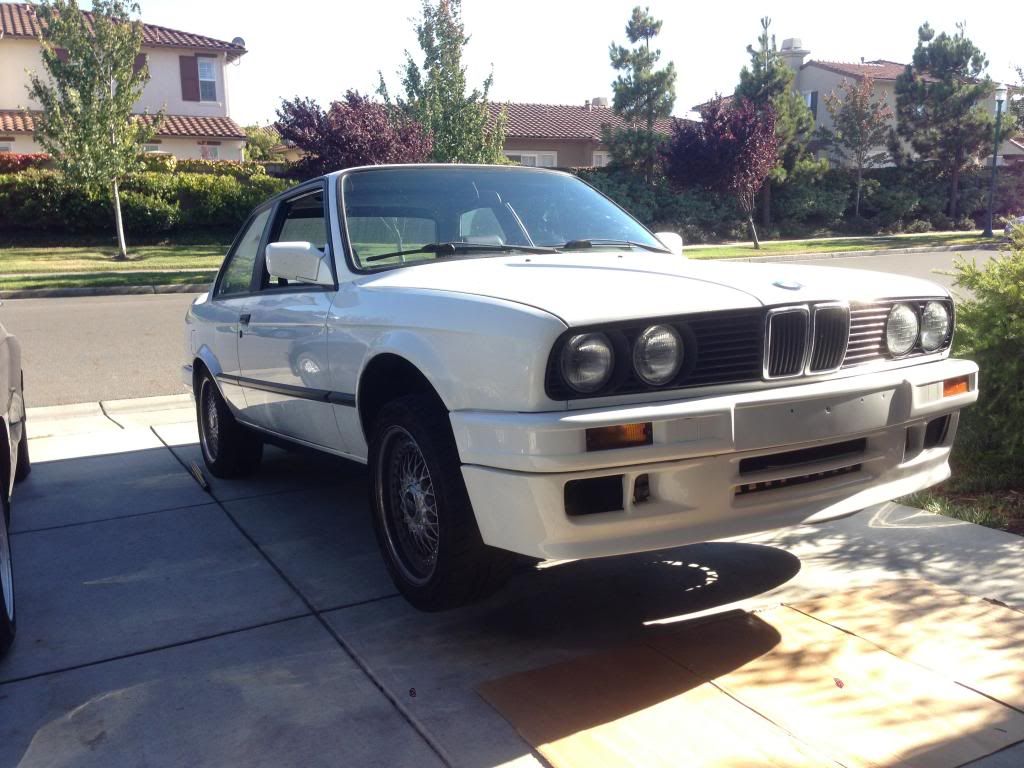
Front pods on and finished
Washed
Leave a comment:
-
Wow some how i missed this build. Looks great. Quite the transformation.Leave a comment:
-
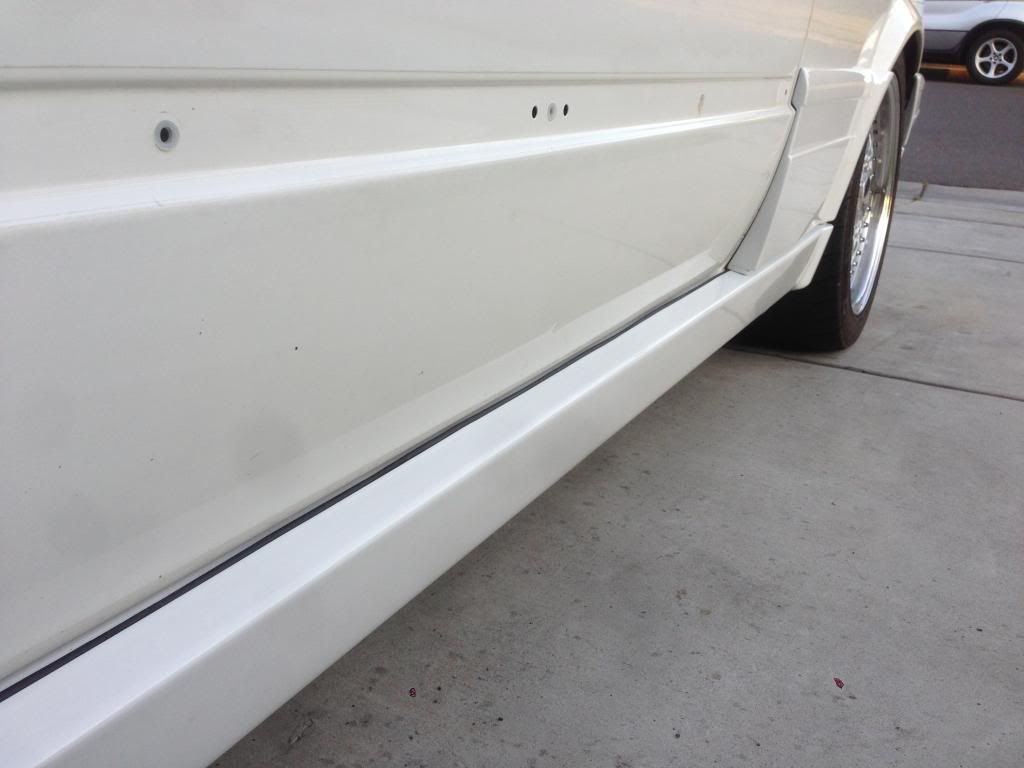
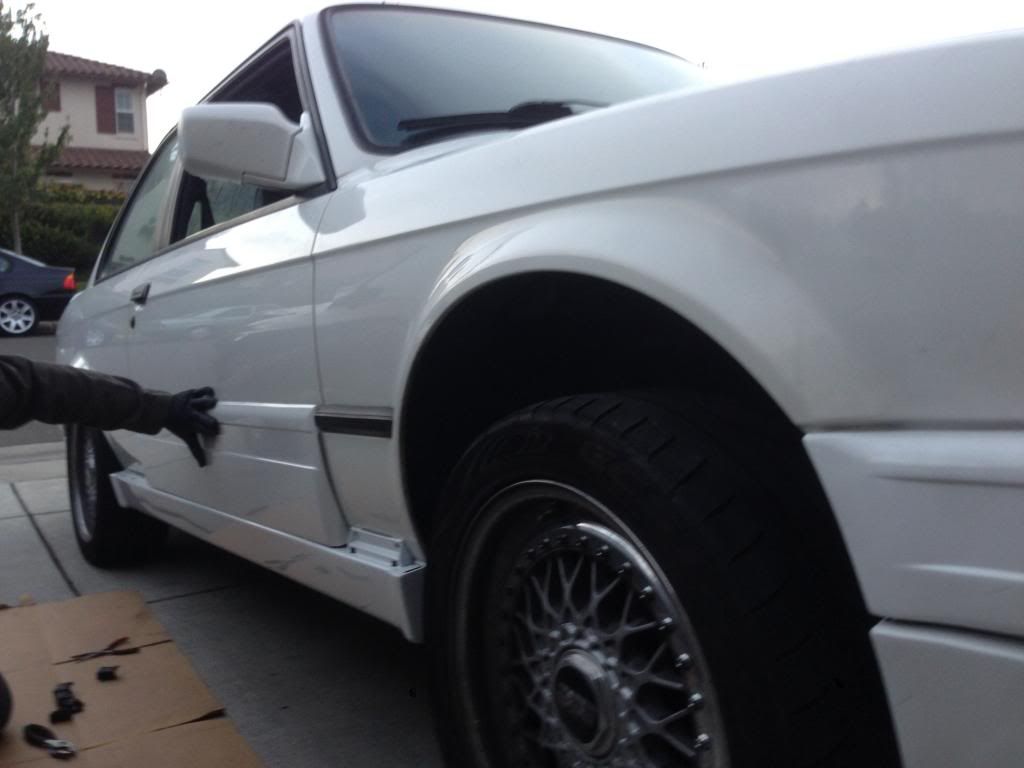
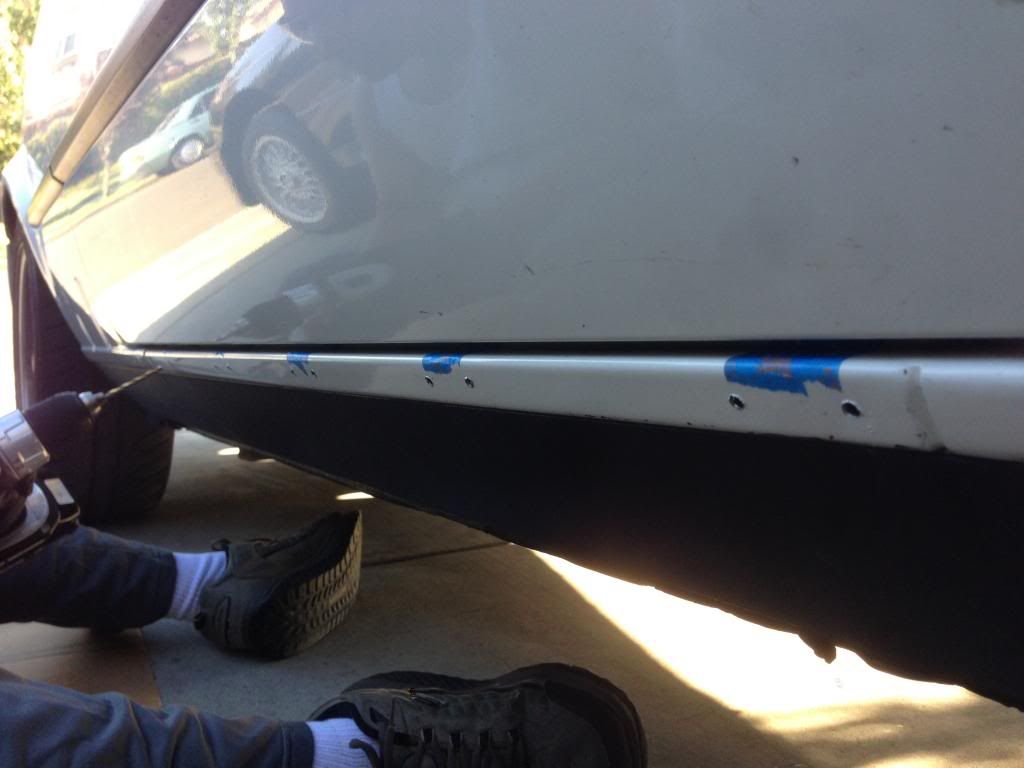
RE: Lets do the exterior!
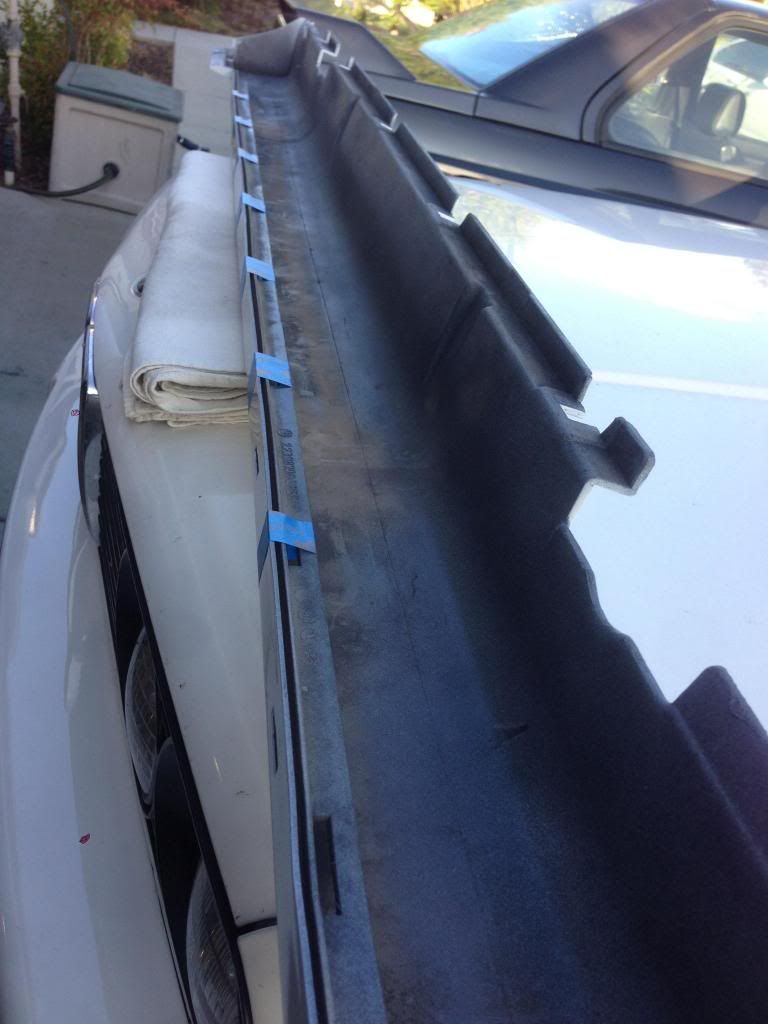
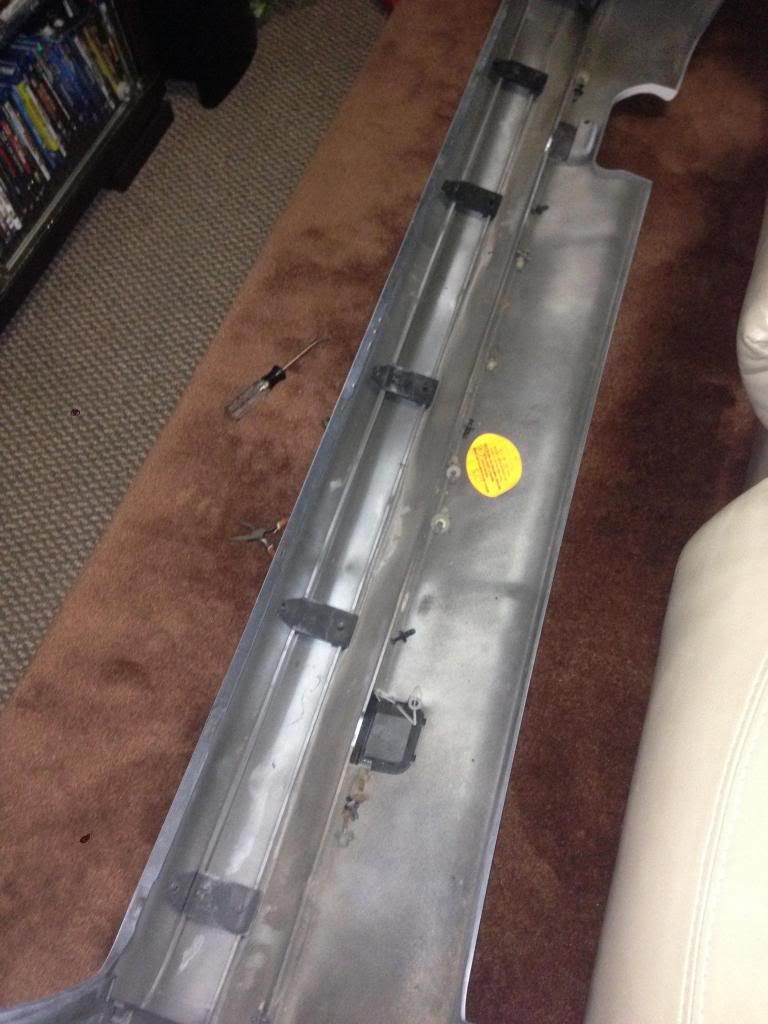
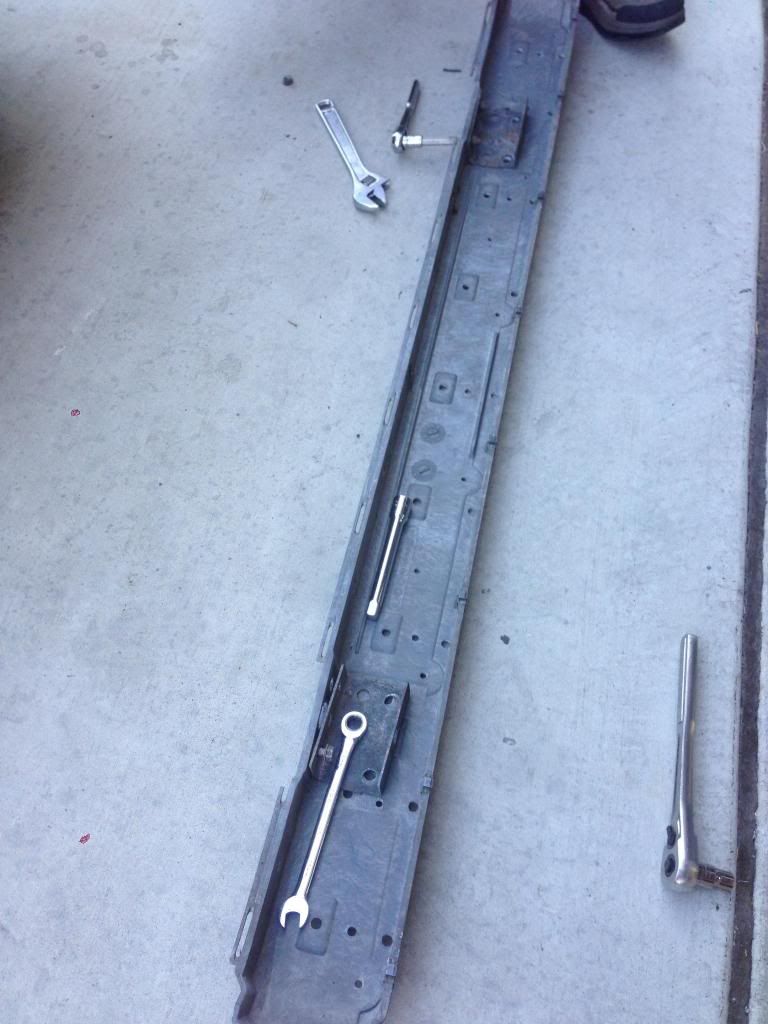
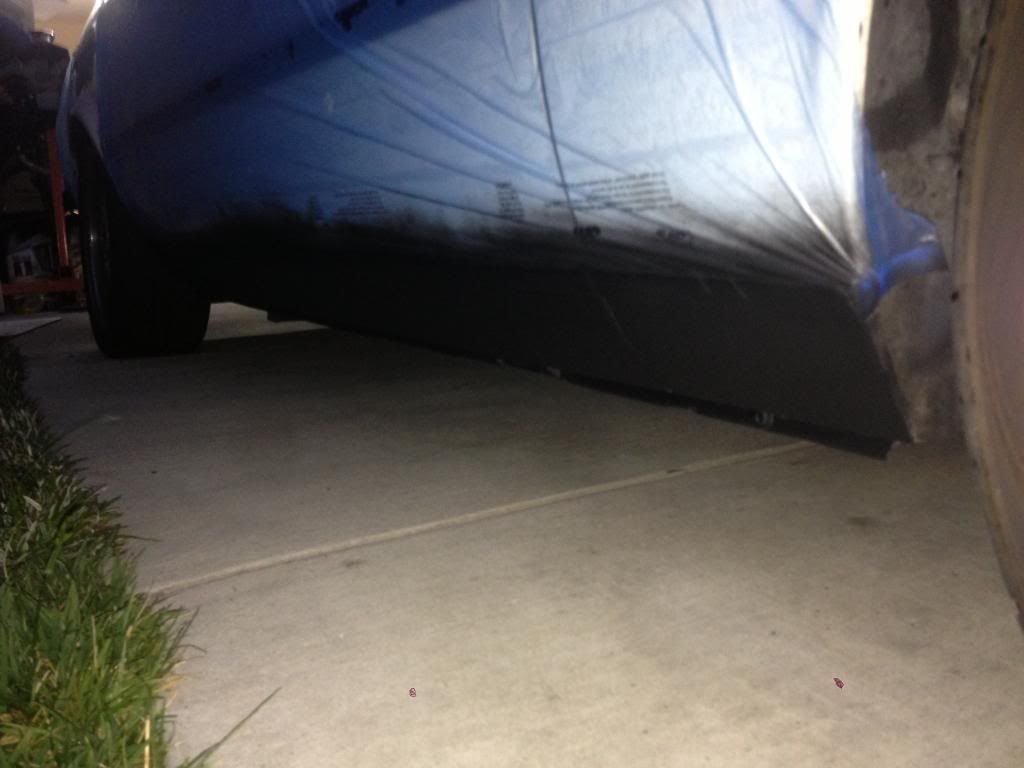
Side skirts are up
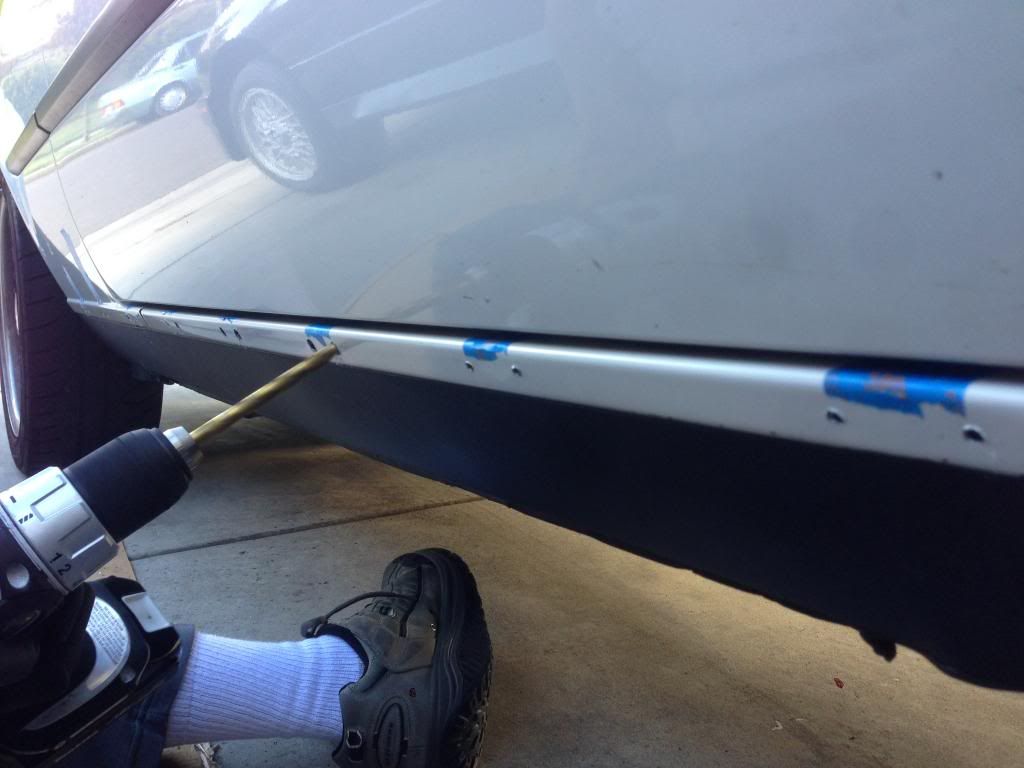
Started with clip alignment with blue painters tape and punched holes to prepare for drilling from template
First drill on the body! cant mess this up...
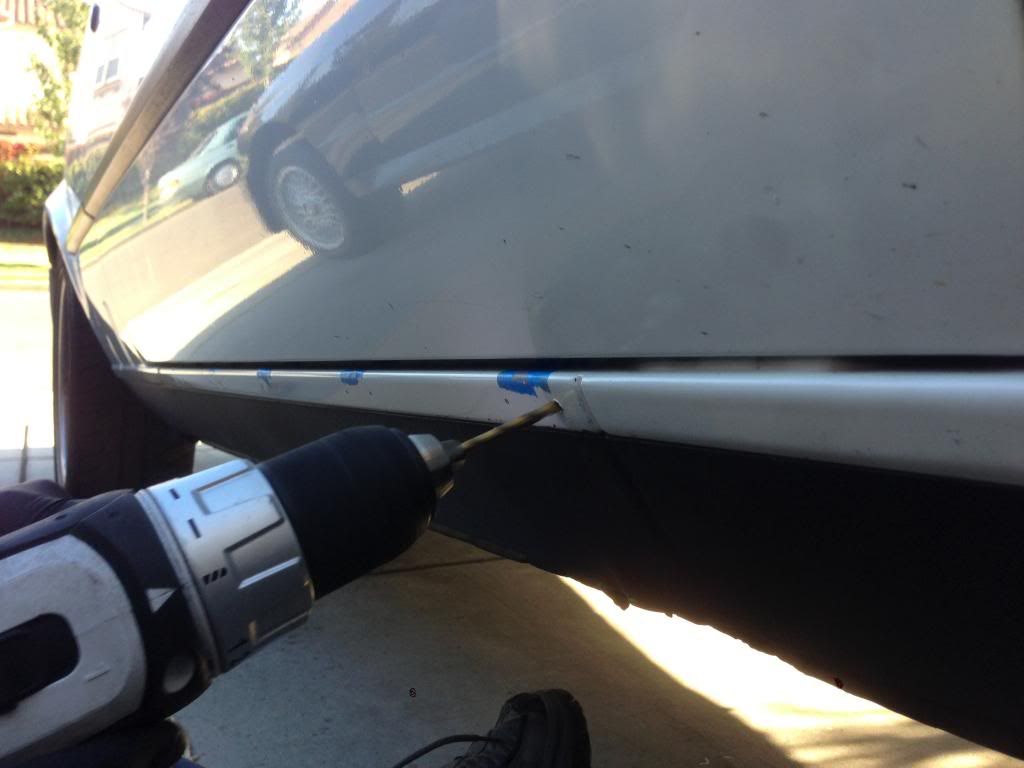
Few more
Bigger holes now
Rough
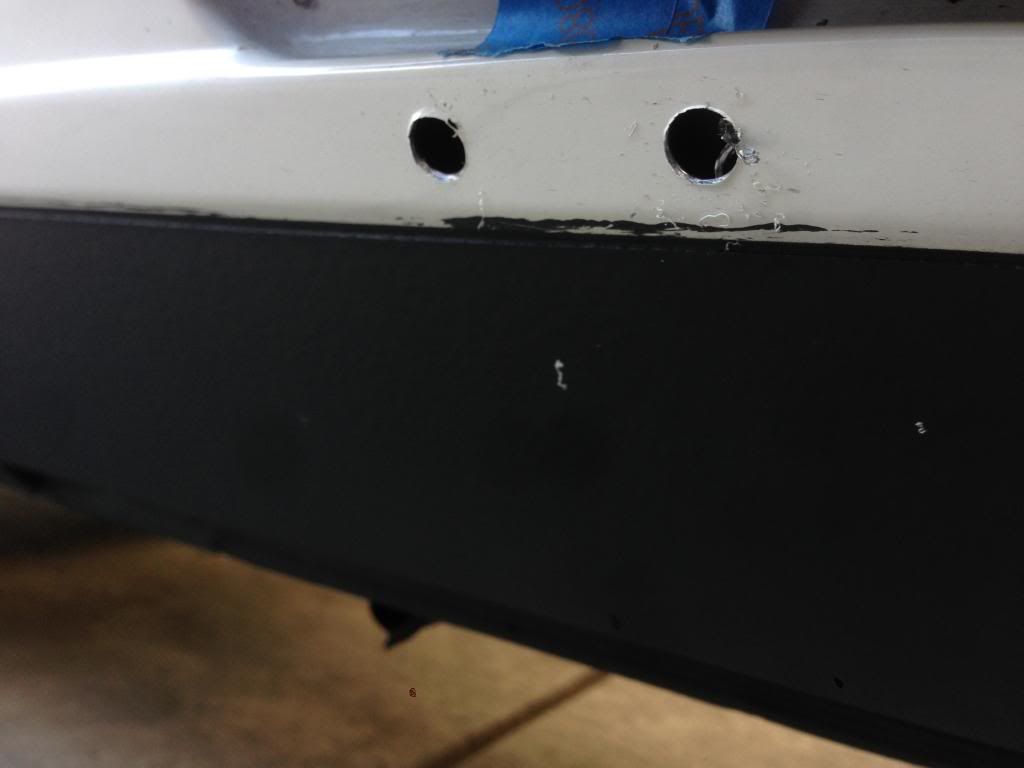
Sanded down
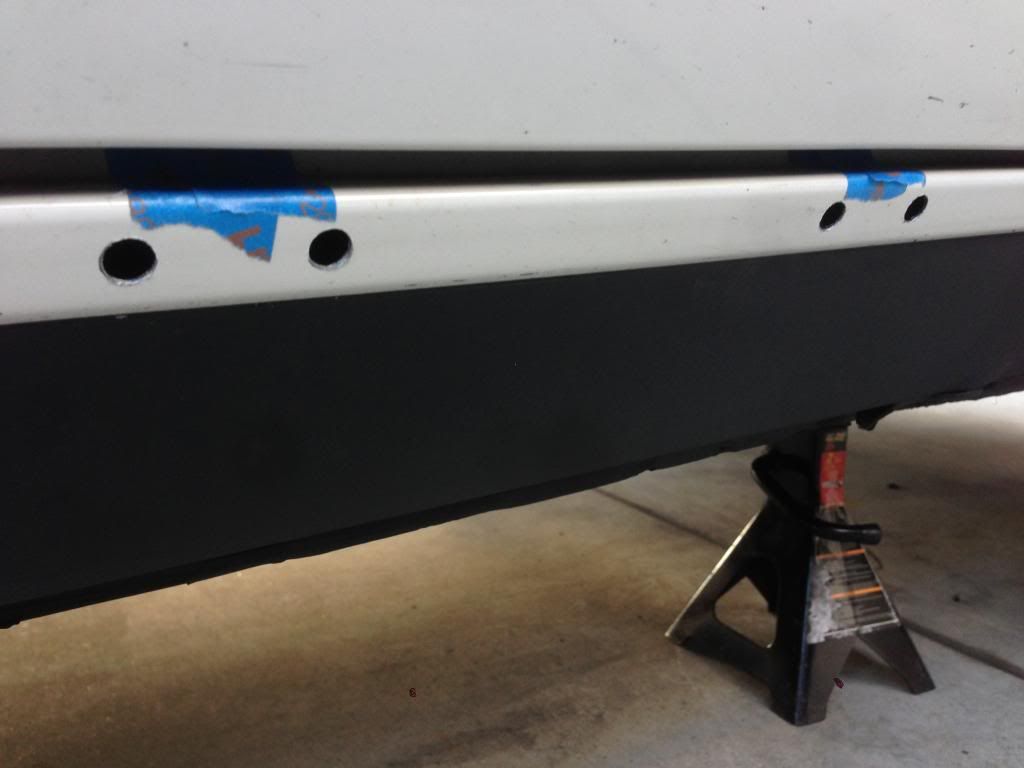
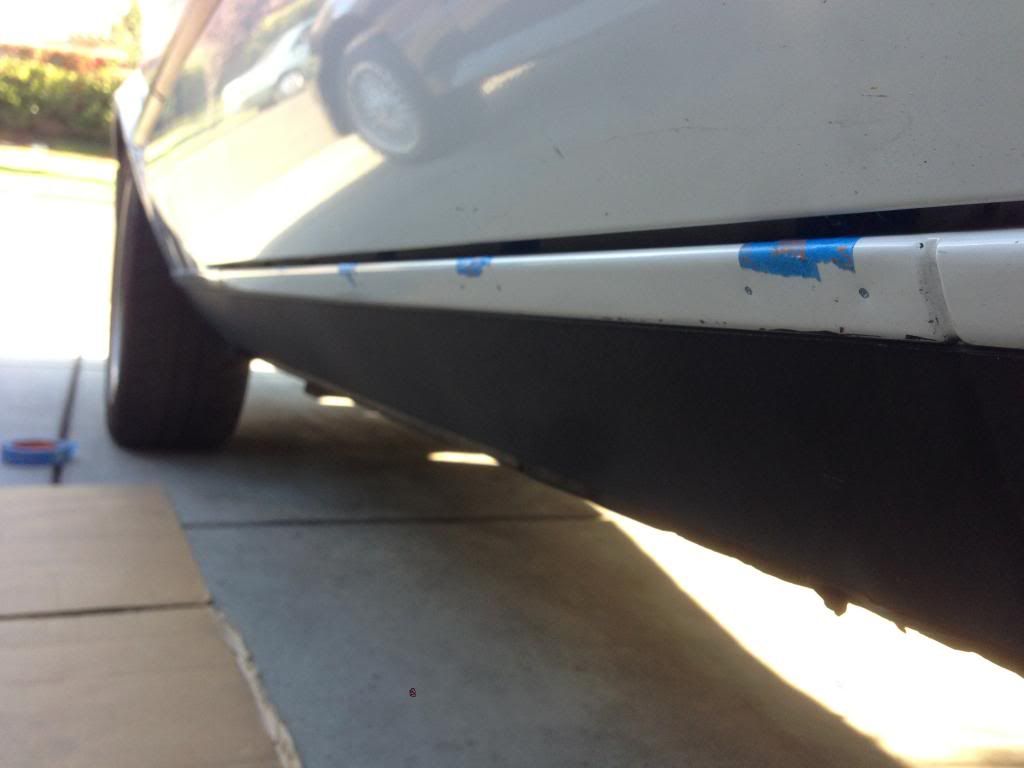
Clips are on
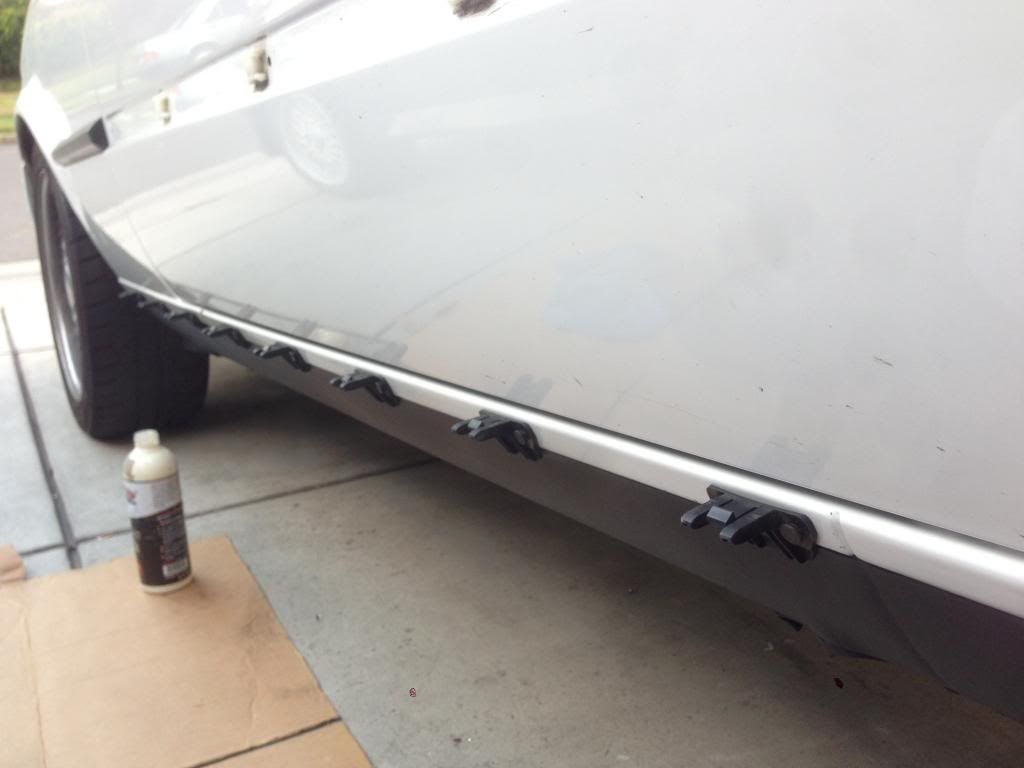
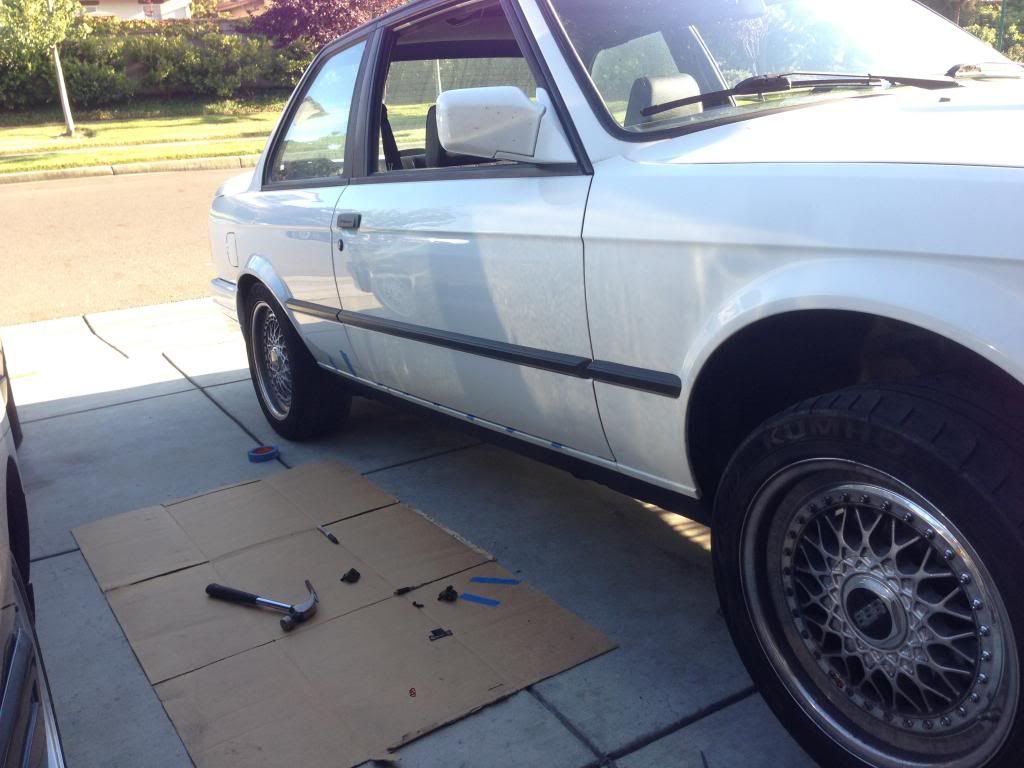
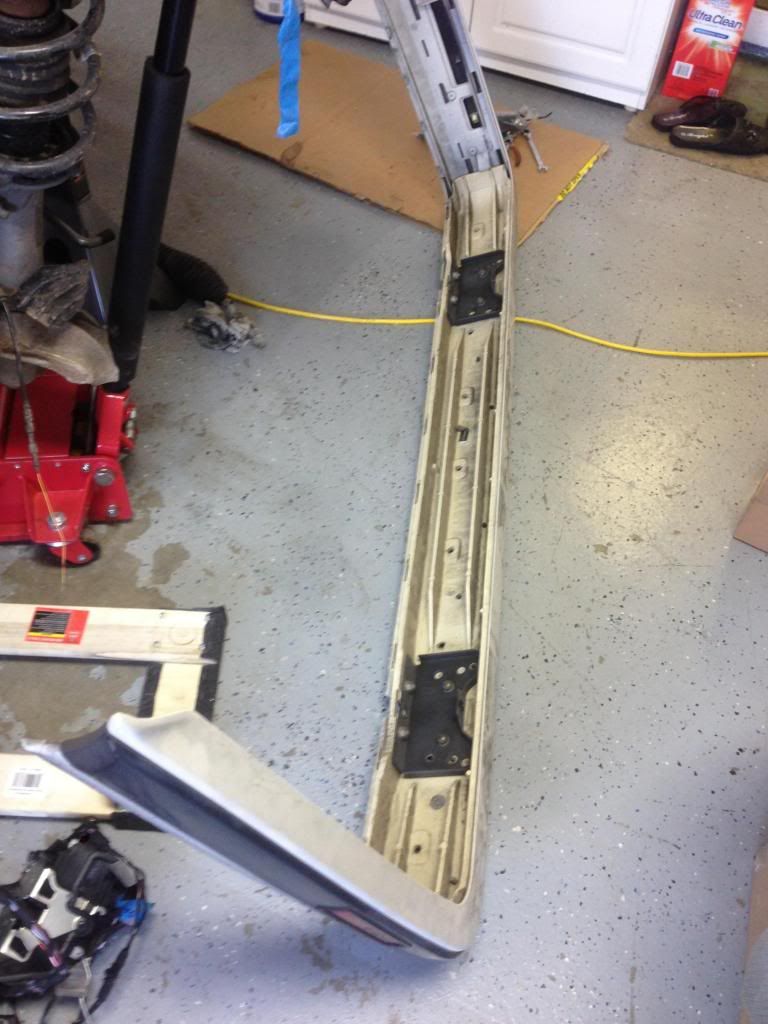
Side skirts installed

Leave a comment:
-
RE: Lets do the exterior!
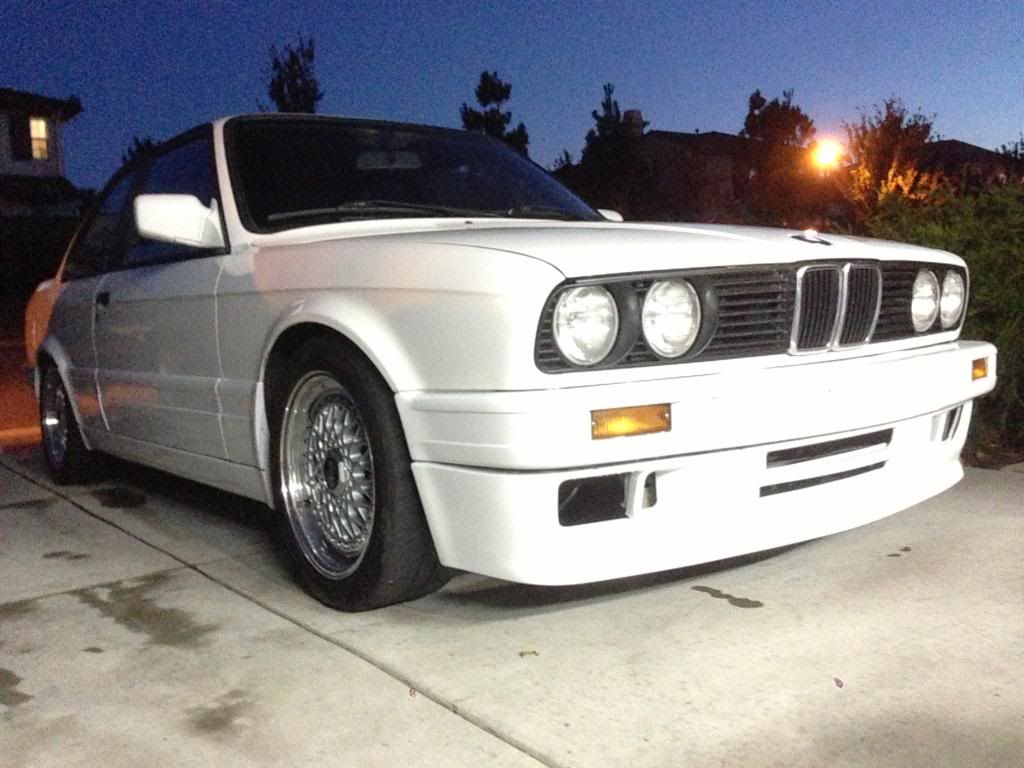
Next is front valence and bumper
Clips for the sides
Rubber seals
Drilled hols on both sides for valence clips
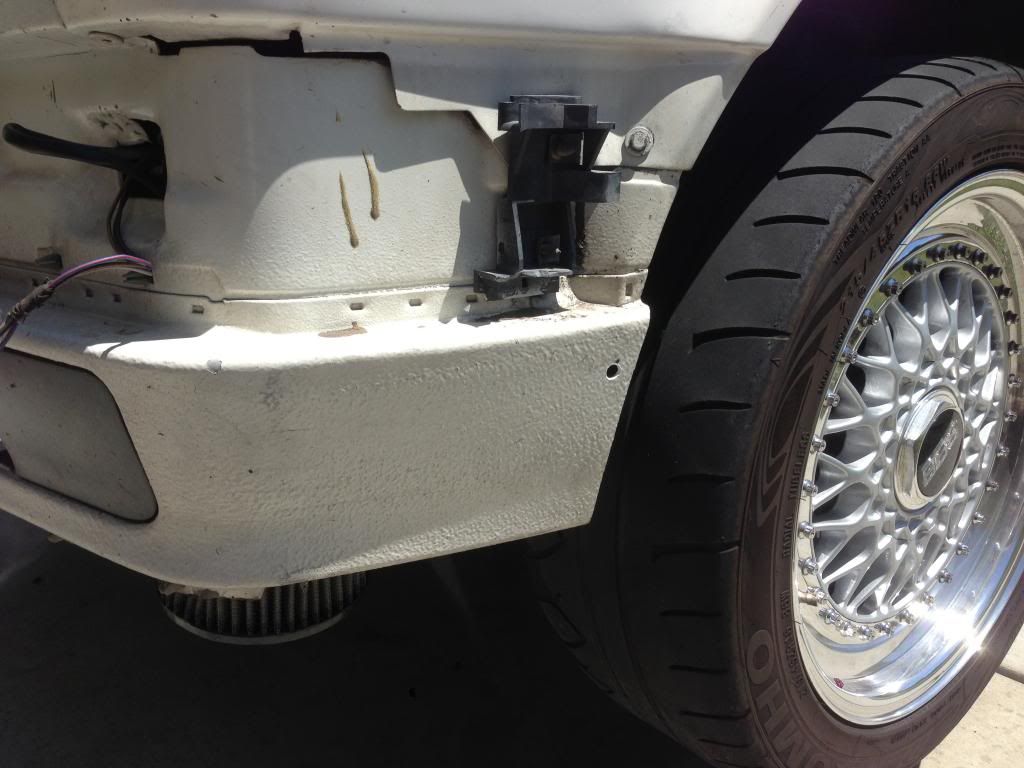
Nut for the clip
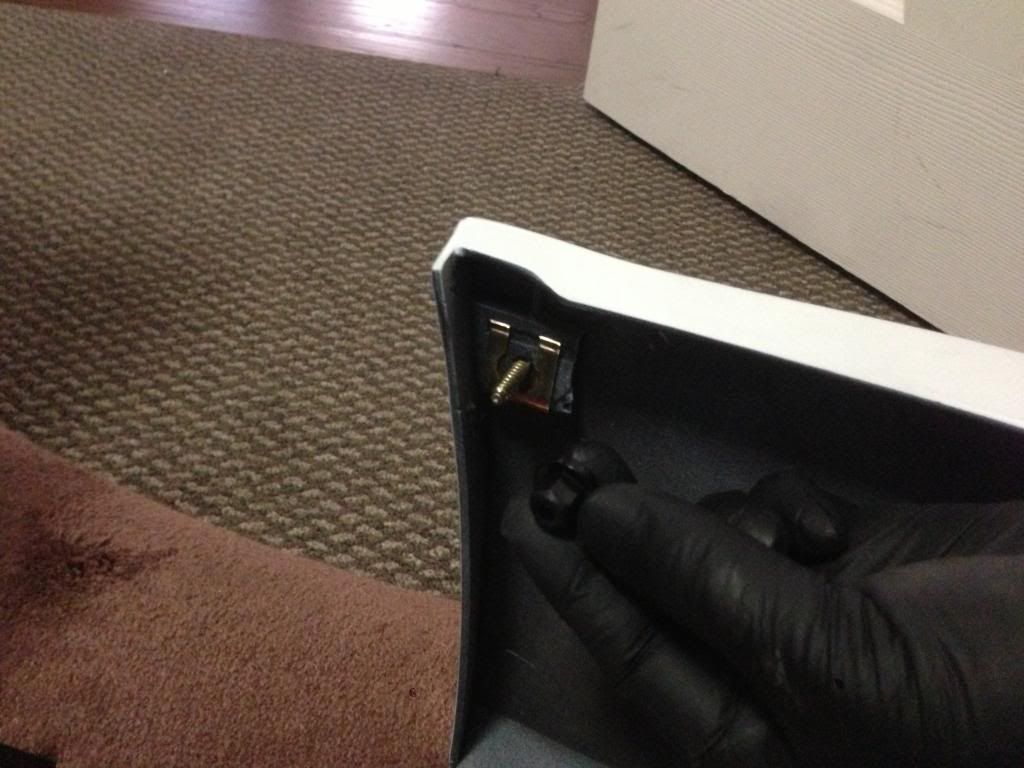
Top valence clips
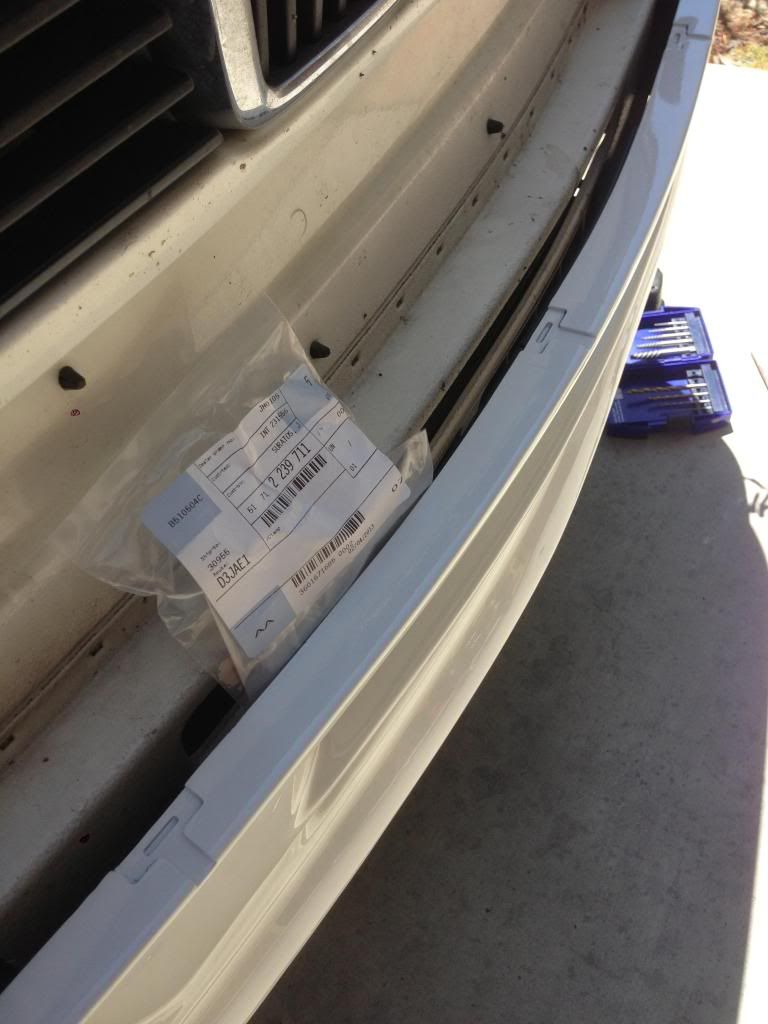
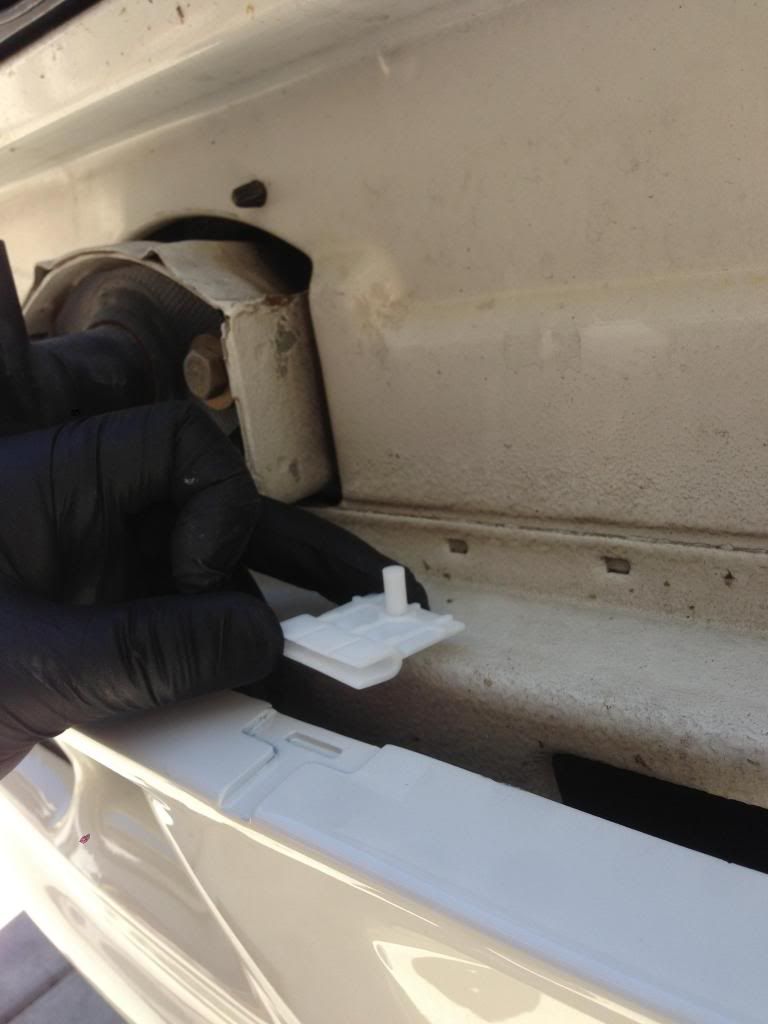
Drilled holes for the top clips
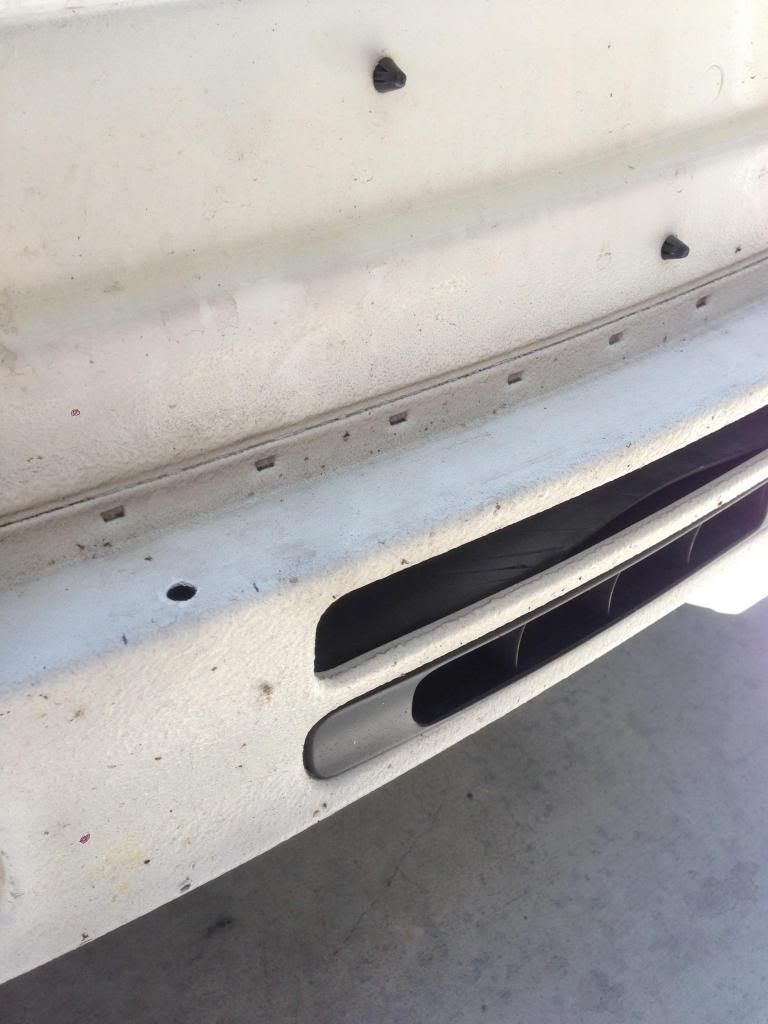
Clips installed
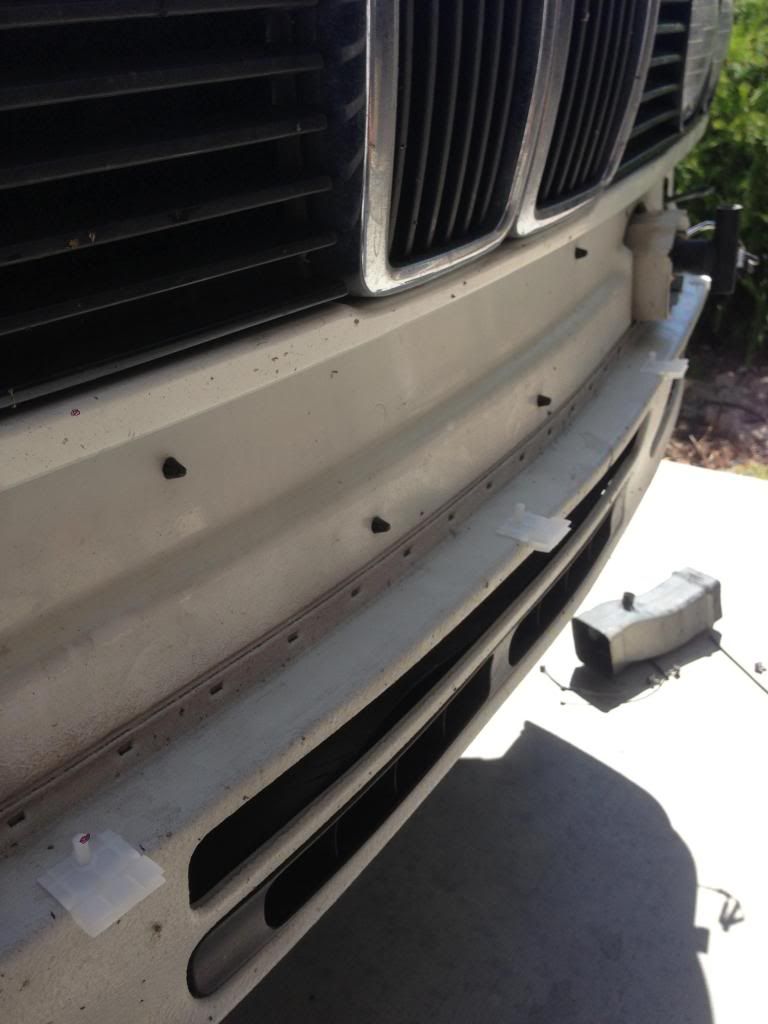
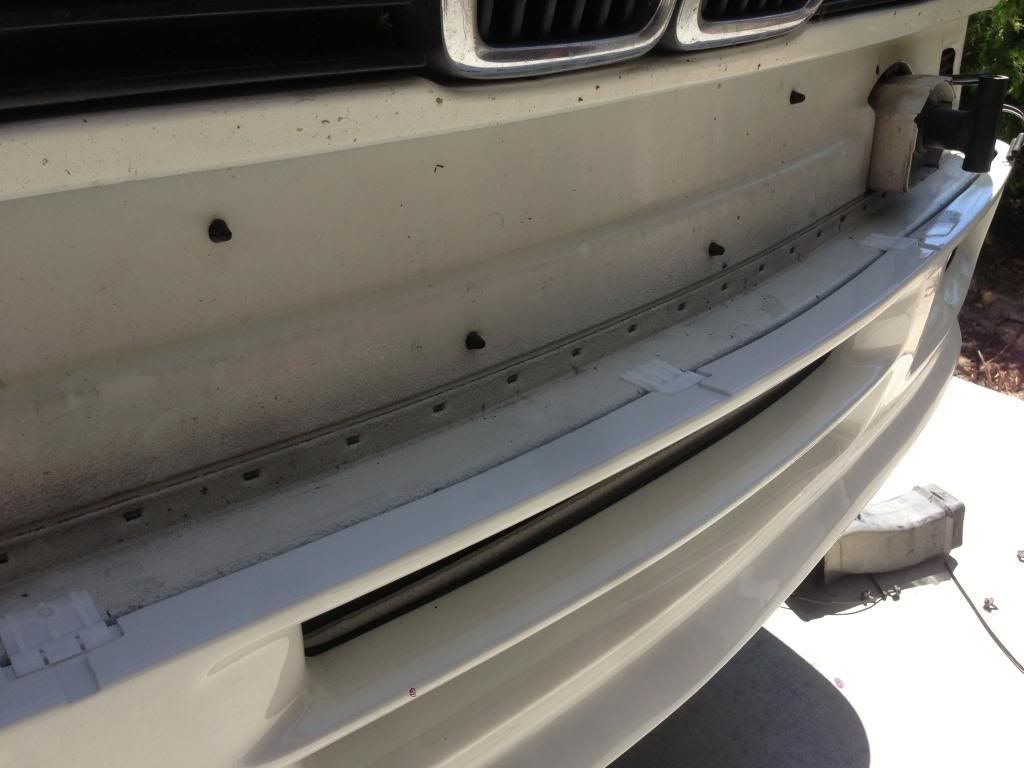
Bottom clips
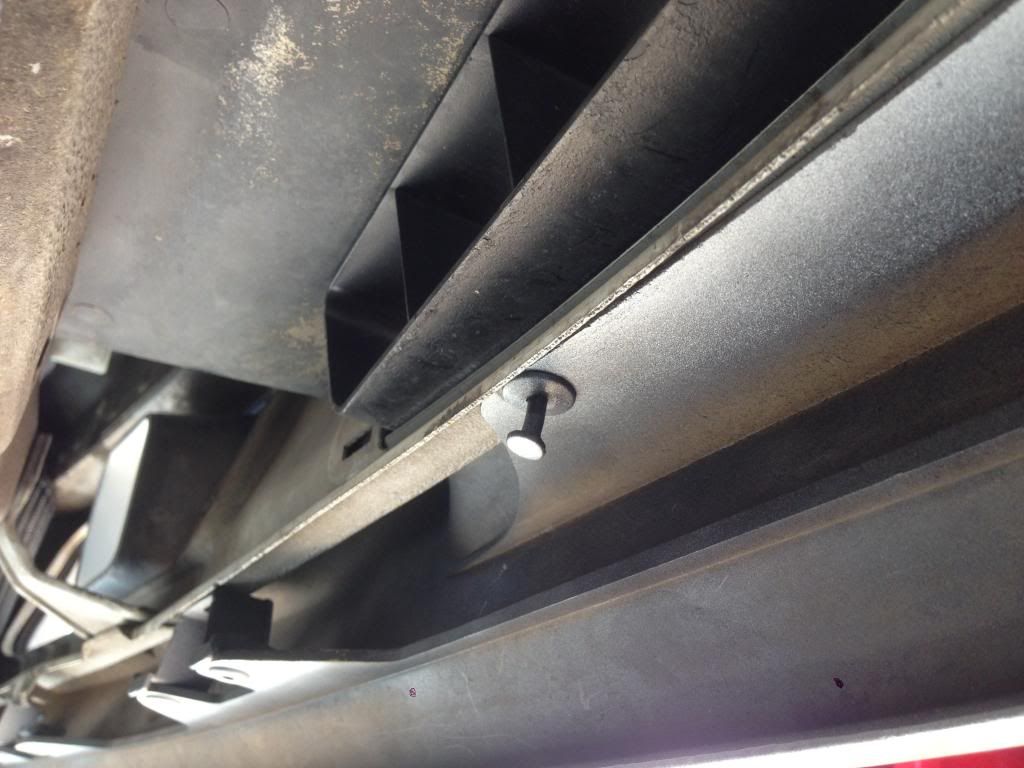
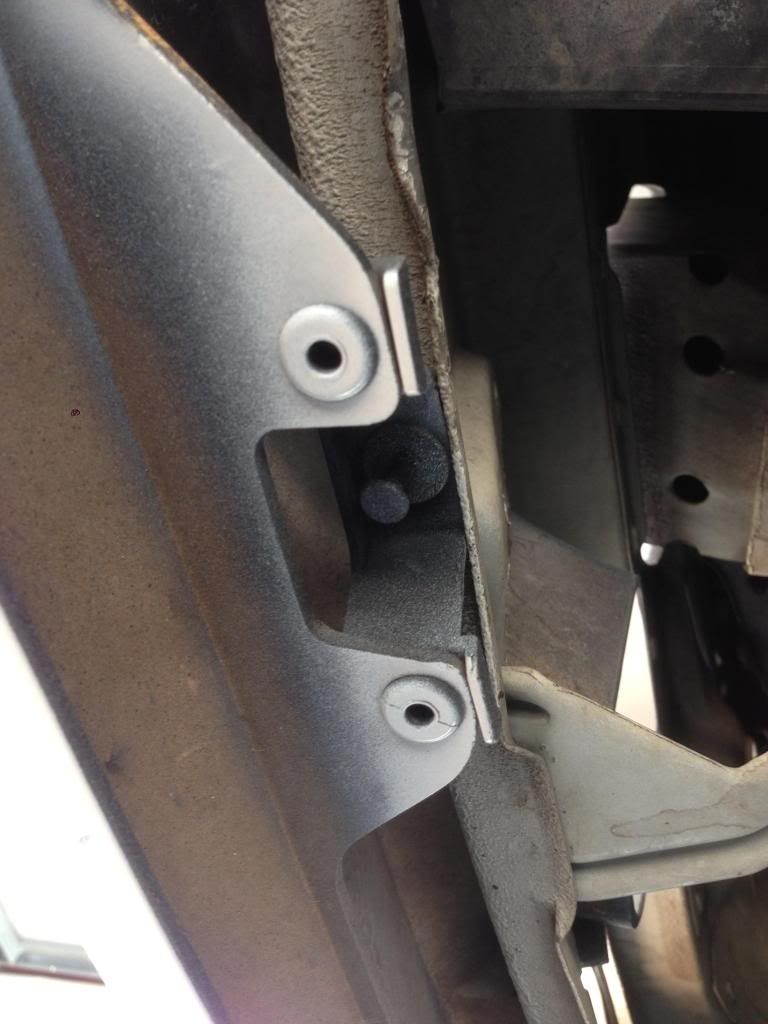
Valence finished
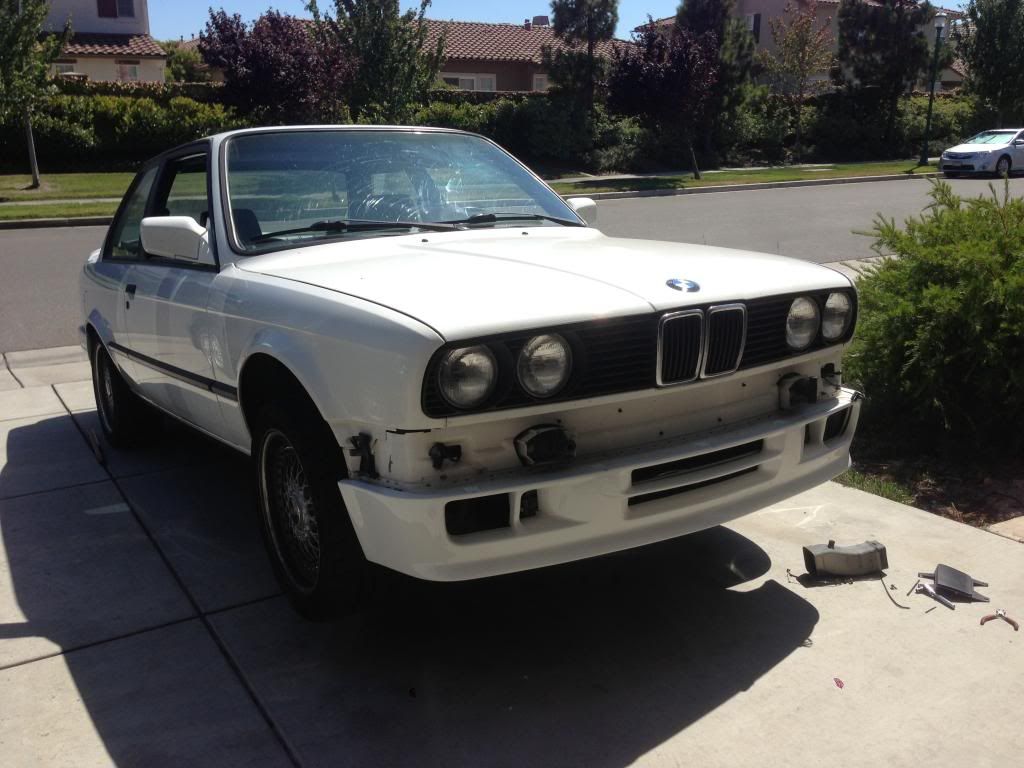
Bumper installed
Leave a comment:
-
I just read this entire thread, and with each page, my sobbing became louder and louder.. Congratulations on being a total badass. Where will you stop?Leave a comment:
-
WOW! I just looked thru this whole thing and WOW is all i can say! That suspension... im in love! everything about this build is amazing! Keep it clean, and keep it classy!Leave a comment:
-
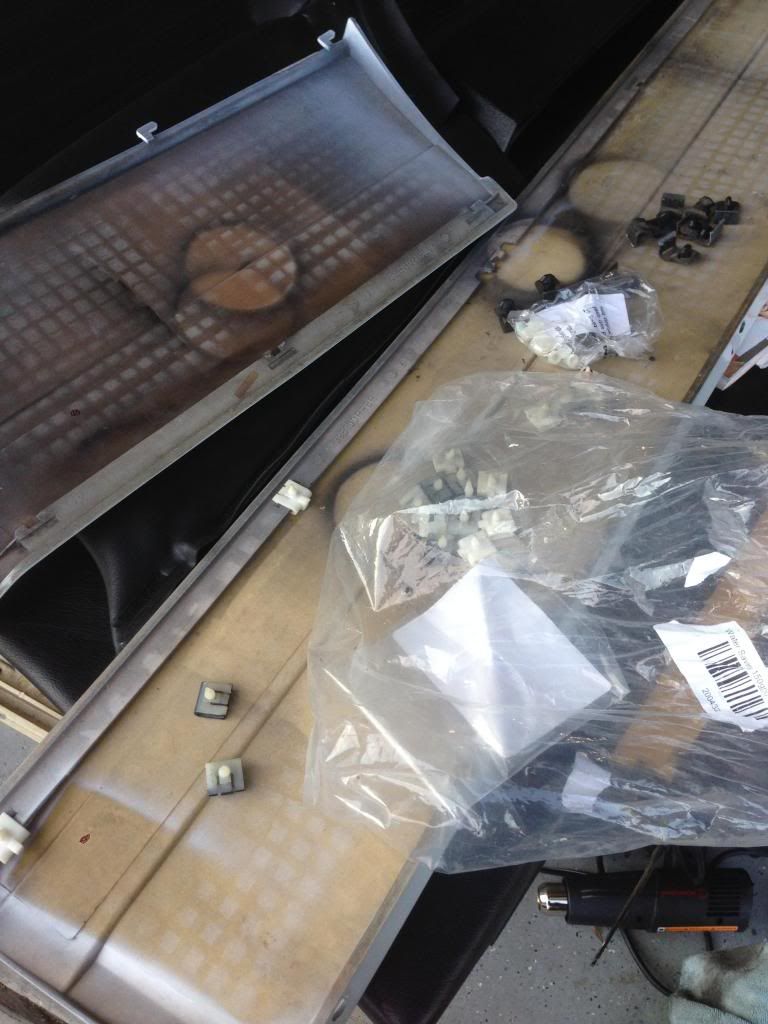
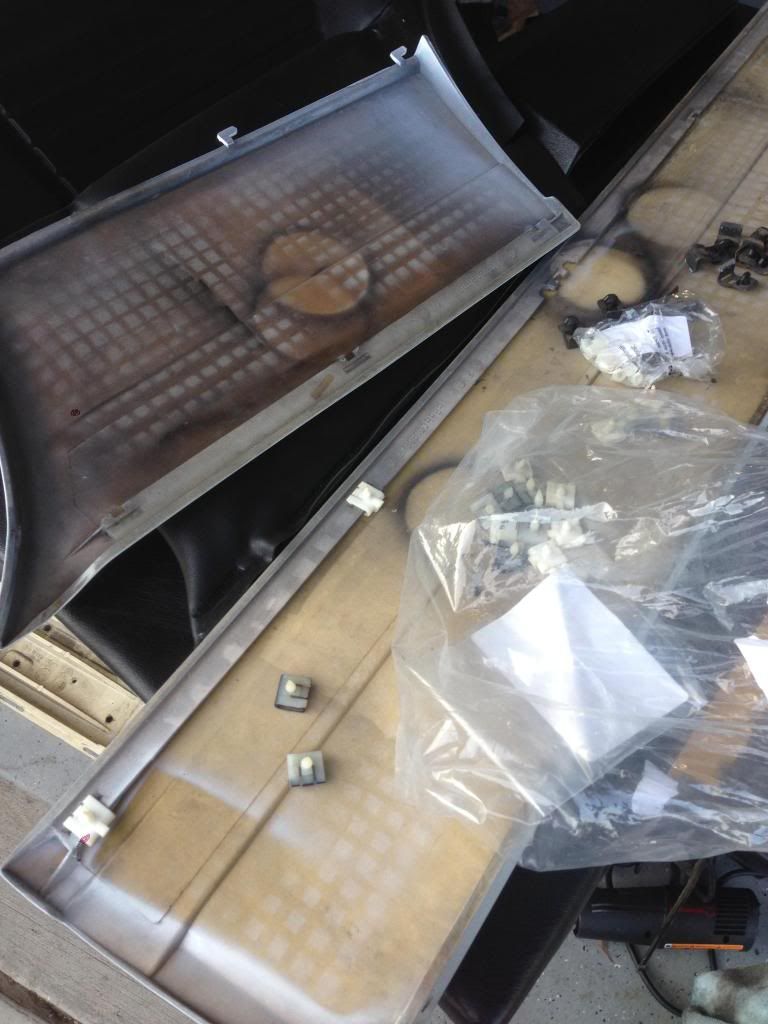
RE: Lets do the exterior!
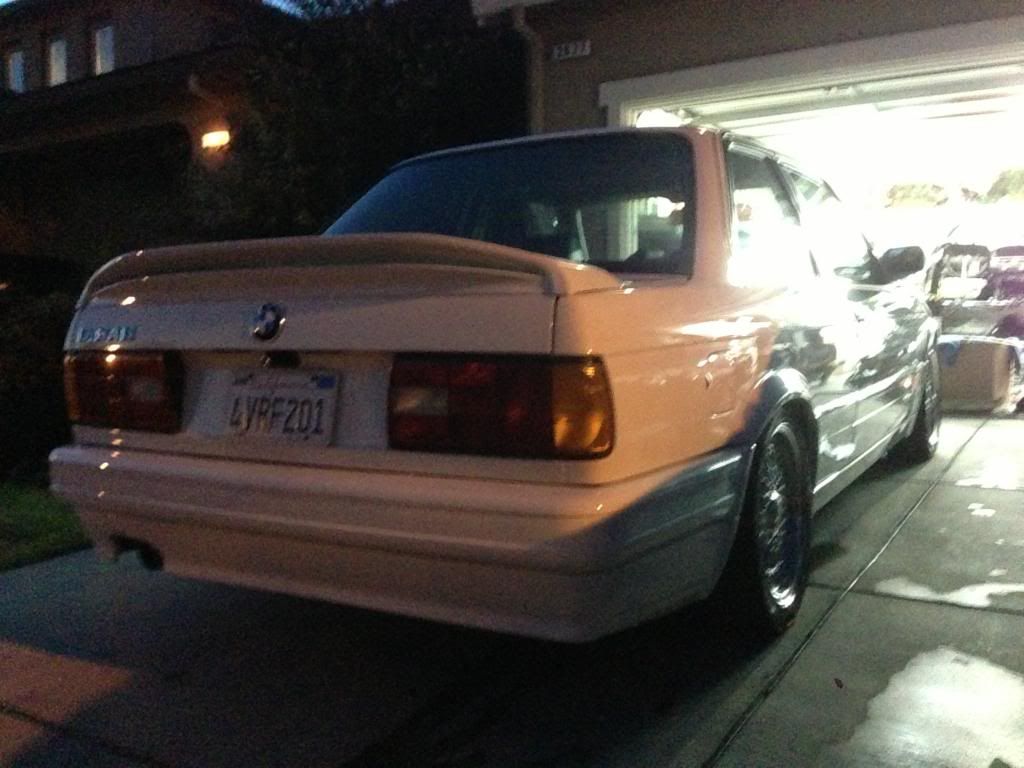
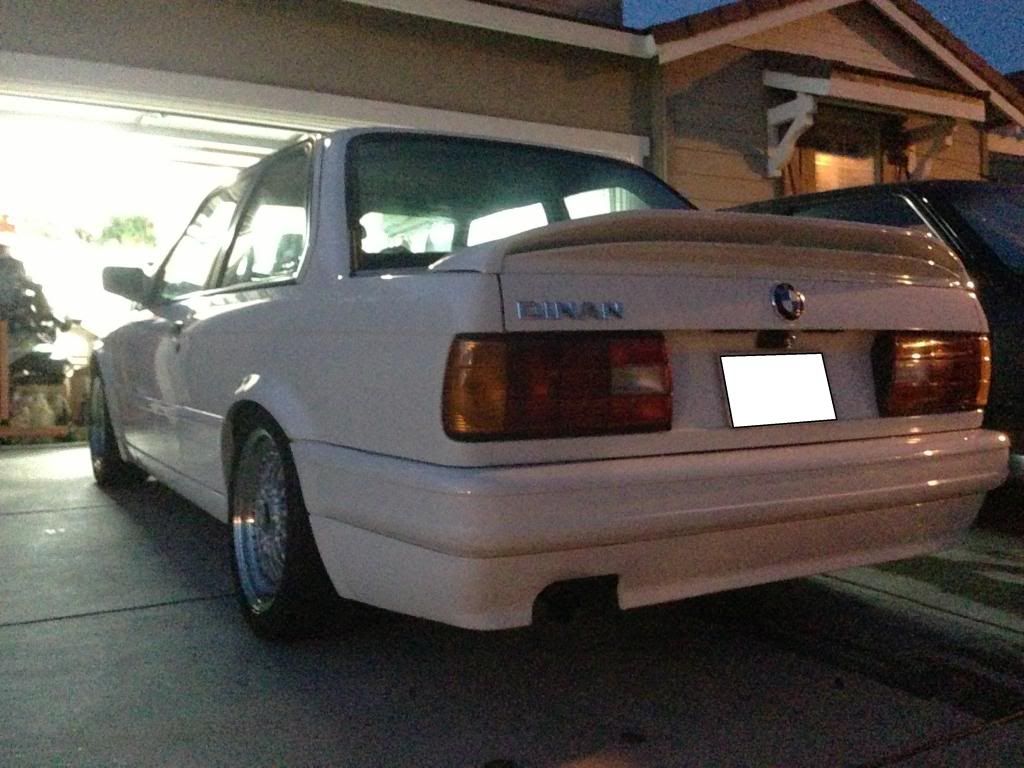
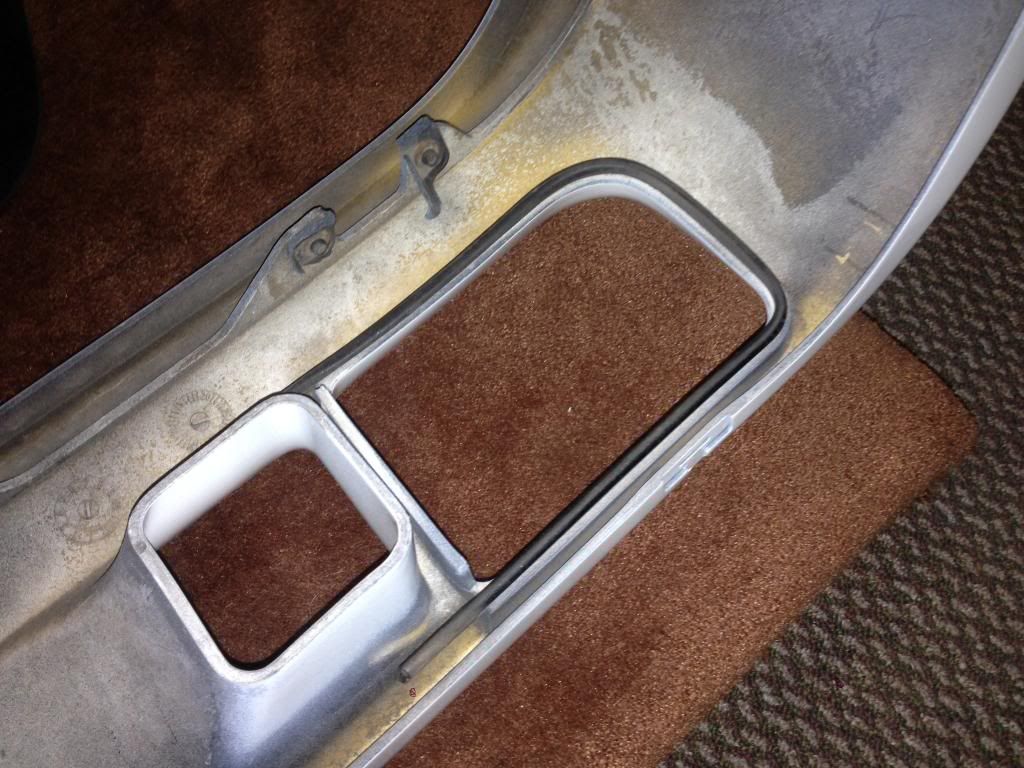
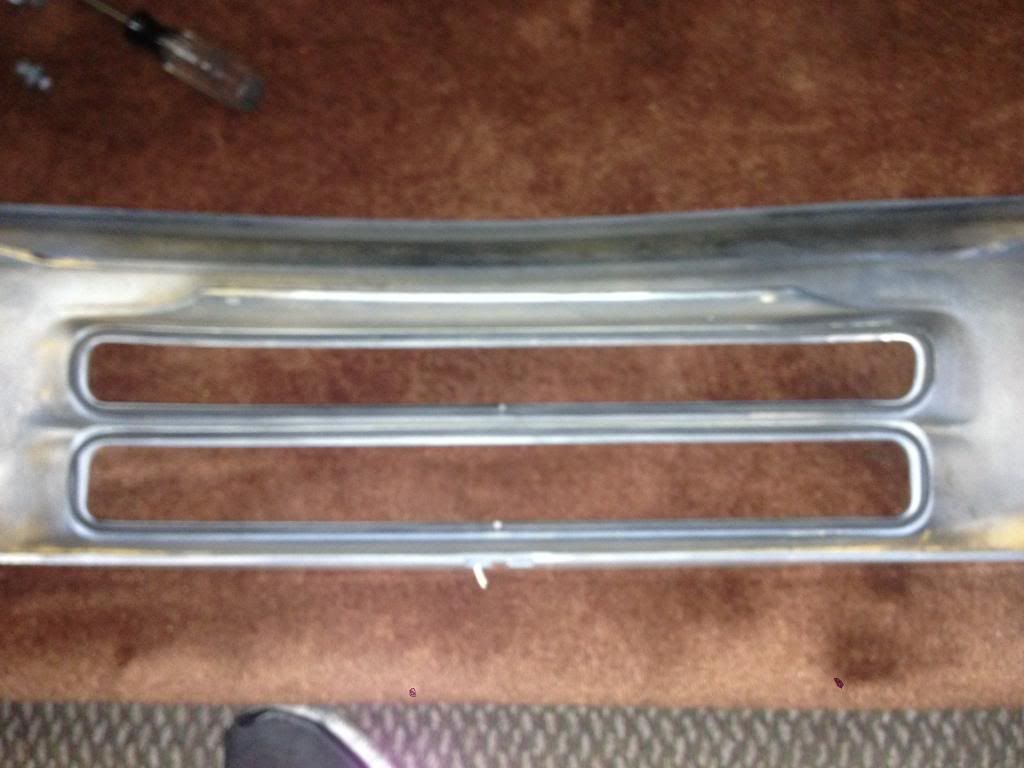
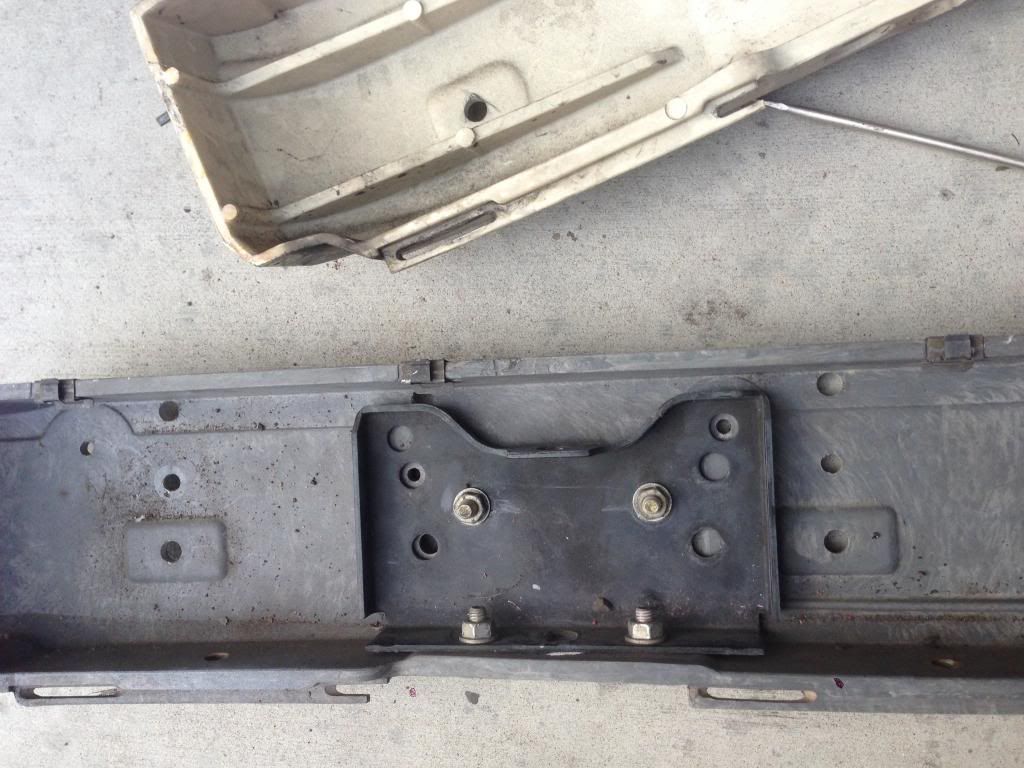
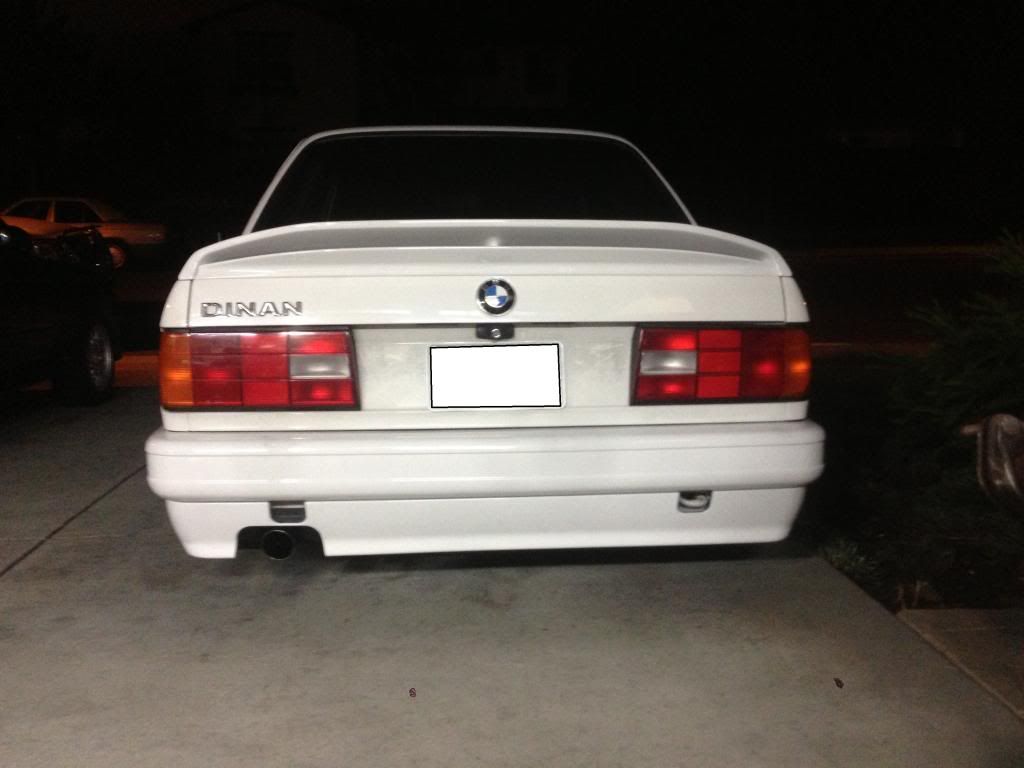
Next was the rear bumper
Had to remove the bracket plate that bolts to the back and switch it from the stock bumper bracket

Comparison Left-Stock Right-Mtech
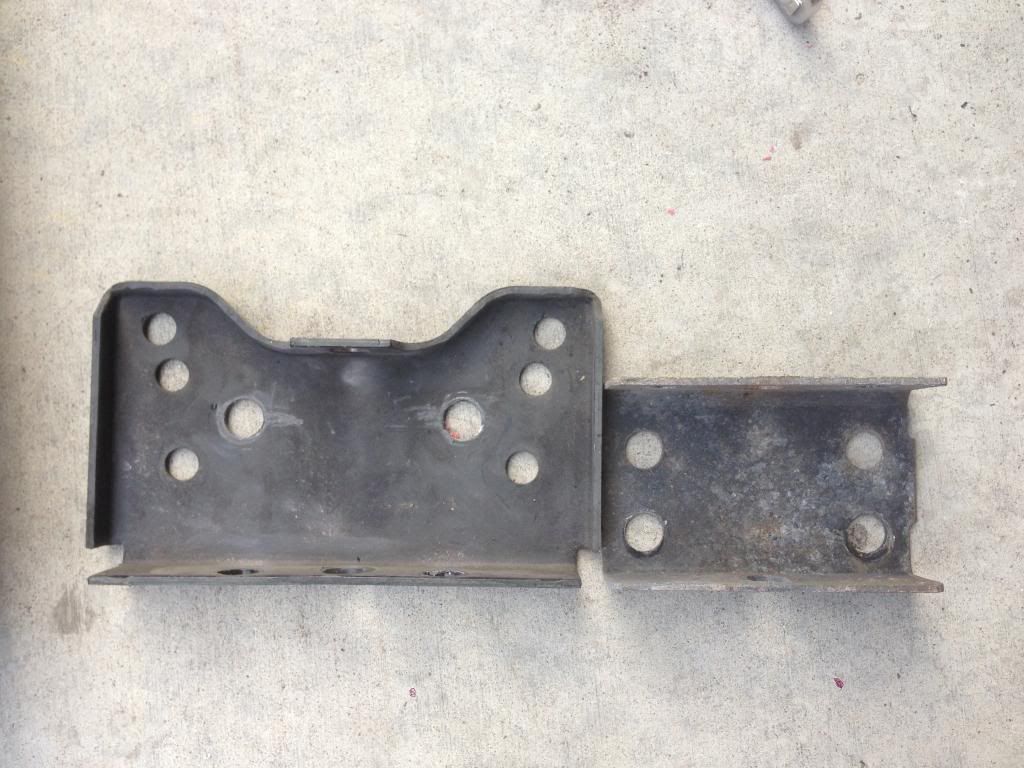
Stock bracket installed on mtech
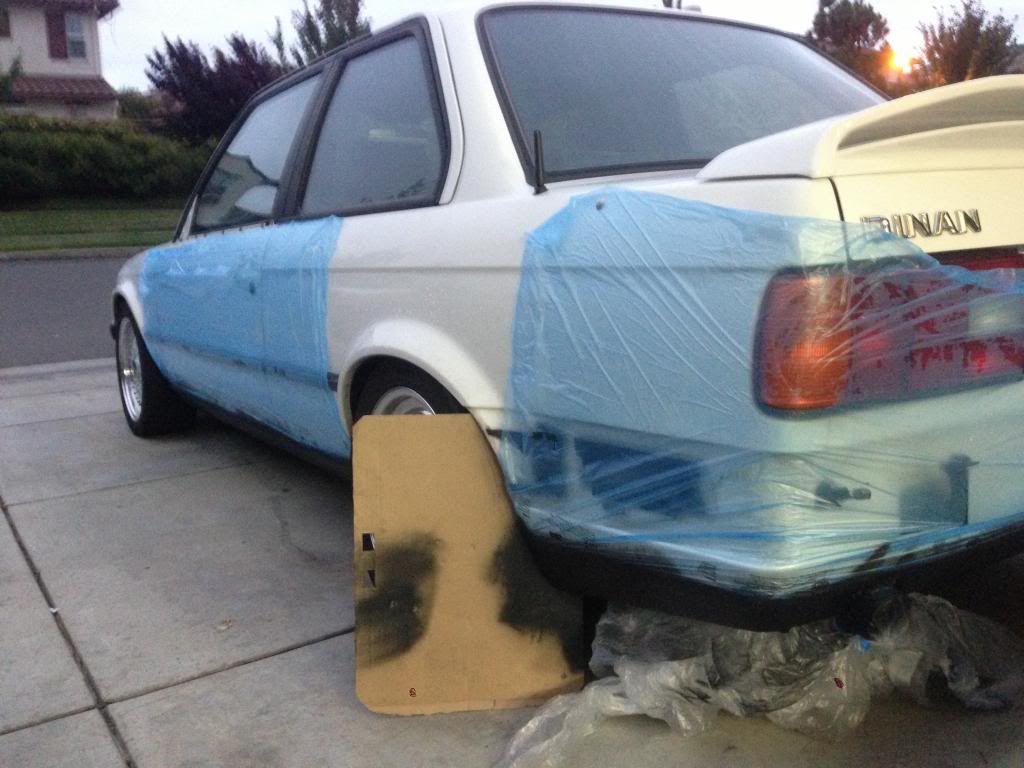
Ready to be installed but first i wanted to paint my faded bottom trim

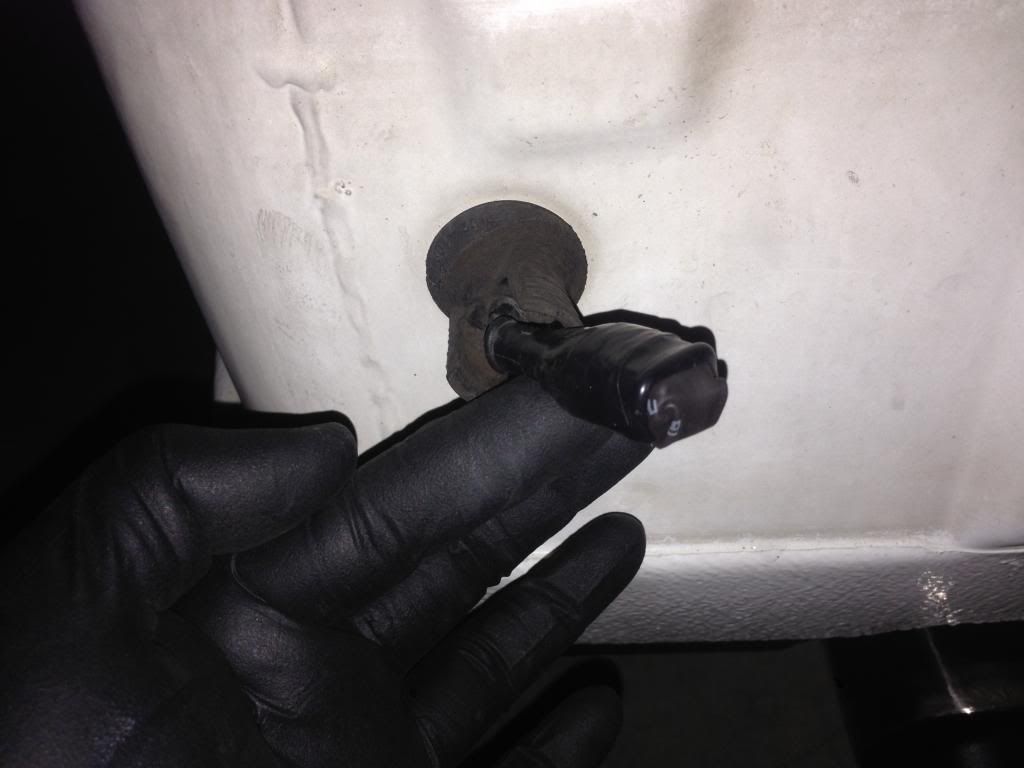
And heat shrink the parking light connectors for protection as this kit deletes it

Rear bumper installed
 Last edited by KoKoSe7eN; 08-07-2013, 08:12 PM.
Leave a comment:
-
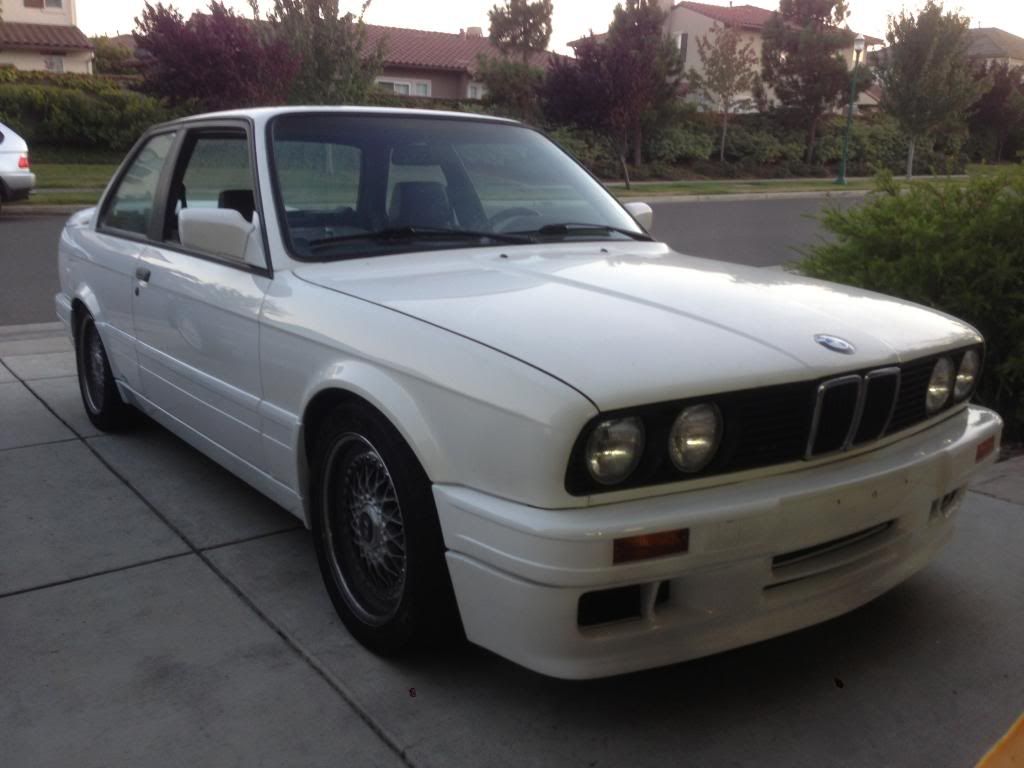
RE: Lets do the exterior!
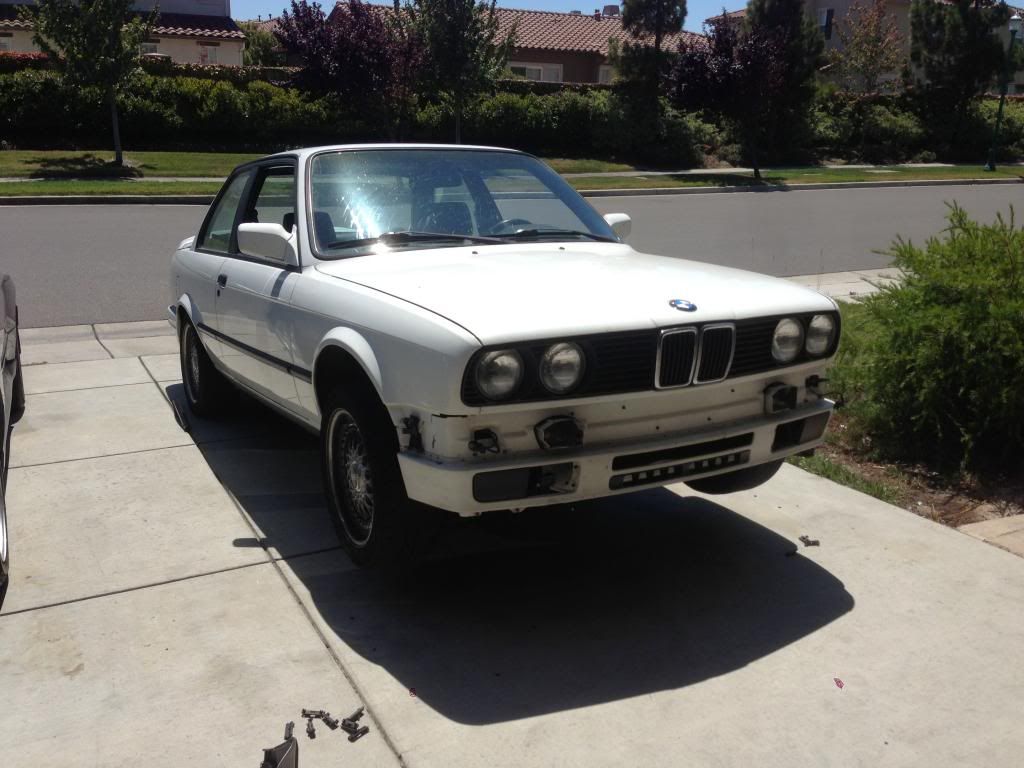
Picked up an Mtech ii kit awhile back and decided to finally install it...
I didnt have any pictures of the kit before i painted it but this is how it looks now, had it painted at Ariana Auto Body in Newark...
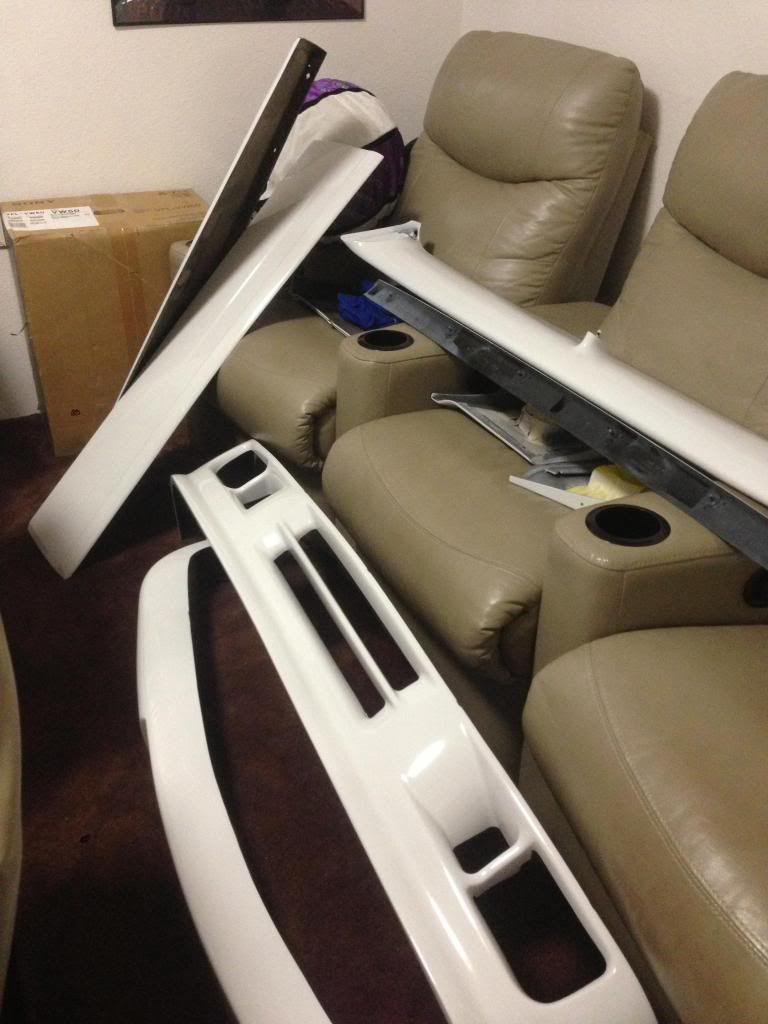
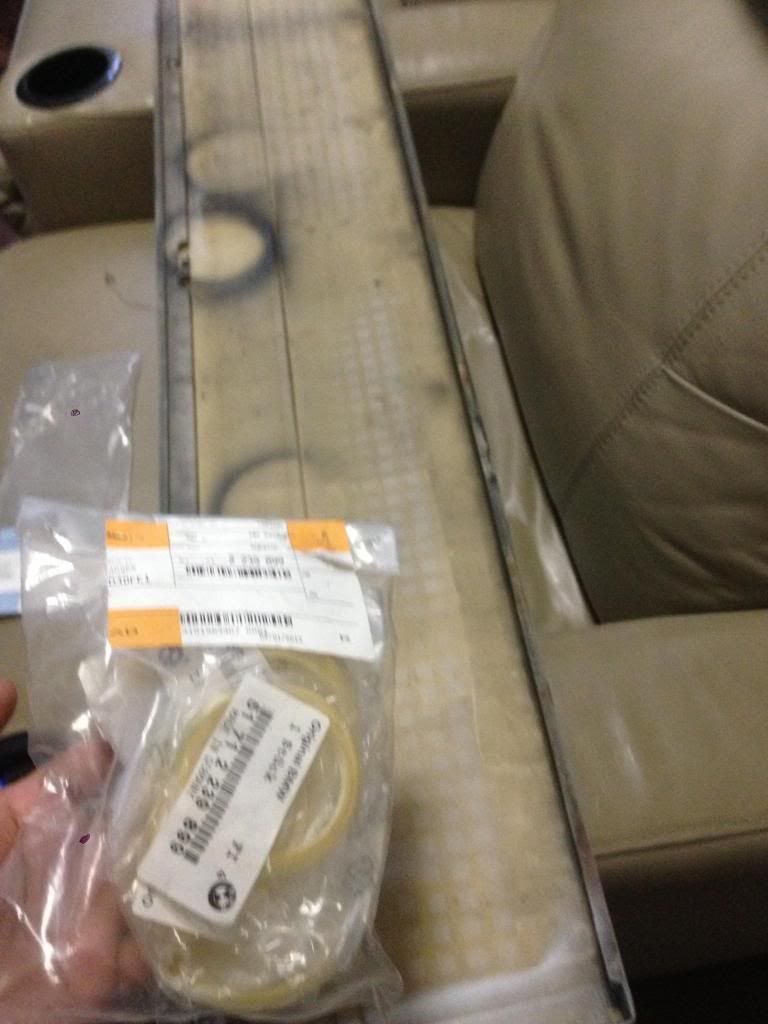
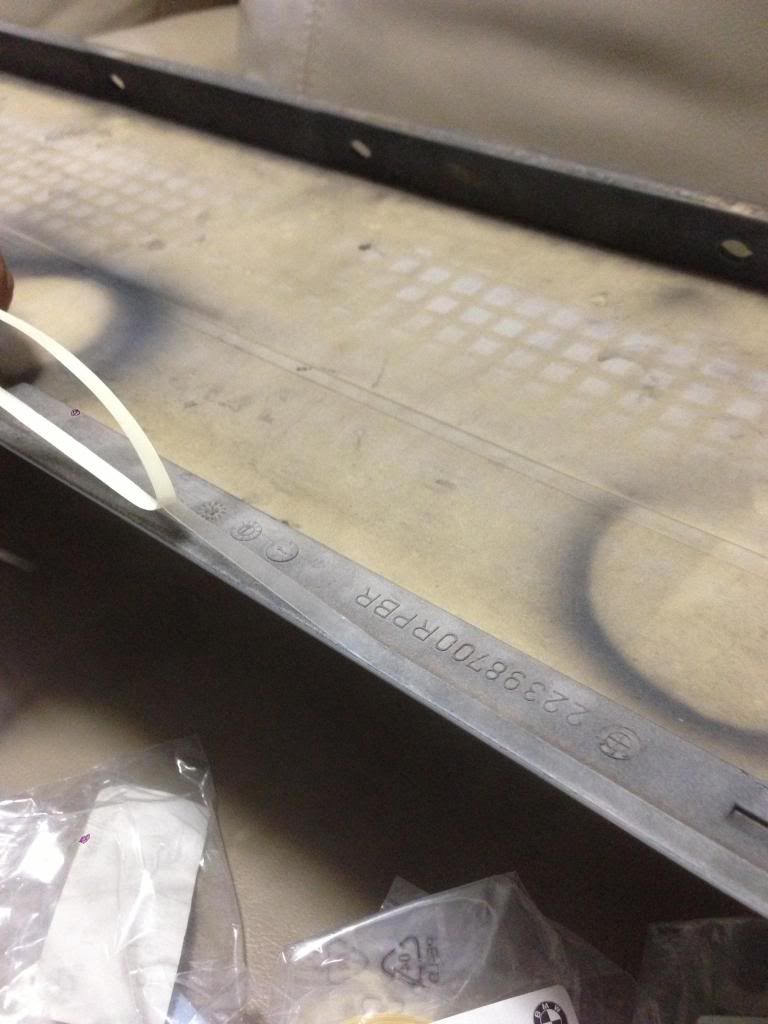
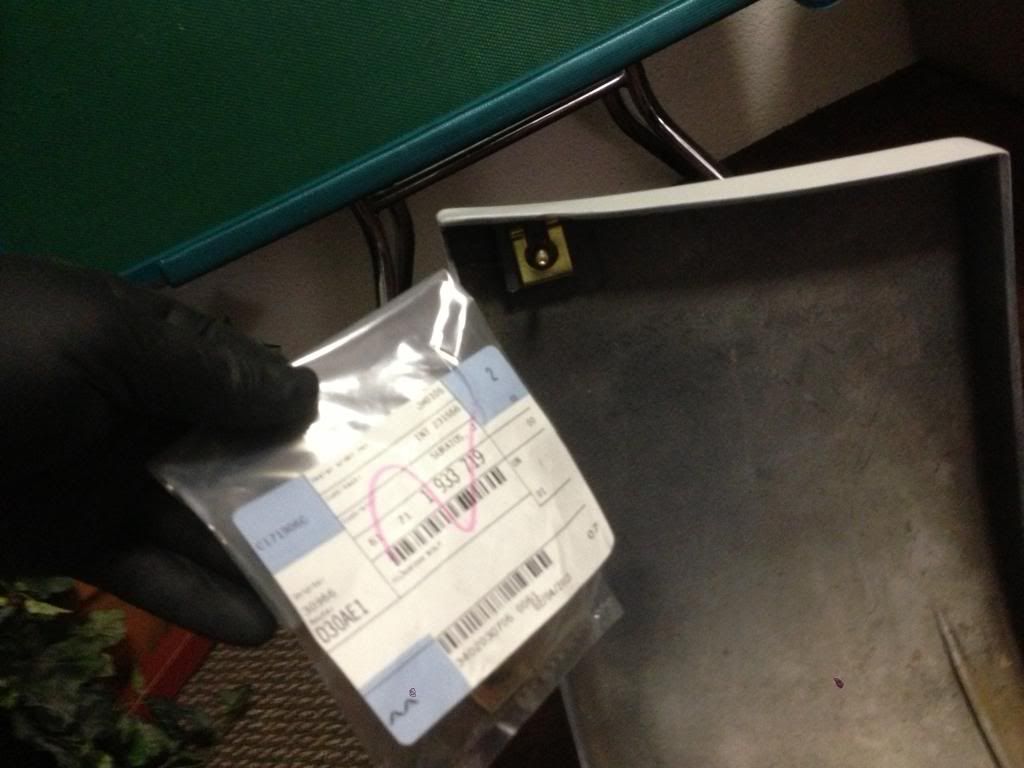
First things first... parts!!!

Decided to do the wing next

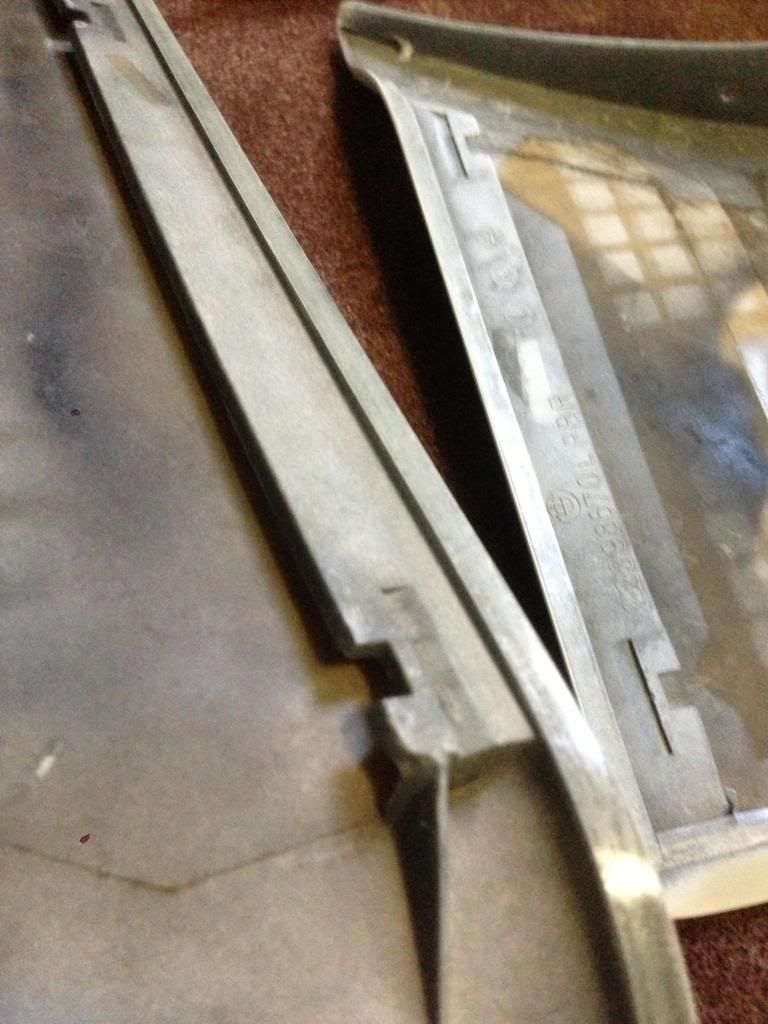
Installed the two pieces together

Seals

Installed

Bracket that holds on the lid that gives support for the large wing

How it looks installed

Original clear silicone adhesive that goes on the body to protect from bracket scratching the paint


Finally installed

 Last edited by KoKoSe7eN; 08-07-2013, 08:13 PM.
Leave a comment:
-
Bump, saw this car today at east bay BMW and damn its a sweet lil thang
Big ups to the owner :up:Leave a comment:


Leave a comment: