

Quick list of parts that have come in but are not pictured:
Ford F-150 Lightning MAF Sensor (90mm:troll:)
LS2 Coils for sequential/programmable Ignition
m20b25 single mass flywheel
m20b25 front pulley/harmonic damper
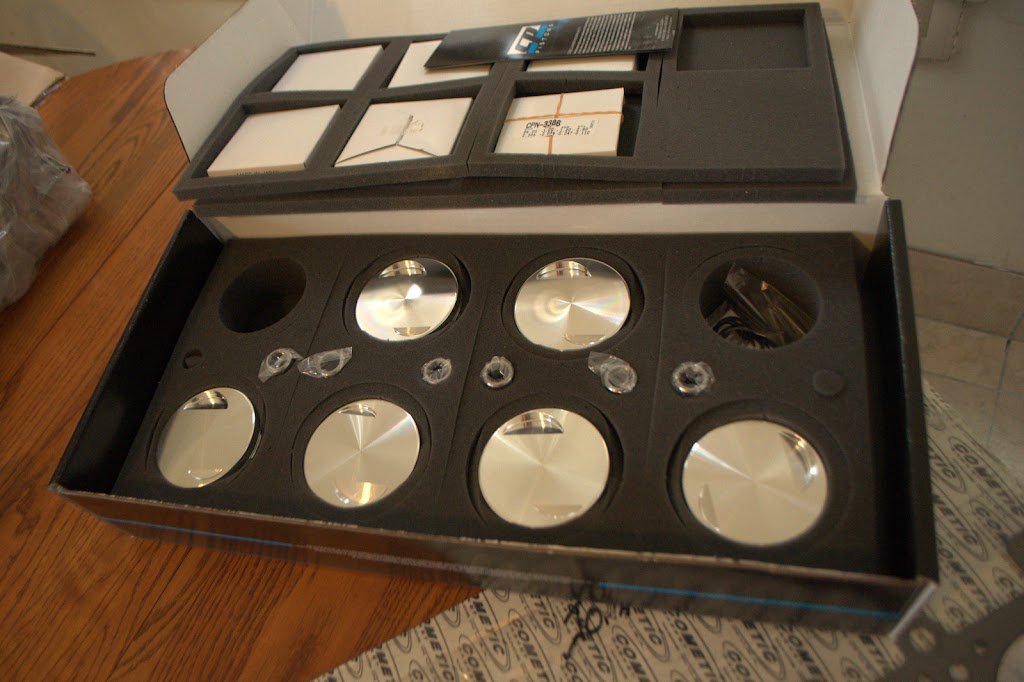
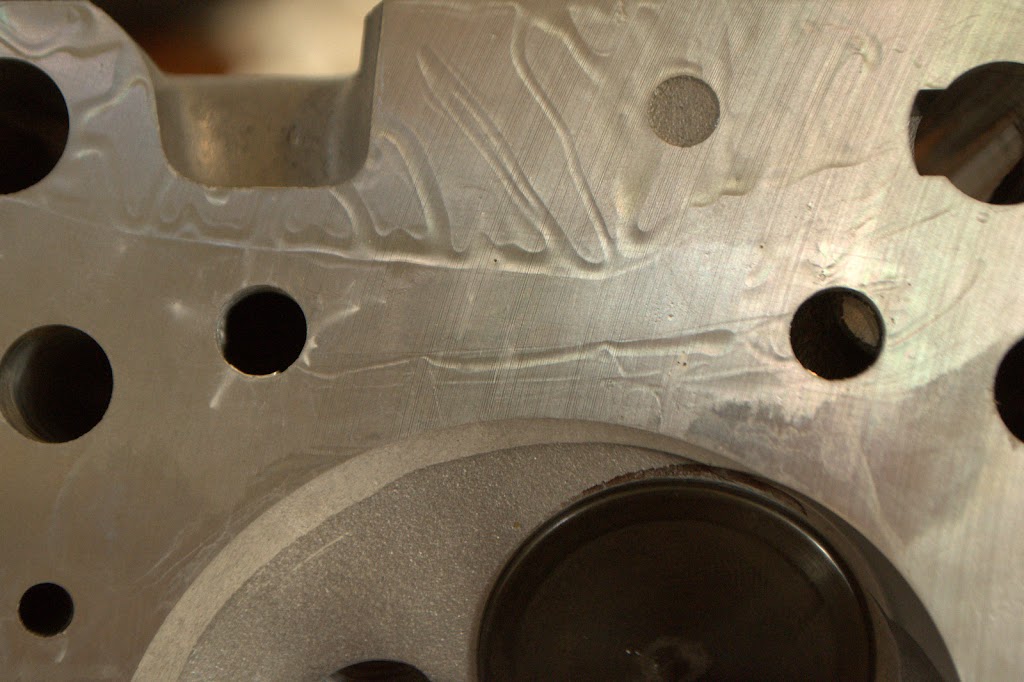
86mm Cometic MLS Type Headgasket
ARP Head Studs
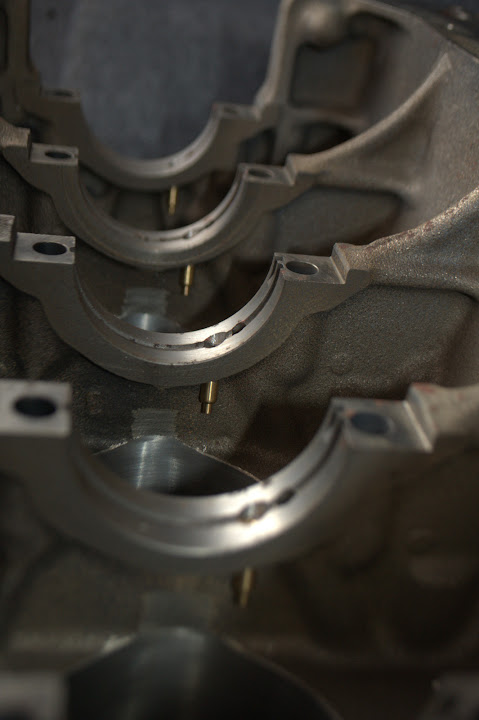
ARP Main Studs
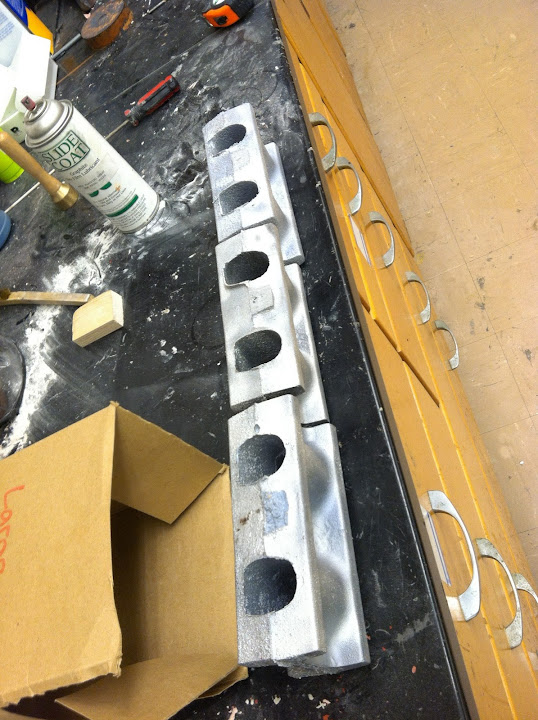
I'm sure there's a lot more, but I can't remember everything right now. Also, some of the molding material for casting the intake manifold has been ordered, so that should be underway in the next week or two.
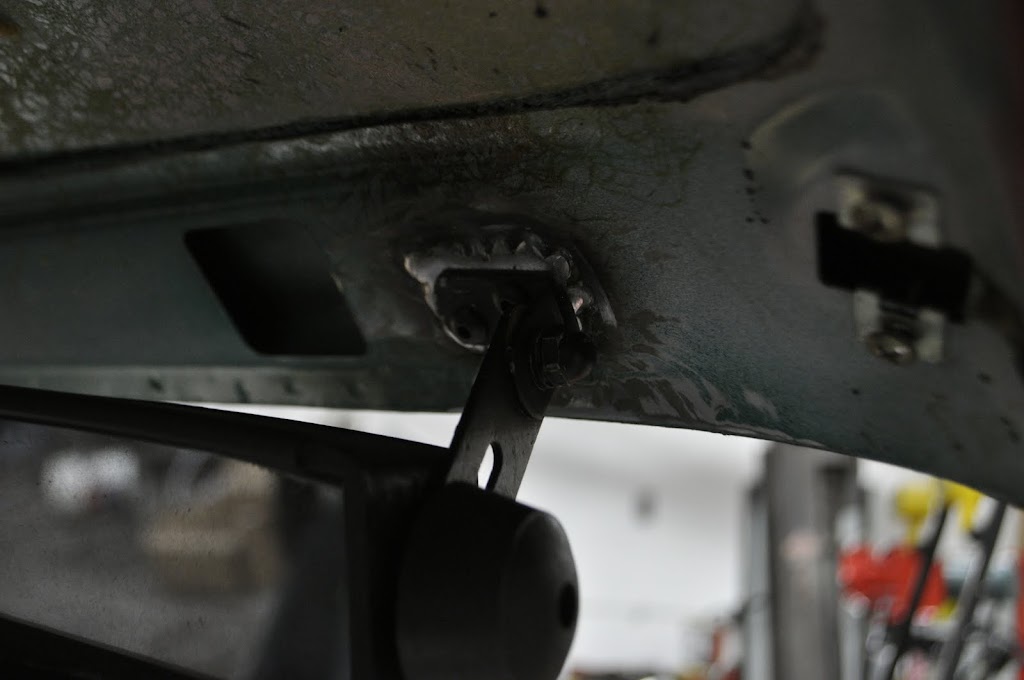
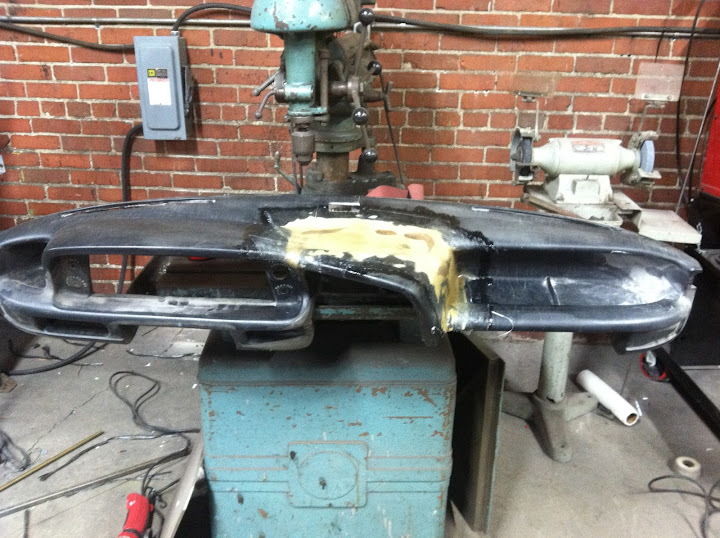
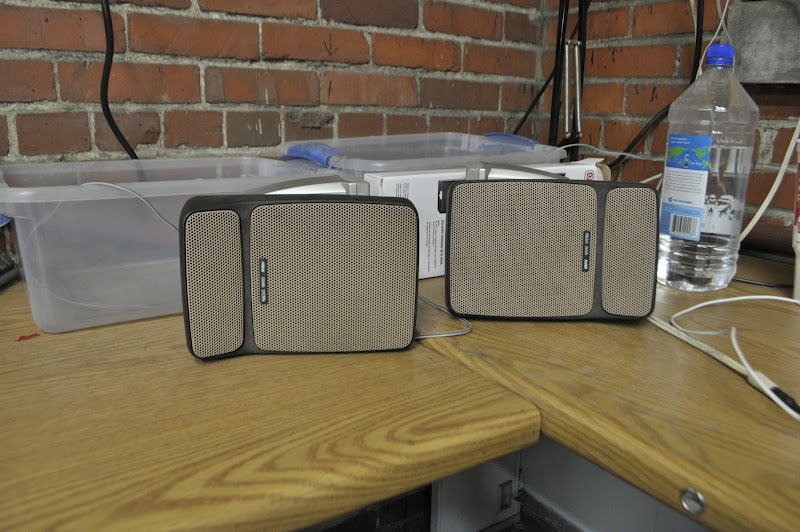
And Finally, this past Memorial day weekend I found some time to get out to the shop and get a few things done. First order or business was to tear out the old ratty headliner and fab up some mounting points for my Wink Mirror.
circa 1970's:

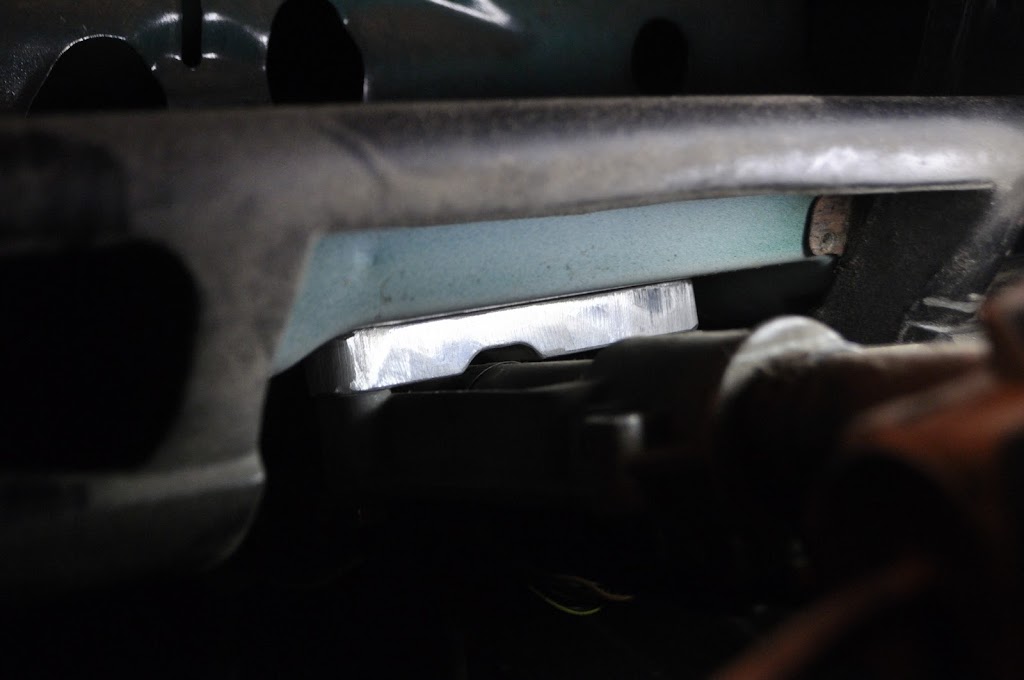
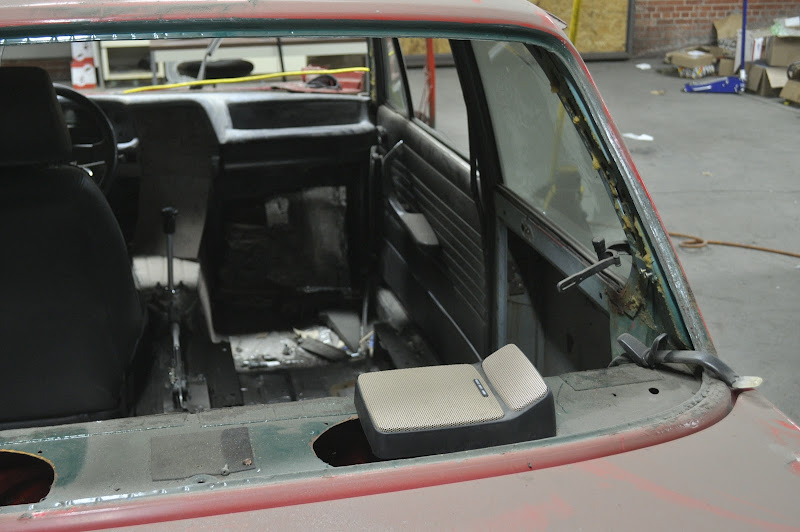
My friend and I took some 1/8 steel bar and welded it to the inner roof sheet metal. This reenforced it enough so that we could just tap straight into the roof without needing any extra clips or tabs.
Next was to start on the pedal box. The stock set up is a rube goldberg-esk contraption that looses any connection your foot may have felt to your braking system. I'm hoping to be able to remove the booster and just run a manual set-up, but keeping the dual circuit bits. We'll see how that goes as the packaging will be very tight.
The stock pedal box:

I cut off the entire upper portion that the booster bolted to. Then the two pointless holes were welded up so that the pedal box would actually be waterproof. Then the whole things was disassembled, sandblasted, and partially re-assembled for test fitting.
In the car:
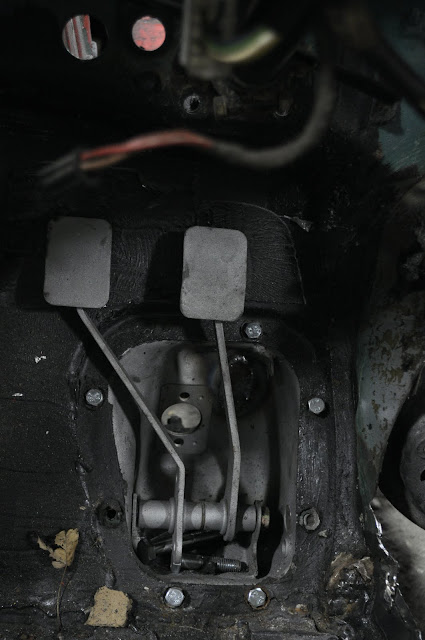
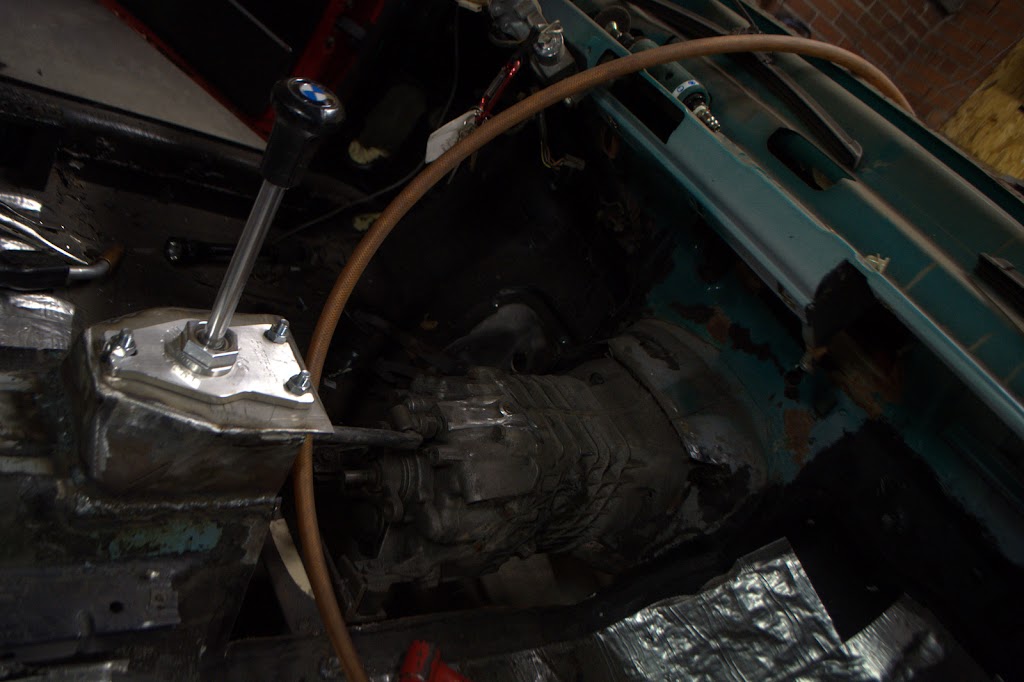
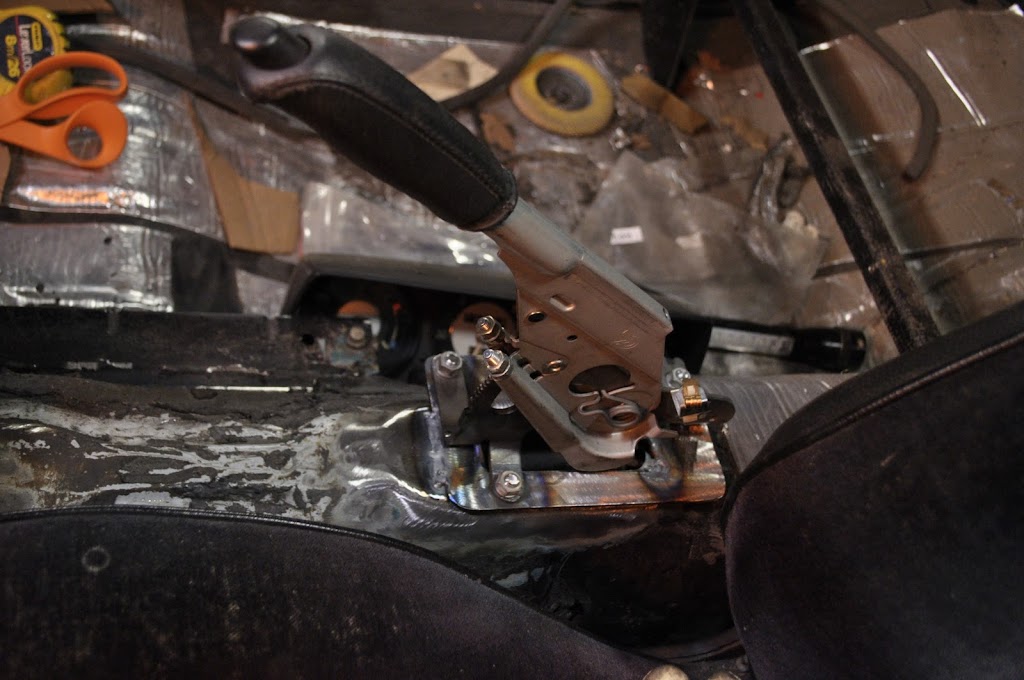
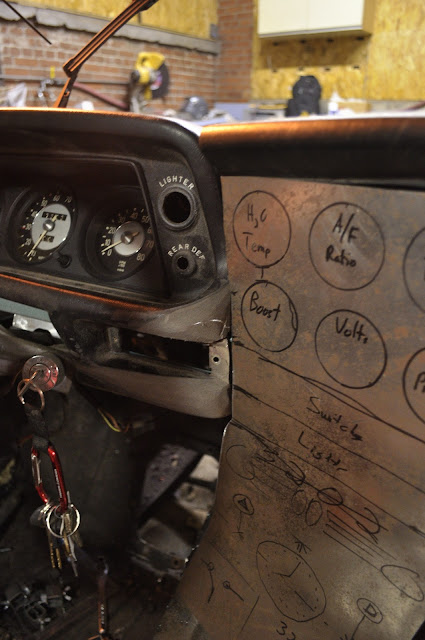
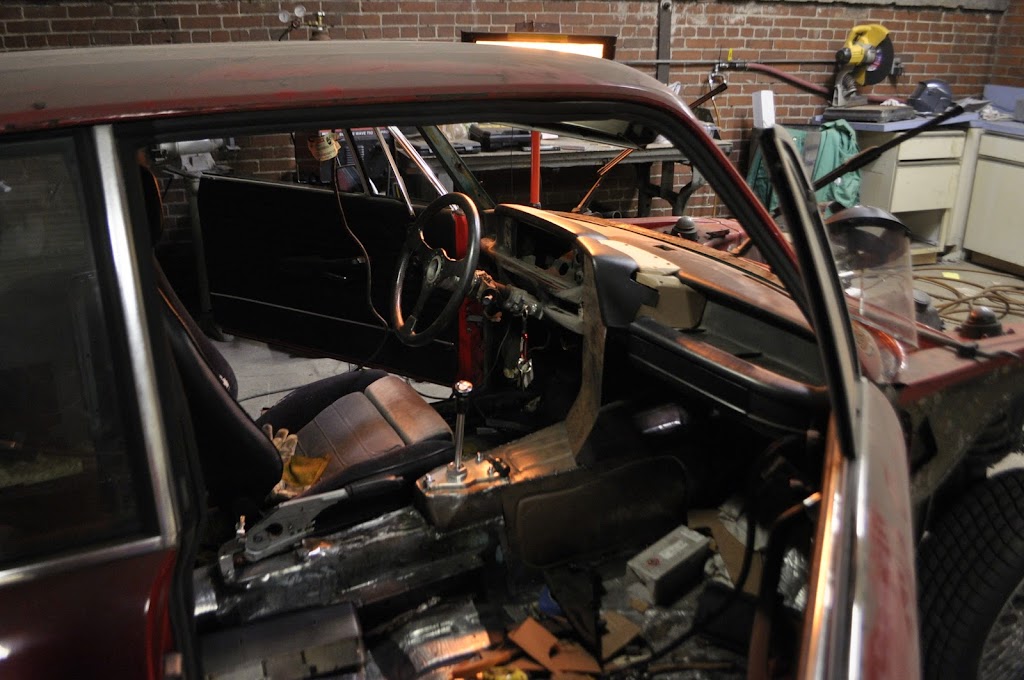
The last bit of work I got done this weekend was fitting the shifter into place. For now it's held up with 4 pieces or bar stock, but it will be completely boxed in with 1/8" steel when it's all said and done, which should be plenty strong. I also got very aggravated at the transmission tunnel not wanting to cooperate since the 'enlargement' process. This lead to me cutting out pretty much the whole tunnel and starting to fab up a new one that will fit everything cleanly.


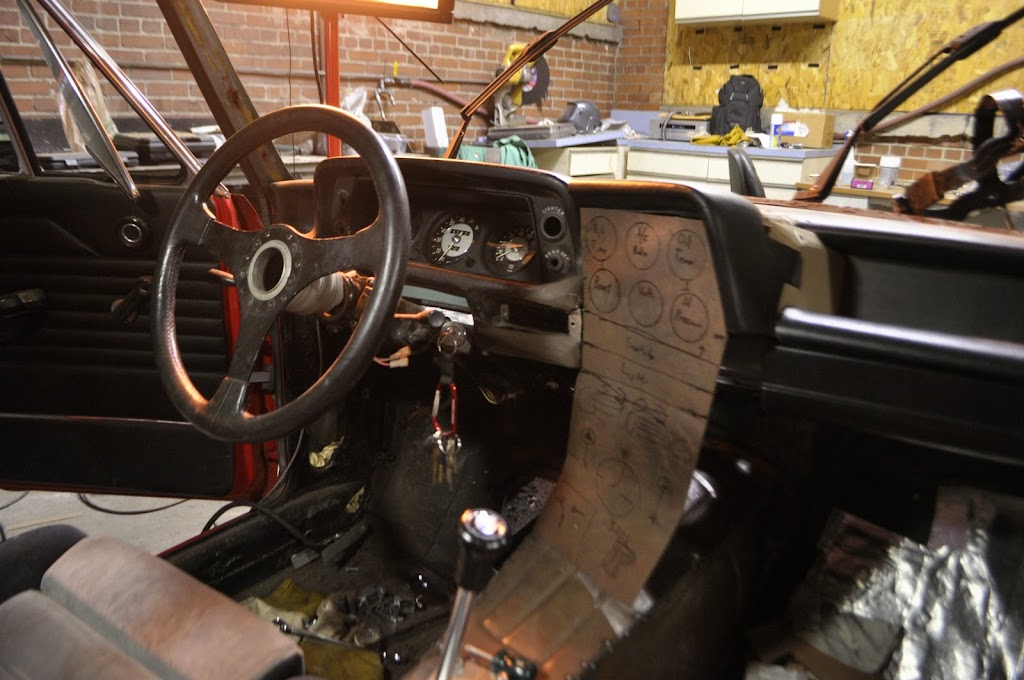
I really do love the look of the classic knob. Really pulls the interior together lol.

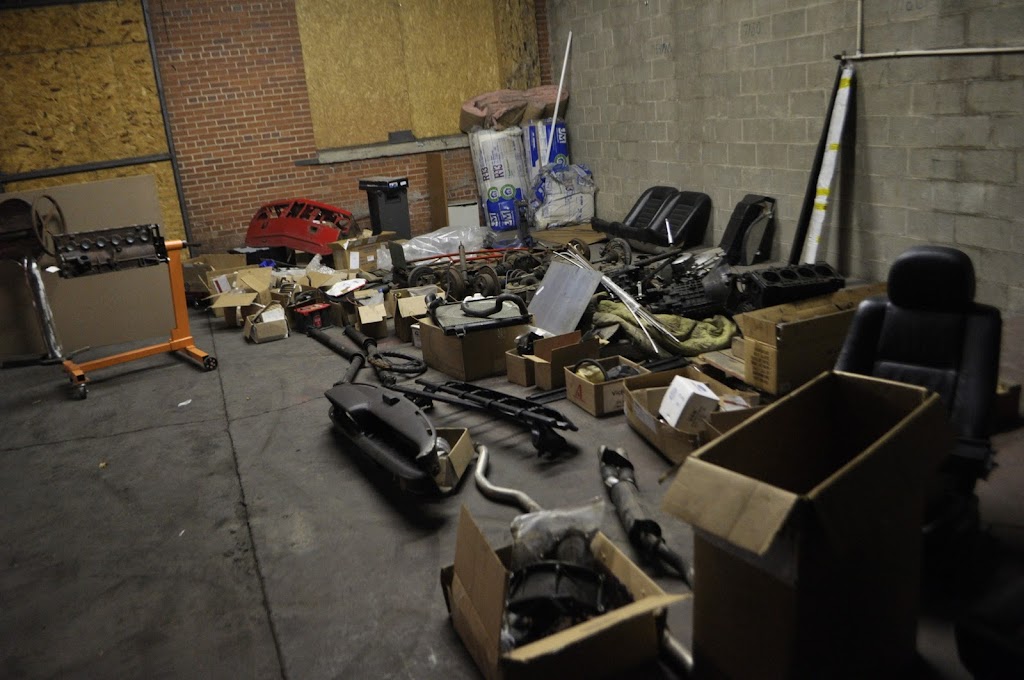
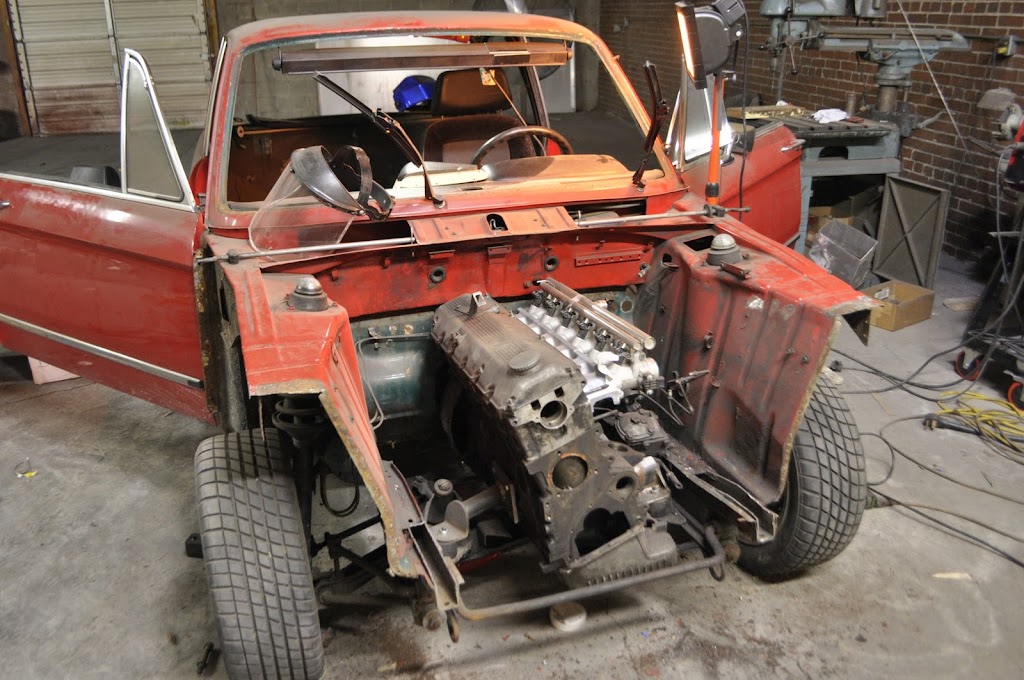
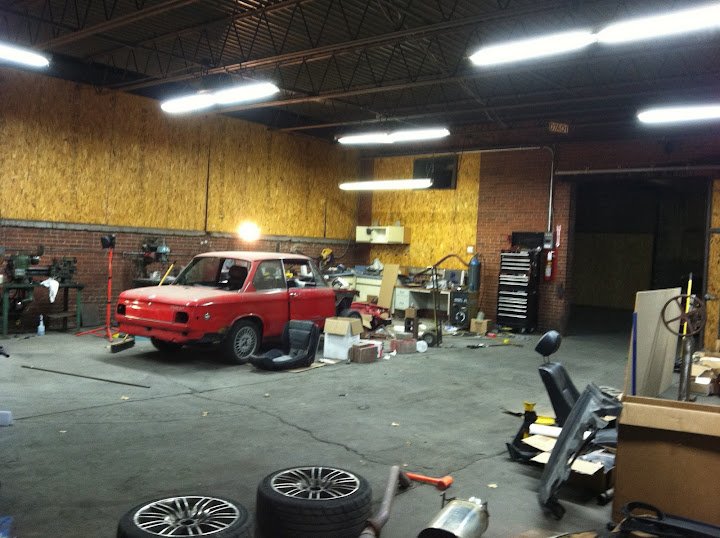
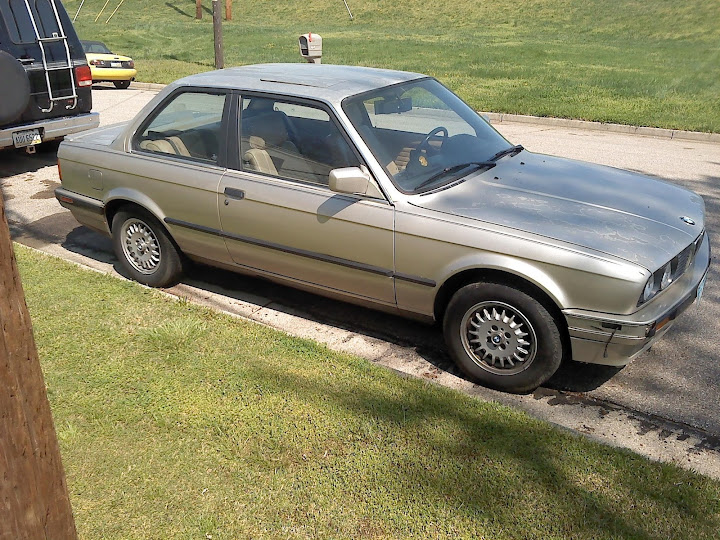
Patiently waiting for more tender loving care...

Ford F-150 Lightning MAF Sensor (90mm:troll:)
LS2 Coils for sequential/programmable Ignition
m20b25 single mass flywheel
m20b25 front pulley/harmonic damper
86mm Cometic MLS Type Headgasket
ARP Head Studs
ARP Main Studs
I'm sure there's a lot more, but I can't remember everything right now. Also, some of the molding material for casting the intake manifold has been ordered, so that should be underway in the next week or two.
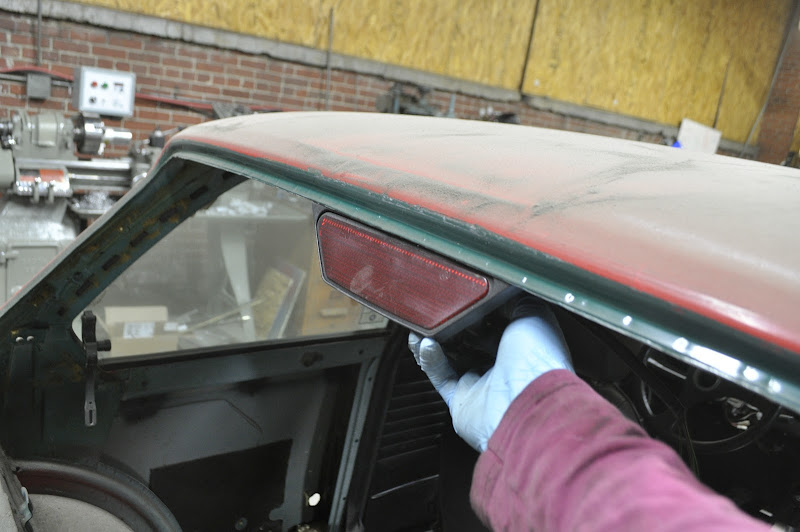
And Finally, this past Memorial day weekend I found some time to get out to the shop and get a few things done. First order or business was to tear out the old ratty headliner and fab up some mounting points for my Wink Mirror.
circa 1970's:
My friend and I took some 1/8 steel bar and welded it to the inner roof sheet metal. This reenforced it enough so that we could just tap straight into the roof without needing any extra clips or tabs.
Next was to start on the pedal box. The stock set up is a rube goldberg-esk contraption that looses any connection your foot may have felt to your braking system. I'm hoping to be able to remove the booster and just run a manual set-up, but keeping the dual circuit bits. We'll see how that goes as the packaging will be very tight.
The stock pedal box:
I cut off the entire upper portion that the booster bolted to. Then the two pointless holes were welded up so that the pedal box would actually be waterproof. Then the whole things was disassembled, sandblasted, and partially re-assembled for test fitting.
In the car:
The last bit of work I got done this weekend was fitting the shifter into place. For now it's held up with 4 pieces or bar stock, but it will be completely boxed in with 1/8" steel when it's all said and done, which should be plenty strong. I also got very aggravated at the transmission tunnel not wanting to cooperate since the 'enlargement' process. This lead to me cutting out pretty much the whole tunnel and starting to fab up a new one that will fit everything cleanly.
I really do love the look of the classic knob. Really pulls the interior together lol.
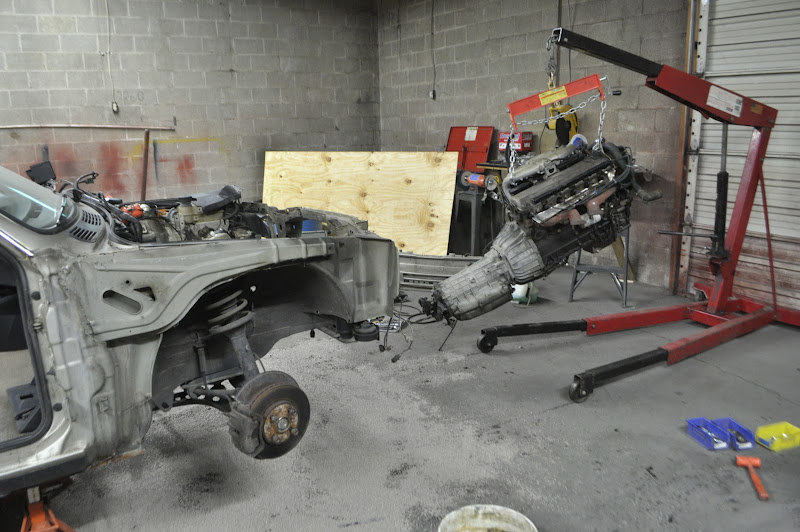
Patiently waiting for more tender loving care...


Comment