
*concert claps*
-

-
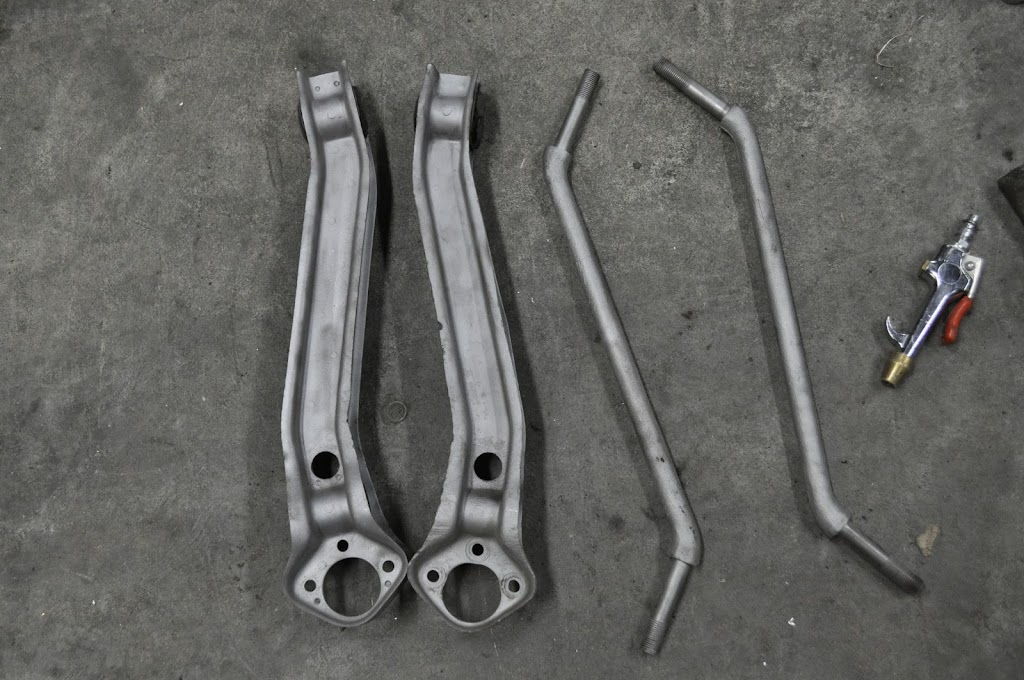
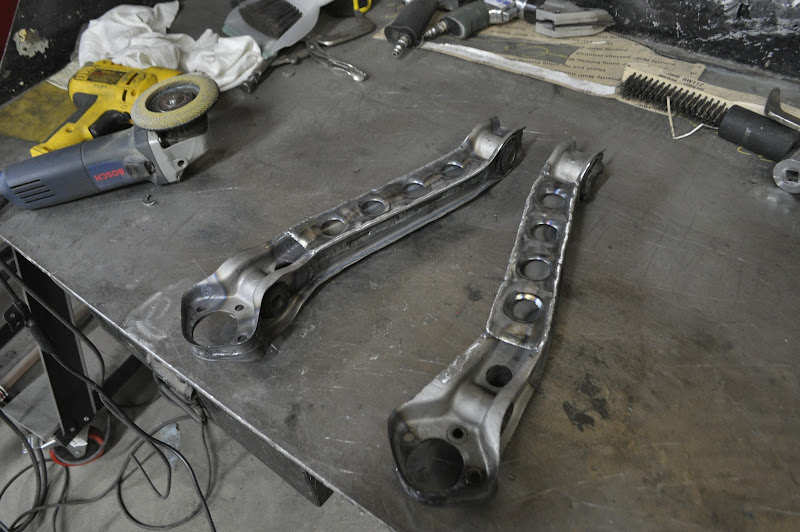
Worked on the front suspension some more tonight. First up was to remove, clean up, and shorten the steering arms. Here they are sandblasted before shortening:

The stock length between centers is 175mm. The stock e21 length is ~130mm, but I ended up at 125mm exactly on both arms. I was shooting for slightly faster than stock, so this should be perfect.
Here is the arm after cutting:
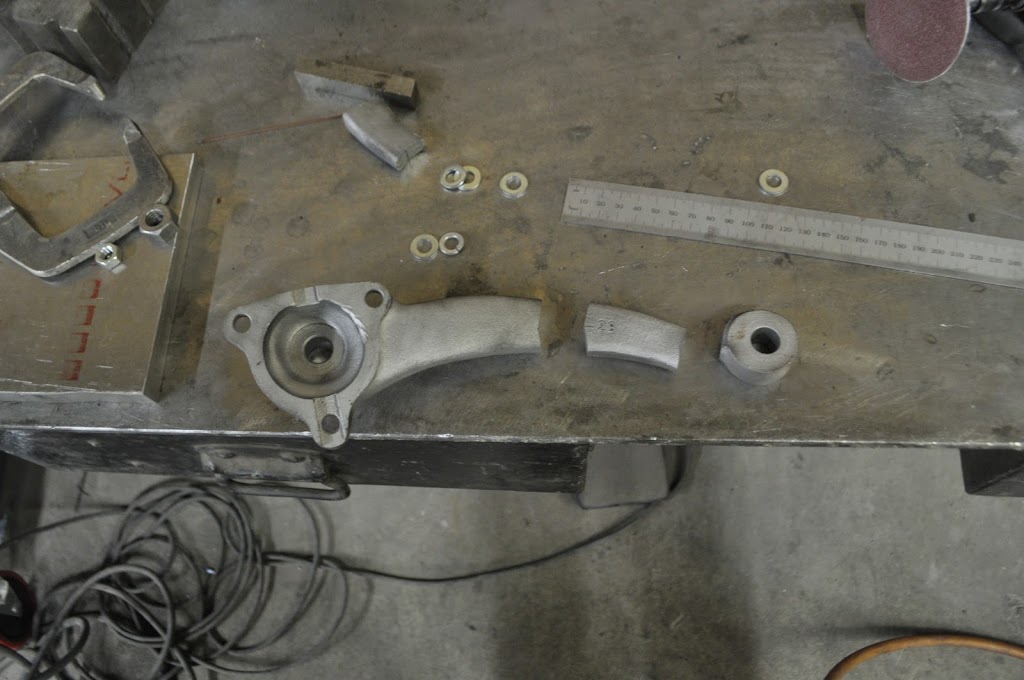
A shortened arm next to the unshortened arm:

Both arms welded up:
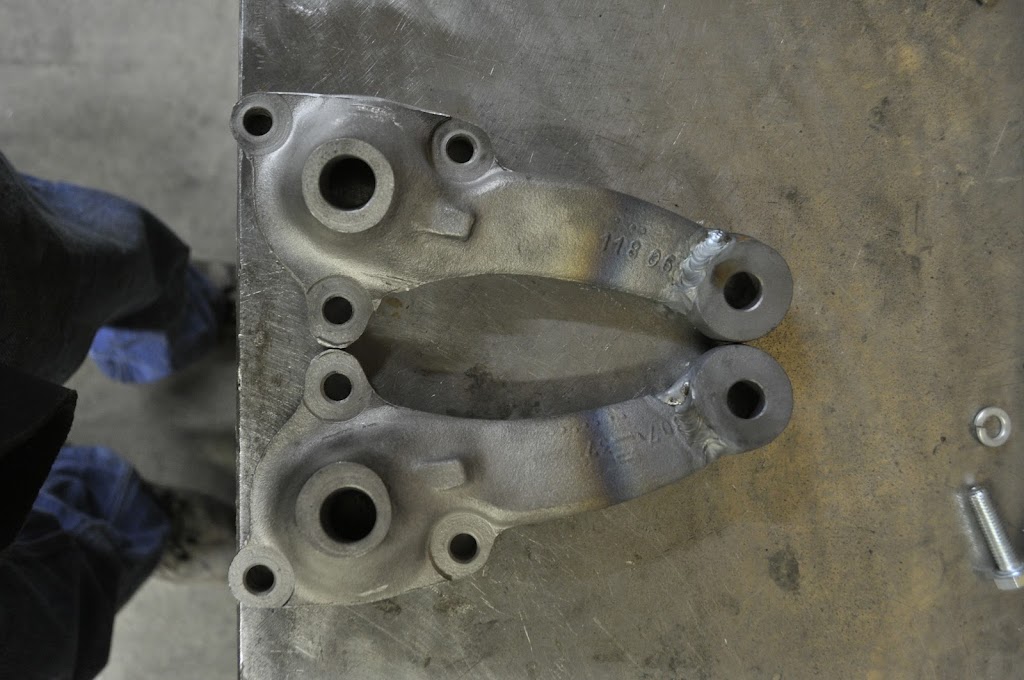
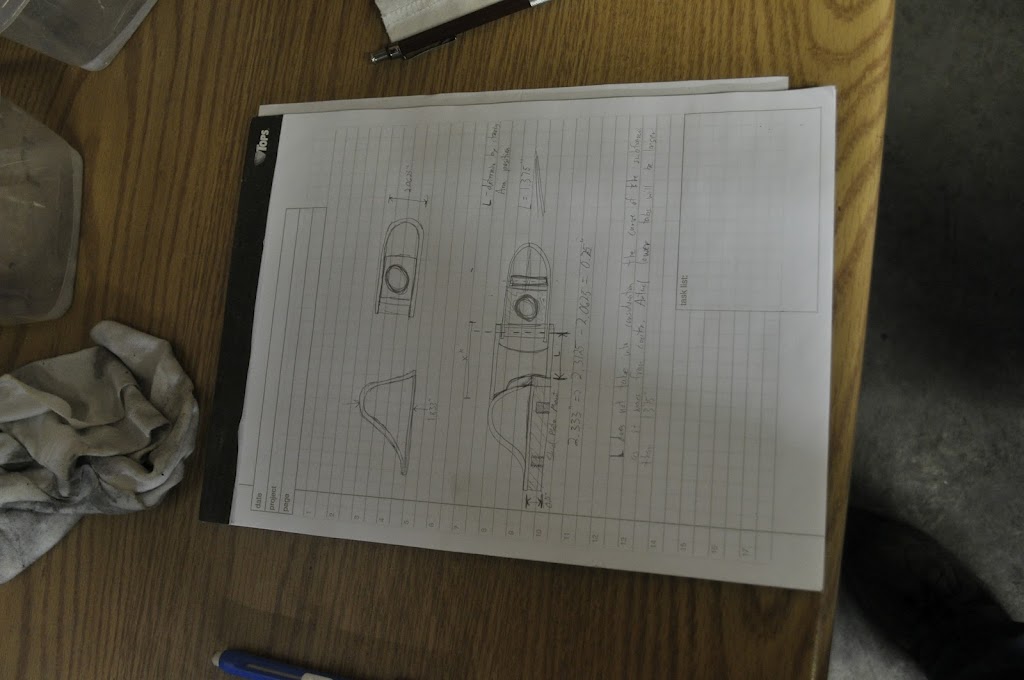
When figuring out the placement of the steering rack in relation to the rest of the suspension there are a number of things to take into consideration. So I made sure to take some notes and measurements, and try to preserve the stock traits as much as possible.
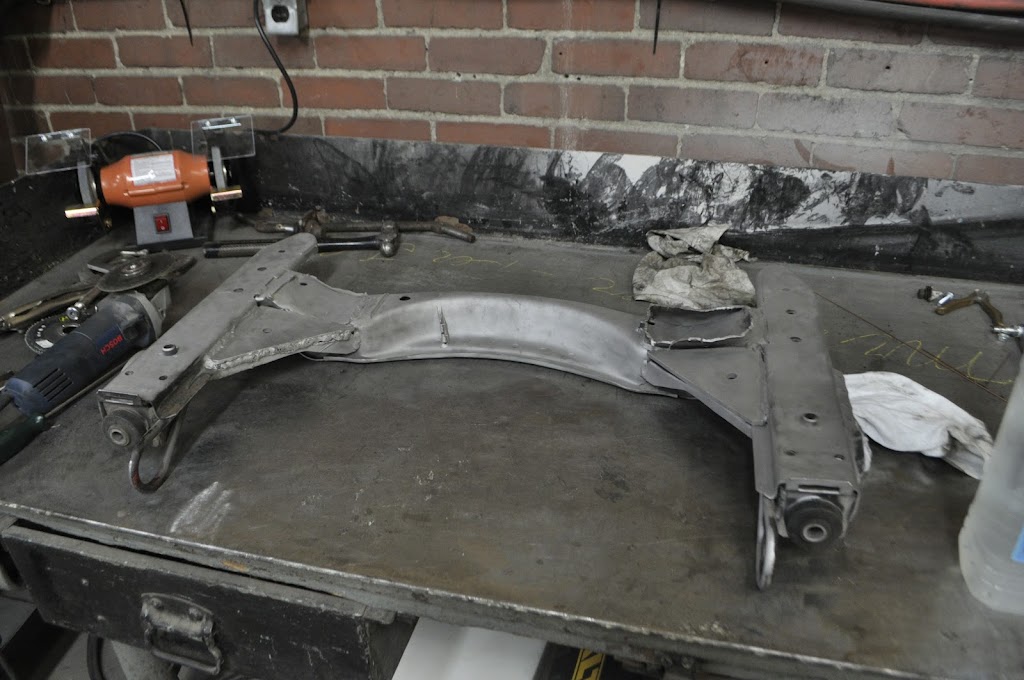
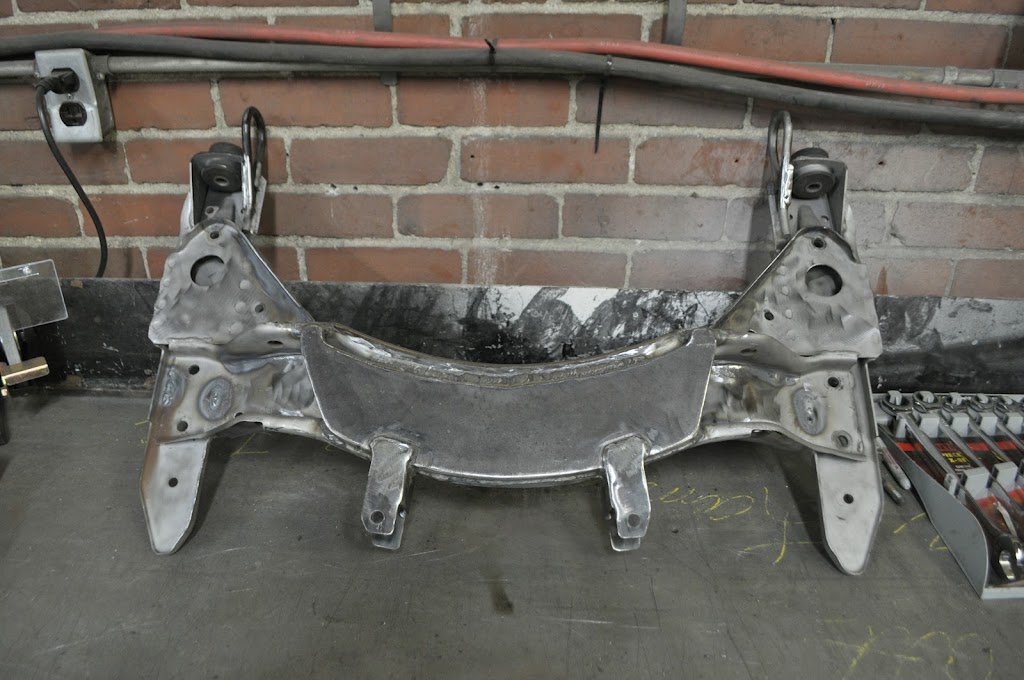
But in order to mount the steering rack, I first wanted to finish cleaning up the subframe. So first was to drop it out of the car:

After looking it over there was minimal rust, just lots of grease and grime:

And here it is after sandblasting. Next is to finish grinding smooth the old steering mounts and put the new rack mounts in place. Then it will be off to powdercoat with the rest of the front suspension pieces.
That's all for the night. More to come tomorrow.Comment
-
Sleeper indeed, thanks for the read =)~ Puch Cafe. ~ Do business? feedback ~ Check out my leather company ~
Instagram: @BWeissLeather
Current cars:
~ '87 325 M30B35 swap
~ '87 535
~ 01 540 Msport 6spd
~ '06 X5 4.8isComment
-
Progress from the past weekend. I finished sandblasting the control arms and radius arms:
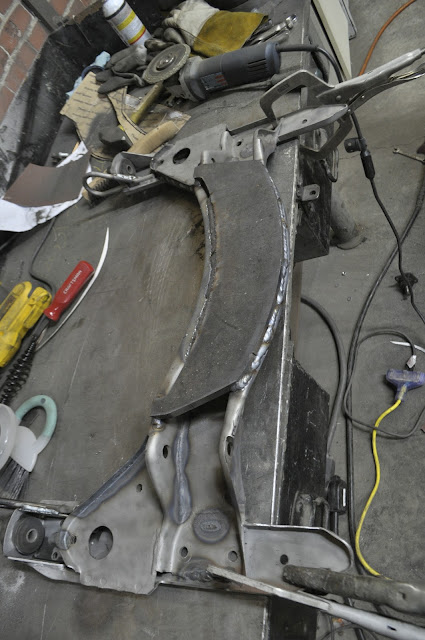
Next up was to finished up the reinforcement of the front subframe. In stock form, the center of the subframe is two pieces of 1/8" steel spot welded together. Taking into consideration the greater power output of the m20, the greater weight of the m20, and the fact that my skid plate (due to the very low oil pan) will be mounted to the bottom of the subframe, I felt that it needed to be much stronger.
The stock bottom plate on the subframe:

I cut out the old bottom plate and plasma'd out a new piece out of 1/2 steel plate. This should stiffen up the center of the subframe while giving me a sturdy place to mount the skid plate. The new plate welded in place:
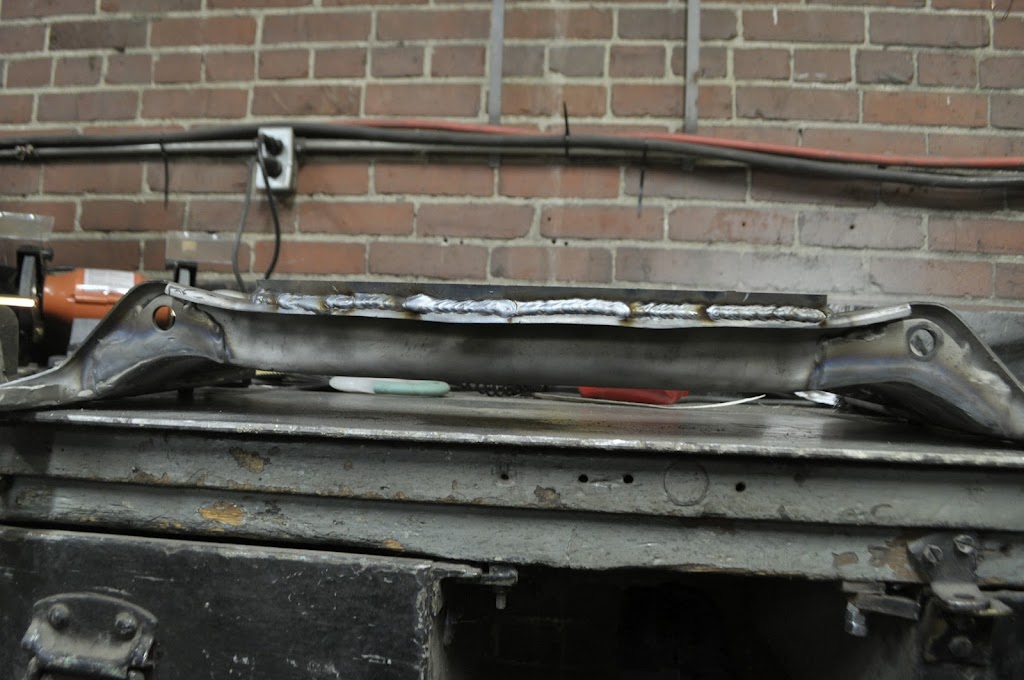
Side views, I ran another weld bead all the way around after this to fully penetrate the 1/2 steel:

With the subframe stiffened up I needed to make up some mounts for the steering rack. After taking many measurements to double check the placement and trying to keep it centered and squared, I tacked the tabs in place. After a final measurement everything was welded in place. I originally wanted to TIG the mounts, but I ran out of argon gas so I had to bust out the MIG. Got the job done just fine, but had to spend some time cleaning up the splatter.
The tab's in place:
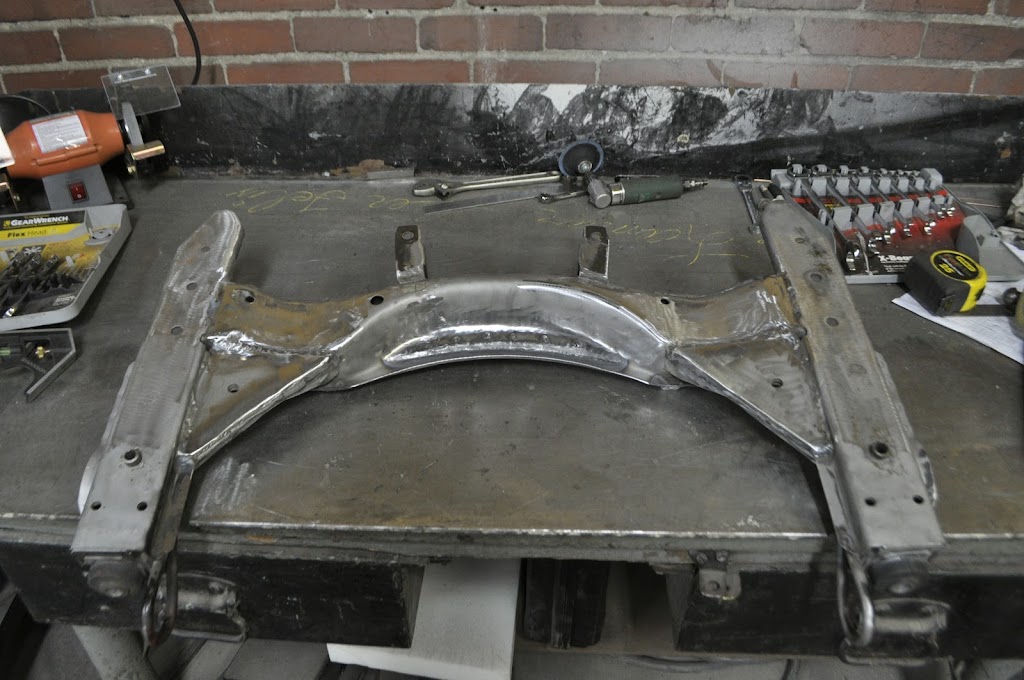
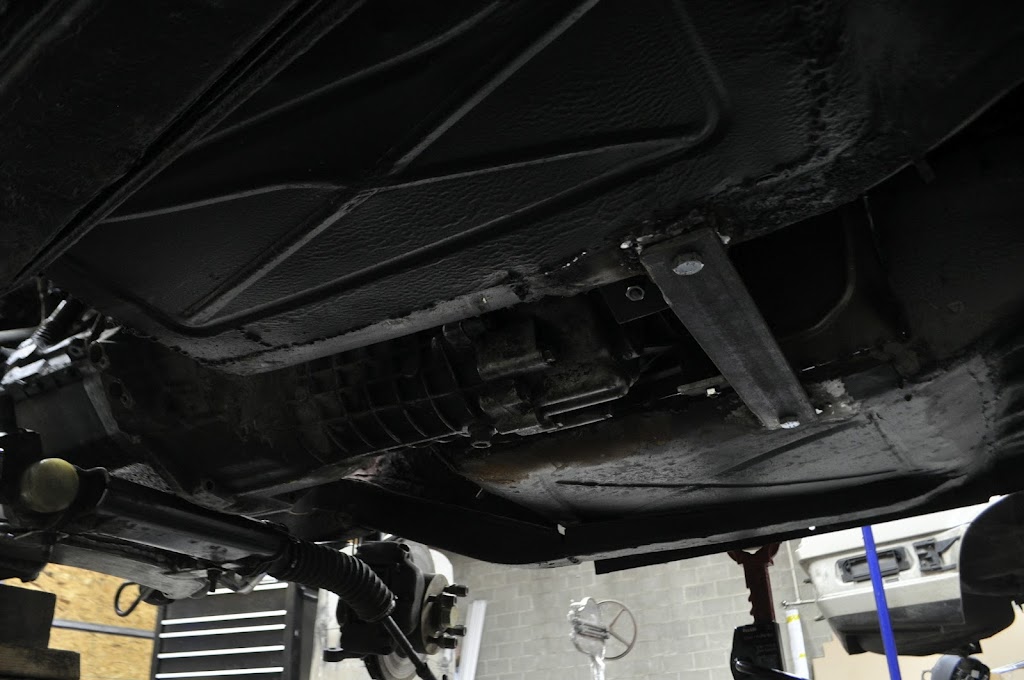
The underside of the subframe. You can see the reinforcement plate along with the steering rack mounts:
More of the rack mounts before cleaning the welds:


Rack mounted on the frame:


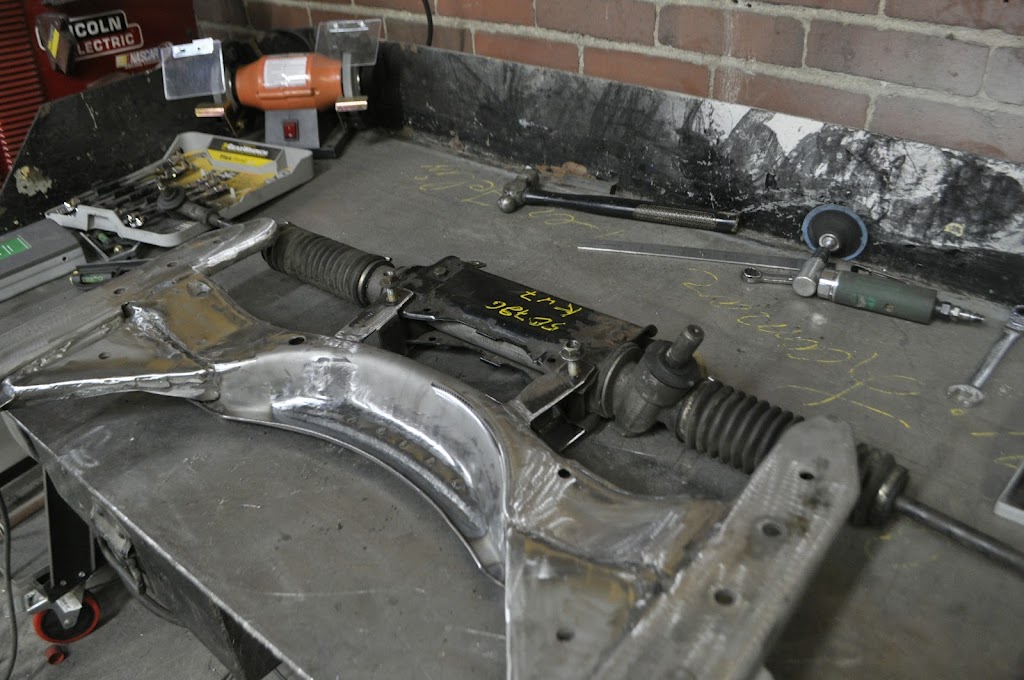
Subframe and Rack mounted in the car:


Comment
-
-
Worked on the control arms tonight. Didn't like the flimsy stamped design, so I started by stitch welding the seams. I also picked up more argon so I could TIG them. This helped keep the head more controlled, gave me more practice TIGing, and made the clean up easier because there's no splatter. I've still got a long way to go before I try and tackle the stainless exhaust, but I am getting better with it.
Side Shot:
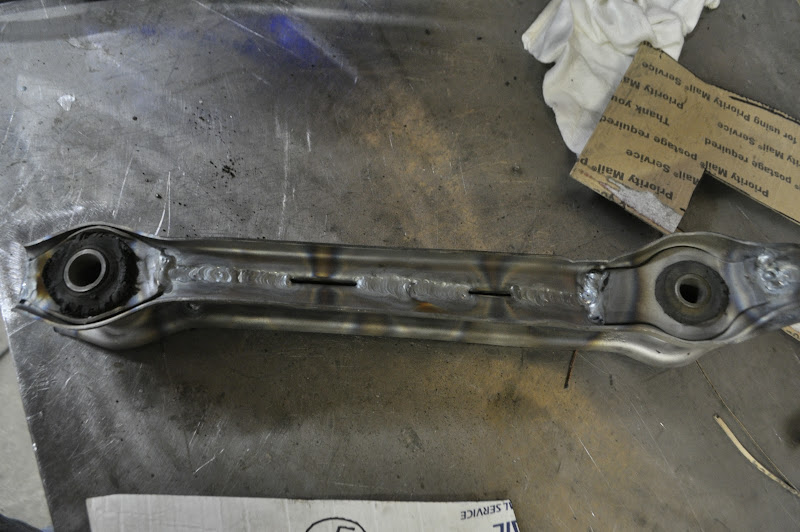
Small End:

Other End:

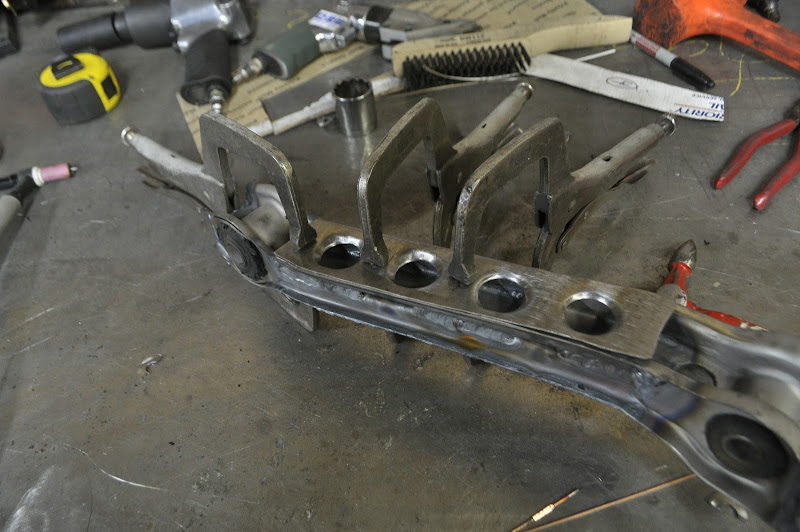
Any guesses as to what these will be?

Lightened:

And now for the first parts made for the car on the lathe! Top Die:

Bottom Die:

Turns the strips into:

Straightened, Clamped and Welded:
Finished Up:

I'm also picking up a new set of Front recaro's with Schroth Harnesses. I was originally planning on getting mine recovered, but these came up locally and will be much cheaper in the long run.
Finally, planning on talking with GC tomorrow to get my spring rates sorted and order their Front Coilover kit. Not sure what I'm doing about the rear yet though, torn between true coilovers and the regular shock/spring/adjuster combo.Comment
-
nice work, really nice work!
is the steeringhouse allways "behind" the subframe with 02's? or did you make like that? if so, i wonder why?Comment
-
This is so kickass.. great fabricationComment
-
this build is rad. Sub'd. Might be learning from watching your build. Don't be surprised if i ask a question or two.1984 Eta
1987 Bagged
1988 I
1995 MX5
1998 C70T5M
2002 CL600Comment
-
The steering assembly is always behind the subframe in 2002's as well as e21's (unless someone swapped in an e30 or newer subframe). I assume it was mostly to do with packaging, the stock steering box/track rod assembly was large enough that to clear the oil pan it needed to be placed behind the subframe.
Thanks!
Feel free. Hell, I'm learning most of this as I do it, so anything that can be shared/learned is an added bonus.Comment
-
I didn't get as much done tonight as I wanted, but that's because I spent a couple hours figuring out an issue with the surface finish on the lathe. Once I got that sorted, it was time to put the 'new' donor M20 in place. There were a number of reasons I wanted to use this engine instead of the dummy block I had been using. The main reason is this way I will know that the misc accessories and sensors will fit.
It never looks like it will fit....

The transmission at home in it's larger tunnel:
All tucked in:

Lots more room with the rack in there. I still need to shorten the stock column and fabricate new linkage, but that will come later.
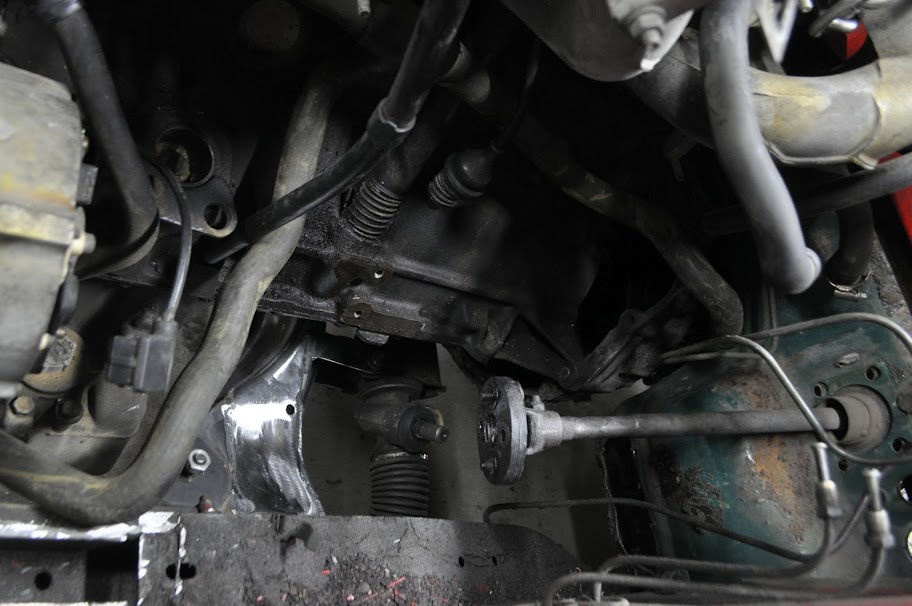
Not a ton of room on the exhaust side, but enough. I may run the stock manifolds at first, but ultimately I would like to make a set of custom equal length headers:

Stock down pipe almost fit with the rack conversion, but the boot would not last very long. Of course with the stock steering system it would have no chance in hell of fitting, so it is an improvement.
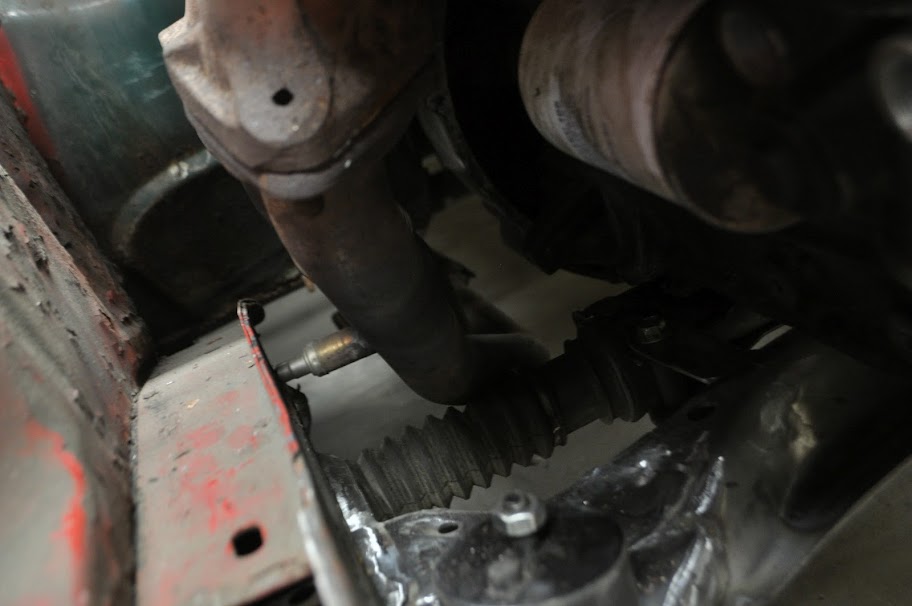
Clearance of the Oil Pan, a little less than an inch. I don't think I want to go any lower, but it does have room to move back another 3-4":
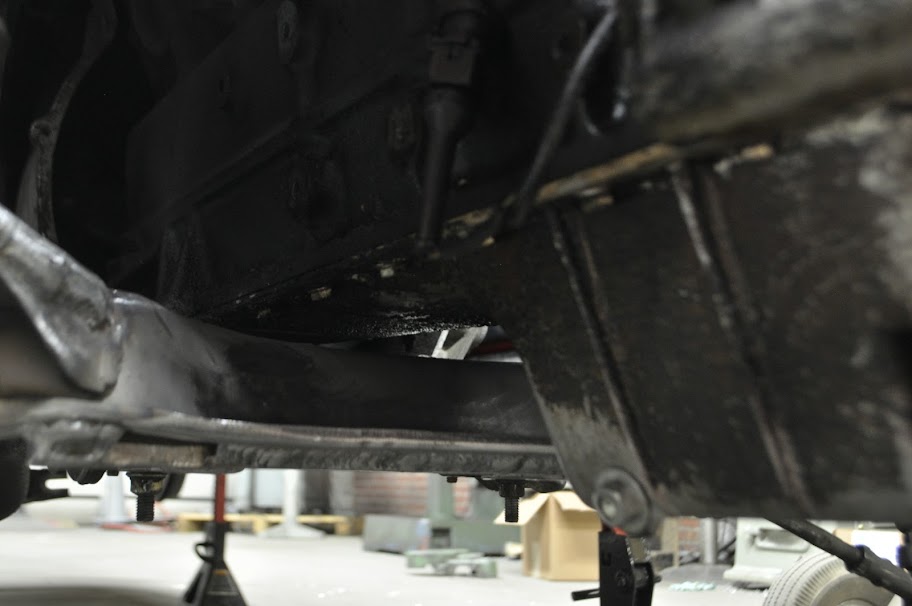
Here you can see all the extra room with the bell housing compared to the stock steering system. Before I had maybe 1/8" between the track rod and the bottom lip of the bell housing. Here there is plenty of room, I could move the engine forward another 1.5" (cause I hear that's good for handling....)

Placing the front clip in place to check clearance with the front of the engine, the '02 decided to fight back. Having already sweated my body weight out during the afternoon and crying over the cost of new steering u-joints, it was nice to get the hat trick for the night.

After the struggle, the front clip was in place:

Clearance in the Front:

Clearance in the Back:

Looking at the last picture, I have enough room to move the engine back another 1/2" if I want before I'd really start being concerned with rubbing on the firewall under hard acceleration. That being said, I have half a mind to cut out a chunk of firewall so I can move the engine back as far as the oil pan would let me. This would help with the weight balance of the car, but changing spark plugs would be a PITA, and I would also run into issues with the heater box. It could also lead to issues with the intake manifold and throttle bodies. I need to do some more research and see if it would really be worth it.
More to come in the next few days.Comment
-
Rub some of that grease into the cut, you'll be blood brothers with the car. :) Good up the great work and thread!
Comment
-
-
Dear God
Sub'dI Say... that is some awesome shit!
'86 325e- (parts car)
'89 325i- DD and project aka "Shirley"
Progress thread for ShirleyComment
-
Good Lord, man!!!!!
Keep up the great work!!!
Sub'dsigpic
Instagram: @DrLeadFoot
Build Thread for the Turbo S52:
http://www.wibimmers.com/board/index...turbo-install/
Running log of the daily E46 M3:
http://www.wibimmers.com/board/index...46-m3-journal/
Flickr
https://www.flickr.com/photos/70254549@N06/

Comment


Comment