
FINALLY...updates.
This weekend I got to work on painting the cage. I must be the WORST spray-bomb painter in the world. I can't paint for shit.
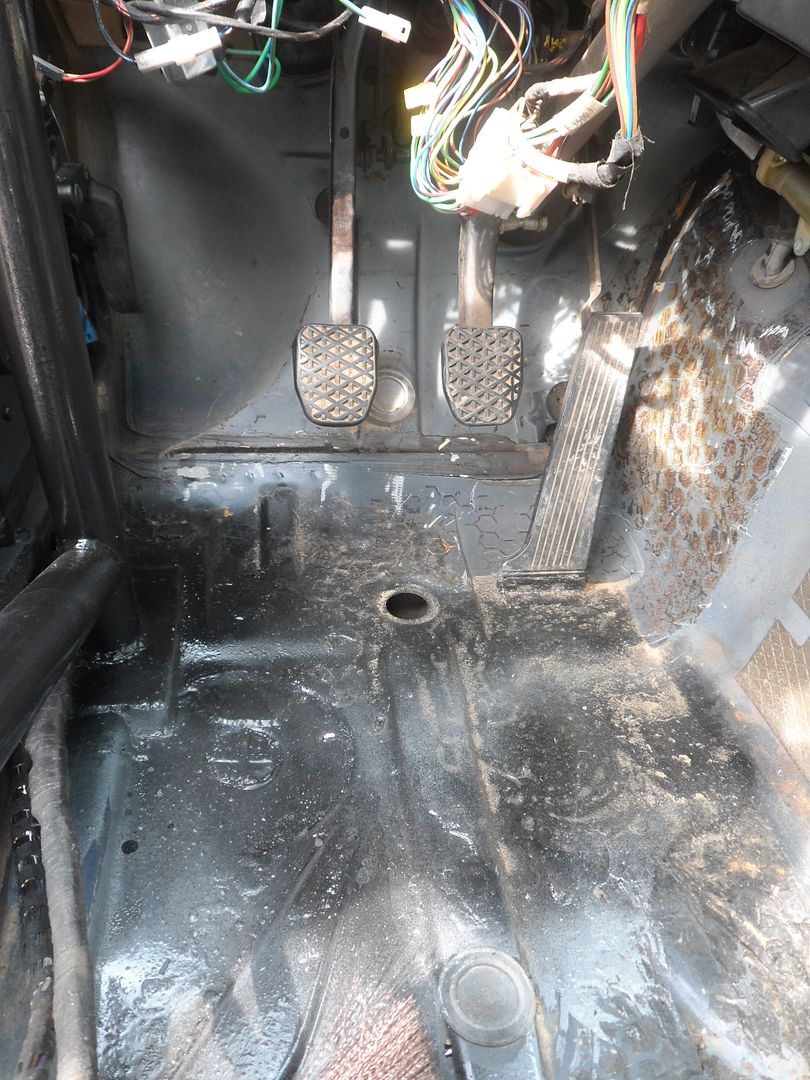
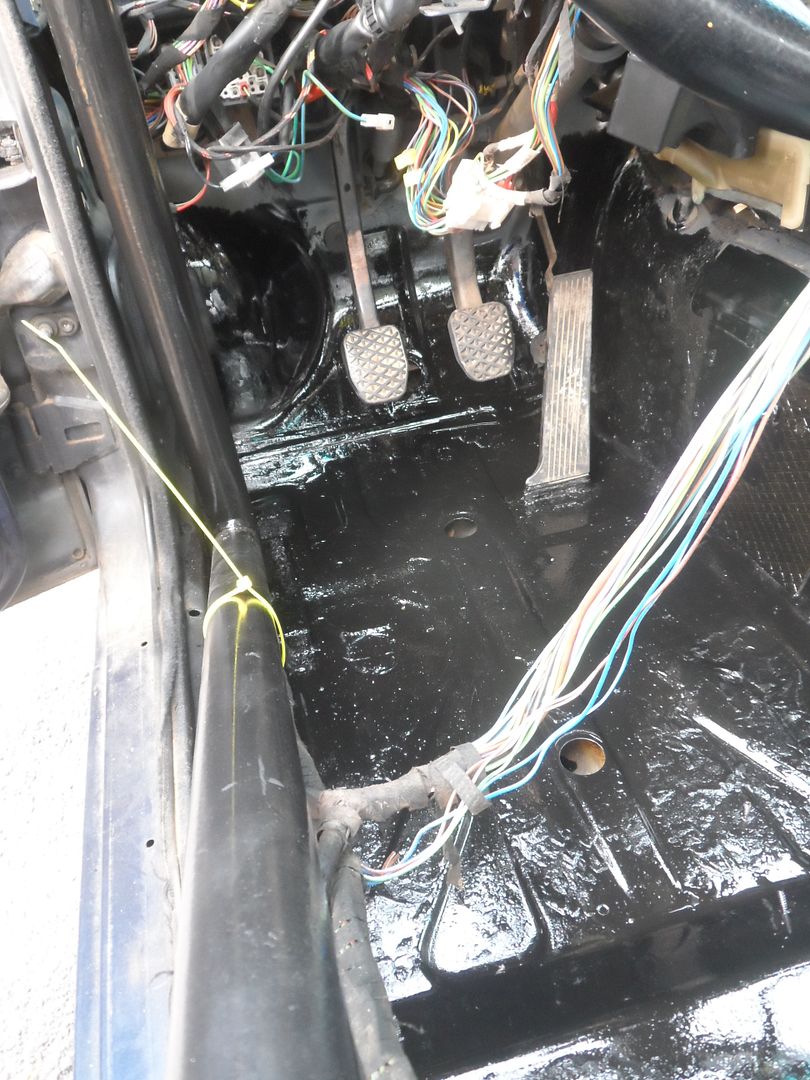
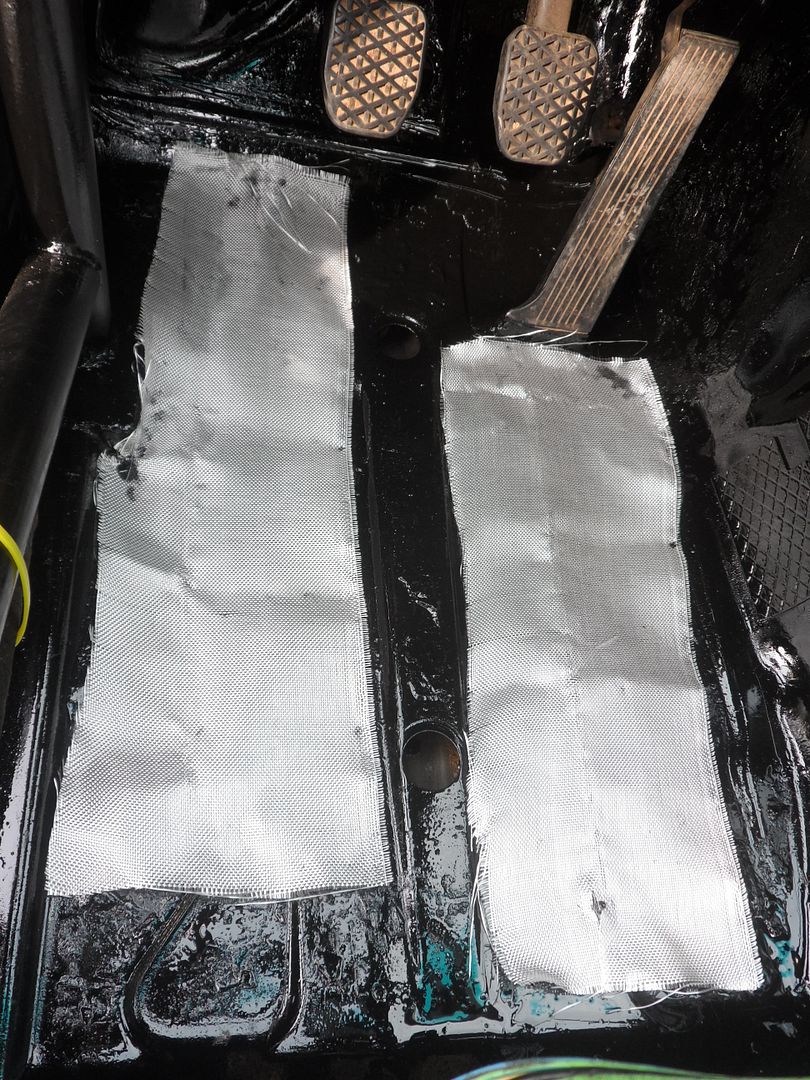
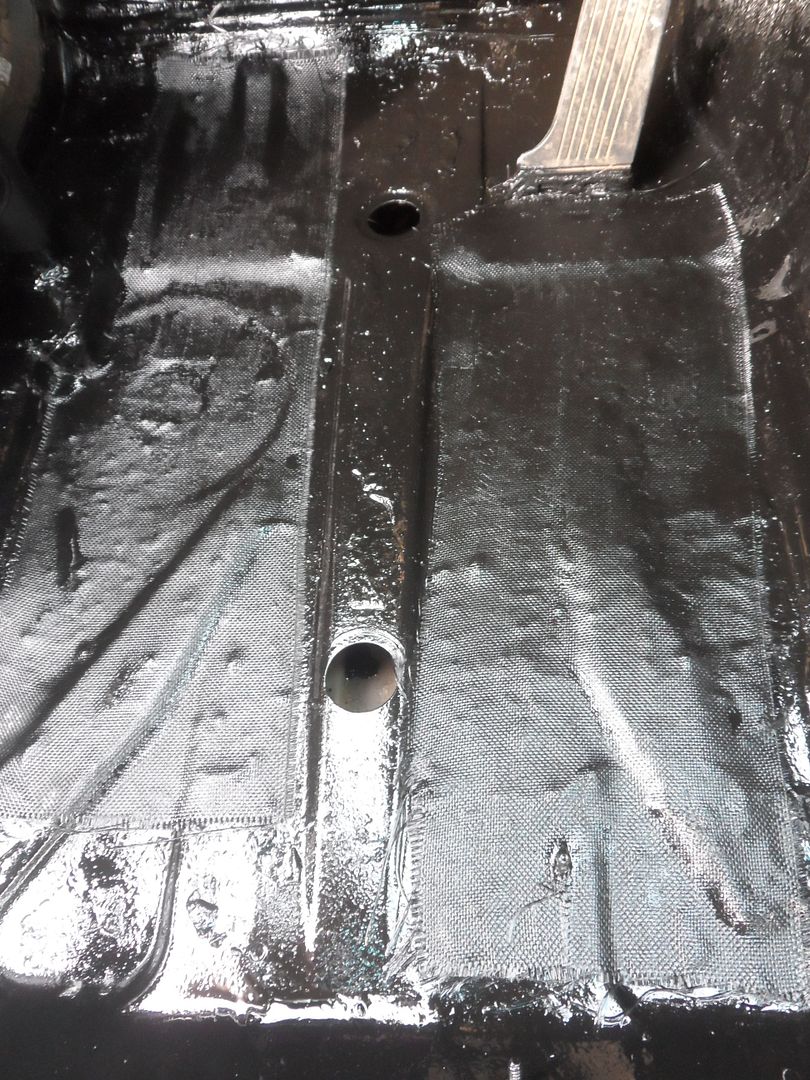
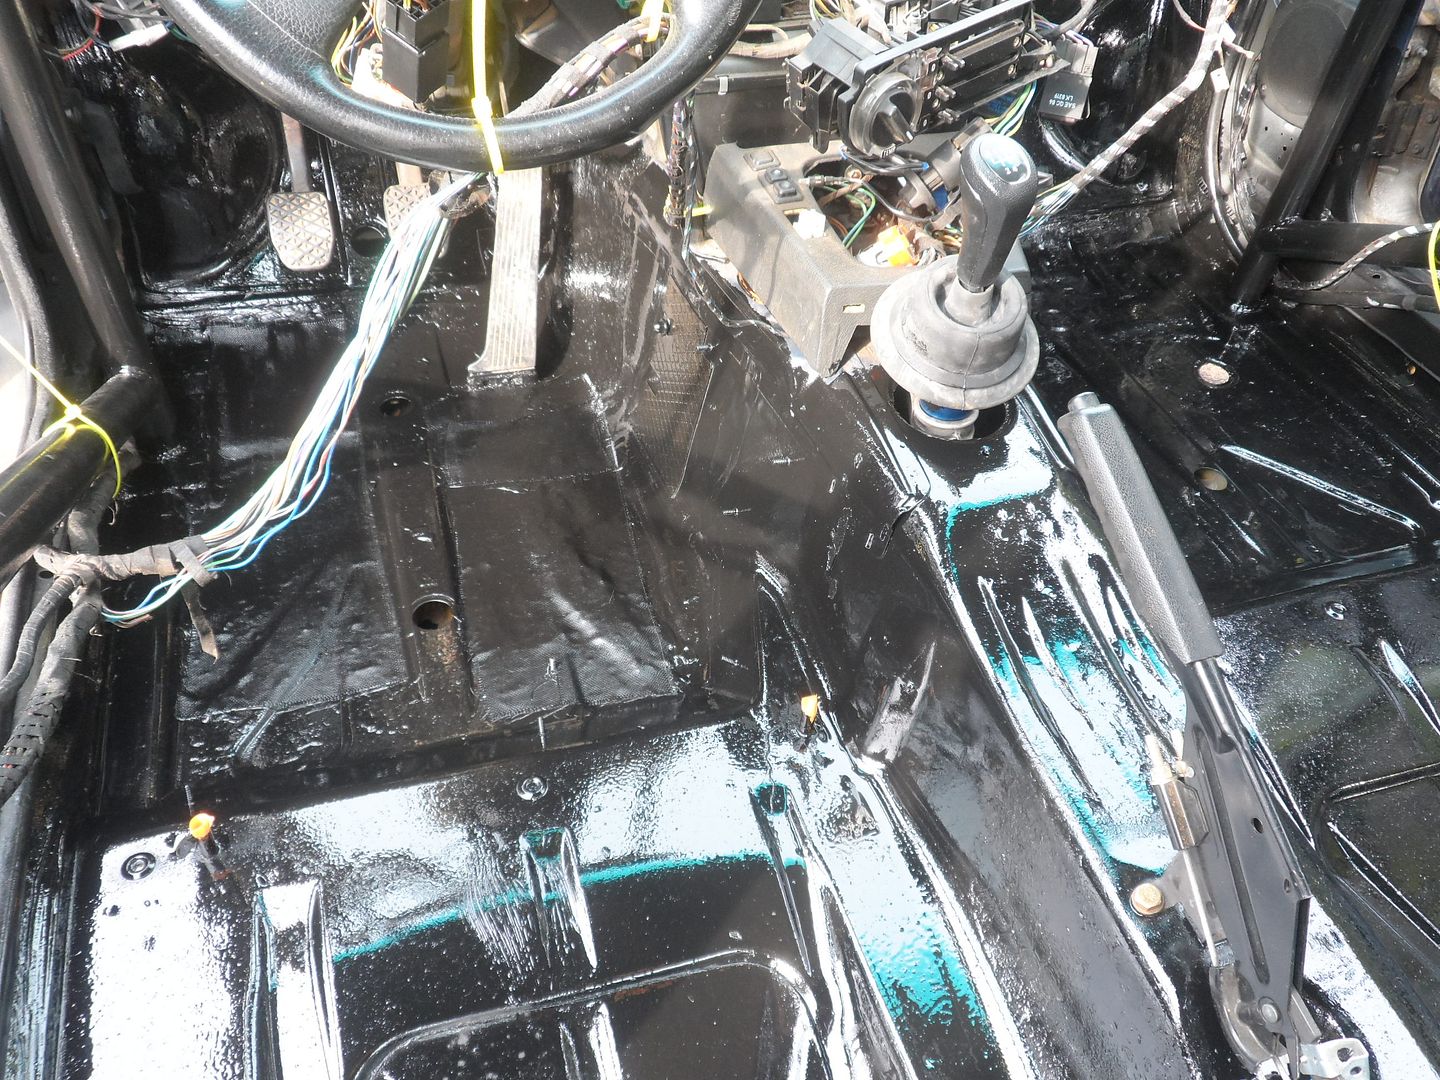
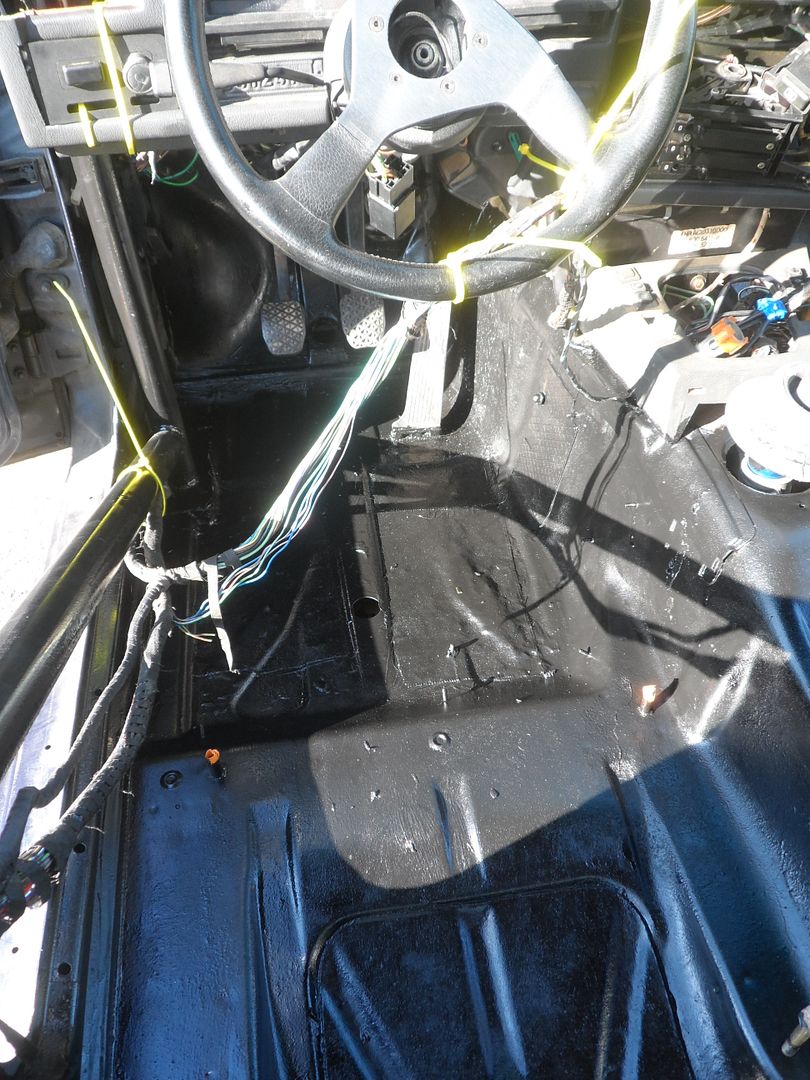
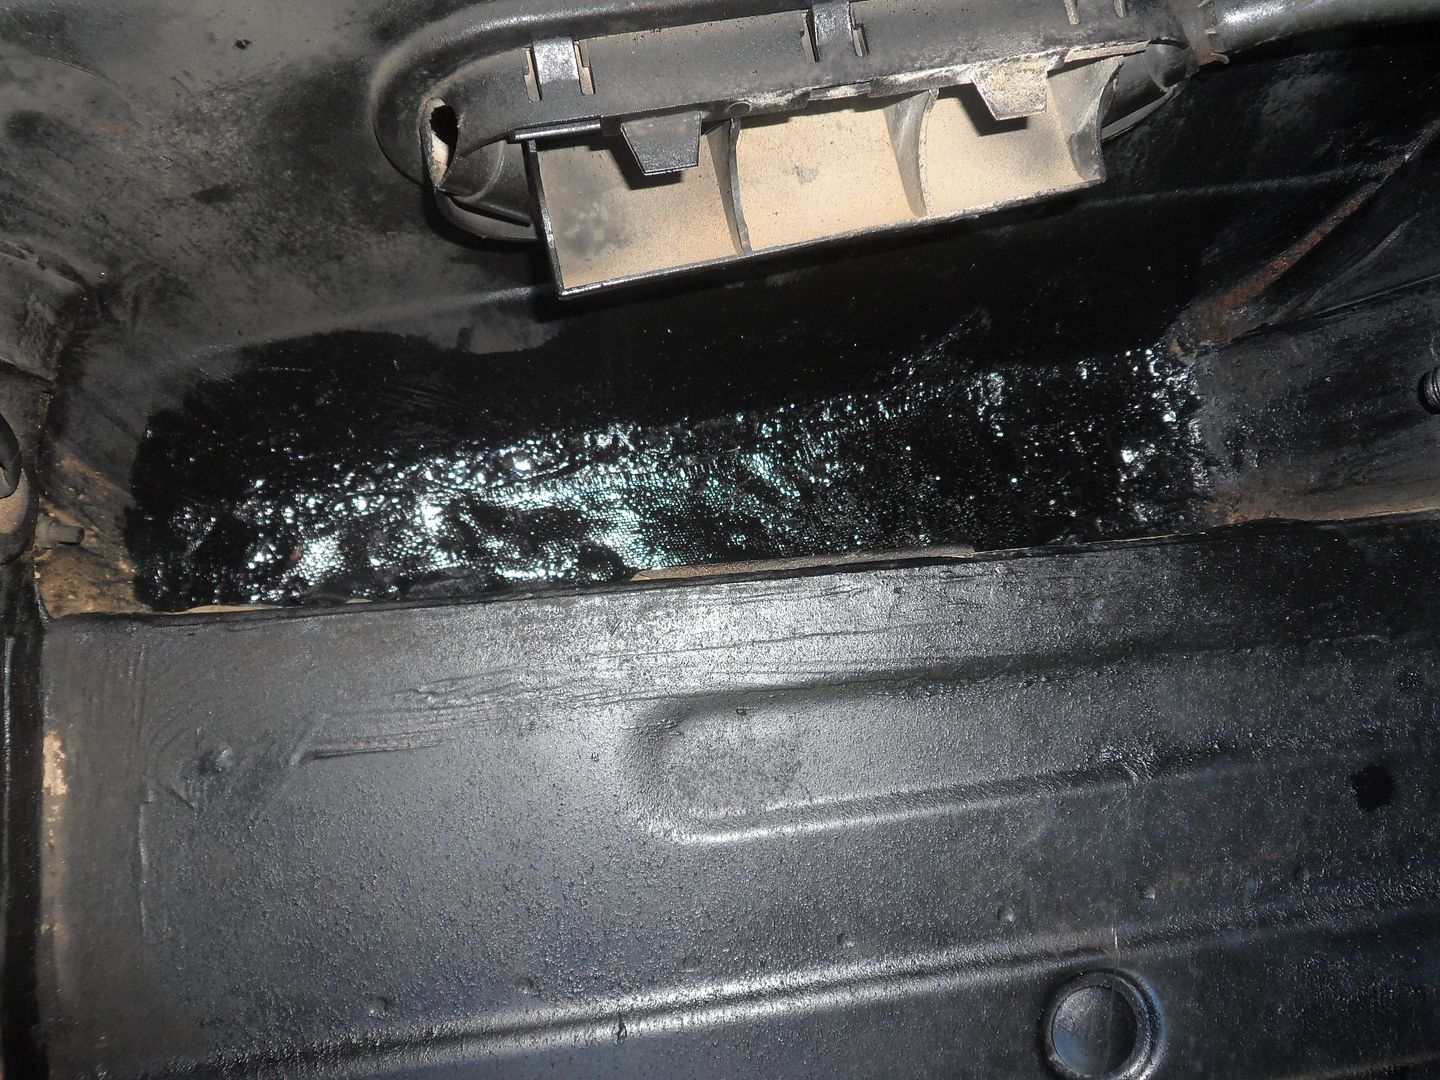
Before I started on the cage, I did apply some POR-15 to the rusted spots in the floor, around the base of the cage feet, and to some other problem areas. The POR-15 that I had was grey, a leftover pint that I bought when I was doing the floor in my Jeep. I had it and used it for initial spot-treatment.
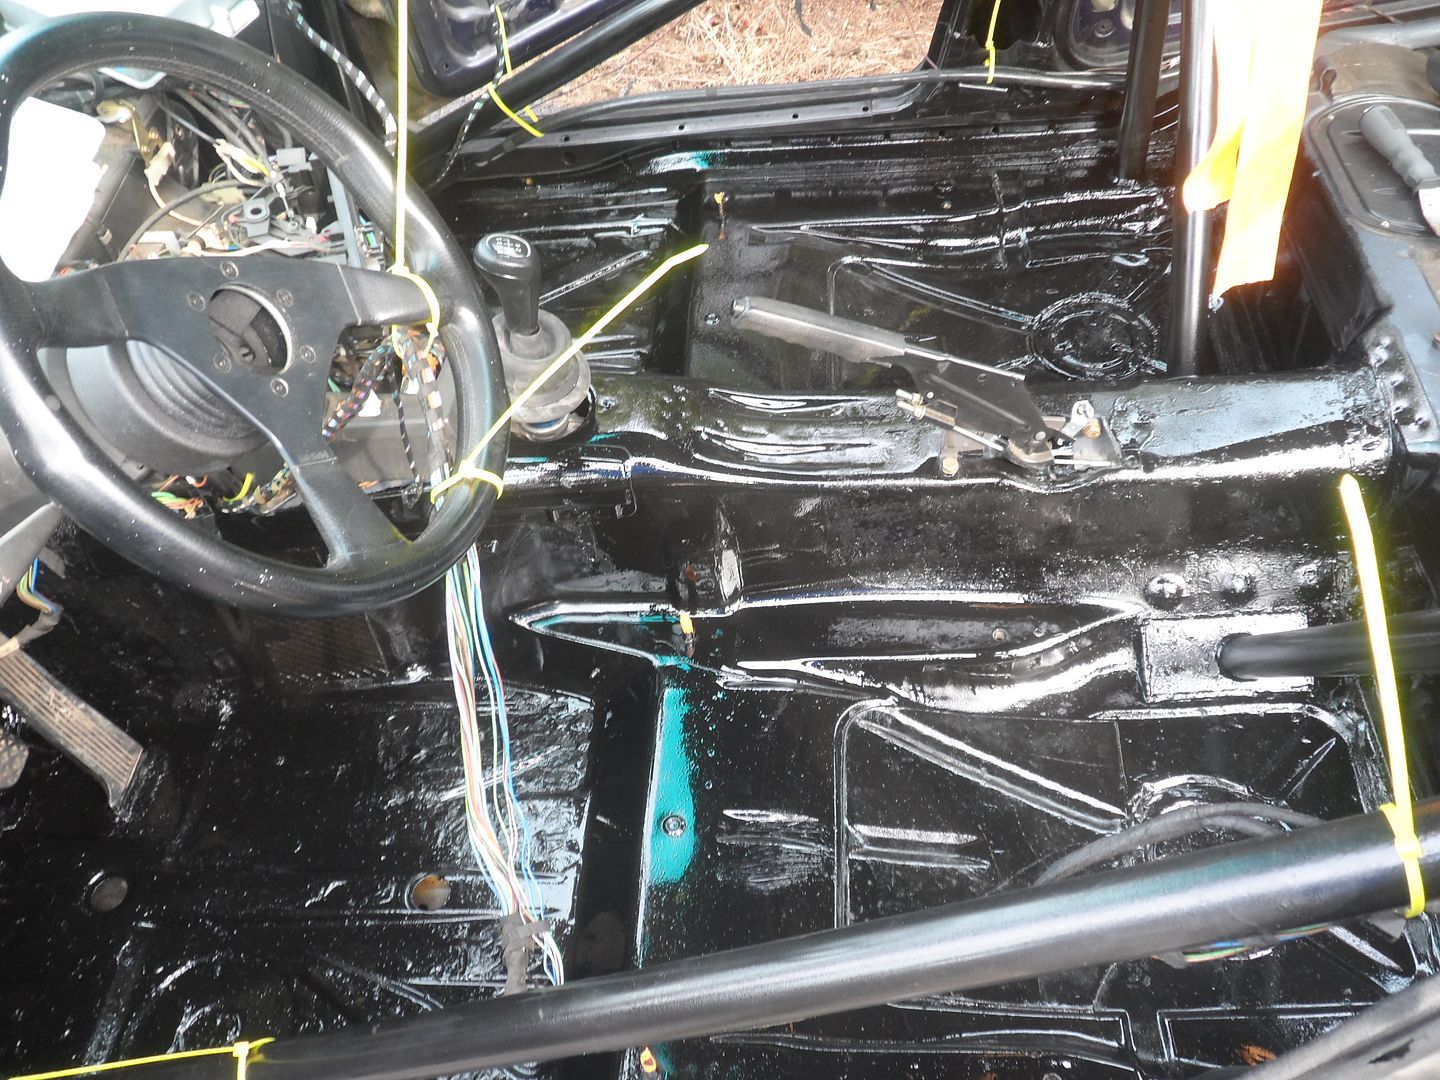
I also ordered a full quarts of black POR-15 to use to roll the whole floor. After that is dry, I will be applying roll-on truck bedliner over the POR-15. For now, though, I used what I had and went ahead and painted the cage, which will not get full POR-15 treatment.
First off, I bought some Rustoleum Professional paint in gloss black. I was going to paint the cage yellow to match the car but I went with black out of convenience and because if I change the exterior some day, the cage can stay the same.
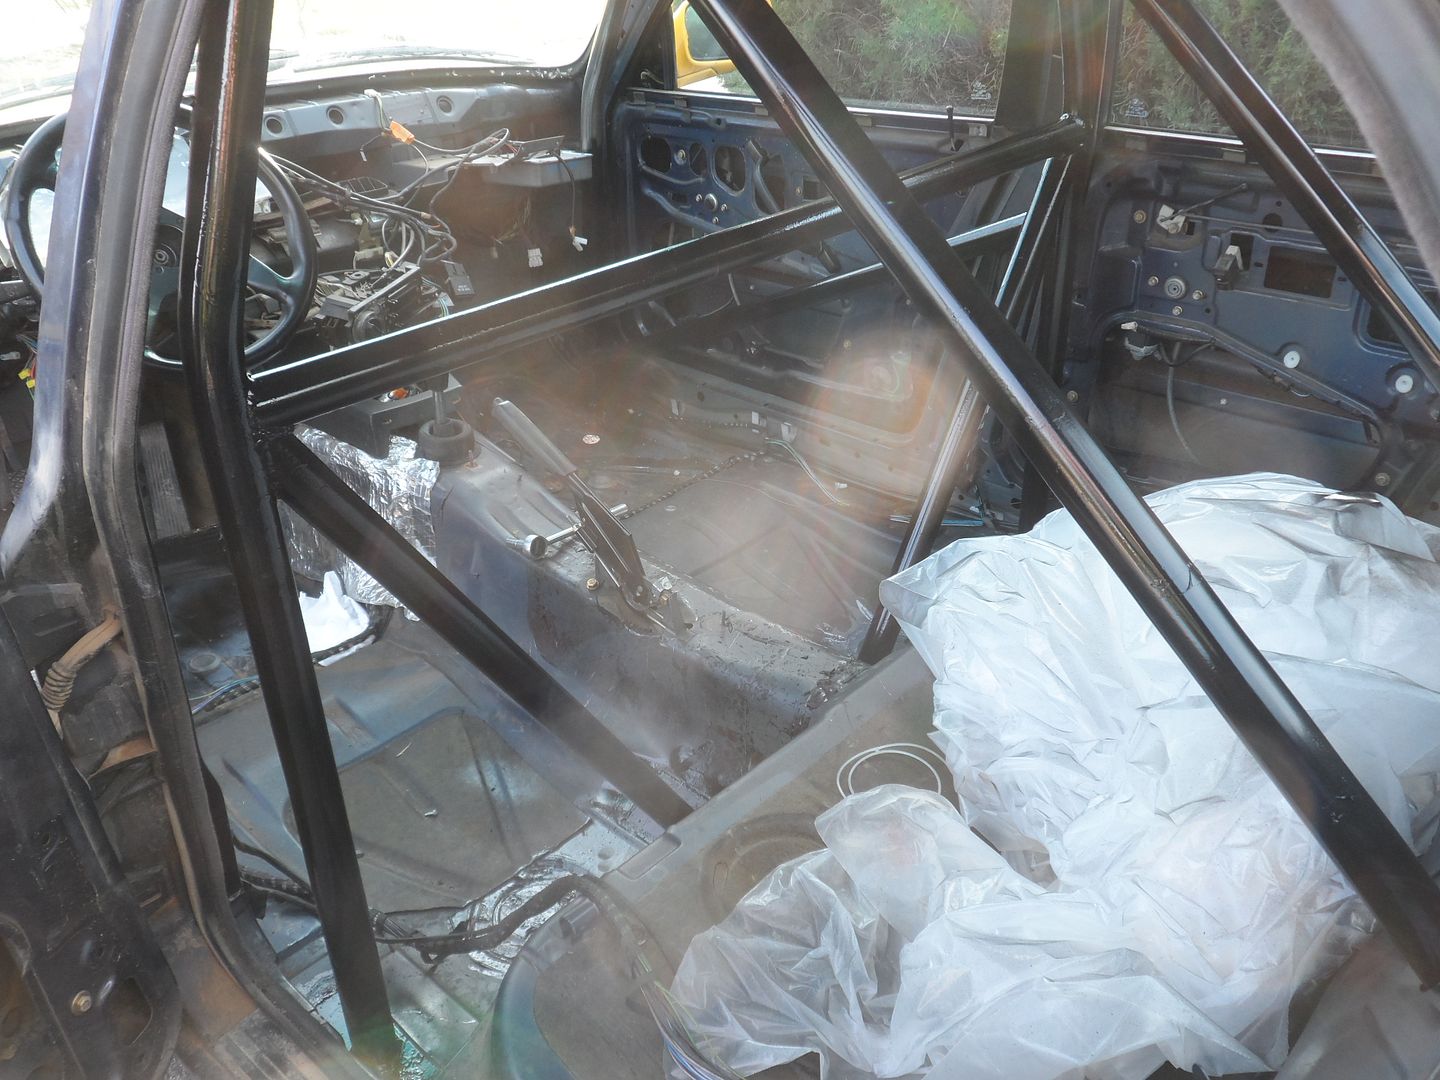
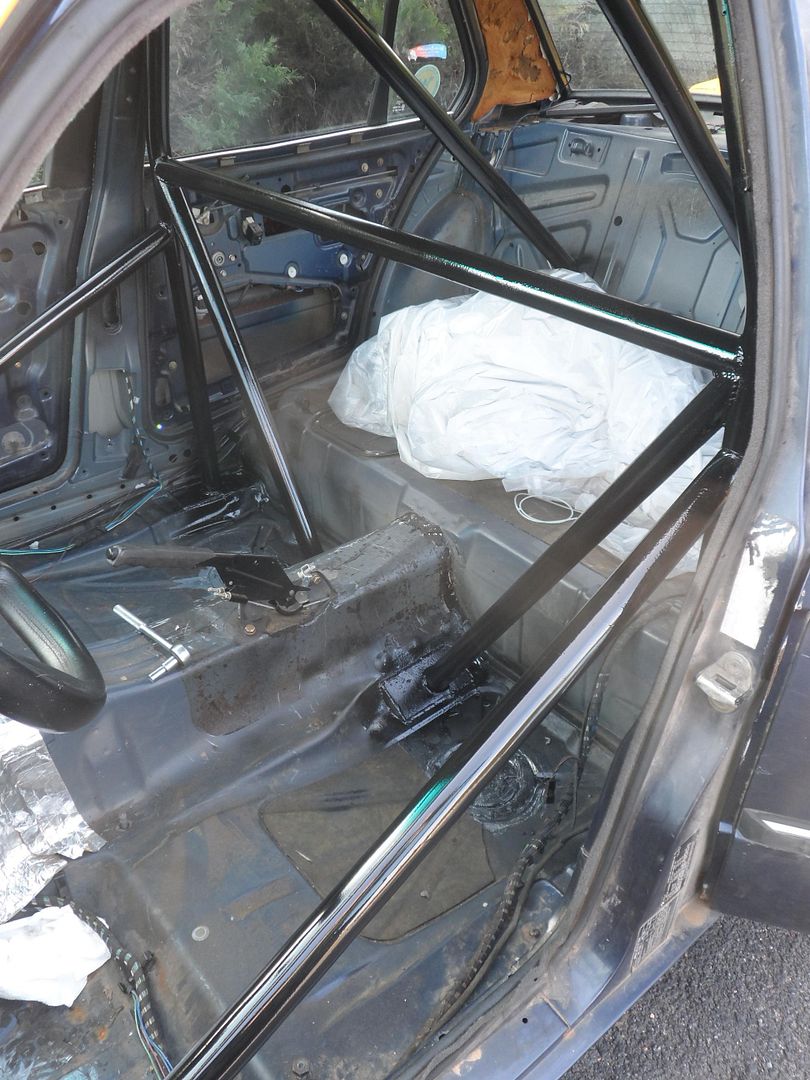
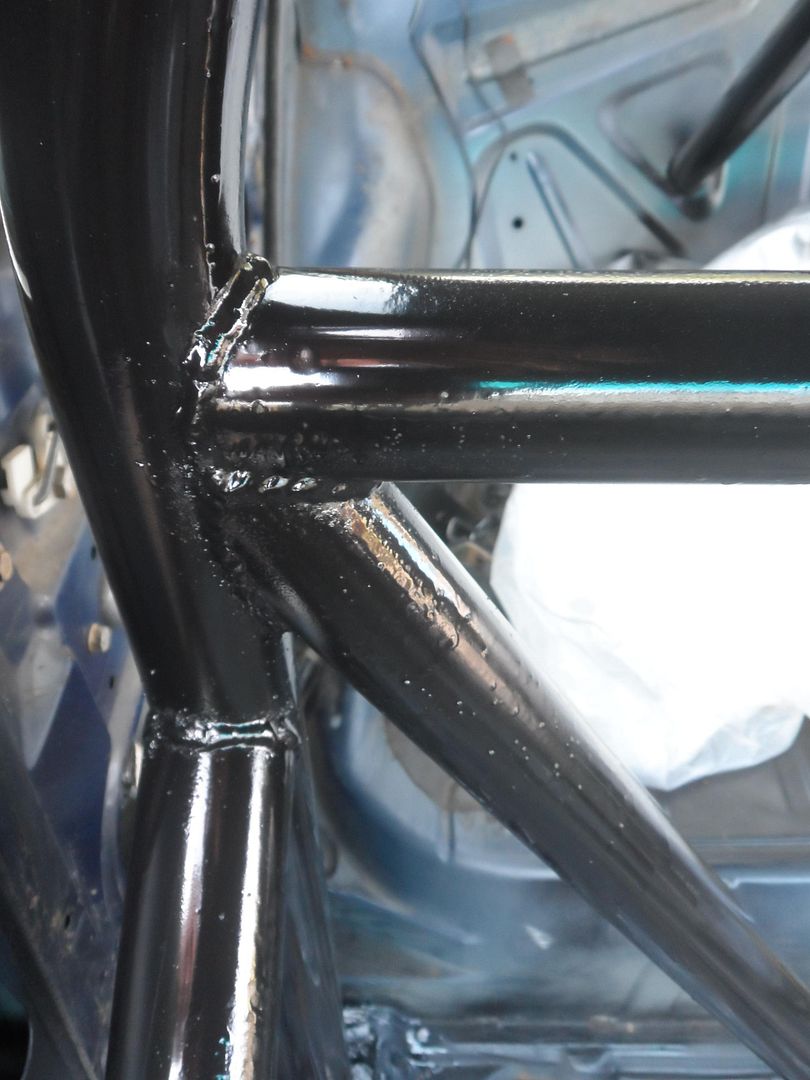
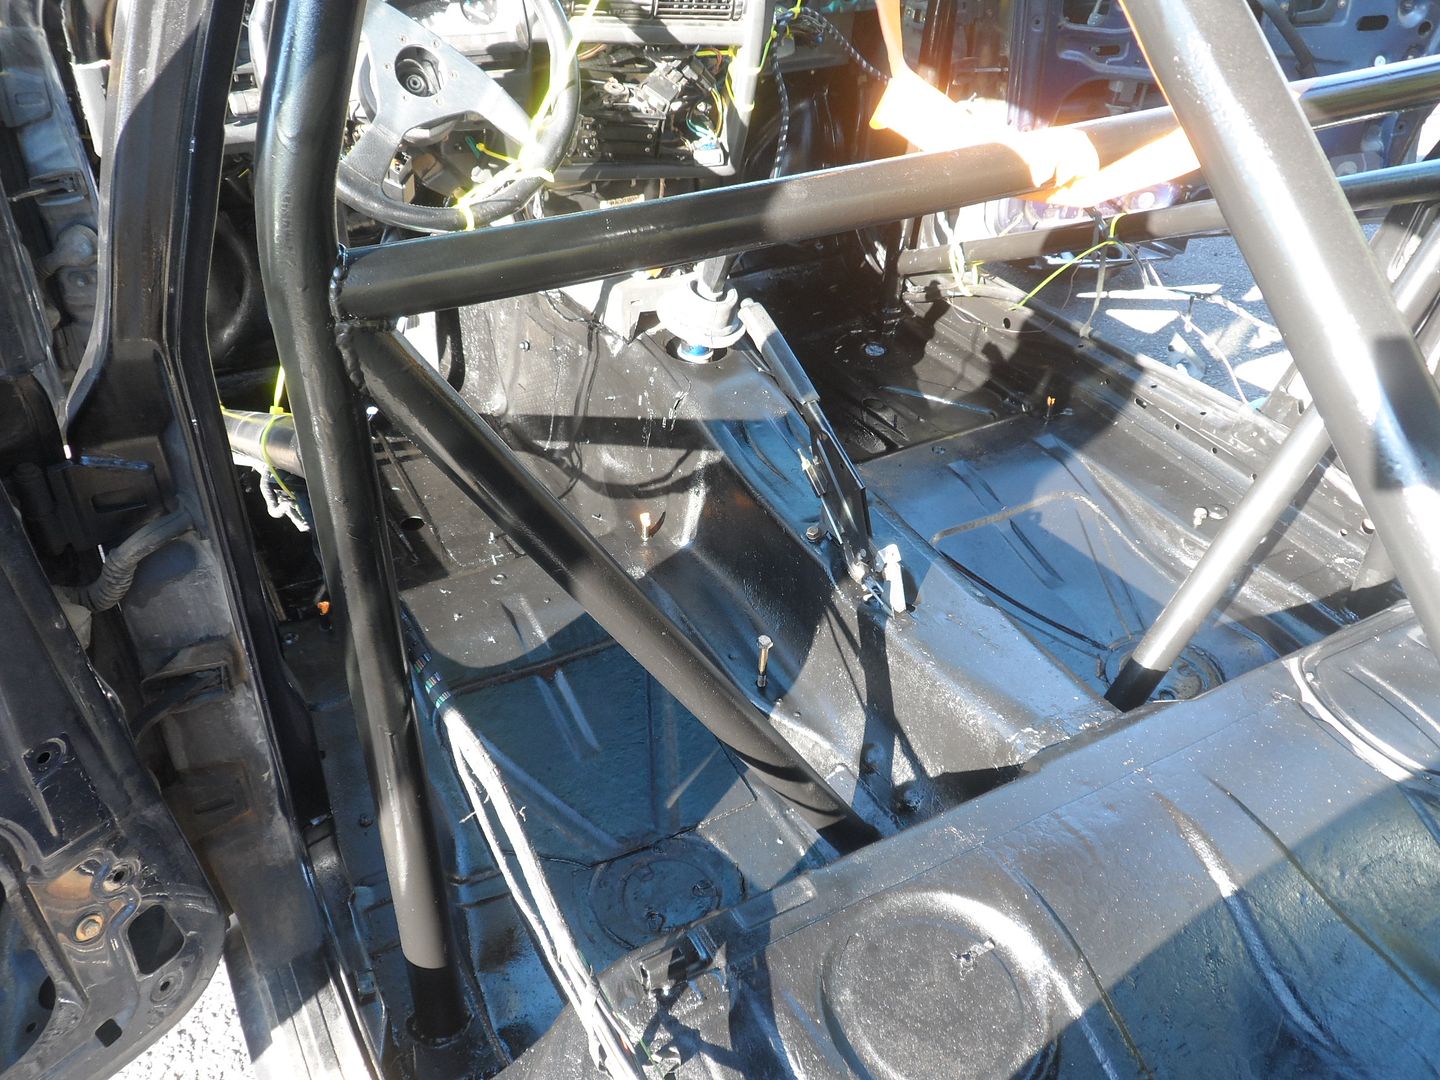
So right off the bat, I forgot to prep the cage by wiping it down before the test shot with the Rustoleum. It looks like you'd expect from painting a never-wiped cage. After some time I let it dry, wiped it down, and got in there with additional coats that look less bad, but my painting is bad...runny, drippy, uneven. Basically, I suck. But it is a race car so I am not terribly concerned.
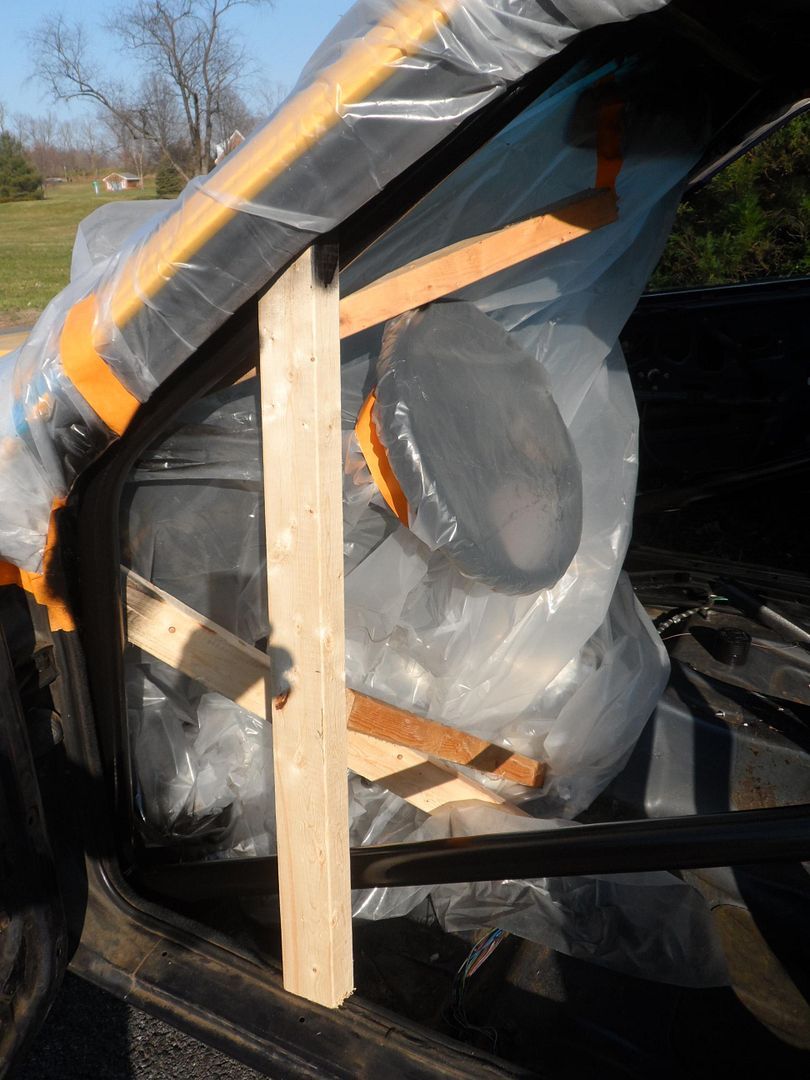
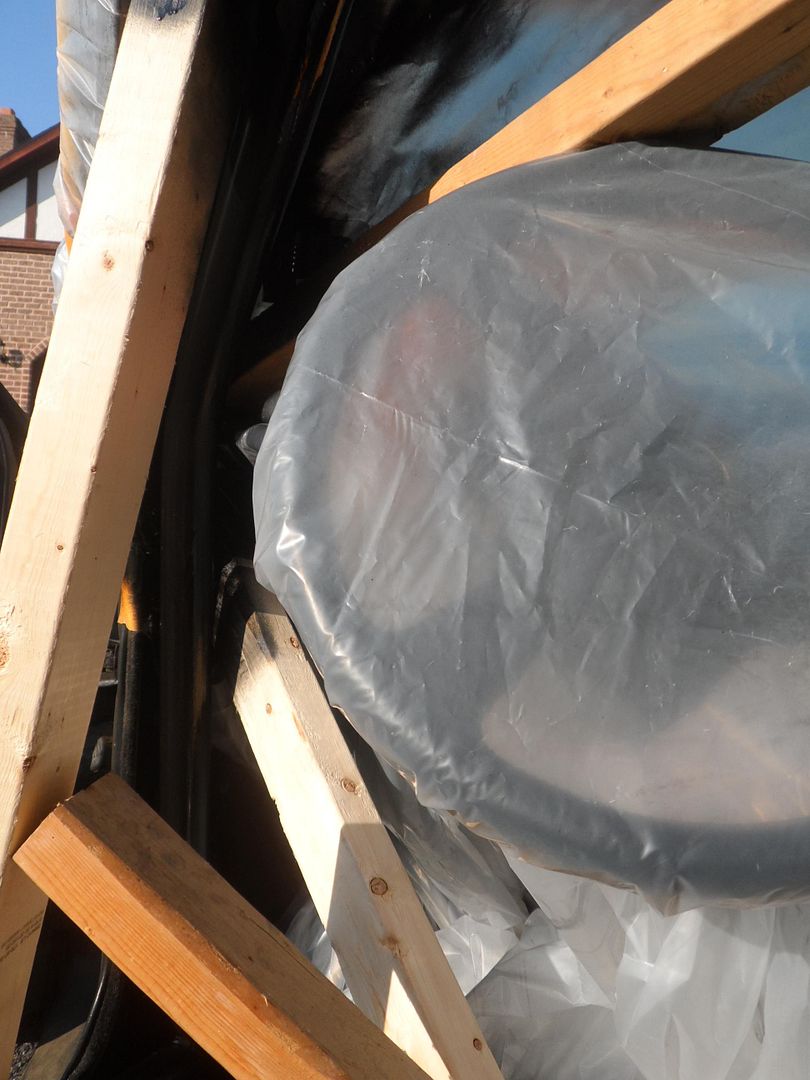
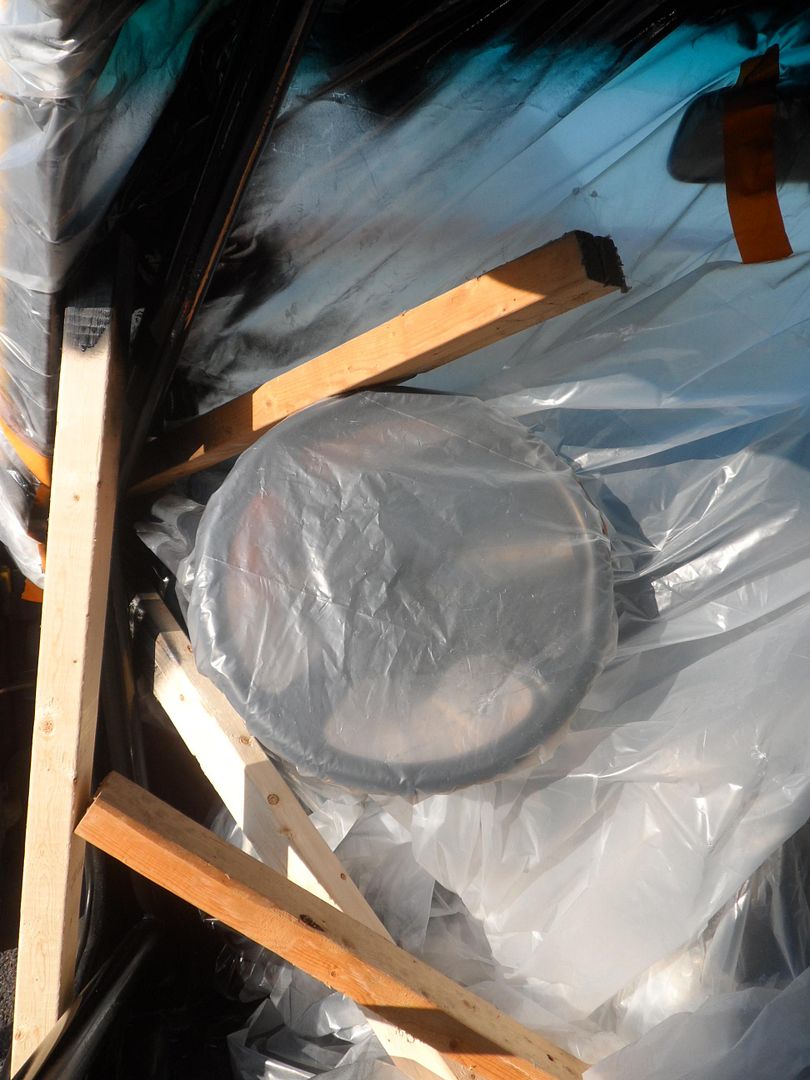
I had to use all kings of stuff to keep the masking plastic off of the cage, but I think that it worked. Painting a cage after install it a real PITA, particularly if you are trying NOT to paint the glass.
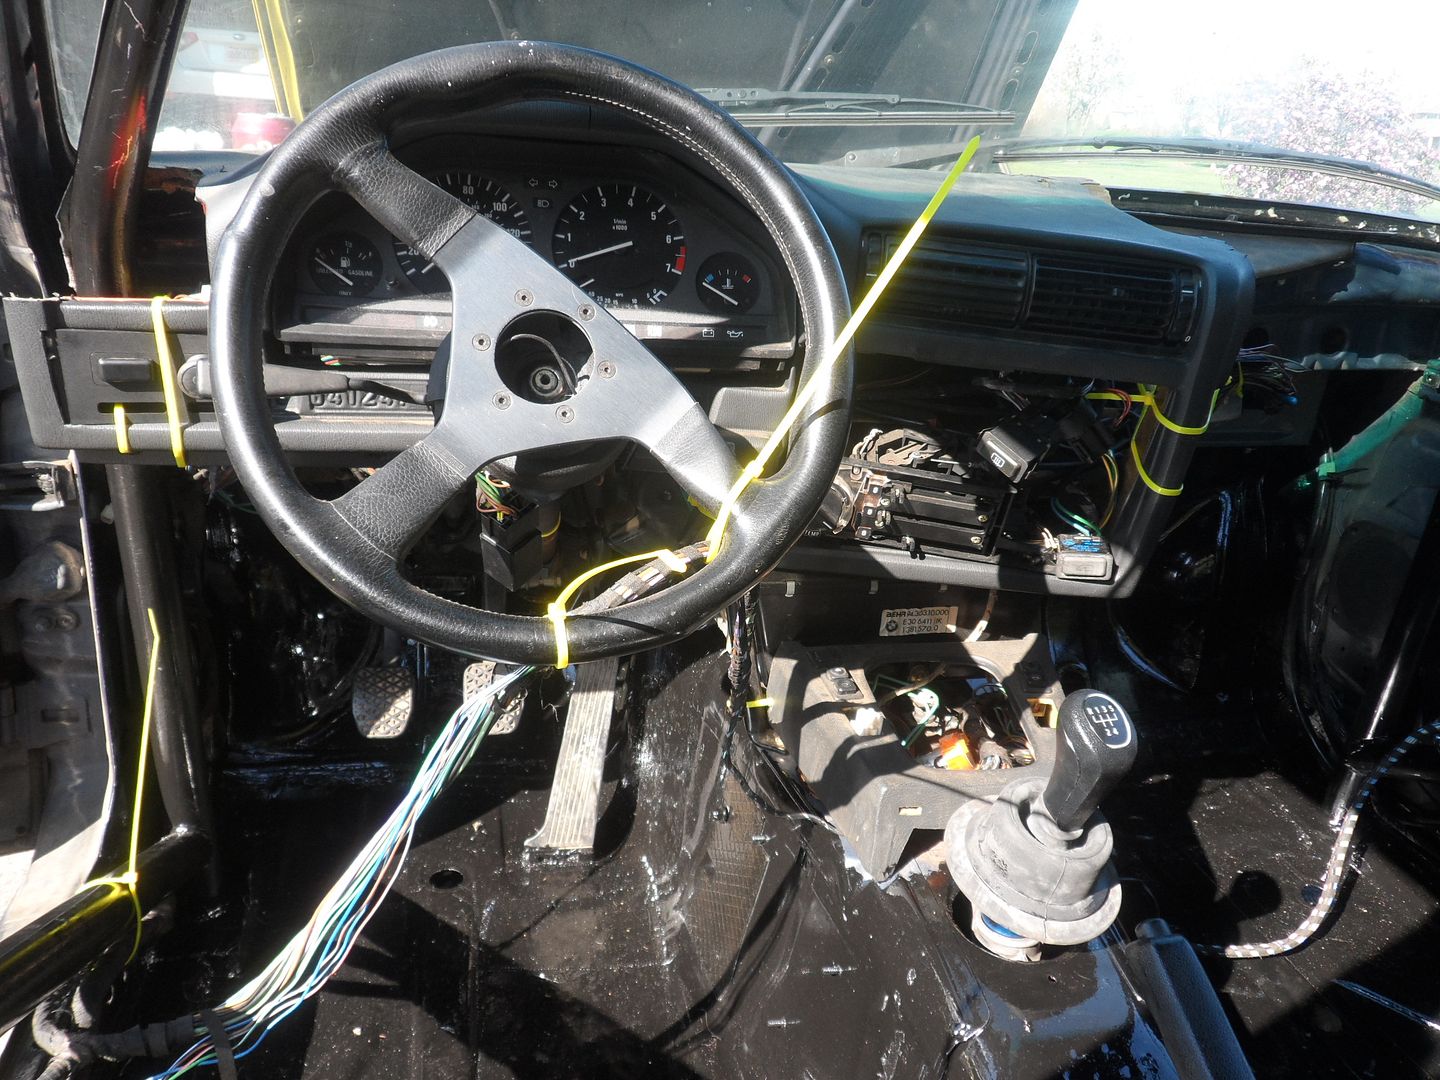
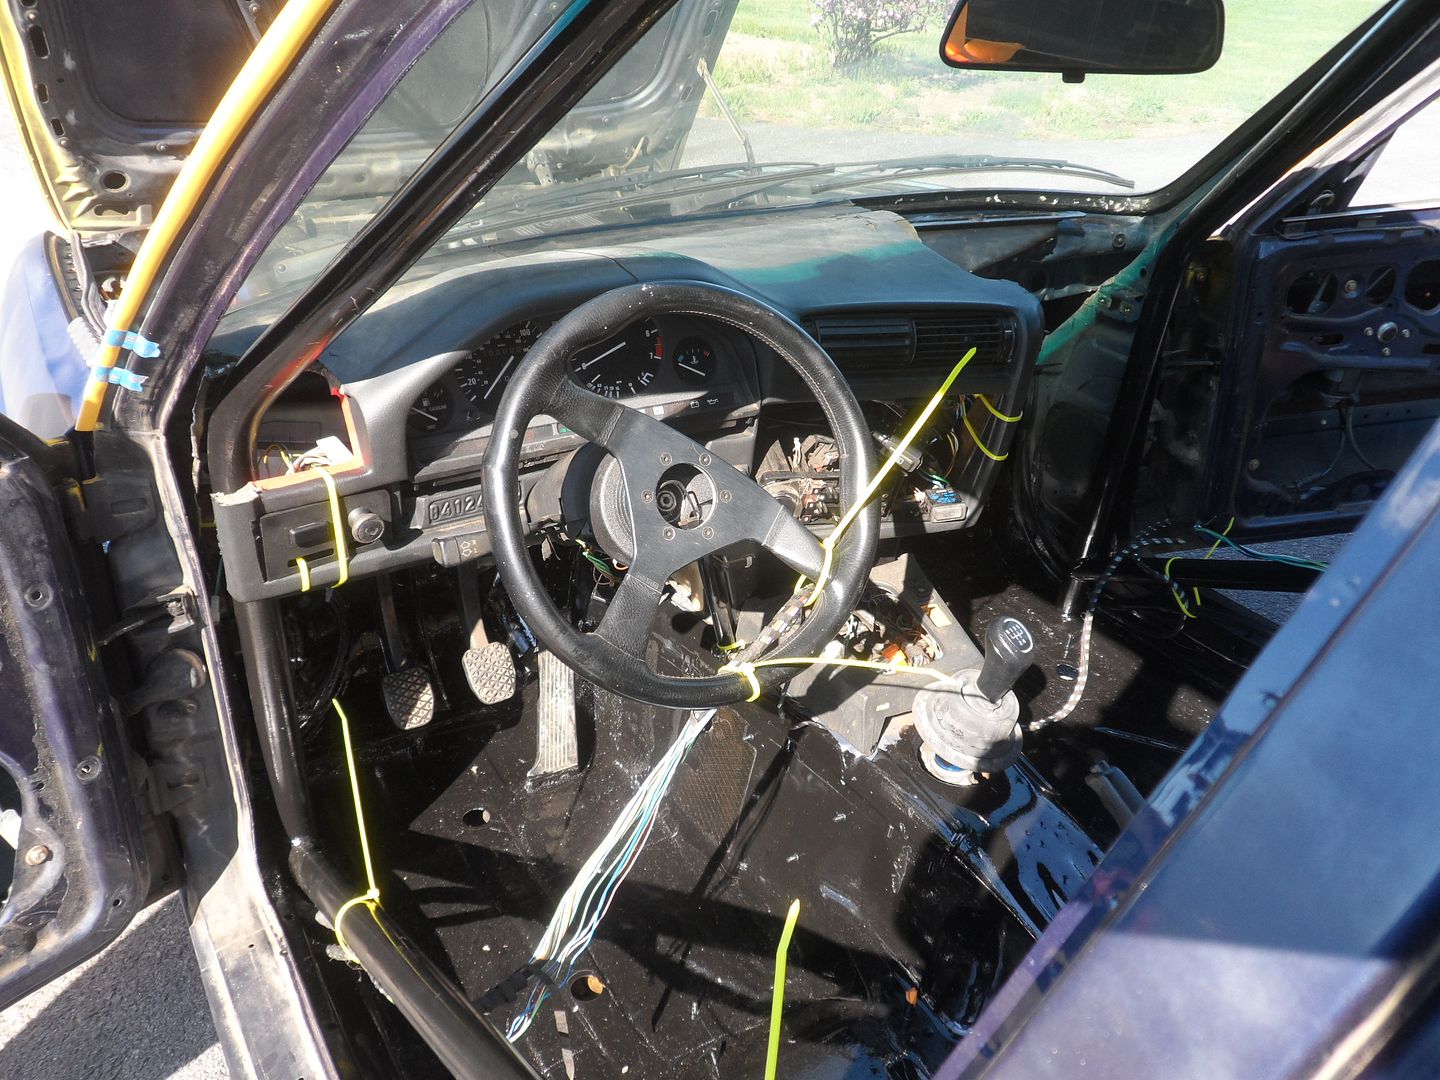
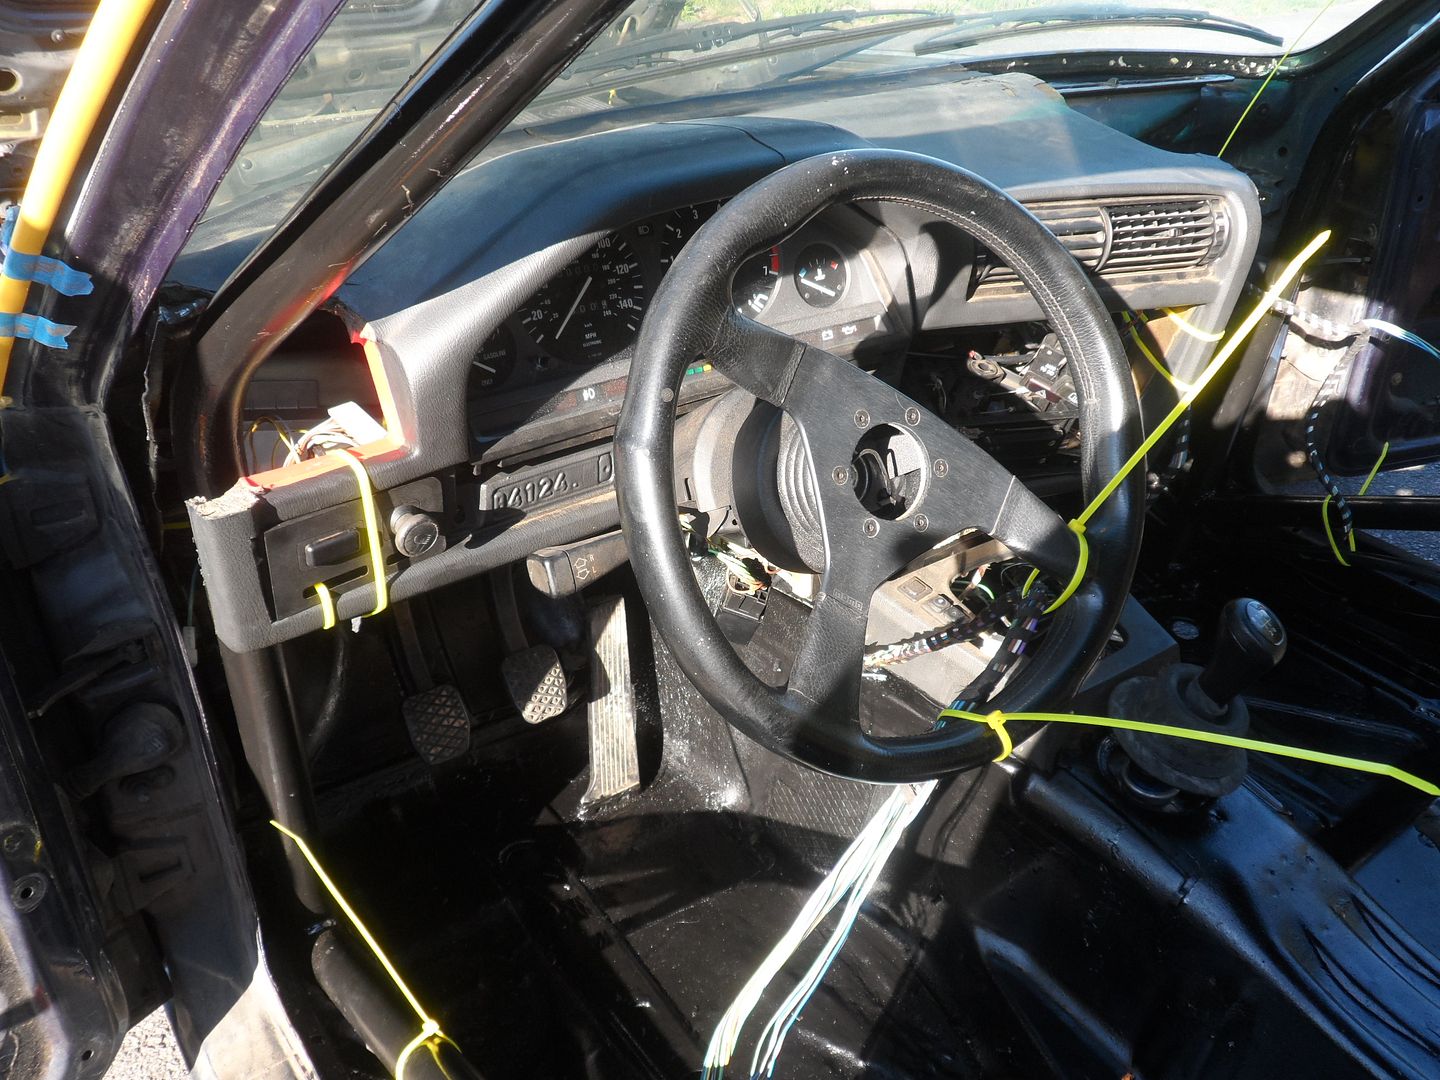
More cage pics:
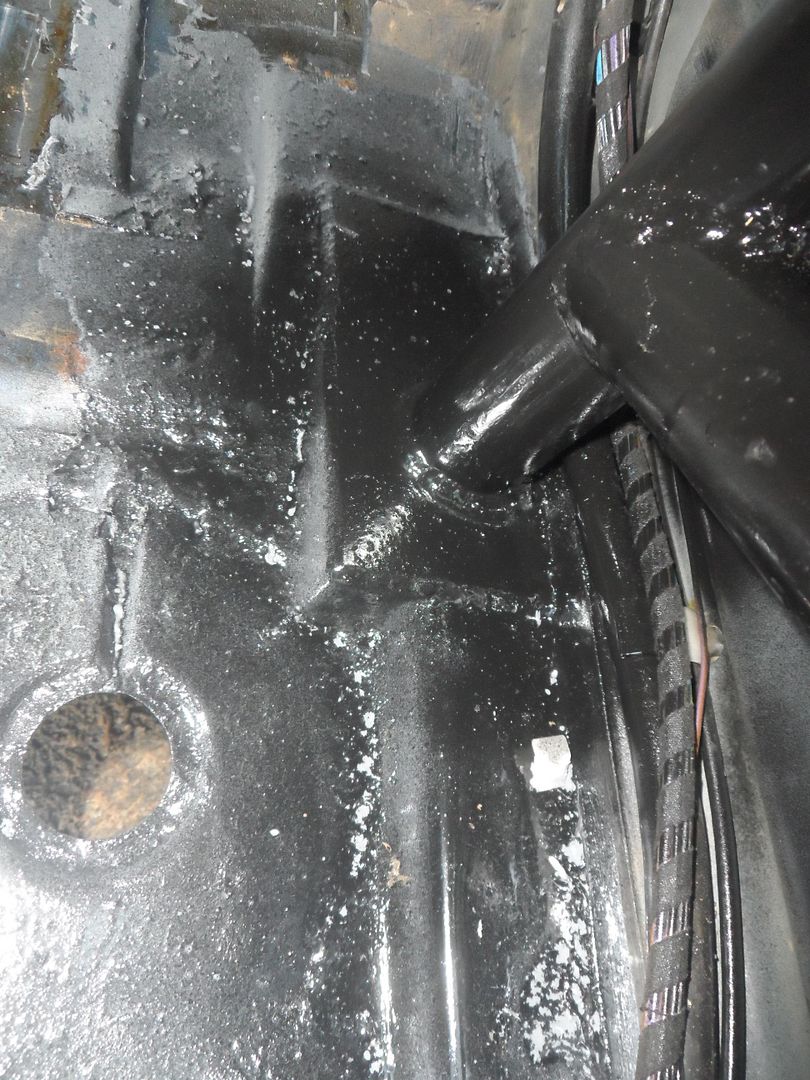
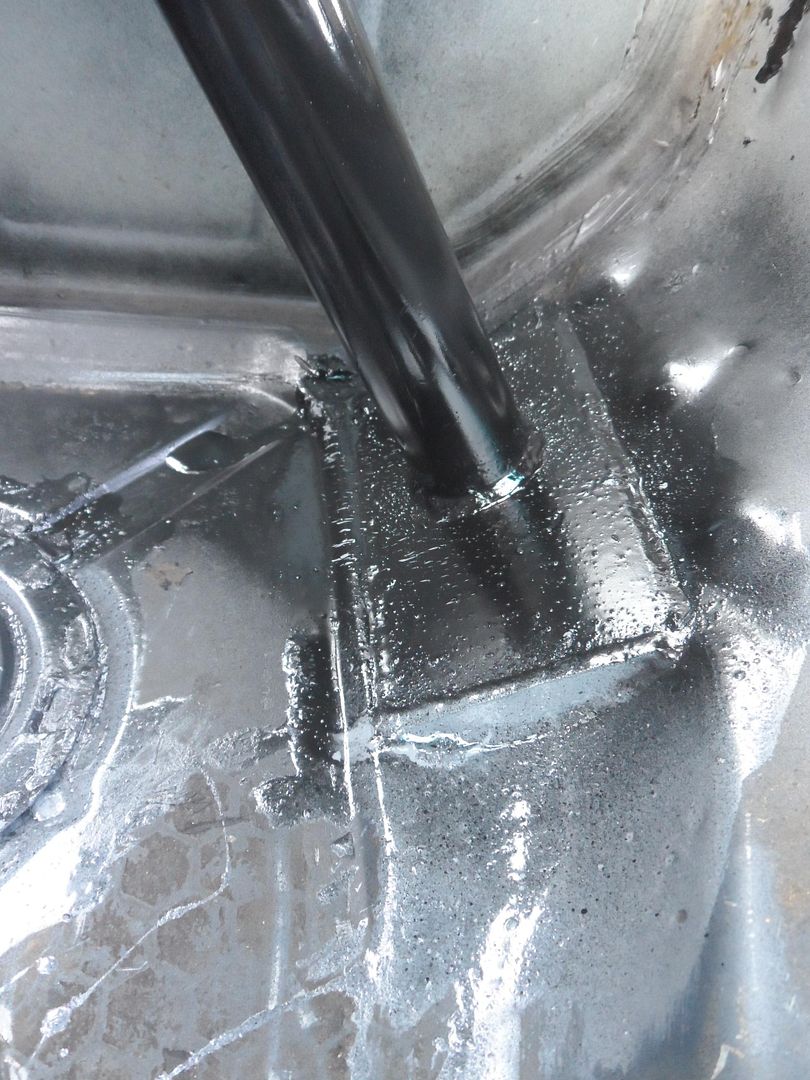
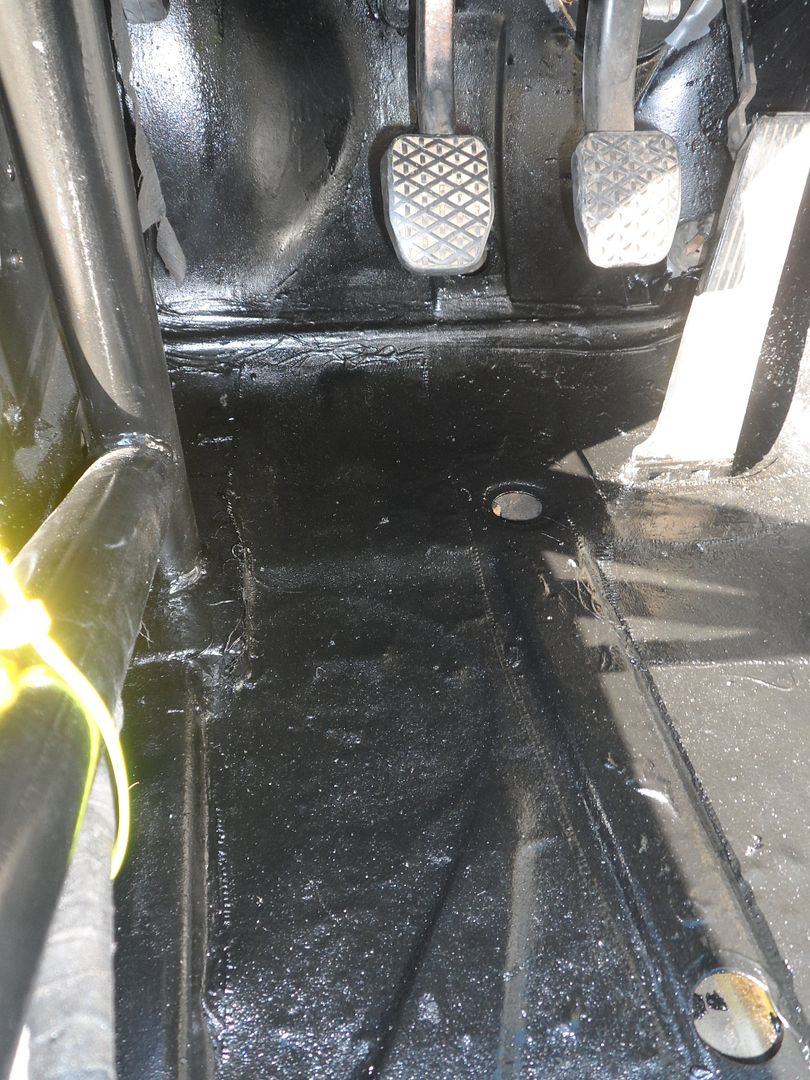
Floor w/ POR-15:
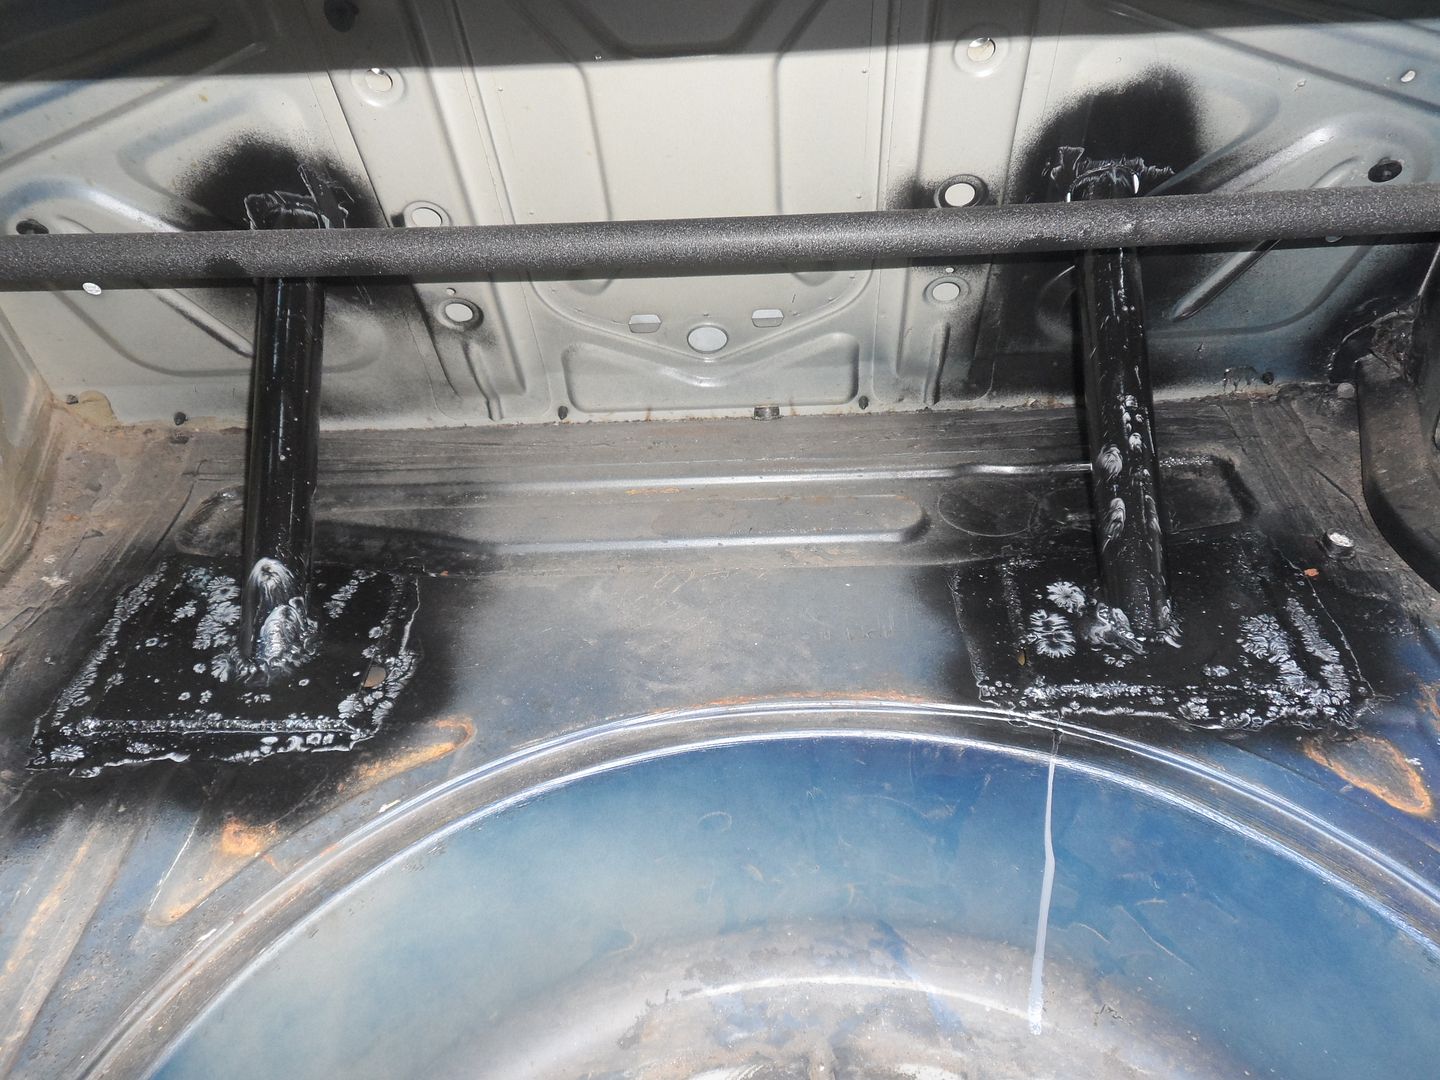
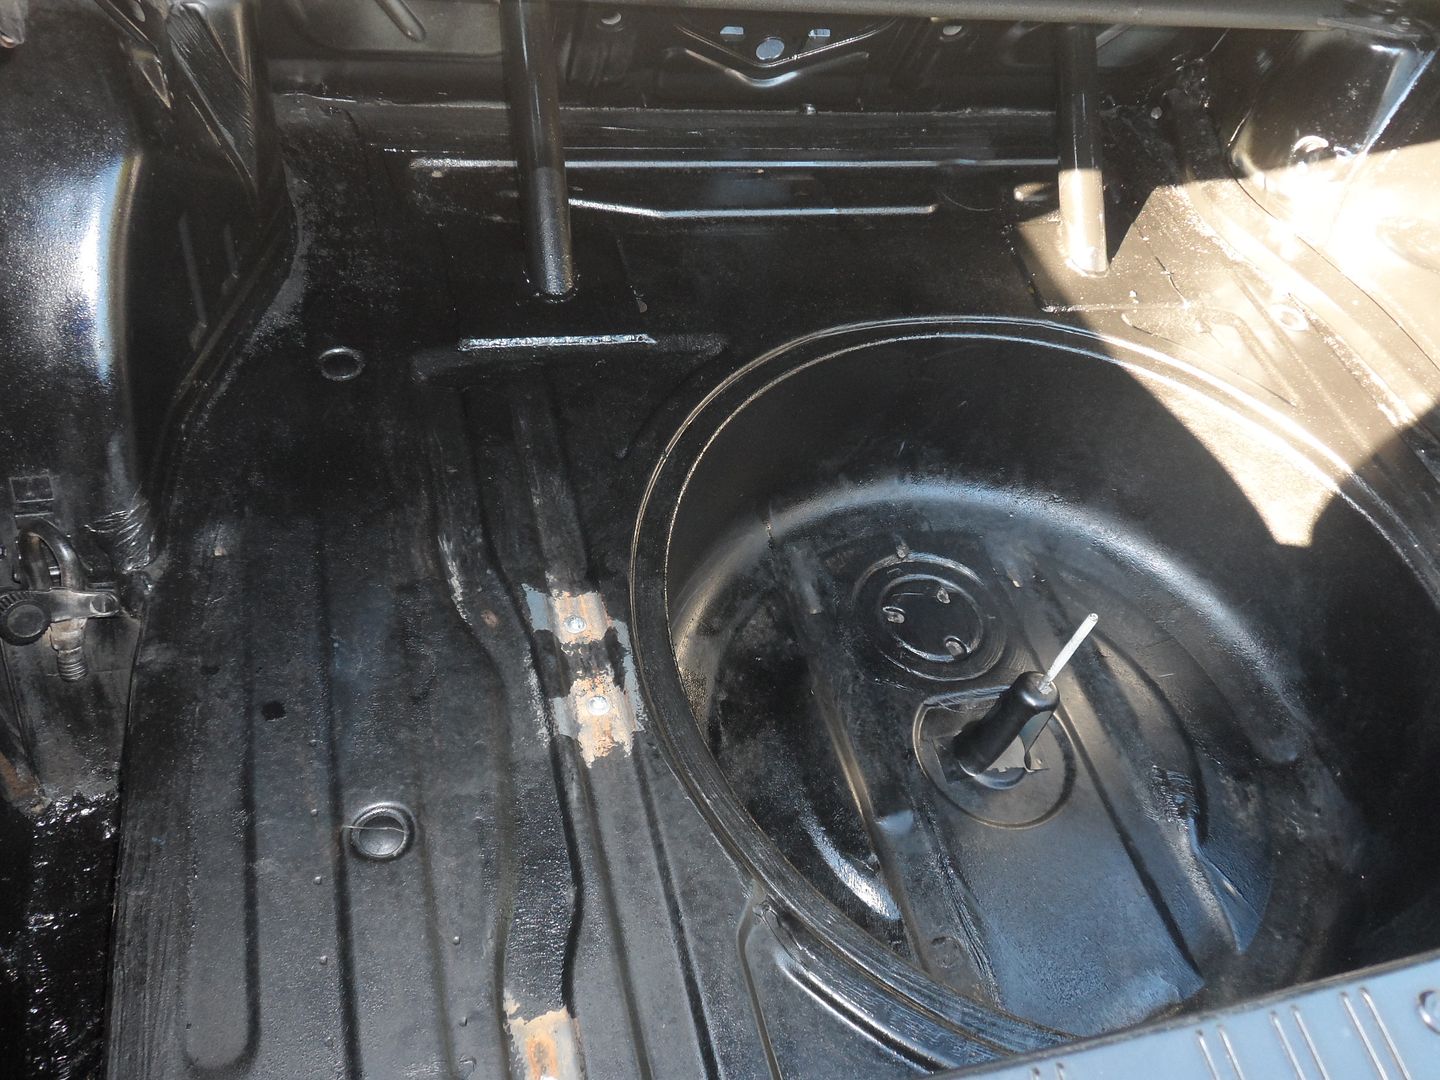
Trunk:
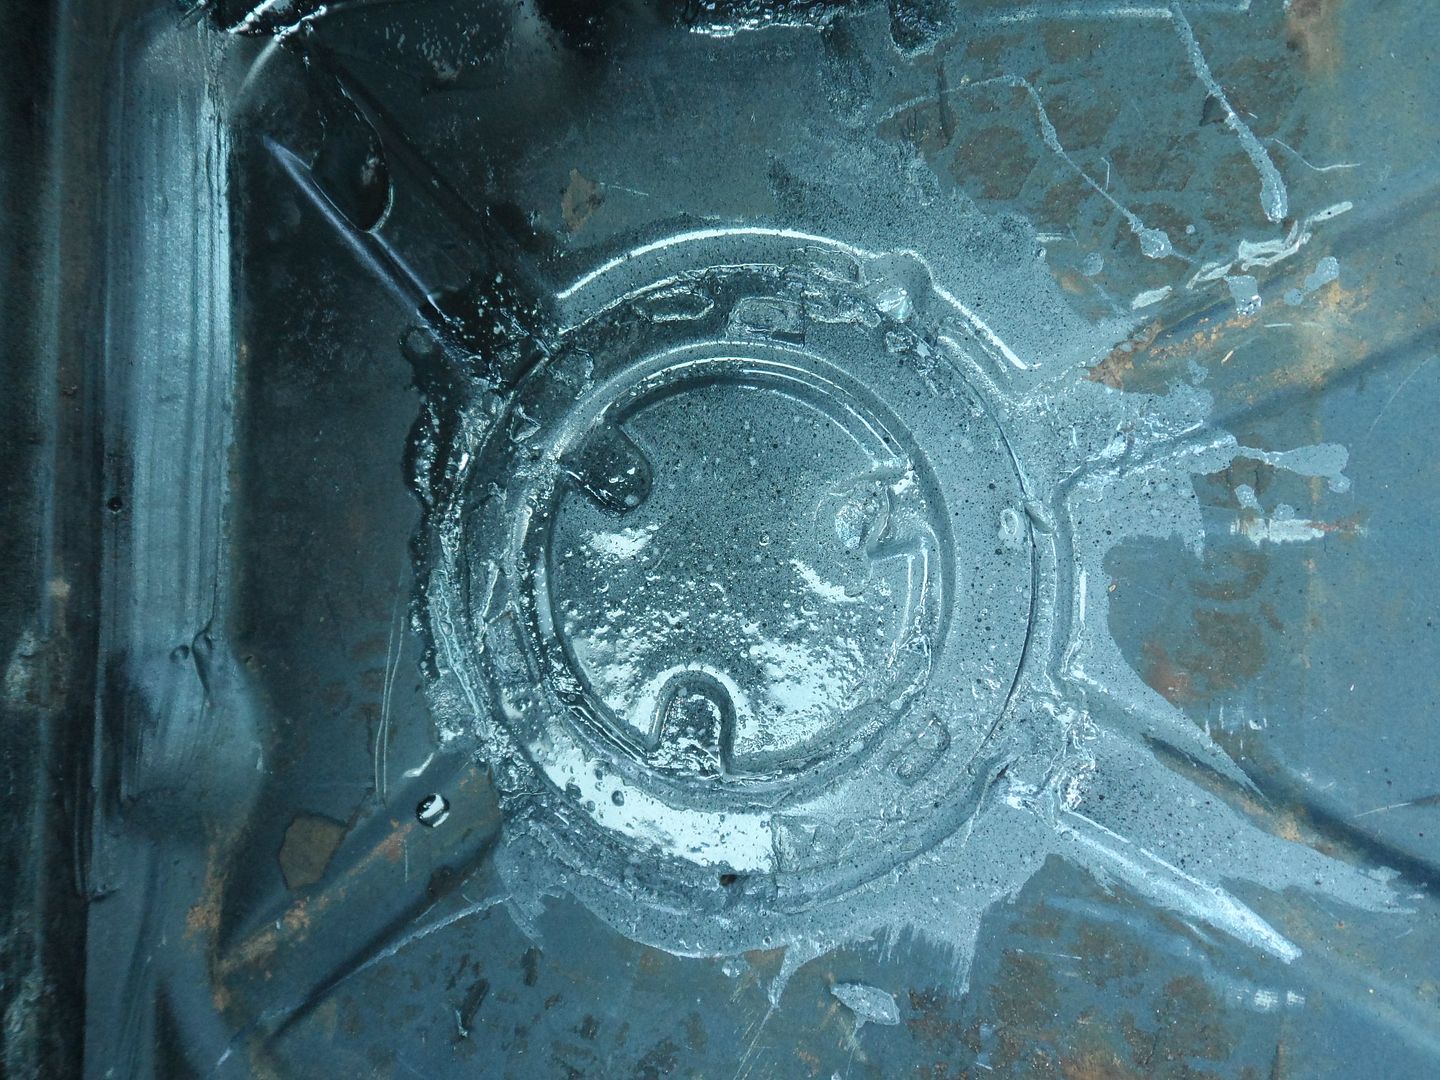
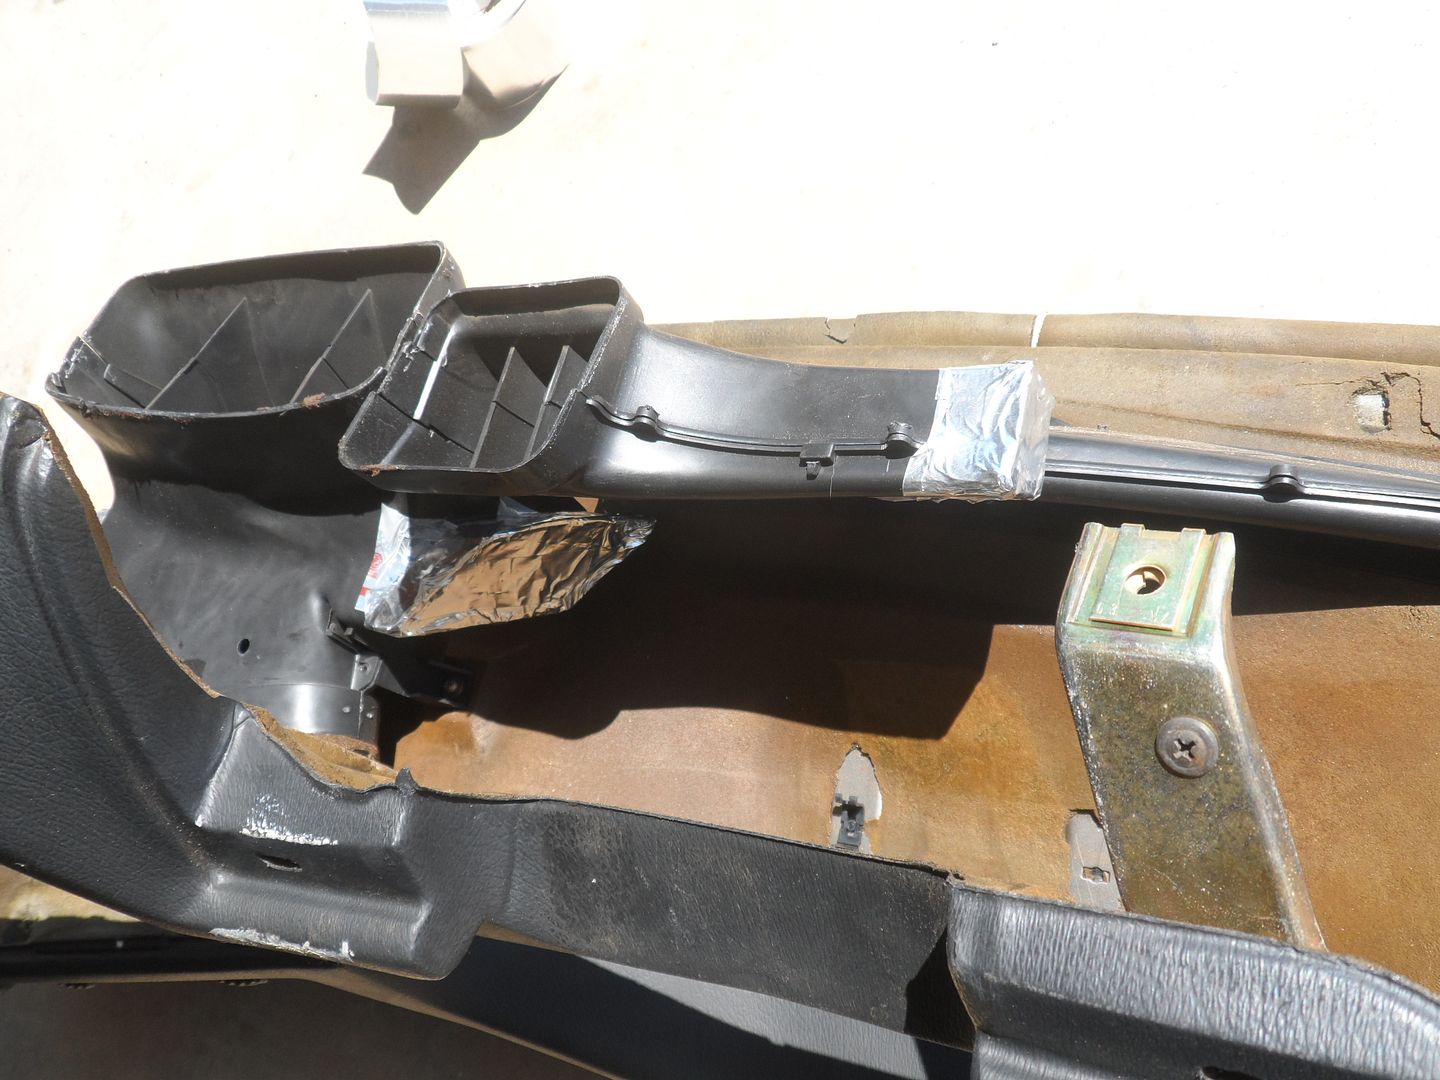
I also filled the rubber piece where the A/C lines go with silicone to prevent leakage. I get tired of water on the floor after every rain.

This weekend I got to work on painting the cage. I must be the WORST spray-bomb painter in the world. I can't paint for shit.
Before I started on the cage, I did apply some POR-15 to the rusted spots in the floor, around the base of the cage feet, and to some other problem areas. The POR-15 that I had was grey, a leftover pint that I bought when I was doing the floor in my Jeep. I had it and used it for initial spot-treatment.
I also ordered a full quarts of black POR-15 to use to roll the whole floor. After that is dry, I will be applying roll-on truck bedliner over the POR-15. For now, though, I used what I had and went ahead and painted the cage, which will not get full POR-15 treatment.
First off, I bought some Rustoleum Professional paint in gloss black. I was going to paint the cage yellow to match the car but I went with black out of convenience and because if I change the exterior some day, the cage can stay the same.
So right off the bat, I forgot to prep the cage by wiping it down before the test shot with the Rustoleum. It looks like you'd expect from painting a never-wiped cage. After some time I let it dry, wiped it down, and got in there with additional coats that look less bad, but my painting is bad...runny, drippy, uneven. Basically, I suck. But it is a race car so I am not terribly concerned.
I had to use all kings of stuff to keep the masking plastic off of the cage, but I think that it worked. Painting a cage after install it a real PITA, particularly if you are trying NOT to paint the glass.
More cage pics:
Floor w/ POR-15:
Trunk:
I also filled the rubber piece where the A/C lines go with silicone to prevent leakage. I get tired of water on the floor after every rain.


Comment