Announcement

Collapse
No announcement yet.

Ksjdan's 1990 325is Thread - S52 Swap Complete

Collapse
X
 
  • Filter
  • Time
  • Show
Clear All
new posts

  • ksjdan
    replied
    Originally posted by MattAvino View Post
    Ive always wanted to rewrap my MT1 wheel....TEACH ME!
    It was a lot of work. And it helps if you have a good sewing machine. :up:


    November 2 2012

    So I started a new project today. To give you guys a little update, car is about 60-70% done mechanically. Still needs new suspension parts, some diff work, intake gaskets, new starter and I need to bleed the brakes some time. Minus the suspension, all small projects.
    But today I decided to tackled cosmetics. More specifically, the worn out bumper trims. I thought about just purchasing a set of Euro Trims and calling it day, but I was shocked to see how expensive they were. $50 per piece!
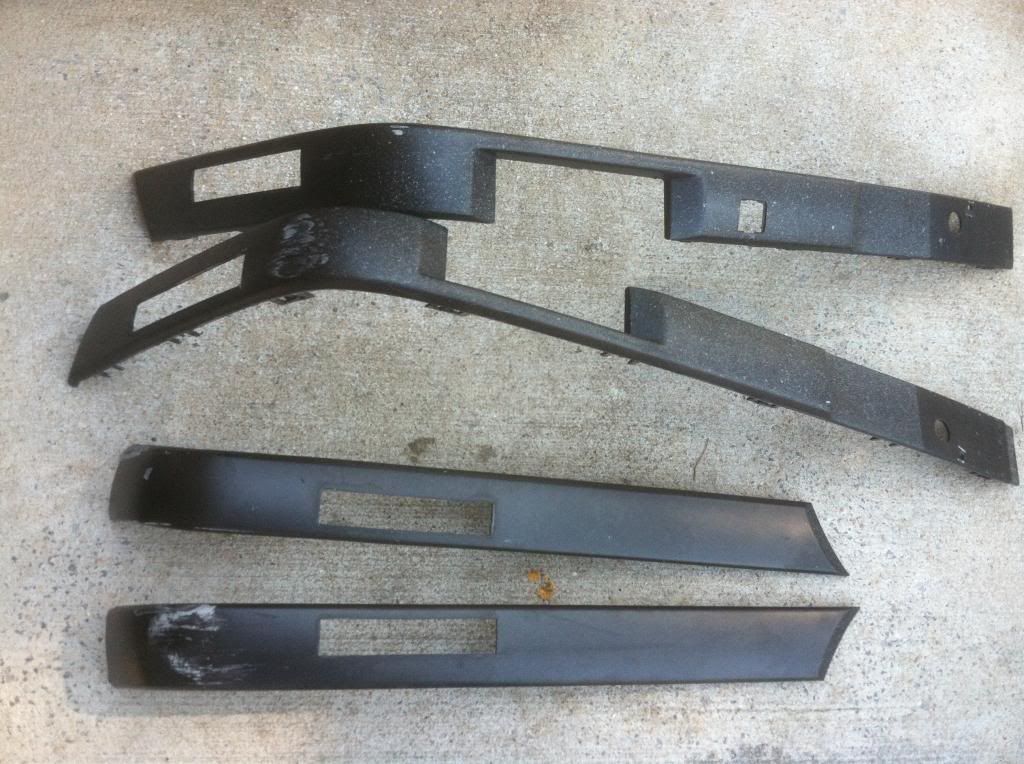
    So I decided to just fill in the holes and shave the side reflectors off.

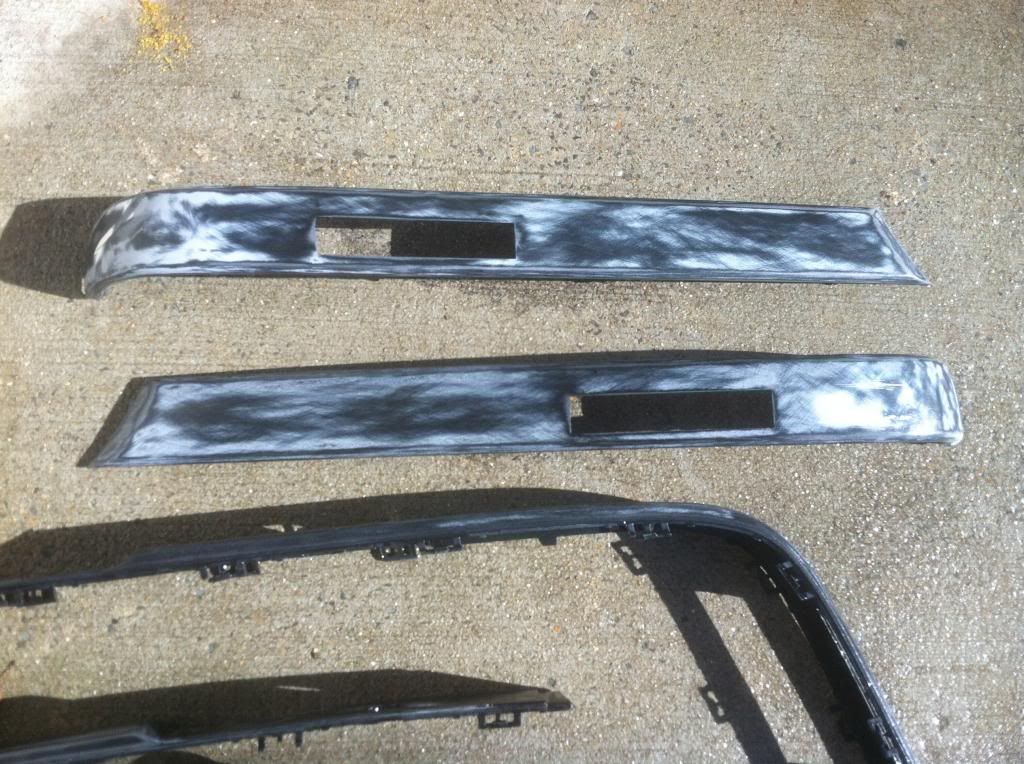
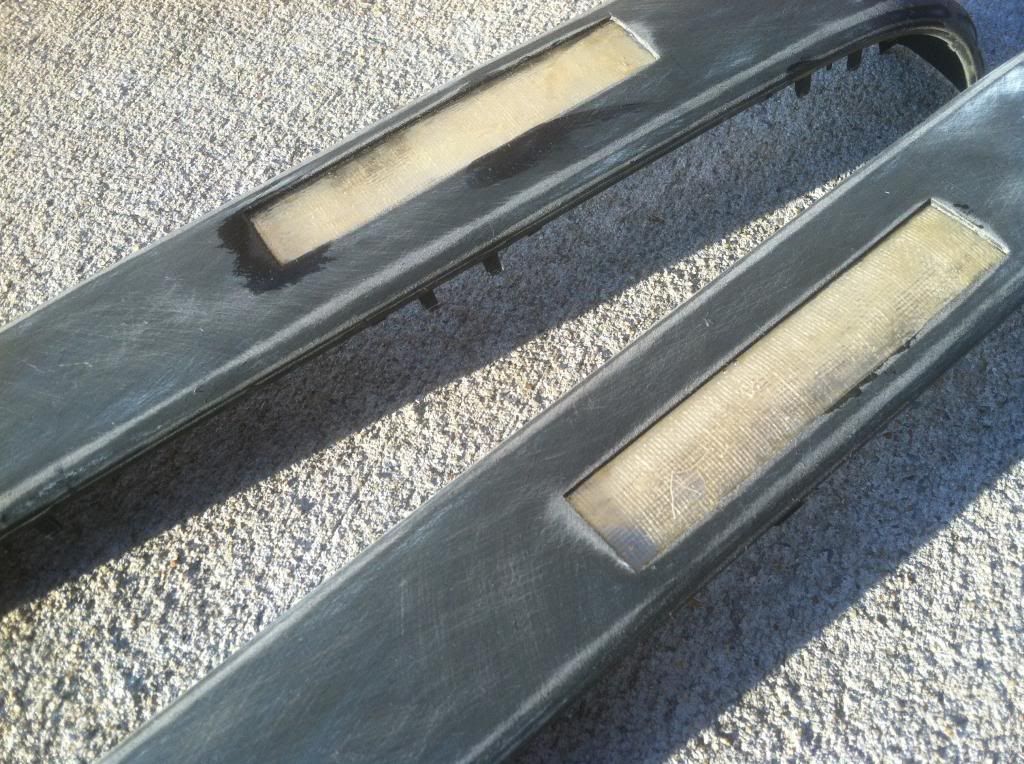
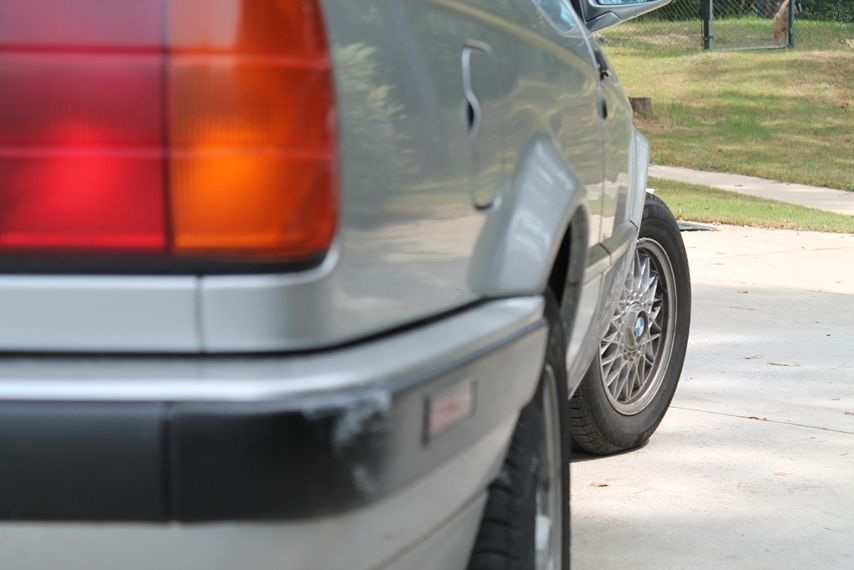
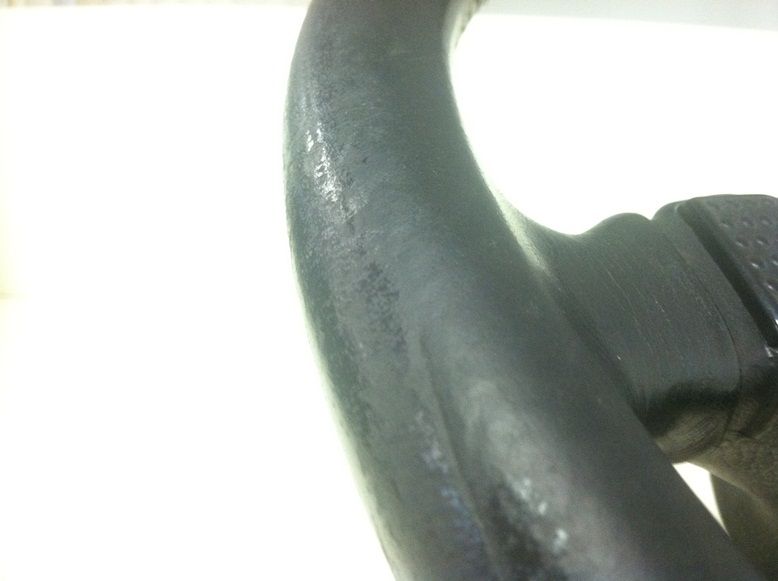
    Here's what they look like pre-repair


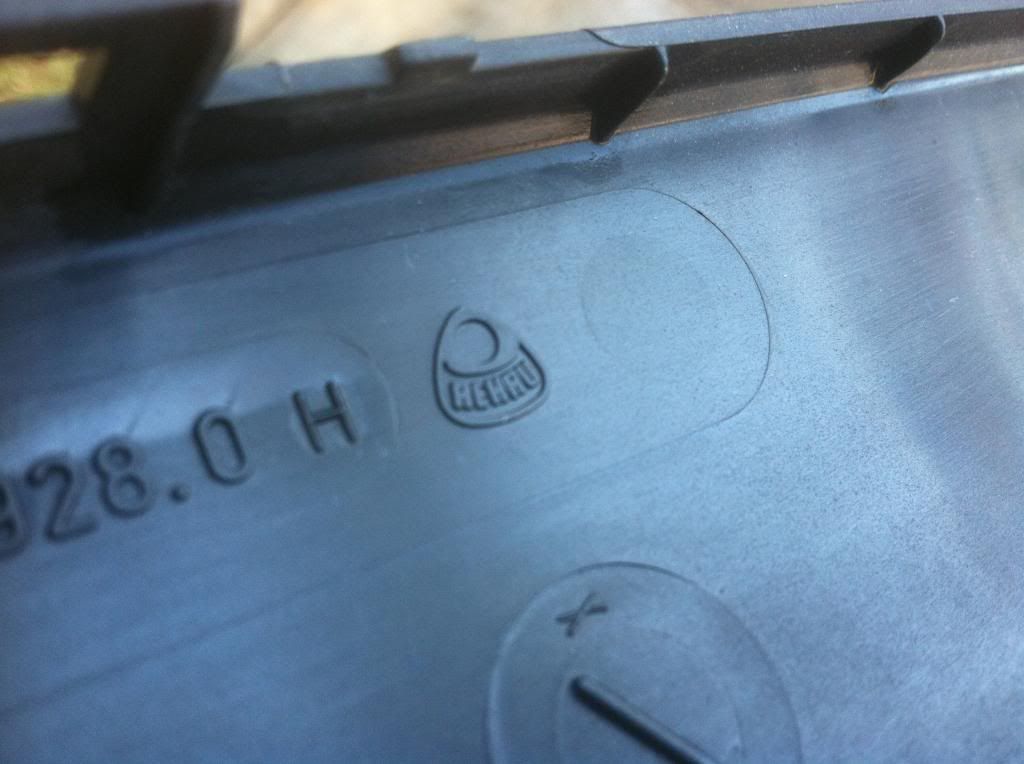
    I never knew the trims were manufactured by Rehau. I used to live about an hour away from current location, and there is a Rehau US plant in the old city. Nice.


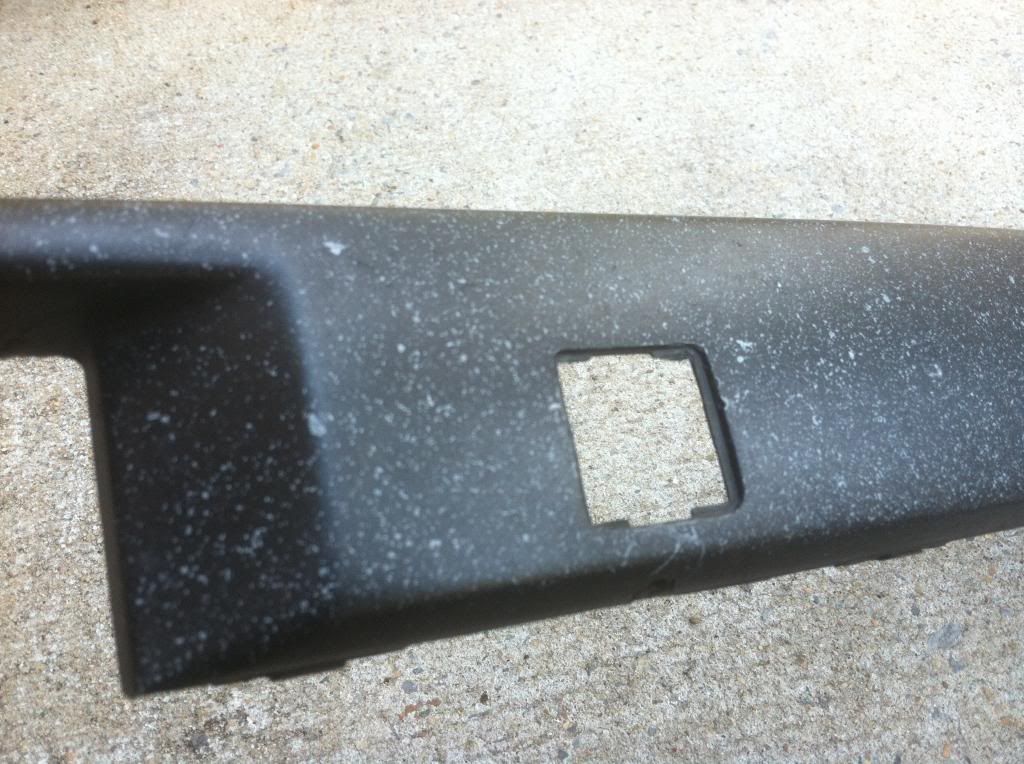
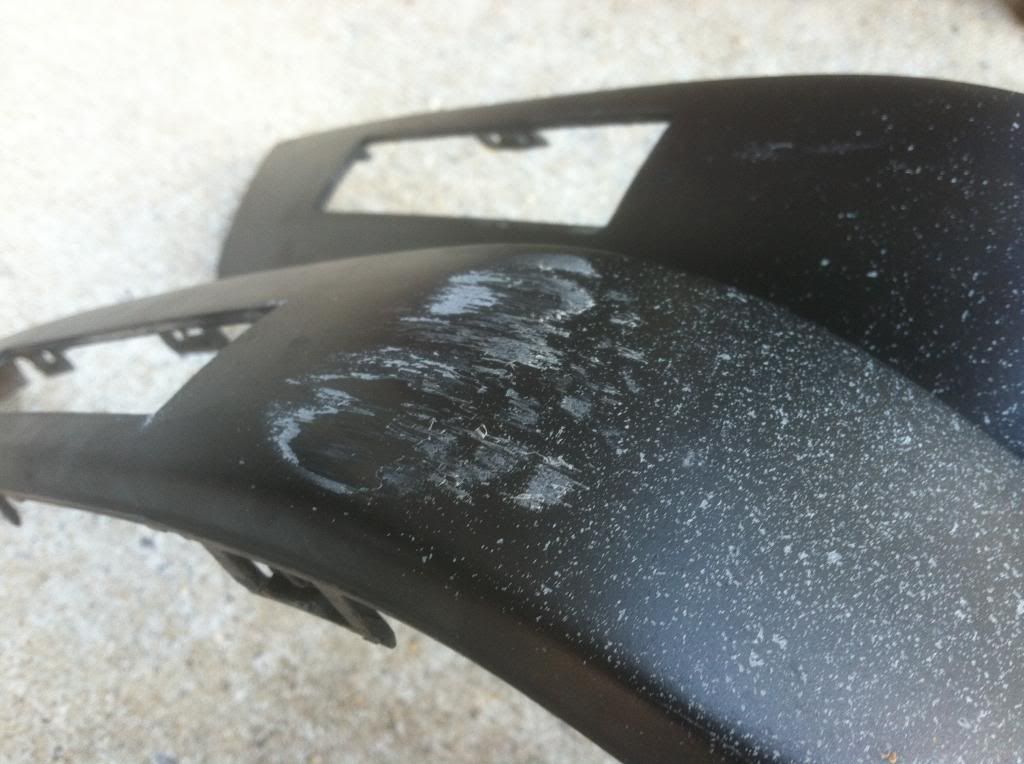
    Anyways, trims sanded down to primer. ....wait what? primer? Yup looks like PO had these trims painted before. Must've been a while ago because these trims look pretty rough.


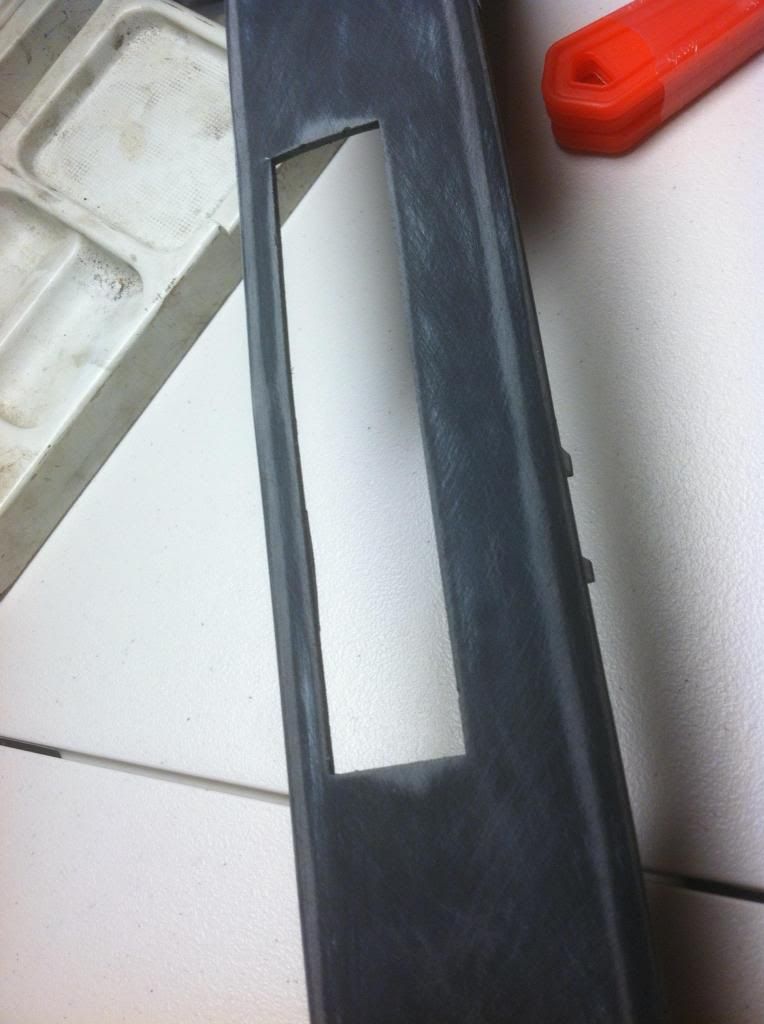
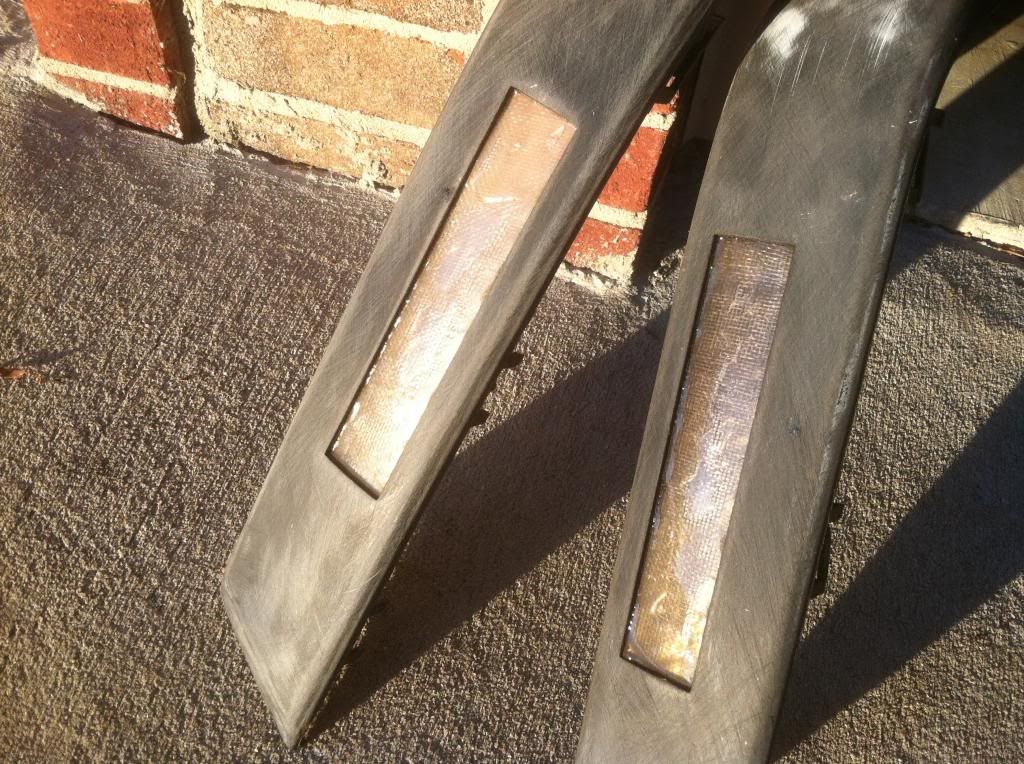
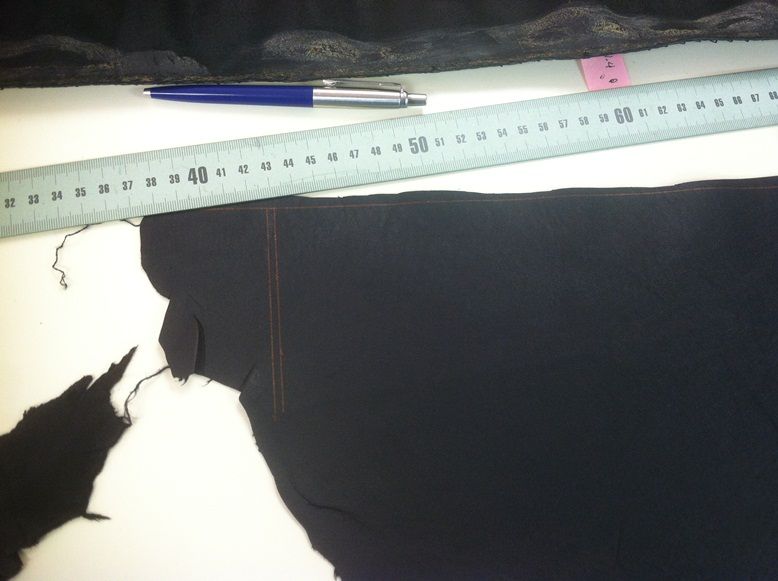
    Close up of the reflector hole


    Fiberglass trimmed to fitting size


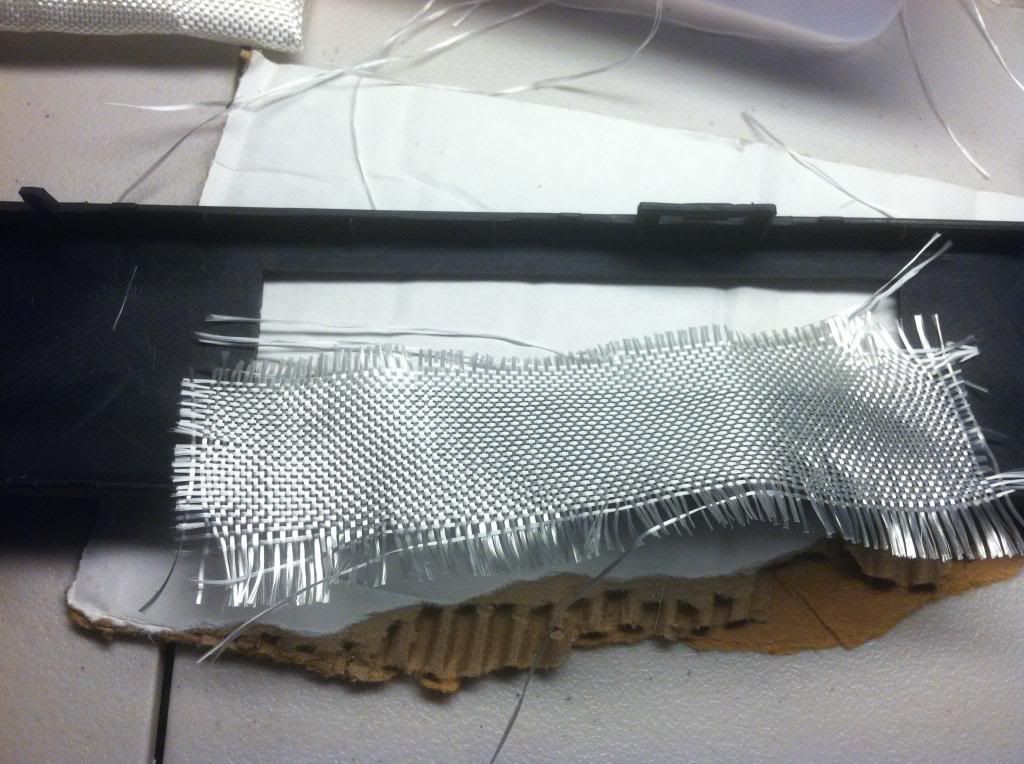
    For the patch, I purchased 3M fiberglass repair kit from a local parts store. I like the kit, but only downside is that the resin is polyester, so it smells bad.
    I wouldn't use this kit for any interior work.
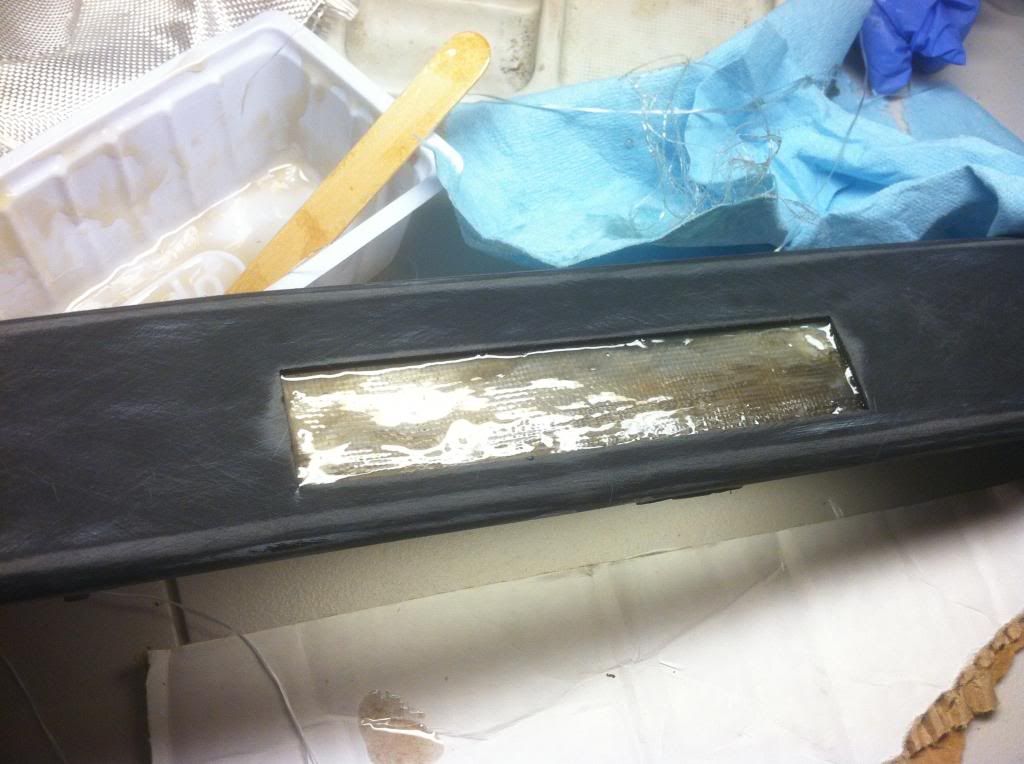
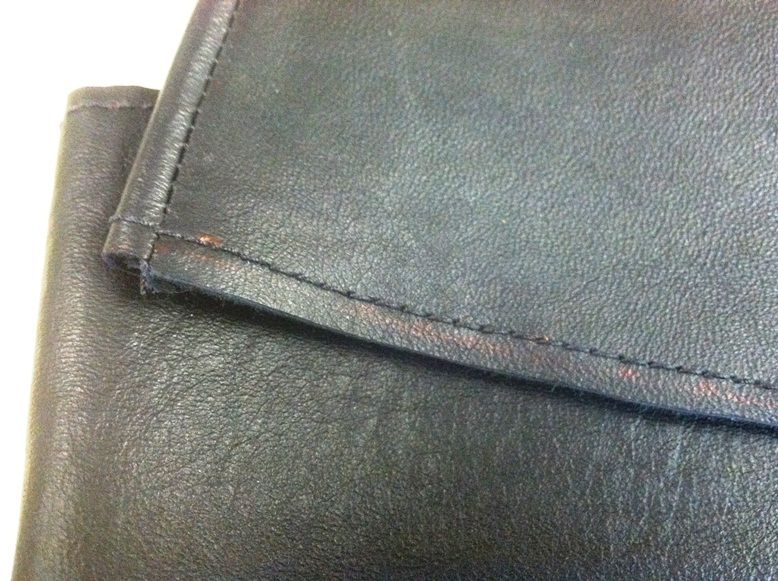
    Resin applied


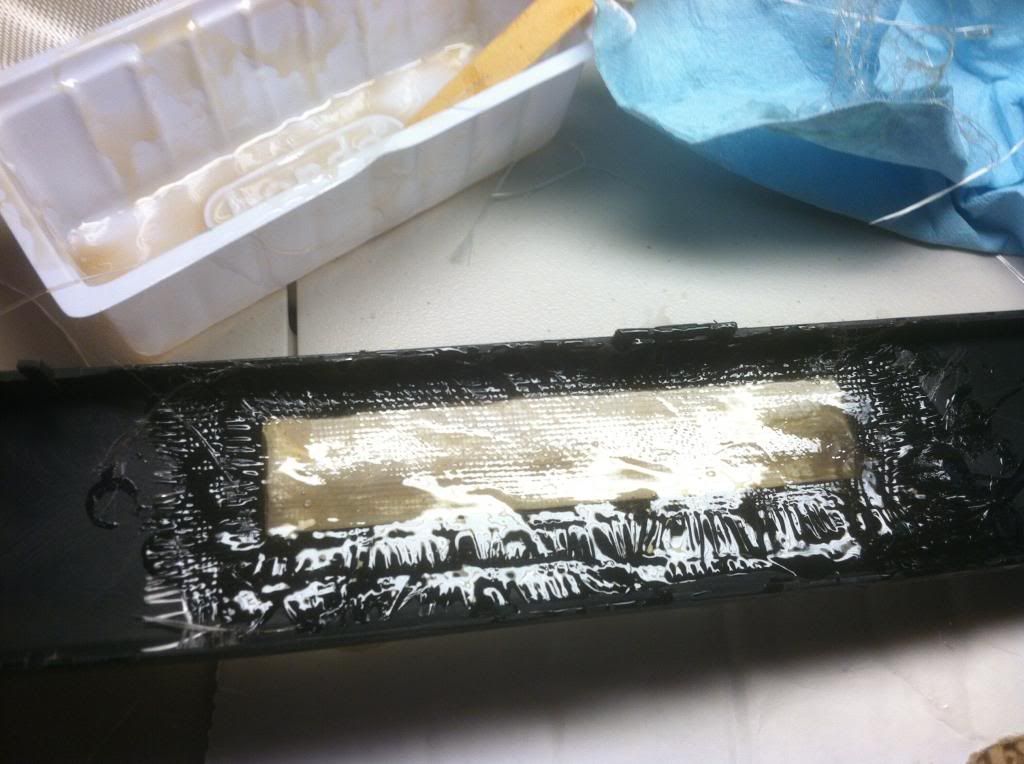
    Looks just like the reflectors!


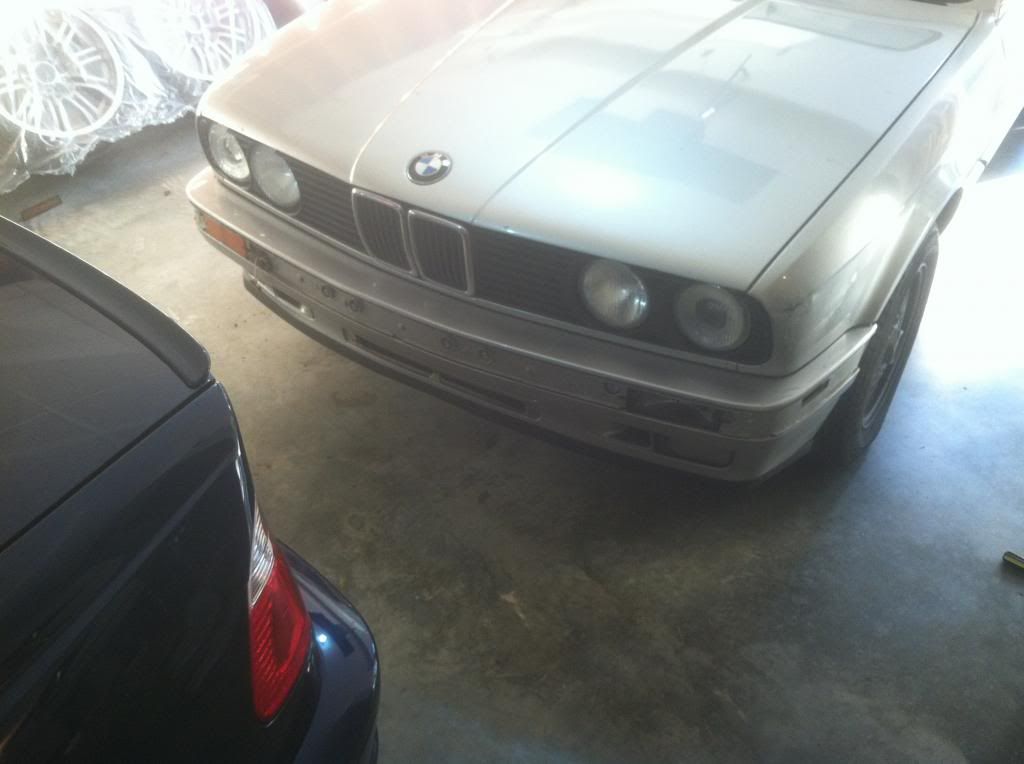
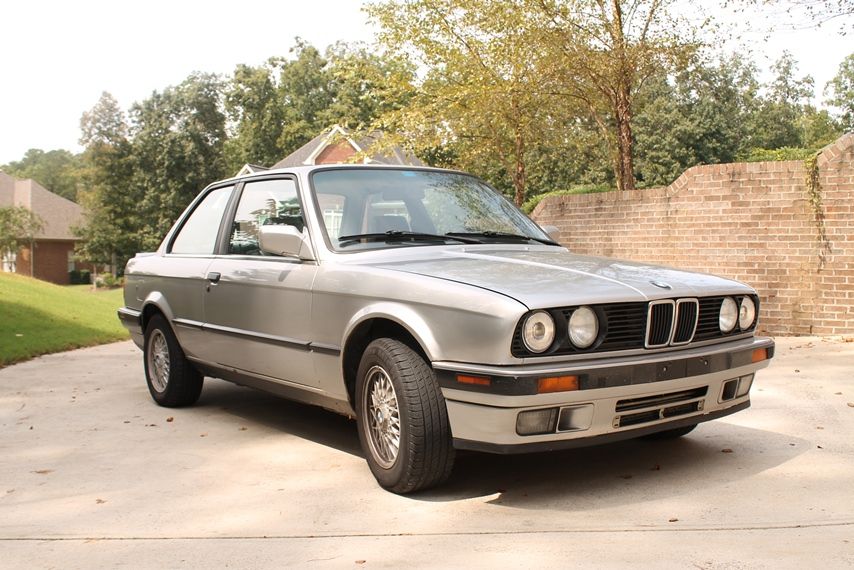
    E30 actually doesn't look too bad without the trims. Kind of has that M-tech bumper look to it.


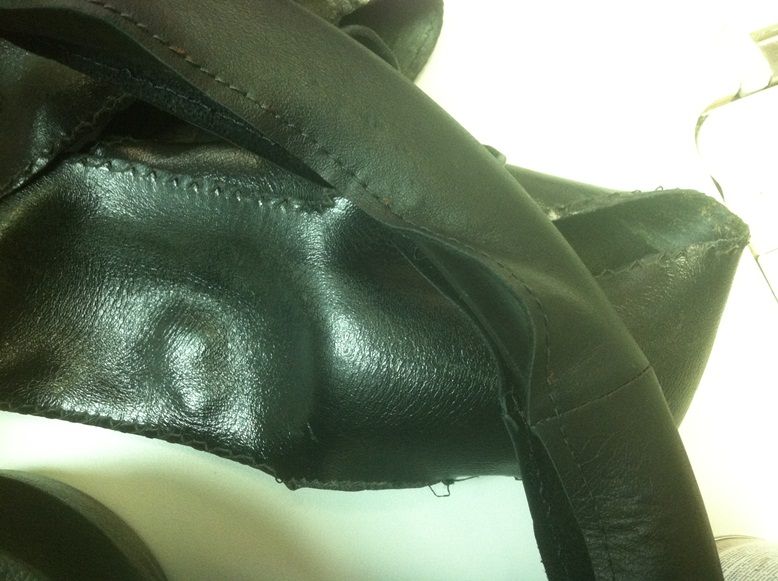
    Finished with fiberglass and done for today. Continuing with bondo tomorrow!


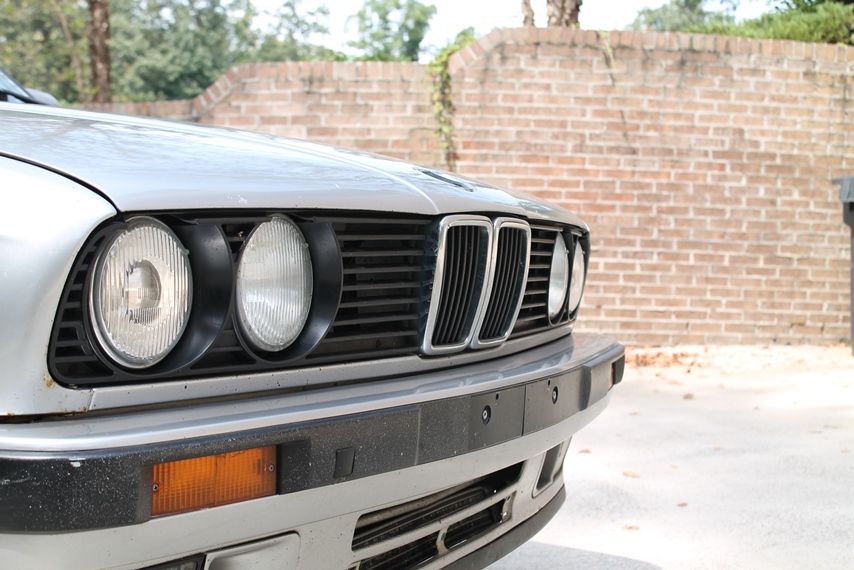
    Also Looking to getting a pair of smoked signal lights. $30 on eBay, so not the cheapest thing in the world, but thinking about it.


    Heres a good example on a silver e30
    Different bumper, but looks good with smoked signals.

    Leave a comment:


  • MattAvino
    replied
    Ive always wanted to rewrap my MT1 wheel....TEACH ME!

    Leave a comment:


  • ksjdan
    replied
    Originally posted by N2MYE30 View Post
    Nice work! Your steering wheel came out pretty good. I need to get a windshield one of these days.
    Gracias! Best part is that I didn't pay a dime for the windshield! Permatex reimbursed me for their accident.

    Originally posted by 8380 Labs View Post
    good progress!

    my only question is, considering you're in the south, why did you choose to go way up into the rust belt to find your car?

    the time/effort/money spent to get this car back home and to the condition it's currently on could have been spent on a more expensive car from the south that was in better condition.

    in either case, good luck moving forward, keep up the good work. :)
    Thanks for the complement!
    Its difficult to find a decent e30 down here in the South, and trip cost me about $250~$300 total so it wasn't too bad.
    Yeah there is good amount of rust on this car, but not so much that it's overwhelming. :)

    Leave a comment:


  • 8380 Labs
    replied
    good progress!

    my only question is, considering you're in the south, why did you choose to go way up into the rust belt to find your car?

    the time/effort/money spent to get this car back home and to the condition it's currently on could have been spent on a more expensive car from the south that was in better condition.

    in either case, good luck moving forward, keep up the good work. :)

    Leave a comment:


  • N2MYE30
    replied
    Nice work! Your steering wheel came out pretty good. I need to get a windshield one of these days.

    Leave a comment:


  • ksjdan
    replied
    October 31 2012

    Small update!
    So I went to Glass Doctor today to get the windshield replaced. I was going to get it replaced with rather Pilkington or PGW (both BMW OEM suppliers). I originally asked the rep lady for pilkington windsield, but when they were putting the windshield on, it was PGW. I wouldve been a little displeased if it was some generic brand, but since they were also BMW OEM supplier, I didn't worry.

    Had to take a shot while parked in front of glass doctor


    Glass Doctor working their magic. He really had to work on it because they only had chrome replacement molding, and I insist they reuse the black, slightly dried molding that was initially on the car


    Finished result. Since it was almost impossible capturing a difference between old and new windshield, here is the cool looking PGW logo.


    Up next is probably going to be body work. Getting new passenger fender, cleaning off all the rusted areas and repaint the wheels.
    Last edited by ksjdan; 10-31-2012, 09:41 PM.

    Leave a comment:


  • ksjdan
    replied
    September 19 - October 27 2012

    I have been hiatus on this forum for a while, but all this time Ive been busy working on the e30! From outside, nothing has changed, but everything from exhaust, driveshaft and shifter was removed for renewing and replacing. After about a month and 2 injuries later, the car is once again reassembled and somewhat ready for the road.

    Exhaust

    The tear down was extremely tiring as almost everything on the car was still original and never been moved. The bolts holding the muffler to cat was rusted so badly, the nut and the screw pretty much became one piece and I had to break it off. At least the muffler dropped in one piece.


    But that wasn't the only problem. Some of the nuts holding the headers were really difficult to reach and I ended up having to buy a few shorter sockets and a set of Craftsman nut extractor to get em off. What I really need was a breaker bar, but mine was broken, and for the 5th in a row (almost) local Lowe's was out of both 3/8th and 1/2th breaker bars. I asked the manager if they were getting more any soon, and they had 1 (yes 1 fucking breaker bar) on order. I went back the next week and it was already sold. :hitler:
    Once I had the header to cat bolts removed, I had some trouble pulling the cat out of the way (the cat was darn heavy!). During the process, I managed to destroy the newly changed oil filter. Darn..

    I also found that one of the cat flange that is "trapped" inside a flanged pipe that broke and had to be replaced. After a long contemplation, I decided to get a new flange that goes on the left side (which the pipe is not flanged and has a separate BMW part #).

    Before


    I had it welded at a local shop where they cut the neck off the pipe, put in a new flange, and welded back from the inside. And a spot weld on the outside for extra support.

    After


    Driveshaft
    Next I remove the dust shield and got the driveshaft lowered. I was assuming both center support bearing and flex disc were shot. After googling it a few times and reading pelican guide, I was able to lower the driveshaft without damaging it. It was harder to remove the driveshft than I thought as both the tranny side and rear diff side was not wanting to loosen up to give room. After loosening the center dust cap, I could barely pull the thing out.

    Once I got it out from under the car, sure enough the center support bearing was badly shot, and flex disc had cracks forming. From here things get pretty physical because I do not own a bearing compressing tool. :(
    Instead I used a chisel and a hammer to punch the old support bearing off.
    Next I placed the new bearing on first, old bearing on top of it and once again, used a hammer and a chisel to punch the new one in. This process took me about 40 minutes to an 1hr. Next it was time remove the flex disc. This was another painful process as the nuts were extremely tight, and I had to reattach the driveshaft to the tranny and chassis to loosen flex disc nuts. Seems like OP changed the flex disc when clutch was changed.

    old center support bearing and flex disc


    Finished result


    Shfiter

    After replacing all the old rubber on the driveshaft, I put my focus on the shifter. The 20yr old shifter felt sloppy and the long shift lever was not going to stay. Here I ran into a small problem. The clip holding the shift arm to the transmission was a complete pain in the butt to remove. I read it on the pelican parts guide to pull up the clip to loosen. Maybe I was losing focus at night after a long day, but after about an hour trying to loosen it, I gave it and went to bed. Next day, I tried unclipping it from the passenger side, and within 15 minutes, I was able to get it off. It seriously felt like i won the lottery!

    here is the picture from pelican


    I gave the shifter a good wash, and put a new bushing in the shift arm.


    I decided to get a z3 shorter shifter lever because aftermarket kits such as: autosolution, uuc were all too high on the price and because this is just a daily driver.

    Here is the z3 shifter ready to be installed


    Here is the topic I started asking which kit was ideal for my situation.
    And of course new thread hating memebers insist that I search first. Ill do that next time! :)


    Finished result!


    Now I just need to get everything back in. At the moment I had the complete exhaust removed, driveshaft, and shifter all in the garage. Quite a mess!


    Reassembly

    After installing the shifter, driveshaft was installed. But because I didn't get the marked/balanced bolts in their correct holes, it was removed and re-installed.

    Next I was tackling the flex disc bolts when, SNAP. While tightening the bolt underneath the car in a very awkward position, my left shoulder made a really nasty noise and it came partially dislocated. Ended up getting it re-positioned by a chiropractor and had to rest for about a week. Sorry no pictures of the shoulder, but it still hurts when moved to certain positions. From now, Ill have to work around the pain for about 2 months.
    On the week of 22nd, I started working on the car again.
    Carefully tightened the flex disc in place and then differential side nuts. Next heat shields were put in and it was time for exhaust to go back in. Had studs on the engine head put on and sanded clean the header meeting points. But before I started putting the header back on, I decided to replace the oil filter before it became too difficult to reach with all the junk in the way.


    Headers back on!

    Before


    Now the catalytic converter is going back on. It was pretty easy putting it back in. I had the jack supporting the back of the cat while I aligned and slightly tightened down the header-to-cat nuts.

    Header-to-cat nuts located in almost impossible to tighten locations. Had to shoot the wrench w/ swivel joint up through random openings from underneath the car.


    Cat balanced on my new torin jack. :)


    From here all I needed to do was put the muffler on, o2 sensor and all done! But this smooth install process was soon to be over.

    Here is the new Bosal muffler next to the old oem muffler. Much better!


    It was time to put the muffler rubber hangers on. These hangers are possibly the work of Satan. Fortunately the angels @ Bav auto sent me 4 hangers (2 extra) to work with. In case I messed up a few I guess. I was able to push the hanger in the slot welded on the cars body. I used a vise-grip to align it in place, but I lost grip and the edge of the vise-grip rammed into my chin. Now I look like a tool with a bandage on my chin. At least thank God it didn't hit my tooth. It wouldve came out for sure.
    On 27th Saturday morning I continued on. I was able to align the right side hanger in place after about 10 minutes. :) But the left side was being very rude. After 20 minutes, I decided to bend the slot and easily slide it in. Ok thats done with. Never touching it again! (until next muffler change i suppose lol)

    Finally got it in after numerous tries


    Muffler installed! It's finally coming to an end.


    I torqued all the exhaust bolts top to bottom using Bentley guide (which actually came with the car. Thanks PO!).

    Lastly O2 sensor installed and done!


    Like always, car had a small problem when I took it out for a quick test drive. The shift lever holding the new z3 shifter was touching the harmonic balance on the driveshaft. It made a loud clunking noise from the gearbox.

    Im sure many of you know this, but being new to the e30 world, I wasn't aware that the lever needed to be grinded down when fitted with a z3 shifter. So I went to lowes, picked up a cheap dremel and went at it.


    Good enough. :)


    Painted and ready to go back in
    Last edited by ksjdan; 11-01-2012, 10:41 AM.

    Leave a comment:


  • CrusherCurtis
    replied
    sterling FTW.

    Leave a comment:


  • M-technik-3
    replied
    While I'm glad you got it home the ordeal and butt pain too me doesn't sound worth it in any means or shape.

    But now that it's home for you good luck with it.

    Leave a comment:


  • ksjdan
    replied
    Some newer pictures of the e30

    September 16 2012


    Leave a comment:


  • ksjdan
    replied
    September 15 2012

    After a long contemplation, Ive finally decided to re-wrap the m-tech1 steering wheel. I love the design of this 3 spoke wheel, but leather was in awful condition. PO mustve never cleaned/conditioned the leather.

    This definitely wasn't a quick and easy job. it took a lot of time and effort to make it look as close to OEM. As you will see in the pictures, re-wrapped leather has 3 stitched places on the leather unlike the original one stitch at 6 o'clock. This is because the leather hide I was working with wasn't long enough to wrap the wheel in one piece. I don't mind the look as this is how it looks on the newer model steering wheels with additional stitch marks at 10 o'clock and 2 o'clock.


    Here are some blurry iphone pictures taken for before. Final photos look a lot beter :)


    BEFORE:


    Left side worn down to suede


    Cutting the new leather


    New vs. Old


    Looks good!


    AFTER


    M-tech badge placed


    Leave a comment:


  • agent
    replied
    I used Brembo blanks at all four corners on mine as well, with Pagids in the front and Textars in the rear.

    Leave a comment:


  • ksjdan
    replied
    Put in new front brakes today. Nothing special, but one step at a time. :D

    Leave a comment:


  • ksjdan
    replied
    Updated small maintenance work today. It shouldve been a simple diy, but ended up taking about 3 and a half hrs because the fuel hose and crack on the oil drain container.

    Leave a comment:


  • N2MYE30
    replied
    Looks like my sterling coupe ~7 years ago. Heck of a journey to get it home. Have fun with it.

    Leave a comment:

Working...
X